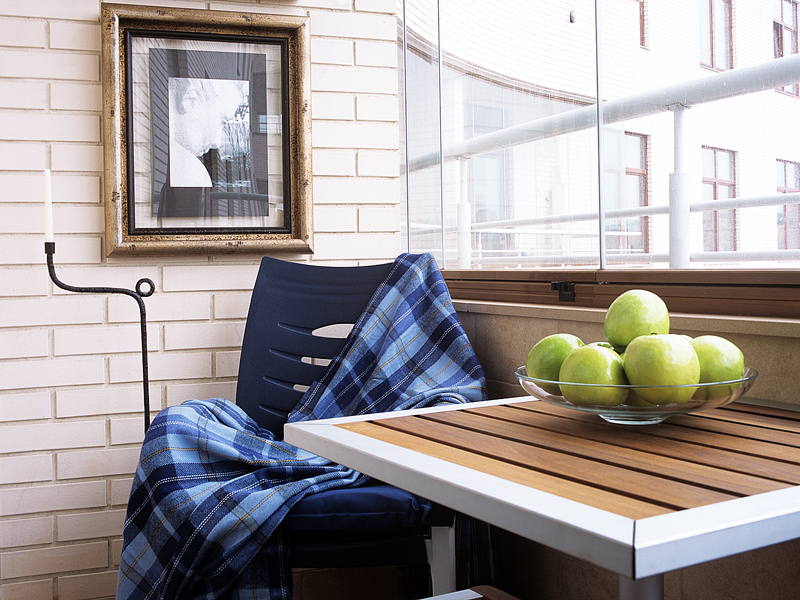
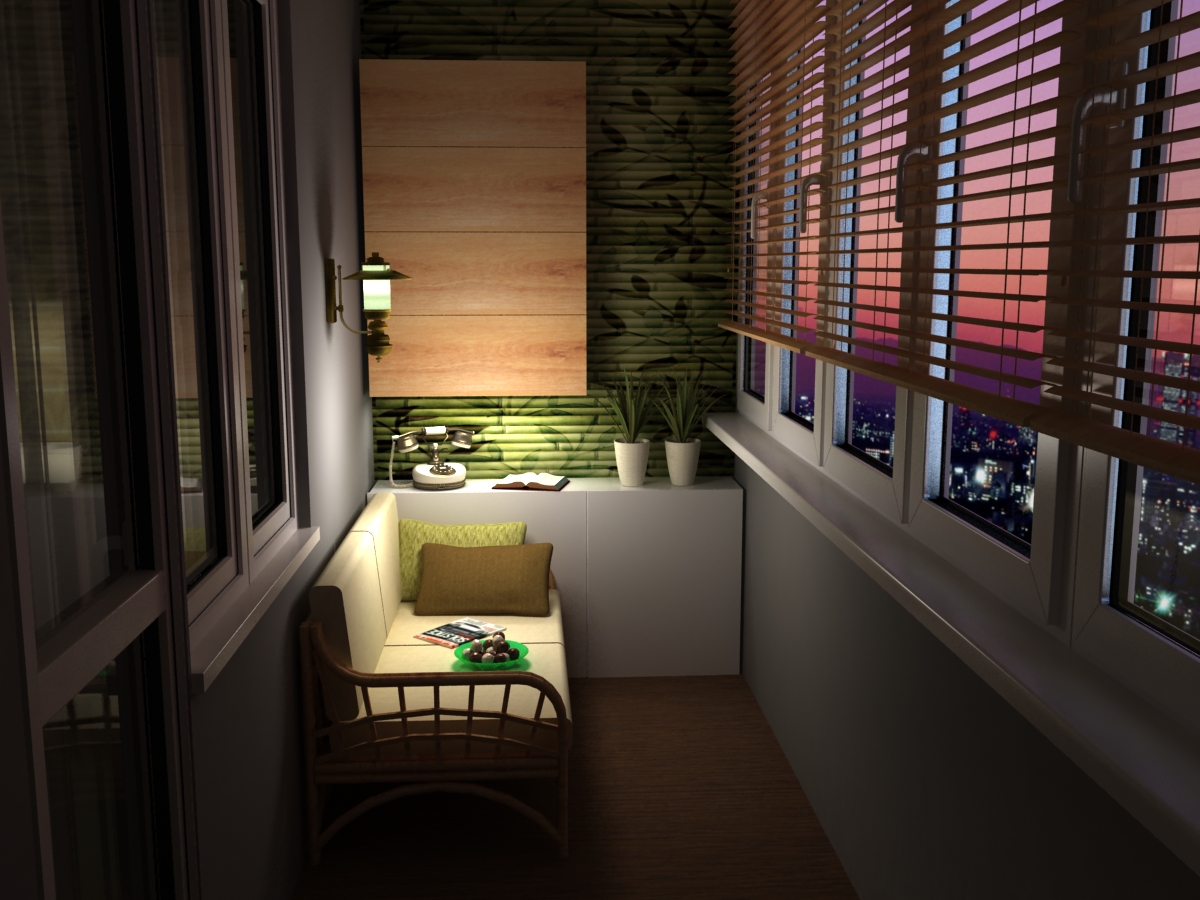
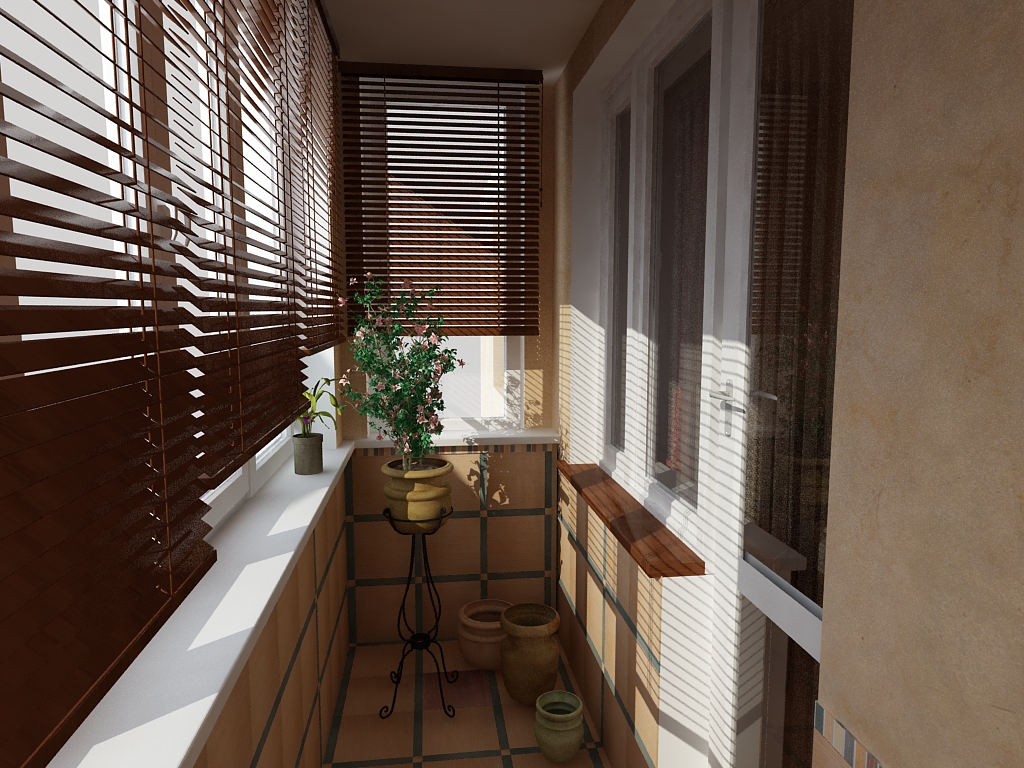
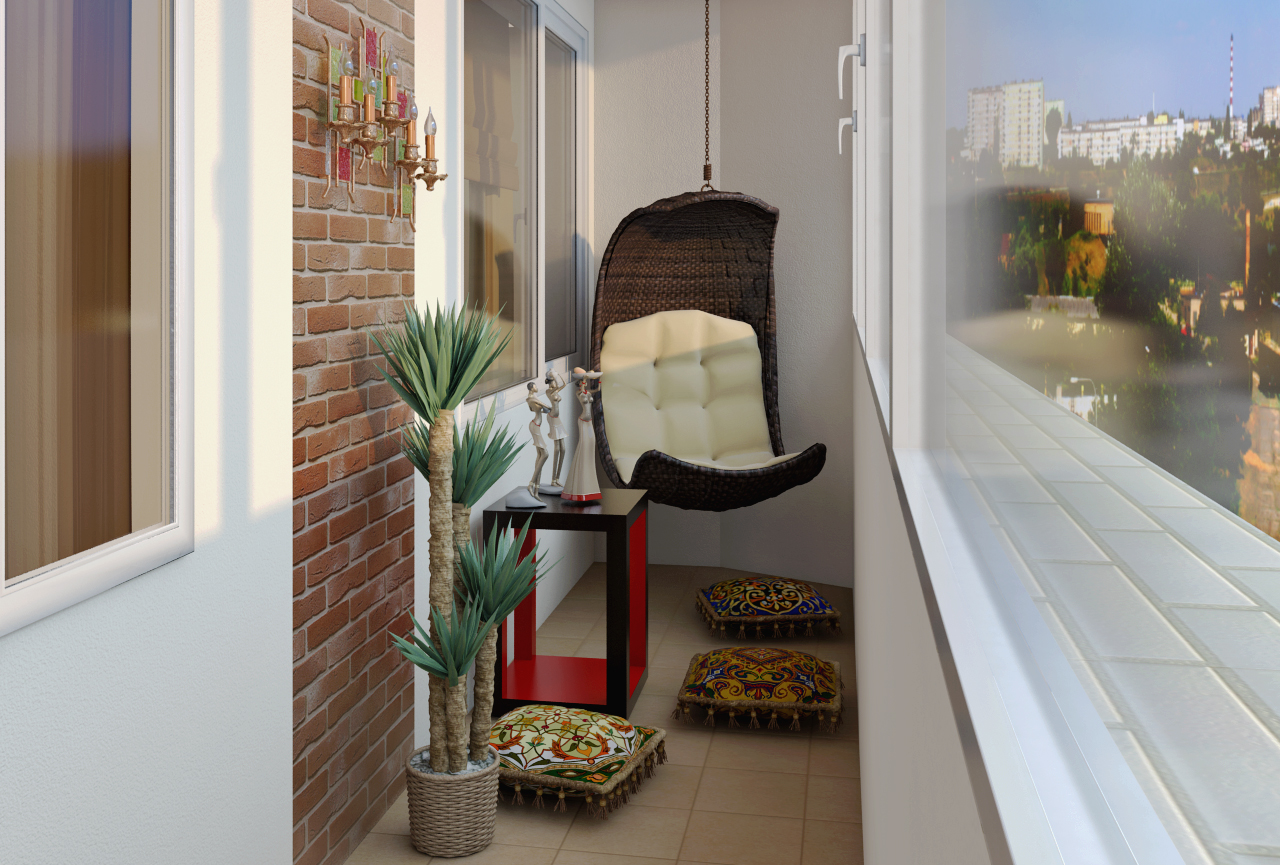
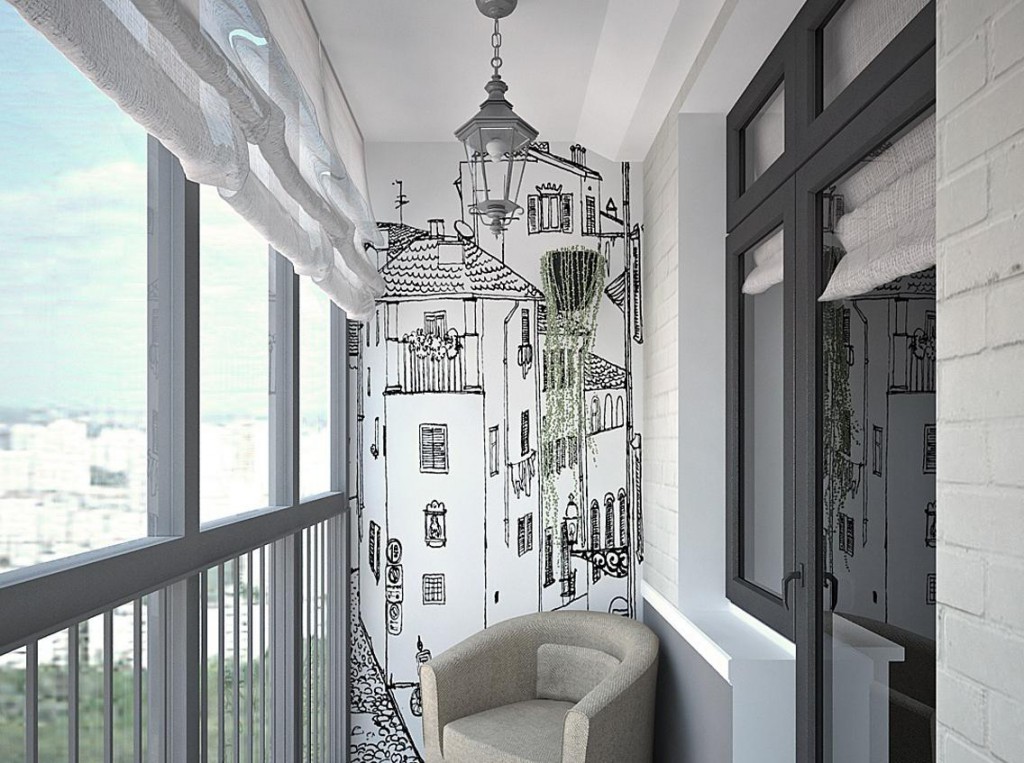
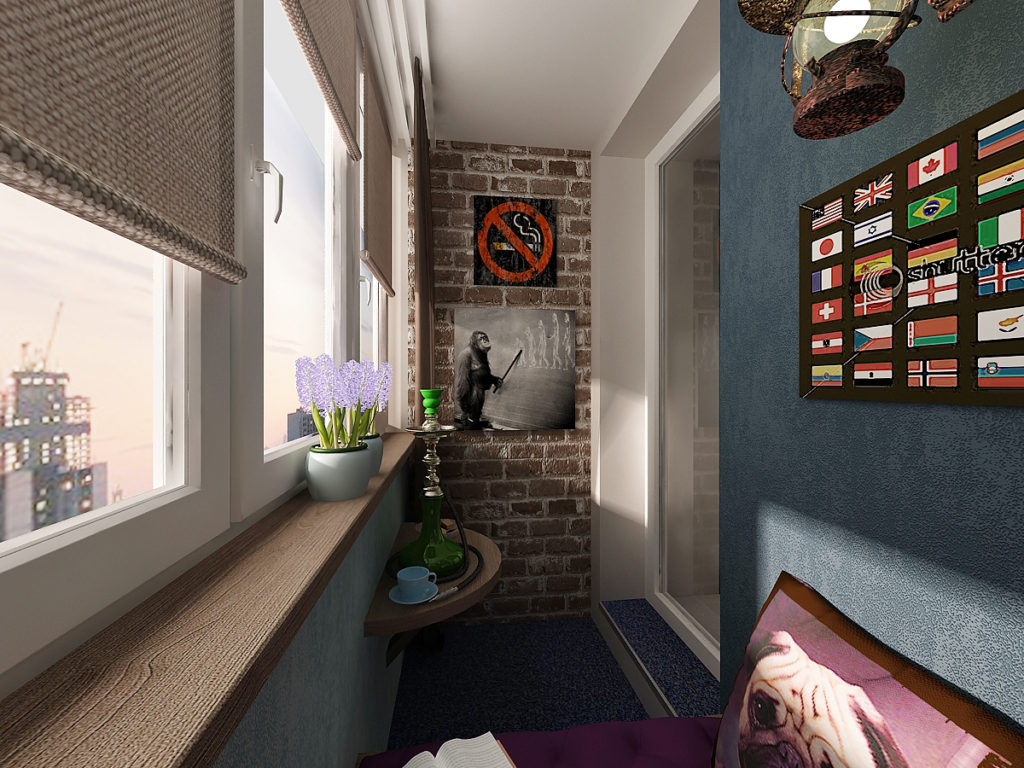
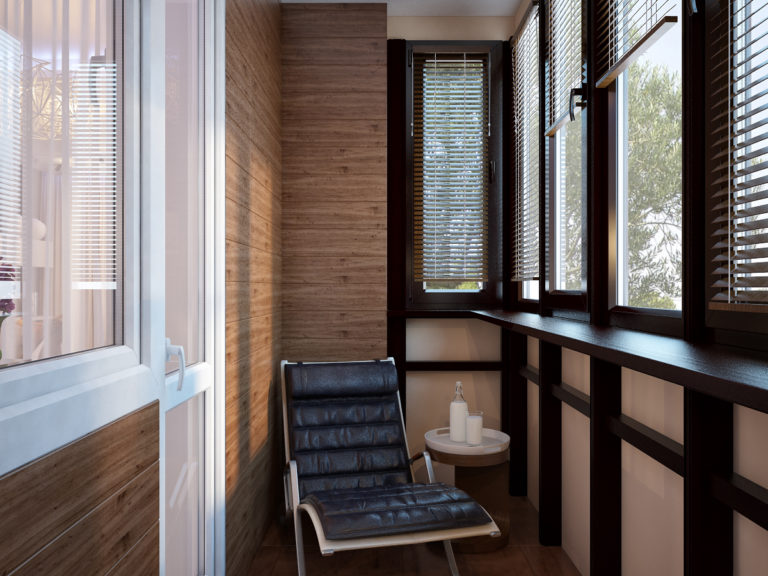
Balcony plasterboard finishing
To create comfort in the house, it is important to pay attention to each part. Finishing the balcony with plasterboard will allow you to warm and make it more attractive without serious financial costs.


Pros and cons of drywall
Drywall appeared at the end of the last century and immediately became popular due to its practicality and functionality.
Pros:
- Environmental friendliness. The material is absolutely harmless to humans and the environment, does not emit any hazardous substances.
- Providing excellent sound insulation. For the decoration of the balcony is not so important, but thanks to this property, the material is often used to create interior partitions.
- Thermal insulation. Despite the small thickness, drywall reliably retains heat indoors.
- Plastic. The material is easily cut with a regular knife, which makes it possible to use it in any repair.
- Incombustible. Previously, the material was considered low fire.Now it has become completely non-flammable, as it meets certain requirements of GOST and SNIP norms.
- Low weight. This quality drywall greatly facilitates the finish for workers.
- Easy to install. Working with the material is so simple that it is ideal for amateur hand-made repairs.
- However, drywall is not ideal in the world of building materials. He has flaws.
- Fragility. When transporting and installing the material, it is important to observe accuracy. With significant mechanical pressure it is possible deformation.
- Hygroscopicity. Non-moisture resistant drywall has the ability to easily absorb moisture. Therefore, before working it is necessary to leave it open for a couple of days. The moisture resistant type of material does not need preliminary "airing". It is possible to determine the moisture resistance of a material by the green marking on the back side of the sheets.
- Reducing the area of the room. A feature of the installation of drywall is space reduction. This is due to the thickness of the sheets of material, putty and frame.
- Additional processing of sheets. While on sale there is no similar material with a finished coating.For any repairs involving drywall, a finishing treatment is required.
Kinds
This material has several varieties that differ in their characteristics.
- Usual. Such material has white color. Suitable for rooms with moderate temperature conditions and humidity.
- Fire resistant This species is painted in reddish or pinkish tones. Ideal for rooms with a high level of fire safety control.
- Moistureproof. This material is green or blue. Can be used in bathrooms and other rooms with high humidity. It weighs a little more than usual.
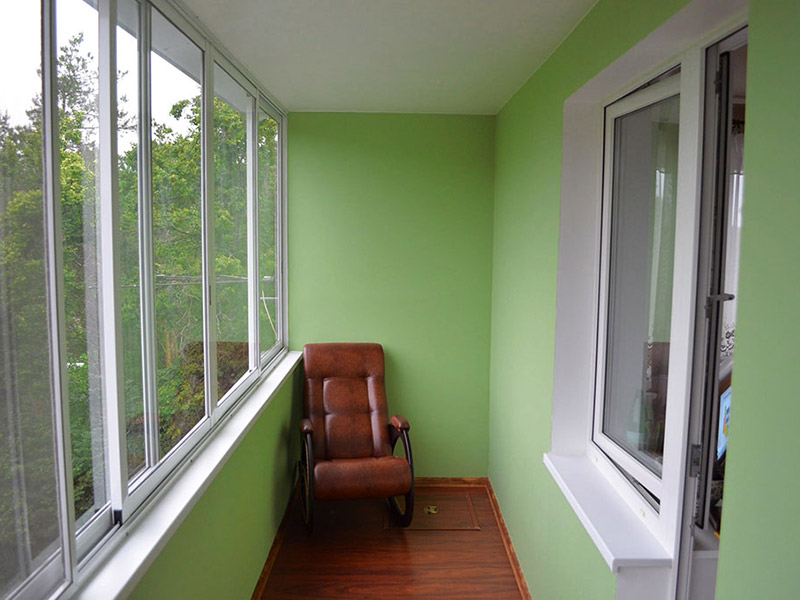
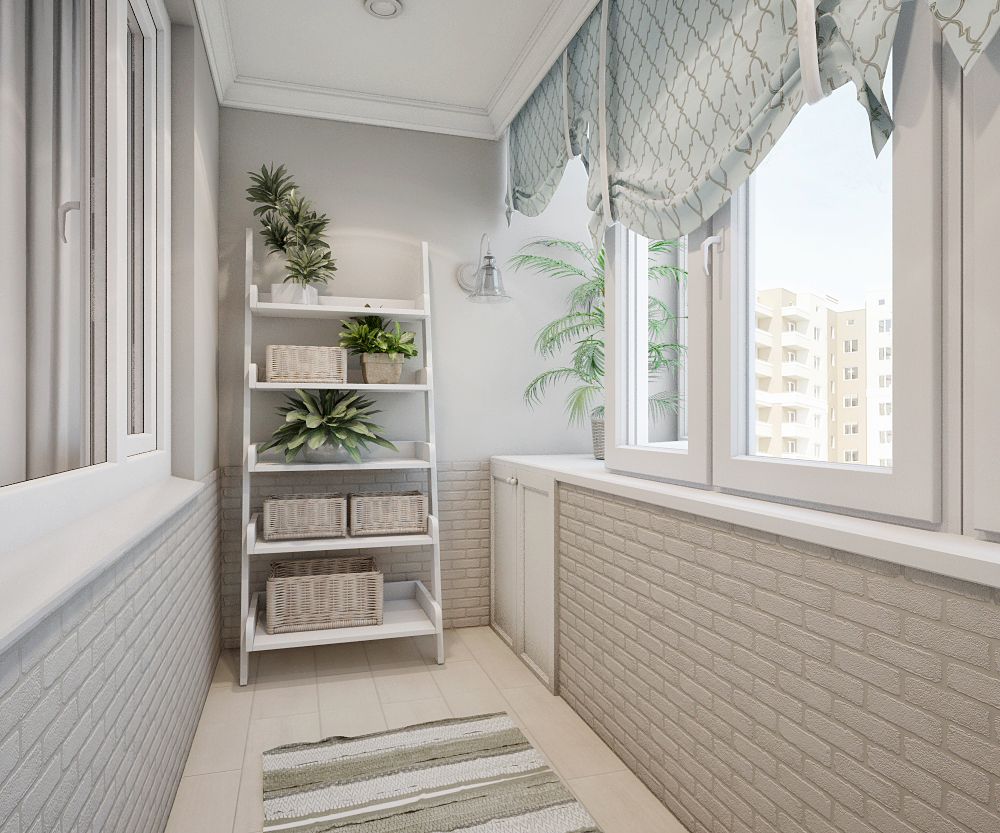
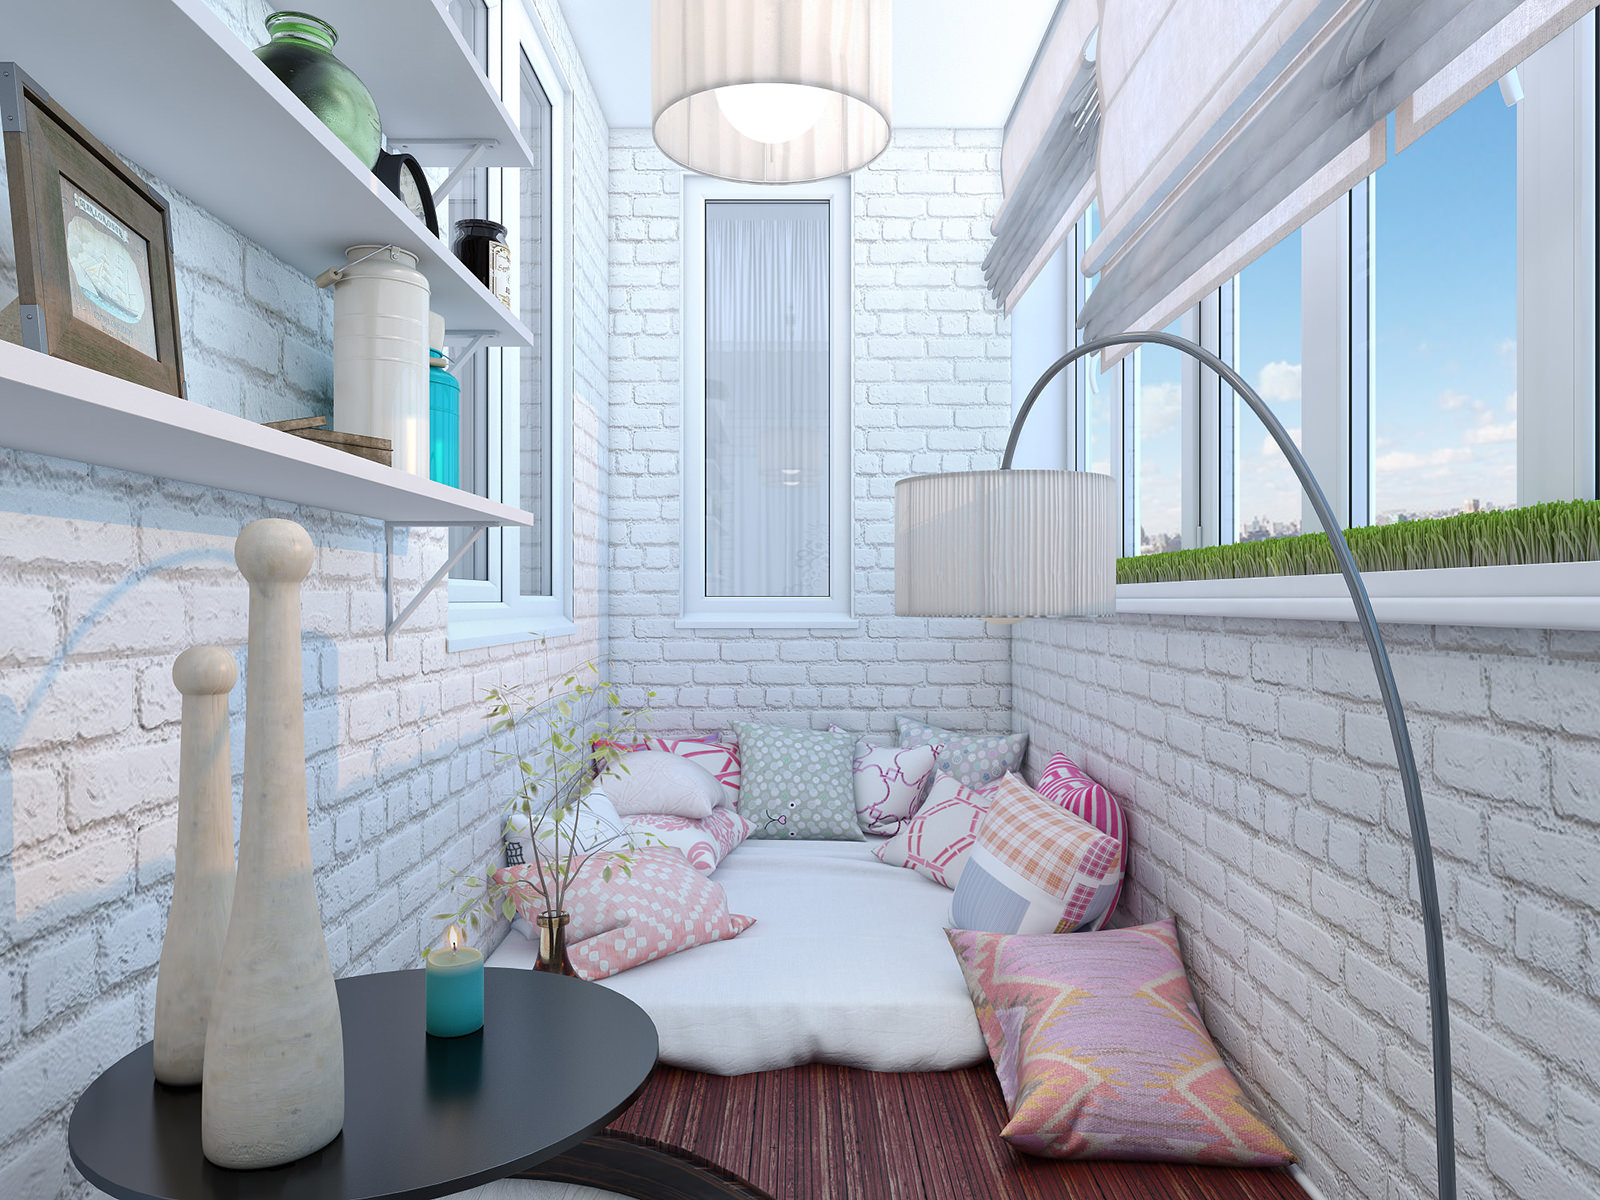
What is the best option to choose for the interior of the balcony walls? Undoubtedly, a moisture resistant type of drywall is needed here. His sheets have a special coating that protects the material from wetting and deformation. A special anti-fungal impregnation will prevent possible negative processes in the wall.
These factors are important to consider. After all, even when we warm the balcony, temperature drops and changes in humidity create special conditions in this space that require the necessary care.
Preparation for work
If you decide to sheathe the balcony with drywall, you will need to conduct preparatory activities. Prepare everything you need for work.
Bring yourself drywall, electric drill, screwdriver and hammer drill. For the installation of the frame will need profiles UD and CD. Connect profiles you will be using crabs. Also required suspensions, level, plumb. Do not forget the metal screws. And of course, materials for insulation and vapor barrier.
Equally important is the preparation of the room. If you plan to change the glass, then do it before starting work. It is also necessary to check the integrity of the surface of the walls.
If cracks are found, clean them with a grinder and putty with moisture resistant material. Then water the walls and ceiling. It is better to repeat it several times. Excellent for these purposes, suitable reliable and wear-resistant primer with PVA.
To maximize the protection of walls against undesirable effects of external factors, it is possible to coat them with antifungal and water-repellent agent.
After preliminary work, wait 13-15 hours until the trimming.
Stages of work on fixing drywall:
- installation of crates
- warming and creation of a vapor barrier
- fixing the material itself to the finished structure
Mounting crates
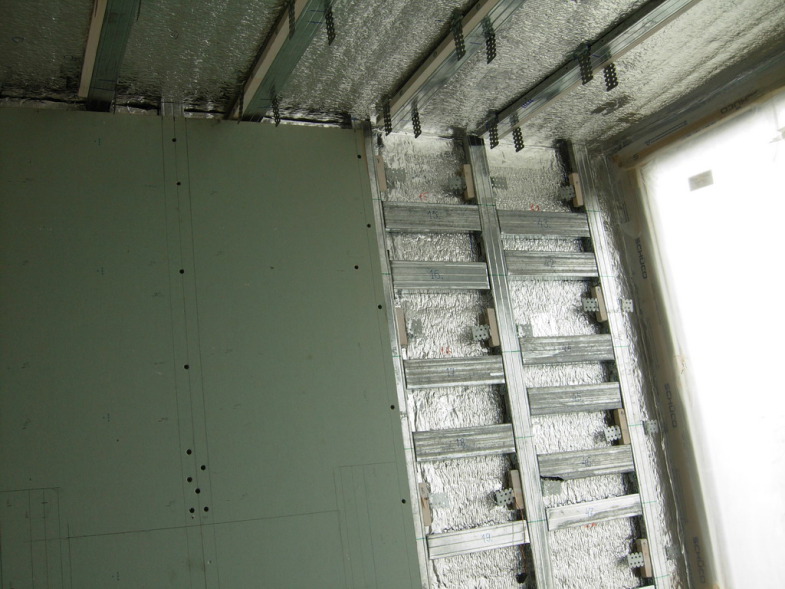
- Measure the area of the walls. Then cut the metal profiles UD and CD. UD - guides. They are needed for installation. CD - rack. They will help create a frame.
- Secure the UD to the ceiling. Maintain a step of 40-50 cm. Take a building level or plumb and draw lines from UD. This will help to make an even installation of the lower guide.
- Also install the lower UD and corner guides. Connect the UD to each other will help prosekatel. Lateral UD are fixed with screws.
- Then install the CD. Cut the profile of the desired length and paste into the "frame" between the upper and lower UD. Here the fastening is made by screws at two points (top and bottom). Similarly, secure the other longitudinal CD.
- Fix vertical profiles with hangers. They make the structure more durable. Mount them in increments of 40-50 cm along the length of each CD. For absolute fixation, use screws.
- Then combine the suspensions with the profile. Here screws and metal "paws" will be useful. Step when installing the transverse profiles is calculated by the height of the walls. Usually it is 40-50 cm.
- Places in which vertical and horizontal profiles are combined with each other put "crabs". Secure them with screws.
- It must be remembered that in order to properly trim the walls, it is necessary to fix the vertical profiles of the frame in 60 cm steps.
Thermal insulation and vapor barrier
Lay the insulation between the profiles. When covering the balcony is a necessary condition. The type of insulation determines the master. This could be penoplex, mineral wool or something else.
Cut the insulation equal parts. The size of the segments is determined by the size of the "cells" in which you will install the insulation. To fix it, use a special adhesive mixture. Fixing is carried out with pan-shaped dowels.
Lay a vapor barrier on top of the insulation. To fix it, use glue and mounting stapler. On drywall, draw the mark of attachment to the profiles. Then cut the necessary part of the sheet and attach it to the frame with the back side of the green.
Make holes according to the markup made. Use an electric drill. Here a step of 30-40 cm is needed. Insert the screws into the holes and screw them in carefully with a screwdriver and not until the very end. Remember that excessive pressure on the drywall can deform it. Install all sheets in the same way.


Final finish
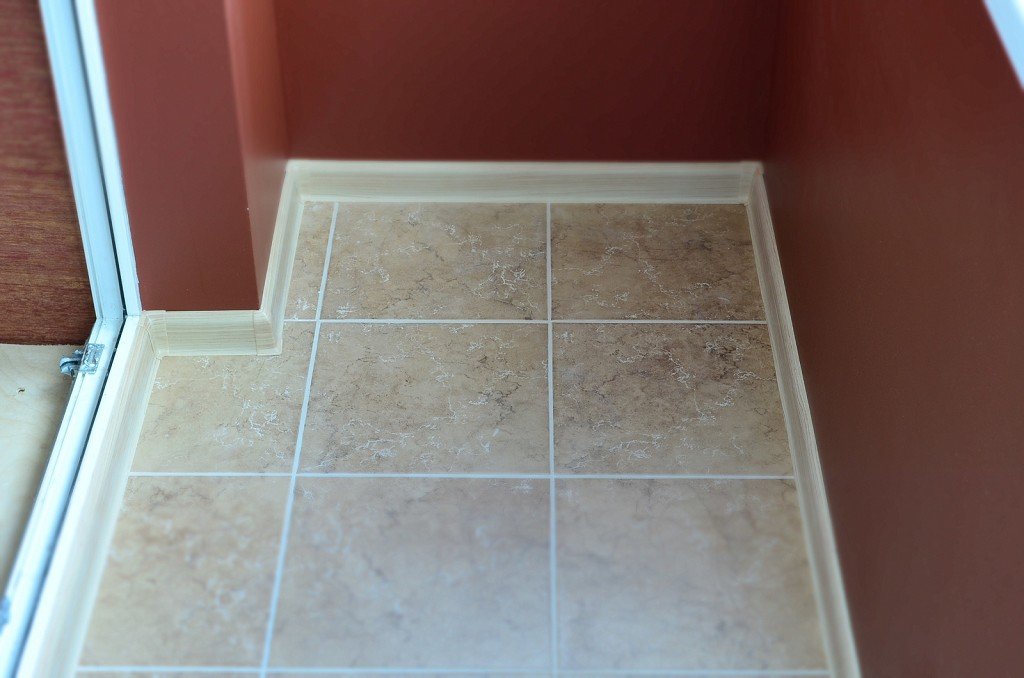
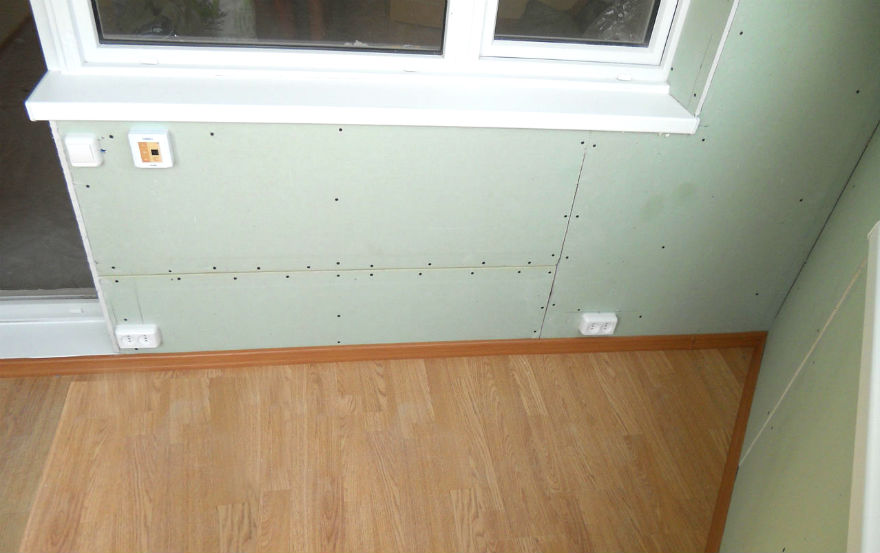
At the end of the preparation for facing.Coat the drywall surface with a primer. Place paper tape on the seams between the sheets of material. In its absence, you can use a special grid. Then apply 2 coats of putty.

The final stage of work depends on the wishes of the owner. Here you can use the tile. Also relevant would be the wallpaper. It will be interesting to look and mosaic. Only lining is not suitable, because nails or screws are used for its installation, and this may cause plasterboard plaster to fall.