Cellar on the balcony
The maintenance of a private house in our time - a great luxury. Especially for residents of large cities. Many families do not want to abandon the annual tradition of canning various vegetables and fruits. It is not surprising, because the preservation decorates the feast at any time of the year. The question is whether it is possible to store canned jars in a regular apartment in a high-rise building? It is no secret that for conservation it is necessary to maintain the correct temperature. In this article we will describe detailed instructions that will help organize a full-fledged storage for canned vegetables and fruits at any time of the year, as well as preserve the space on the loggia for other purposes as much as possible.
Determine the view of the cellar
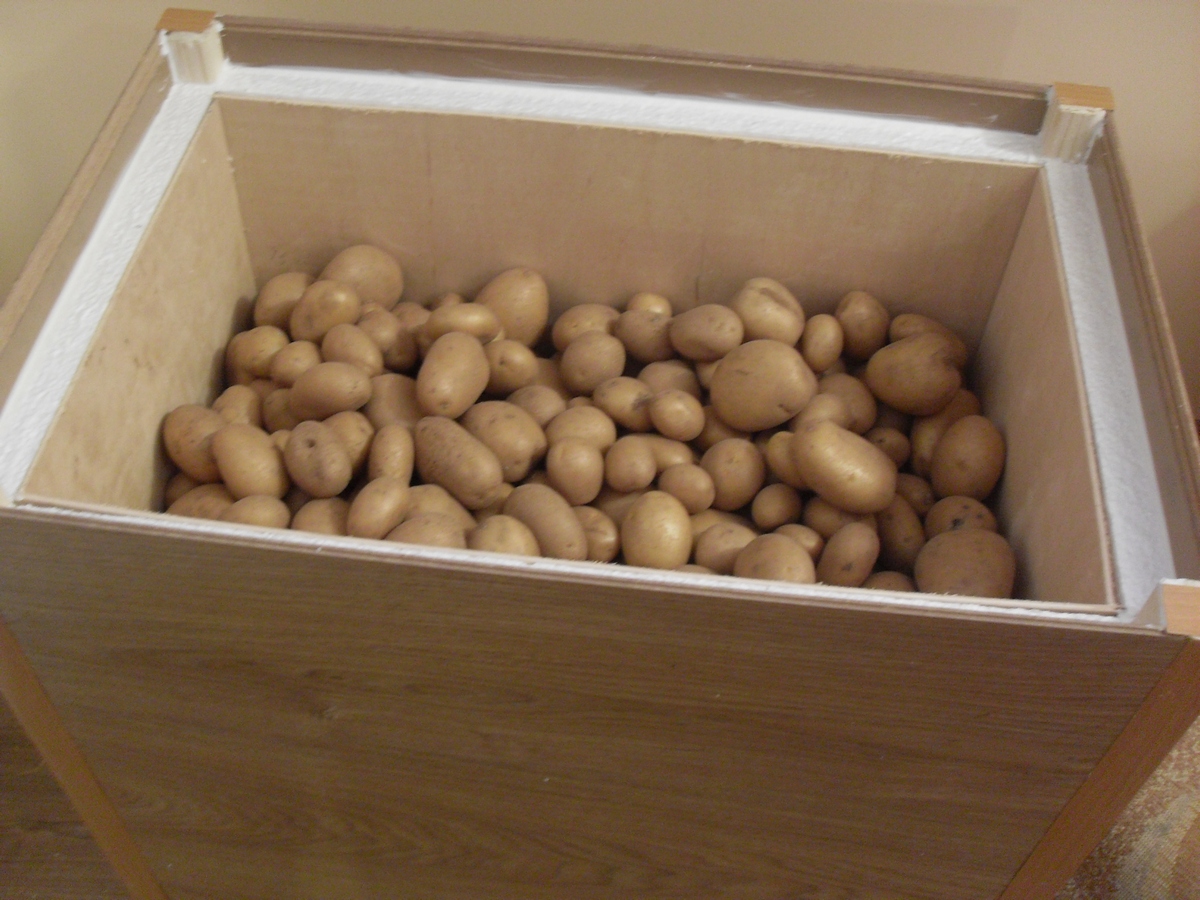
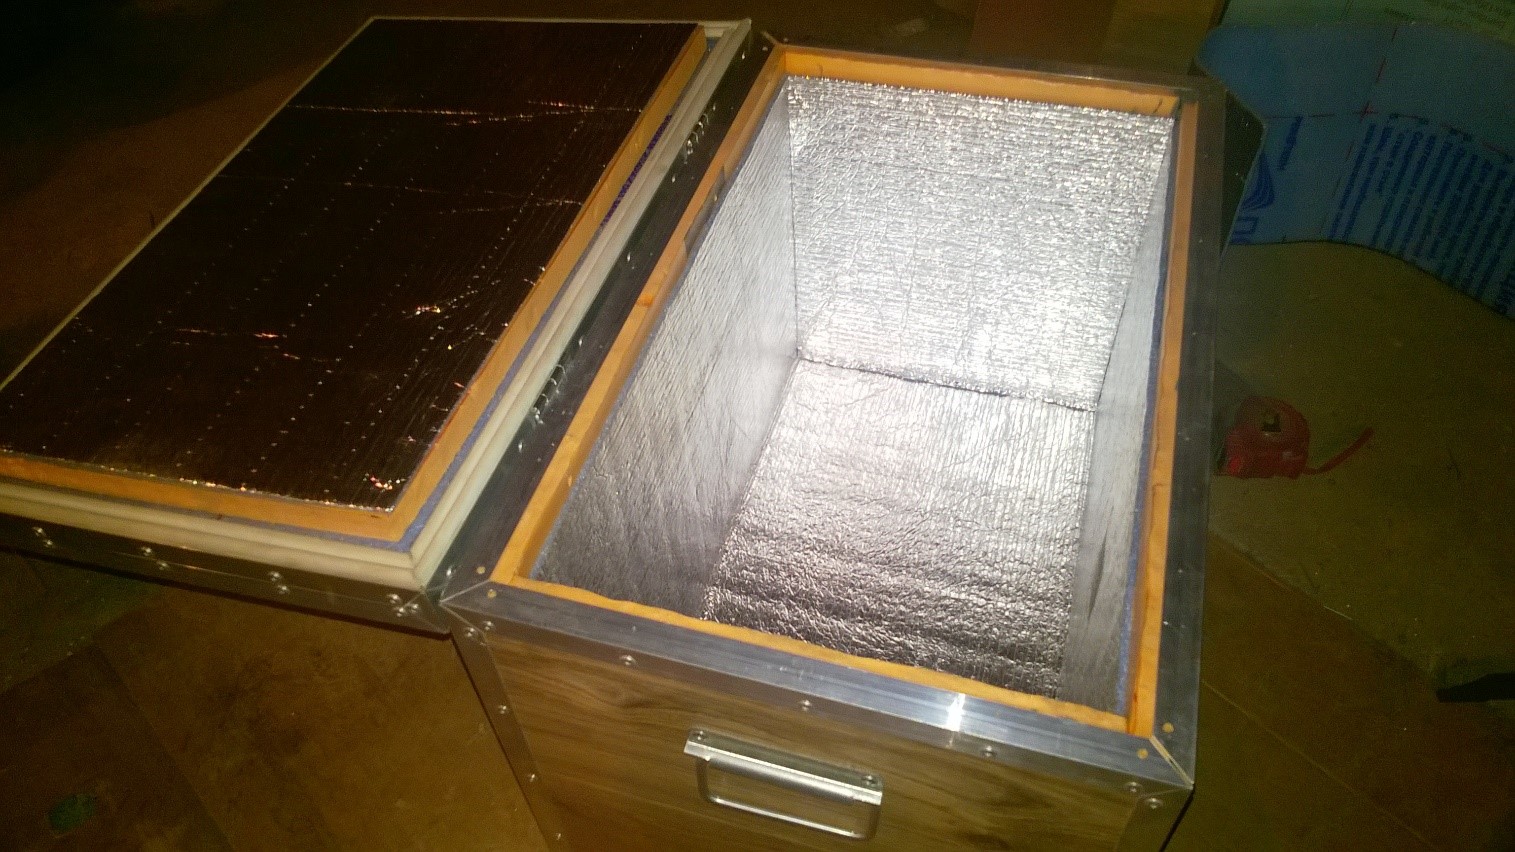
First you need to decide which of the cellars will suit your apartment. If your home does not have a loggia or a balcony, you can build a small thermobox in which the necessary level of humidity and temperature will be maintained so that the preservation is properly stored.To build such a cellar is not difficult, even the most unprepared person will cope with this task in one day off.
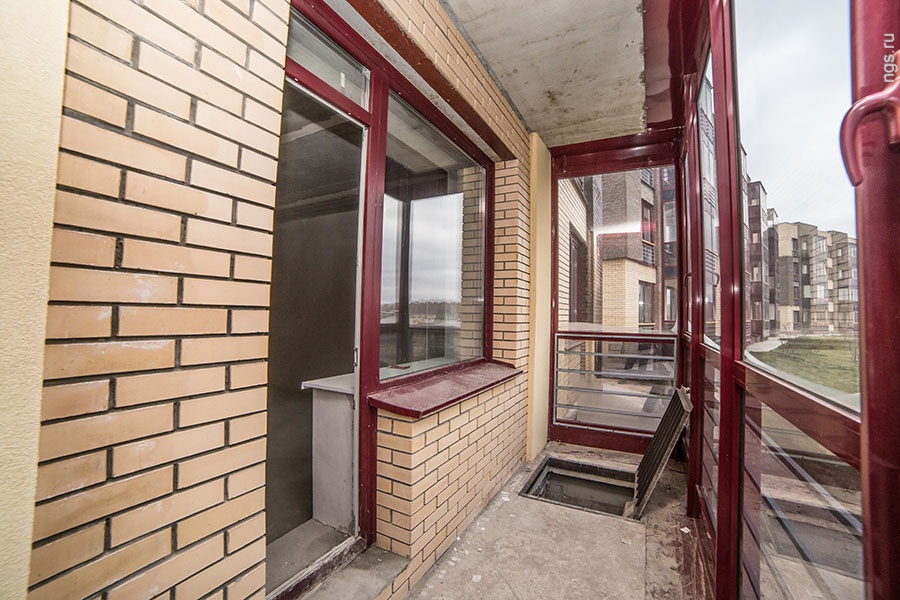
For residents of apartments equipped with a balcony or a loggia, there is the option of a cellar, which is located under the floor of the balcony. This option is suitable for residents of any floor, but in order to build it yourself, you will have to work hard. Well, for the residents of the first floor you can build a full-fledged cellar under the ground, but in this case you will have to shovel a considerable amount of soil and make some effort. Below in the article we will look at all three types of cellars in more detail, and also tell you how to build a cellar on the loggia in the apartment.
Thermal Box
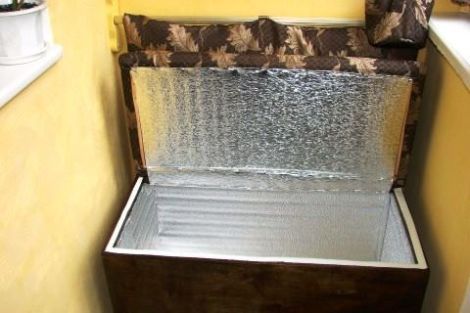
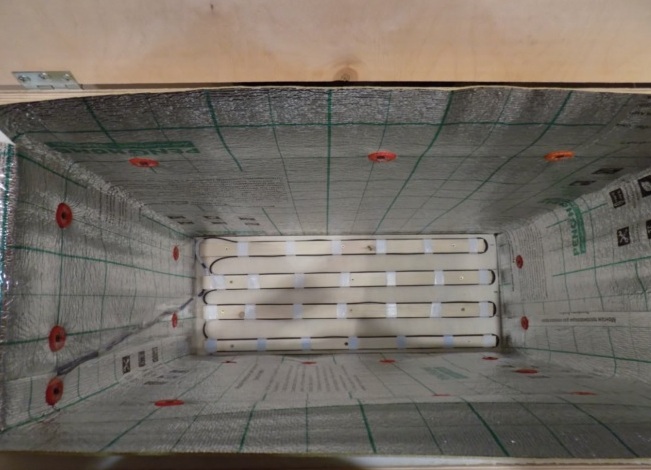
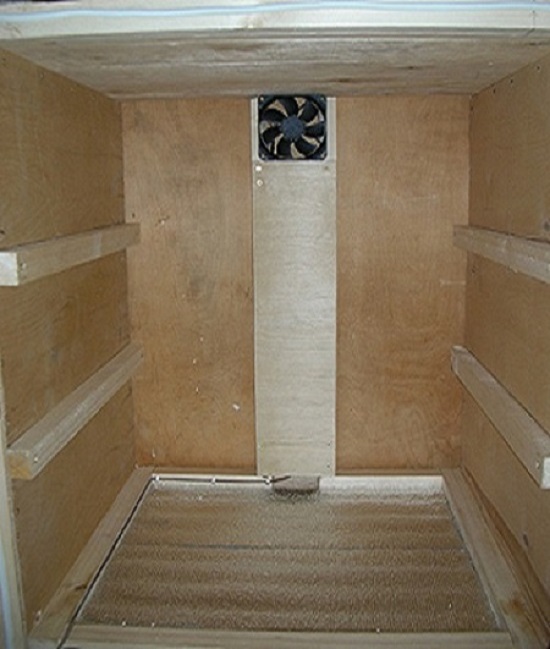
A thermo box is a small container in which the required level of humidity and temperature for preservation storage is maintained. TaThis type of cellar is convenient for its absolute mobility, it can be installed both on the balcony and in the apartment, for example, to build in between worktops. The temperature in it in winter will vary from 3 to 8 degrees Celsius, and in the summer heat the container on the contrary will maintain the cooling temperature. It can be lowered by placing ice on the bottom in an airtight container.
Underground loggia
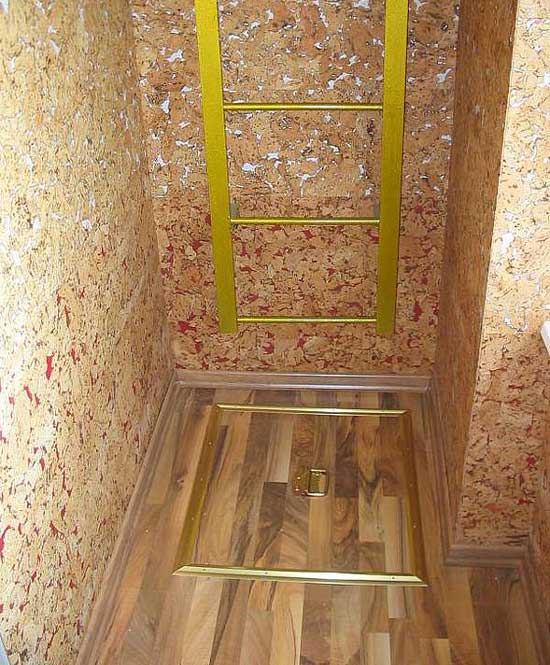
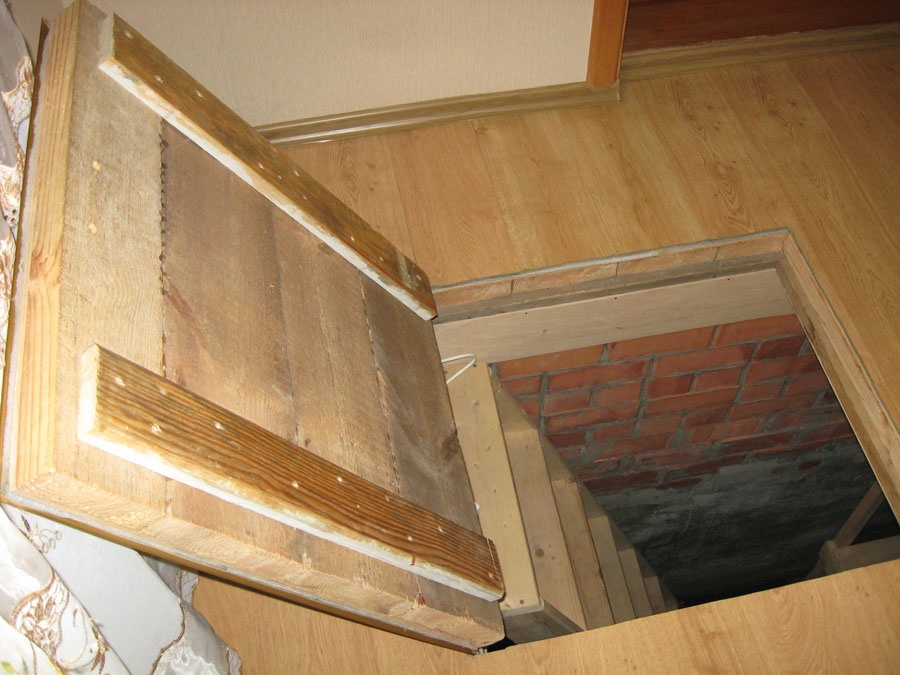
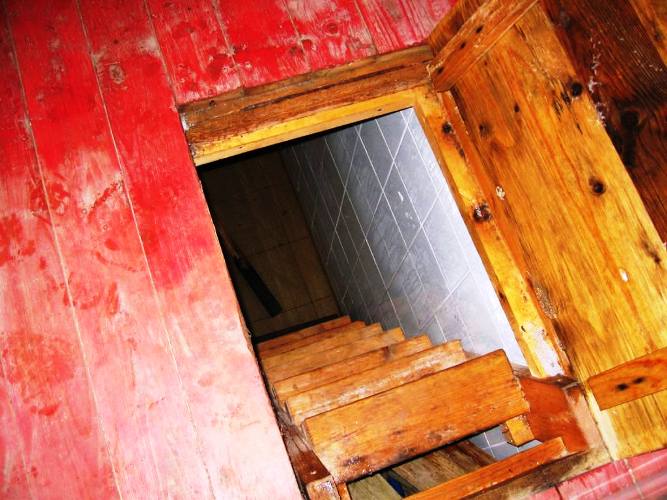
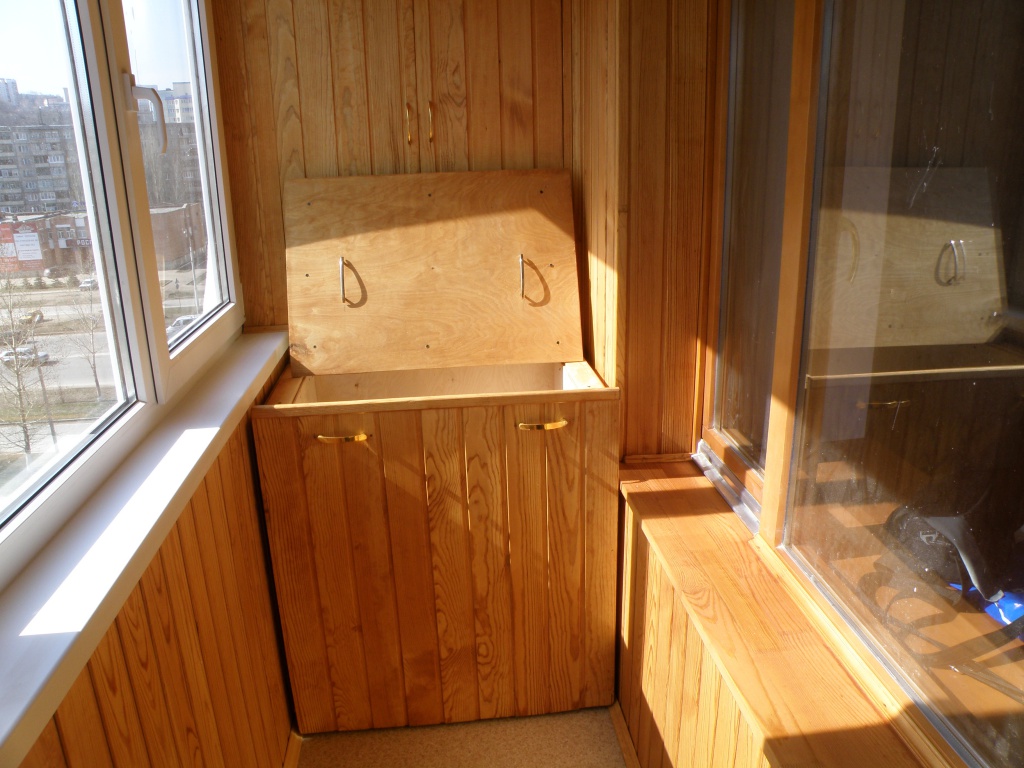
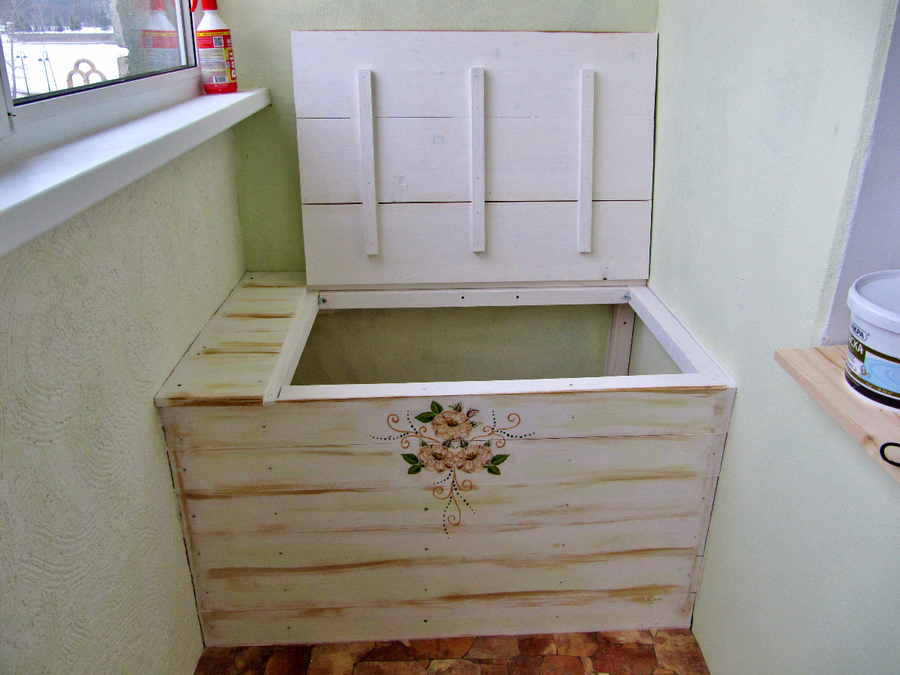
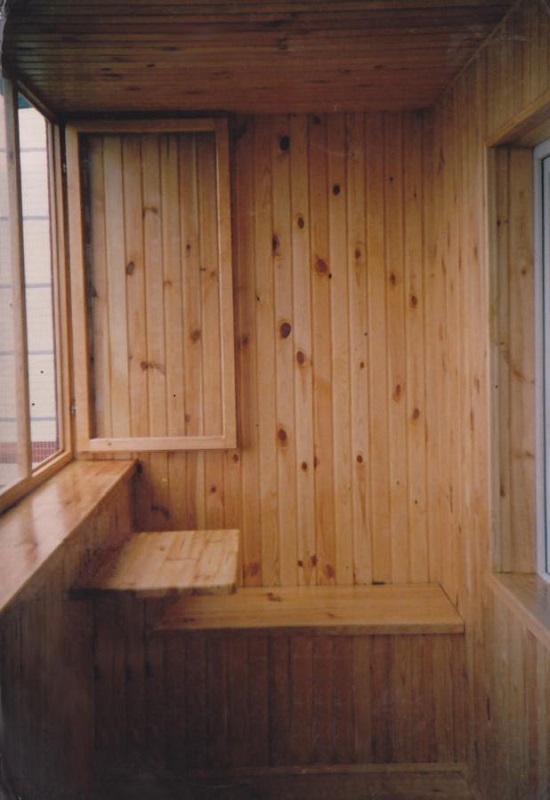
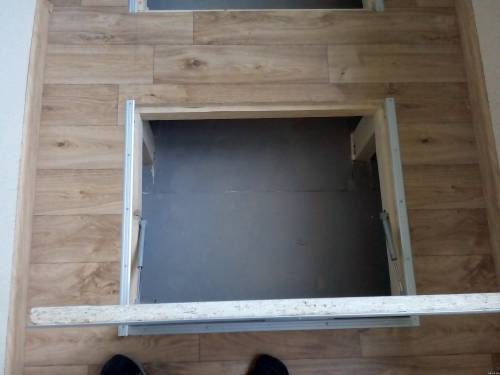
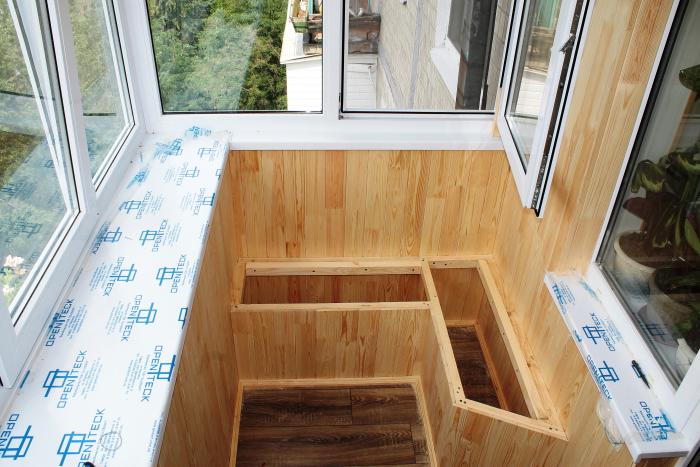
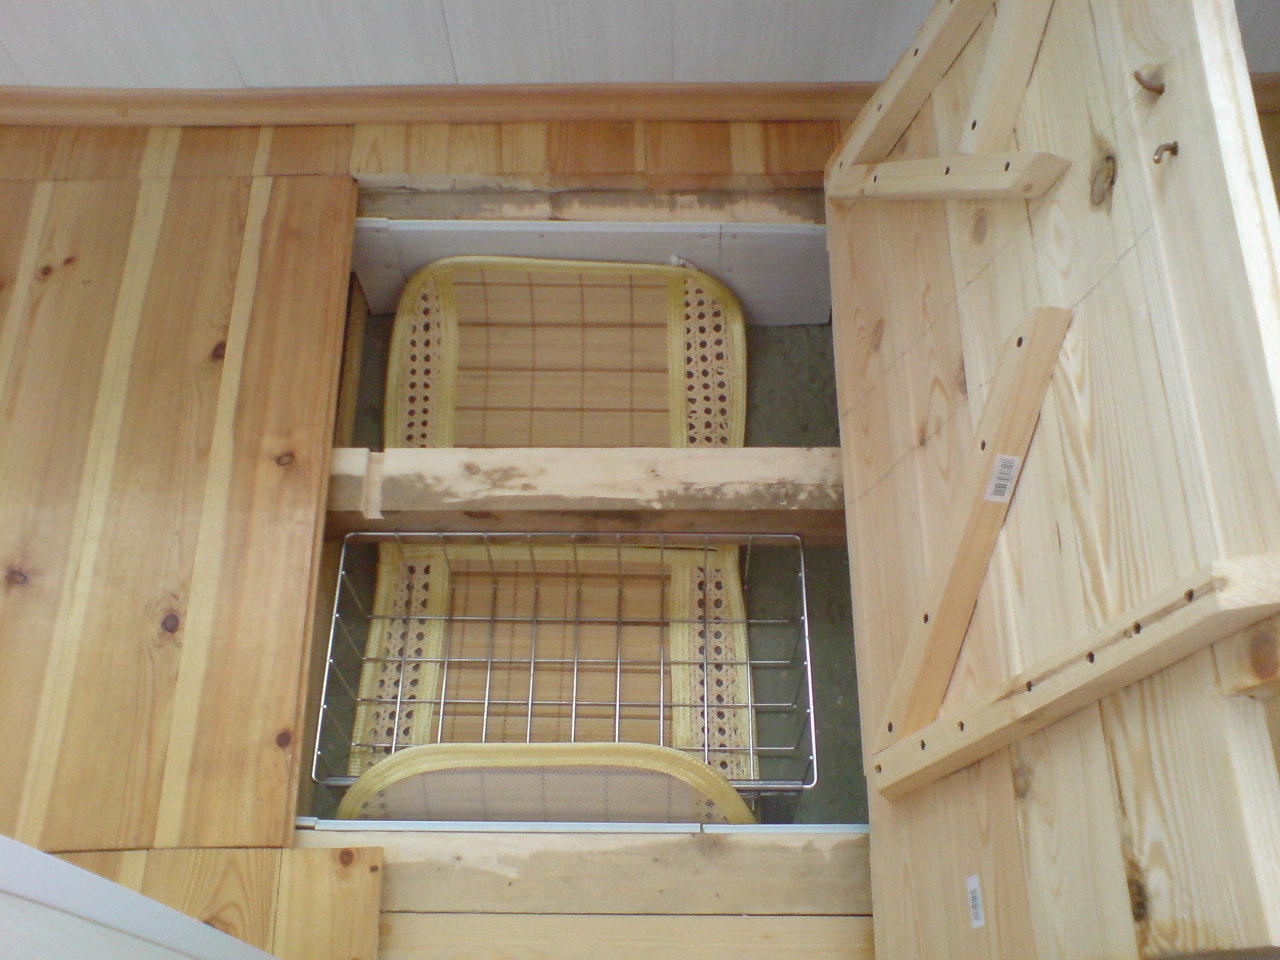
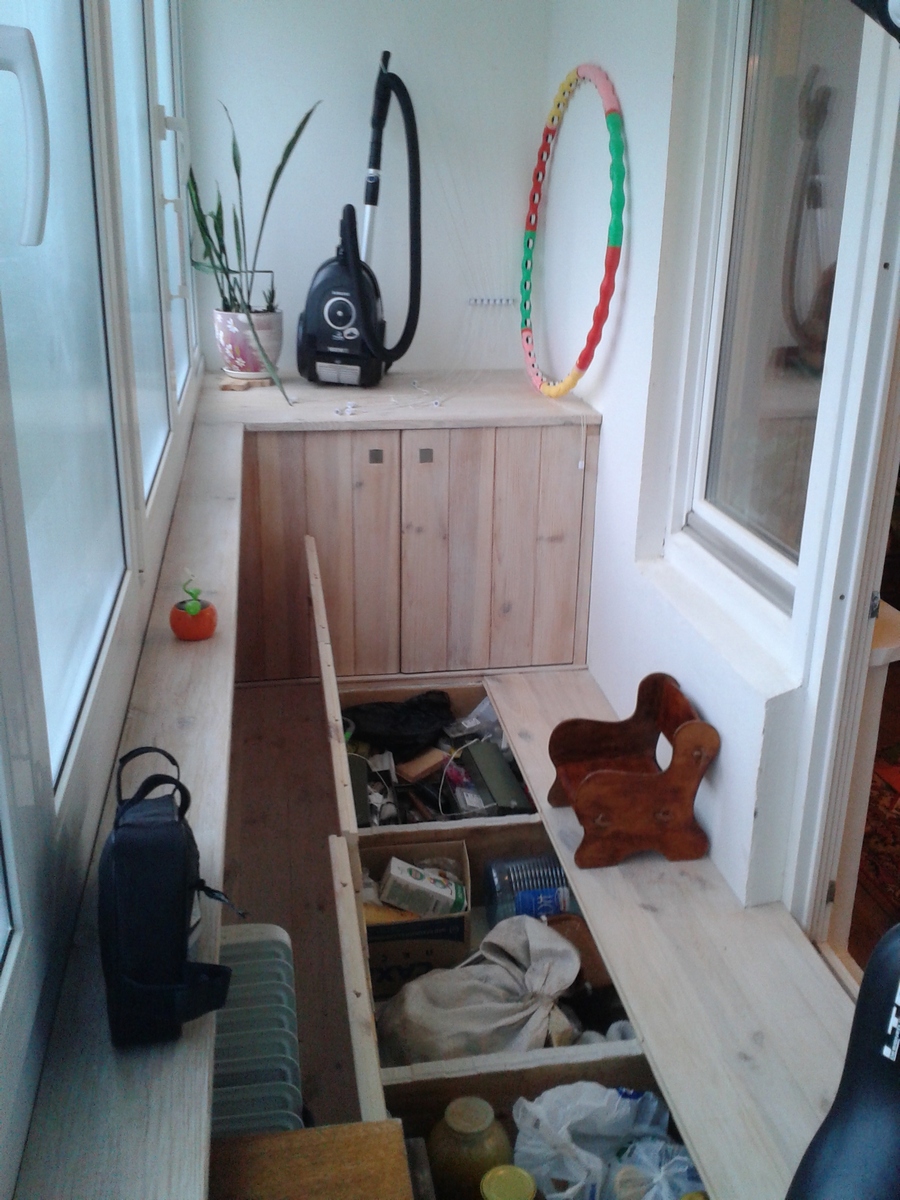
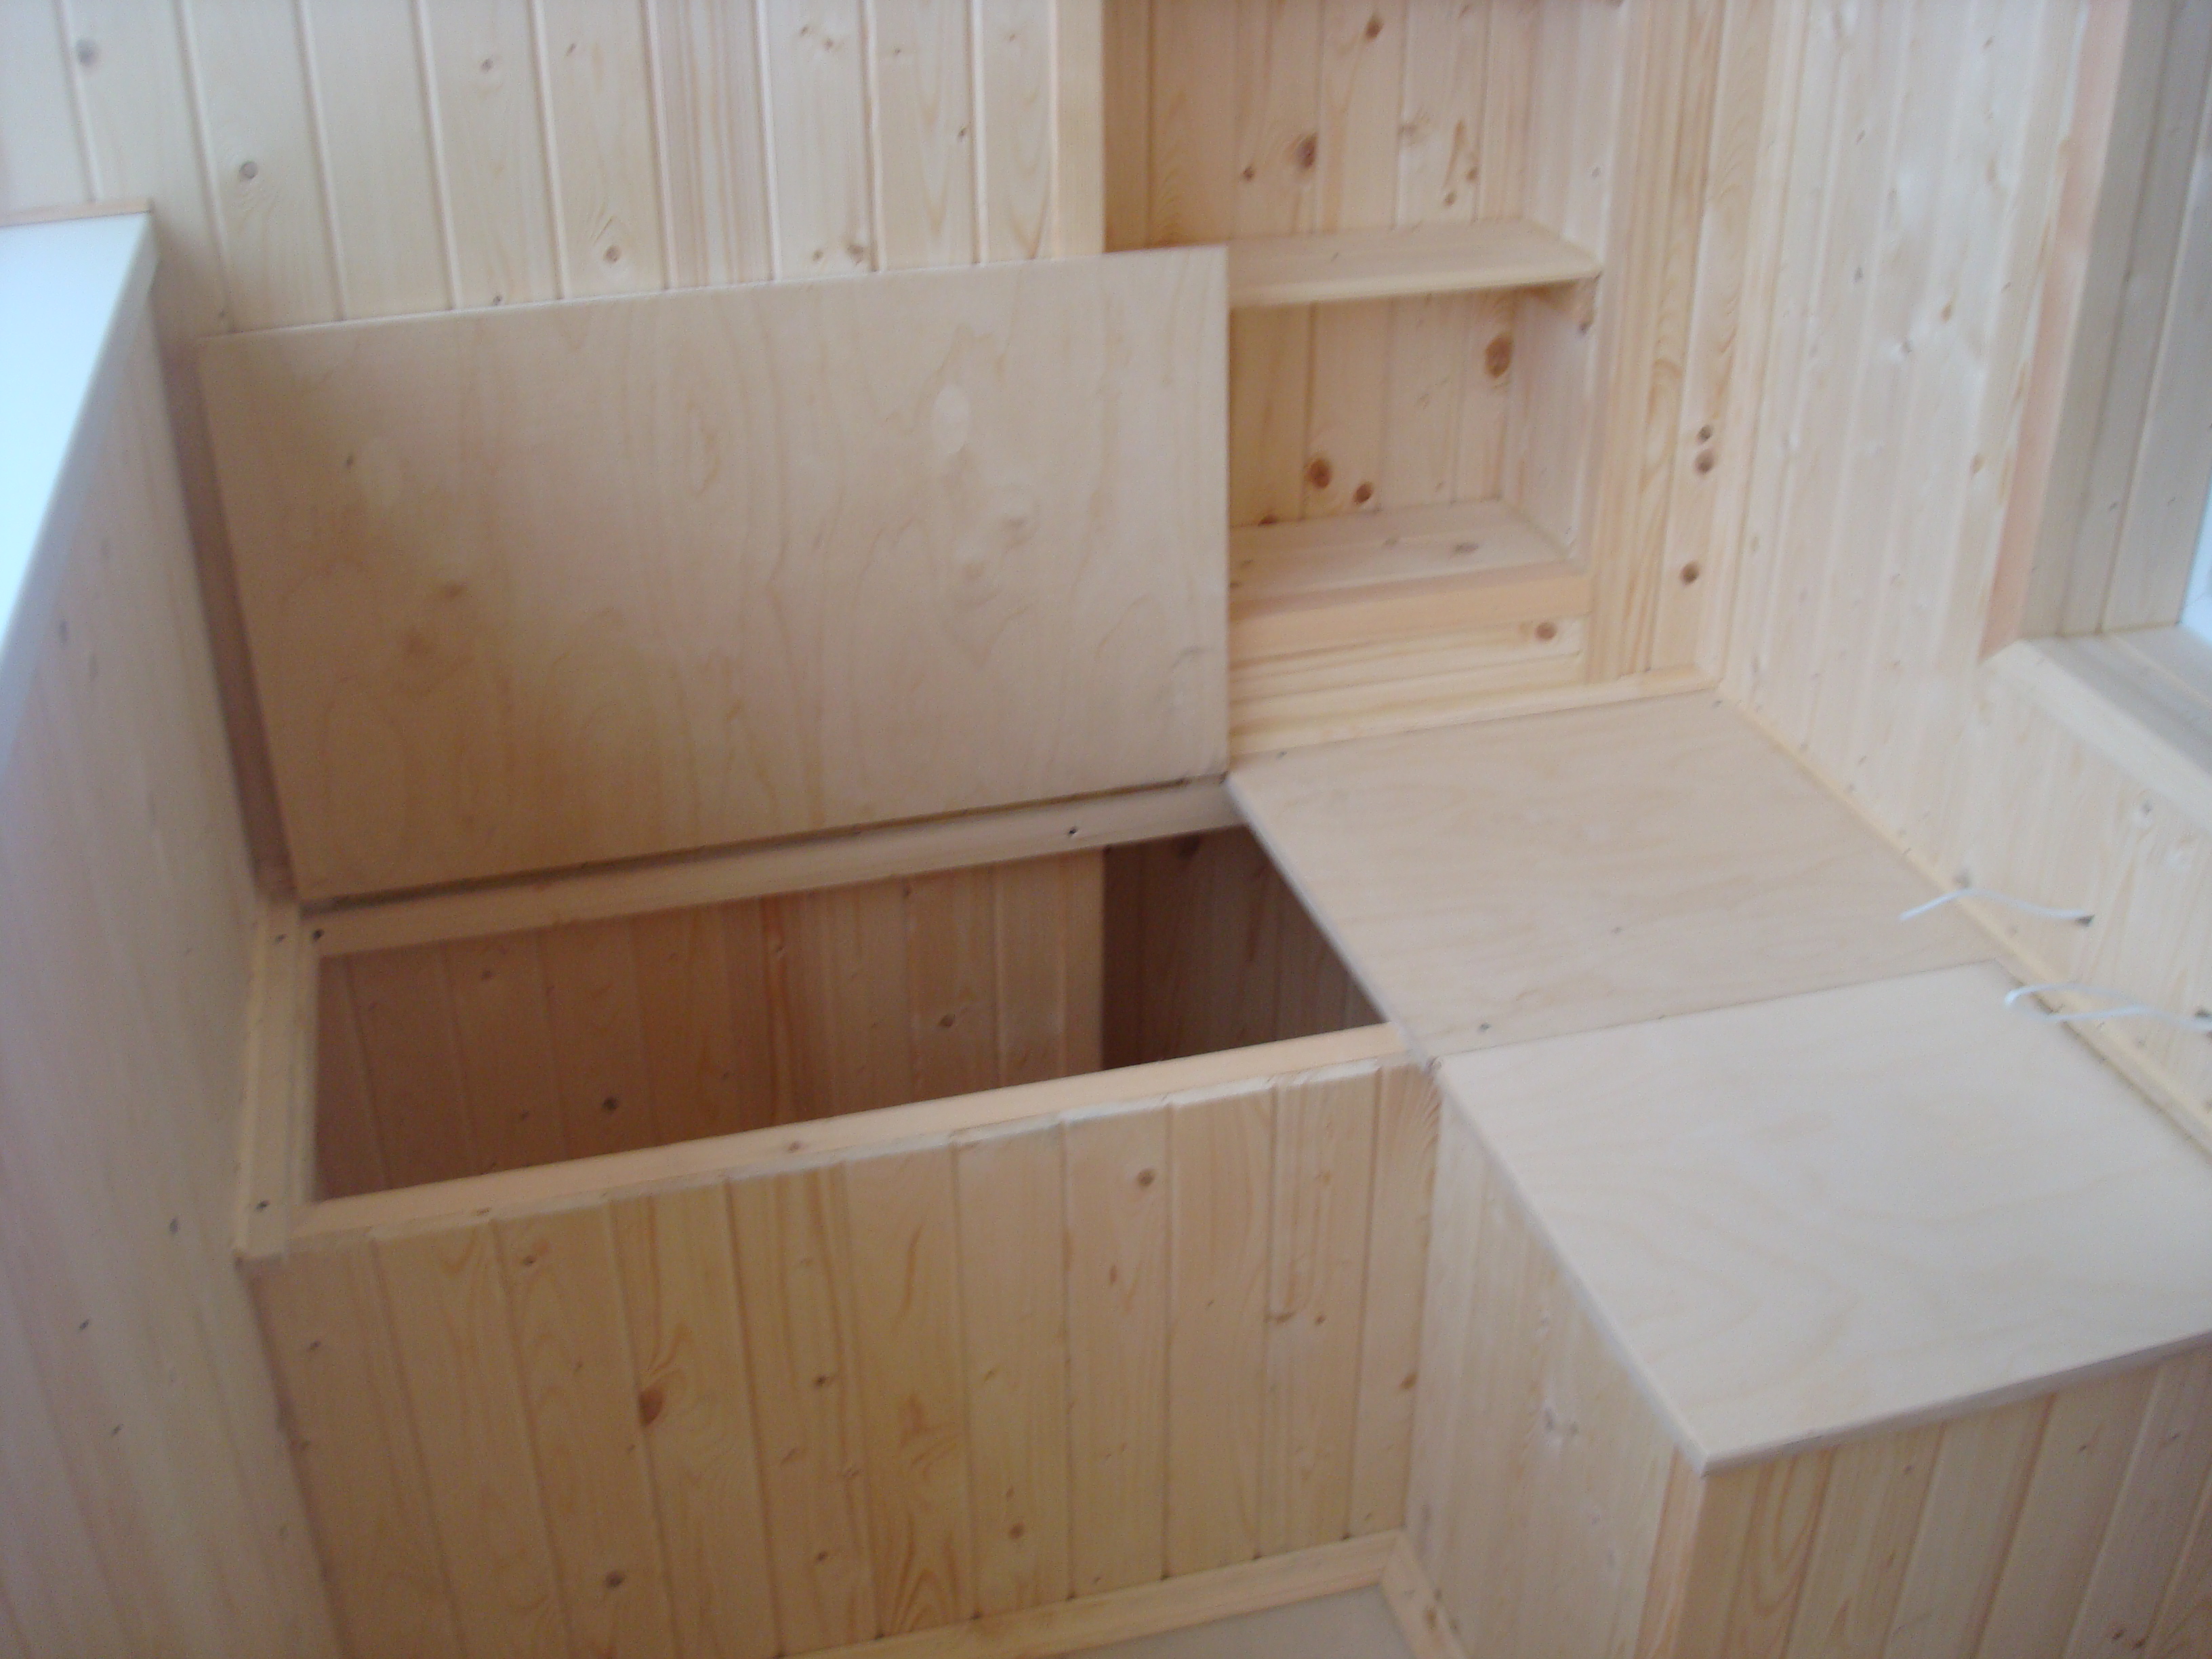
For such a cellar does not necessarily have a balcony with a large free space. It can be built on the smallest loggia. Three-liter cans, of course, are unlikely to fit under the floor of your balcony, but banks with a capacity of half a liter to one and a half - quite! This version of the cellar is the most common, so in our article we will consider the instructions for its self-construction.
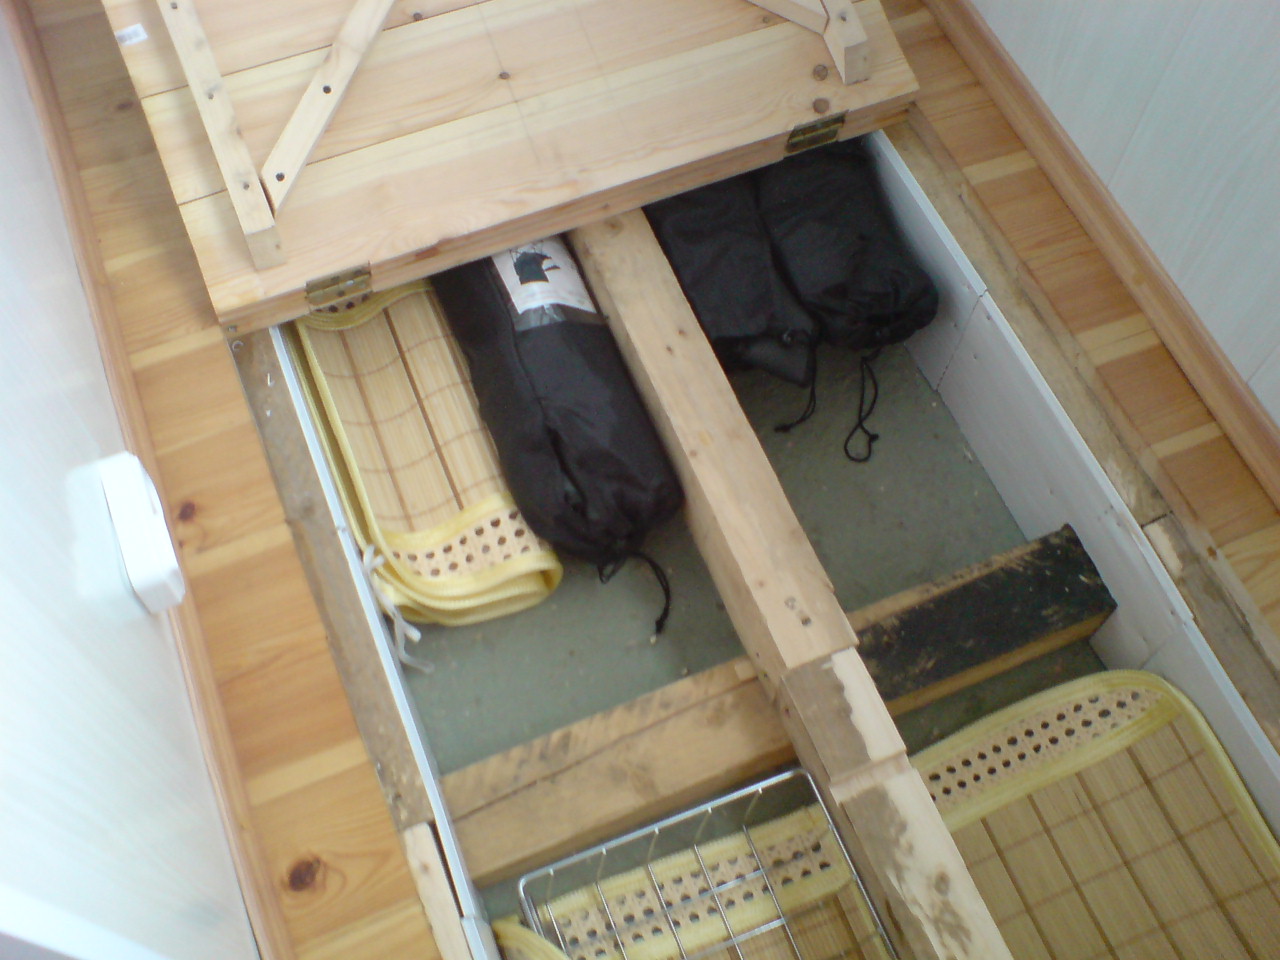
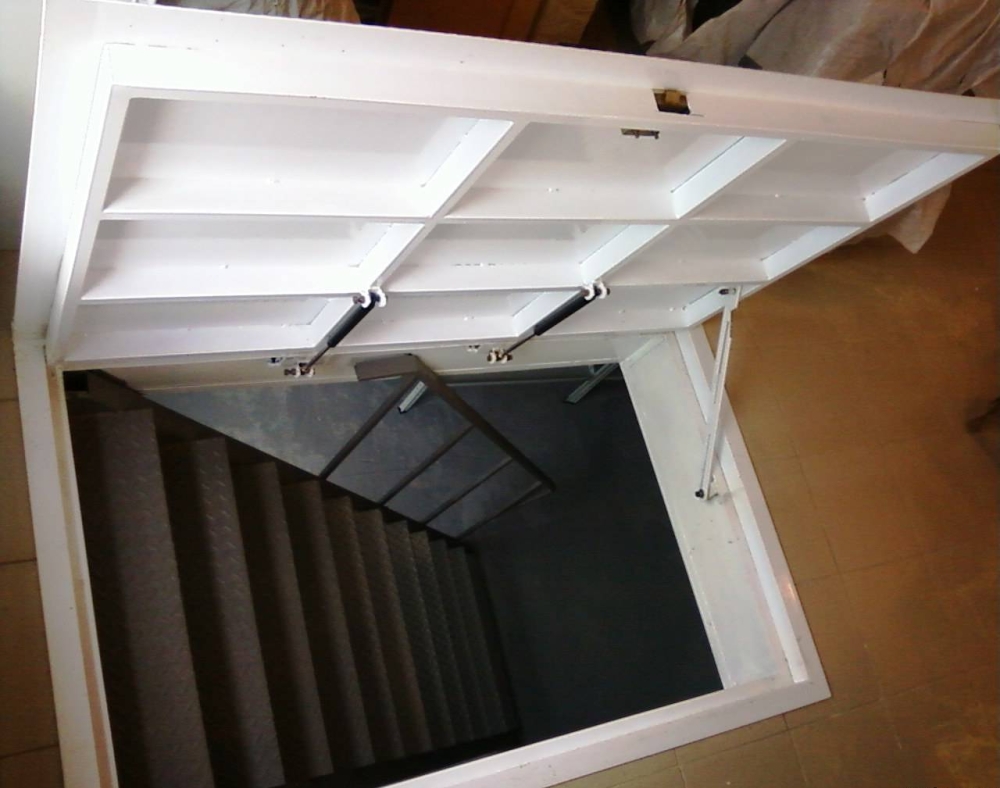
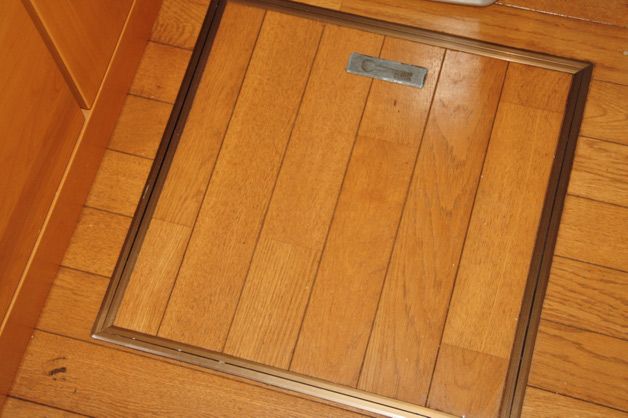
The first thing to do is to take measurements. Arm yourself with a centimeter and determine how many centimeters it is possible to raise the floor on the balcony. Next, you need to warm the concrete floor of the balcony. In order to save space, it is better to use foil foamed polyethylene. The floor must be hard and not sag, so the best thing is to make it out of boards with a thickness of up to 2 centimeters. It remains to cut the hatch and attach the door. It can be made both folding, and movable.

On the first floor
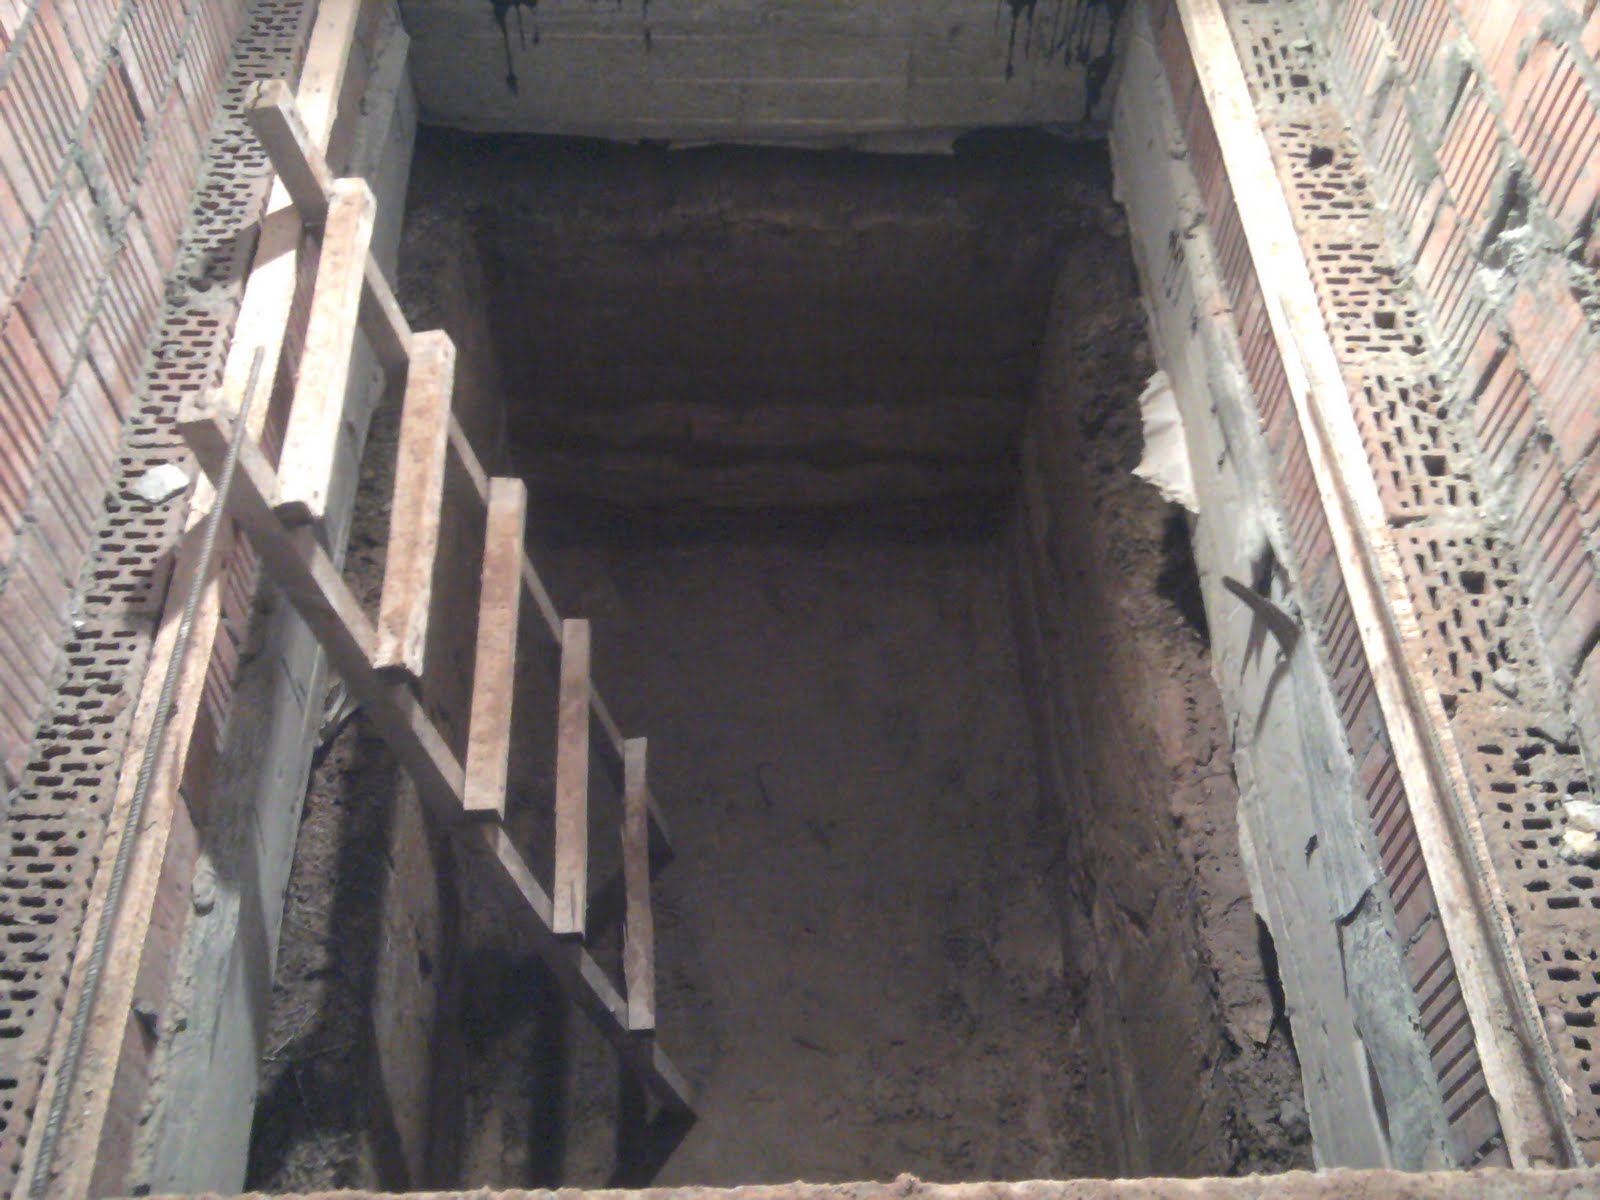
To build an underground cellar on your own - the work is quite laborious and will require effort, but the result of such efforts will delight the owners of your apartment for years.It is worth noting that the construction of such a cellar from a legal point of view is classified as an apartment redevelopment, so before you start work, you must obtain the appropriate permission from the authority responsible for the redevelopment in your area.
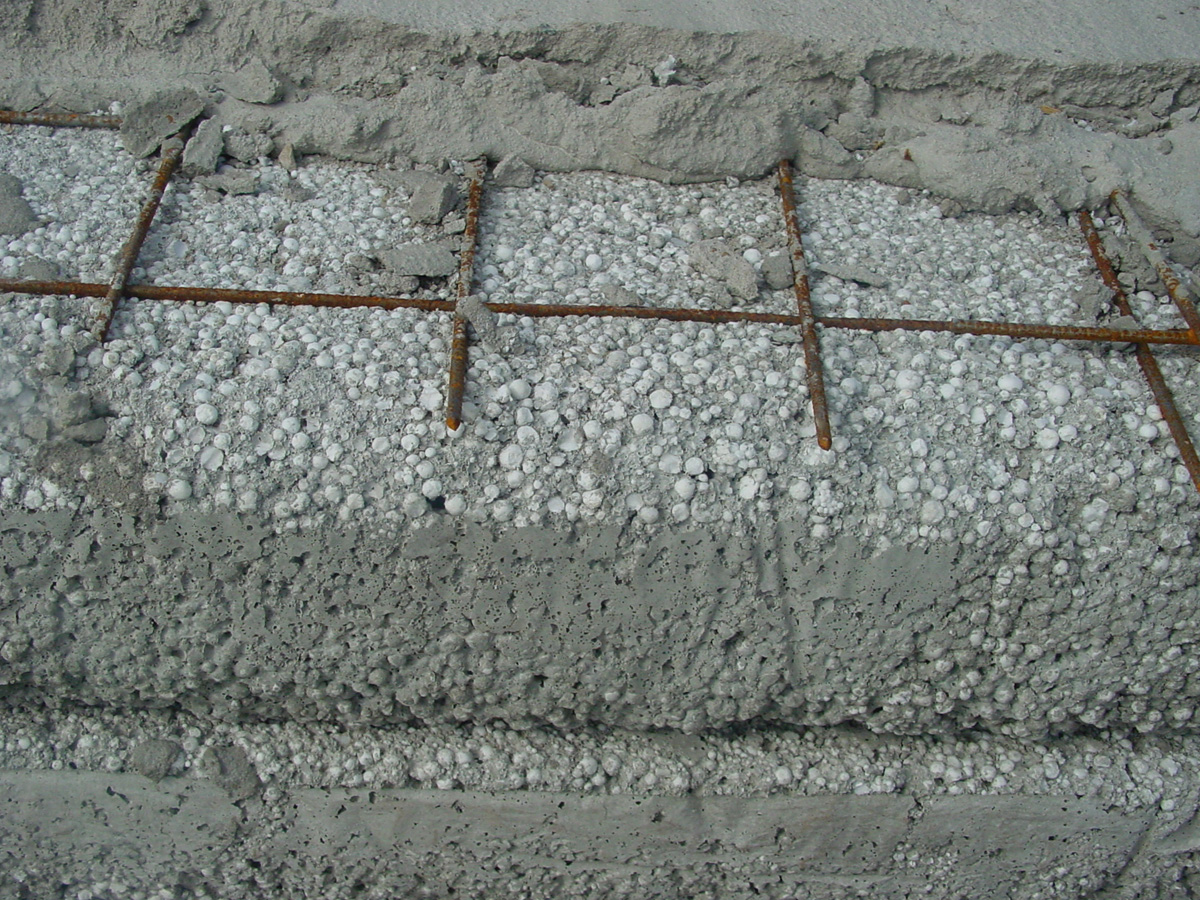
First stage. Begin work with digging holes. The foundation pit dug under the balcony should be 1.5 to 2 meters deep, as far as your house allows. The width of the pit will dictate the width of your balcony. Next you need to work on the waterproofing of the floor, easier and safer to lay the ground with roofing material. If you want to make the floor in your cellar even more reliable, lay out a small layer of rubble and tamp it well. For self-tamping, you can use a piece of wood with a double-sided wooden handle.
Second phase. Now you need to fill the final floor covering, for this will be suitable asphalt or cement. Asphalt pavement has its advantage in that it dries quickly and allows you to use the cellar literally immediately after the floor has been filled. However, finding it is not so easy and quite expensive.If there is such an opportunity and you know where to buy hot asphalt and bitumen, immediately bring it to the future cellar and fill the floor.
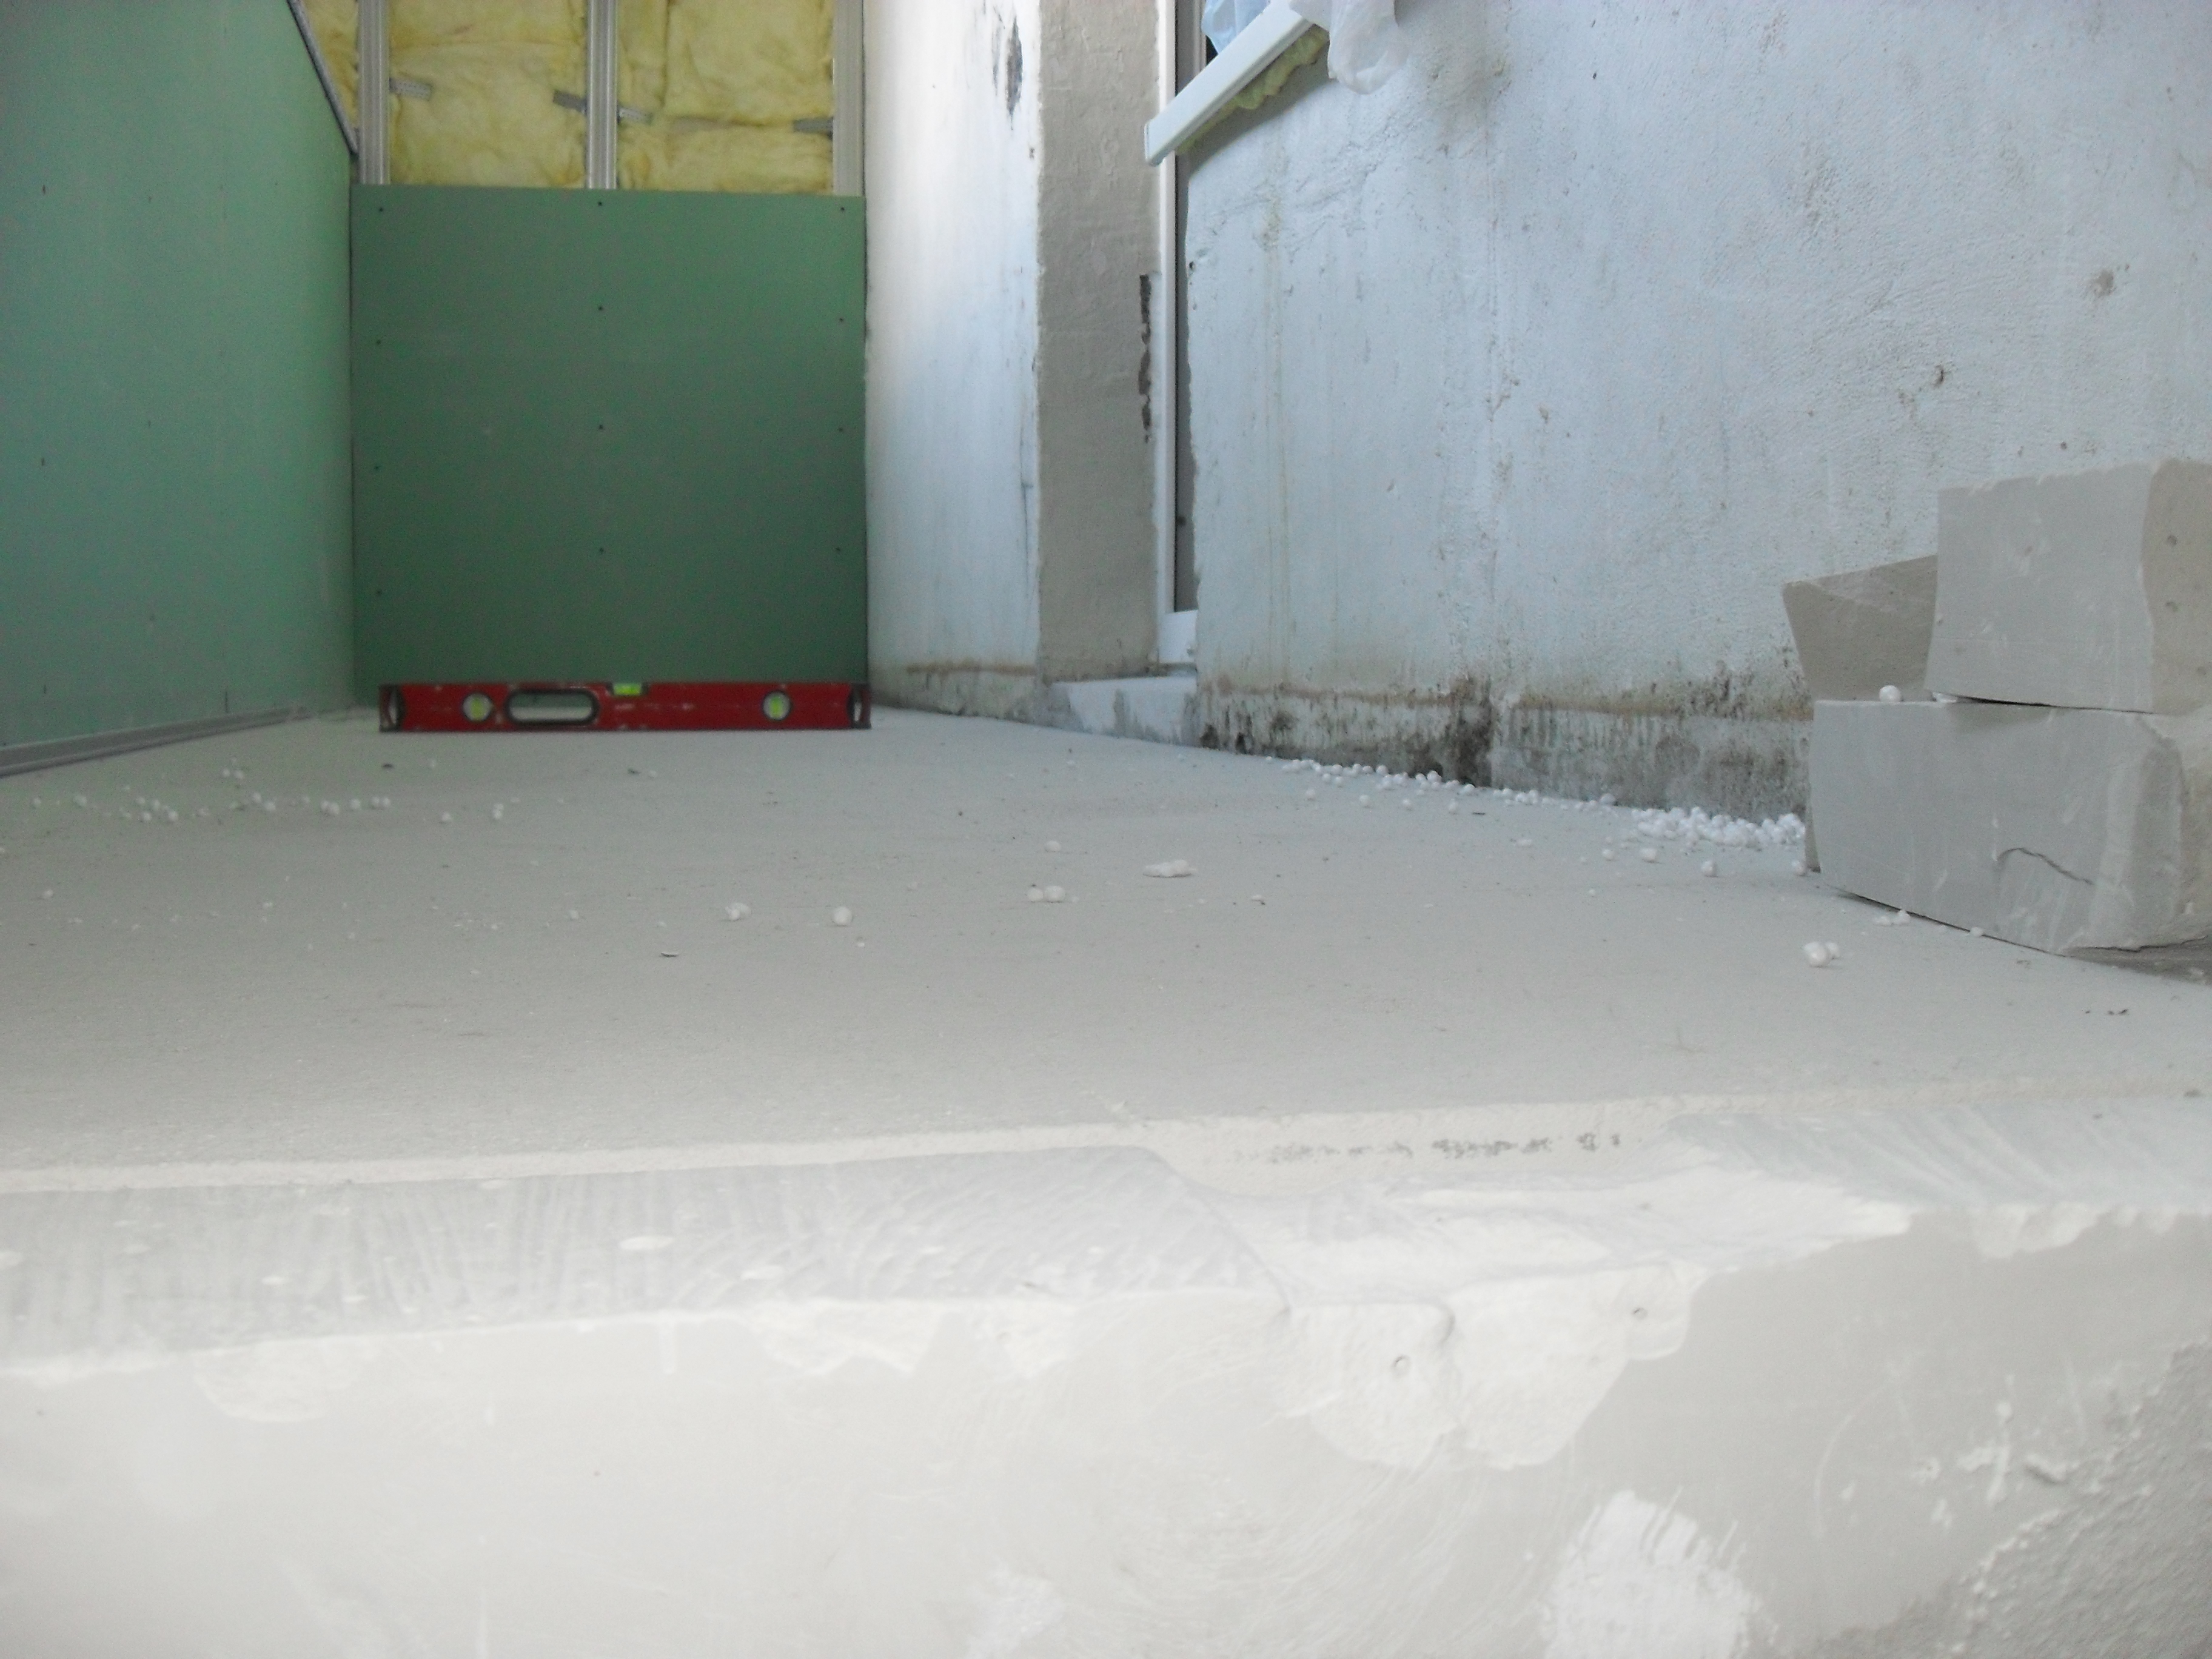
In the event that such a coating is unaffordable luxury, use a cement coating. It is quite durable, the only negative, you will need to wait a few days until the coating dries. Skilled builders close such covering with linoleum before its full drying in order that on a surface roughnesses were not formed.

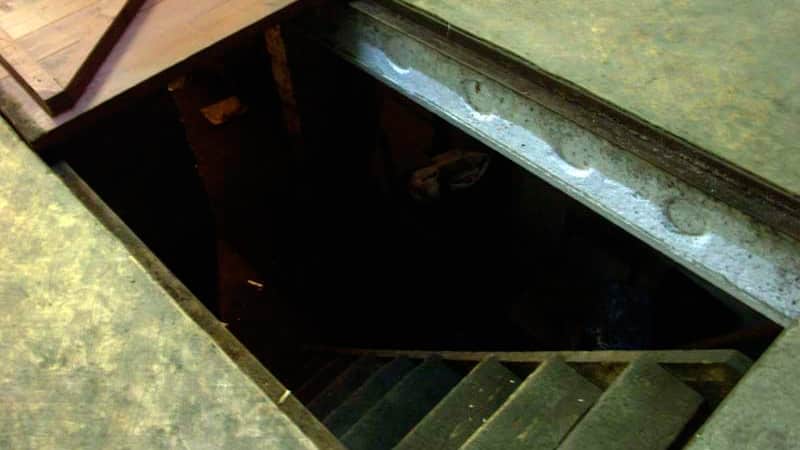

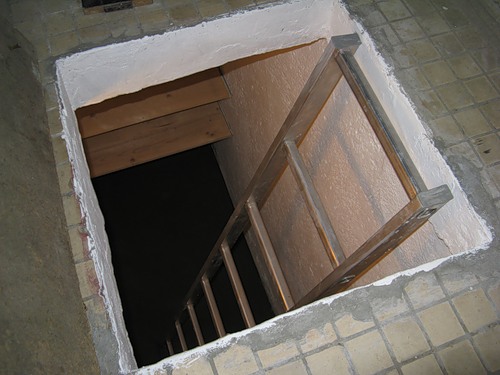
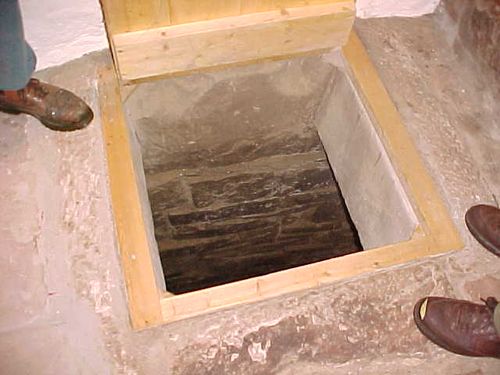
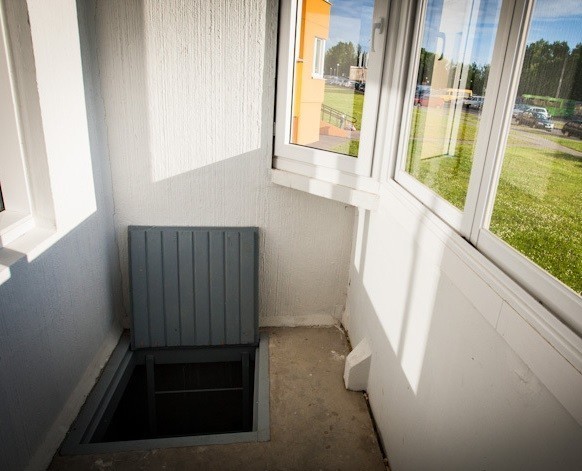
The third stage. The final stage of the work will be the installation of the hatch. Start by taking measurements. Next, arm yourself with a grinder and cut a hole for the place where the hatch will be located. Now install the hatch itself with dowels. At the end, cover the hatch with the same material as the floor of your cellar.
Congratulations, now you can independently build a cellar with your own hands, thereby making you happy not only yourself, but also your household!