Rack to the balcony
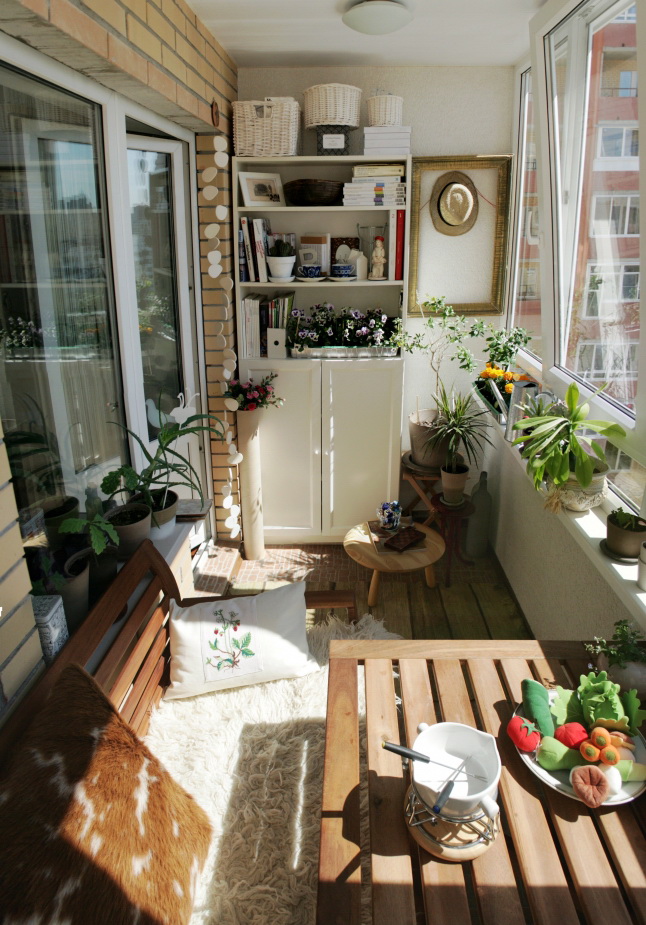
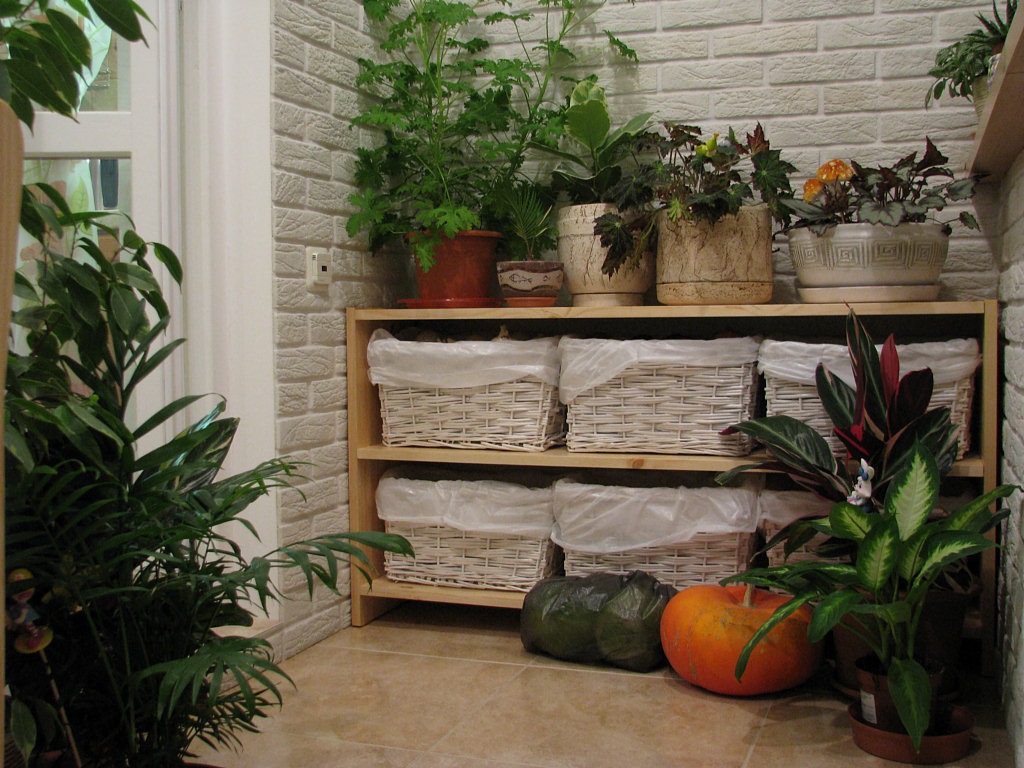
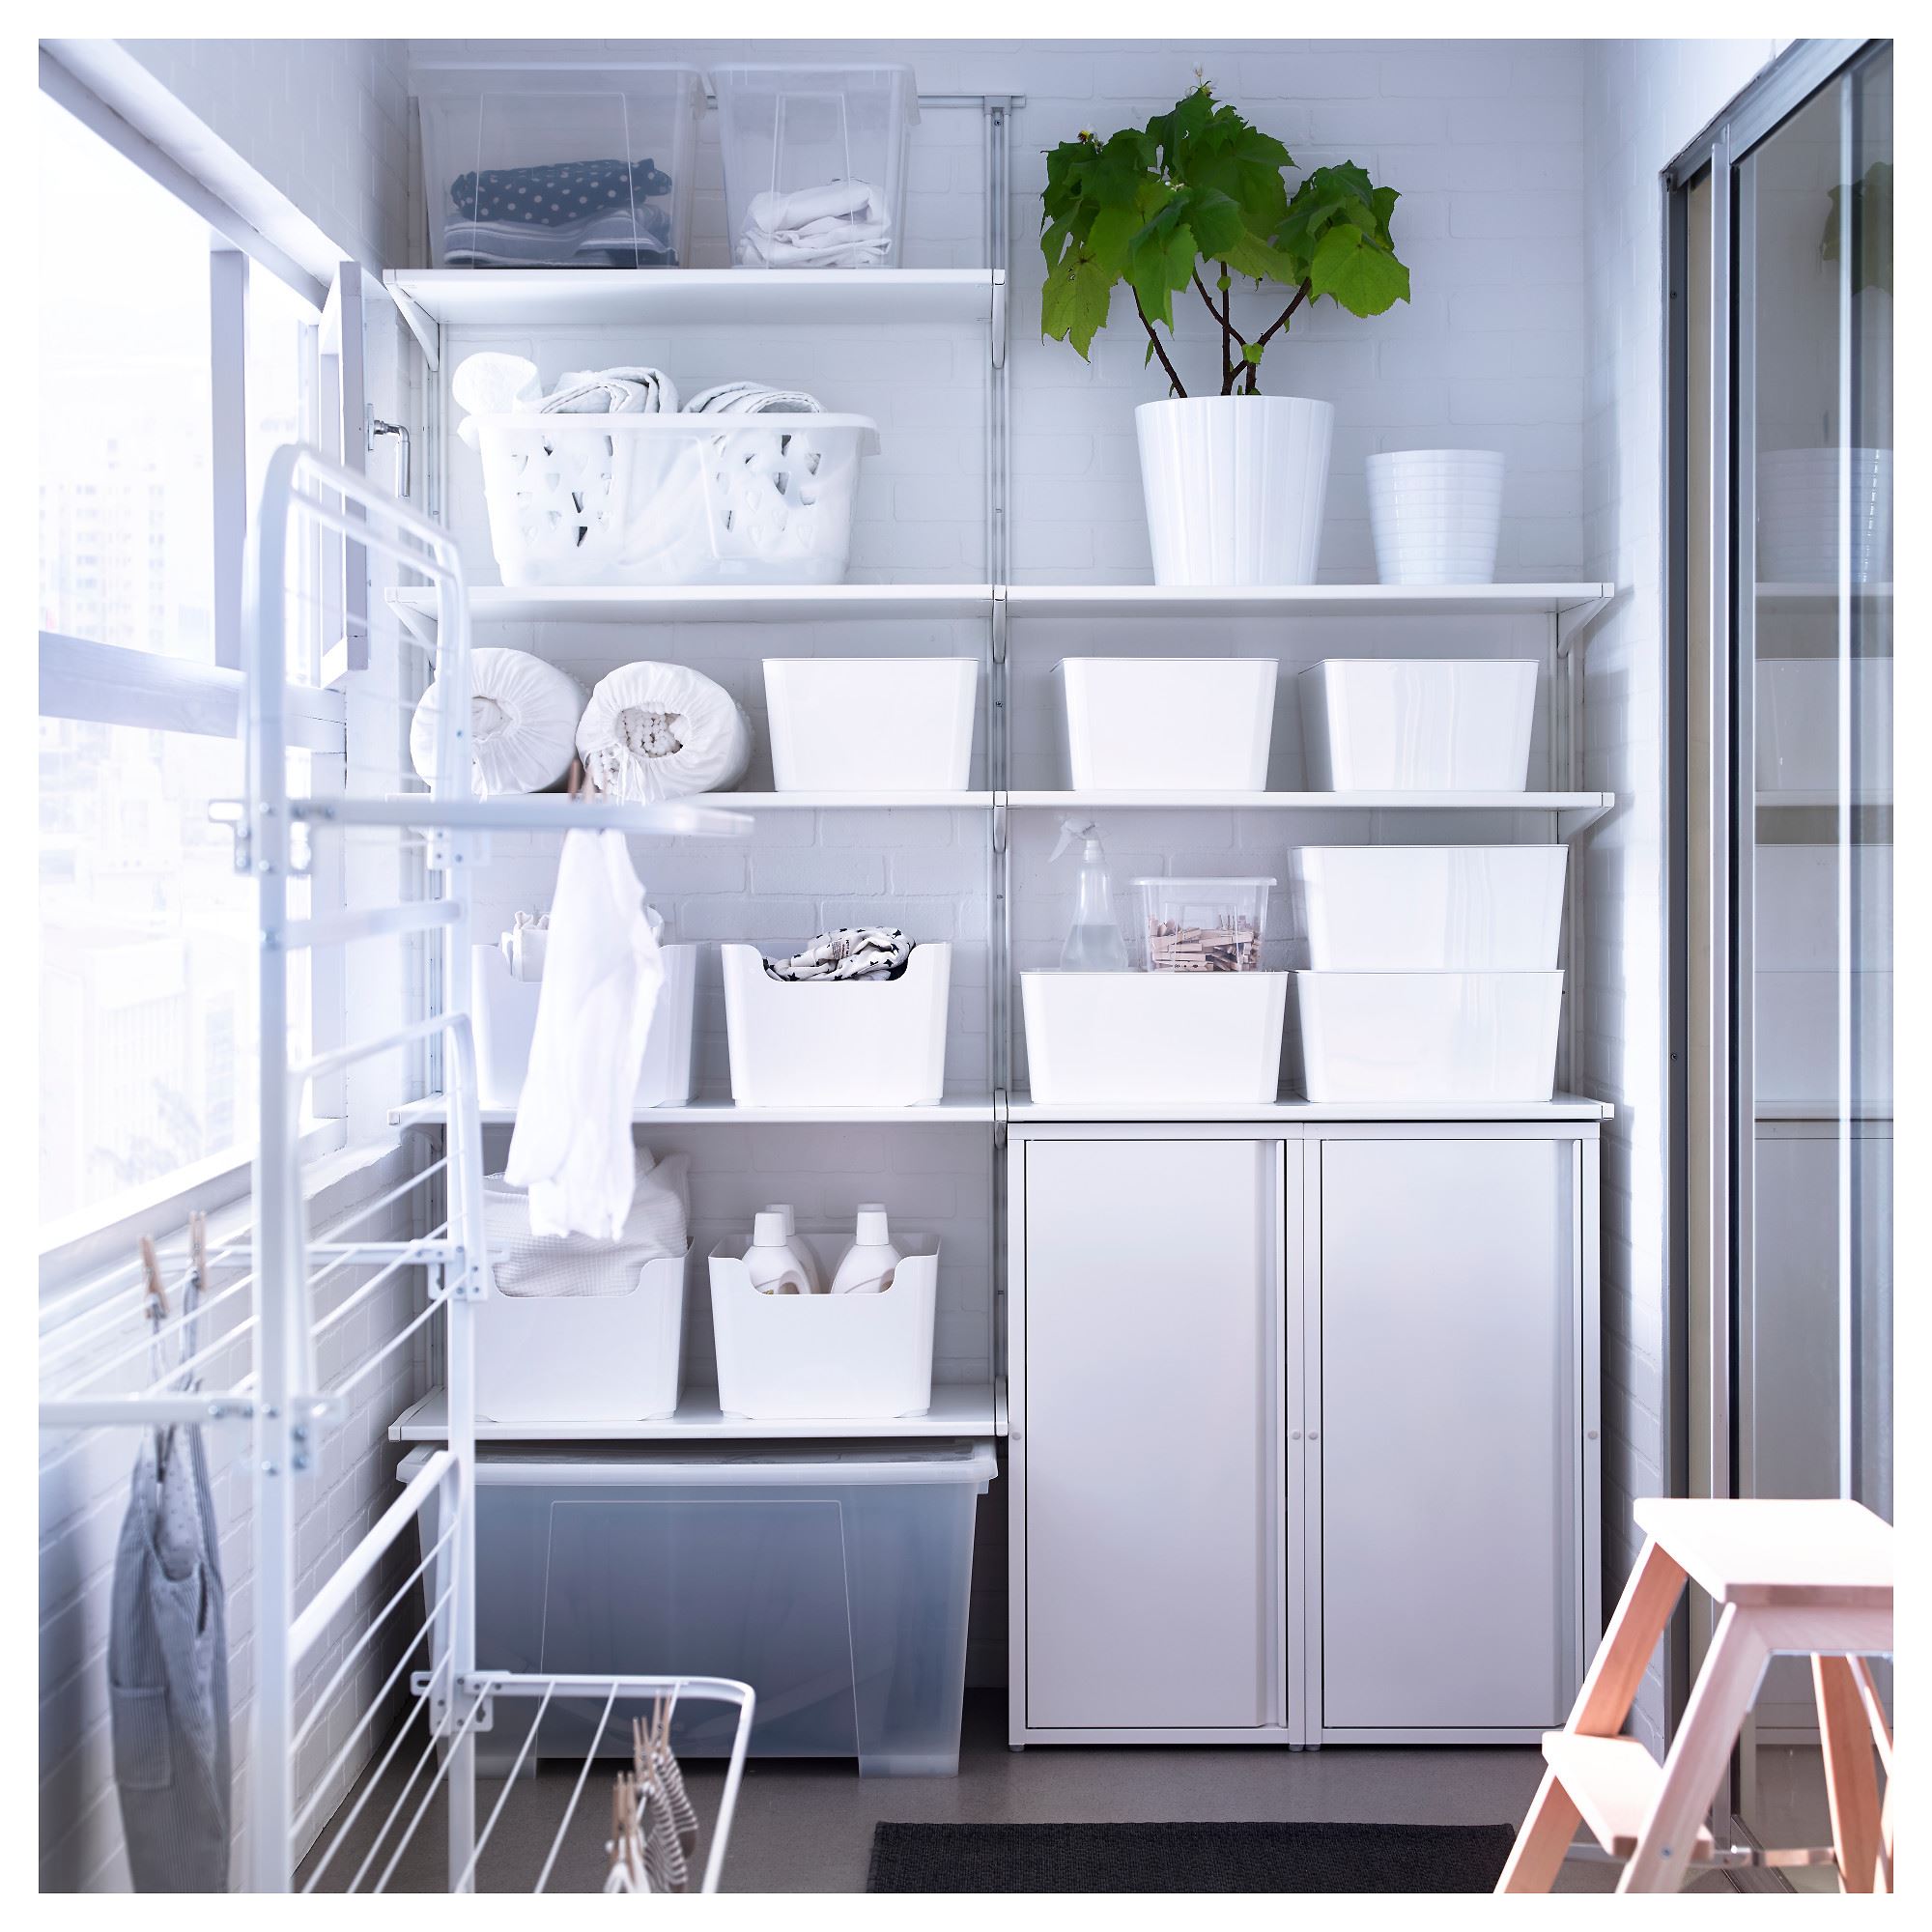
A rack on the balcony is a modern solution for organizing space. He creates comfort and order on the loggia. Properly selected closet with shelves structures, organizes a small room. It can store various small items, car tires, canned foods, and also be used as a flower stand. Choose an open or closed system, taking into account the interior of the balcony.
Benefits
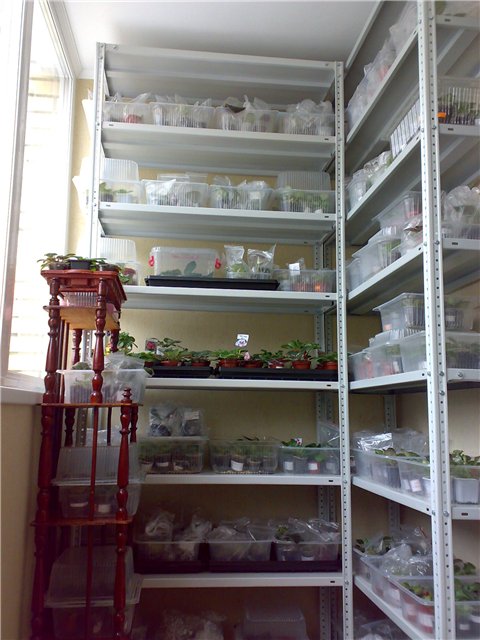
The main advantages of shelving on the balcony - the ability to increase the space and organize rarely used things in one place. With it, you can solve many problems, including maintaining order on the balcony, storing things of seasonal use, tools, placing potted flowers, growing greenery, using it as a storage room.
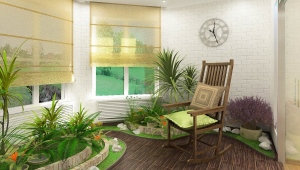
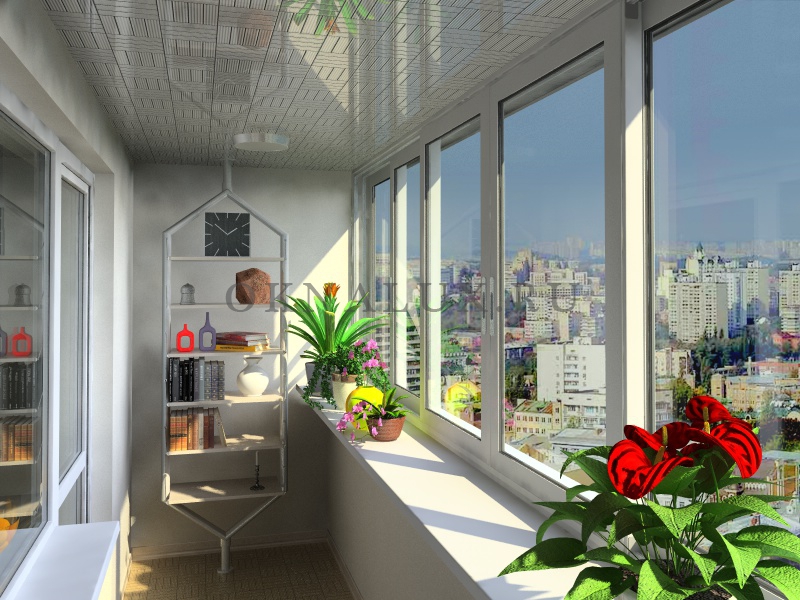
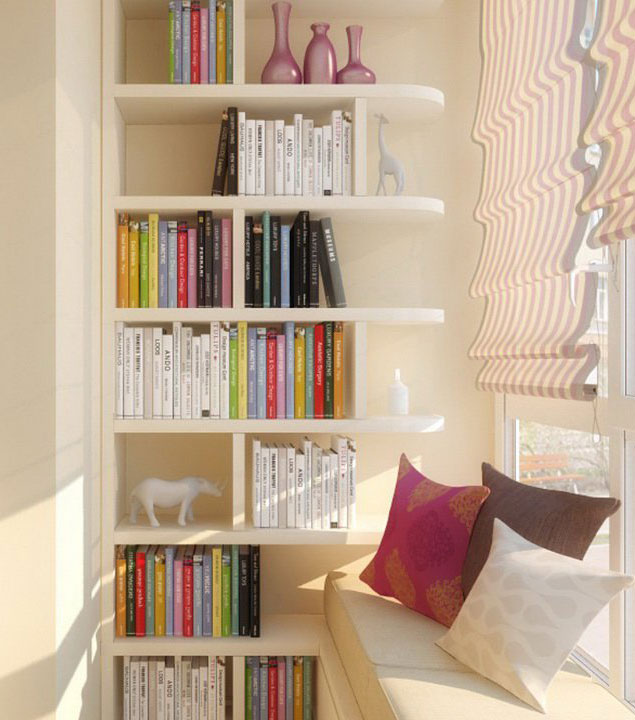
The rack becomes the beginning of the overall design of the balcony. If you creatively approach the design of the loggia, you can turn it into an interesting cozy space.An open or closed cabinet with shelves is a multifunctional item. Many interior designers advise using it to store your home library, clothes, seedlings, or other items. Its content depends on the idea of the interior.
The advantages of a rack on the balcony - it saves space, takes up little space, looks nice and neat, blends harmoniously into any style. The design can be made independently of the available materials, so it is also inexpensive.
Materials
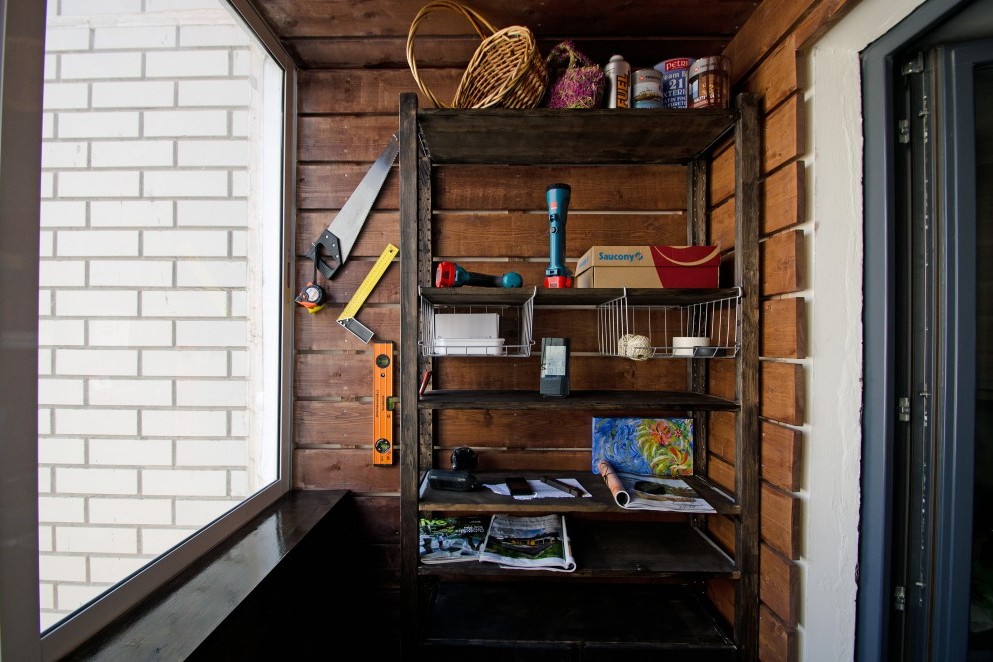
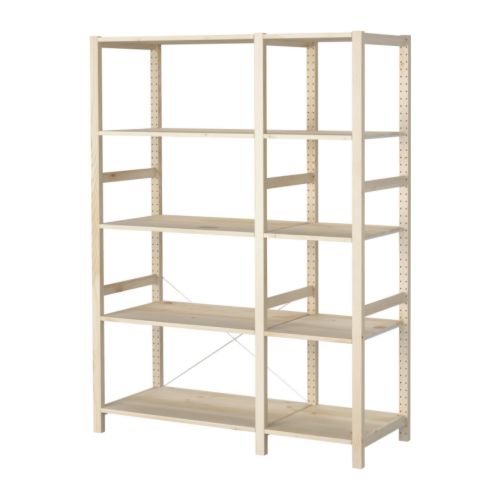
The most common types of furniture for a balcony are made of metal and wood. Metal structures are durable and resistant to any weather conditions, but they are more expensive. Wooden cabinets are cheaper and they are environmentally friendly. They need to be installed in a dry place, so ideal for closed balconies.
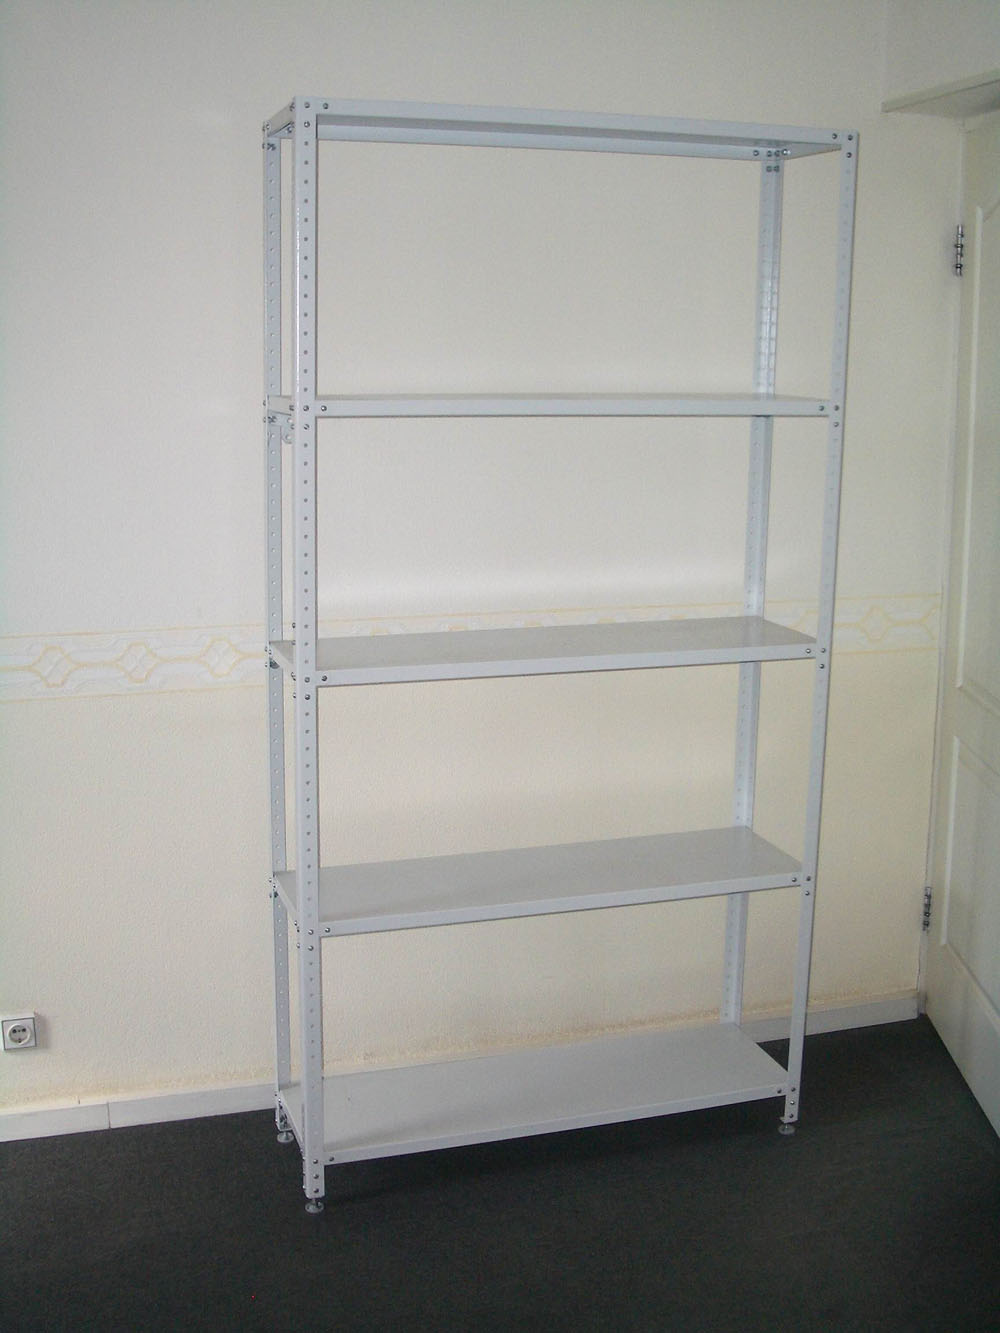
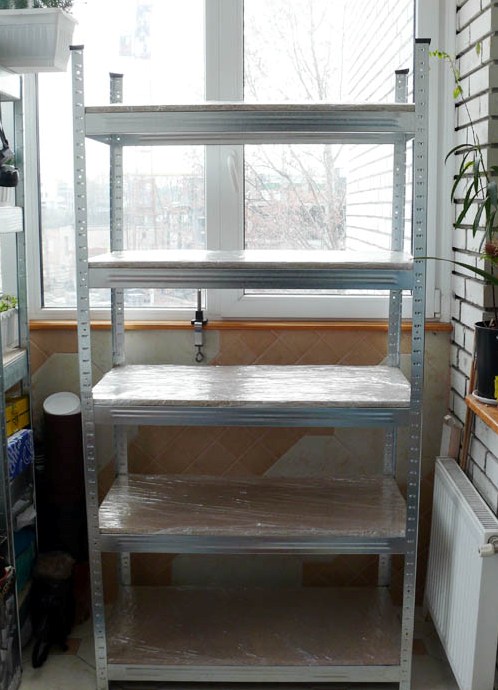
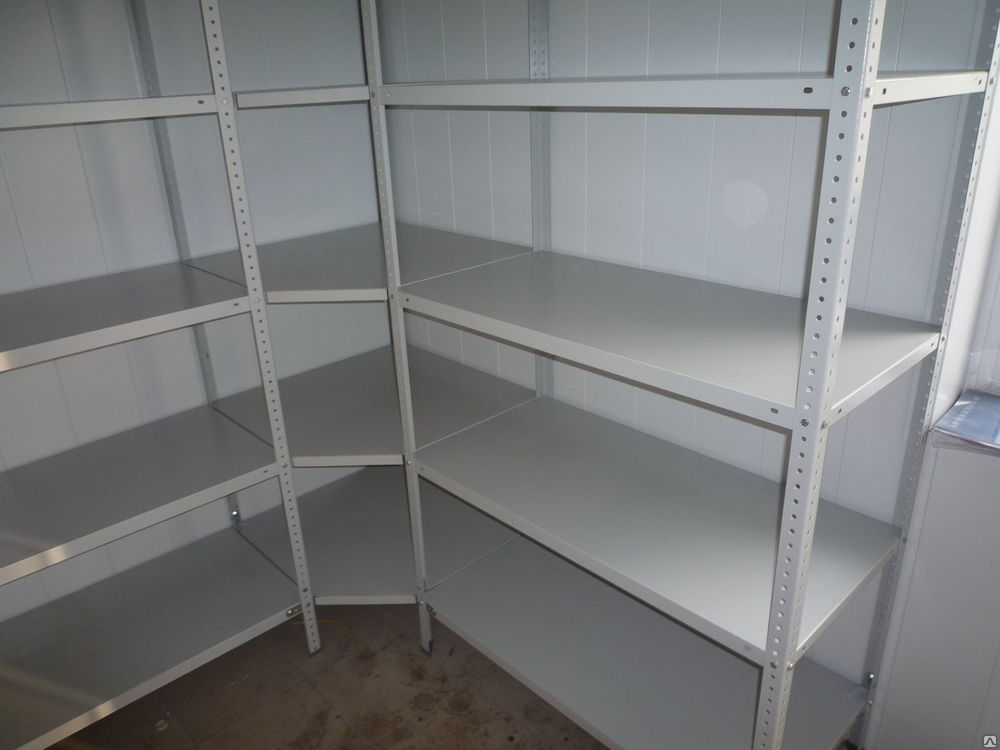
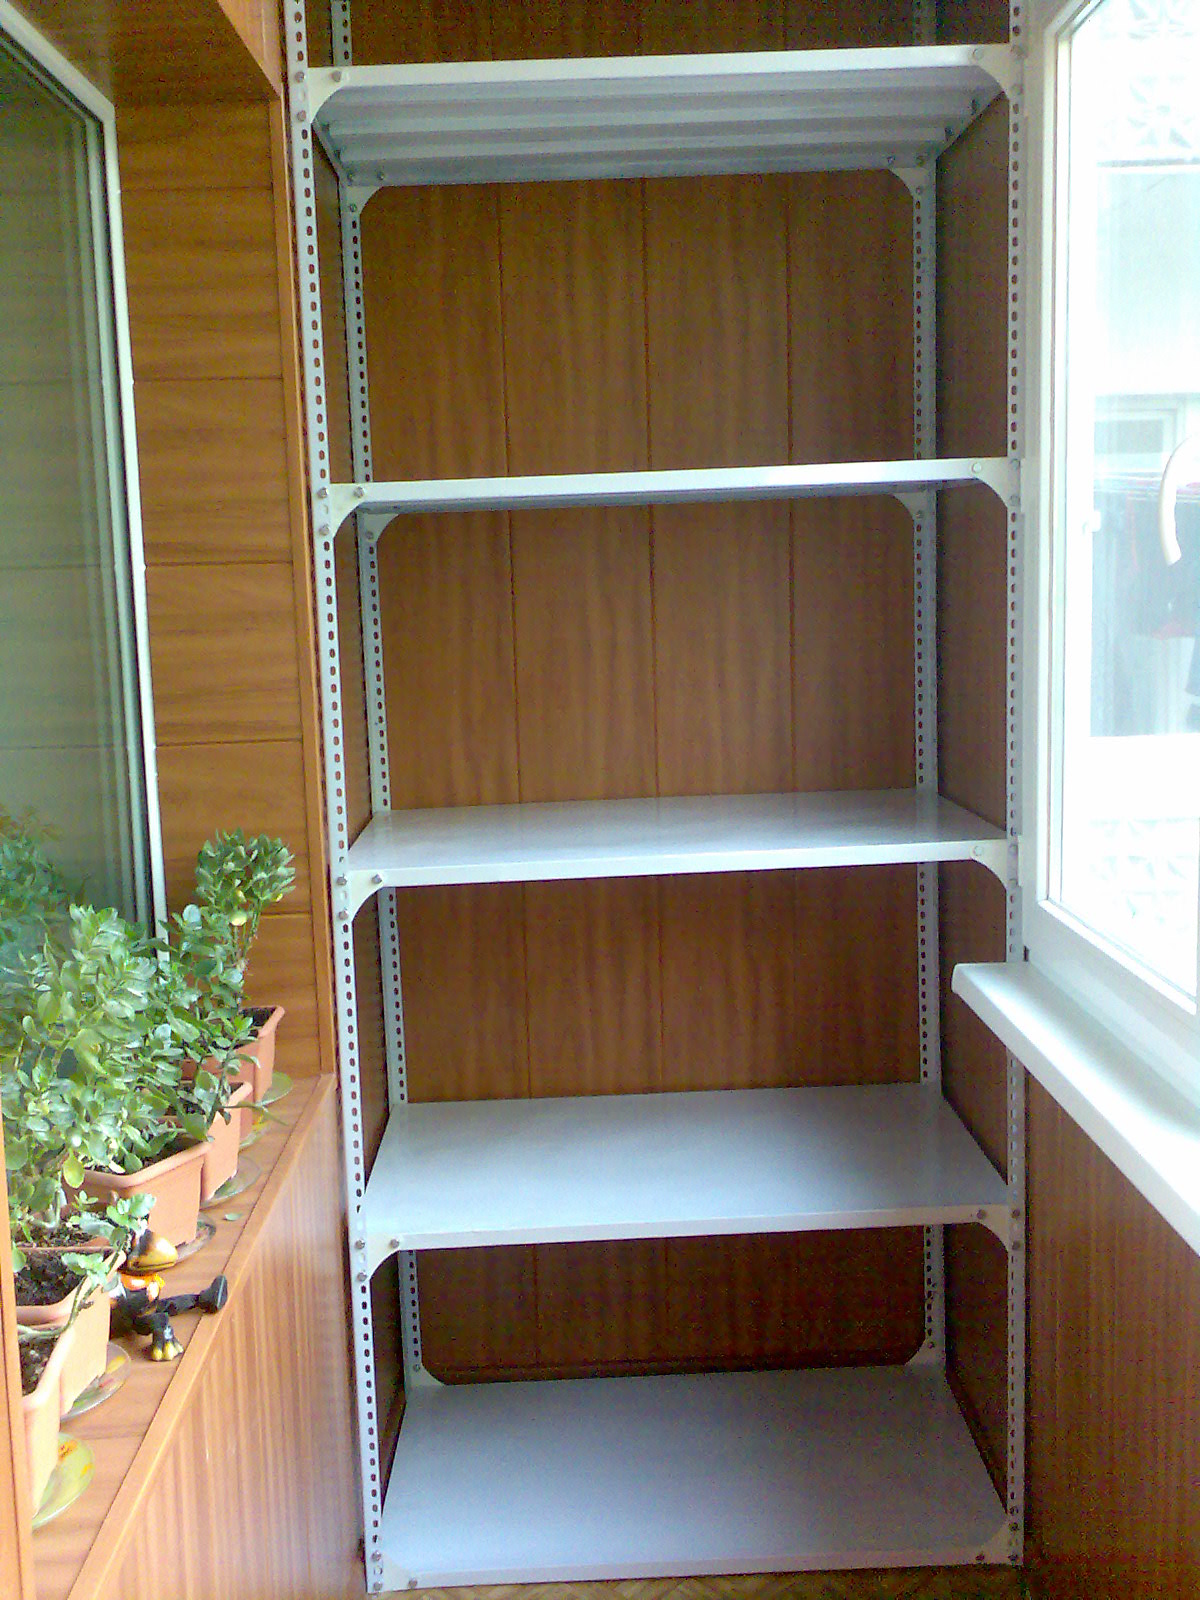
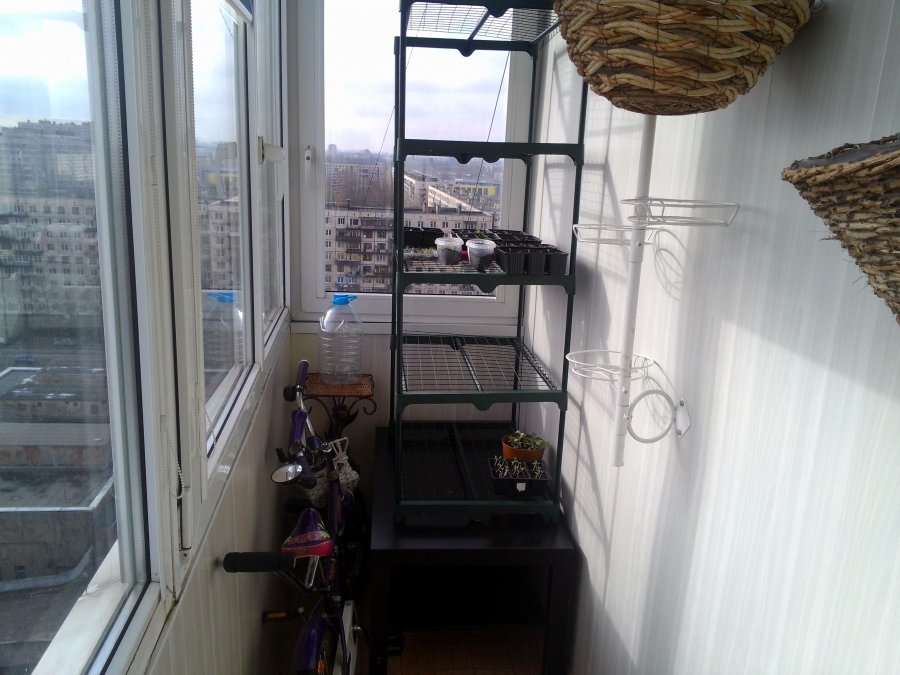
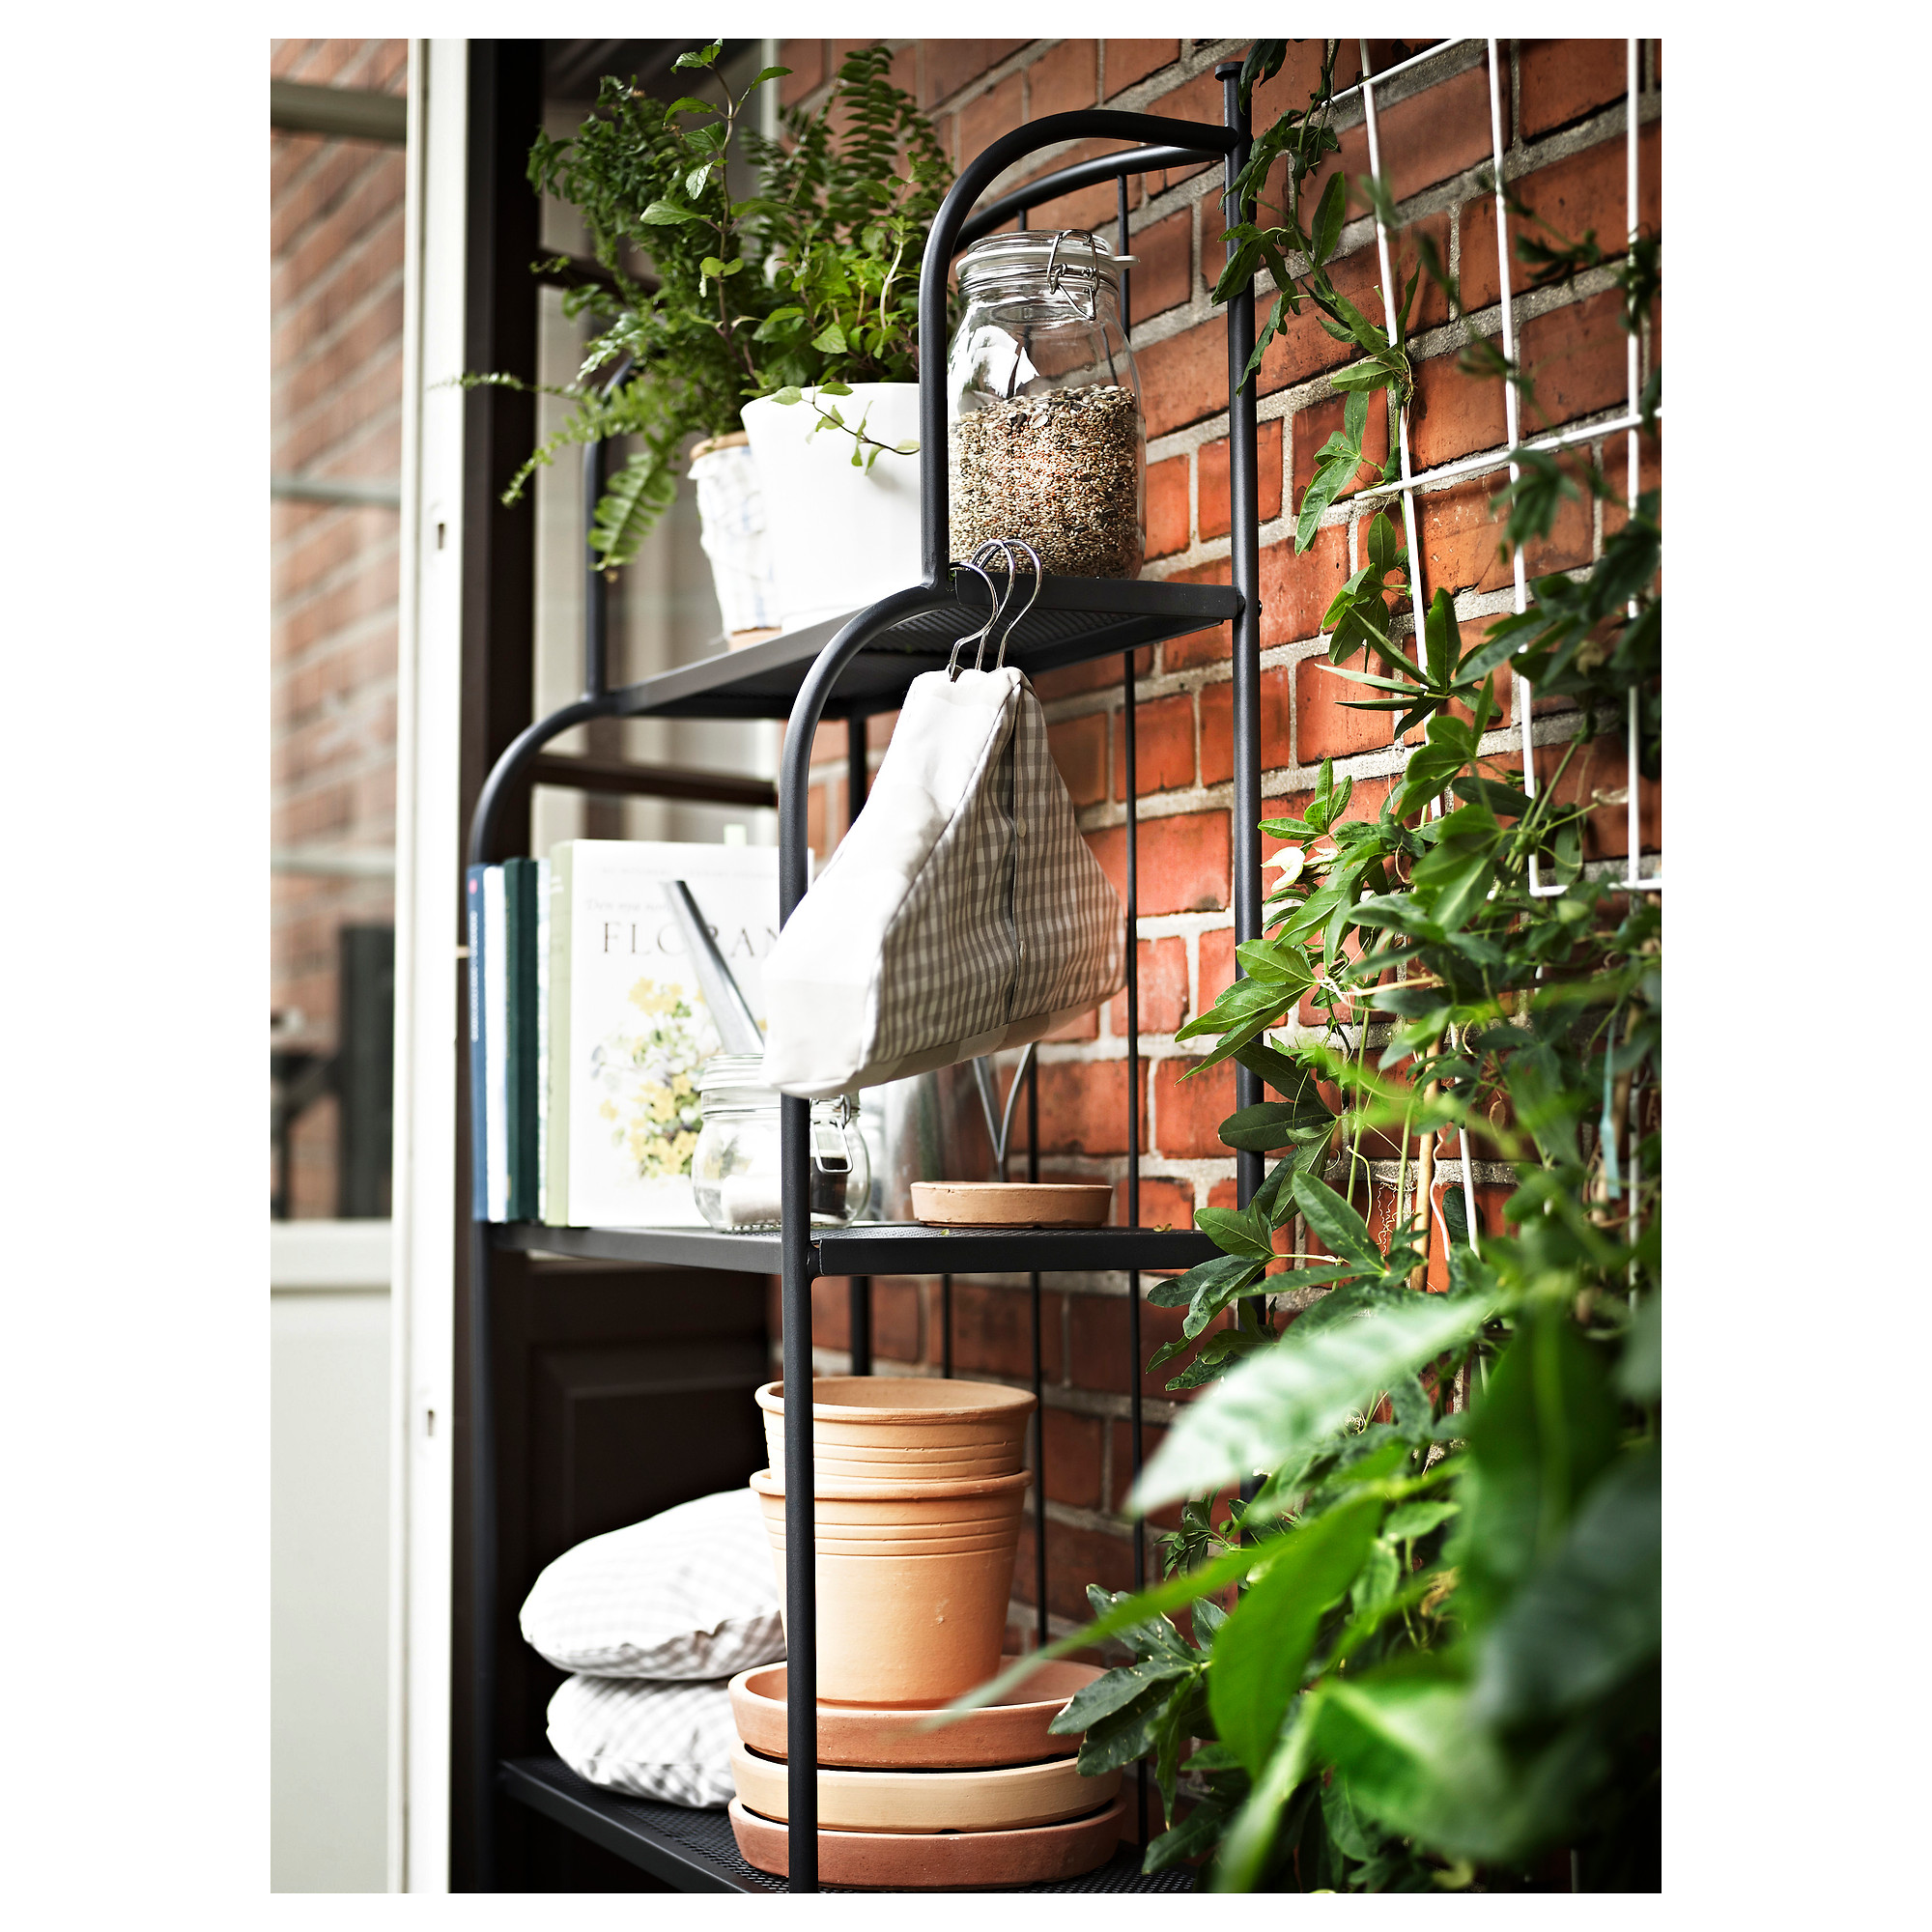
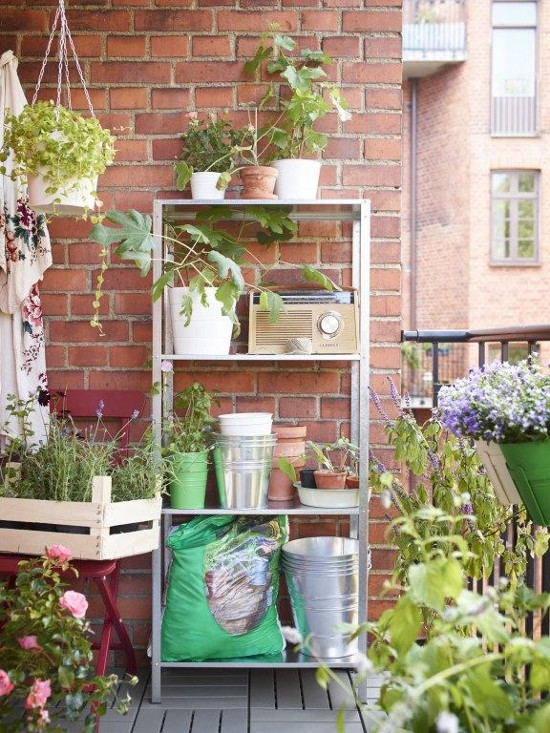
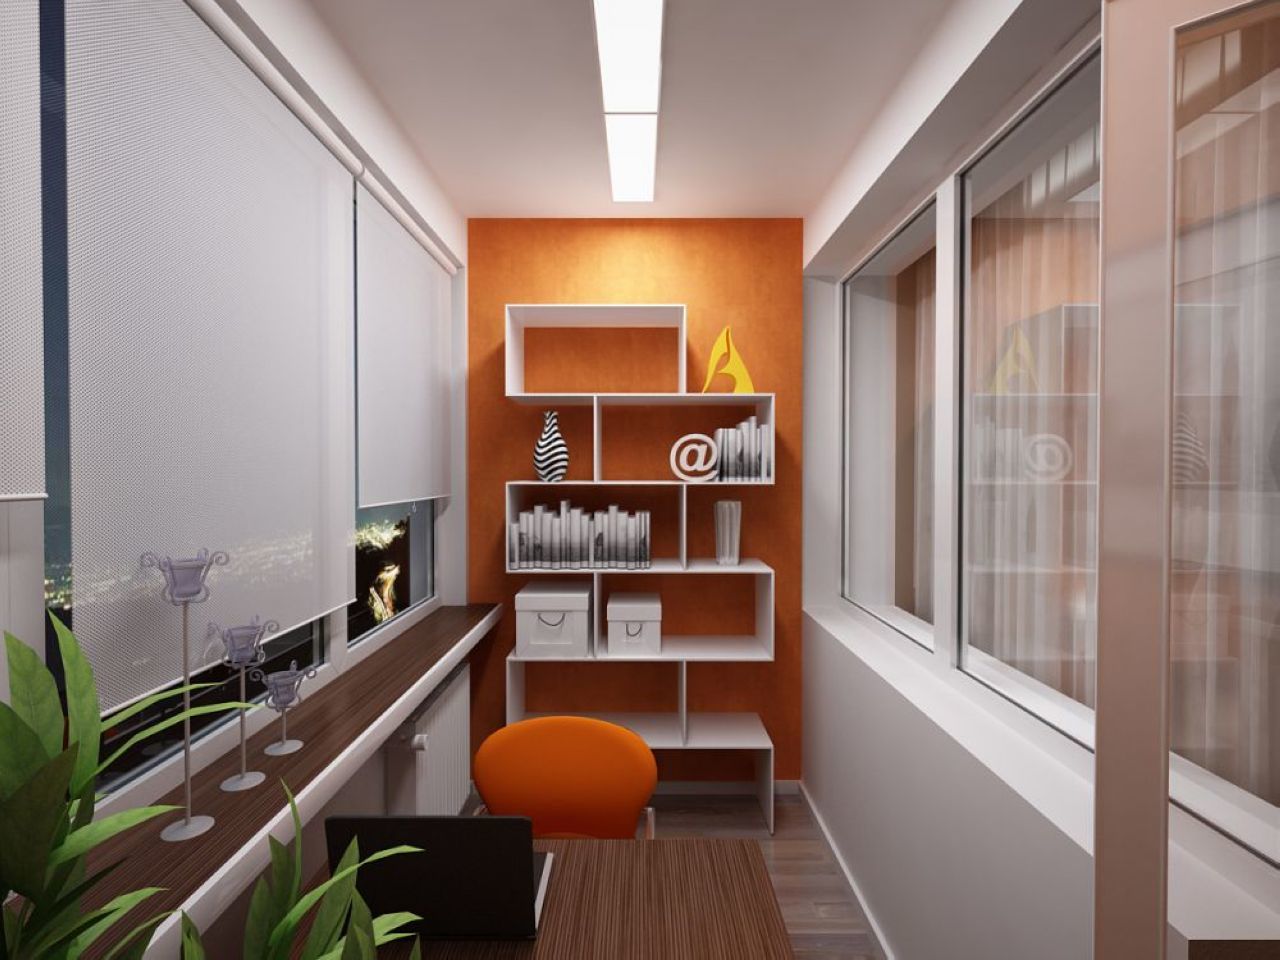
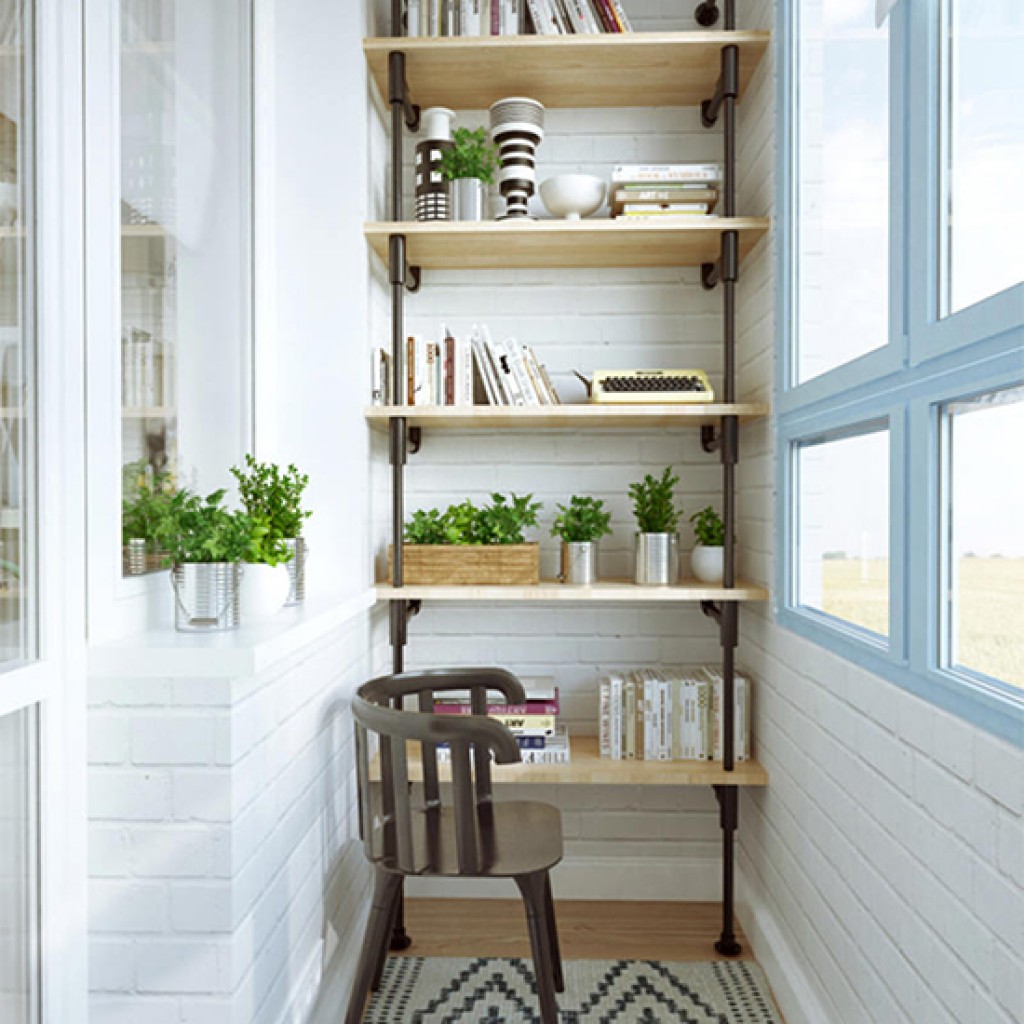
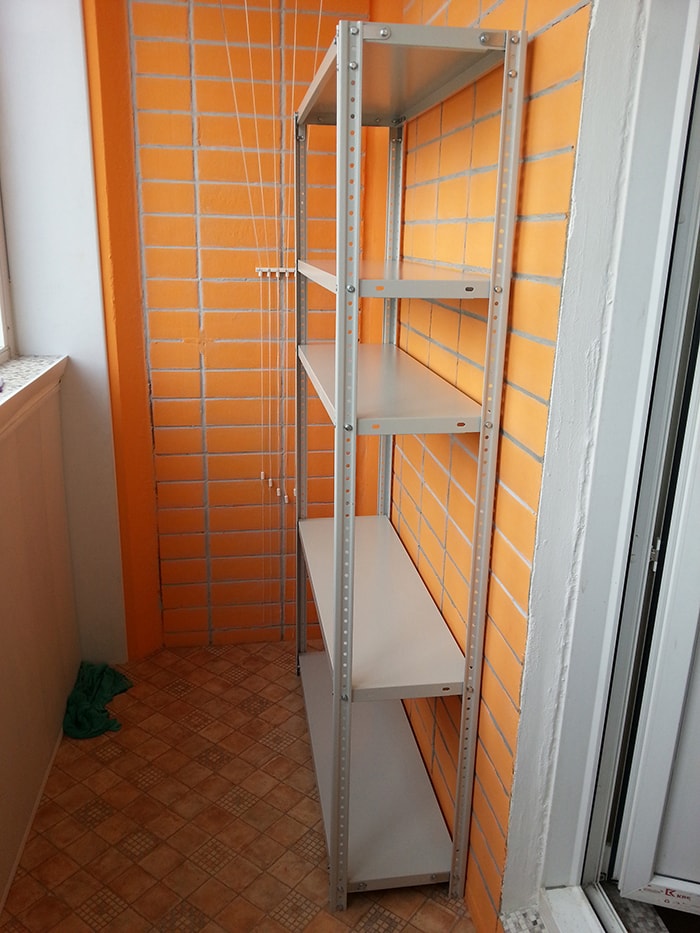
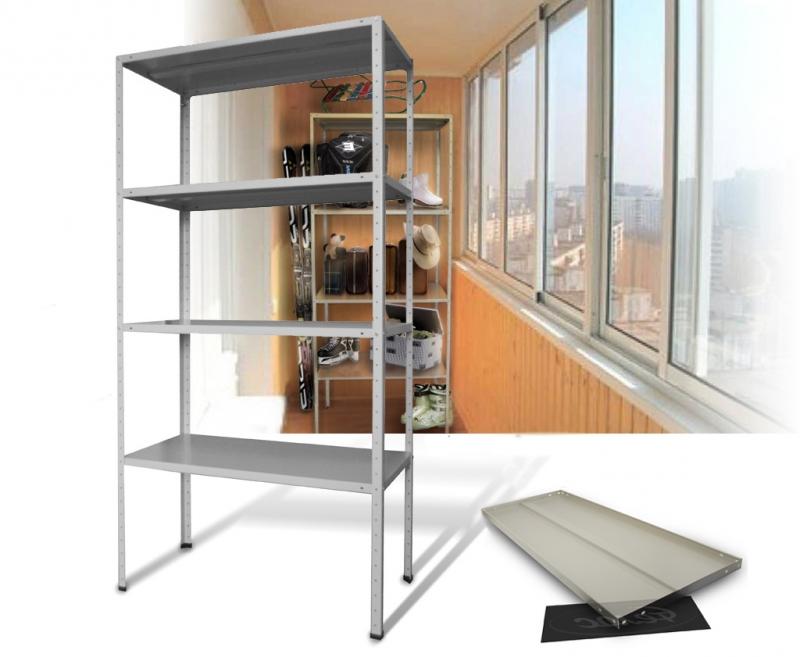
- Metal. Durable design that is great for storing seedlings, pot plants or tools. It fits perfectly into the interior of the balcony in the style of a loft or high-tech, well underline the idea of minimalism. If you want the metal bollard to last as long as possible, cover the surface with special paint,which will prevent the appearance of rust. It is corrosion that can cause rapid destruction.
- Plastic. Popular material that has excellent qualities. It is durable, it looks neat, moreover, inexpensive and light. It is not afraid of moisture and corrosion, but the plastic does not tolerate high temperature, can melt and deform under direct sunlight. If the structure is made of plastic, keep it away from the heating source.
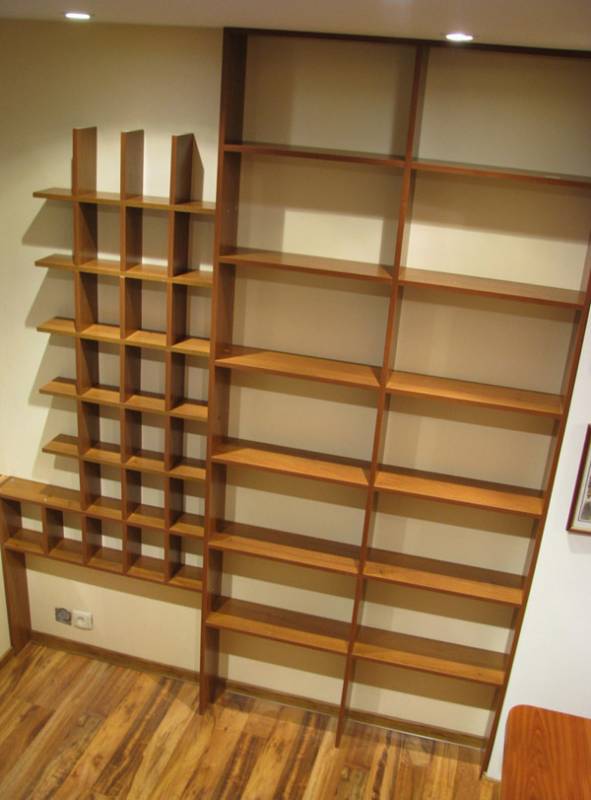
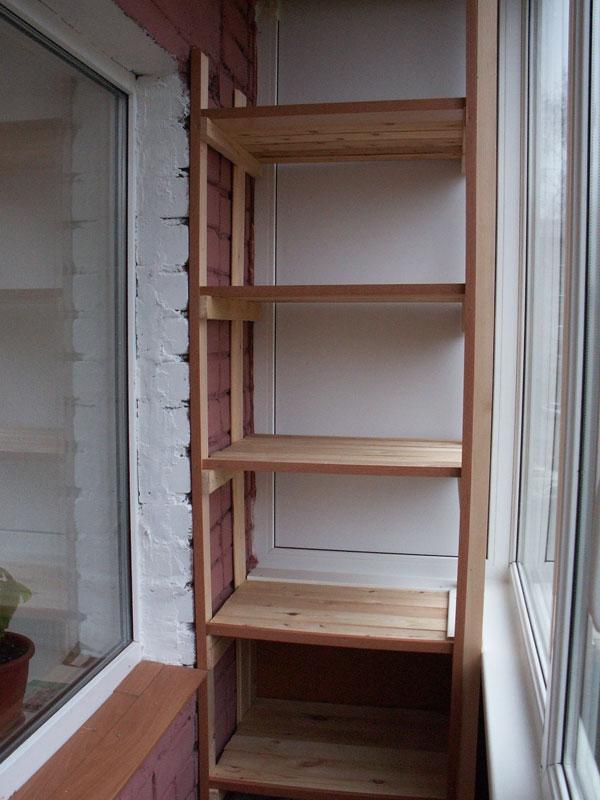
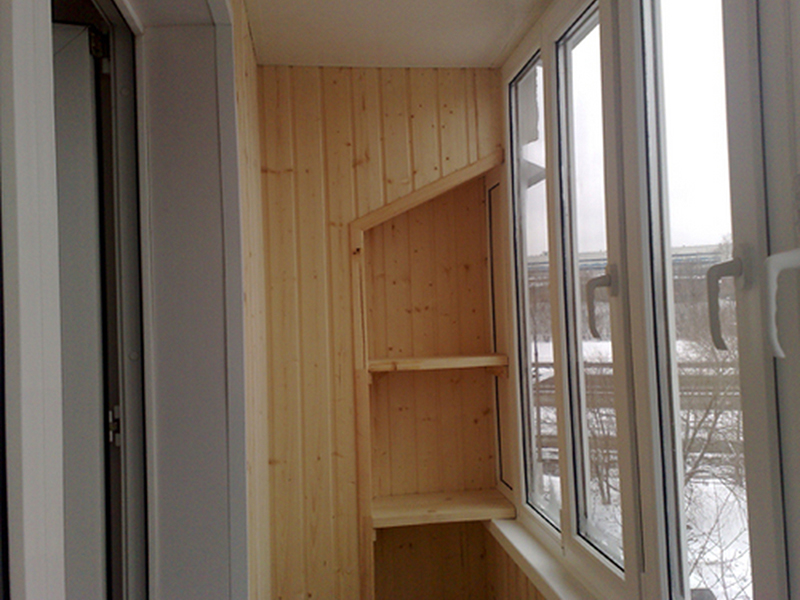
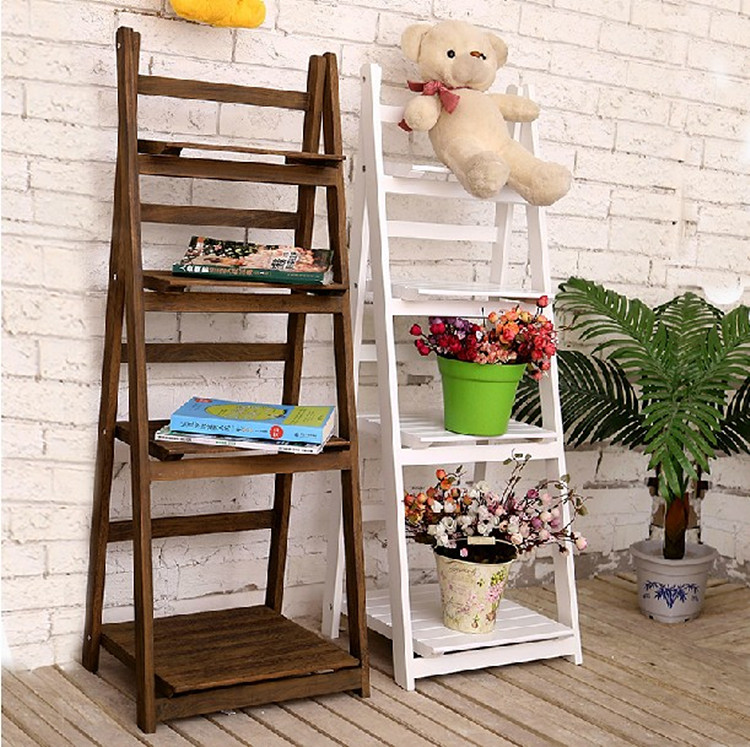
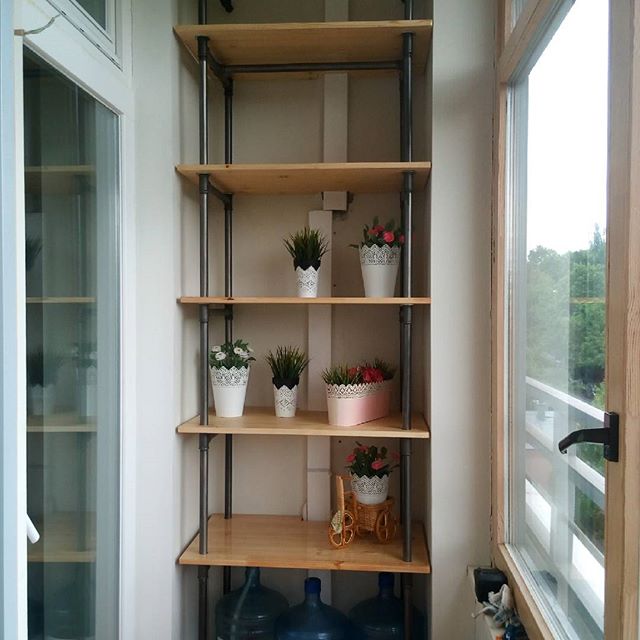
- Wooden. The construction of natural wood is eco-friendly and looks beautiful. If the rack is made of dark material, the interior can be made in white. Bright details will highlight the open wooden cabinet. For example, beautiful curtains or interesting accessories. The structure of wood should be placed on a closed balcony, otherwise under the influence of external factors it can deteriorate.

Requirements
Do you want the rack to serve for a long time? Pay attention to the requirements that apply to these structures. They must be durable, safe, resistant to moisture and of suitable size. If the balcony is warmed, the structure can be built from particle board.Remember that this material absorbs moisture well and quickly deforms.

The cabinet should be placed in such a way that it does not interfere with movement and does not obstruct the windows. If there is high humidity on the balcony, protective paint should be applied to the metal parts, which will prevent the appearance of corrosion. Wooden structures must be varnished. Plastic open cabinets, veneered sheets or glass are perfect for the balcony.

Kinds
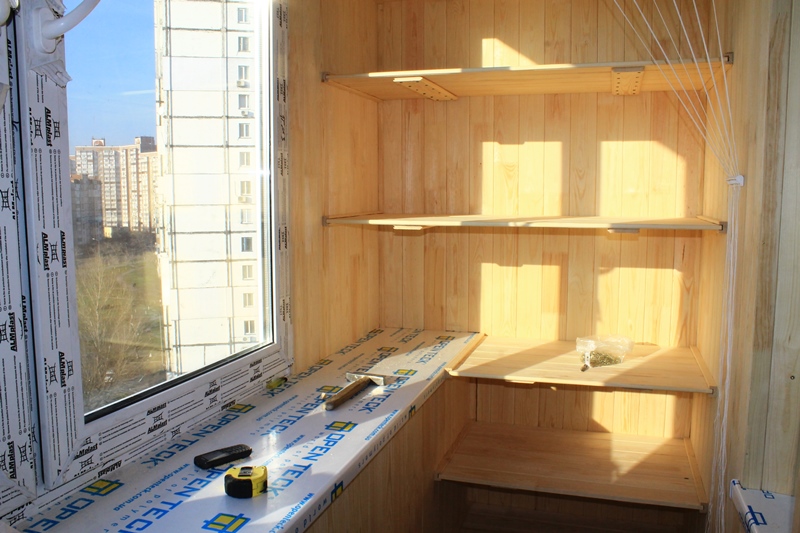
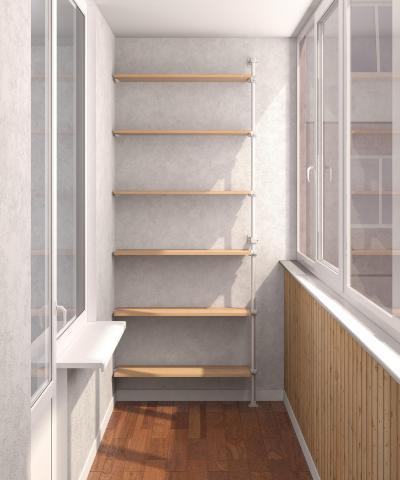
If you want to install a shelf on the balcony, give preference to one of several options. For the balcony open shelves are perfect. This is a traditional pedestal, the installation of which is carried out along the balcony wall. Shelves are fixed with brackets. In such cabinets it is best to store blanks, products, things.

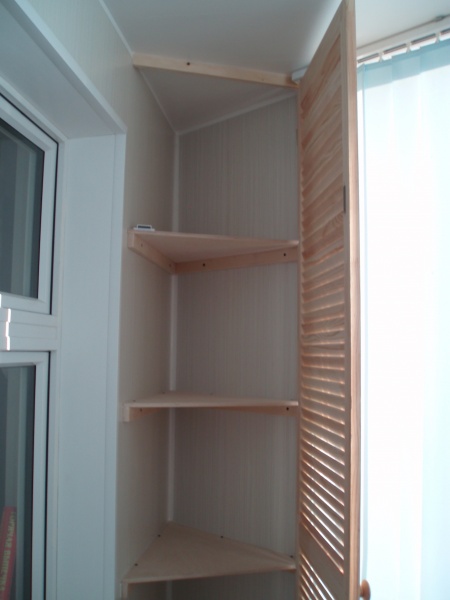
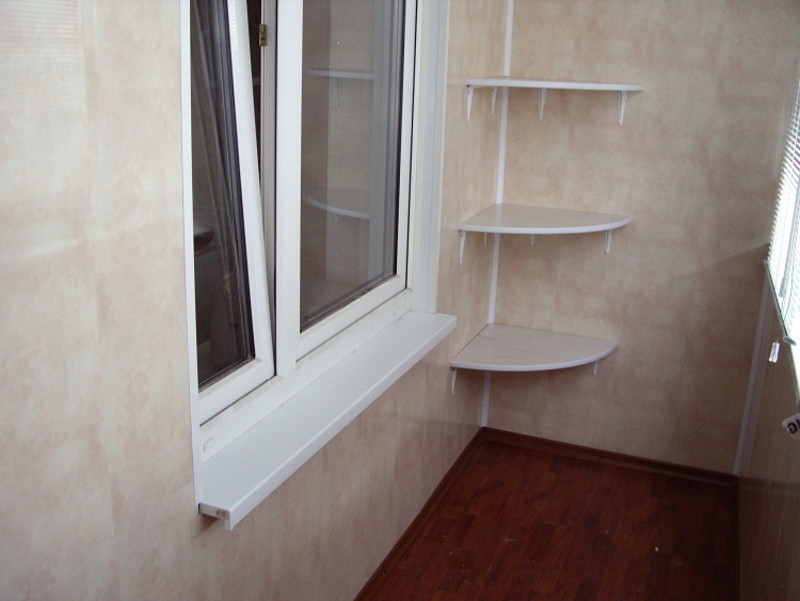
Low structures are usually located around the perimeter. The top is used as a shelf, countertop or seating. This option is perfect for not glazed balcony. The open corner cabinet, as well as the doors, is spacious and ergonomic. Good for installation on the loggia. Corner shelves are attached with brackets to two adjacent shelves.
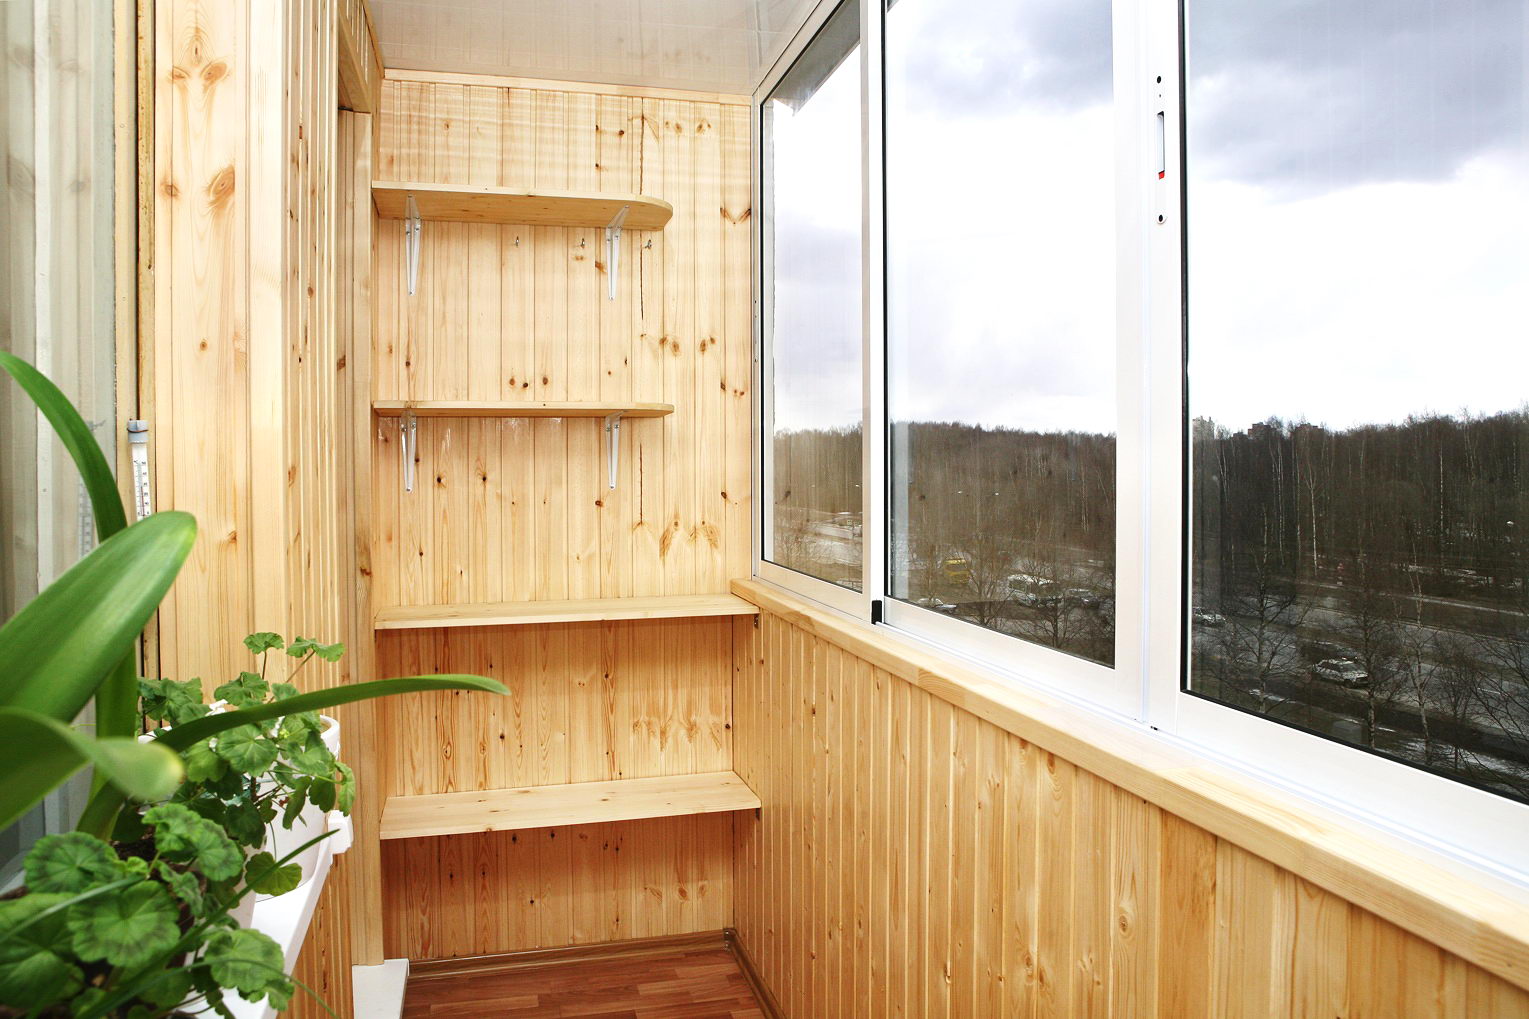
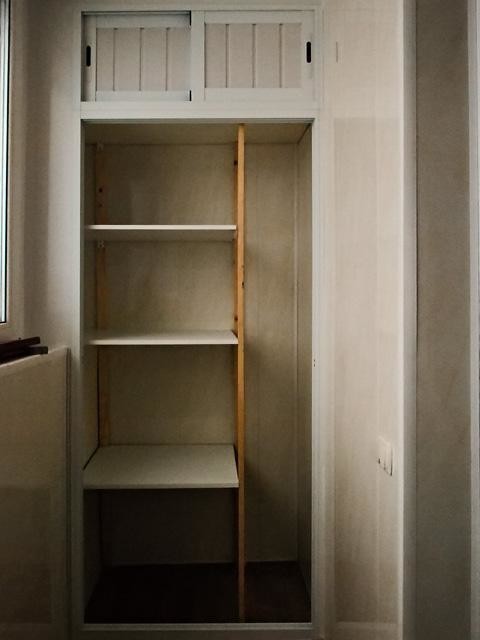
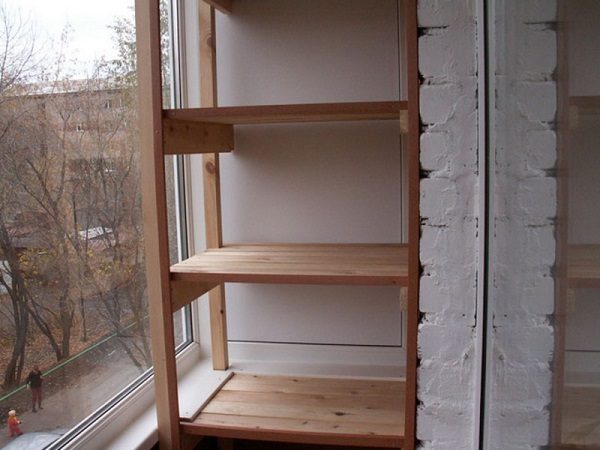
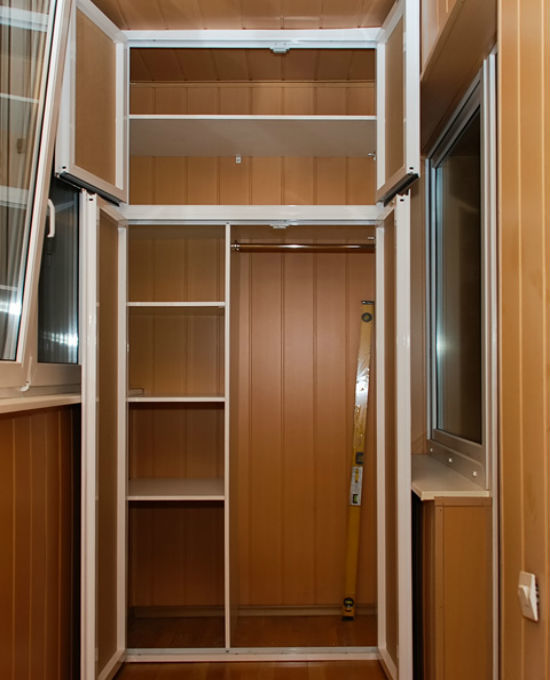
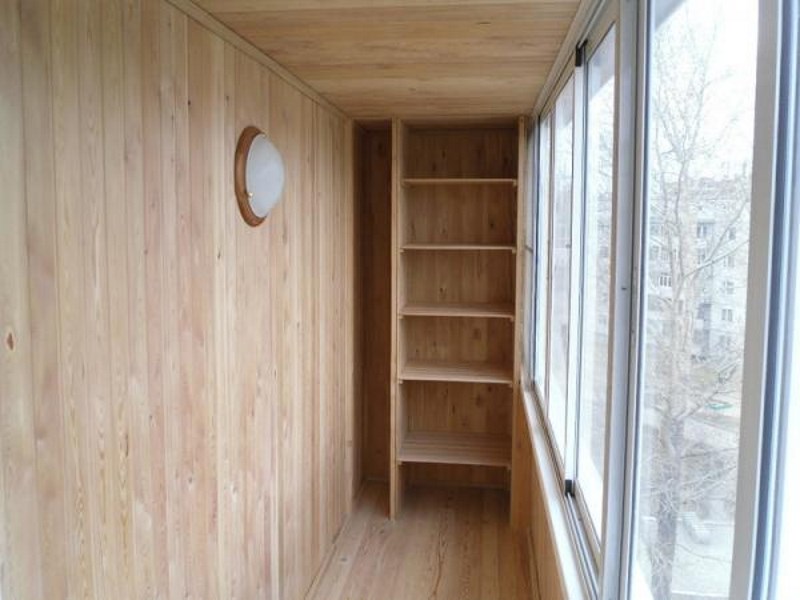
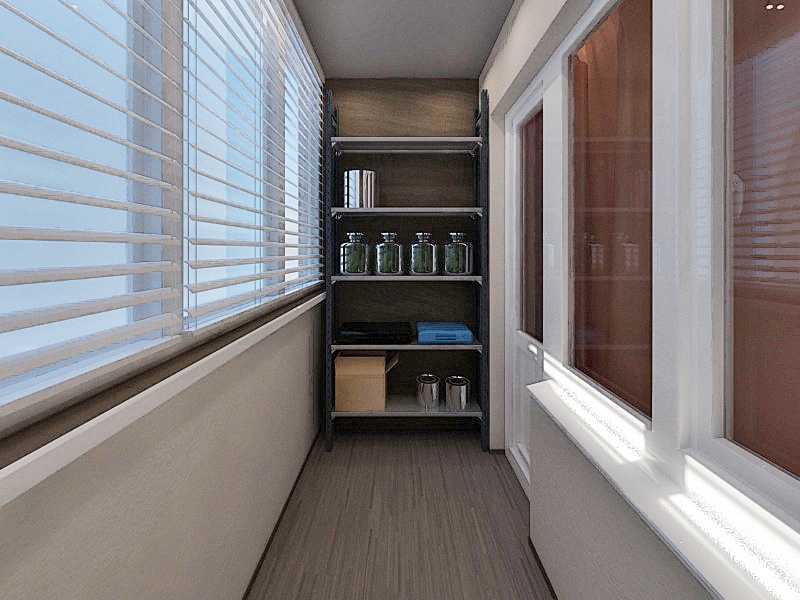
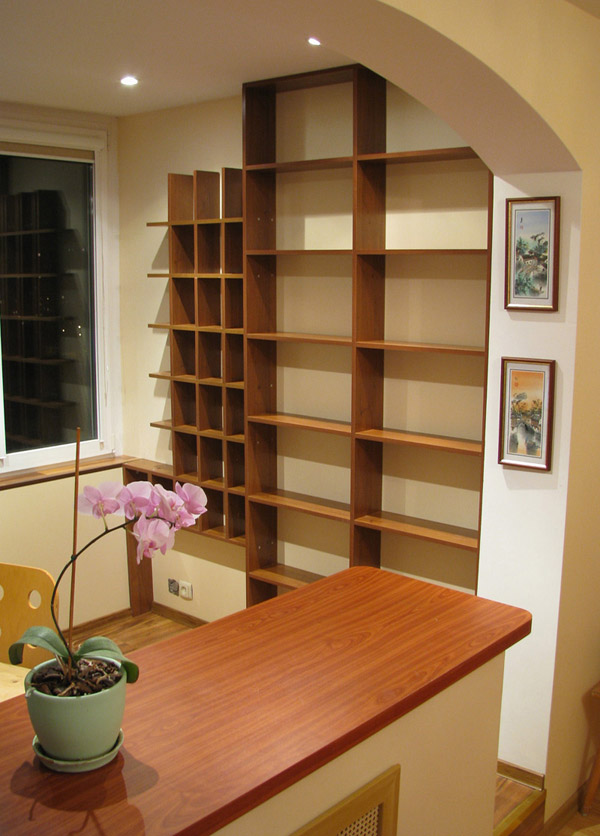
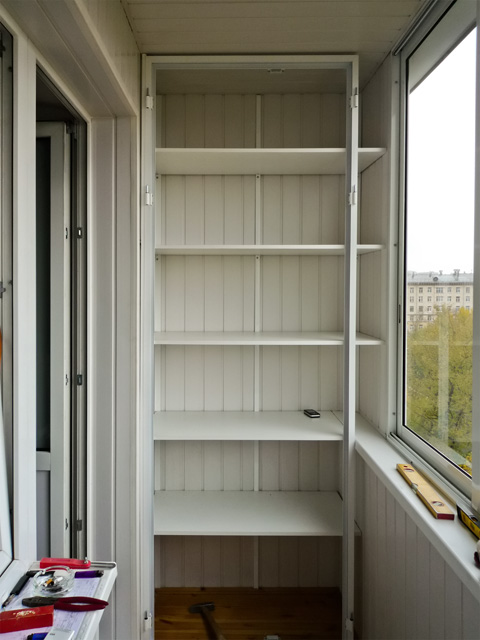
Built-in shelving is a convenient option, which is often mounted on a loggia. The niches of this simple design are filled with open shelves. They can be made of planks, wooden lining, plastic residues, door panels and other materials. The shelves must be strong and not sag under the weight of objects.
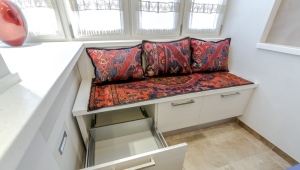
Classic designs are open cabinets with shelves that hang along the walls. They can be placed anywhere on the balcony. The main drawback of the design is that it will take a lot of material to create it. Low racks are not hung on the wall, but mounted on the floor. Reasonably low model additionally used as a table, bench or sofa.
Interesting ideas
Choosing this or that design, pay attention to some details. The width of the shelf depends on the depth of the niche. Even a shallow niche can hold a sufficient number of shelves, which allows you to use the entire volume. Remember that the overall interior of the balcony depends on its size. If the balcony is narrow, do not install the structure along the walls, as this will further reduce the space. In this case, place the shelves in the corner or lift high so that they do not interfere with free passage.
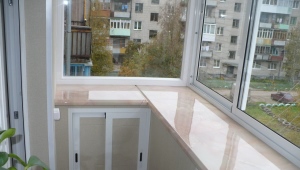
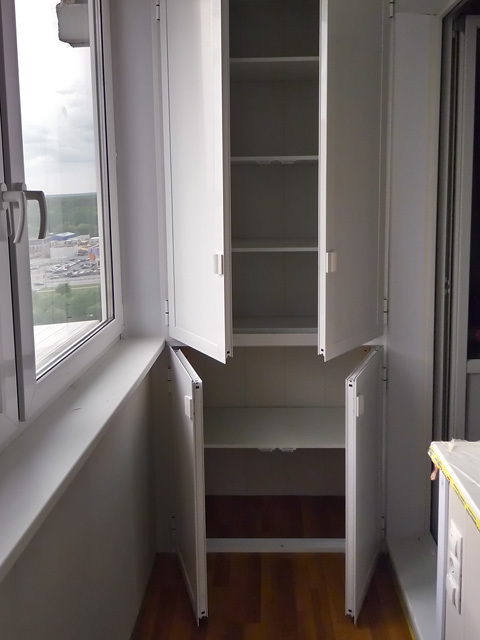
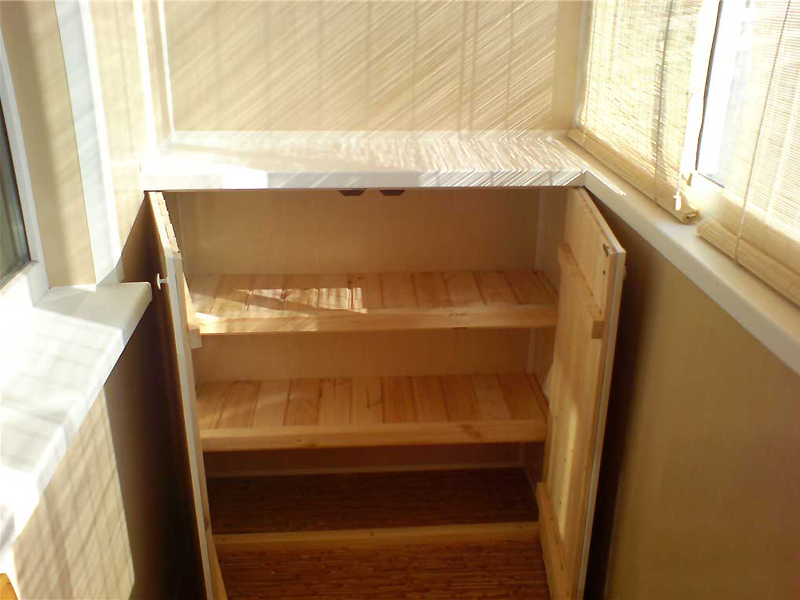
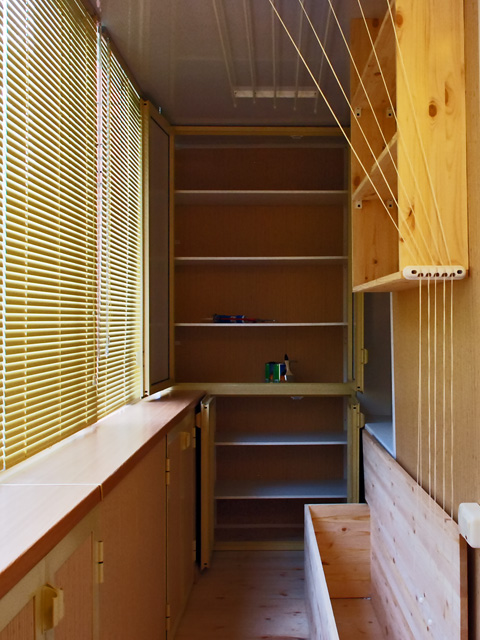
If there is no glazing on the balcony, place the cabinet under the window so that it does not get wet.Make a waterproof curtain. It is better if the loggia is closed, it will make the room more comfortable and increase the space of the apartment. Curbstone on the open balcony is ideal. It can be used as a stand for plants, for greenery or for tires.
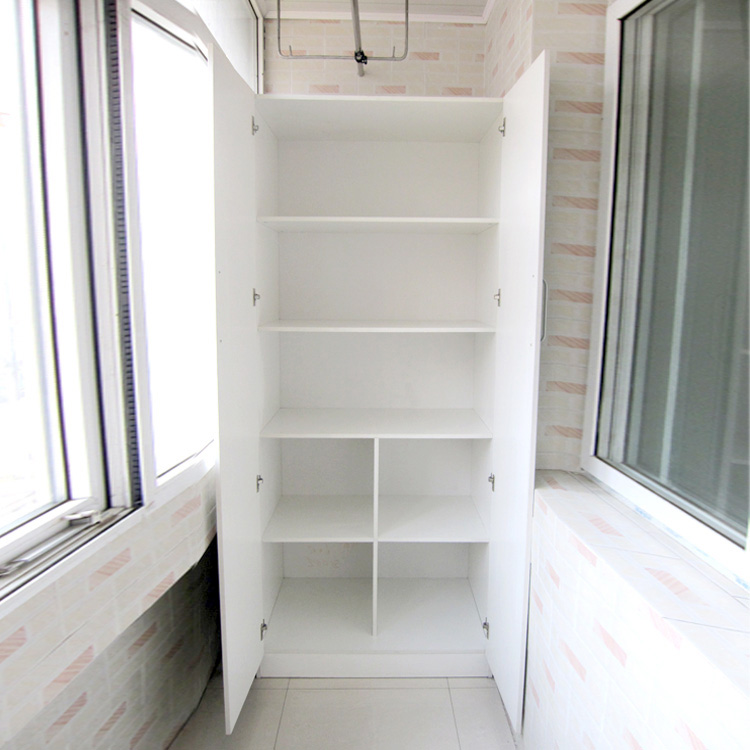
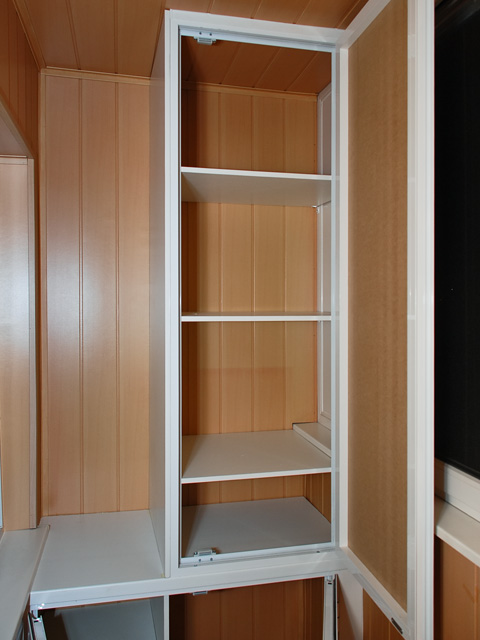
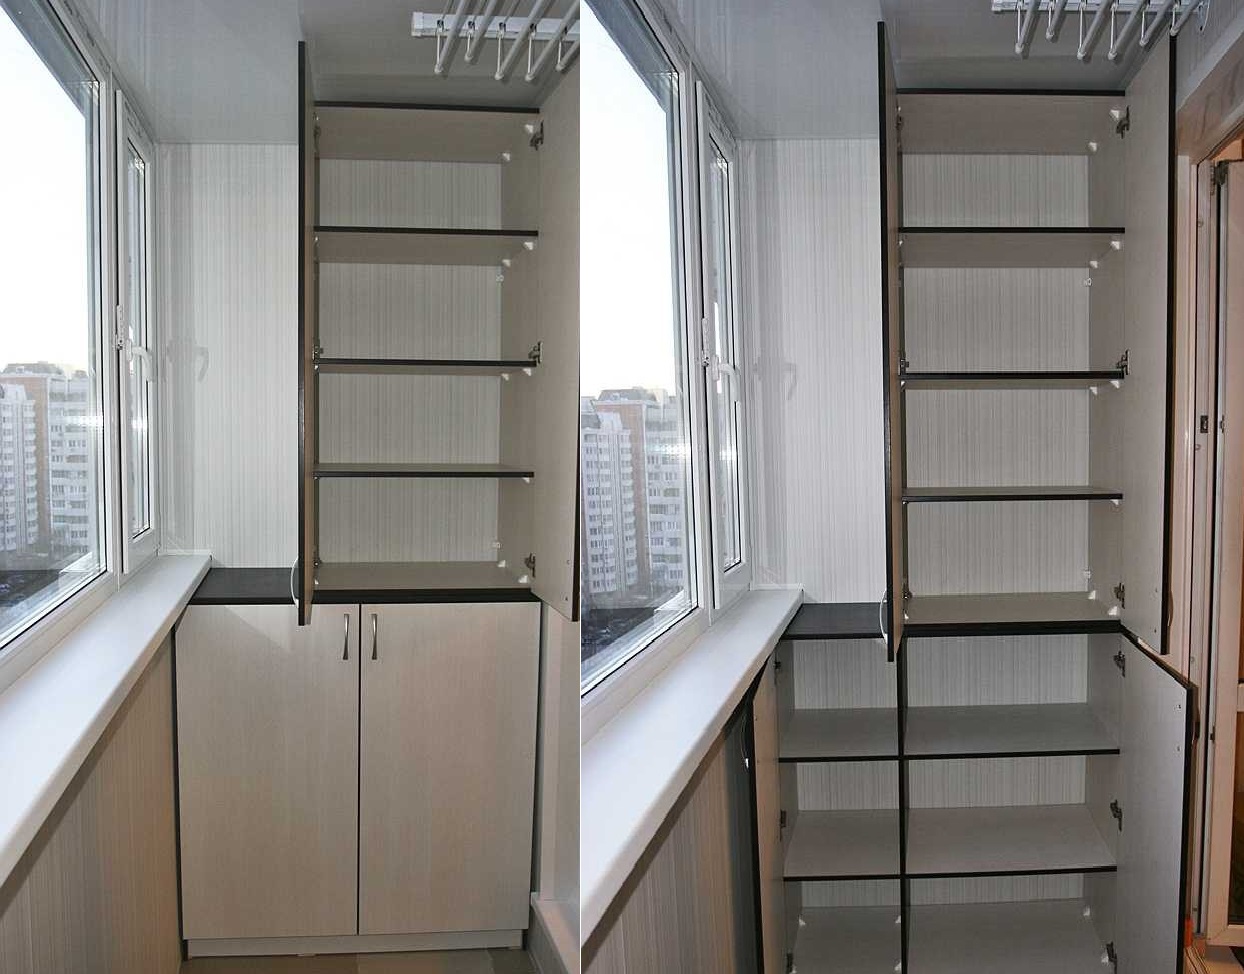
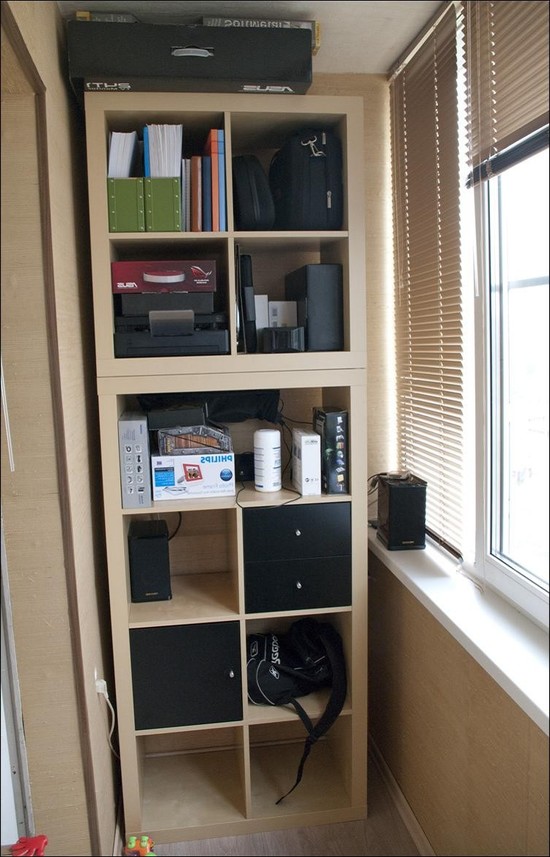
The main feature of the balcony shelving is the absence or presence of doors. Open design is good because you can get any thing if necessary. The standard cabinet has several shelves and compartments of different sizes. They conveniently store shoes, tools, household appliances, all that should be at hand. The minus of an open cabinet is that dust accumulates on shelves and objects, so if the balcony is not glazed, the filling of the bollard will be exposed to external influence.
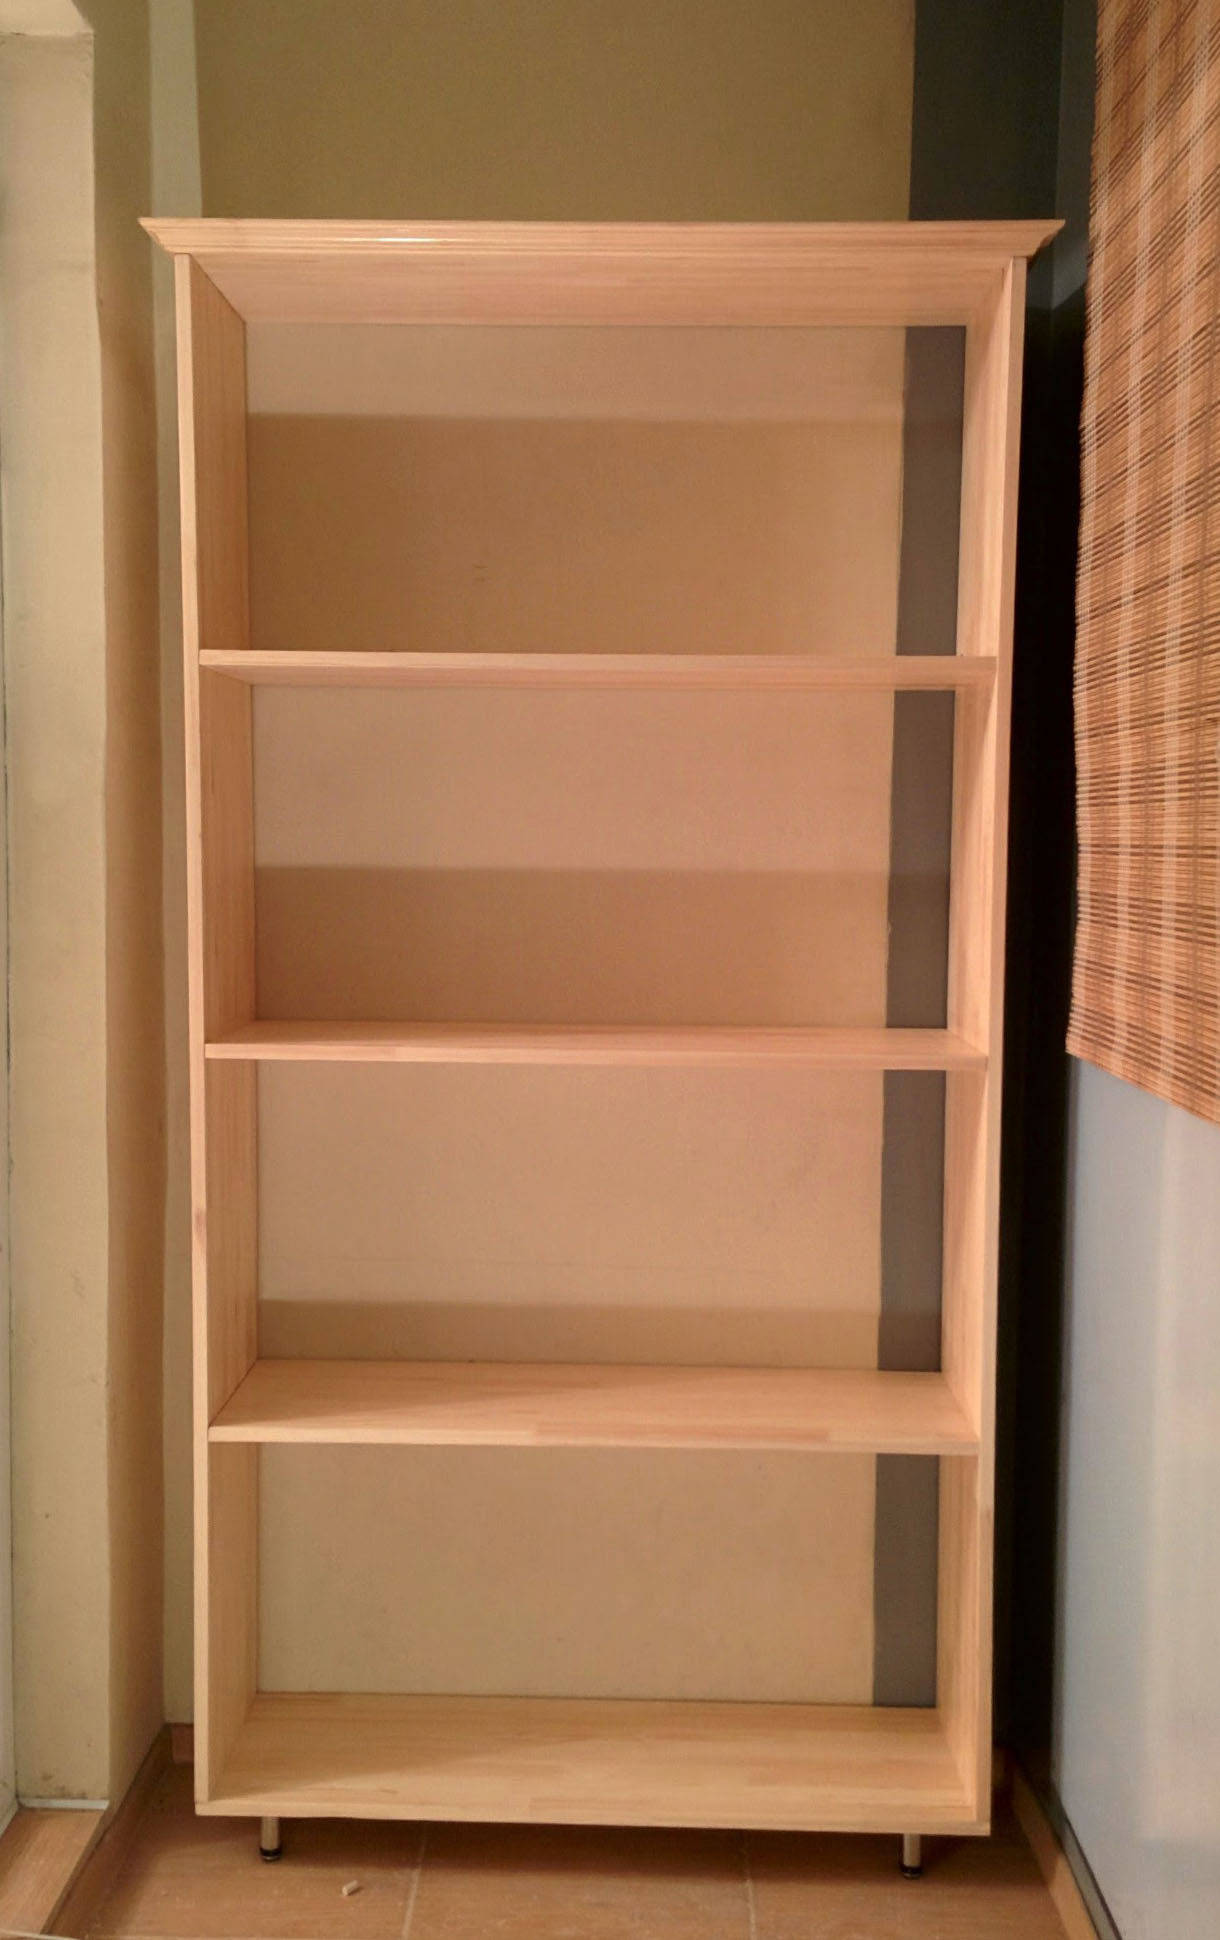
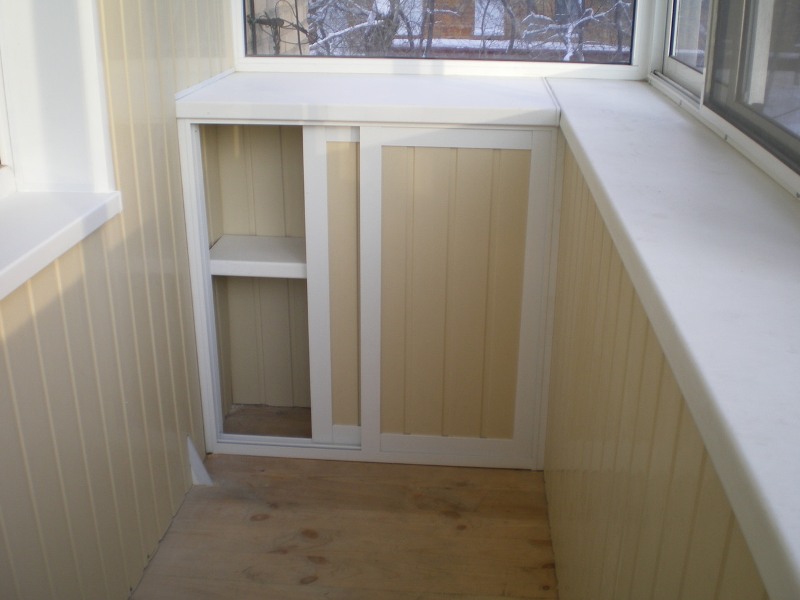
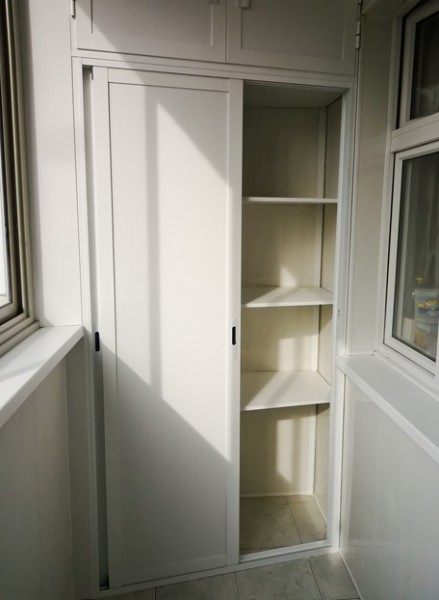
Closed shelving - the most reliable option for storing various things. This design takes up more space than the open one, but it is practical and looks neat.
How to make yourself
The open or closed construction on the balcony for storing various things can be made independently from scrap materials. To begin with, decide what you will keep in the rack, what type it will be.The process of building cabinets divided into stages.
- Select the type of structure.
- Take measurements.
- Make a sketch.
- Find materials.
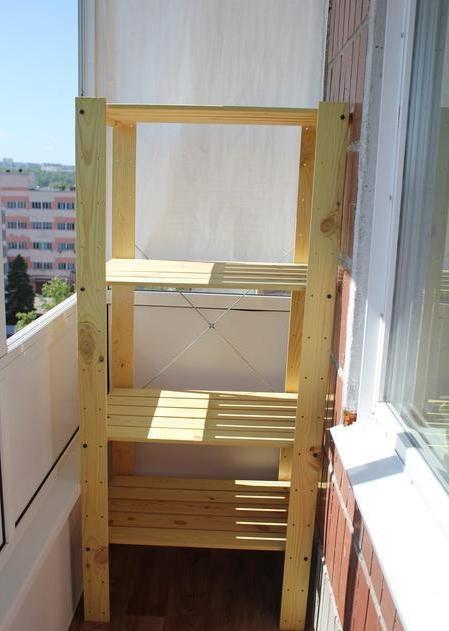
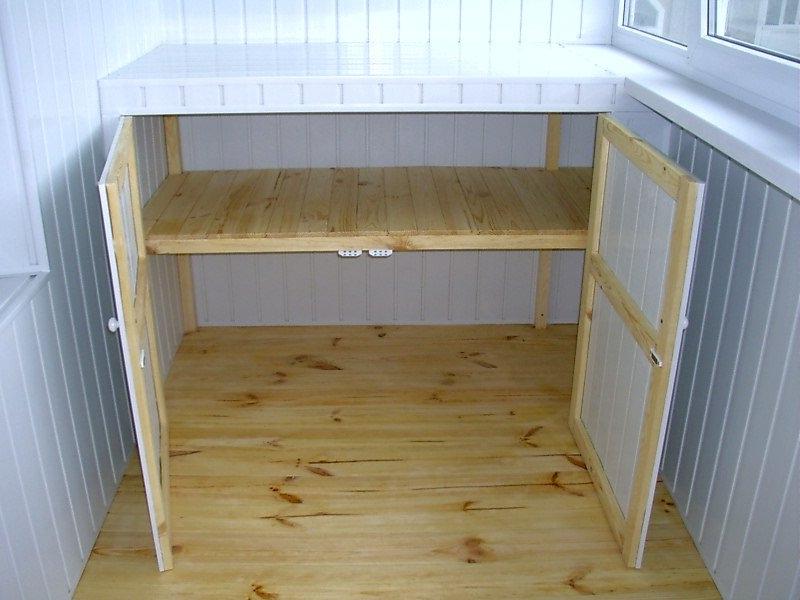
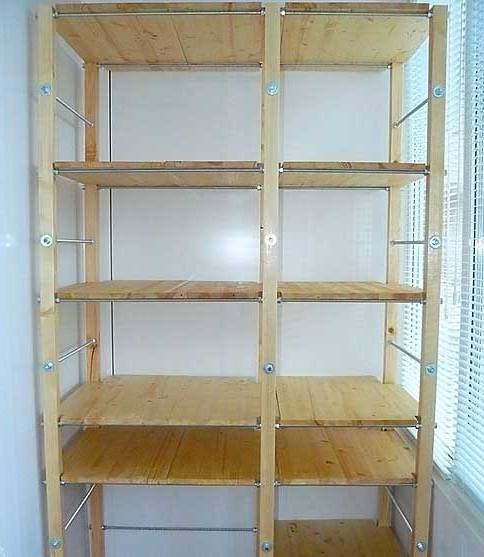
To get started, try to make a simple construction of wood.
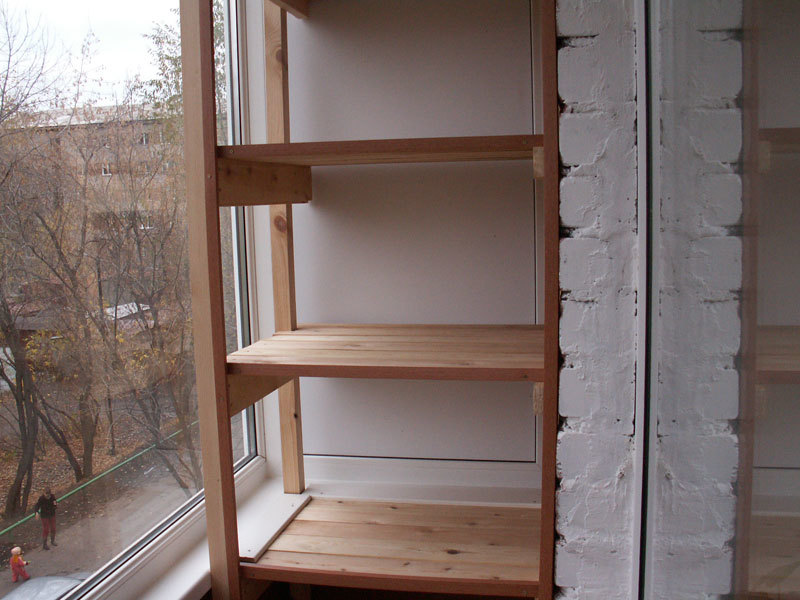
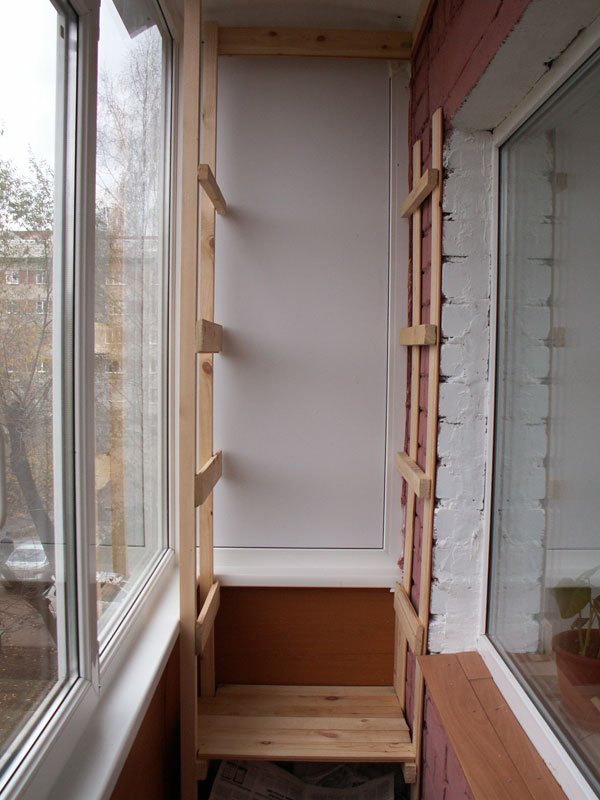
- Racks for the balcony will be made of wooden bars, with a minimum cross-section of elements 50x50 mm. This will ensure the design strength, reliability. The bar for the rack should be flat and dry.
- For shelves, experts advise using a board 2 cm thick or plywood 1 cm thick. These parameters depend on what will be placed on the shelves. If the rack is supposed with doors, get additional material and for them.
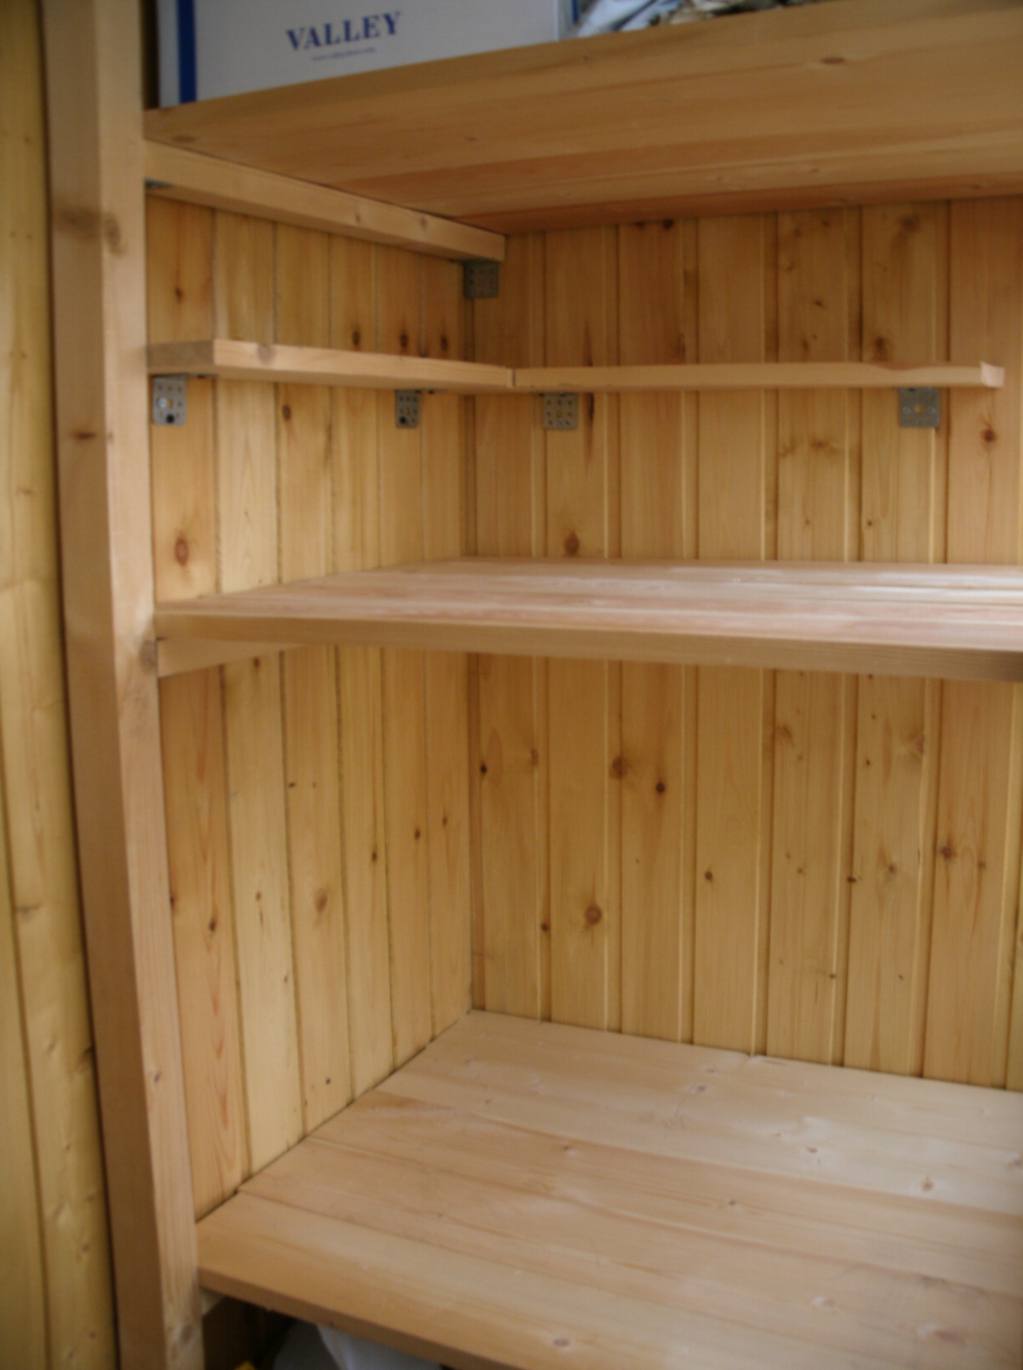
- The shelves are mounted on the lintels of the bars, or perforated corners are used for this purpose. Corners easier to mount, they securely fasten the structure and are not deformed.
- The structural elements are fixed with screws. They hold joints well, they look prettier than ordinary nails. If screws are used for fasteners, this means that the structure can be disassembled without damage.
- The stability of the system will ensure fixation on the wall. This will require dowels with a diameter of 10 mm and a length of 120 mm.The length depends on the thickness of the bar.
- In order to cut the wood will need a hacksaw or a special tool (electric saw, jigsaw).
- Screws are screwed with a screwdriver.
- When building a structure yourself, you will need a certain set of tools: a tape measure, a square, a level, a pencil.
- If you need to drill holes in brick or concrete, a drill with a drill will be useful.
The construction installation scheme is as follows: marking the wall, cutting wooden timber into the required elements, installing cross-beams like a ladder, fixing the elements to the wall, measuring for the shelves, cutting the material, fixing the shelves, assembling the doors (if they are provided). Marking on the walls is needed so that you can navigate the height and width of the structure.
Cutting timber for vertical racks is a simple step. Set aside the size and cut the timber in the right place. In the bar, where the cross-beams will be attached, it is necessary to make an insert by 2 cm. The elements should be recessed for greater reliability of the structure. Secure the elements with screws. The resulting rack must be attached to the wall.Next comes the turn of the shelves, which must be of equal size. Shelves are fastened with screws.
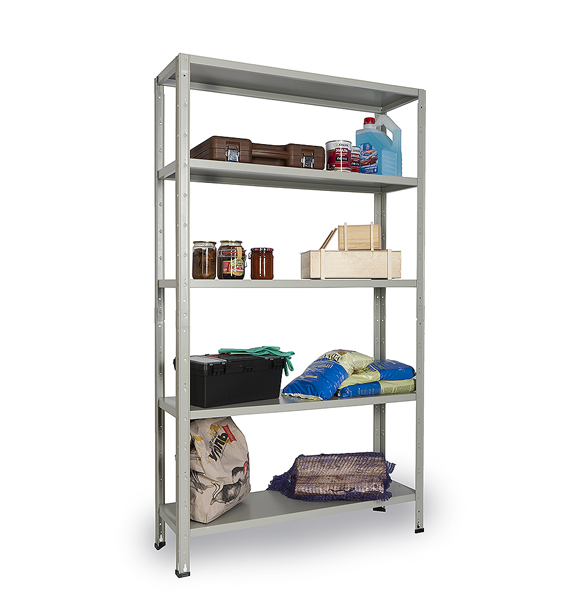
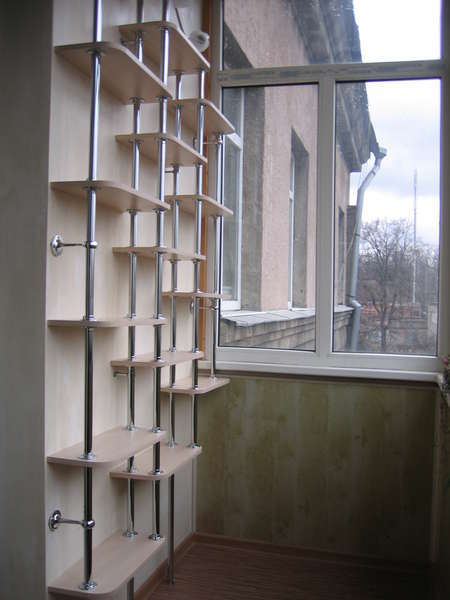
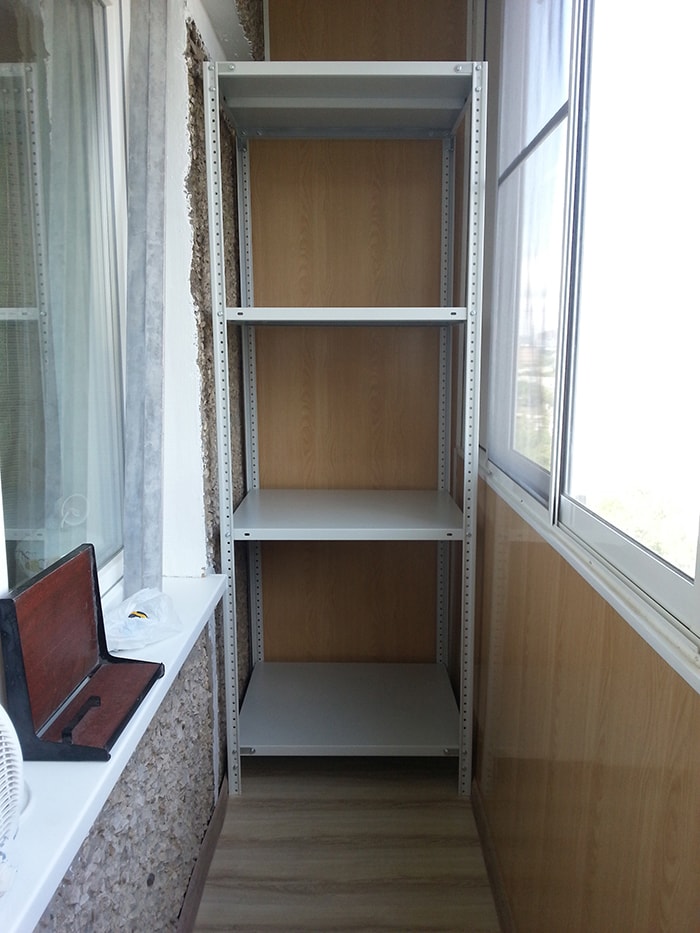
If self-construction of the rack causes difficulties, you can buy a finished metal structure and assemble it according to the instructions. Screw the shelves to the racks with bolts. The advantage of this option is simplicity, instantaneous installation. Cons - standard sizes, high price. In addition, it is possible to make a construction on a balcony from a furniture pipe, having previously bought all the components and assembled them like a designer.