Warming of a loggia penopleks
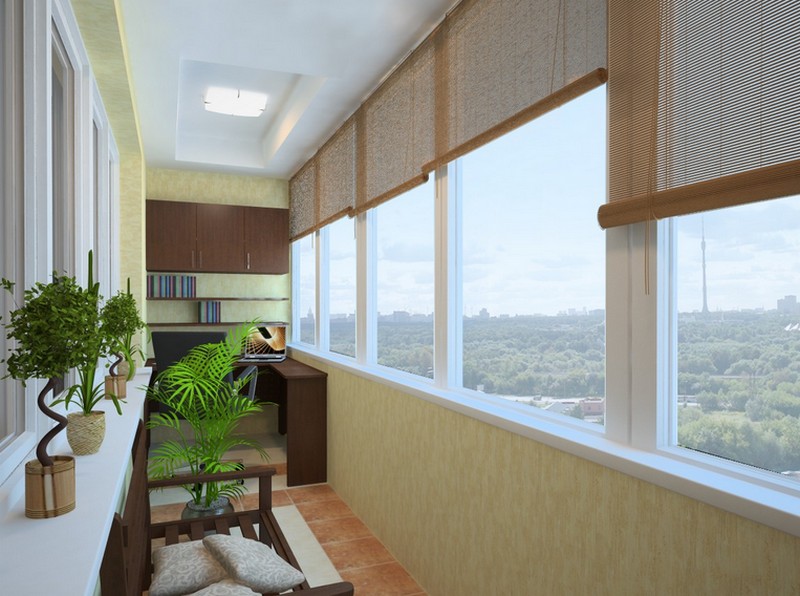
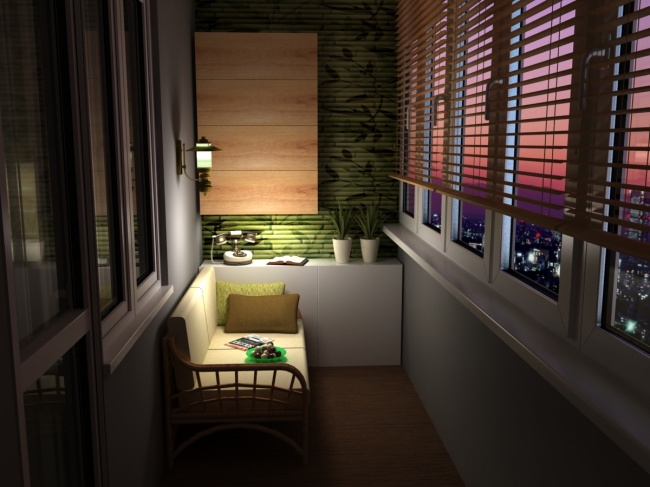
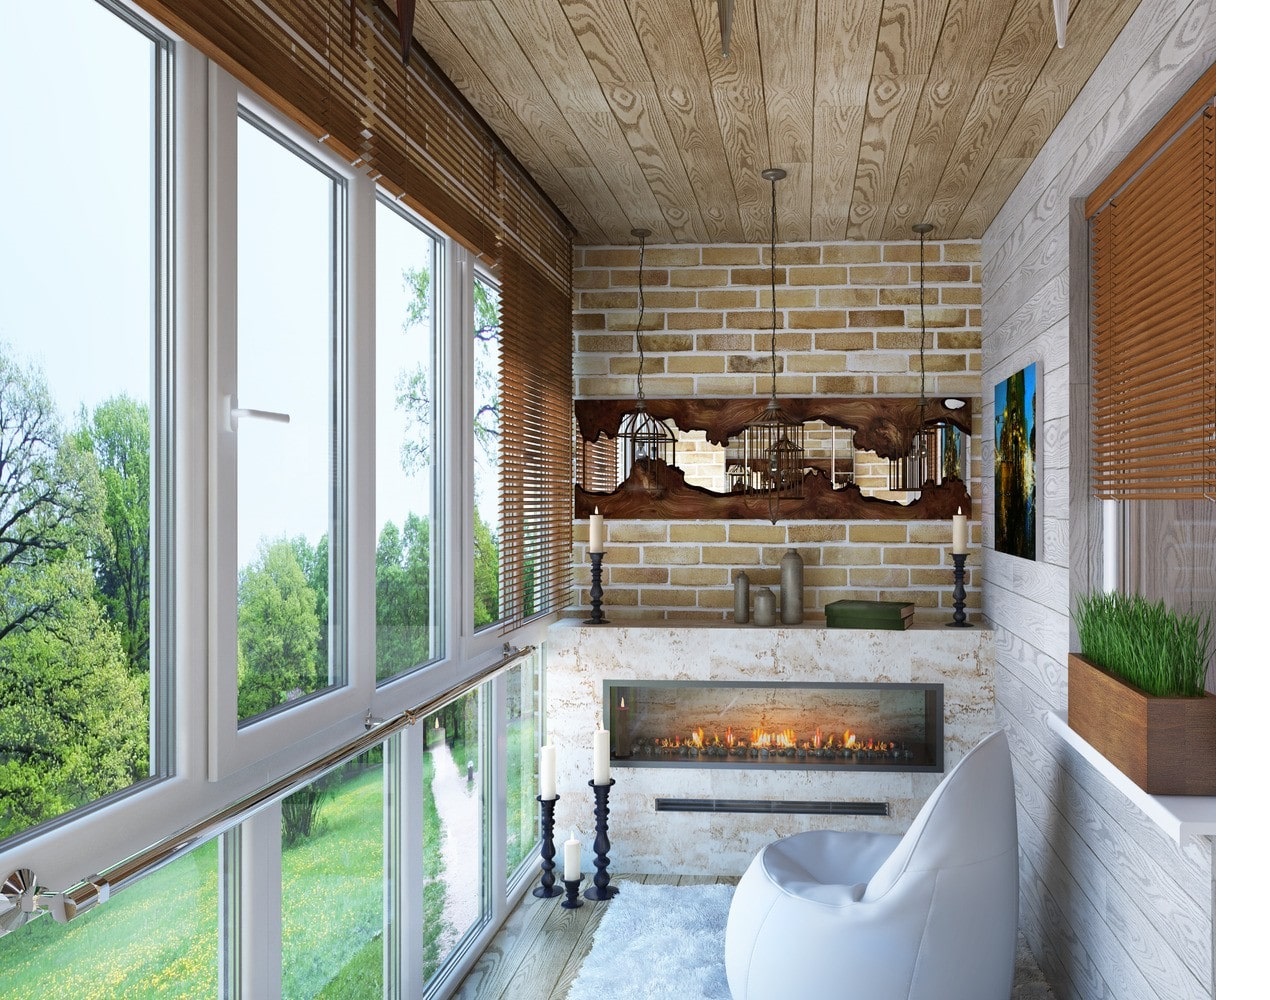
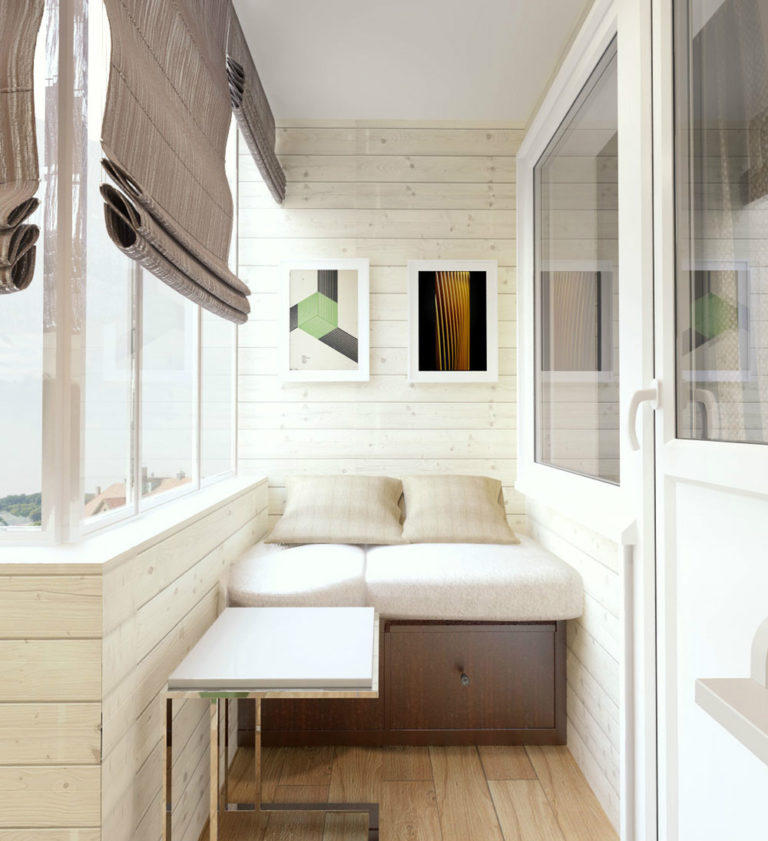
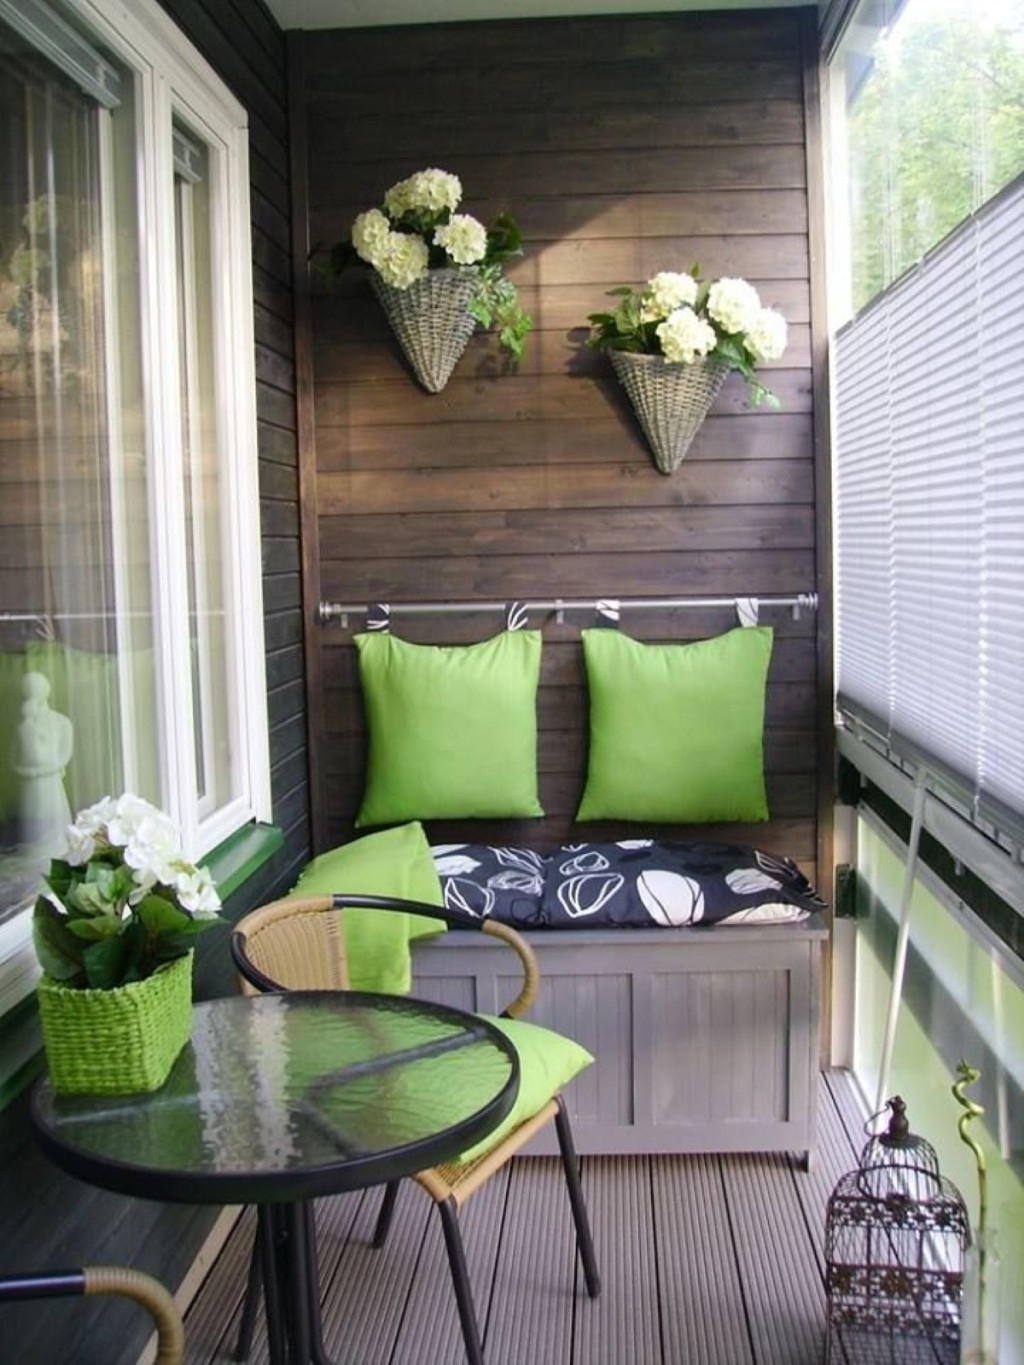
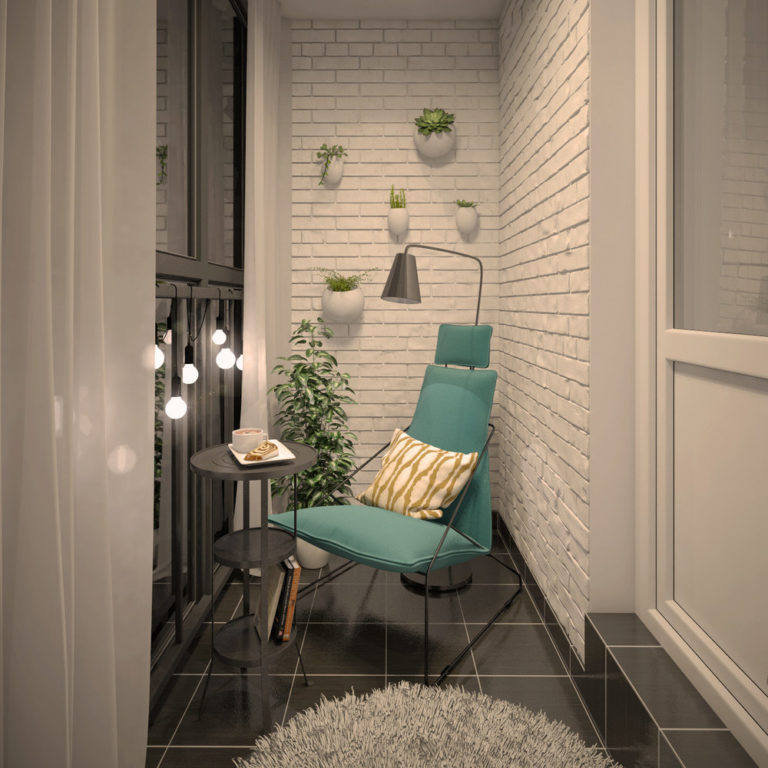
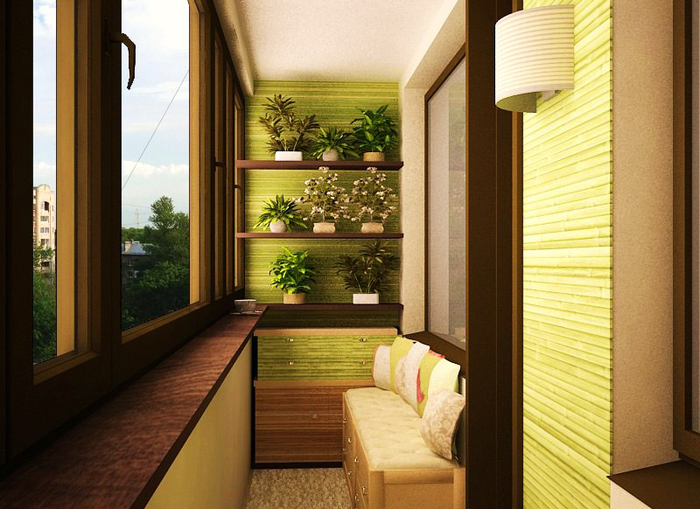
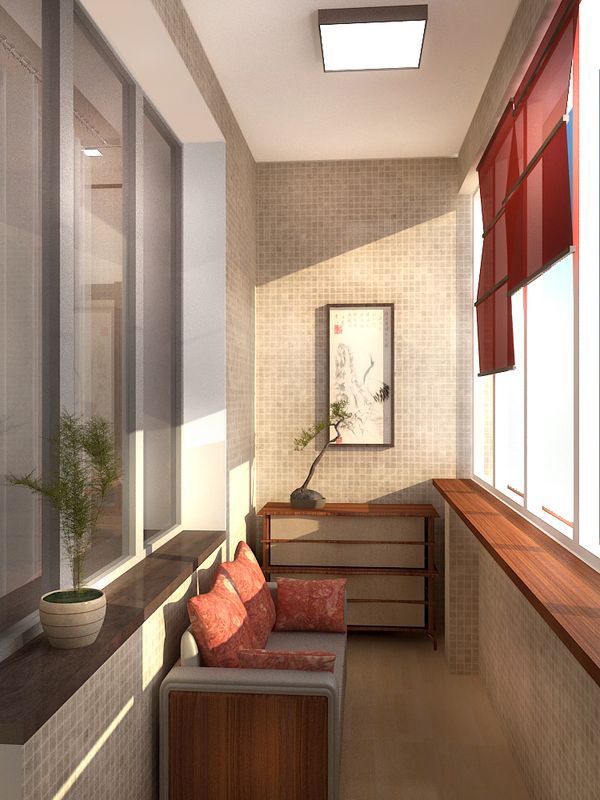
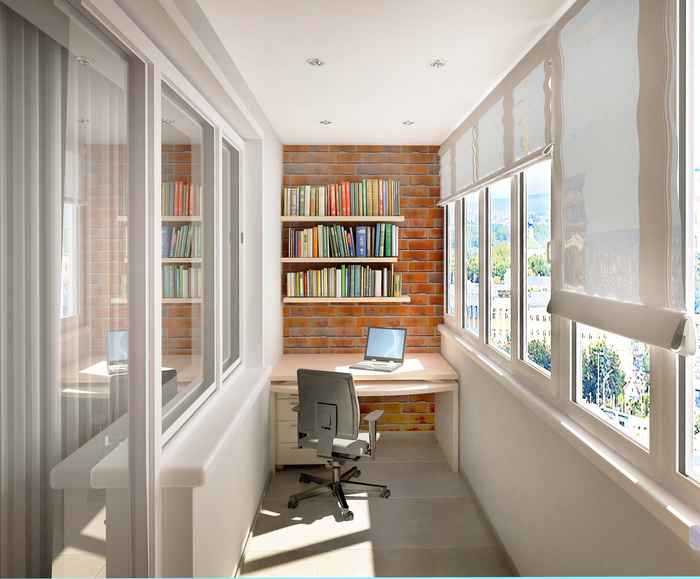
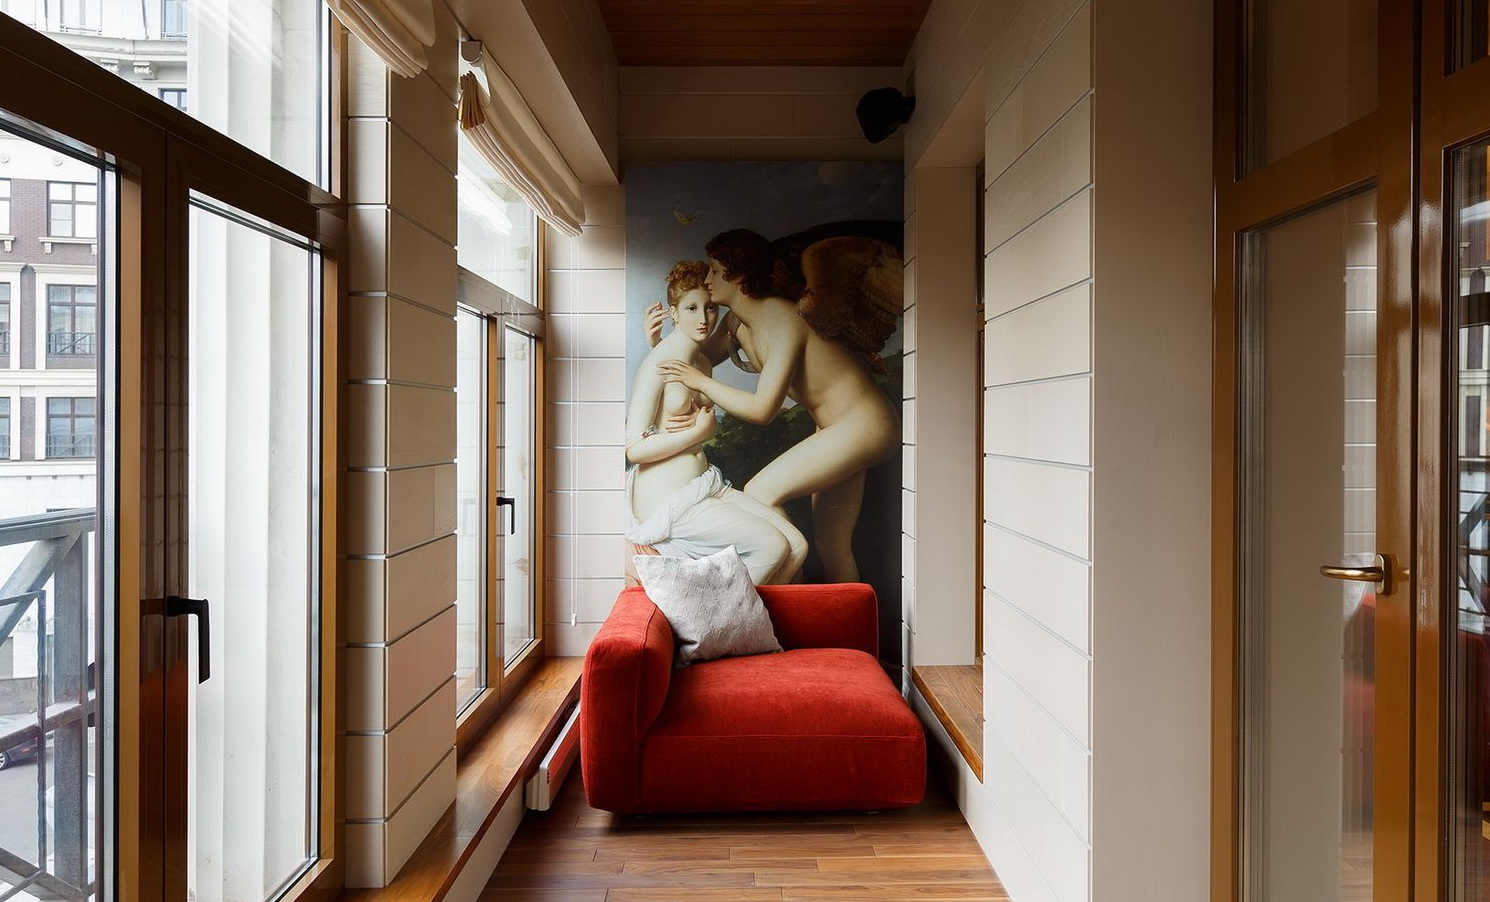
Apartment owners are trying to optimally use the entire area available in the house. Therefore, the insulation of the loggia from the inside is a very good way to expand living space and make the room cozy, used at any time of the year.
This problem can be solved using several types of materials. Please note that the insulation should be comprehensive from installing warm windows to finishing all surfaces. This will minimize the heat loss and keep the temperature at the same level.


What it is?
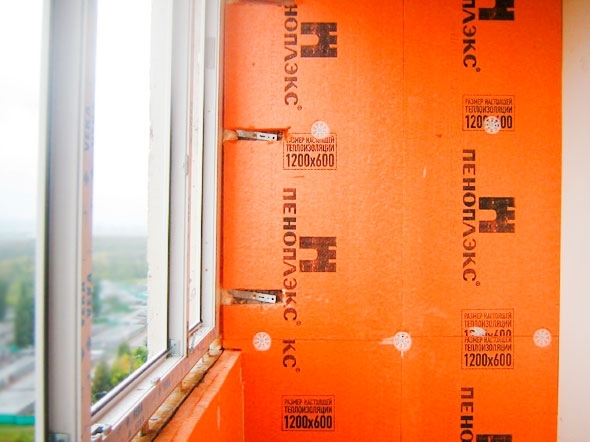
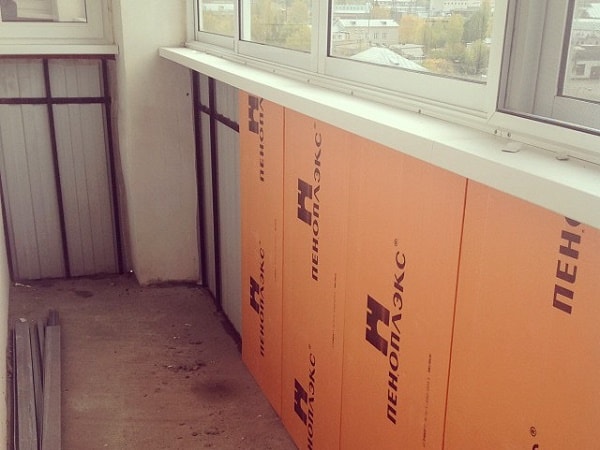
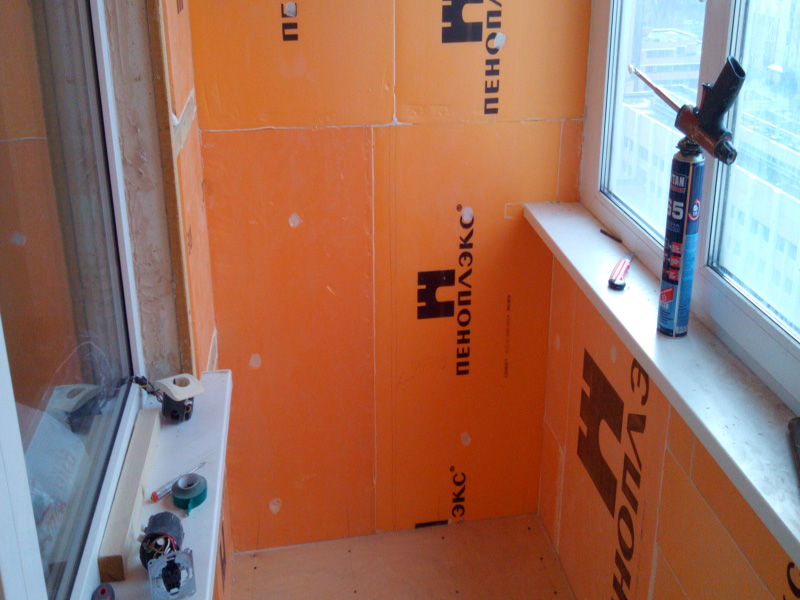
Penoplex is an extruded polystyrene foam with high water resistance and high density. It is used as insulation for the exterior and interior of various types of buildings. The substance is well tolerated by the effects of any temperature and weather conditions, than foam and polyurethane foam cannot boast.
Advantages and disadvantages
Penoplex is a substance that allows you to achieve optimal heat savings. Among its advantages are several properties:
- Low permeability, as the substance does not absorb water and retains its properties even when operating in a humid environment.
- High strength and relatively low weight. This greatly simplifies working with him.
- A significant period of operation (up to 50 years). It should be noted that the penoplex does not crumble and can not be destroyed by rodents, in contrast to the foam.
- Plastic. The substance is perfectly bent, which makes it possible to finish them even rounded surfaces.
- Safety for humans. The product does not emit any toxic substances and can be used in any residential building.
- Low thermal conductivity. The reason for this is the cellular structure of the material, which allows to retain heat.
Penoplex is not a universal material, as it has a number of significant drawbacks:
- The substance, although resistant to fire, begins to smolder and melt at high temperatures. During these processes, very toxic products can be released that can poison the body.
- The material does not withstand prolonged exposure to the sun.Therefore, when finishing it must be protected, covering the lining.
- Low noise insulation. This will lead to the transmission of all sounds outside, which is not always convenient and comfortable.

Classification of finishing material
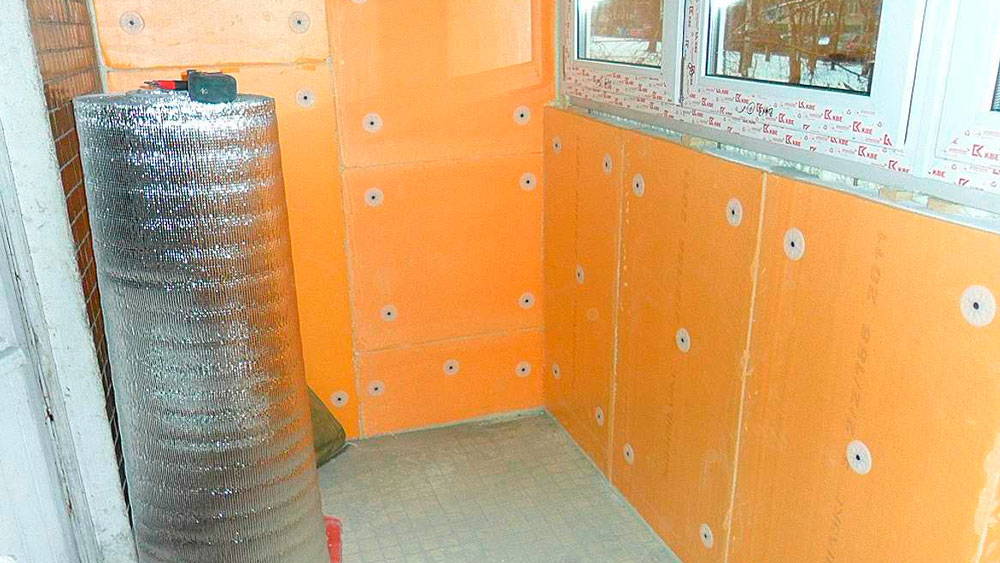
Warming loggia penoplex involves the use of several varieties of this product. Today, the market produce products in the form of plates, the thickness of which can vary from 20 to 120 mm. The length of the products also varies from 120 to 240 cm, while the width is standard - 60 cm.
Penoplex can be divided into several categories:
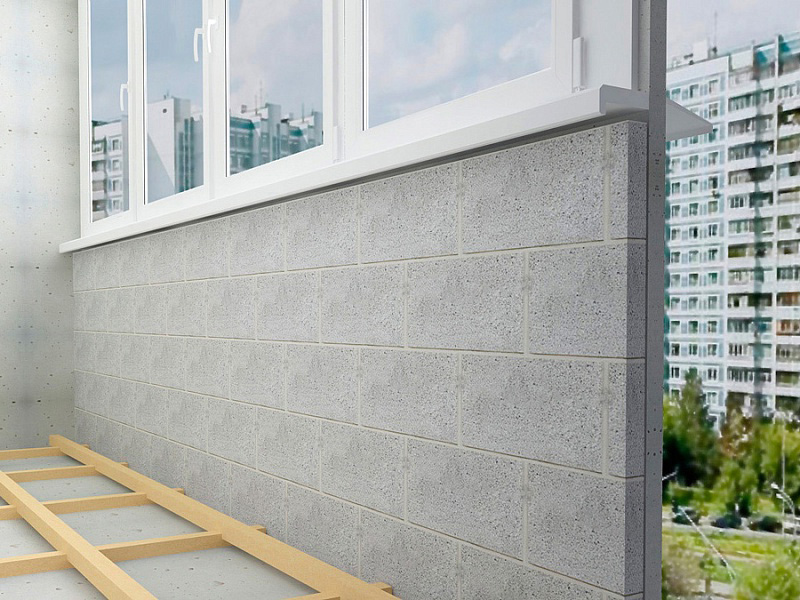
- "Wall" material. Use when finishing walls inside and outside. The density of a substance reaches 33 kg / m3.
- "Roofing" penoplex involves mounting it on the roof slopes or flat roof. It has a slightly lower density than the previous form. Perfect for finishing the ceiling on the loggia.
- "Comfort". This brand of product is characterized by a density of 35 kg / m3, which is the optimal value for its use in warming not only the balconies, but also other places in the apartment.
- "Foundation".This product is thicker than all previous analogues. Perfect for finishing basements in high-rise buildings.
- Penoplex "45". This material is the most dense and durable. Some experts can use it even when erecting runways. It is rarely used in everyday life, as it has a very high cost.

Determine the optimal thickness
To choose the right product, you must first decide what tasks it should solve. So, there are several recommendations of the experts, allowing to choose the right thickness of the penoplex:
- To create a comfortable environment that allows you to store various foods on the loggia or simply to dry the laundry, experts recommend using sheets from 2 to 3 cm thick.
- The best option for solving virtually all issues with insulation is penoplex, which is 4-5 cm thick. With this product you can create conditions that allow you to stay on the loggia all year round.
Please note that it is not advisable to warm the walls with several types of insulation, since they have different properties and it will be difficult to achieve the optimal effect.When buying penoplex, it is also advisable to take into account customer reviews about a particular brand of product.
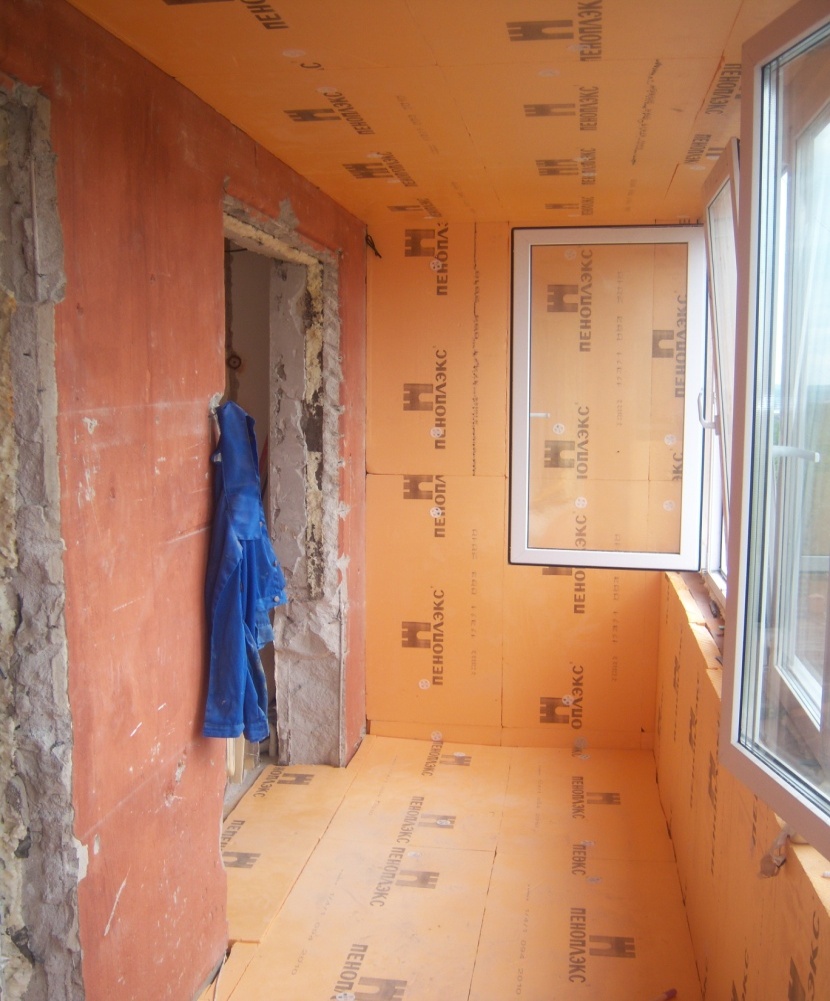
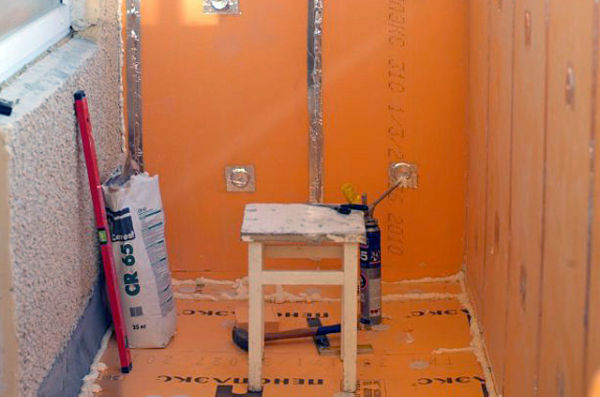
We prepare the surface correctly
The technology of mounting sheets of penoplex is relatively simple and involves performing some preparatory operations:
- First of all, you need to take out all the furniture from the loggia, free the walls from hangers and other objects that will interfere with their covering. Please note that you also need to pre-install high-quality windows with a three-layer glass pane.
- At this stage, cleaning of all surfaces is carried out (removal of falling plaster, etc.). It is necessary to lay the electric cable, which should be located inside a special corrugated pipe. The entire surface is additionally covered with special antifungal solutions.
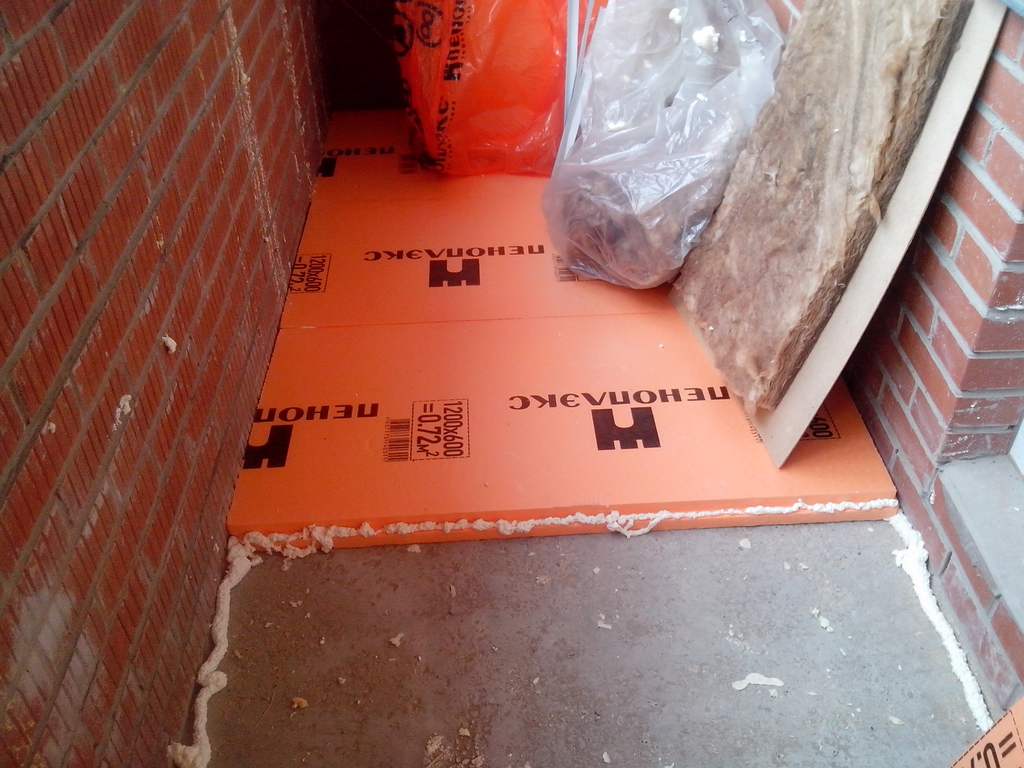
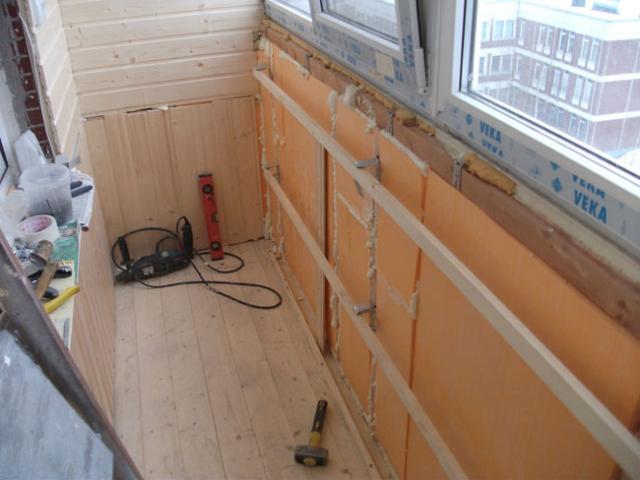
Algorithm for floor insulation
The installation procedure of penoplex is very simple and therefore it can be done with your own hands by any person. The first step is to warm the floor according to a specific sequence:
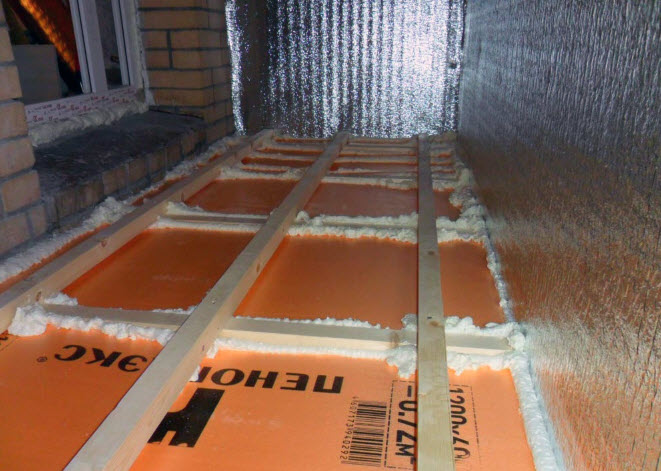
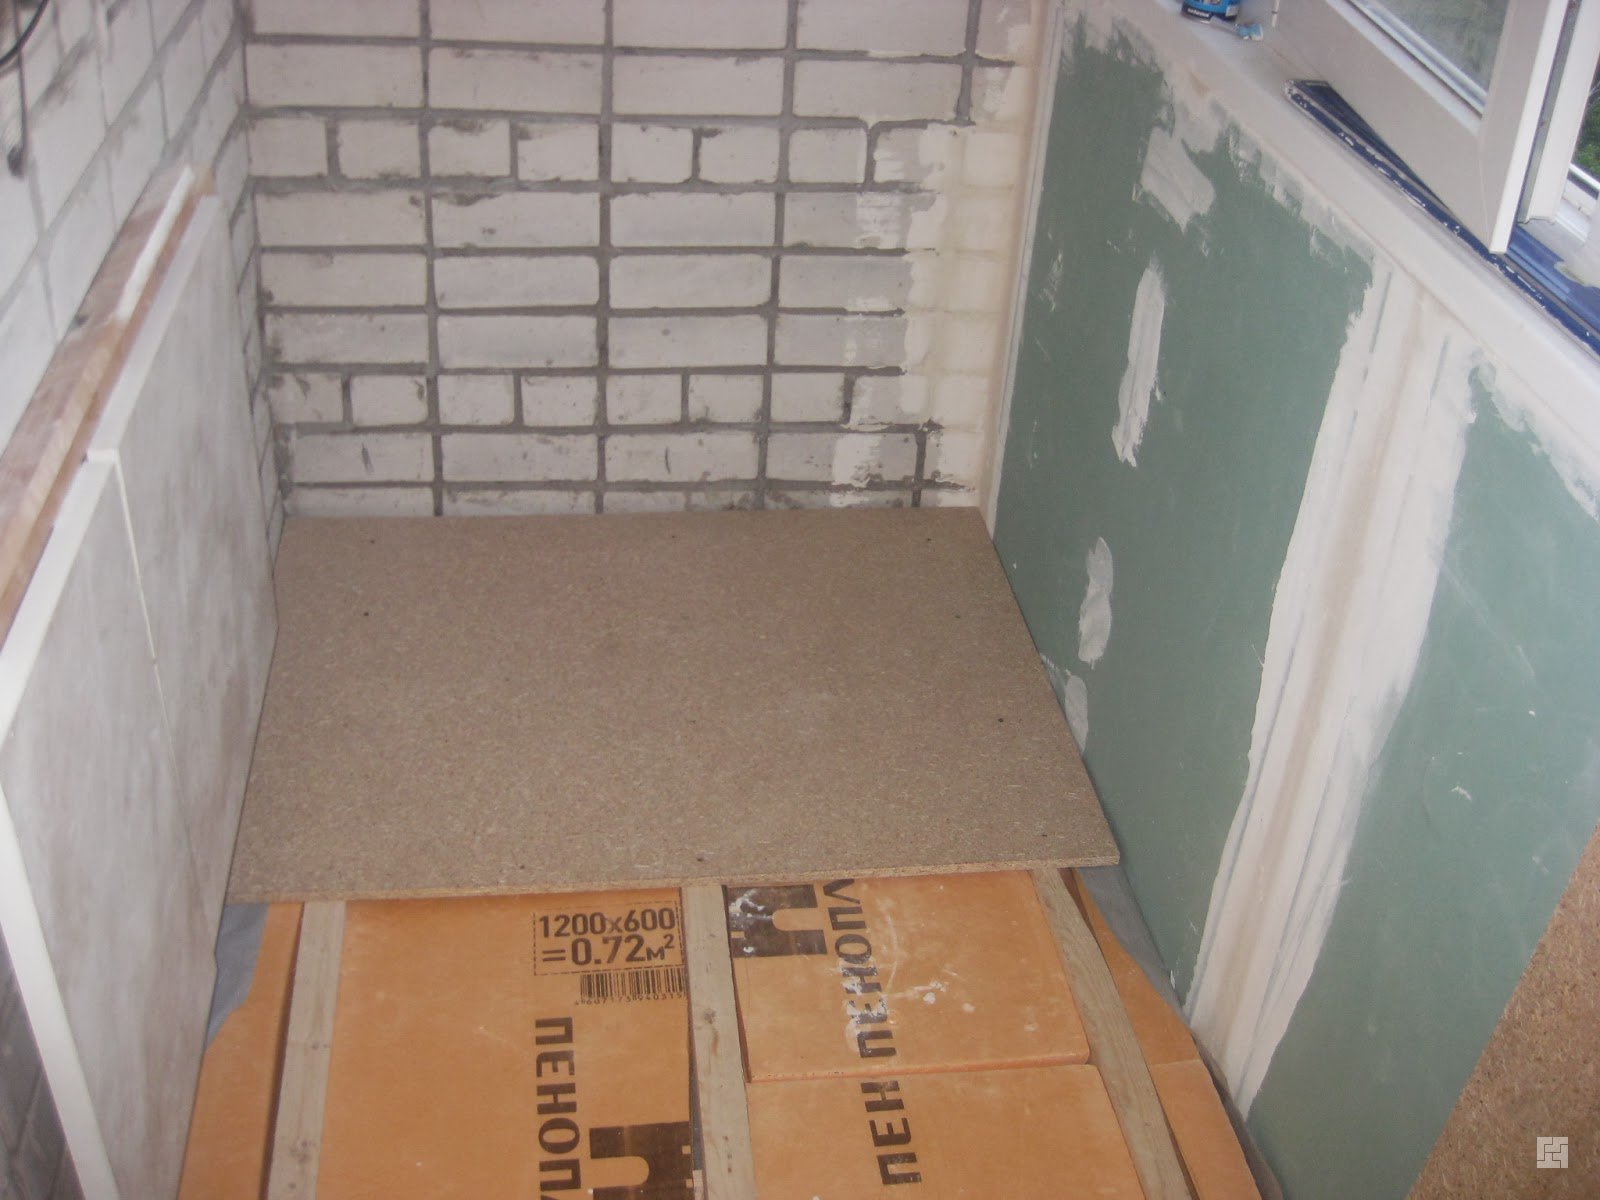
- Initially formed leveling concrete screed, which allows you to further strengthen the concrete slab.Some experts recommend when performing such operations to use solutions, which include expanded clay. This allows you to slightly increase the insulating characteristics of the base.
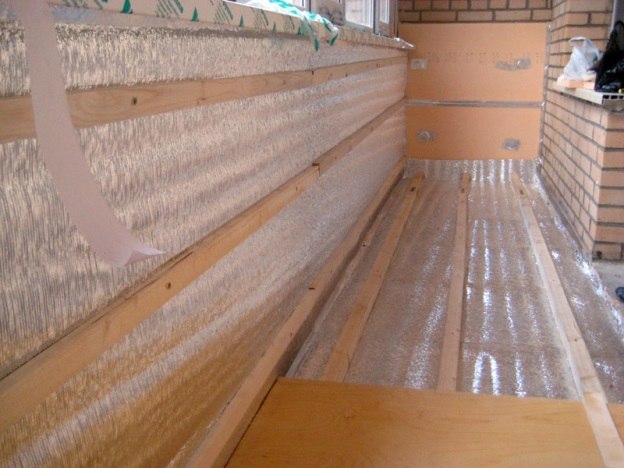
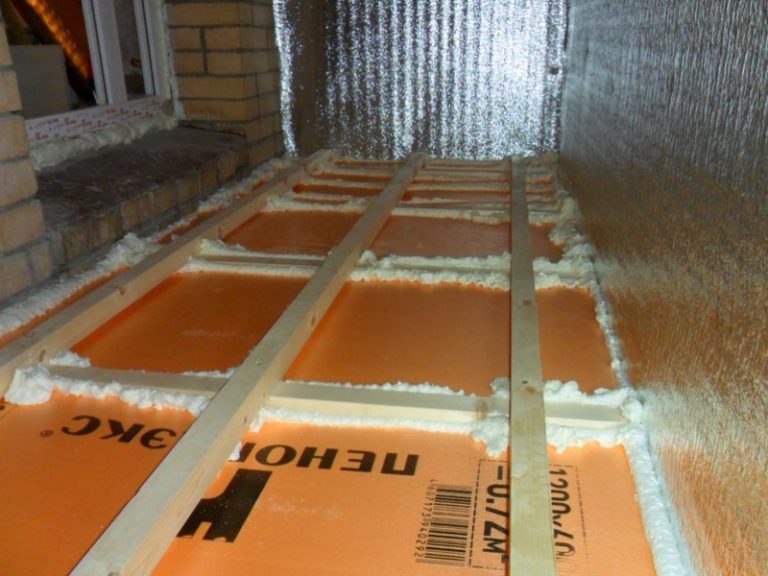
- When the base is ready, proceed to the fastening of penoplex. This can be done on a special glue directly to the concrete. But many experts recommend to equip the wooden crate, between which and lay the sheets of insulation. This design will serve as the basis for fixing the main floor.
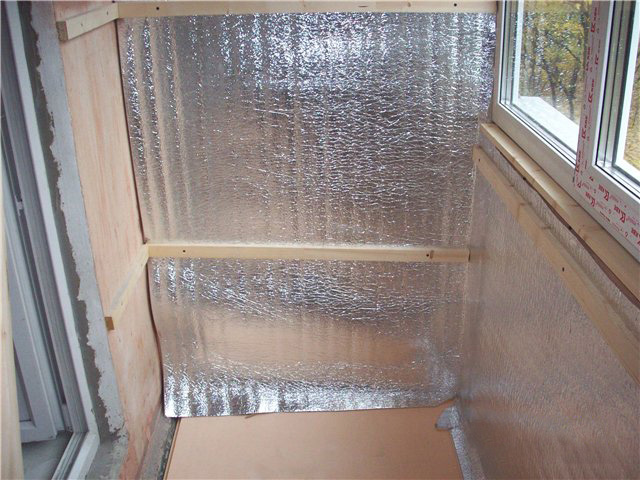
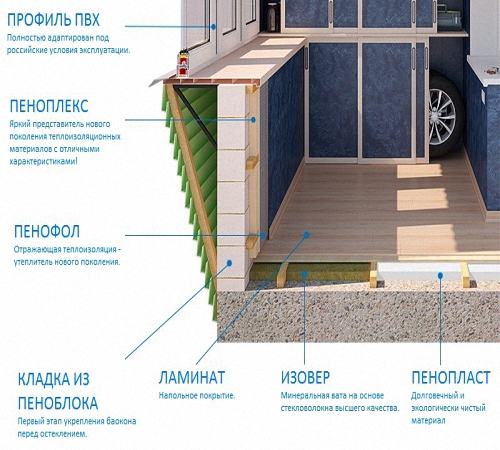
- To insulate the surface better, experts recommend an additional layer of such material as penofol. Please note that this substance is laid with the foil side up. The joints are insulated with reinforced adhesive tape.
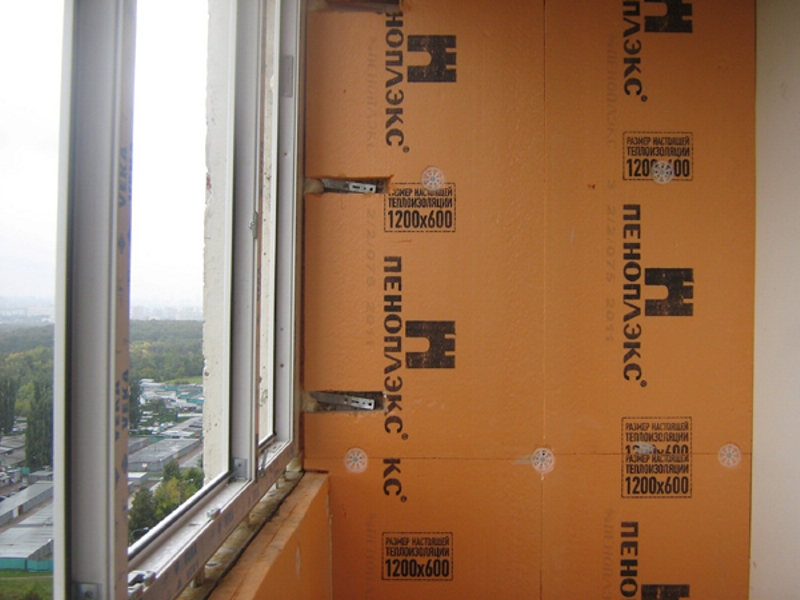
Wall decoration
This operation is in many ways similar to the previously discussed algorithm. It can be divided into several consecutive steps:
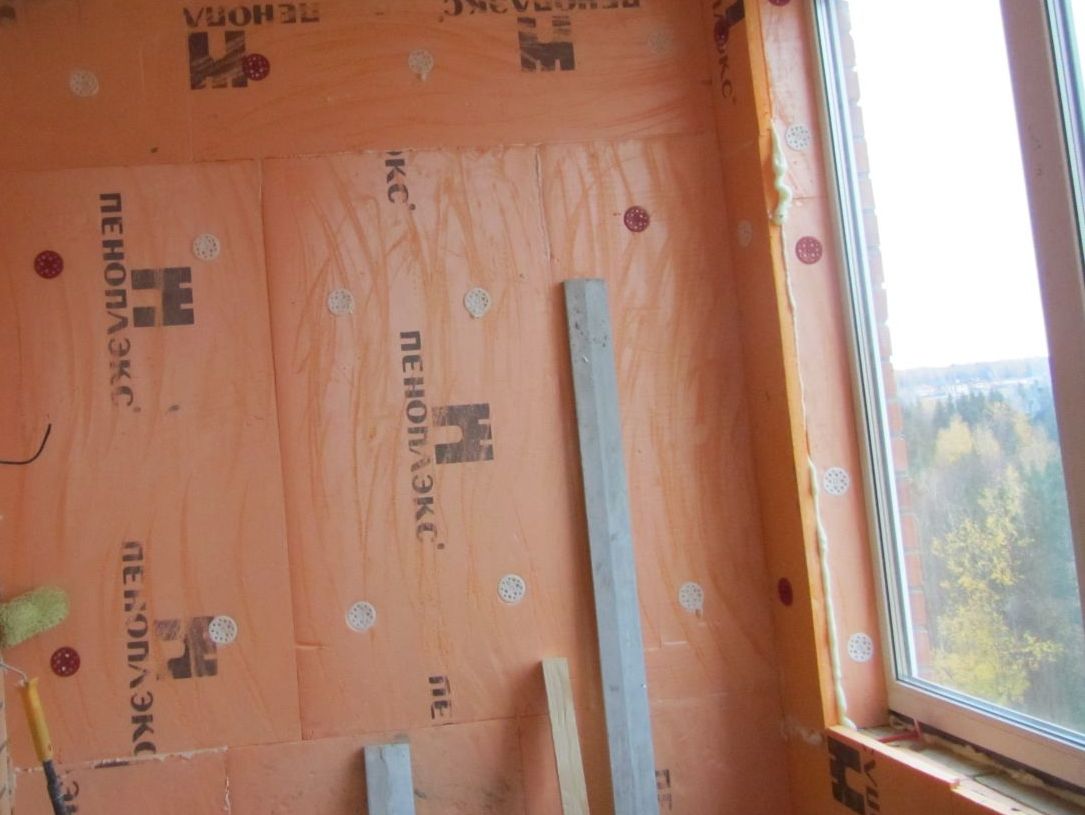
- The first is the isolation of all the cracks located in this plane. For such purposes, use the mounting foam, which, after drying, must be cut in such a way as to form a flat plane with the wall.Experts recommend treating the surface with a liquid primer that can be applied with a regular brush.
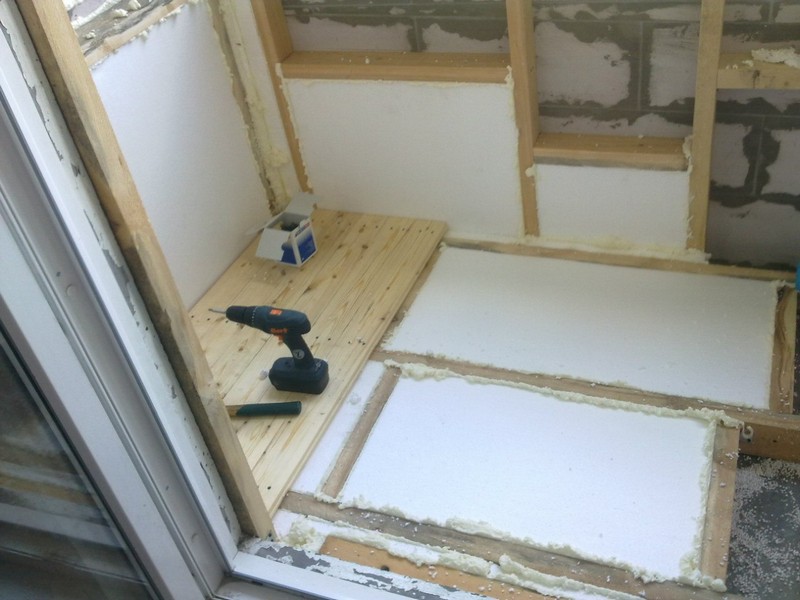
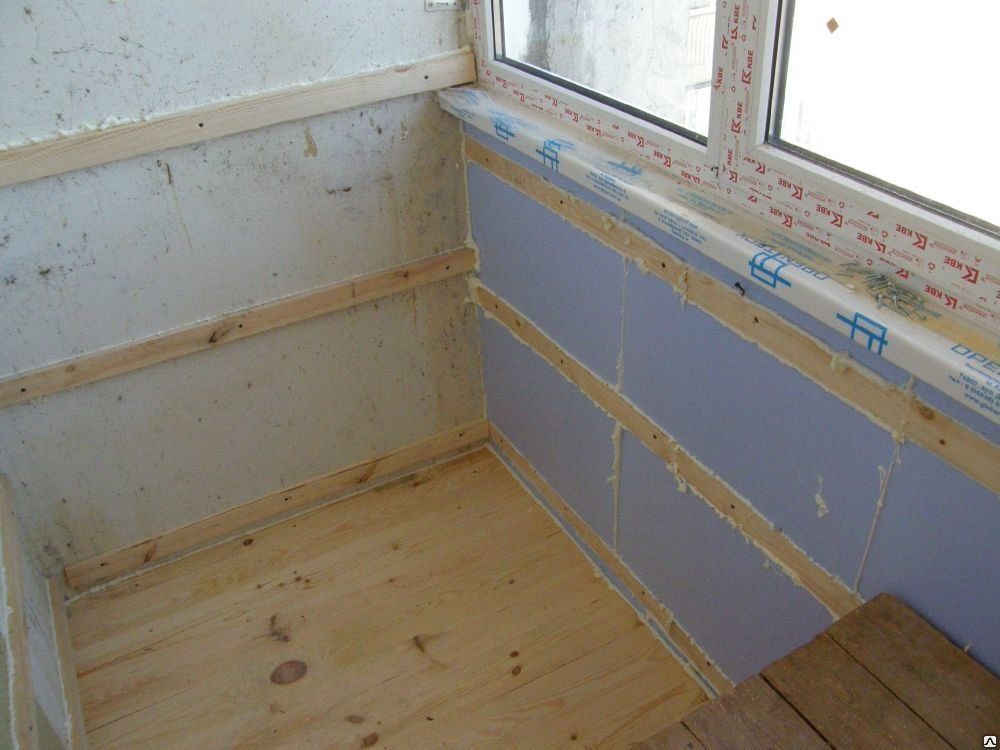
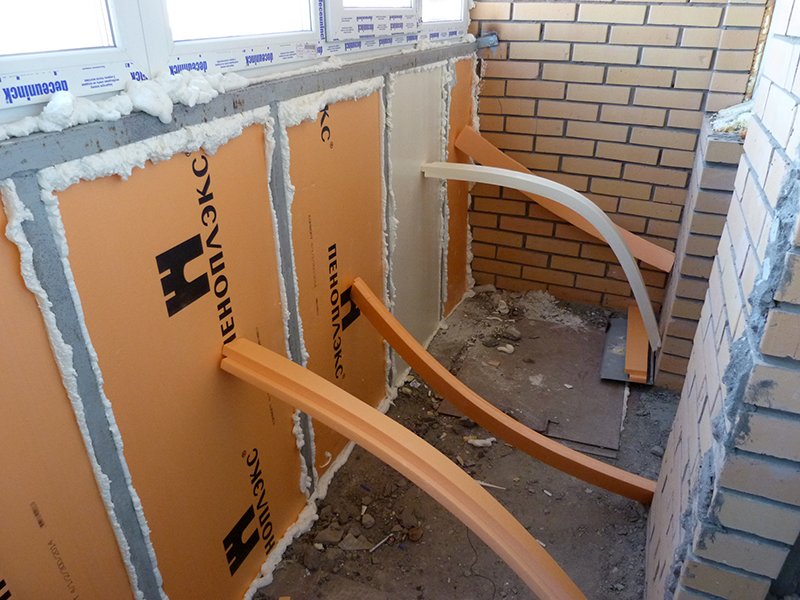
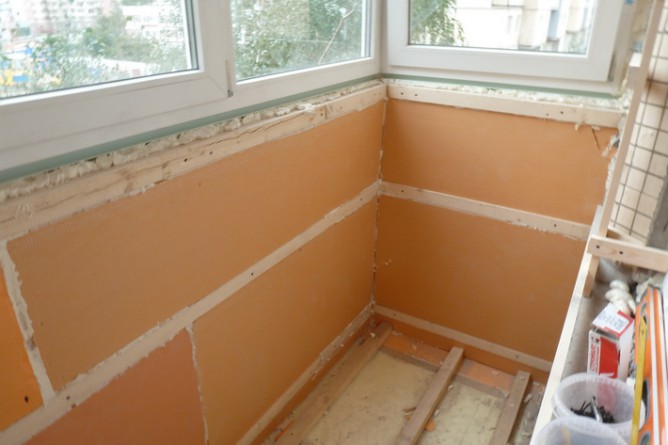
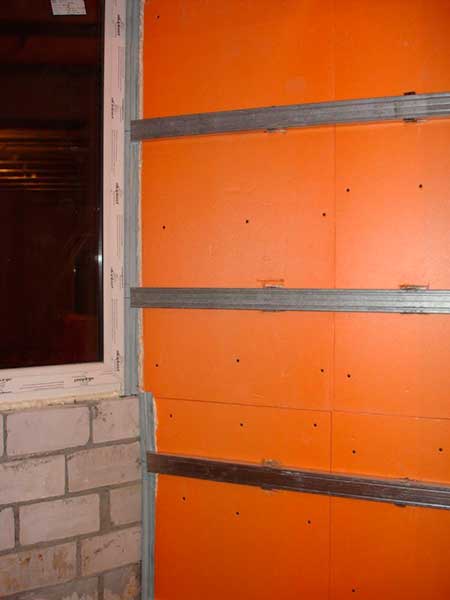
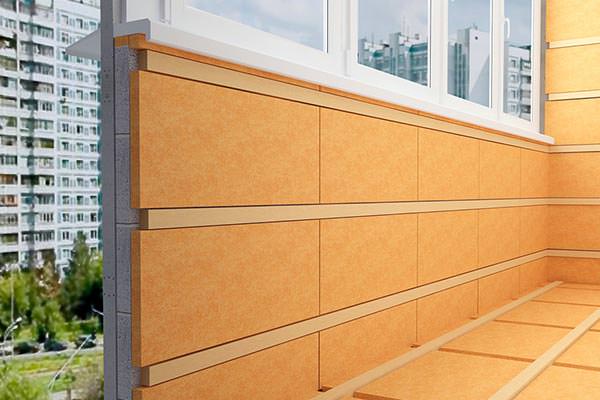
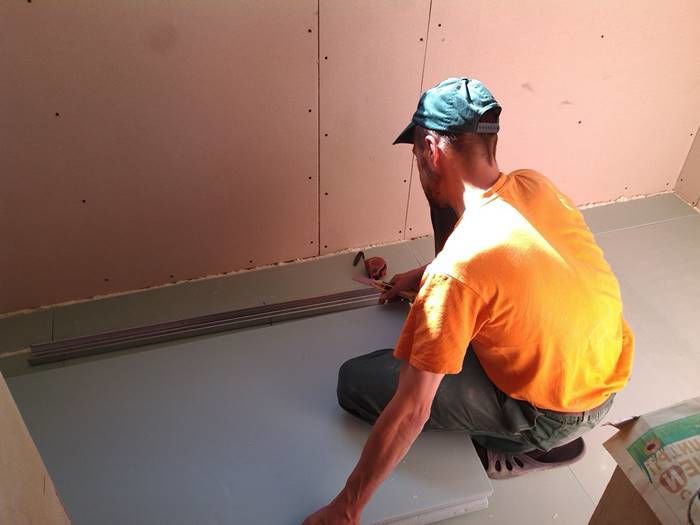
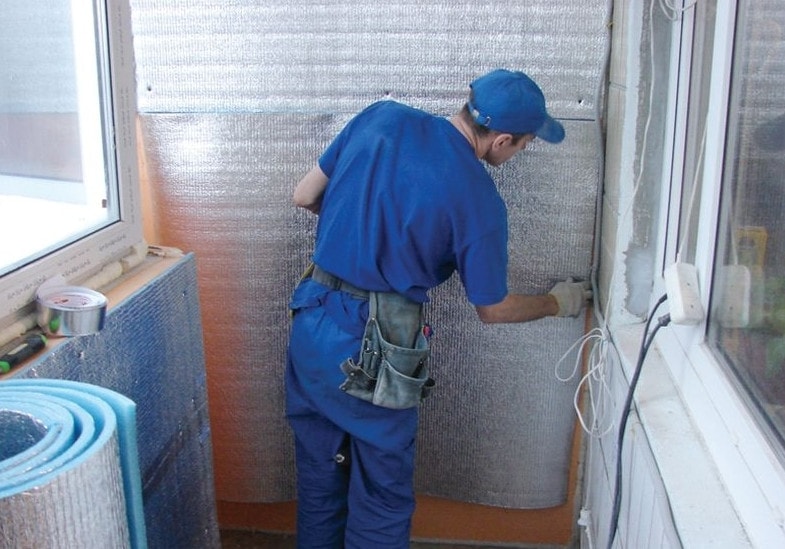
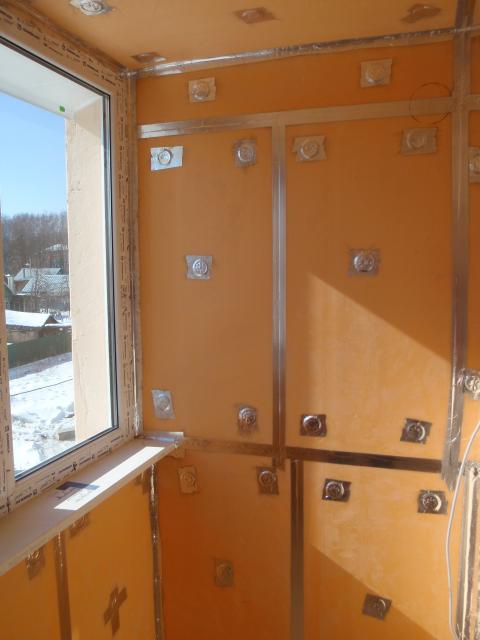
- At this stage, the arrangement of crates. For this you can use both wood and metal. The latter type of substance conducts heat well, which can produce the formation of peculiar bridges of cold. Therefore, experts recommend building a crate of wooden slats.
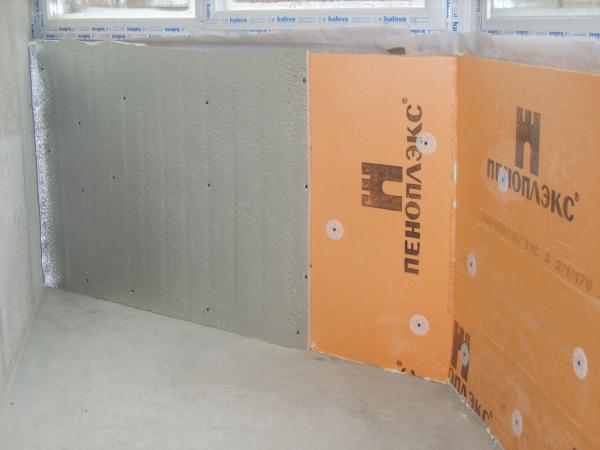
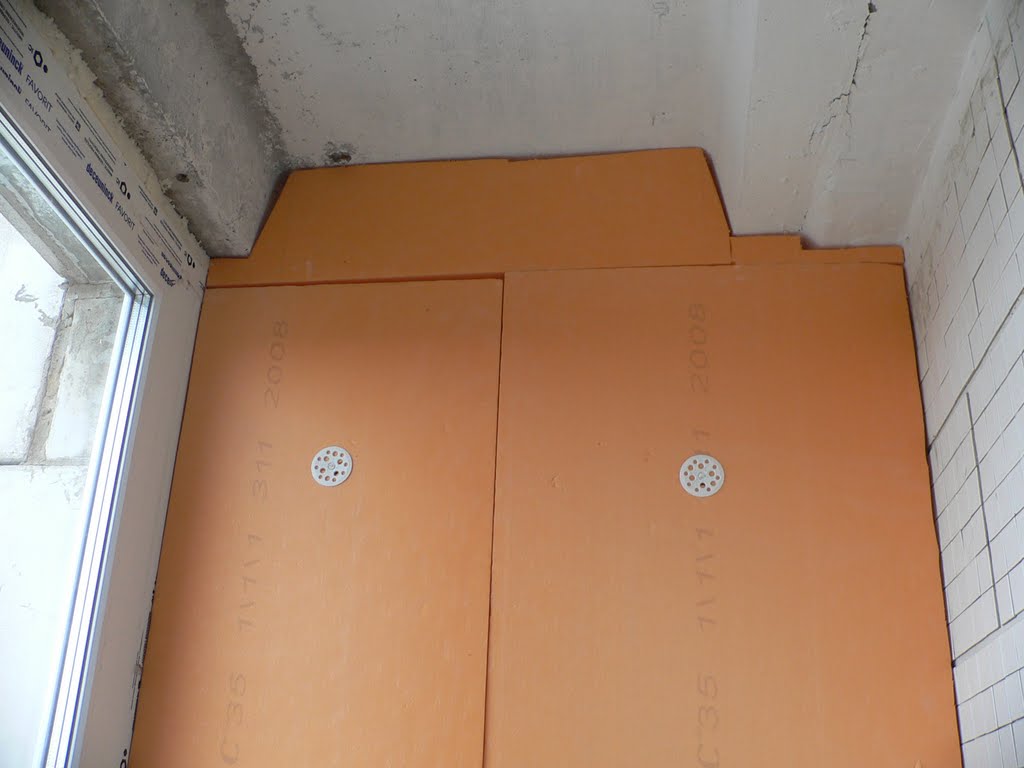
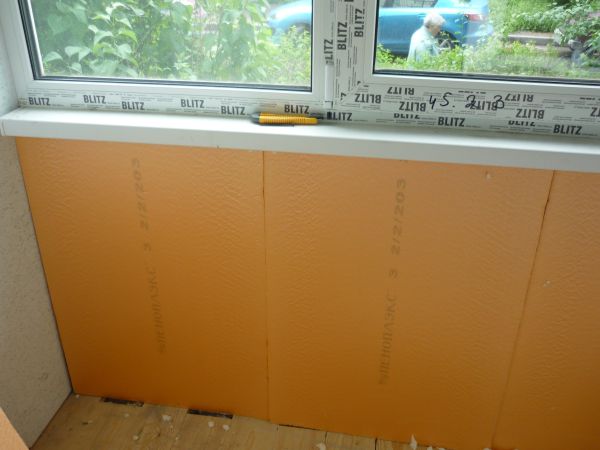
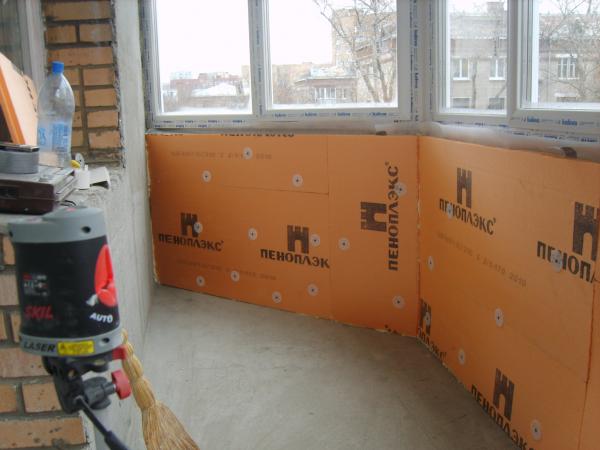
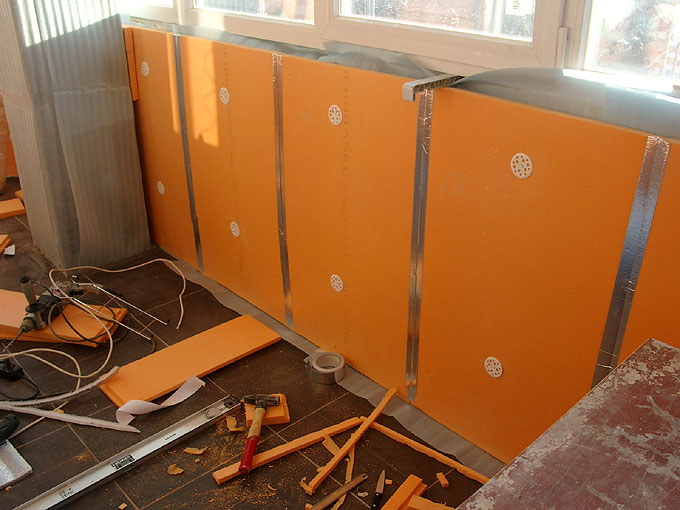
- When the frame is ready, we insulate the wall with sheets of penoplex. Their shape and size should follow the dimensions of the cell into which they will be inserted. Please note that each sheet should fit into the groove with a little effort and be placed in it tightly, but not bend.
- All the gaps in the joints must be filled with mounting foam, and then the surface is leveled with a knife. As in the previous embodiment, the resulting surface can be further insulated with penofol. There is an alternative method of fixing insulation to the walls with the use of special glue. For this, the formation of the batten is excluded, but this option is not always practical and convenient.
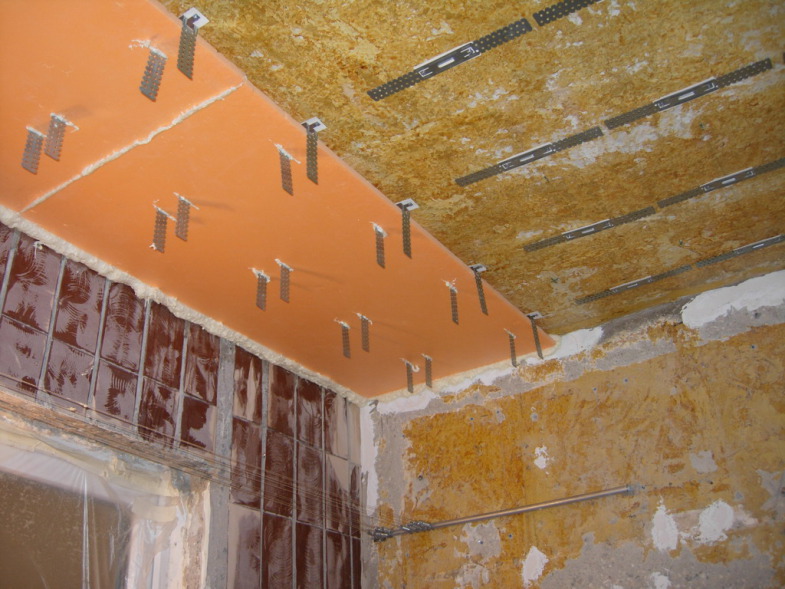
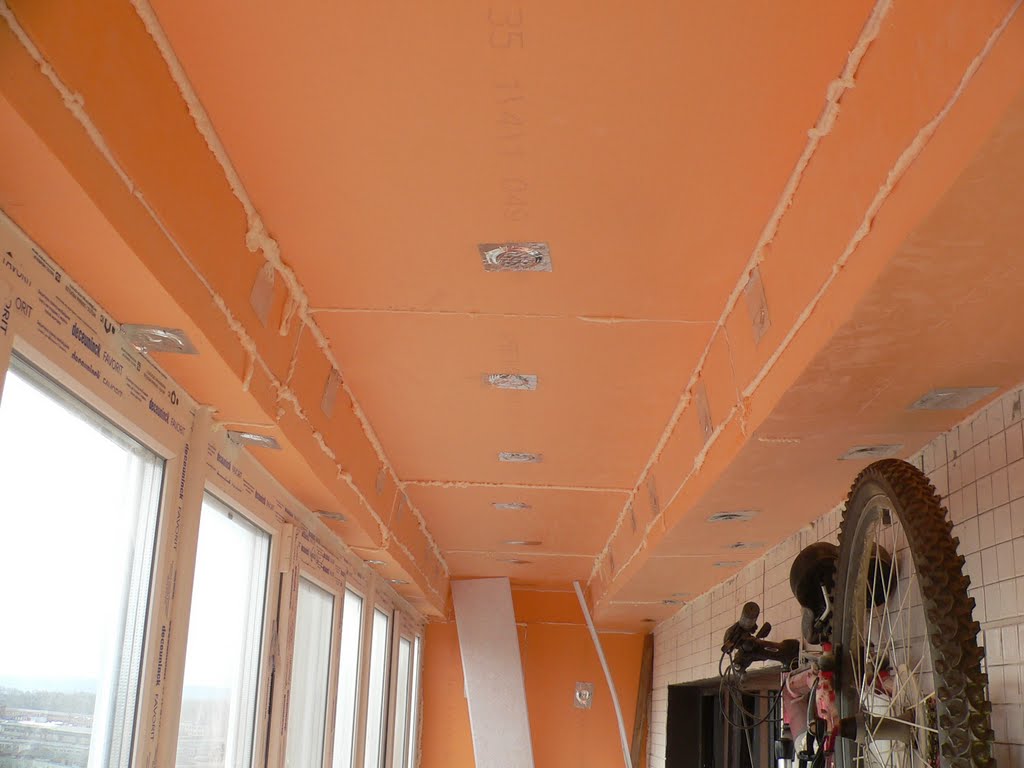
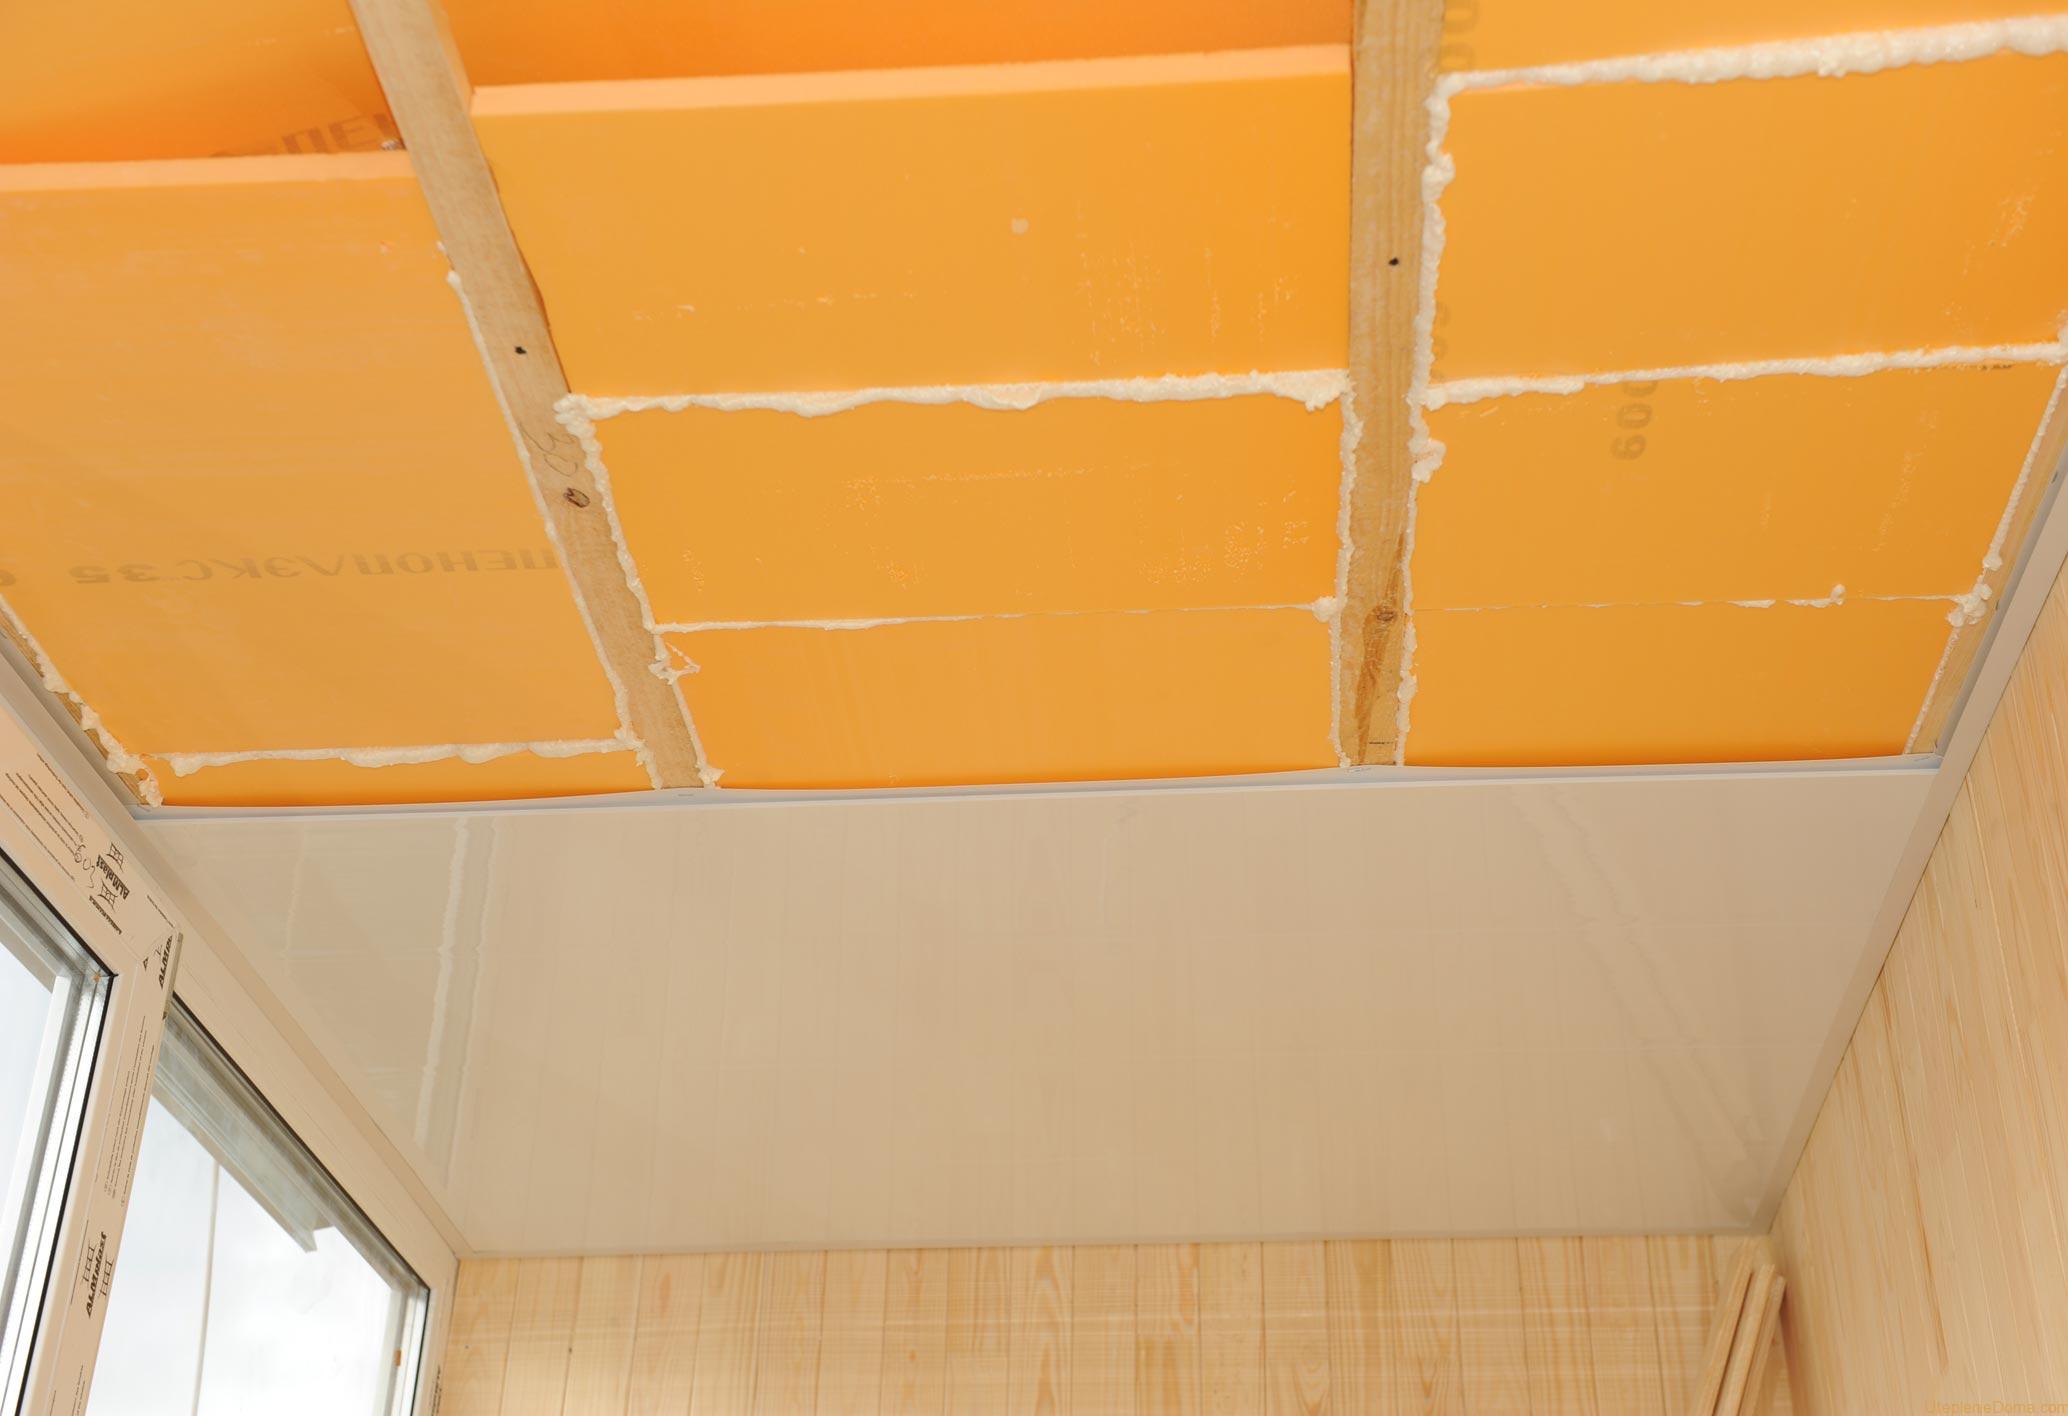
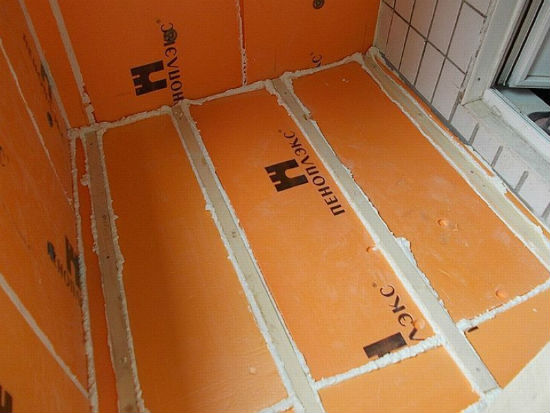
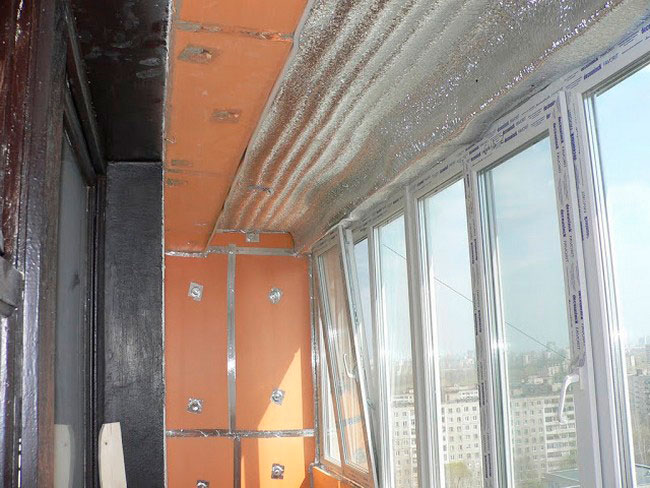
Fastening insulation to the ceiling
The algorithm for insulating this plane also presupposes a preliminarysurface preparation. Fix penoplex to the ceiling only with a special glue or nails. In order for the material to adhere securely, it is necessary to coat the entire surface of the sheet and place on the ceiling with an adhesive. For reliability, sheets are held for a little longer than when pasting other planes. When nails are used, they are necessarily driven in so that the cap is slightly recessed into the insulation. All the cracks formed are also filled with mounting foam, and then the surface is leveled to the same level.
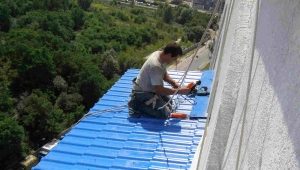
It should be noted that the walls can be decorated with foam plastics not only from the inside, but also from the outside. This will save a little space on the loggia. Such operations can no longer be done independently and therefore they are performed only by experienced specialists with the availability of the necessary equipment. After fixing this insulation, you can finish all surfaces with decorative materials to your taste.
Using this step-by-step instruction, you can easily warm your own loggia and prepare it to arrange any dwelling there.