The details of the gate installation process
Gates must be on any site. But it is important not only to choose the ideal version of the design, it is necessary to understand the features of their installation. Even in the case when the gate is set by a professional team, you need to control its actions. Each type of input structure has its own specific installation rules.
Kinds
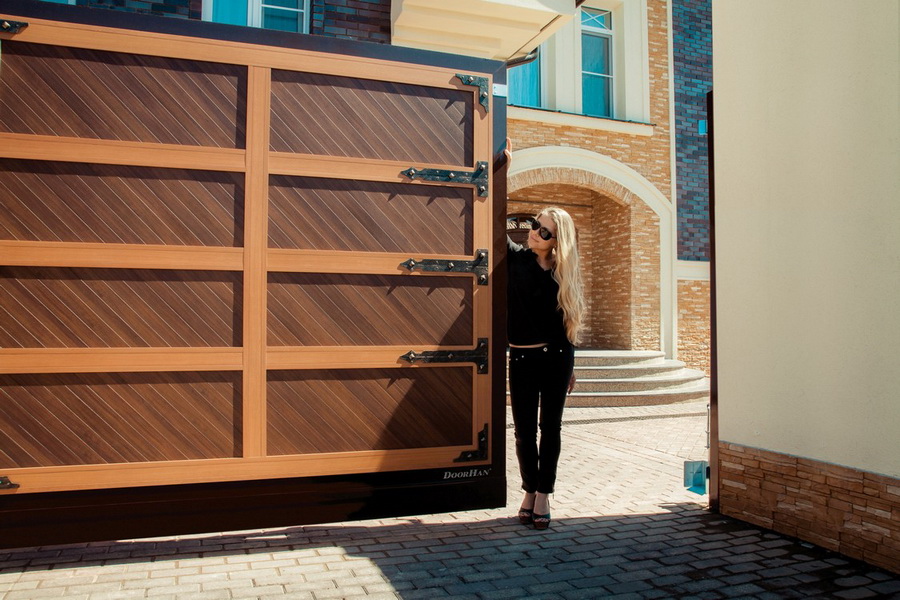
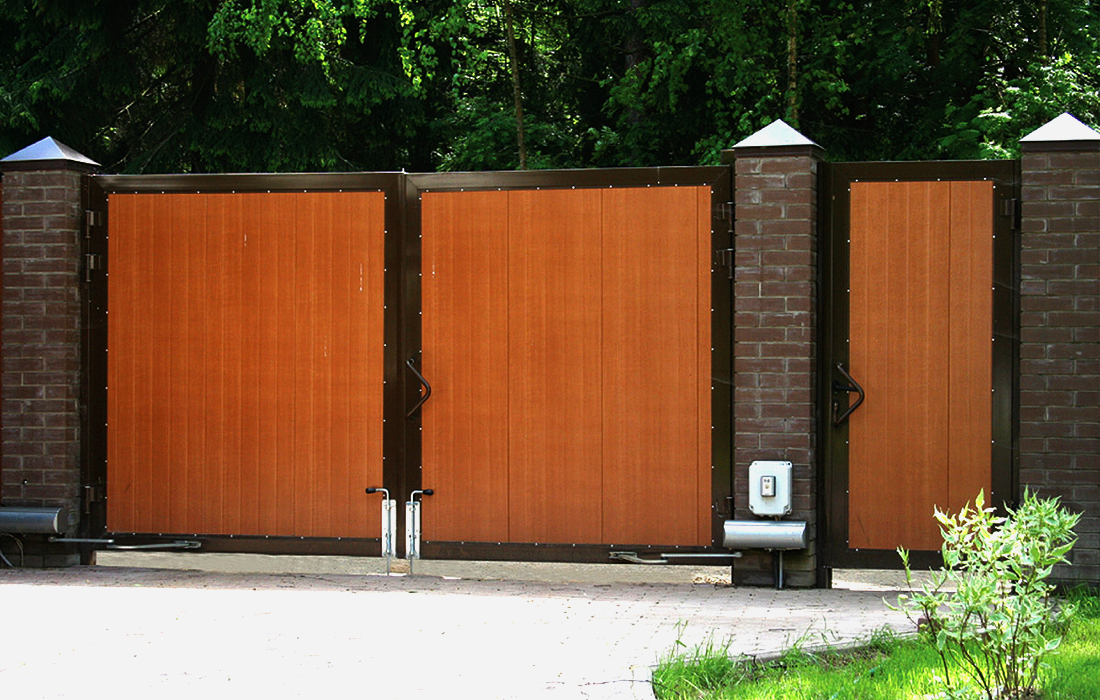
The development of technology has led to the emergence of various types of gates, but in most cases use traditional hinged products. They are made divided into two parts, each of which opens in its own direction. Both segments can be equipped with an autonomous electric drive. Quite often there are sliding solutions, the canvas of which, when opened, moves to the side.
The movement of the whole structure, of course, occurs simultaneously from a single power source (muscle power or motor).For the movement of a roller scheme is used, the movement goes on the rails. Sectional type of gate is used mainly in garages and similar structures.
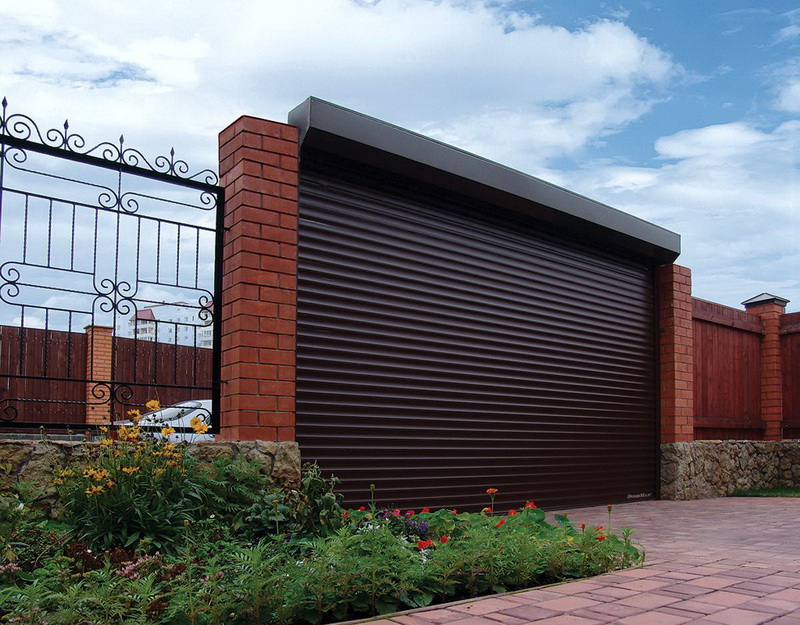
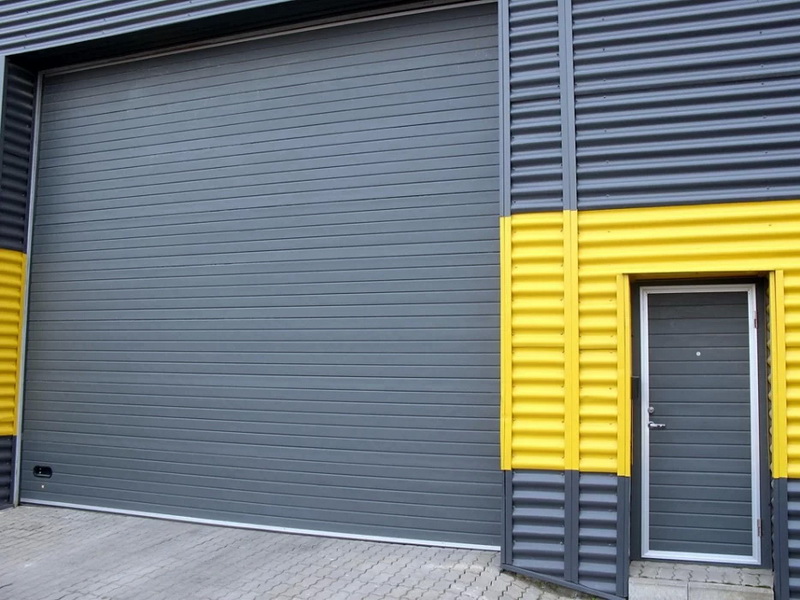
It is advisable to use rolling shutters (roll constructions) for kiosks, stalls, pavilions and many other buildings. They are also used in shop windows. With the help of roller shutter systems, full compliance with the required dimensions of the opening is ensured, as a result of which the level of thermal insulation and protection against extraneous noise are at a very high level.
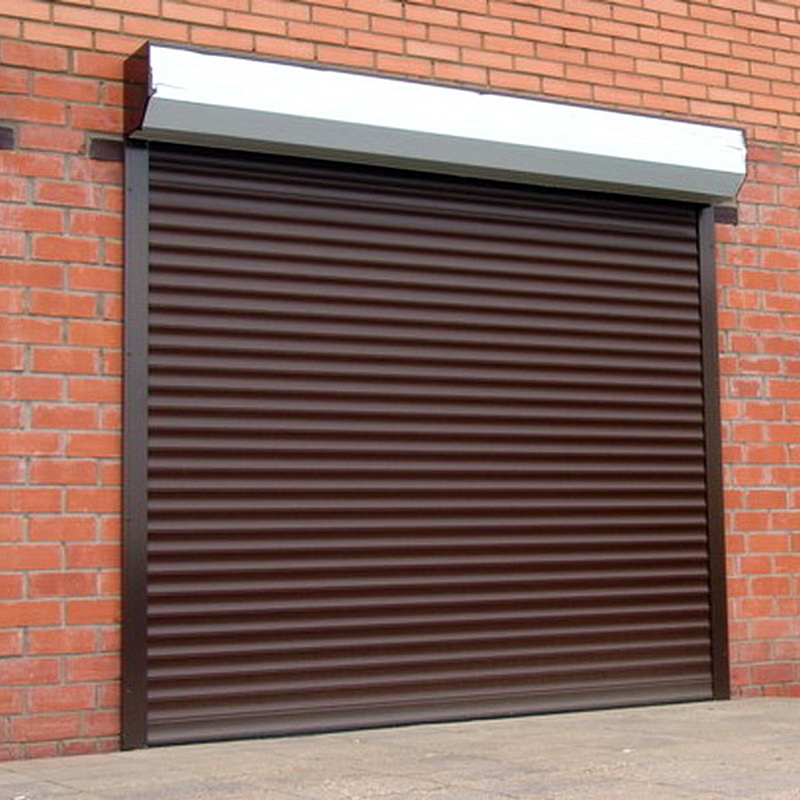
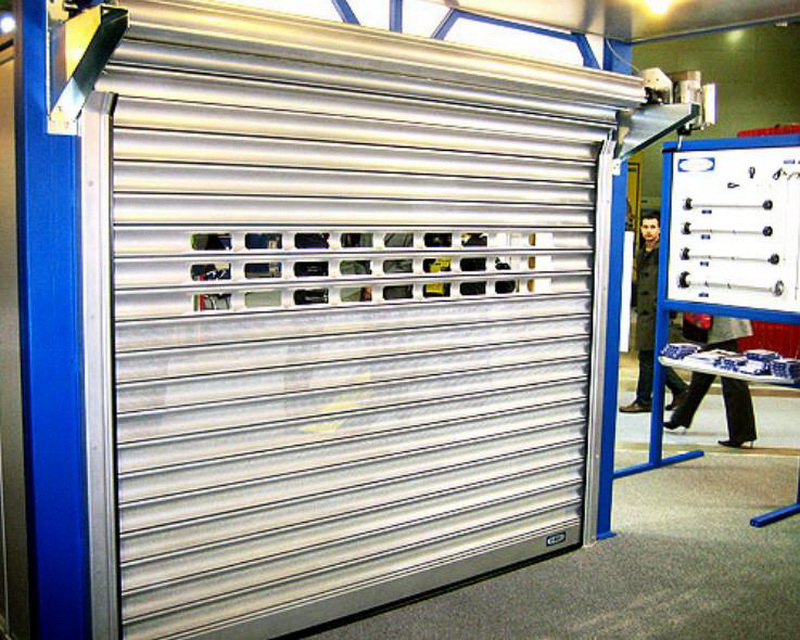
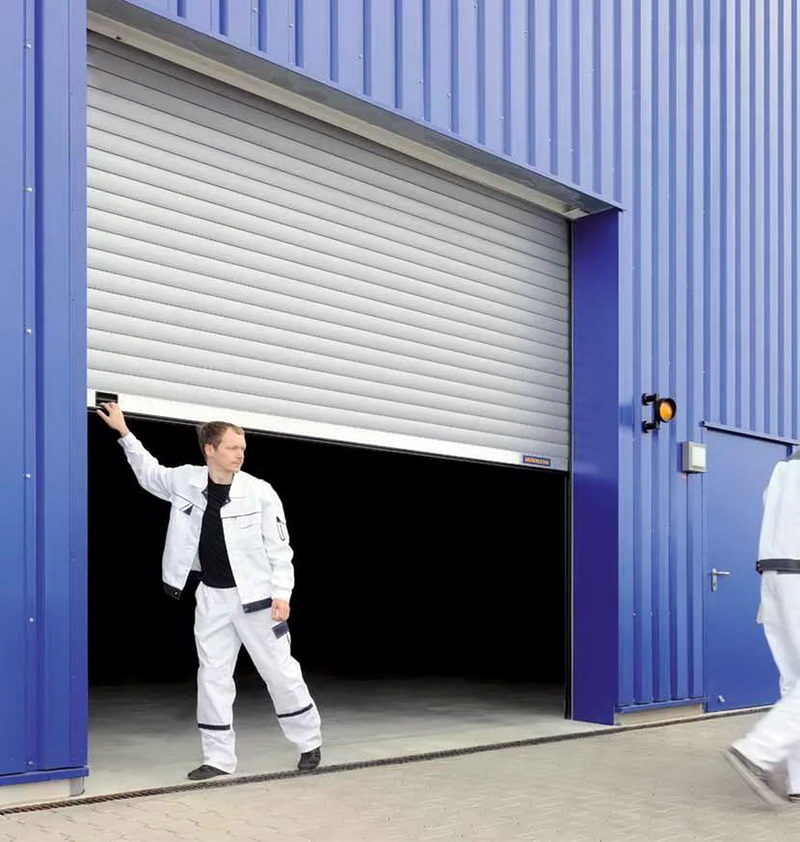
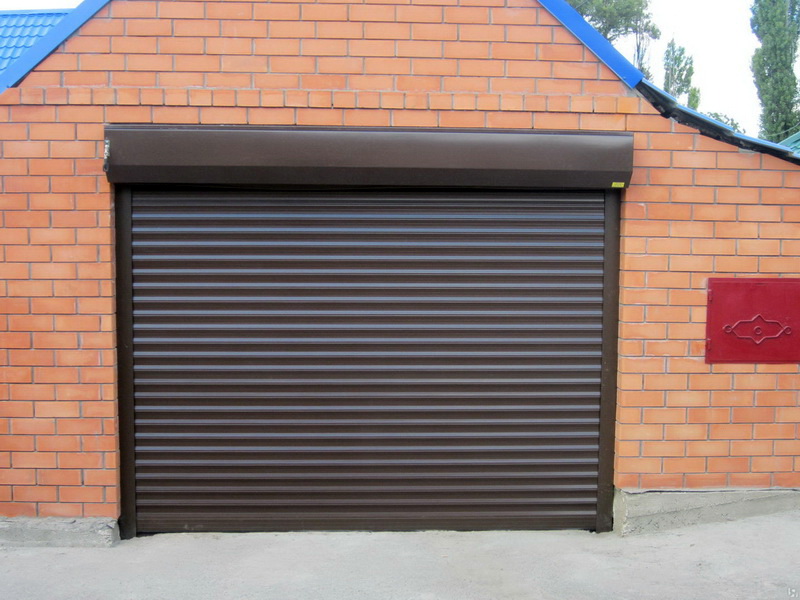
It is necessary to equip gates in garages and on garden (country) sites, when it is required to enter and exit without opening the main part of the structure. This is a very convenient and practical solution. For the anti-theft gate is characterized by increased strength and resistance to destructive mechanical factors and targeted hacking attempts. The lifting options of the gate have a variety of characteristics and above all the height to which the canvas rises.
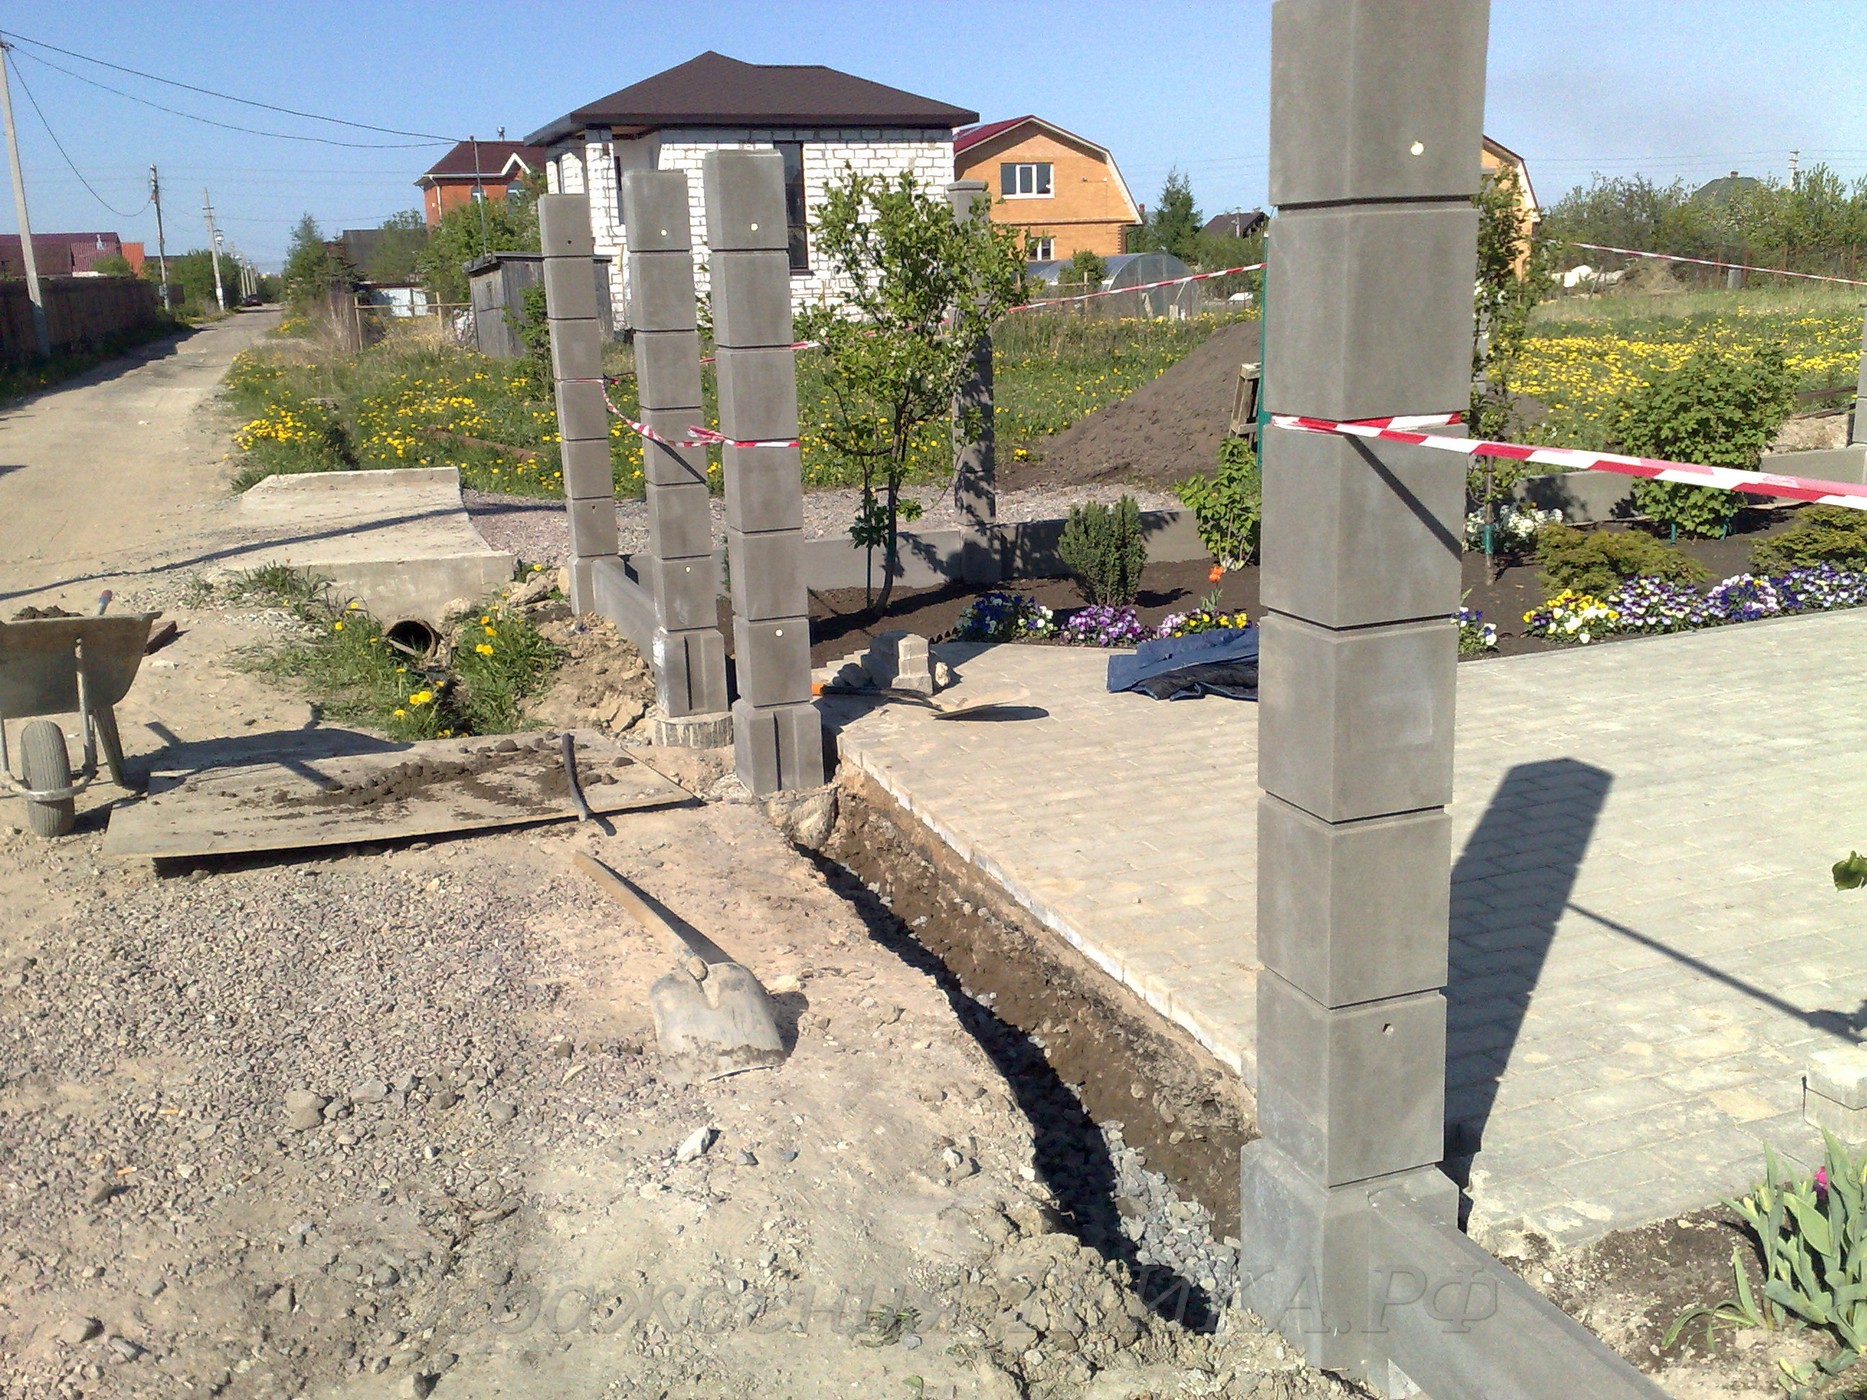
Props
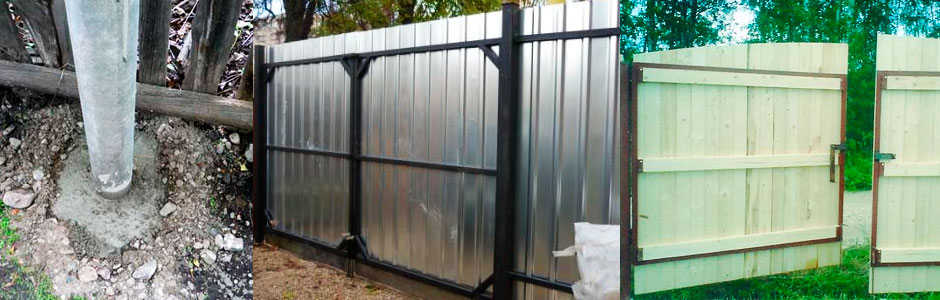
Before the installation of the gate, it is necessary to prepare the supports (columns), since they will have to withstand the load during operation as long as possible. The support made of are suitable to oar gate:
- wood;
- reinforced concrete;
- metal.
Relatively light sashes (no more than 30 kg) can be hung on racks made of wooden timber with a section of 100x100 mm. An alternative to it are logs with a diameter of 160 mm. When the canvas has a mass of more than 30, but less than 80 kg, it would be more correct to use concrete or pipes with a diameter of 120 and a thickness of 4 mm. If a timber is selected, its cross section should be at least 140x140 mm, logs less than 20 cm are also impractical.
For the most heavy structures, it is recommended to install pipes from 14 cm in diameter with a wall of 0.5 cm and higher, or channel bars ranging from 100x100 mm.
It follows that Search for a universal option should not be, it should be chosen for the solution of a specific problem. It is also necessary to take care that the supports for the gate and for the fence coincide stylistically and technically. On sandy, soft or periodically swamped soil, excavations should be tied together and reinforced lintels should be created between the elements to be joined.
It is impossible to work with supports until the concrete completely hardens. When tilting the pole, it is removed and the bookmark is re-created.
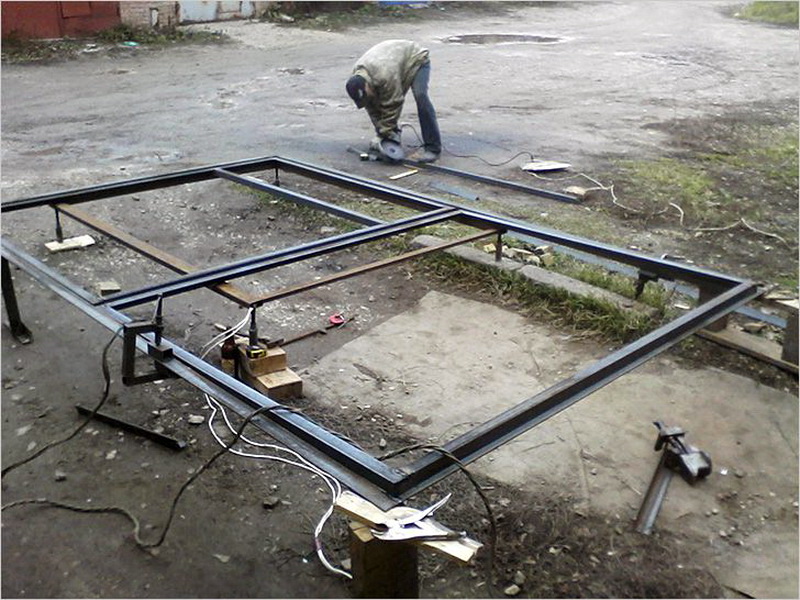
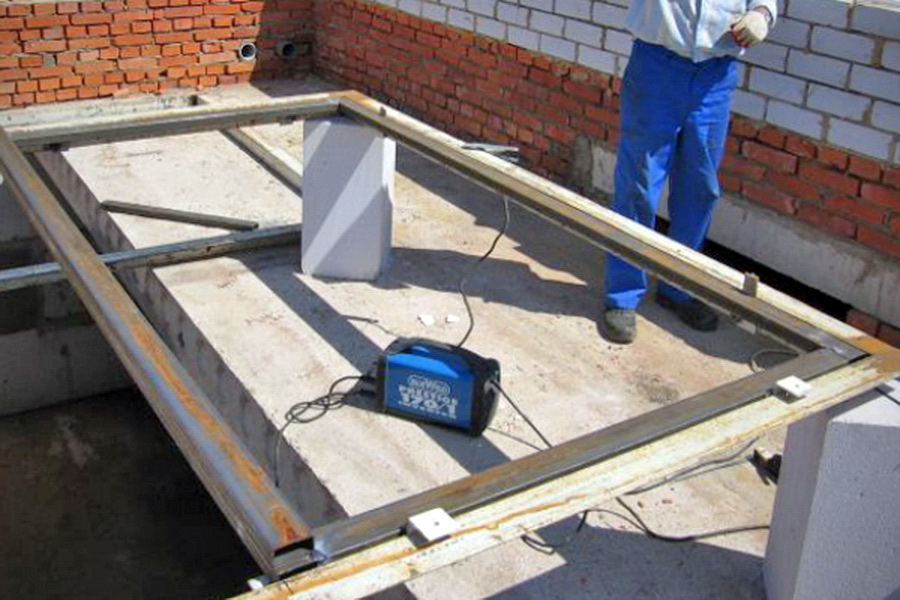
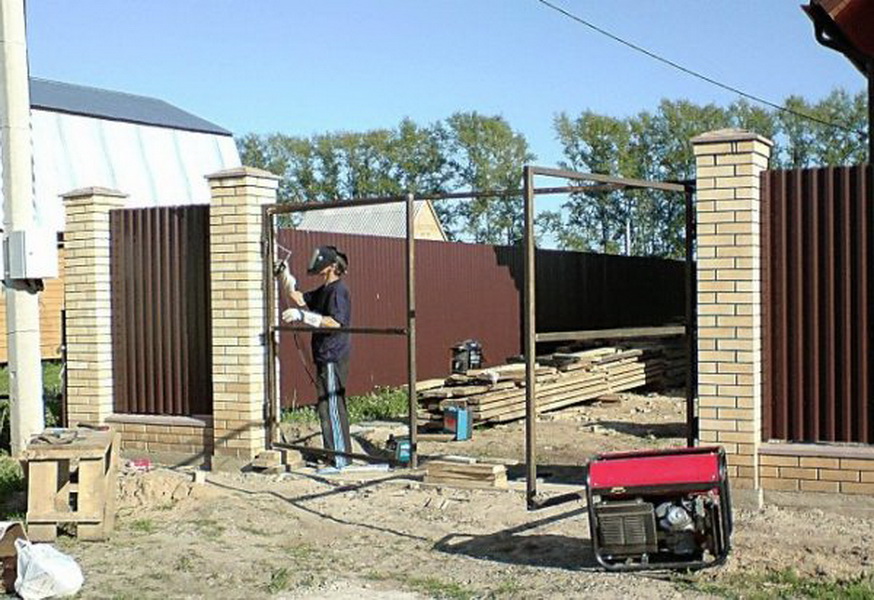
How to make a frame?
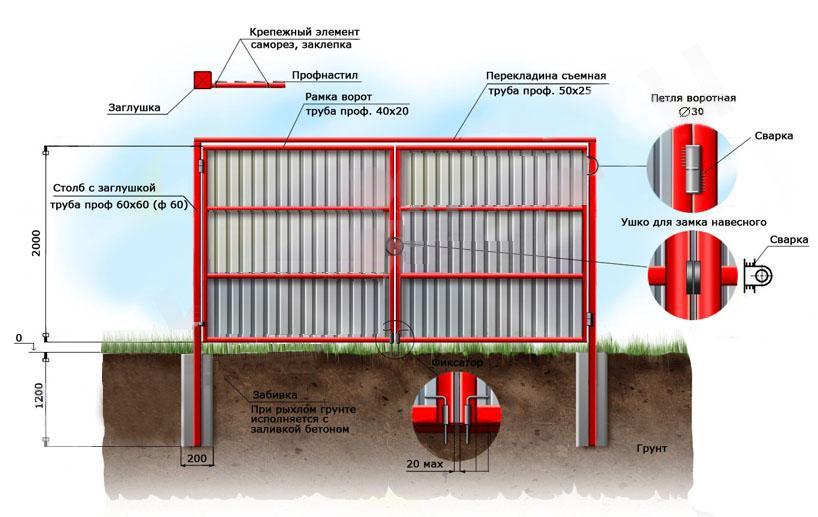
The pillars are very important, but it is equally important to prepare a good construction for the gate itself. The frame is formed of iron pipes, most often for work they take rectangular profiles of 3x5 cm. The markings are made according to the dimensions corresponding to the door aperture, after which the pipes are cut and the fragments are welded with a horizontal seam. When working it is recommended to use electrodes with a diameter of 0.3 cm. The method of work is as follows:
- place all parts on the ground;
- bind them with pre-welding;
- carefully fit the fragments to the strictest quad;
- weld joints;
- strengthen them with sheet metal plates;
- repeat this work with the second set of suspensions;
- Be sure that there is approximately 80 mm of free space from the web to the surface of the earth.
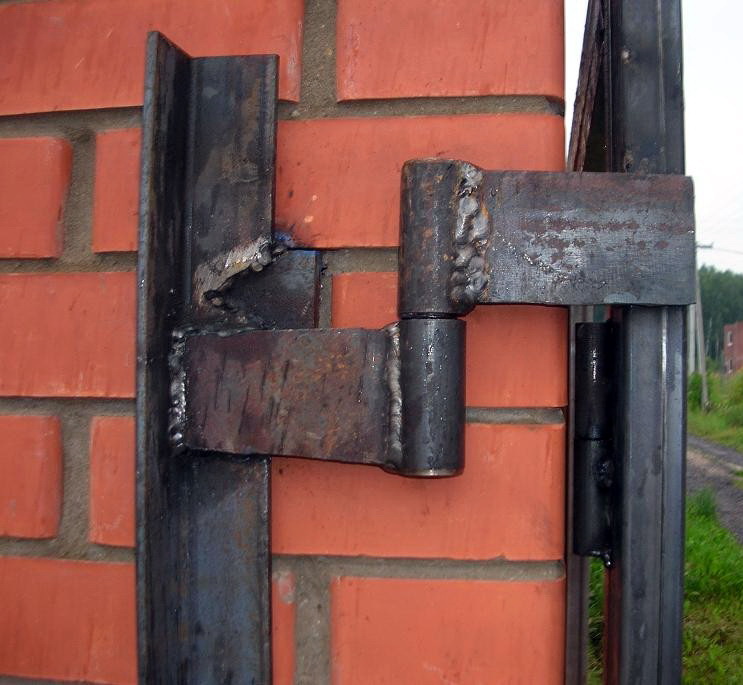
Key attention needs to be given to the loops. And for the gate, and for the gate, you need to make them massive. A pair of loops on the sash and the same amount on the gate is quite enough to use. In the process of preparing the hinges, 6 metal plates of size 30x40 mm are needed, and the metal layer should be more than 0.3 cm.Pipe cuts are used to cut rectangles that are straightened with a hammer blow.
It is necessary to carefully check whether there is rust on the plates, and if there is, it is removed beforehand.
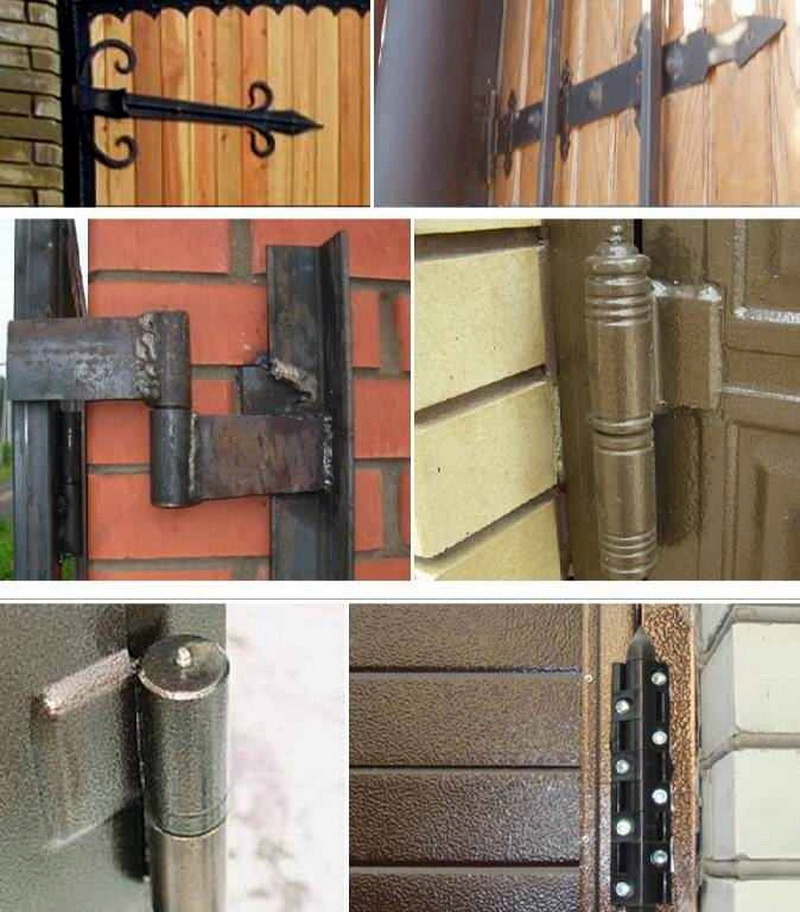
Each loop is formed by a pair of parts; the segment with the pin needs to be welded to the pole, another fragment to one and the other sash. The welded area is thoroughly cleaned, holes are drilled no more than 0.3 cm wide. Four plates are required in the plate that goes on the sash, and one is enough for the post.
Installation Features
But the manufacture of the frame is completed, it is time, in fact, installation. As racks for sliding and folding "harmonicas" take elements that are not designed for increased load. because it is advisable to use round or square tubeswhose cross section varies from 640 to 1000 mm. But the device of the gate and gates, in which the hanging mechanism is used, is different - the pillars must be selected in the same way as those placed under medium and heavy sash.
To avoid mistakes, it is recommended to turn to professionals.
Putting the gate with your own hands, you need to make the underground segment of racks exactly 1/3 of their height for each case. It is possible to vary the adaptation to the gravity of the valves by changing the size of the hole:
- for easy gates from 0.25 to 0.35;
- under the average - from 0.35 to 0.45;
- under heavy - from 0.45 to 0.70 m.
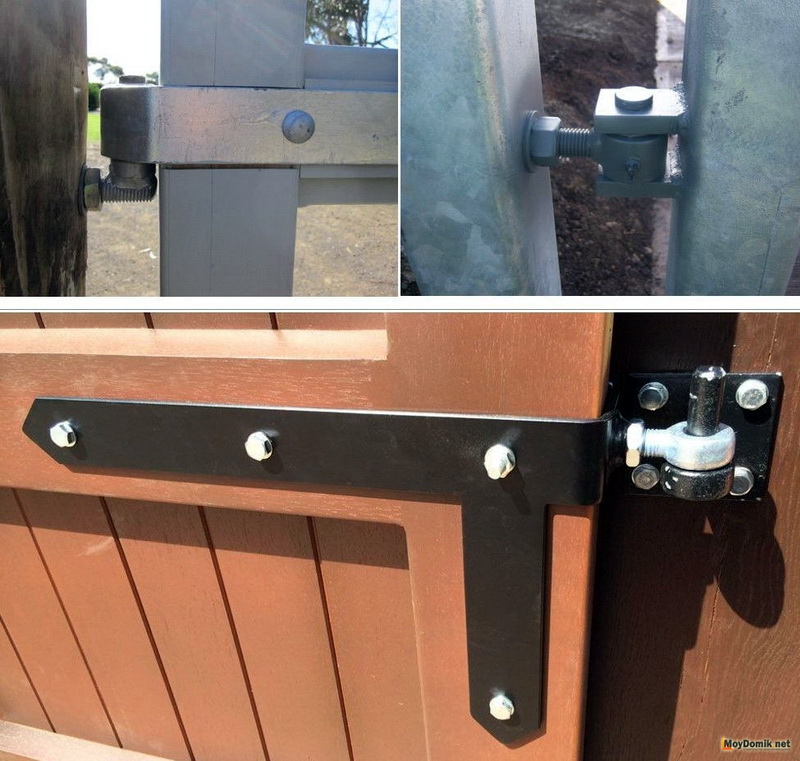
If gate adjustment is required, you must immediately select a set of hinges that can be adjusted; constructions that do not have such an option cannot be configured.
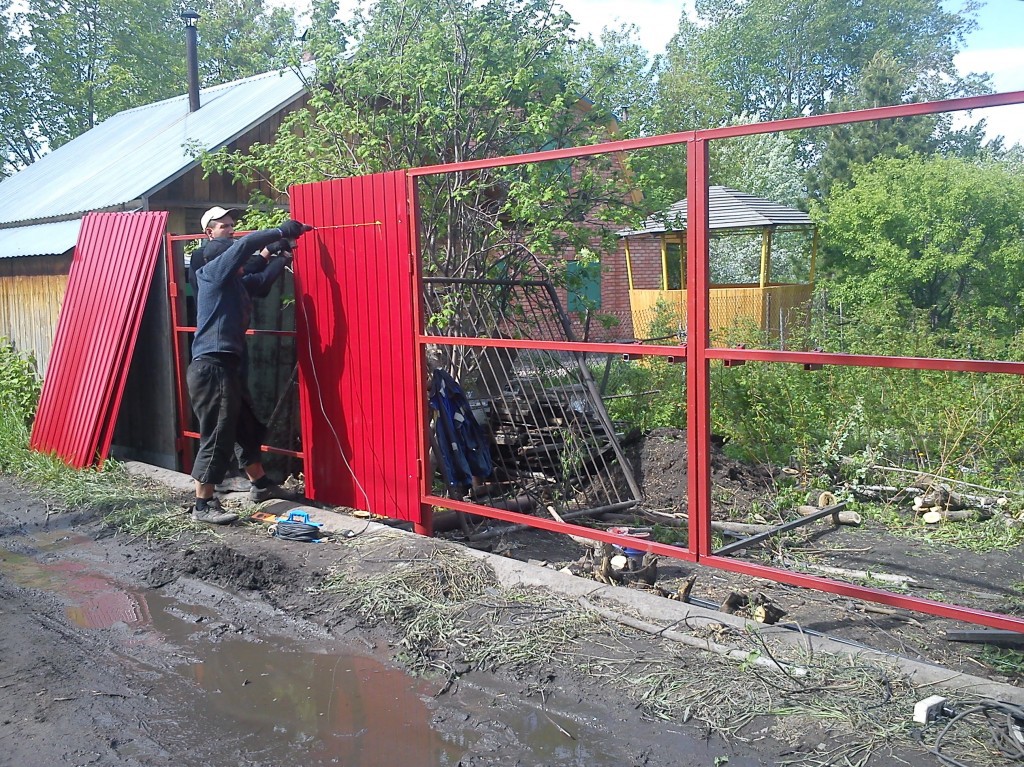
When securing the swing gates, you need to tie up each of the sheds with a wire, then they will not slide down at the time of installing the bottom gap patterns. When installing sliding metal gates, it is better to choose a console version with mechanics, since such a construction is unlimited in height and works silently. You can proceed to installation, even without a ready opening, but it is required to provide a direct fence from the opening side.
Sliding gates can be made on rail strips, this solution provides strength and resistance to strong winds even in the case of self-installation. It is easy to create a design up to 600 cm wide, but you certainly need to prepare an opening and systematically clean the mechanism to avoid difficulties when opening. To install the sliding gate correctly, you need to attach them with a torsion spring to the ceiling of the room.Work with individual categories of gates has its subtleties.
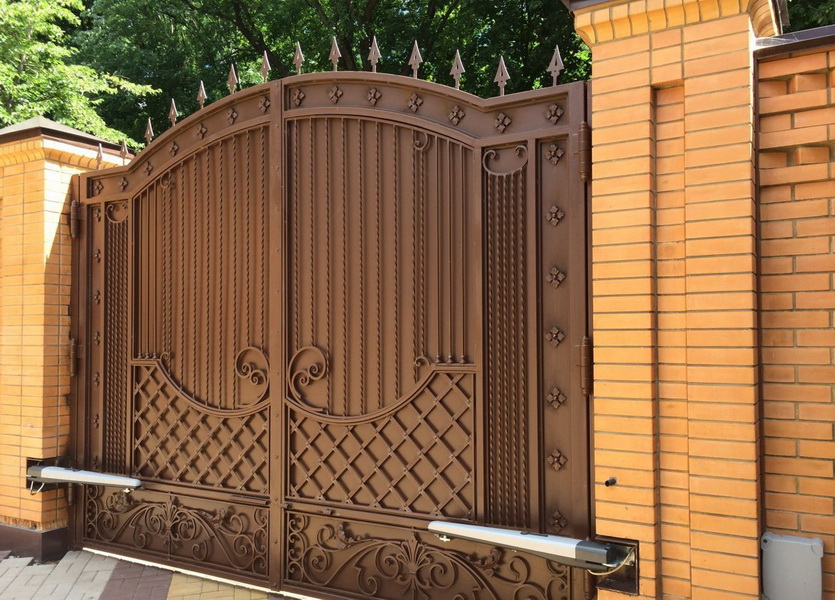
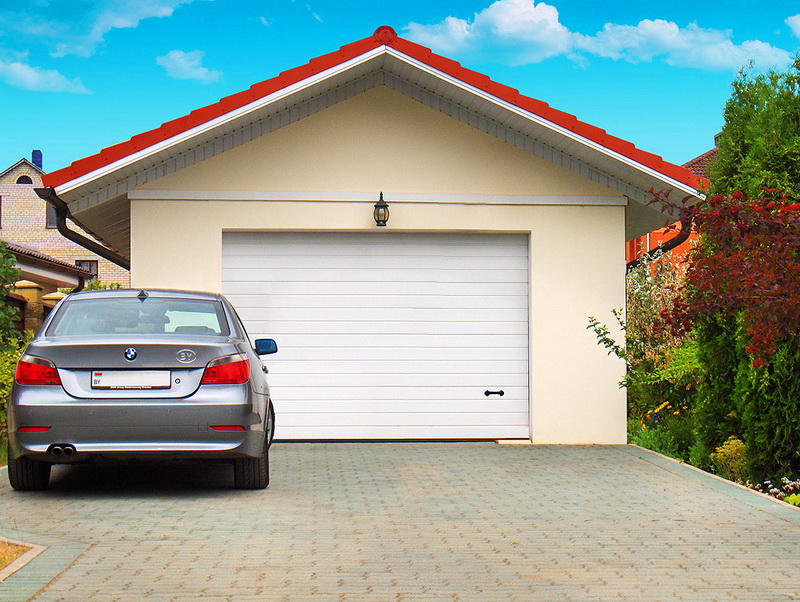
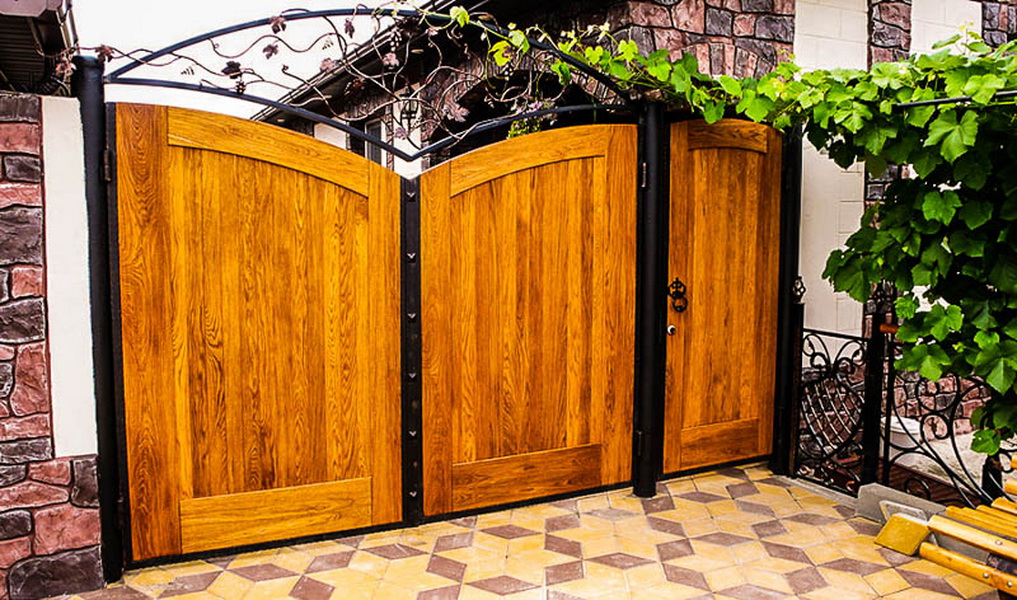
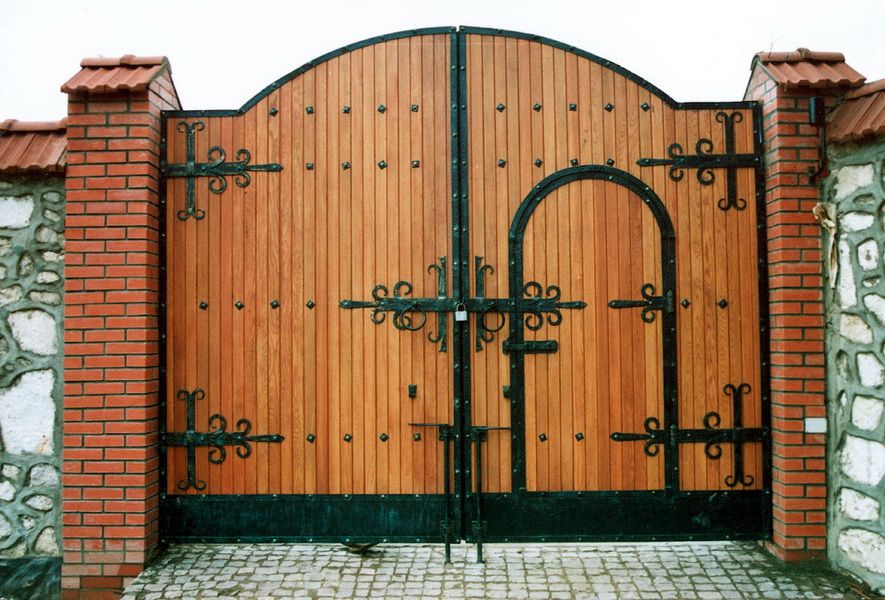
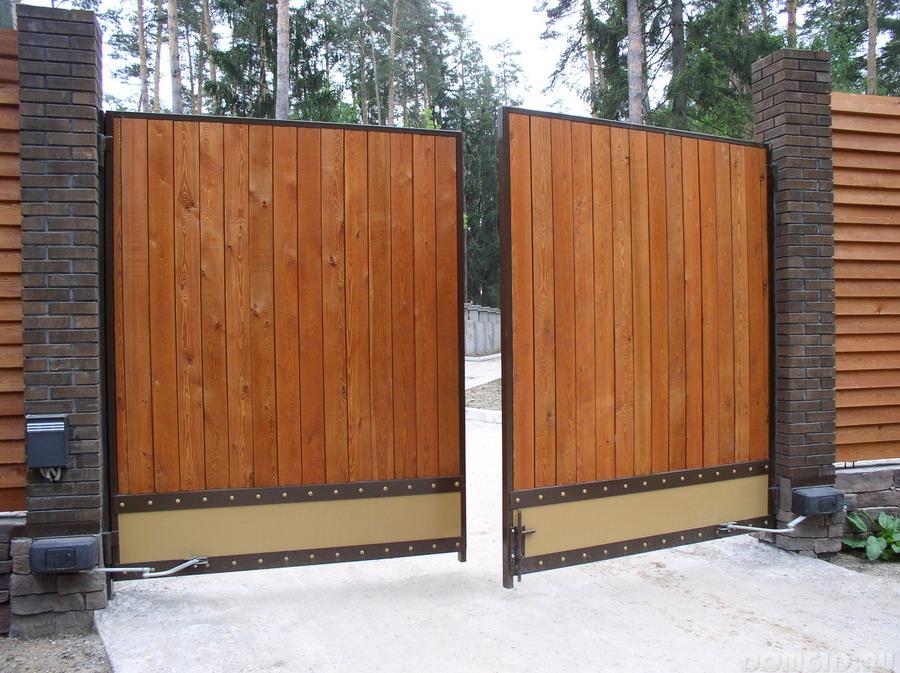
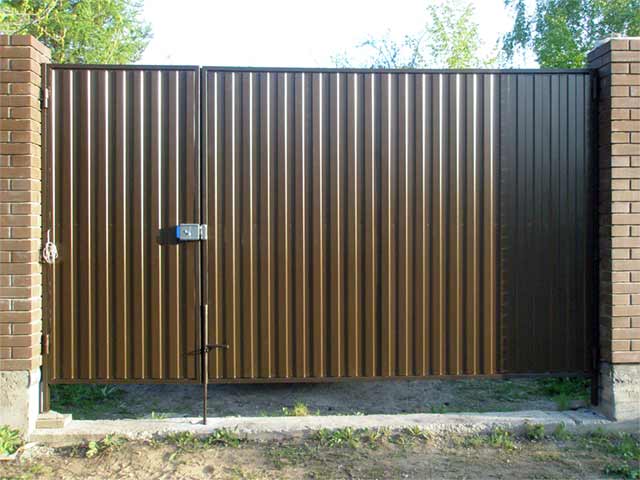
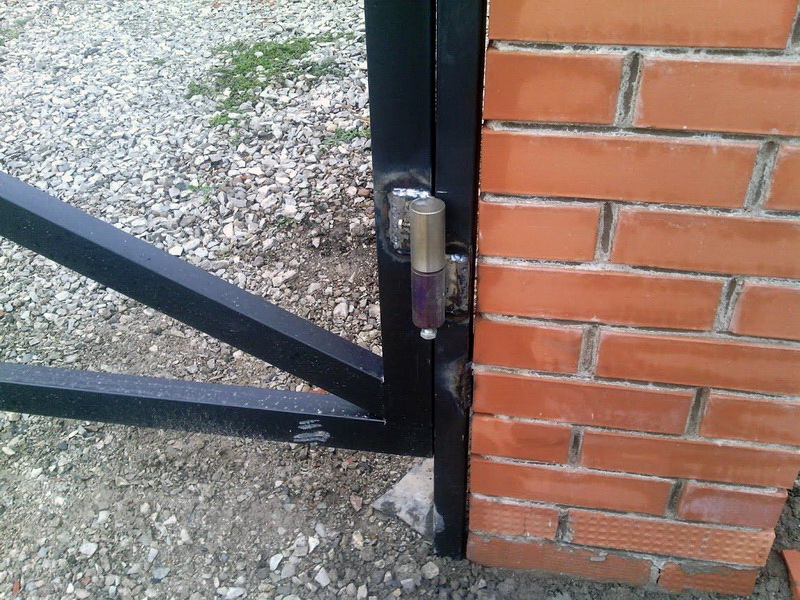
Swing
First of all, the sash should be connected to the racks in the prone position, only when this is done, the racks are inserted into the holes made in advance. Bricks, bars or other materials should be placed under the elements, which will help to keep the ground clearance from 10 to 15 cm.
The bases of the racks after precise placement concreted and wait for the solution to dry in the next 3 or 4 days. Only after it is completely hardened can the gate be safely used.
On an uneven surface, you first need to find the highest point with which the lower edge will come into contact. When the construction is removable, the approach is noticeably simpler, especially when setting the required height. You can even immediately mount the rack, and only after their installation mount sash. It is advisable to fix canopies on racks and shutters when they lie on the ground, after which they should be removed and put up posts. The tops of the racks need to be placed in one line,so that their height is exactly the same.
Small elevation differences can be eliminated by placing the washers in the sheds or outweighing the sheds themselves. Lightweight gates are sometimes attached to racks originally mounted; but if they are harder, such a move is wrong. Heavy swinging gates on brick or masonry should not be rigidly engaged with each other. If you do this, mechanical, vibration and wind loads will rapidly destroy the rack.
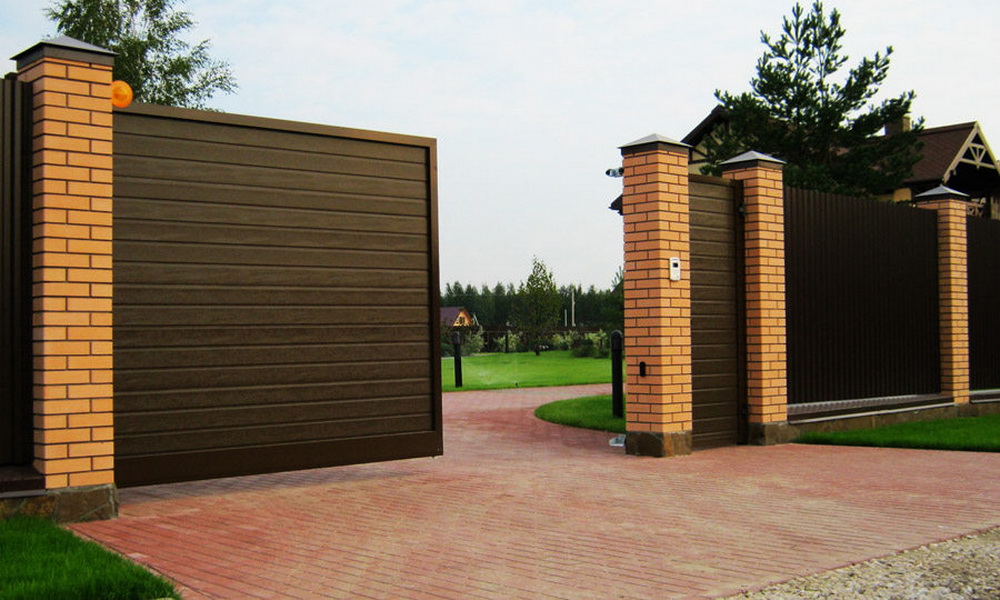
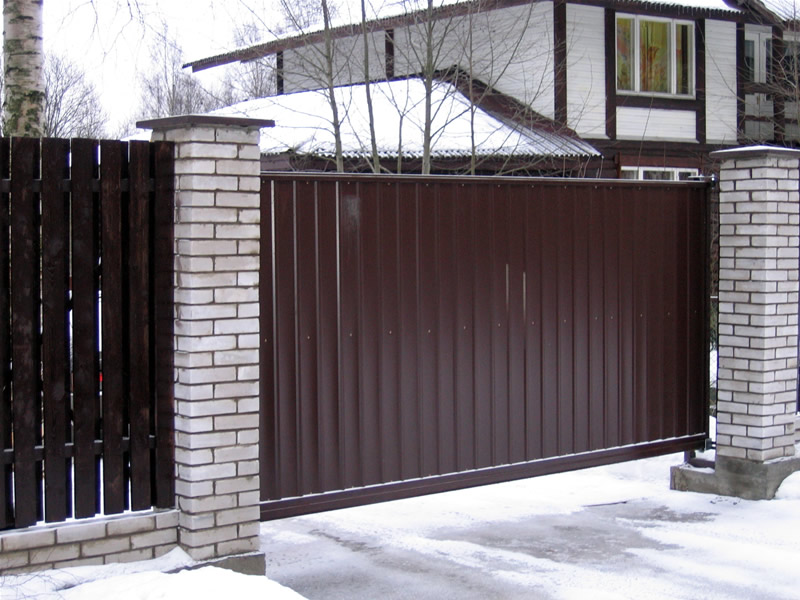
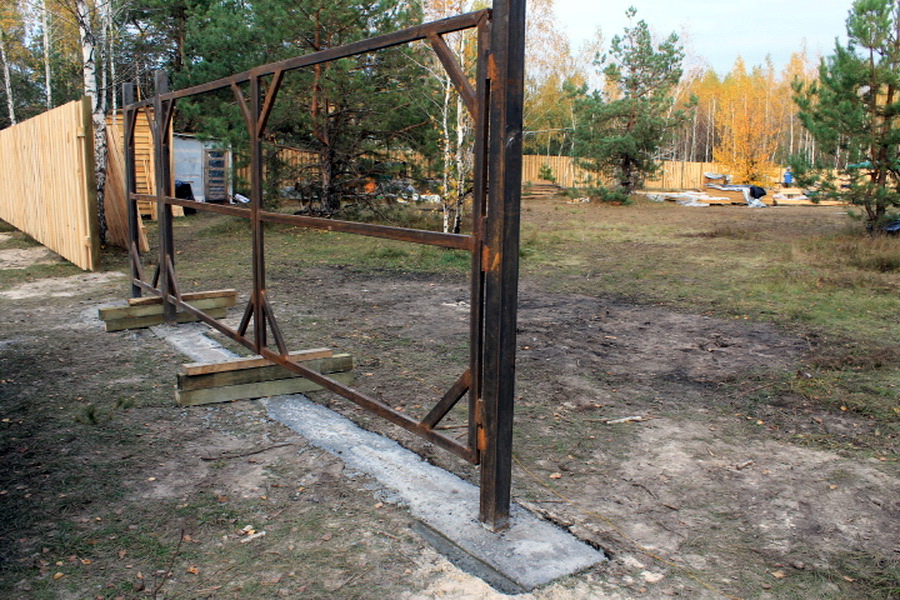
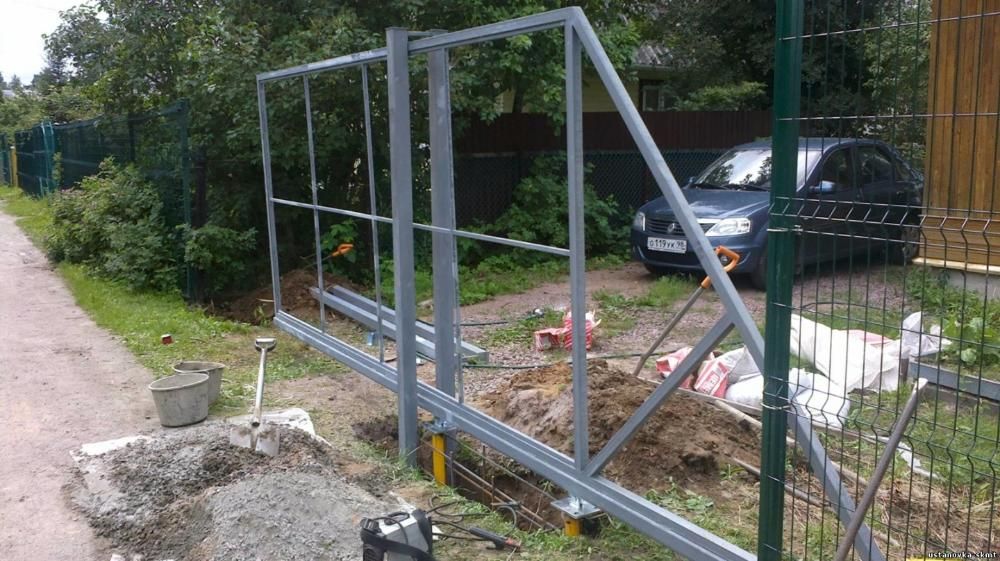
Retractable
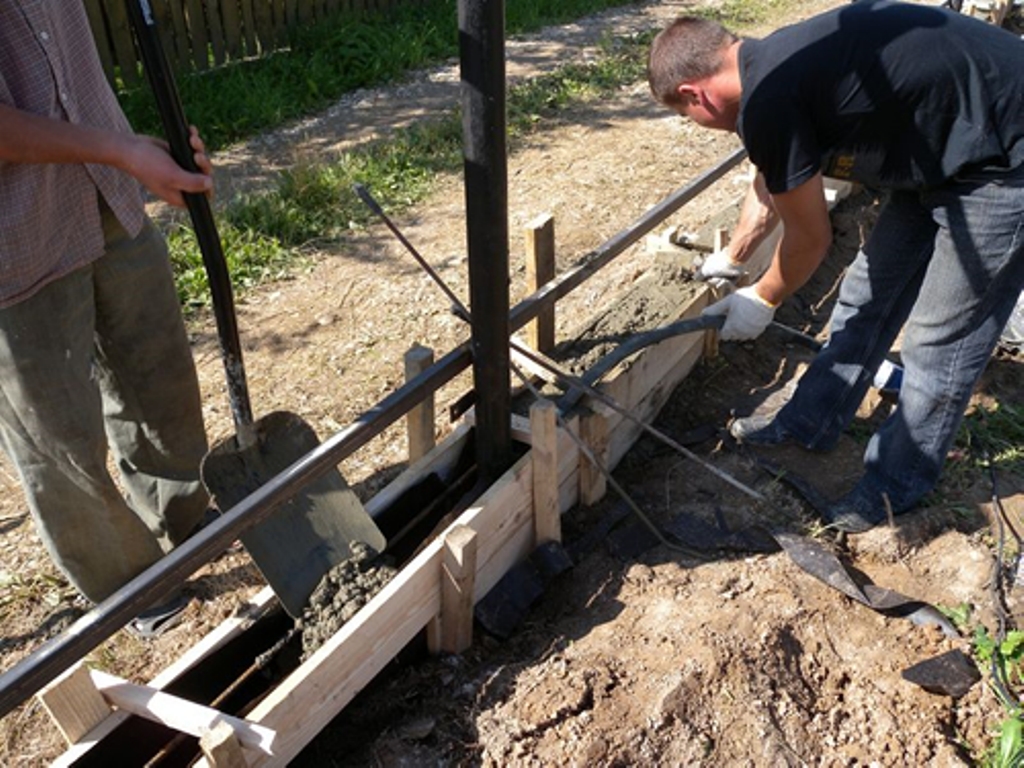
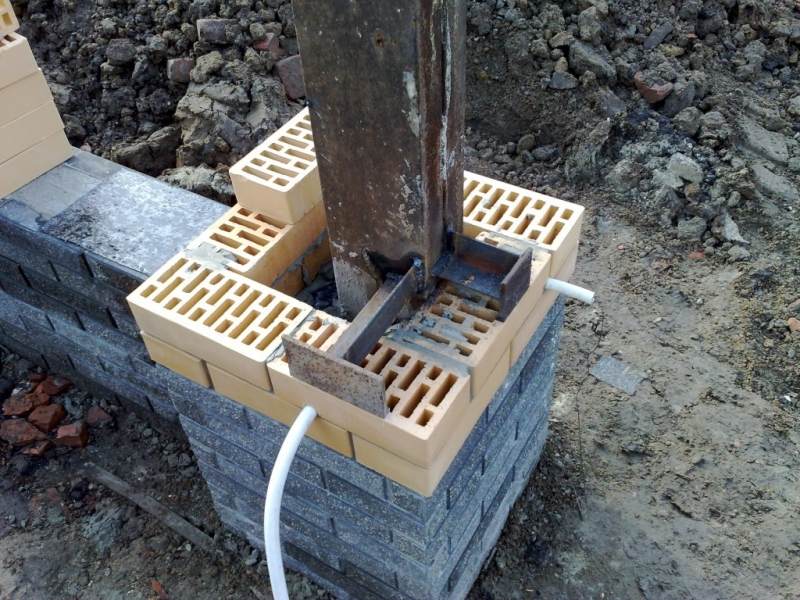
Retractable (sliding) doors, as well as swing doors, begin to be assembled with the installation of supporting structures, removing the ground, laying the pillars and concreting them. The difference is found when they begin to prepare the foundation: it must be made on the basis of a stool, which includes a channel (at ½ the length of the opening) and fittings. Remove the ground under the base is necessary when welding stools completed. The bottom of the trench is covered with a mixture of gravel and sand, only after that the framework is put in there.
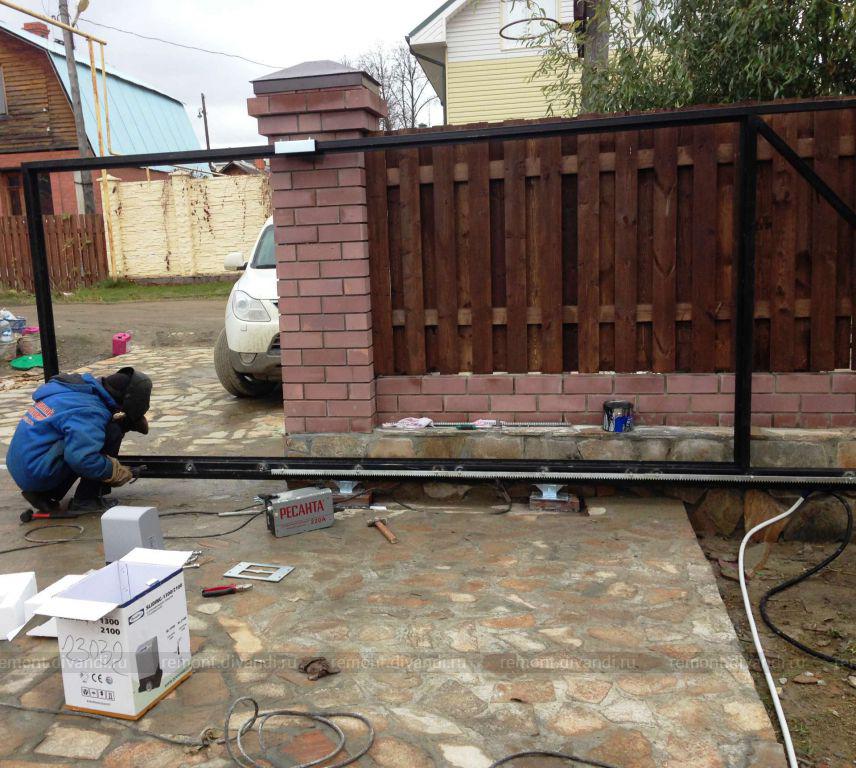
Filling the stools with a layer of concrete should be preceded by conducting wires that will supply current to the electric drive. In most cases, their input is organized in the middle part of the foundation.On the working platform verified by the level, pipe blanks are laid out of the profile, which are seized with a welding machine. Having adjusted the sizes and angles, it is possible to weld the pipes finally, the pipe details of a smaller section go to the crate.
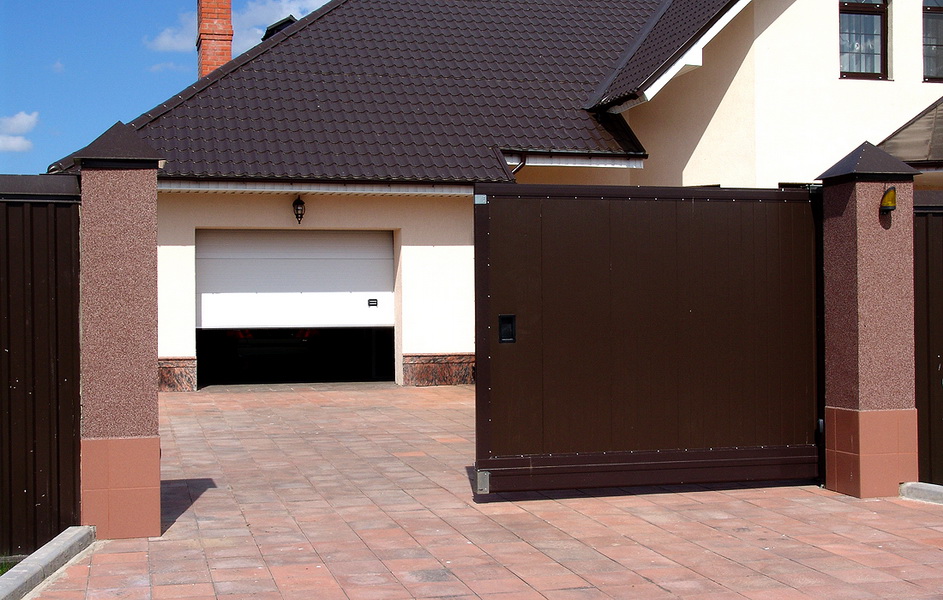
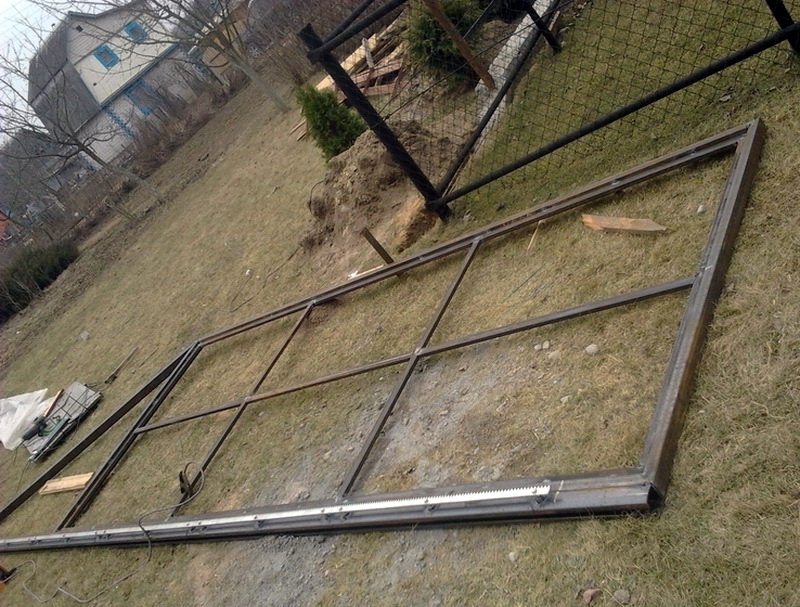
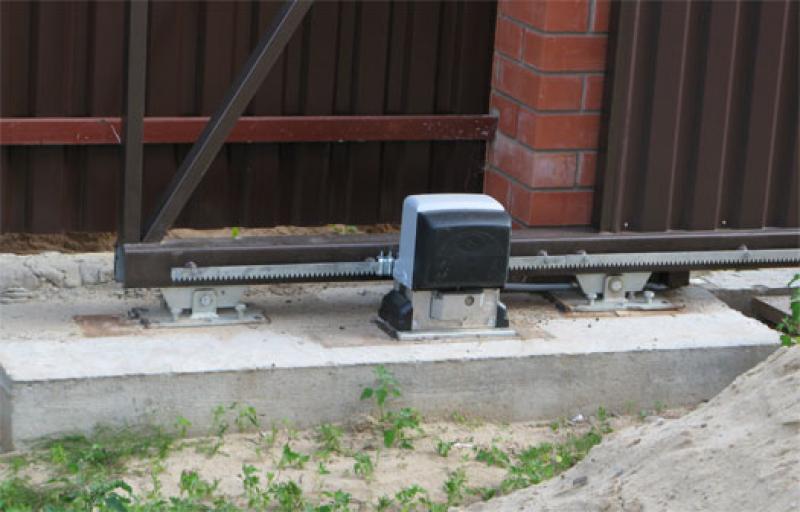
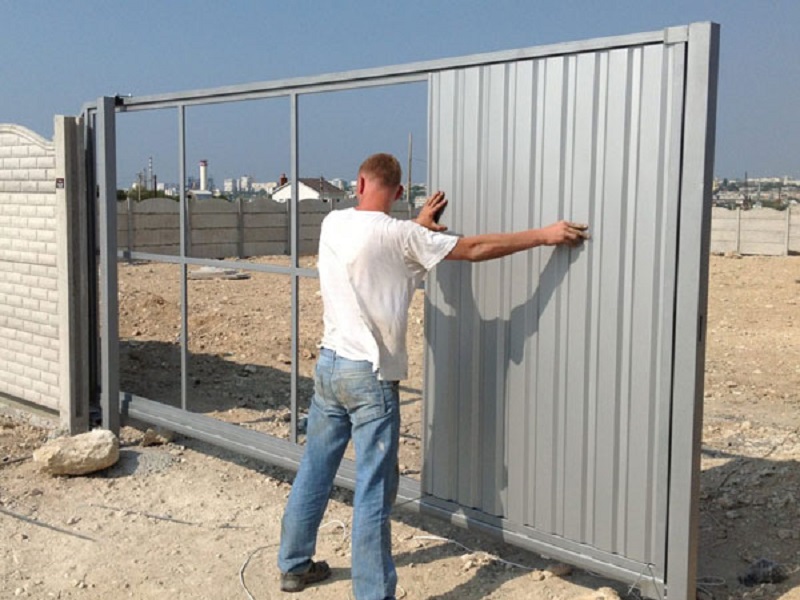
The beam moves into the gate opening, then the supporting carts are attached and the frame is welded to the beam. The completion of the work is the attachment of the upper bracket; each unit is covered with primer and paint. After placing the frame in place, you can start working with a covering. Usually, sliding gates are sheathed with the same decorative materials as the swing doors. The automation process begins with the attachment of toothed racks to the drives. This rail will control the course of the blade.
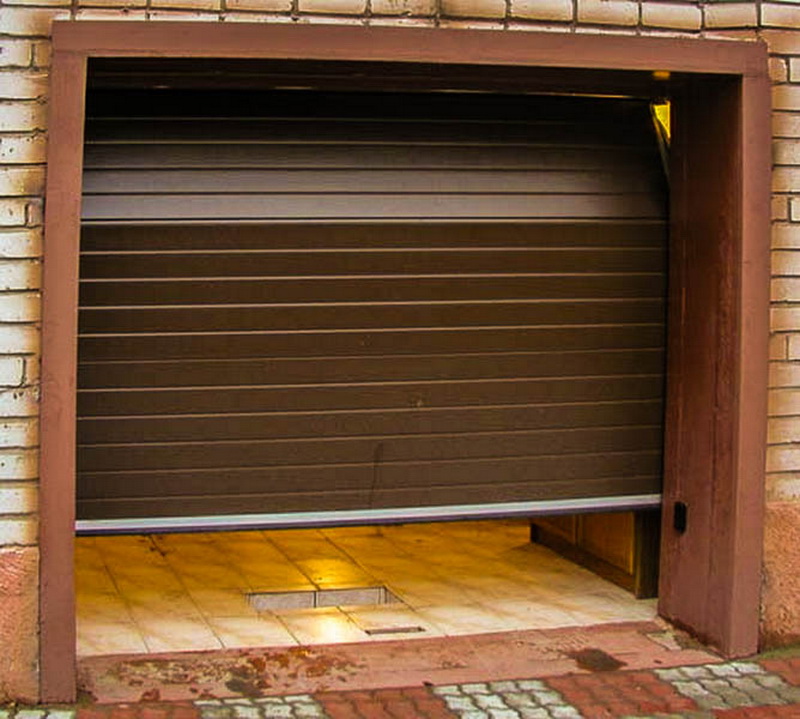
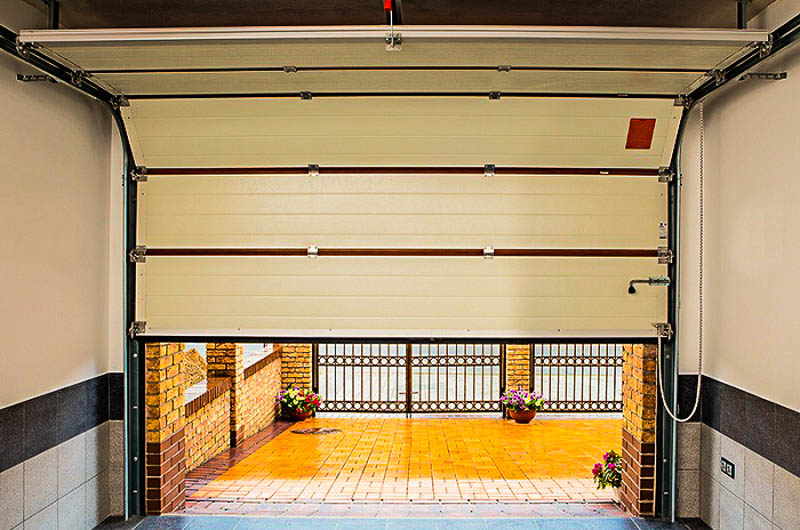
Sectional
Sectional doors can be installed even in small spaces, because the canvas at the time of opening goes to the ceiling itself. The main material must be processed with polymers so that it retains its consumer qualities for longer. Sometimes these gates are equipped with strong window openings to ensure natural lighting, and the use of sandwich panels to create a canvas improves thermal insulation. Installation of sectional doors requires the use of:
- hammer;
- a set of keys and screwdrivers;
- pliers;
- screwdriver and perforator;
- roulettes;
- level of construction.
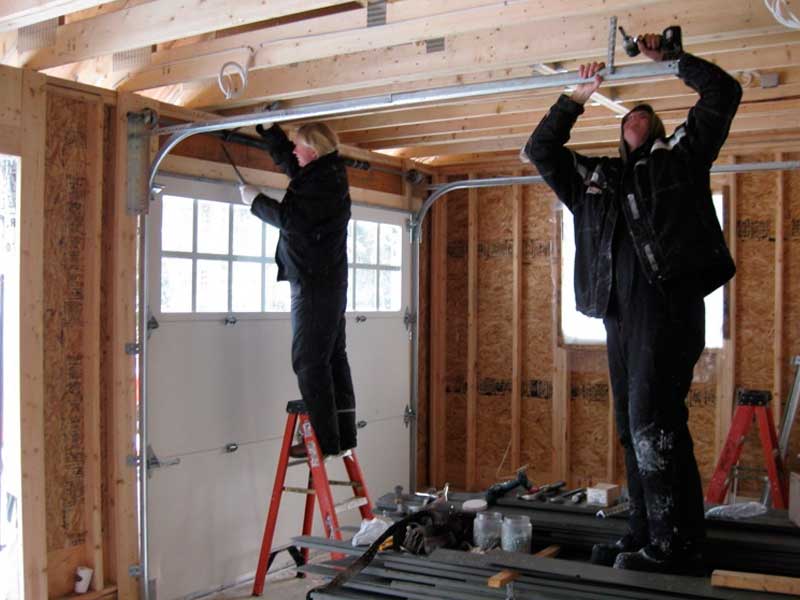
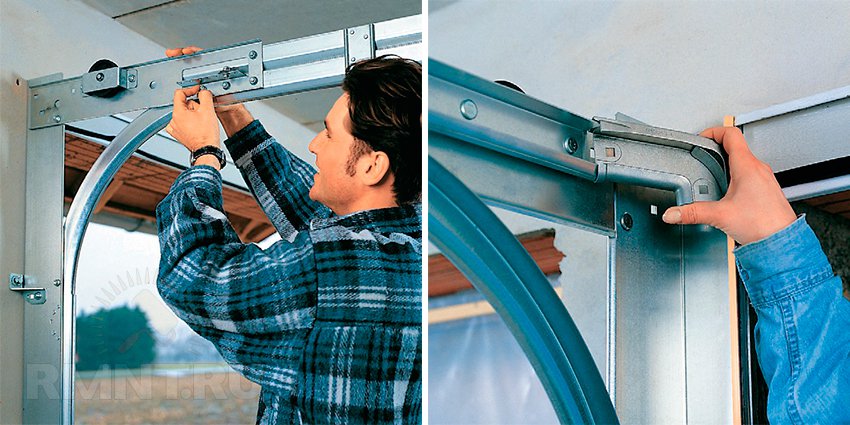
Having opened the installation kit, experienced people first check whether everything is in stock. It is possible to install sectional doors only on condition that the cap and the ceiling are strong enough. It is desirable to have a lintel from 30 cm and up, it helps to reduce the cost of construction. The opening is plastered, the fragile coatings are removed to the very foundation. The floor is leveled horizontally to make the sheet fit better. Guides are put only after designated fastening points.
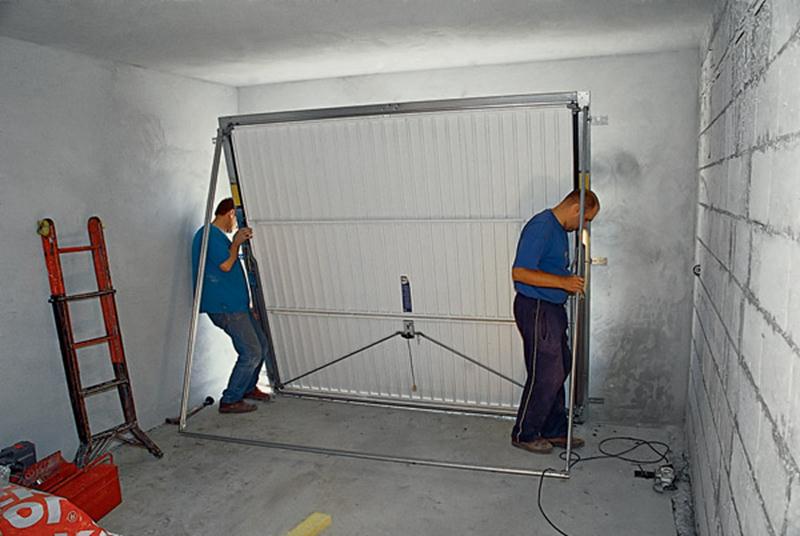
The slightest bias can greatly damage the sectional gate, because experts recommend using spacers made of metal instead of wooden spacers. Following the guides, the control parts and the lifting device are attached. The canvas should be put as carefully as possible so as not to break the expensive product. It is better to check all the parameters more than once than to fix the problems later.
Sectional doors in most cases mounted together, because with a partner to work much easier.
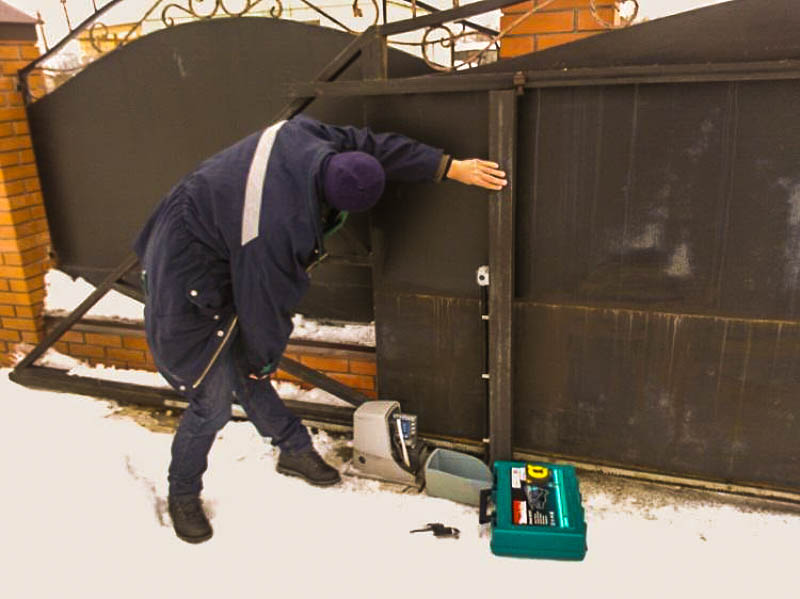
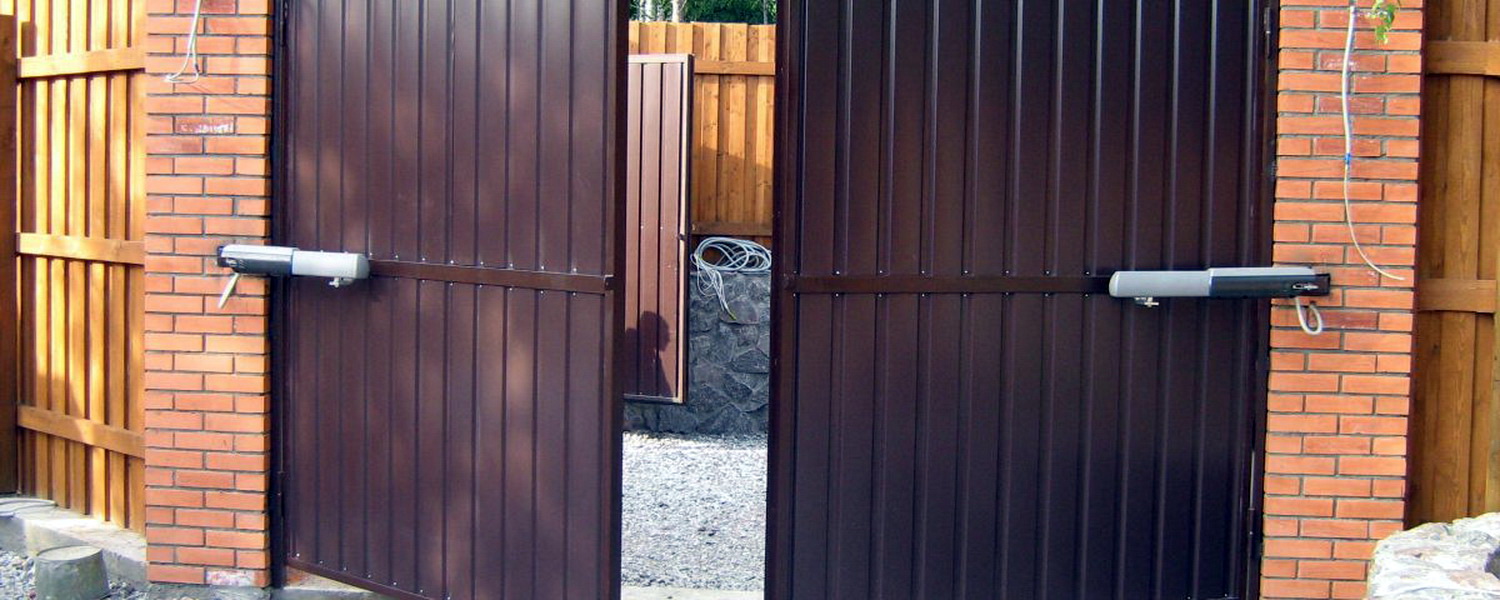
Automation setting
Programming of automatic electric circuits should be done with the participation of professionals. Even when there is no firm decision on the use of automation, it will be necessary to take care of laying and fixing the cable in advance. When connecting it to home networks, a plastic or metal tube is used. According to experts, it will be right to bury the wire by 0.2-0.3 m in the ground, and the bare edges are isolated as carefully as possible using insulation tape or special tools.
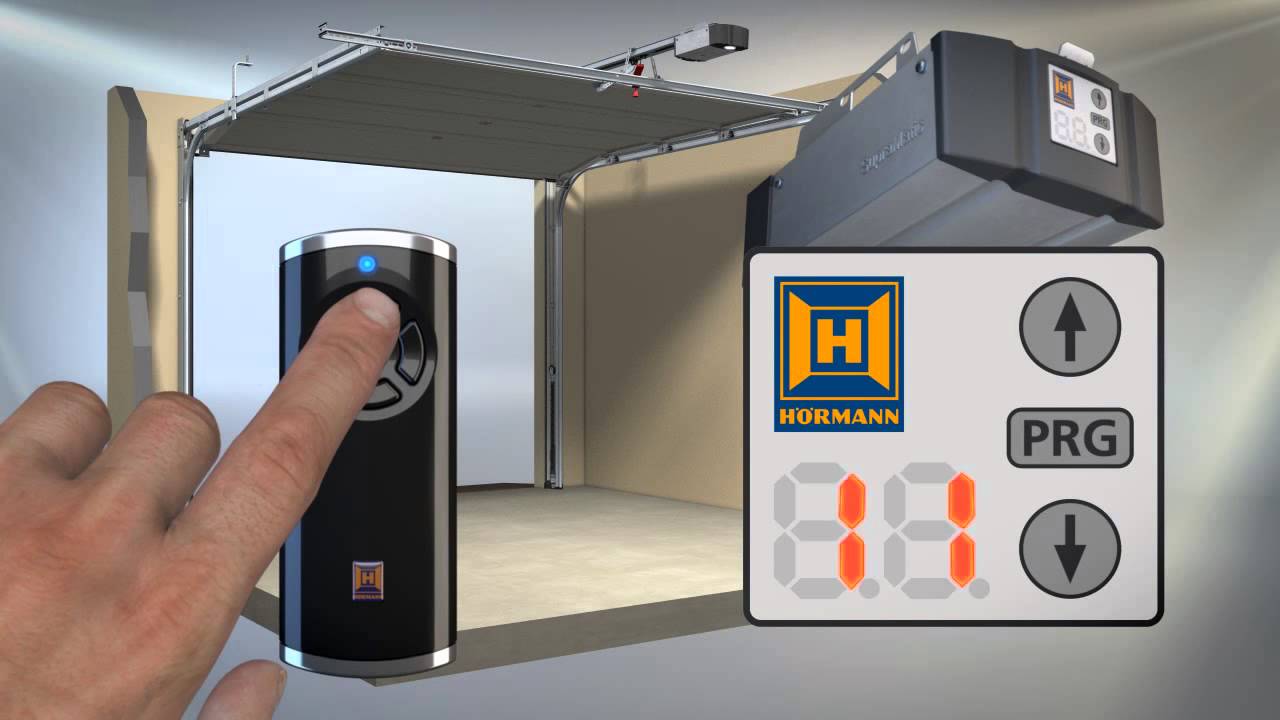
When choosing an electric motor for an entrance gate, it is necessary to take into account that it is capable of setting in motion only the flaps of a certain mass and geometry. Adjustment of the equipment will be useless if the motor is simply not able to withstand the installed design.
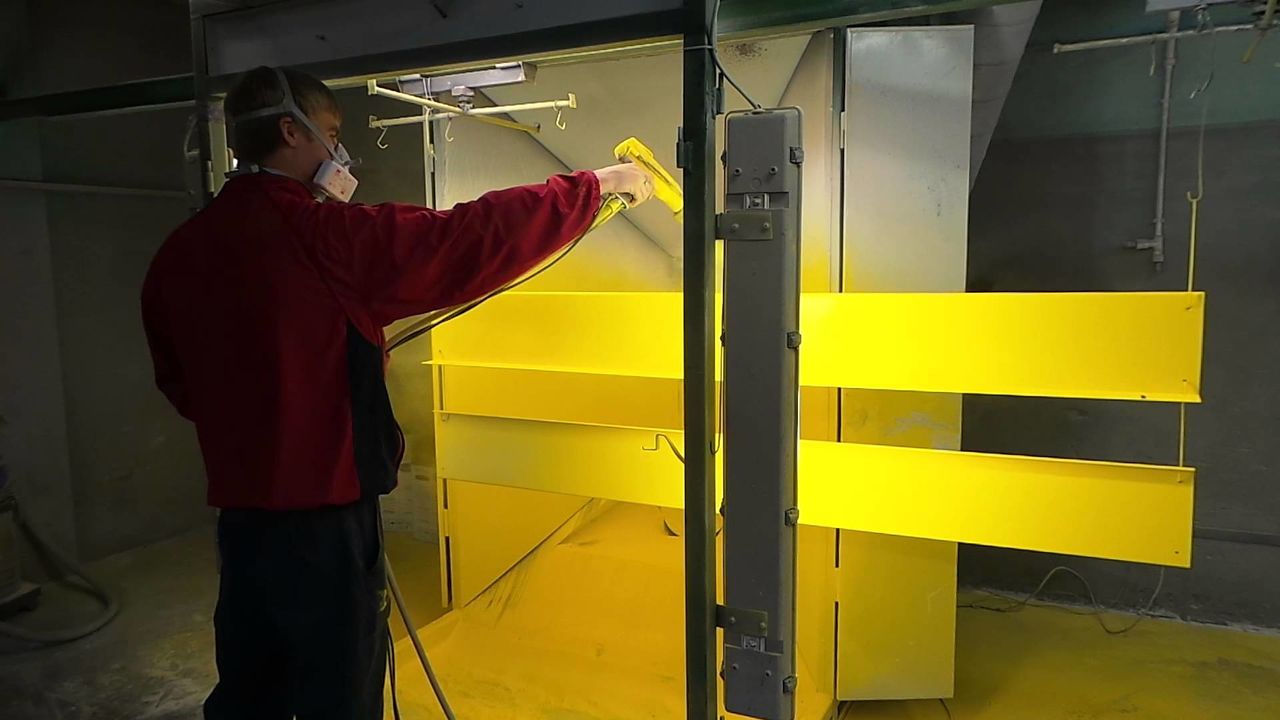
Recommendations
It is most practical to paint any gate with a spray gun, but if it is not there, you can restrict yourself with a brush. It is advisable to use protective devices - special glasses and gloves. In the case when heaving soil is required at the site, it is required to make a frame of steel reinforcement and concrete at a depth of 150 cm, and support pipes are welded to the reinforcement.
A foundation of at least 1.5 m must be created if a column of brick, concrete or natural stone is mounted. Embedded elements welded to the pipe should be removed outside the perimeter of the column, then they are welded to the loop. When all this is completed, the product is covered with bricks and form a pillar, the inside of which is filled with concrete. It is important to remember that cement must harden for at least 7 days. Bilateral sewing is done in such a way that its material is on the same level with the pipes of the outer frameworks.
One-sided stitching is performed with a shift of the inner tubes to the edges. For joining facing materials it is required to use screws or rivets. Purification of metal from traces of corrosion is not achieved manually, and the grinder with a brush of metal, and the processing is completed by applying gasoline or solvent. Further improvement of the surface is achieved by priming enamel paint. When welding is required to grind all the resulting seams.
At the dacha, it is advisable to use as a cloth forged lattice or mesh Rabitz. An alternative to them is:
- Sheet steel;
- professional sheet;
- polycarbonate;
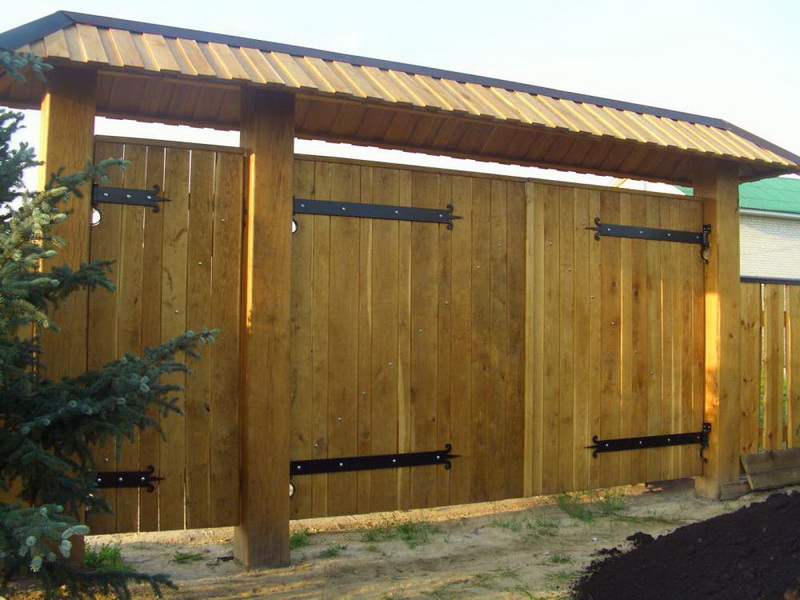
- wood;
- forged decorative items.
Regardless of the construction used, it is necessary to calibrate the installation of the pillars and the suspended sash with a level. Be sure to leave technical gaps in the gaps of the valves and above the ground, this will allow you to freely open the gate when skewed, motions (shedding) of the soil, snow.
For information on how to install automatic sliding gates, see the following video.