Oven-fireplace with their own hands

Furnaces are always in demand in the construction of private households. Taking into account the fact that there are a large number of compact analogs of cast iron stoves - almost everyone at least once thinks about building a real heating fireplace in his house.
Features and benefits
By itself, the fireplace is of little use, it is impossible for them to heat all the rooms, so the owners more often make a choice in favor of the heating structure. It efficiently heats all rooms, therefore it is universal for the house and serves as an additional mechanism for water heating. There are mechanisms that allow you to connect the heating part of the stove with the aesthetics of the fireplace. This mechanism is called the fireplace-stove.
There are many multifunctional models, but not all of them are suitable for private houses - you should consider the heating area and the location of the house itself. There are also unusual designs: miniature stoves for small spaces, and even a built-in stove bench.

Species
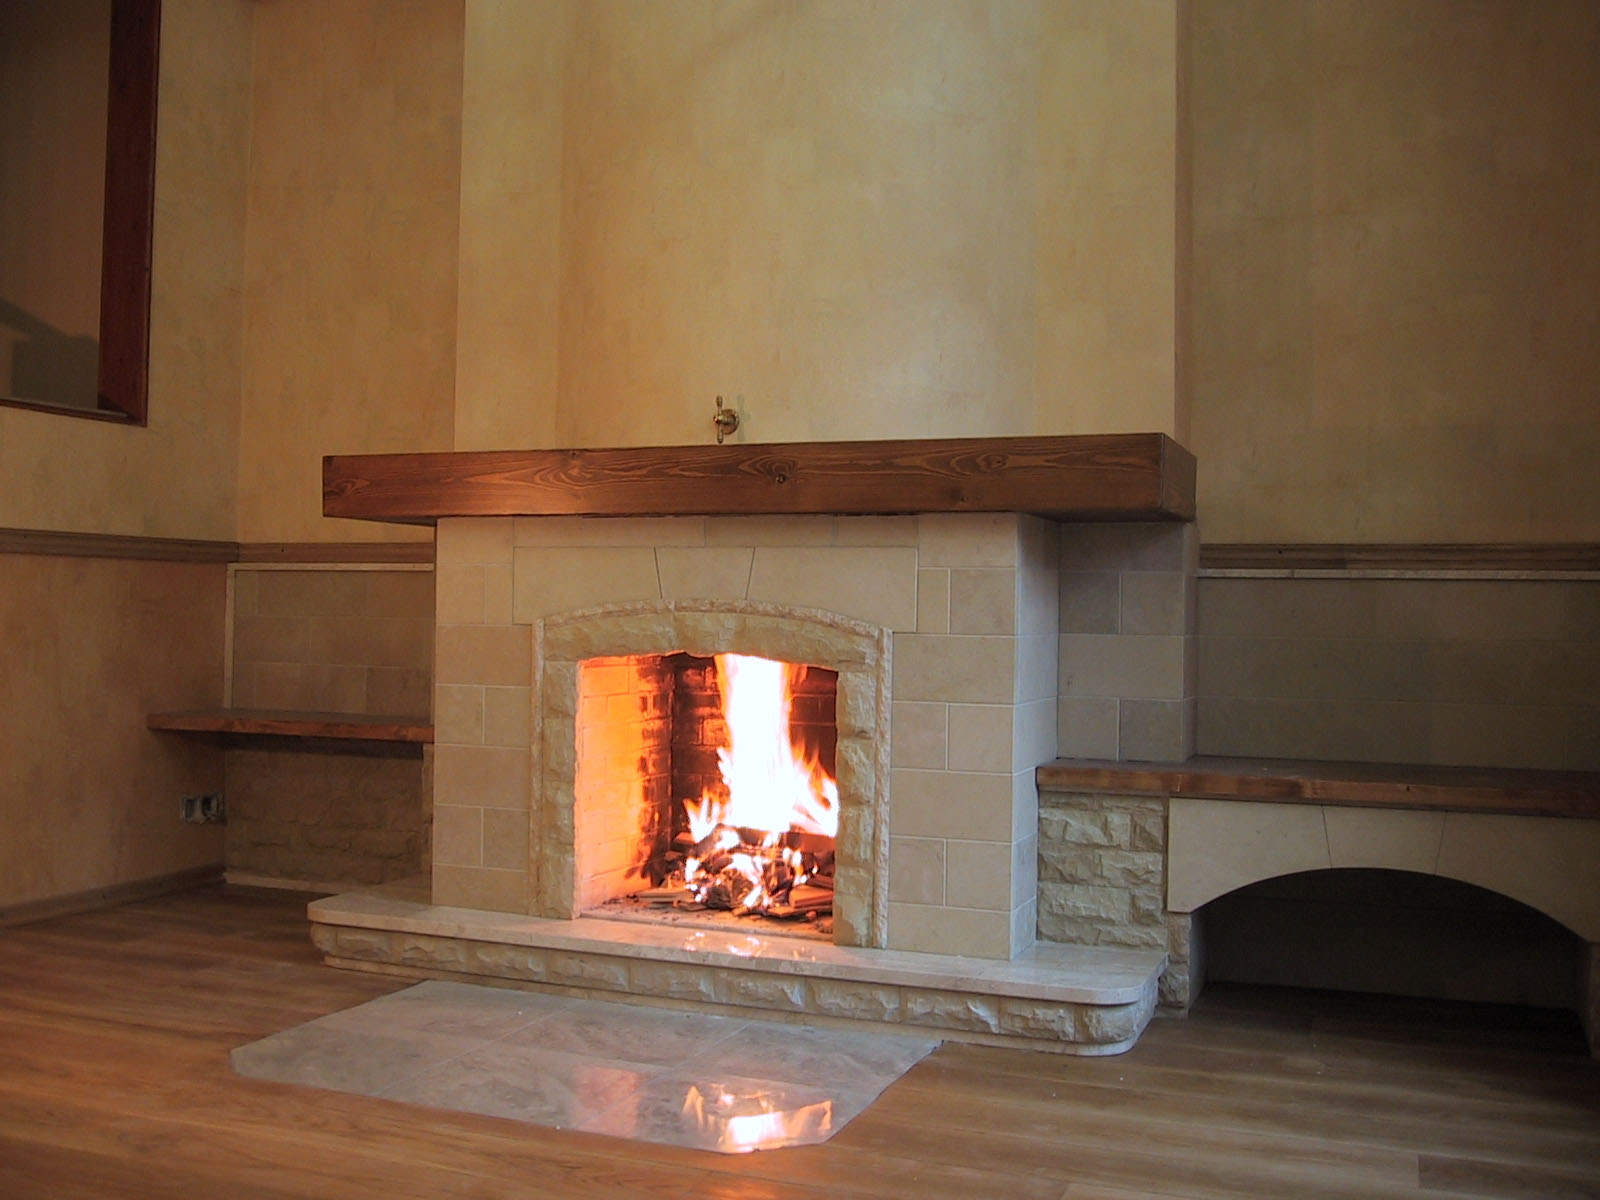
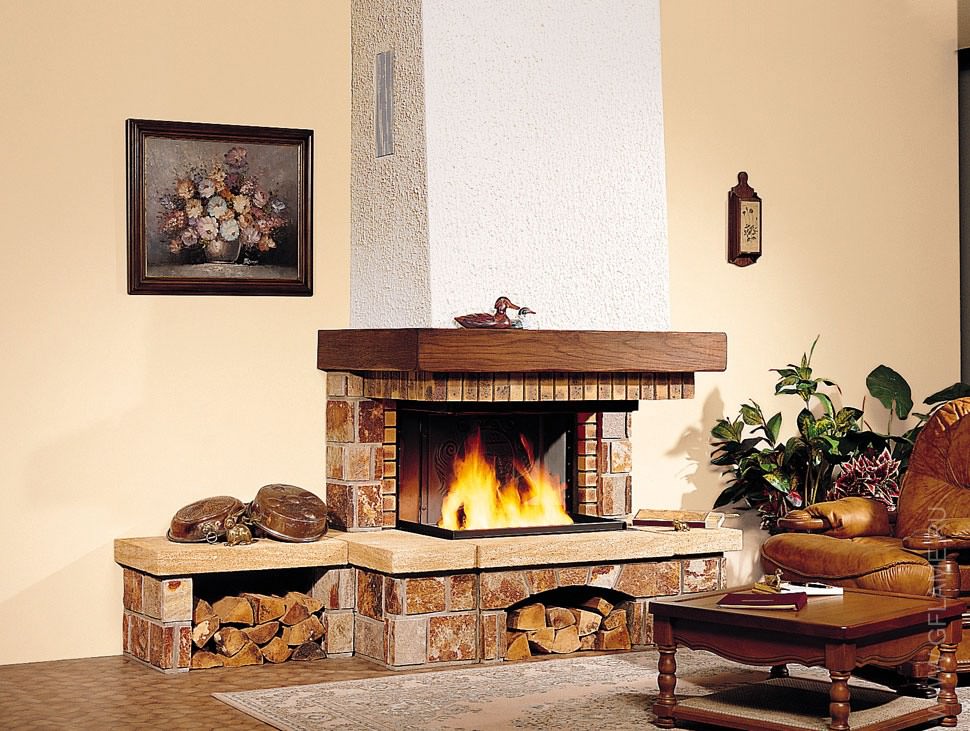
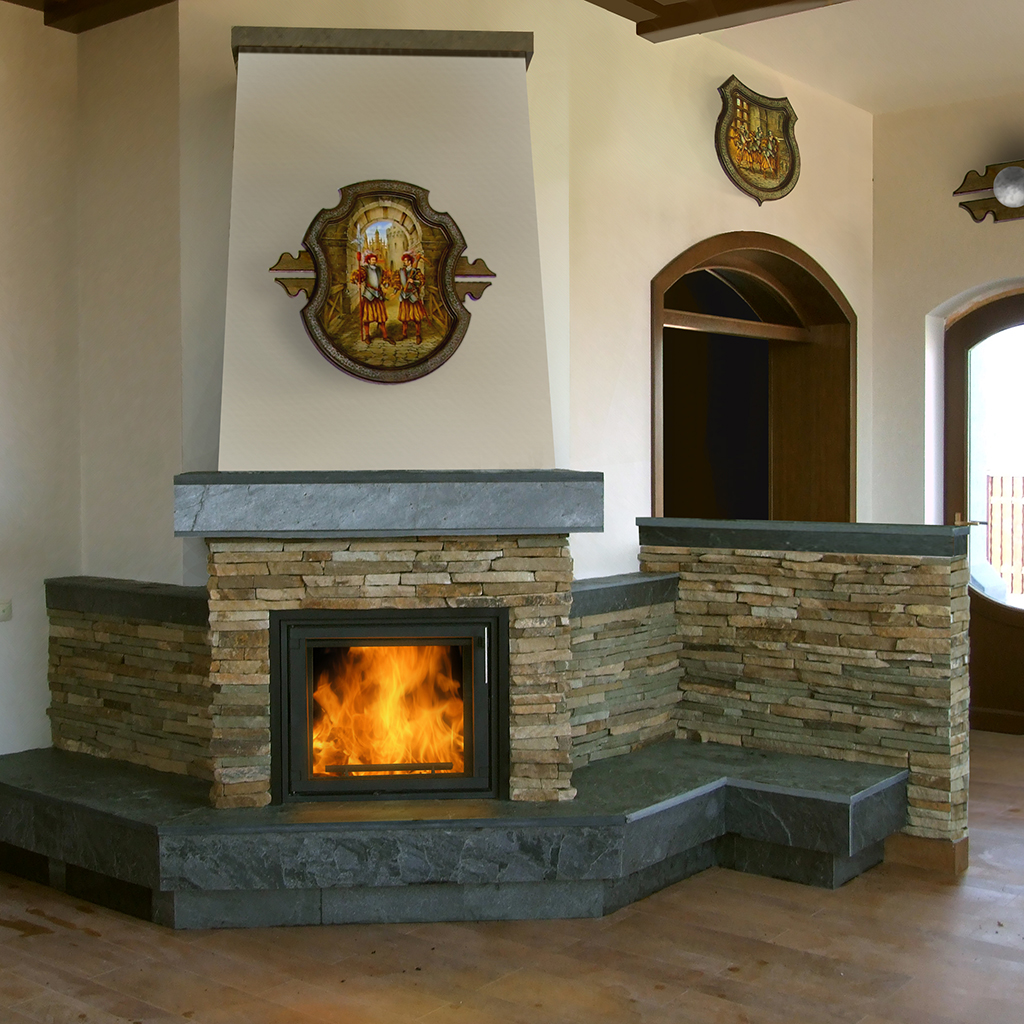
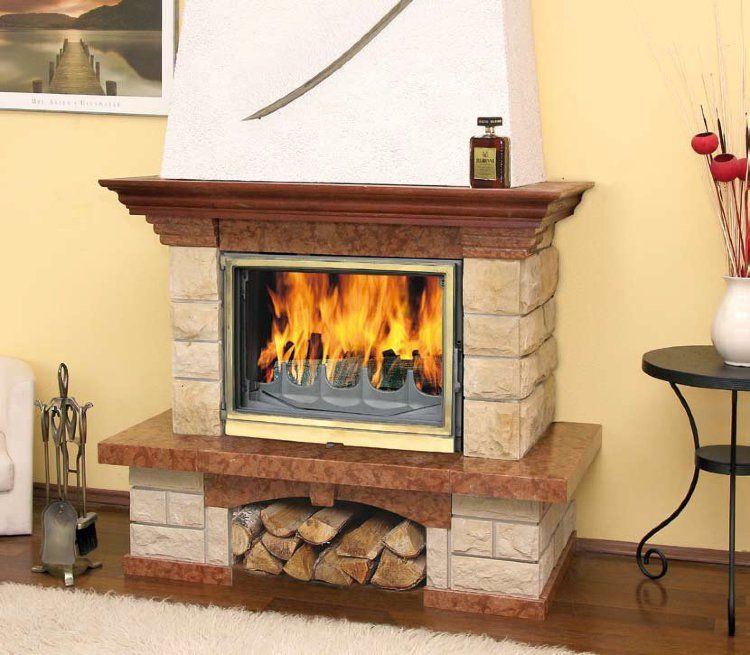
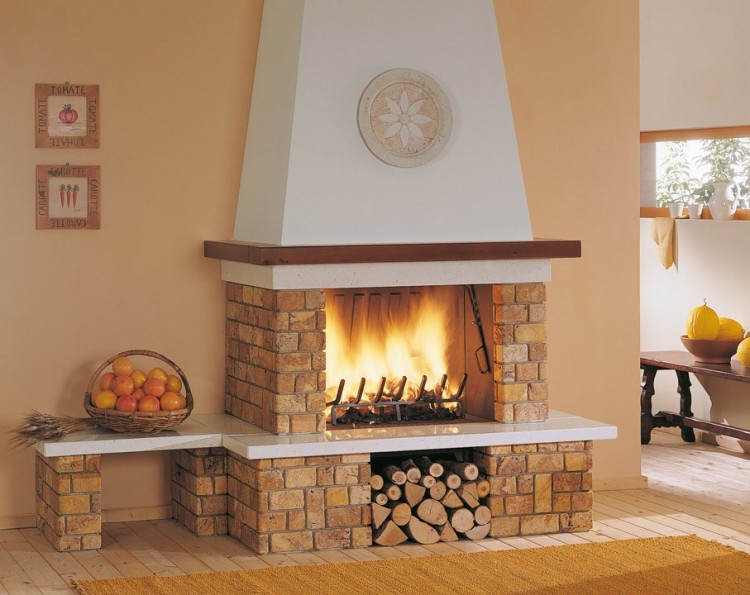
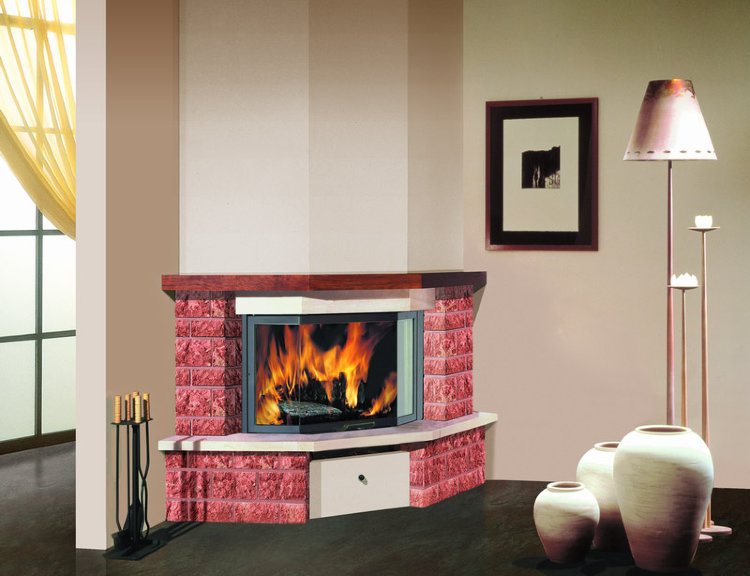
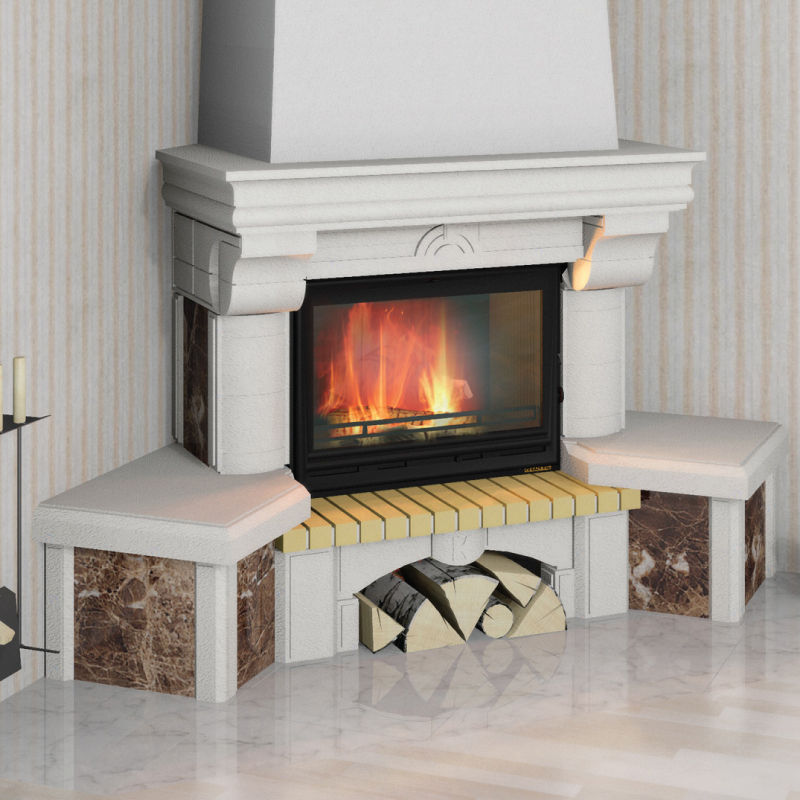
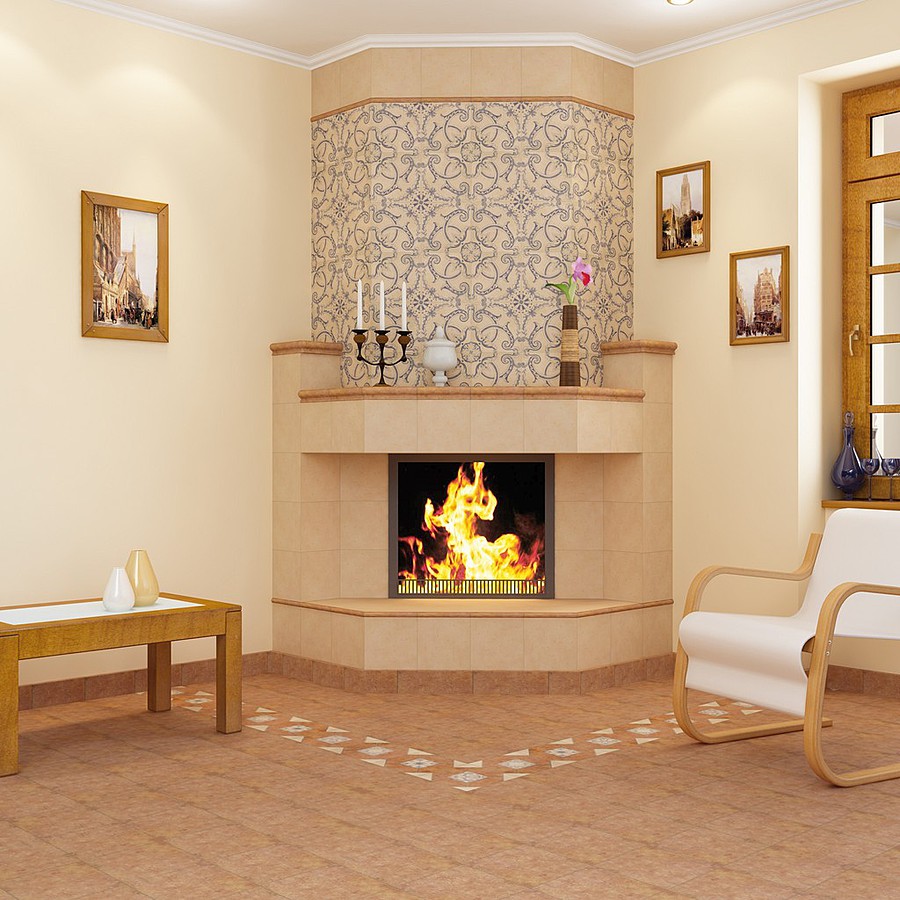
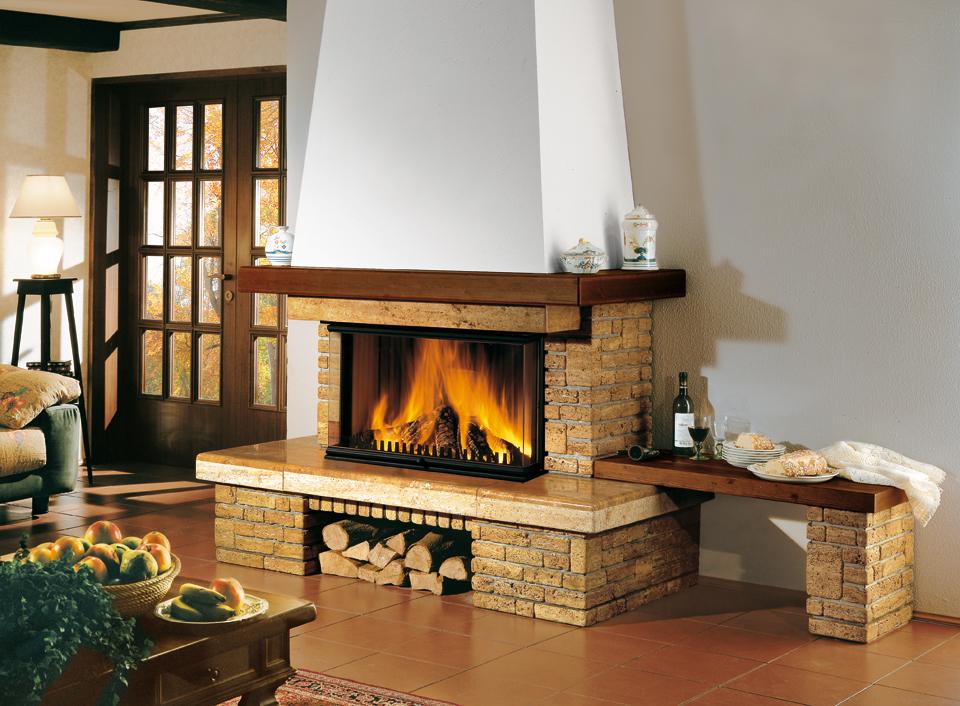
With a bench
The volumetric shape of such a furnace is not suitable for all buildings.A miniature country house will be too small for a full heating system. But in a spacious room - it will look harmonious. The stove and fireplace can be fired alternately - the combined version allows it. On the one hand, this is a cozy space when the fireplace crackles, and on the other hand, a full-fledged stove.
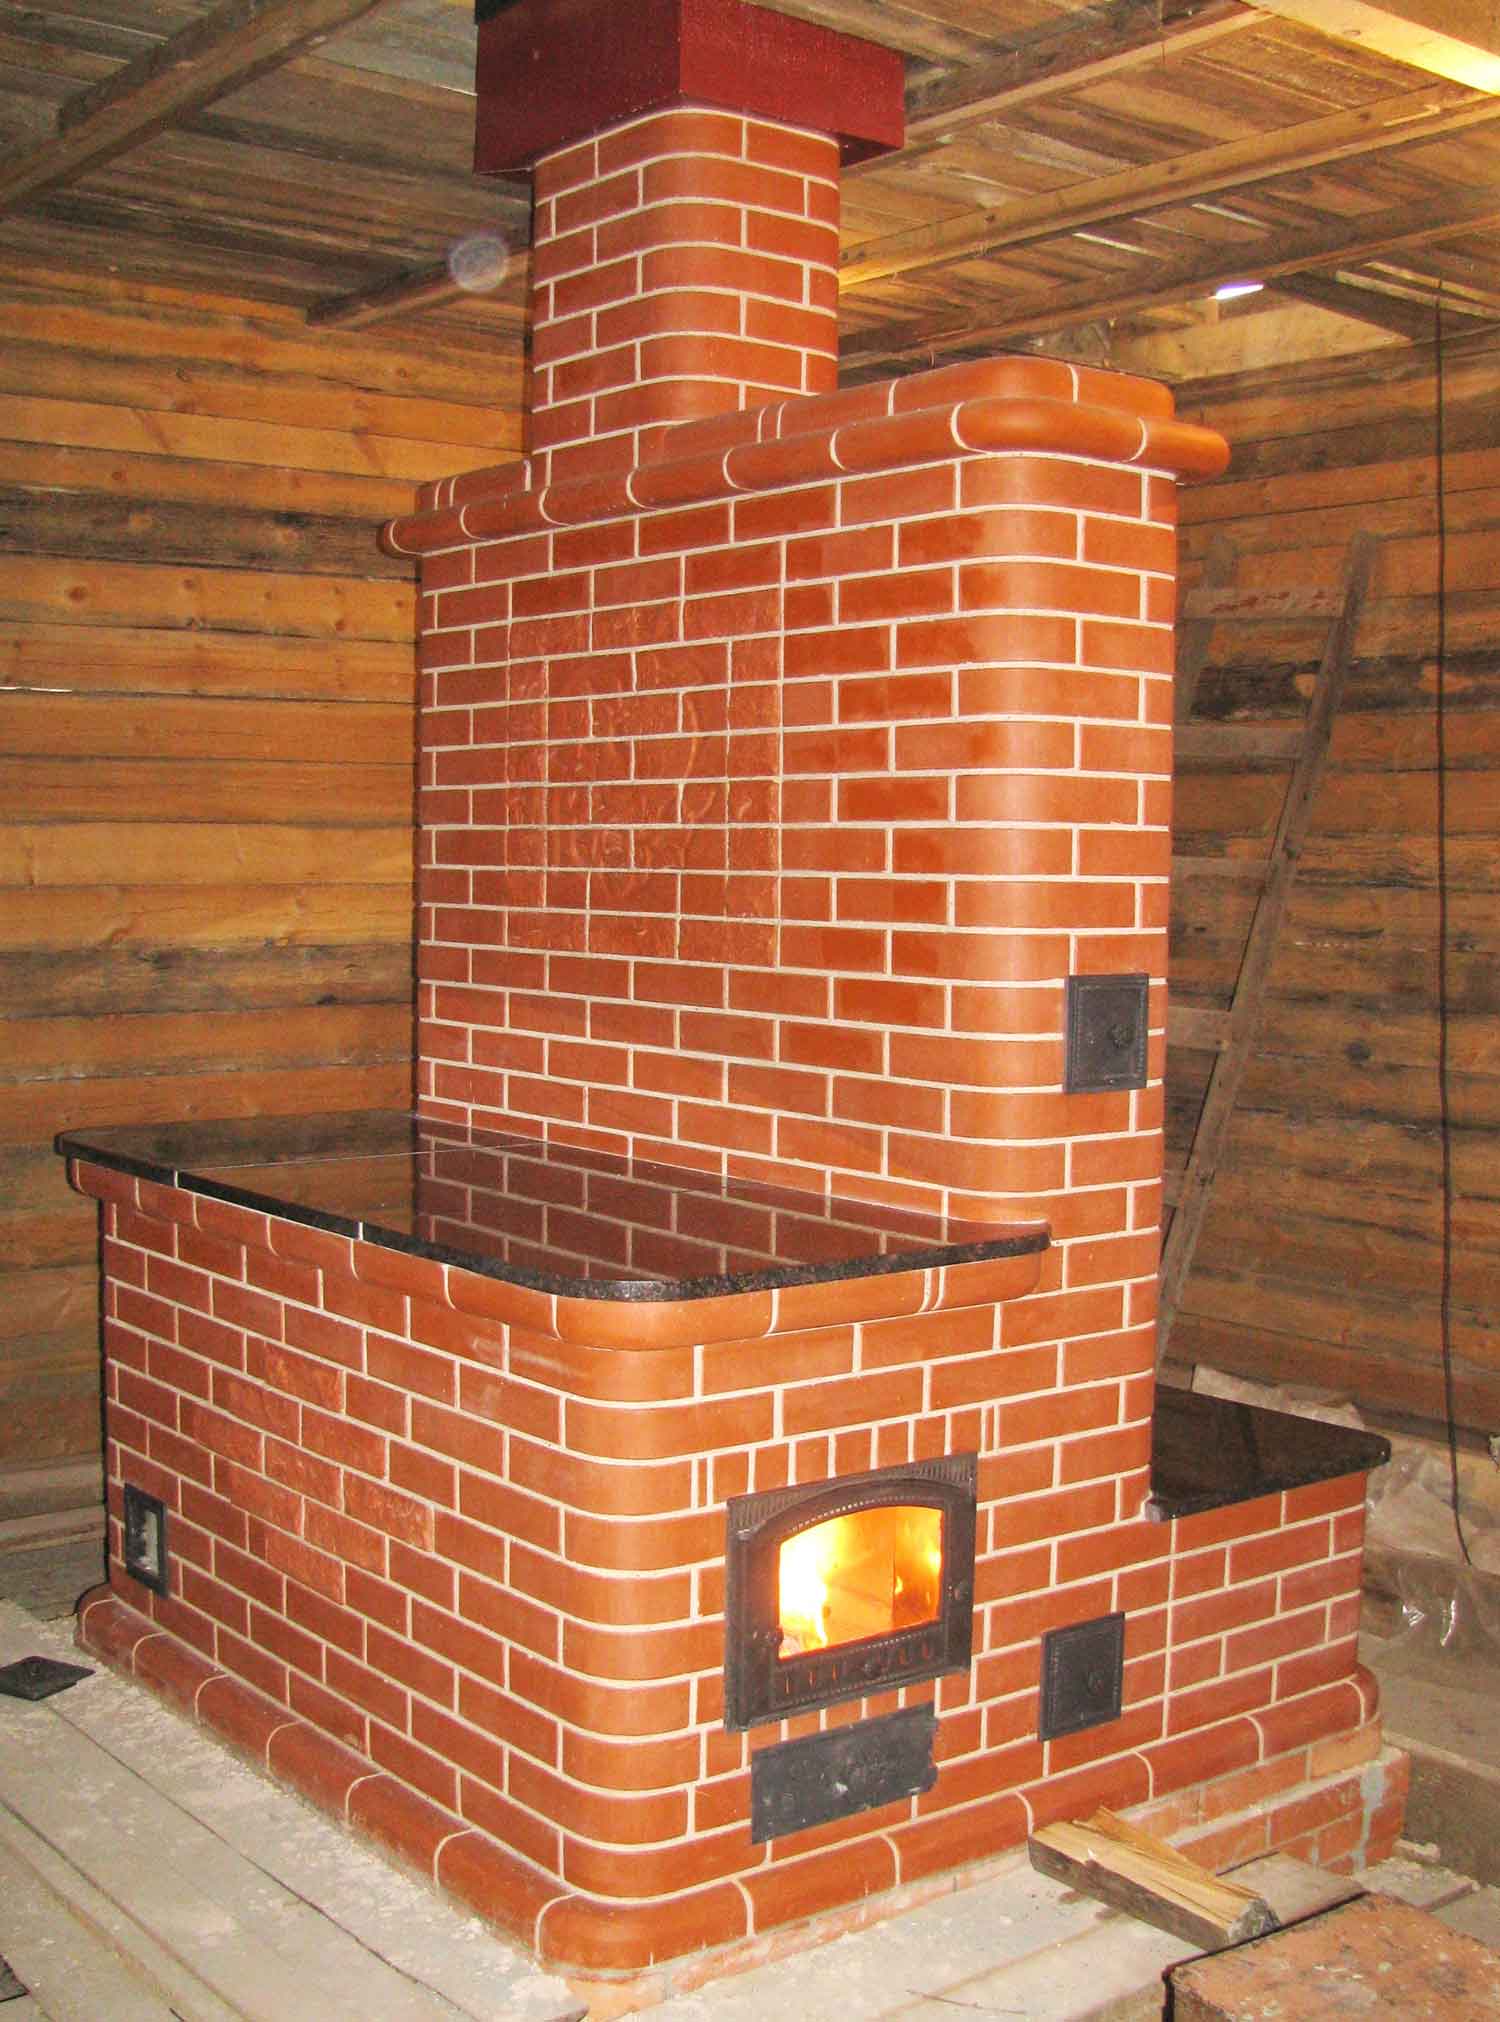
Most often stoves with stove bench - this is the summer options of installations. In winter, massive stoves heat the house completely: the heat from the knee walls warms all night. Hence the understanding of why it is called a long burning furnace. And if there is an installation option in your home of this design - it should be used.

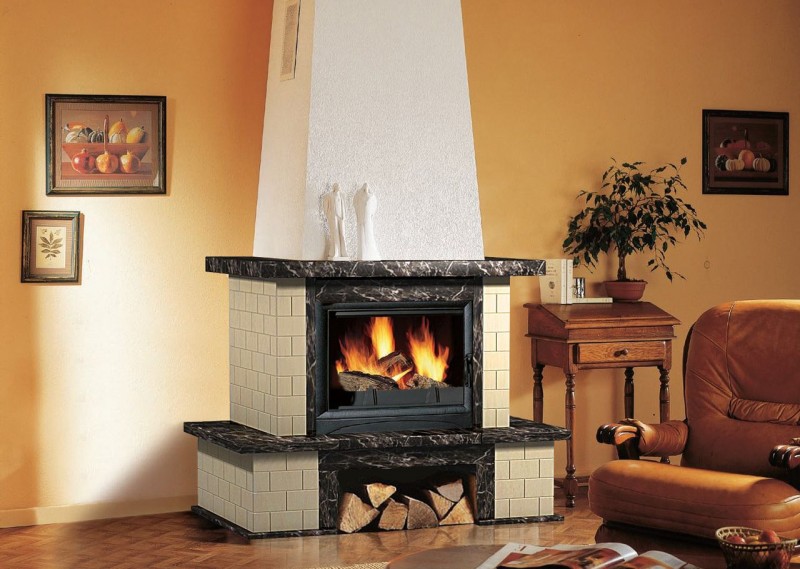
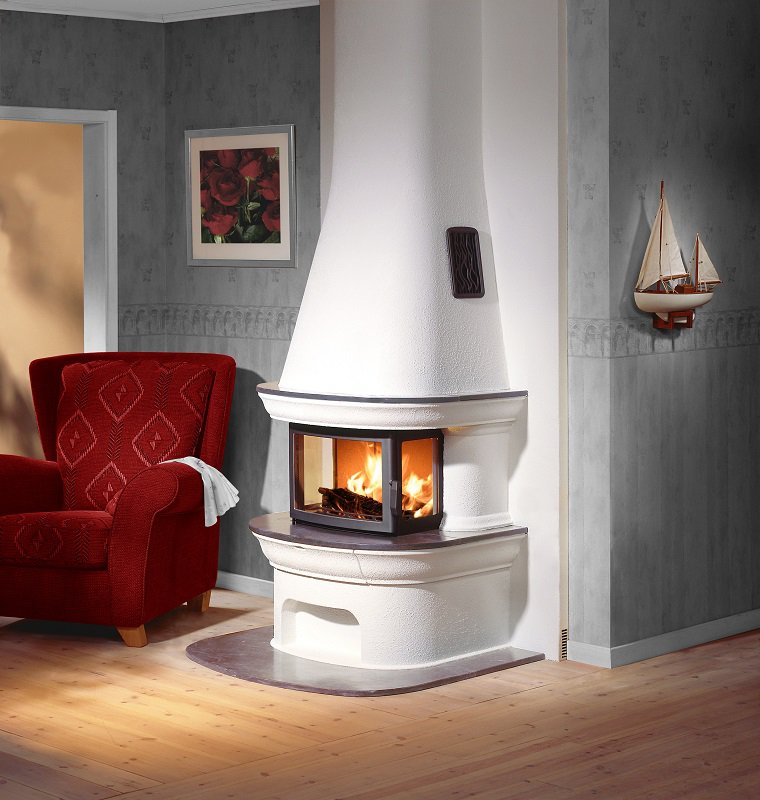
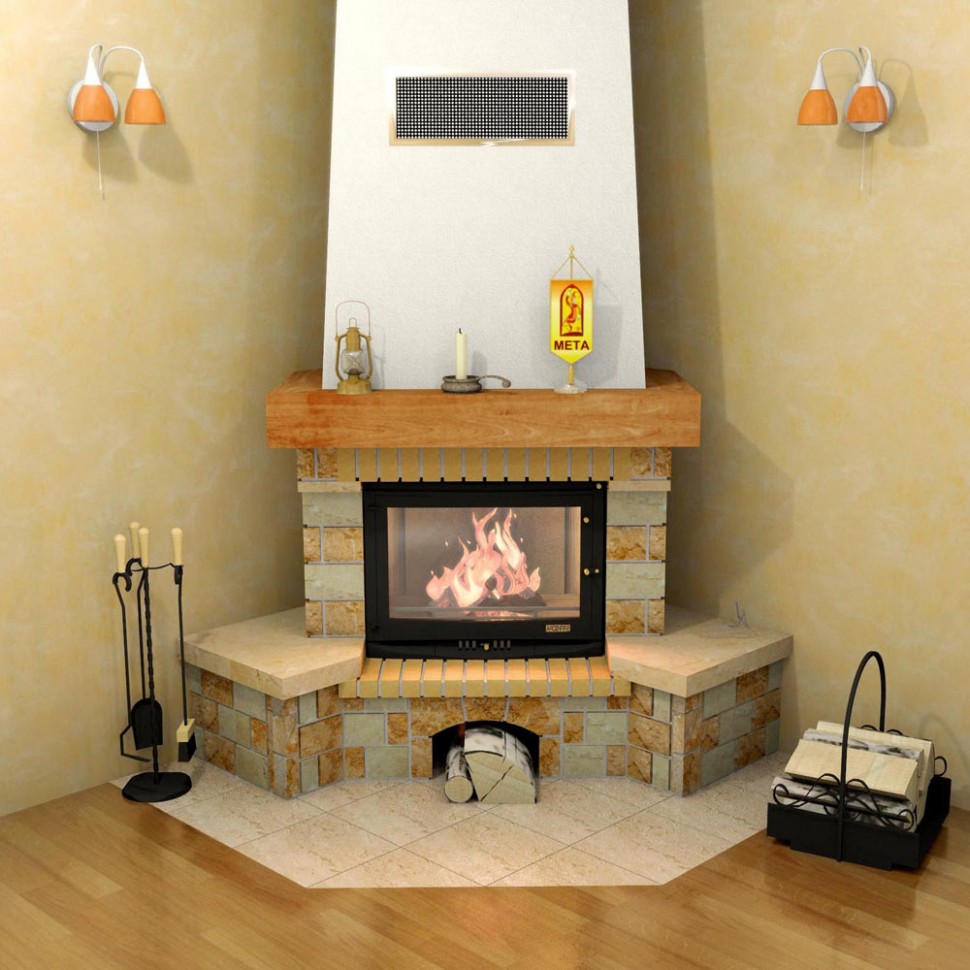
Swedish oven
Another design of the combined furnace is Swedish. It differs in compactness and a possibility of the same alternate use. If you touch the name, it immediately becomes clear that it came from the country of origin - Sweden. The fireplace itself is heated quickly, as the mechanism with a heat exchanger has a hob. The Swedish oven is located between the entrance room and the kitchen - this allows you to quickly heat a small space.The disadvantages include easy cooling, therefore, the inability to retain heat.

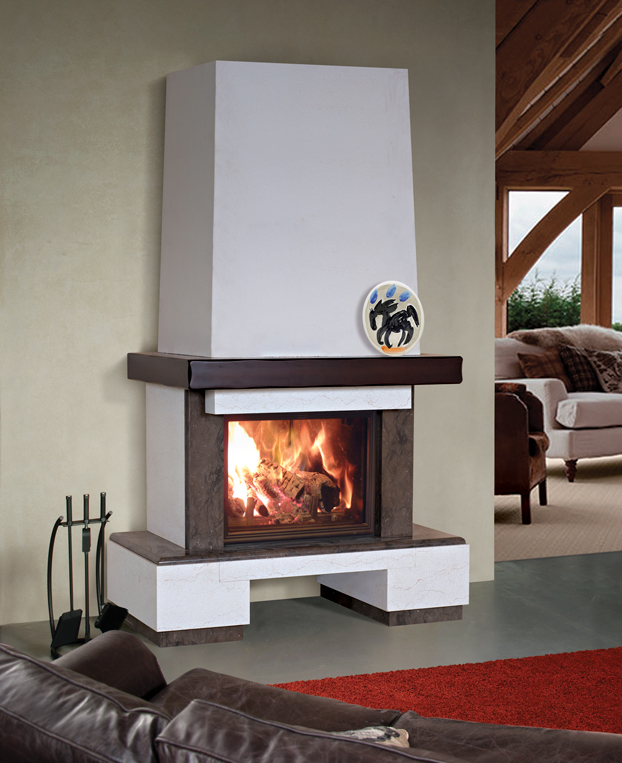
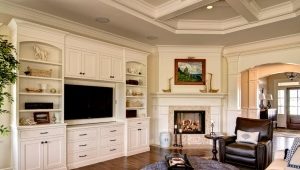
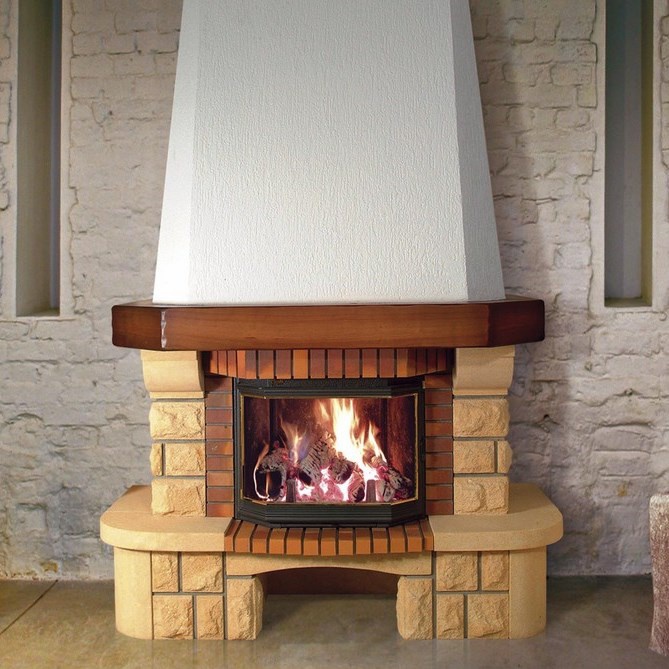
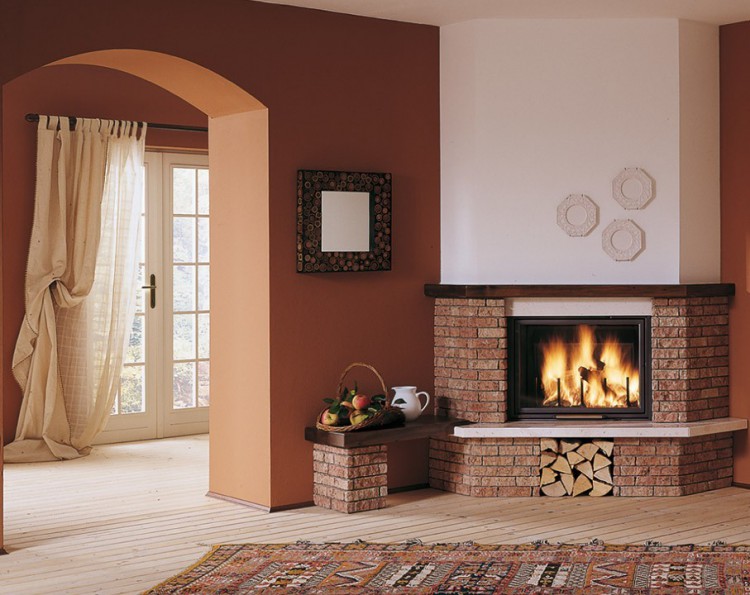
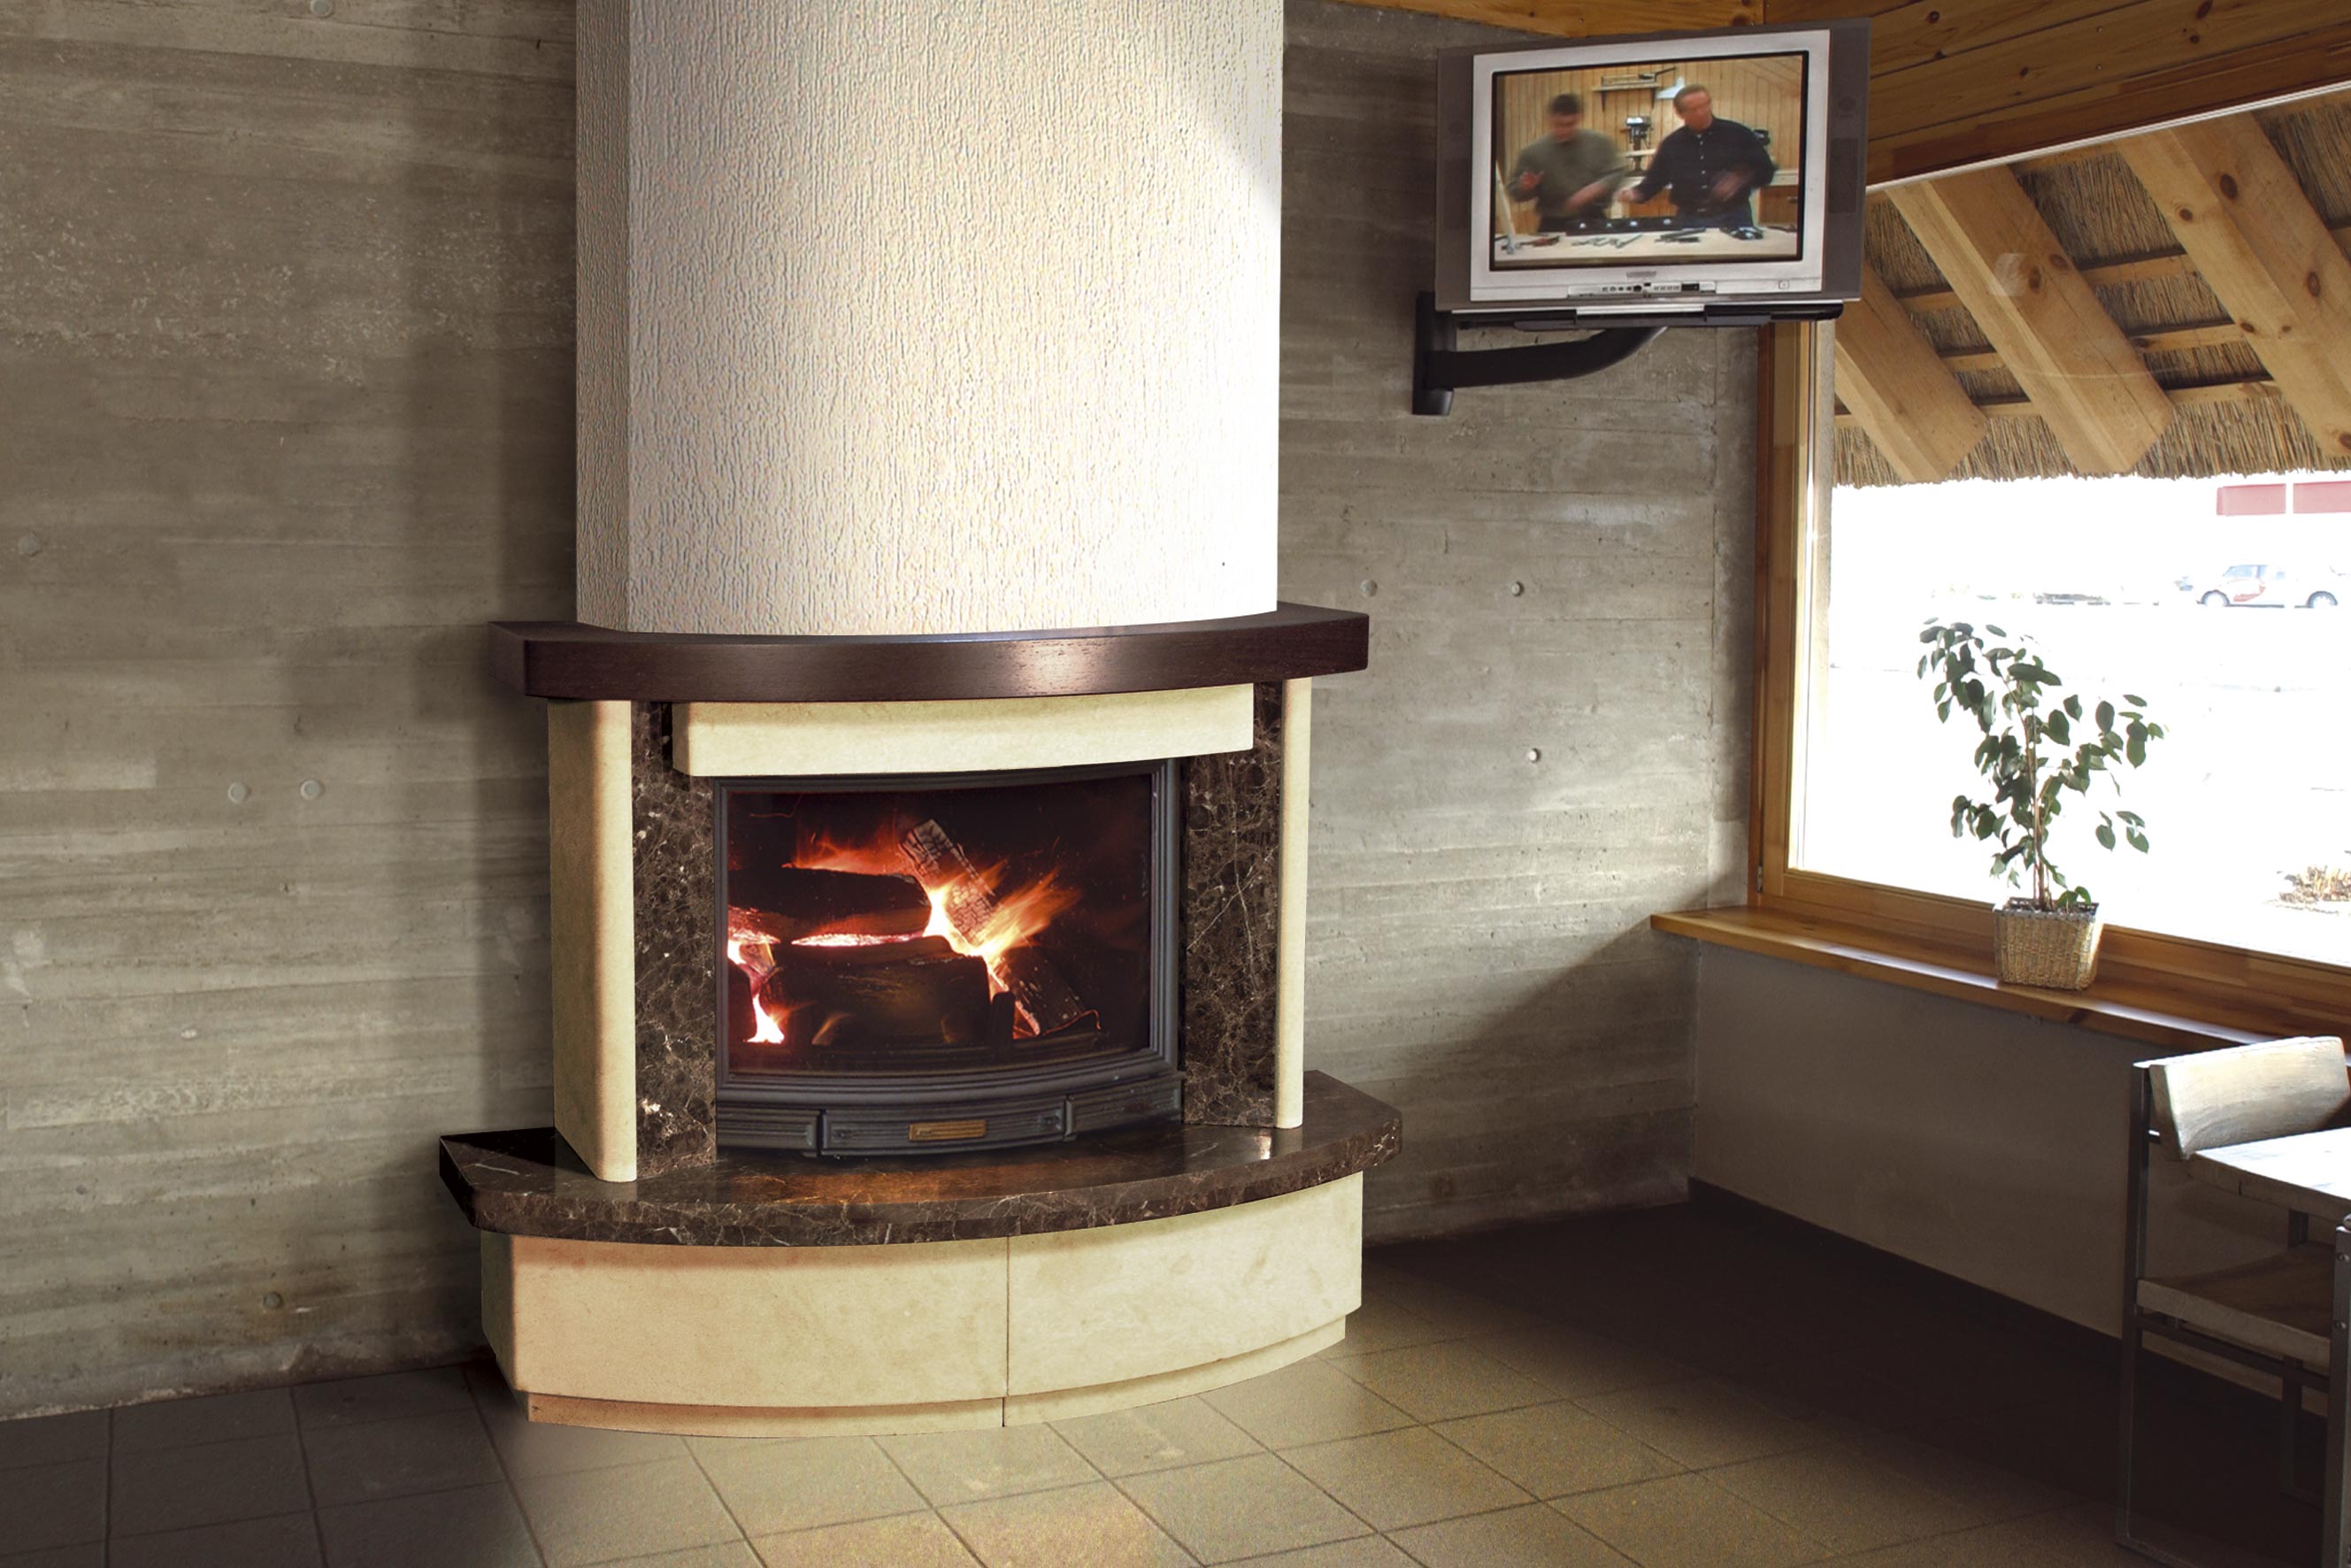
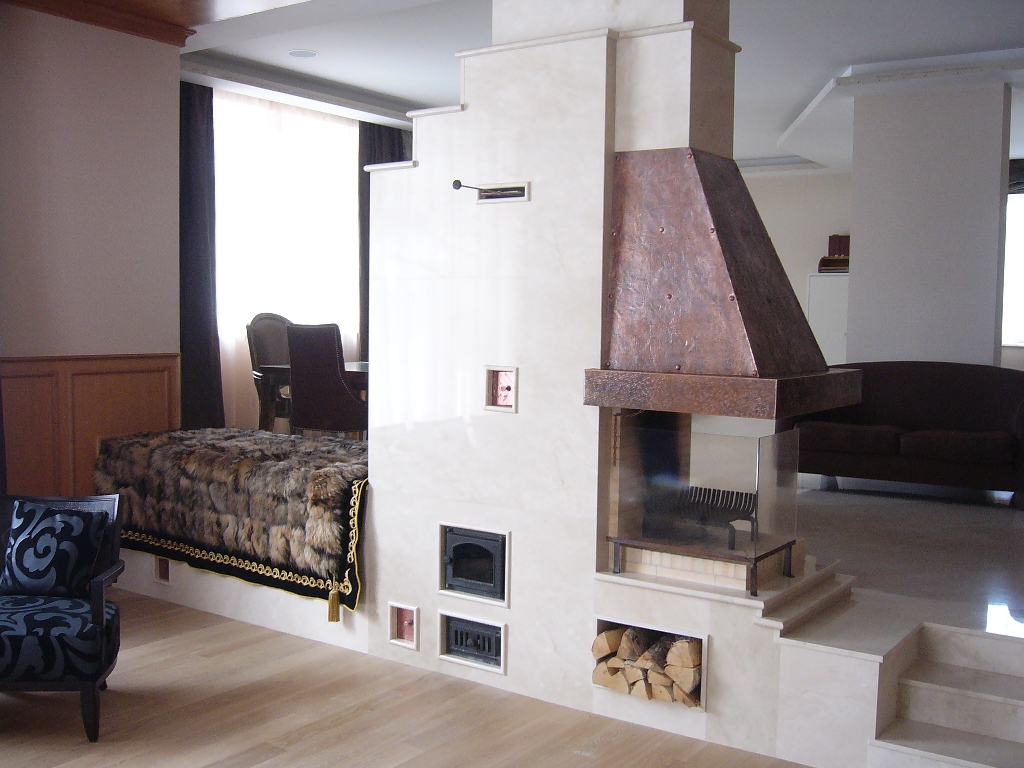
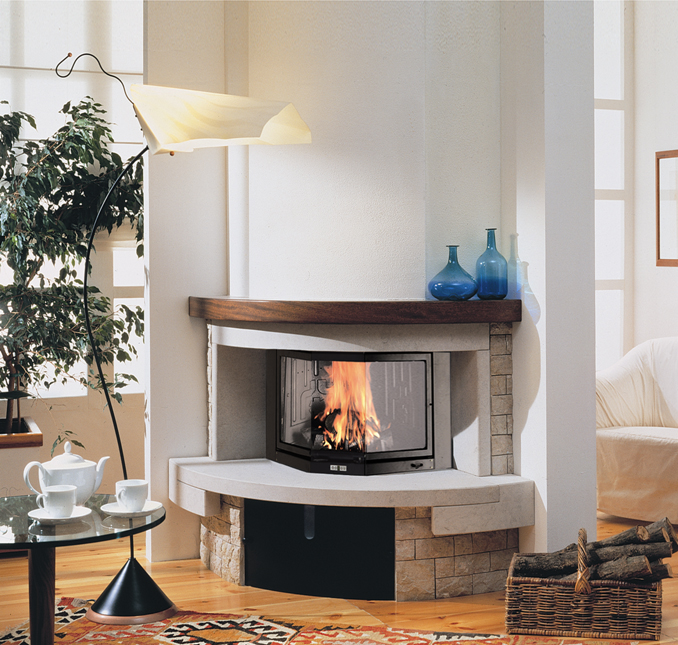
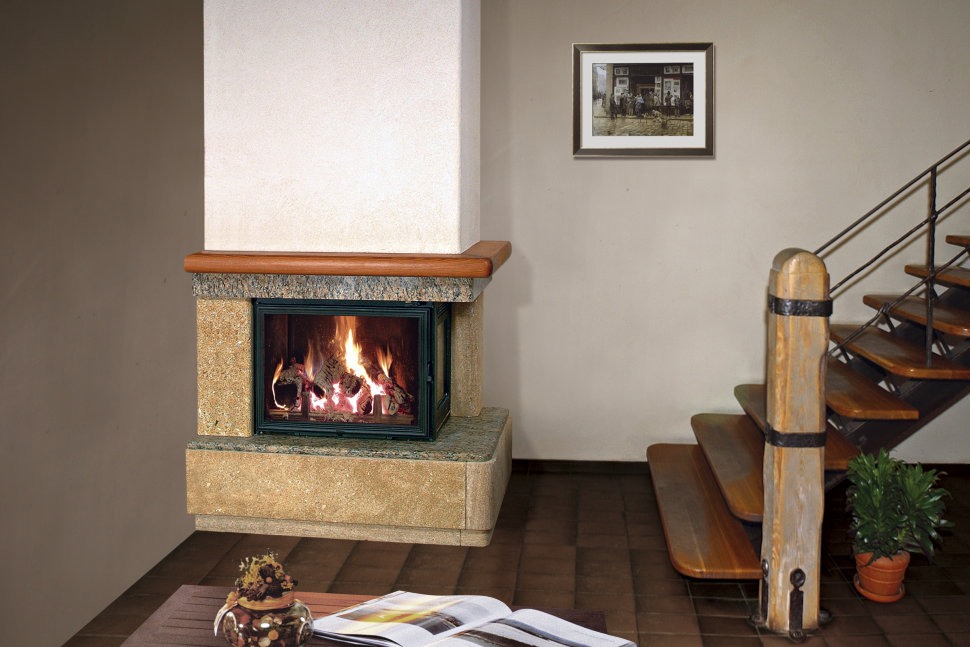
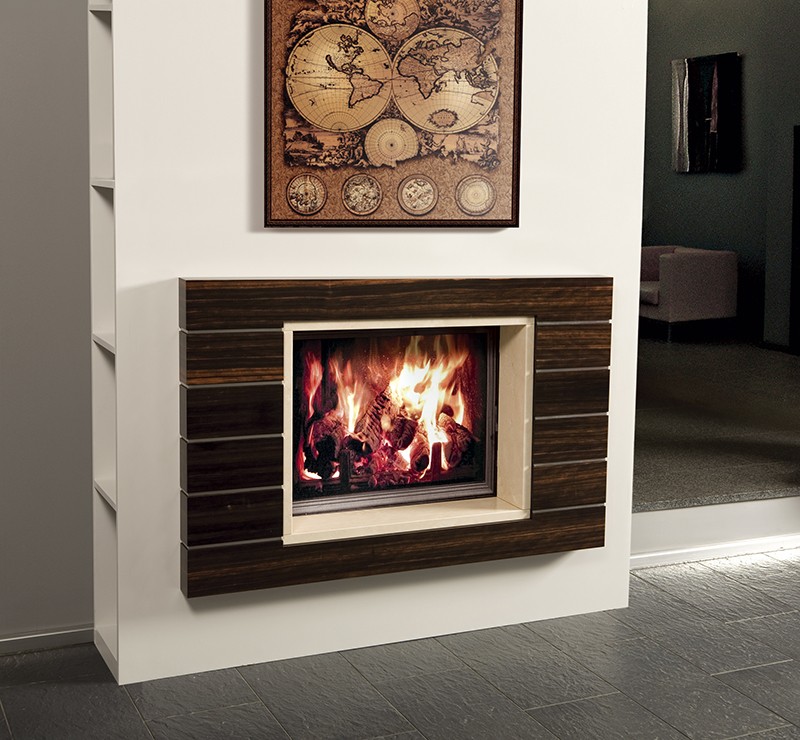
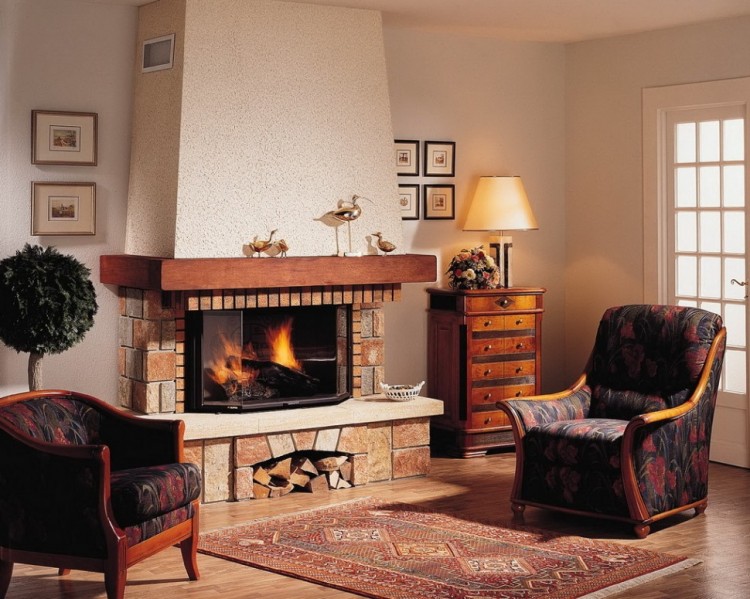
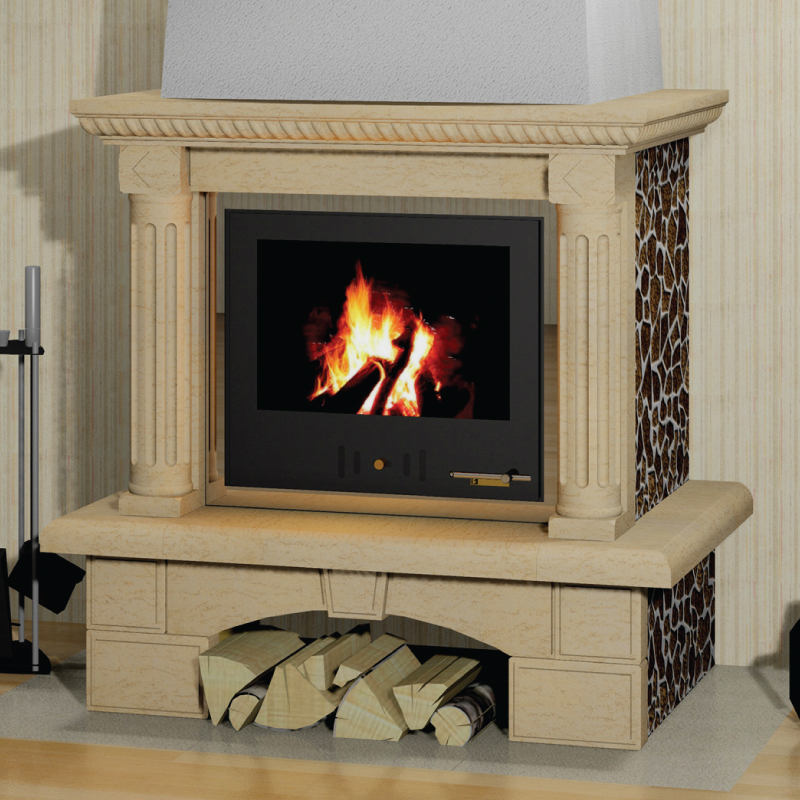
Wall oven
The furnace, in which one side is in the wall, is called the wall. This is an option to save space. It can be built in a small cottage to warm two rooms at once. Built-in structures allow it to be used in different ways - as a stove, and as a fireplace for aesthetic rest. It will heat the adjacent rooms behind the wall. The disadvantage of this mechanism is the absence of a cooking insert.
BBQ oven
Ordinary street grills are a thing of the past. The stove can be used for cooking barbecue, and in this case it will be divided either into several separate planes and located directly on the street, or it will be built into the wall of the house, representing a single whole with the adjacent arbor.
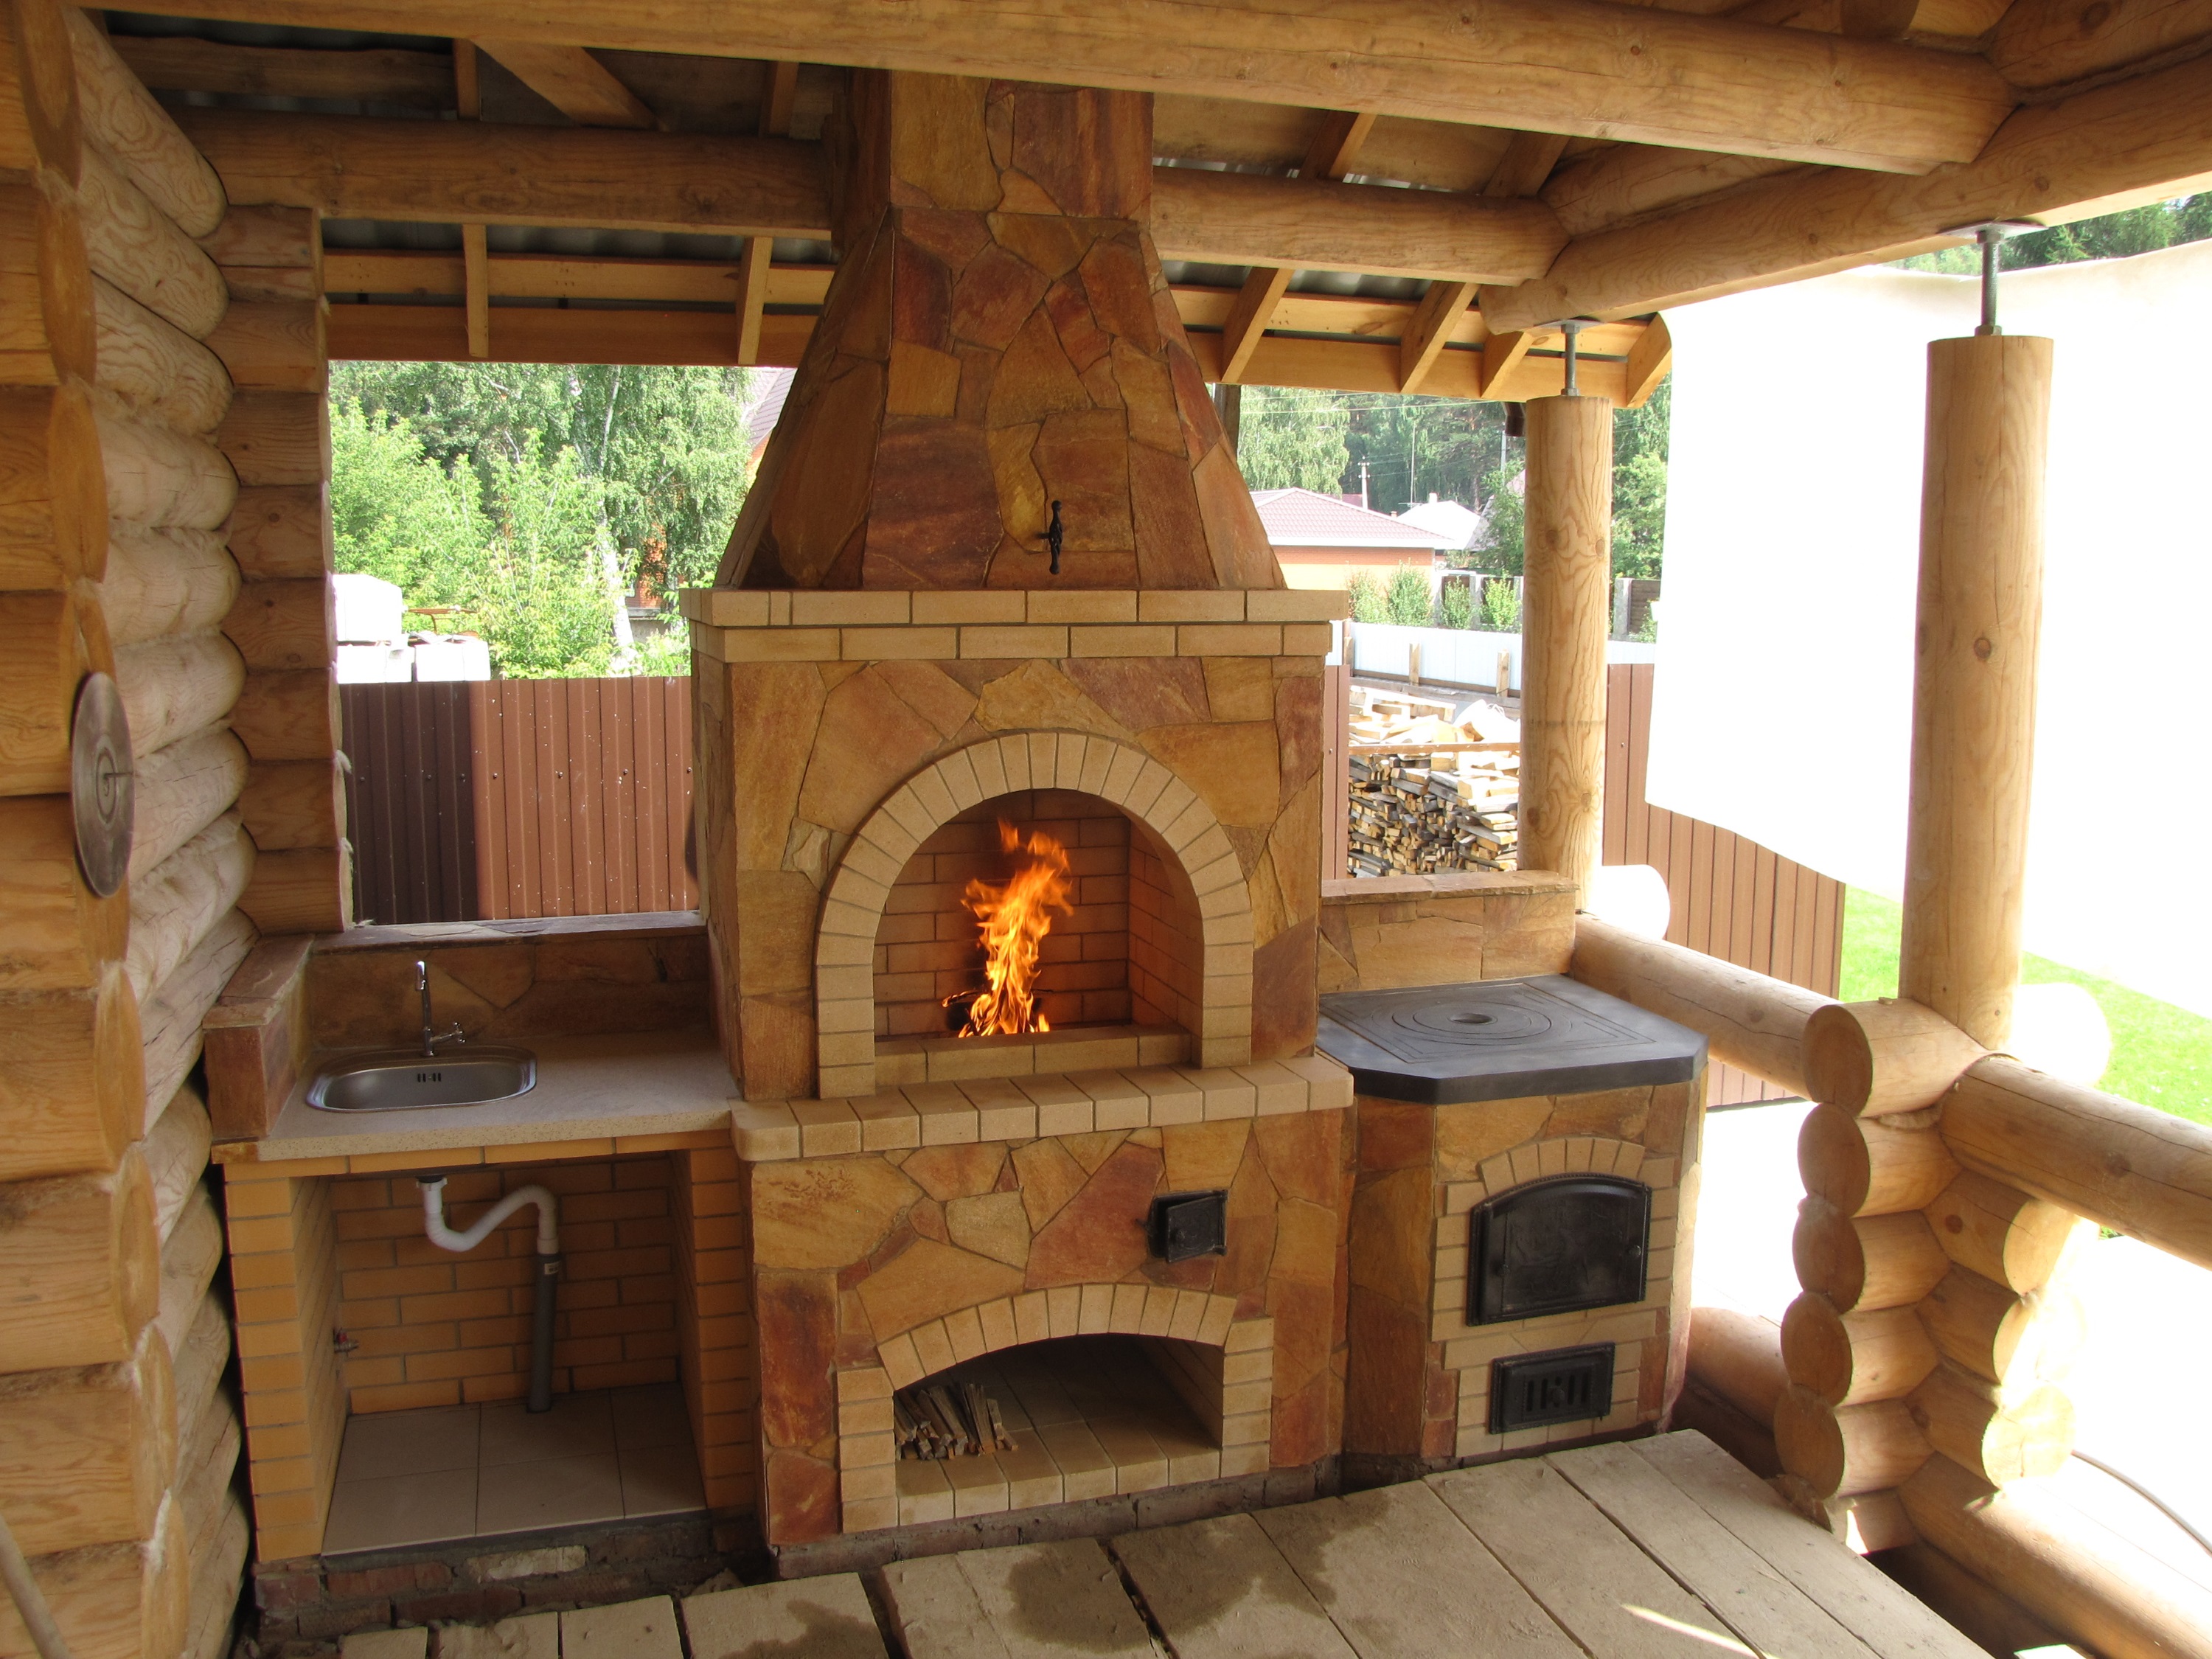
Barbecue stove refers to the mechanism that will be used alternately as a kitchen set, and an outdoor fireplace. Establish a design or on street arbors of giving, or in kitchen which is executed in the hi-tech style.
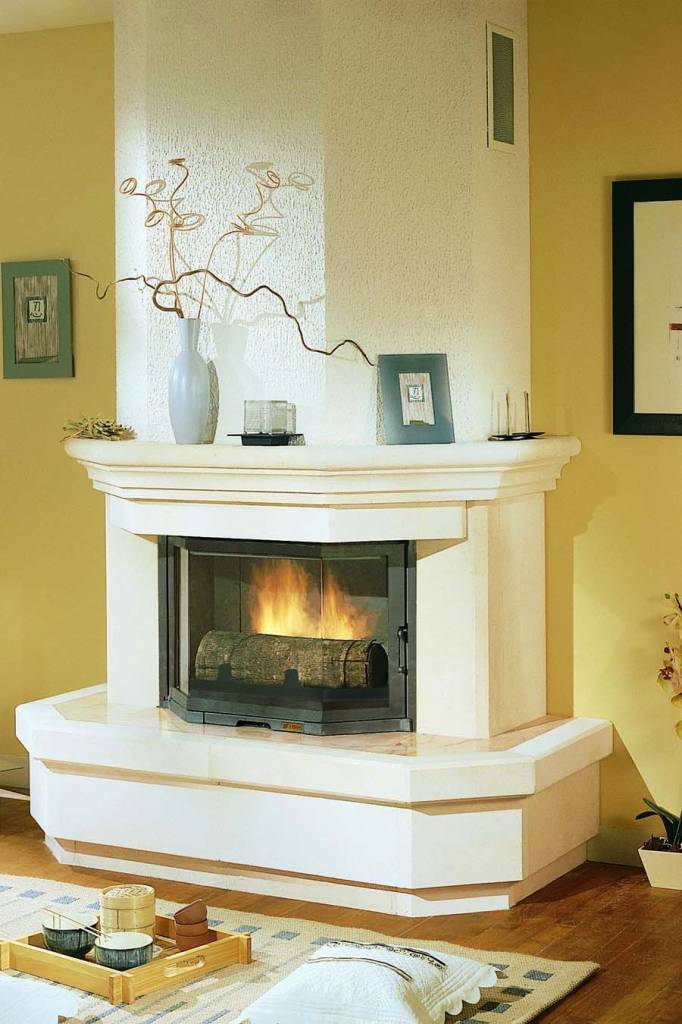
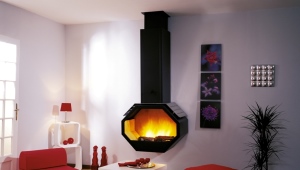
Mini ovens
Minimalism now - it is earthiness and fit to the planes.A sustained minimalist style is the lack of protrusions.
For fireplaces in the style of minimalism there are a number of advantages: discreet decor with a modern heating mechanism, saving space, electricity or biofuels, as well as easy portability from one room to another room. The disadvantage is the inability to connect an open fireplace with the style of the interior, which implies the use of fences.

Materials
In order to build a stove with your own hands, you will need the following materials:
- special brick for the furnace;
- furnace door of a pig-iron alloy;
- fireplace door with durable glass;
- blowing doors;
- several chimney sweepers;
- a pair of grate for firebox;
- cast iron hob cooker with burners;
- corner of steel with a shelf;
- steel plate in 3 mm;
- heat-insulating layer;
- heat-resistant metal thread for door installation;
- chimney pipes and parts;
- insulating sheets for formwork and boards;
- concrete batch for the foundation;
- sand and gravel for construction work;
- any refractory coating for the foundation.
Important: buying a brick,you need to look at the outer side of the material - there should not be a glossy shine (this is a violation of the production technology), nor fragility and crumbling (indicating an under-baked material).

Do it yourself: step by step instructions
To build a universal stove, you need to do the miscalculation and put “plus on minus” in the drawings, choose the location, understand what materials and tools are needed directly in construction, build the foundation, and finally build the fireplace. That's the whole beginner's guide. Now in order.
Choice of location
The principle of the location of the fireplace is simple: the same rules apply as for the insertion of conventional heating systems. If the fireplace is adjacent to a wooden wall, then between them there should be a free space of at least 40 centimeters. It is better if the screen is pre-assembled from a refractory sheet, a slab, as well as drywall.
Blueprints
Once the place is chosen, it is necessary to make a drawing of the form and future design. Having understood the future view of the fireplace, you can proceed to the basis: to calculate the heating elements and their interaction.It is possible to make a full-fledged drawing only for the craftsmen, so it is recommended to take as a basis the finished developments of the Swedish oven, and bring your ideas to the idea directly there. When choosing which of the heating devices to install, be guided by your needs.
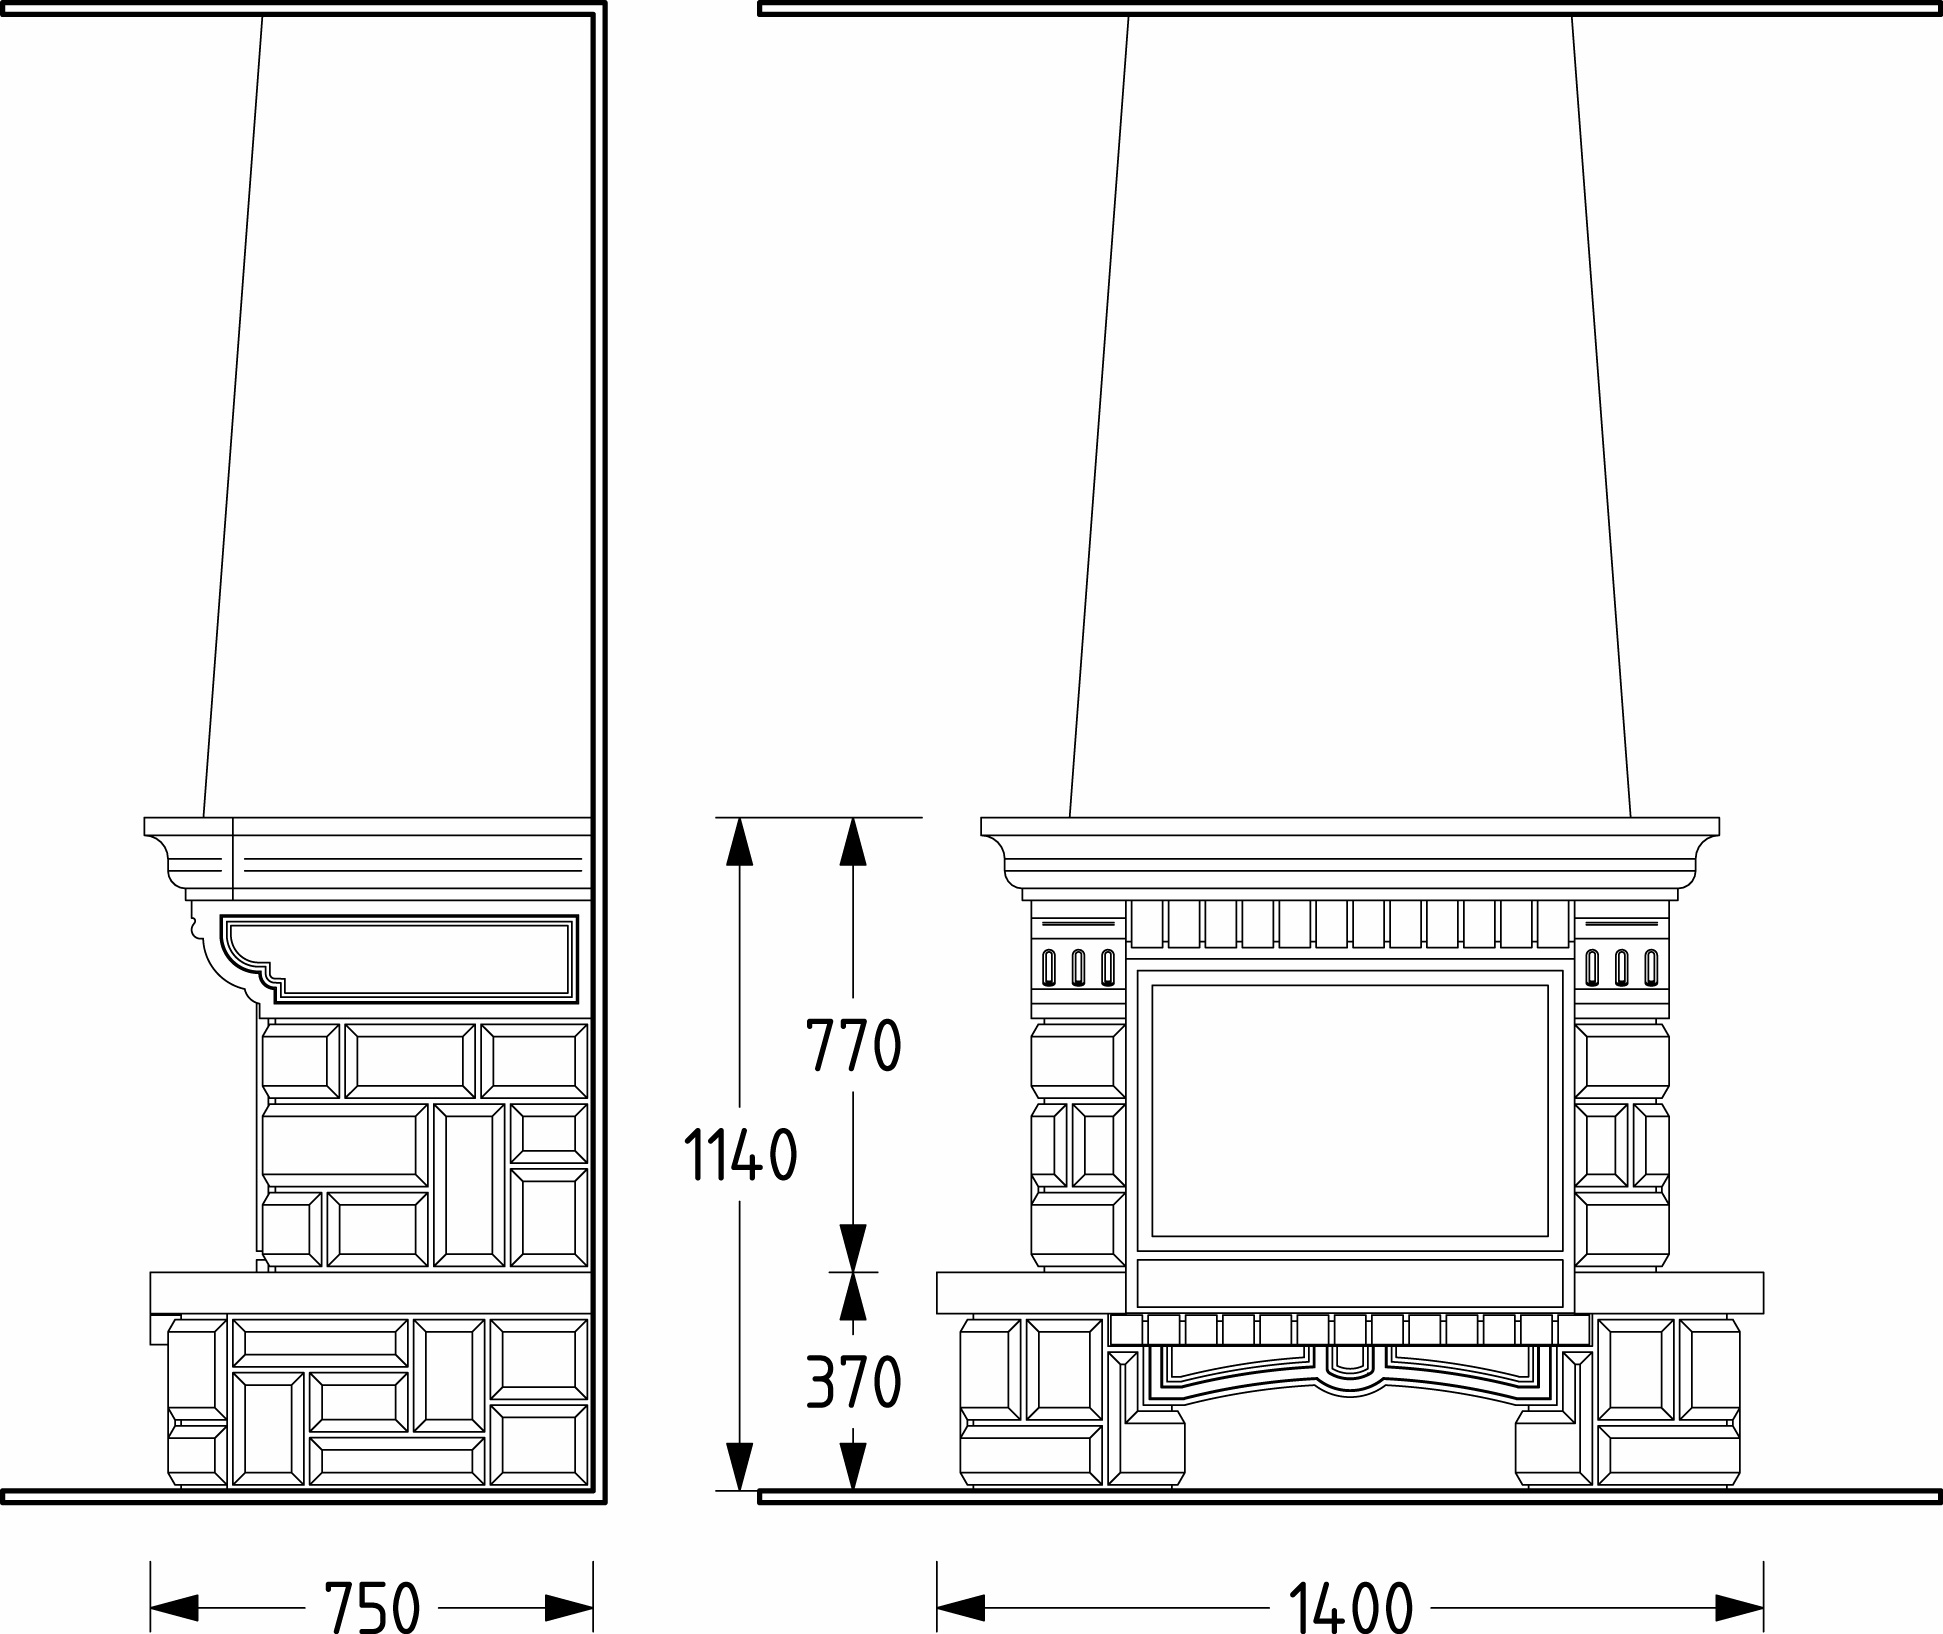
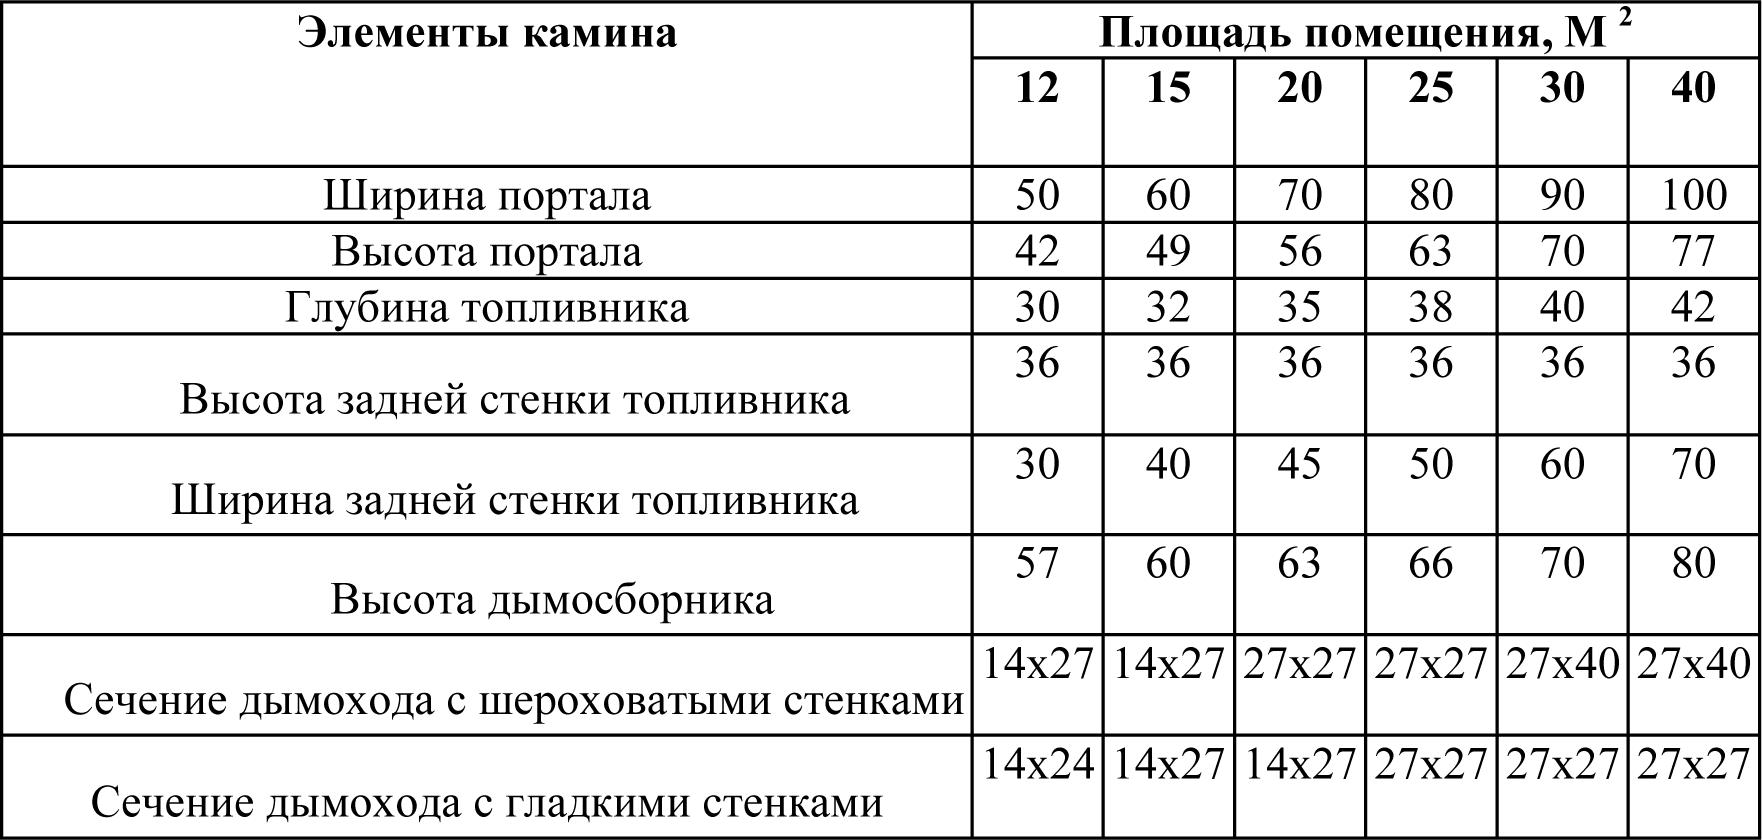
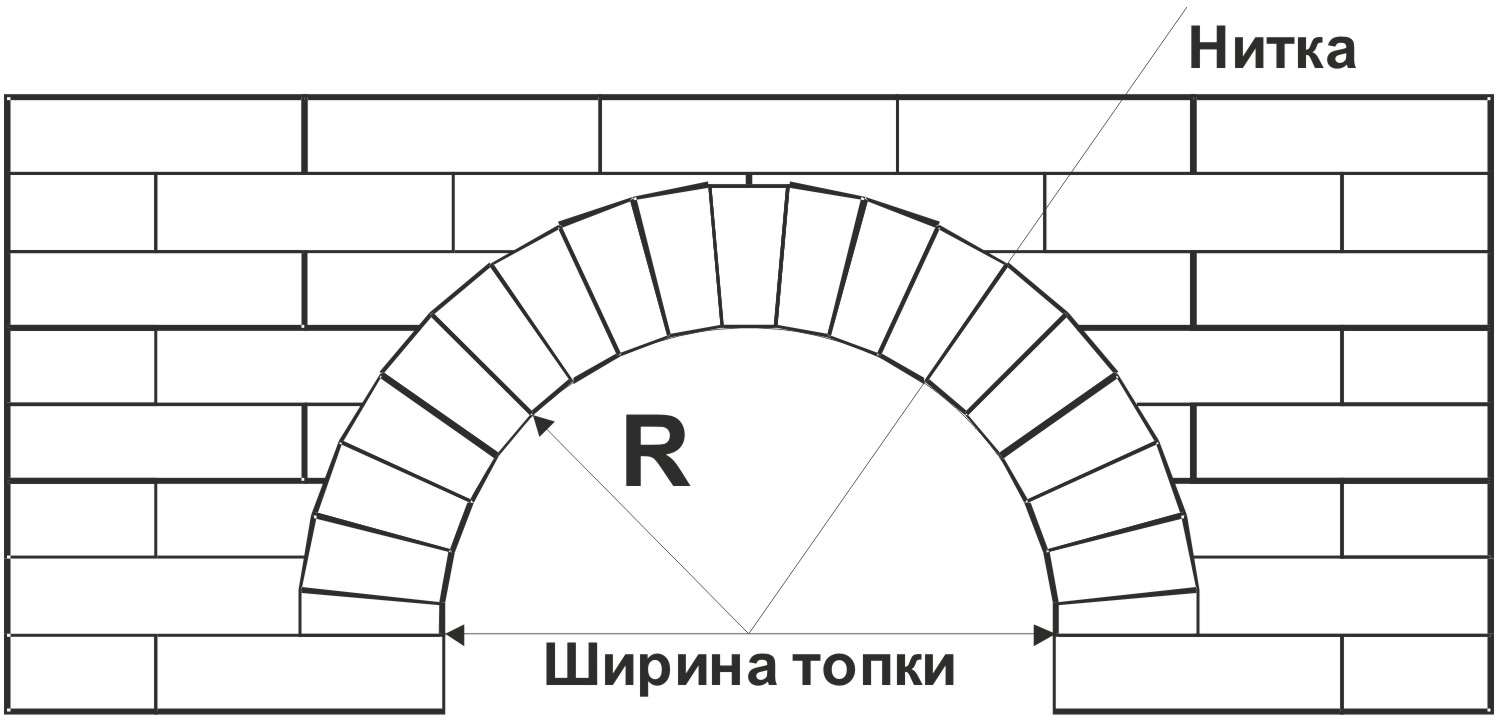
The calculation of the fireplace is correlated with the size of the room. To calculate the heating capacity of the furnace, it is recommended to use a standard table. The best ratio of width and height is defined as 3: 2, but the depth of the fuel part is usually taken in a ratio of 1: 2 or 2/3 of its height.
The quality of the furnace also depends on the thrust, so do not forget about the calculations of the cross section of the chimney. Its size should be 1:10 square window of the furnace. Indicators need to be rounded and used in the construction of solid bricks. Do not forget that the rounded chimney has a diameter of at least 150 millimeters.
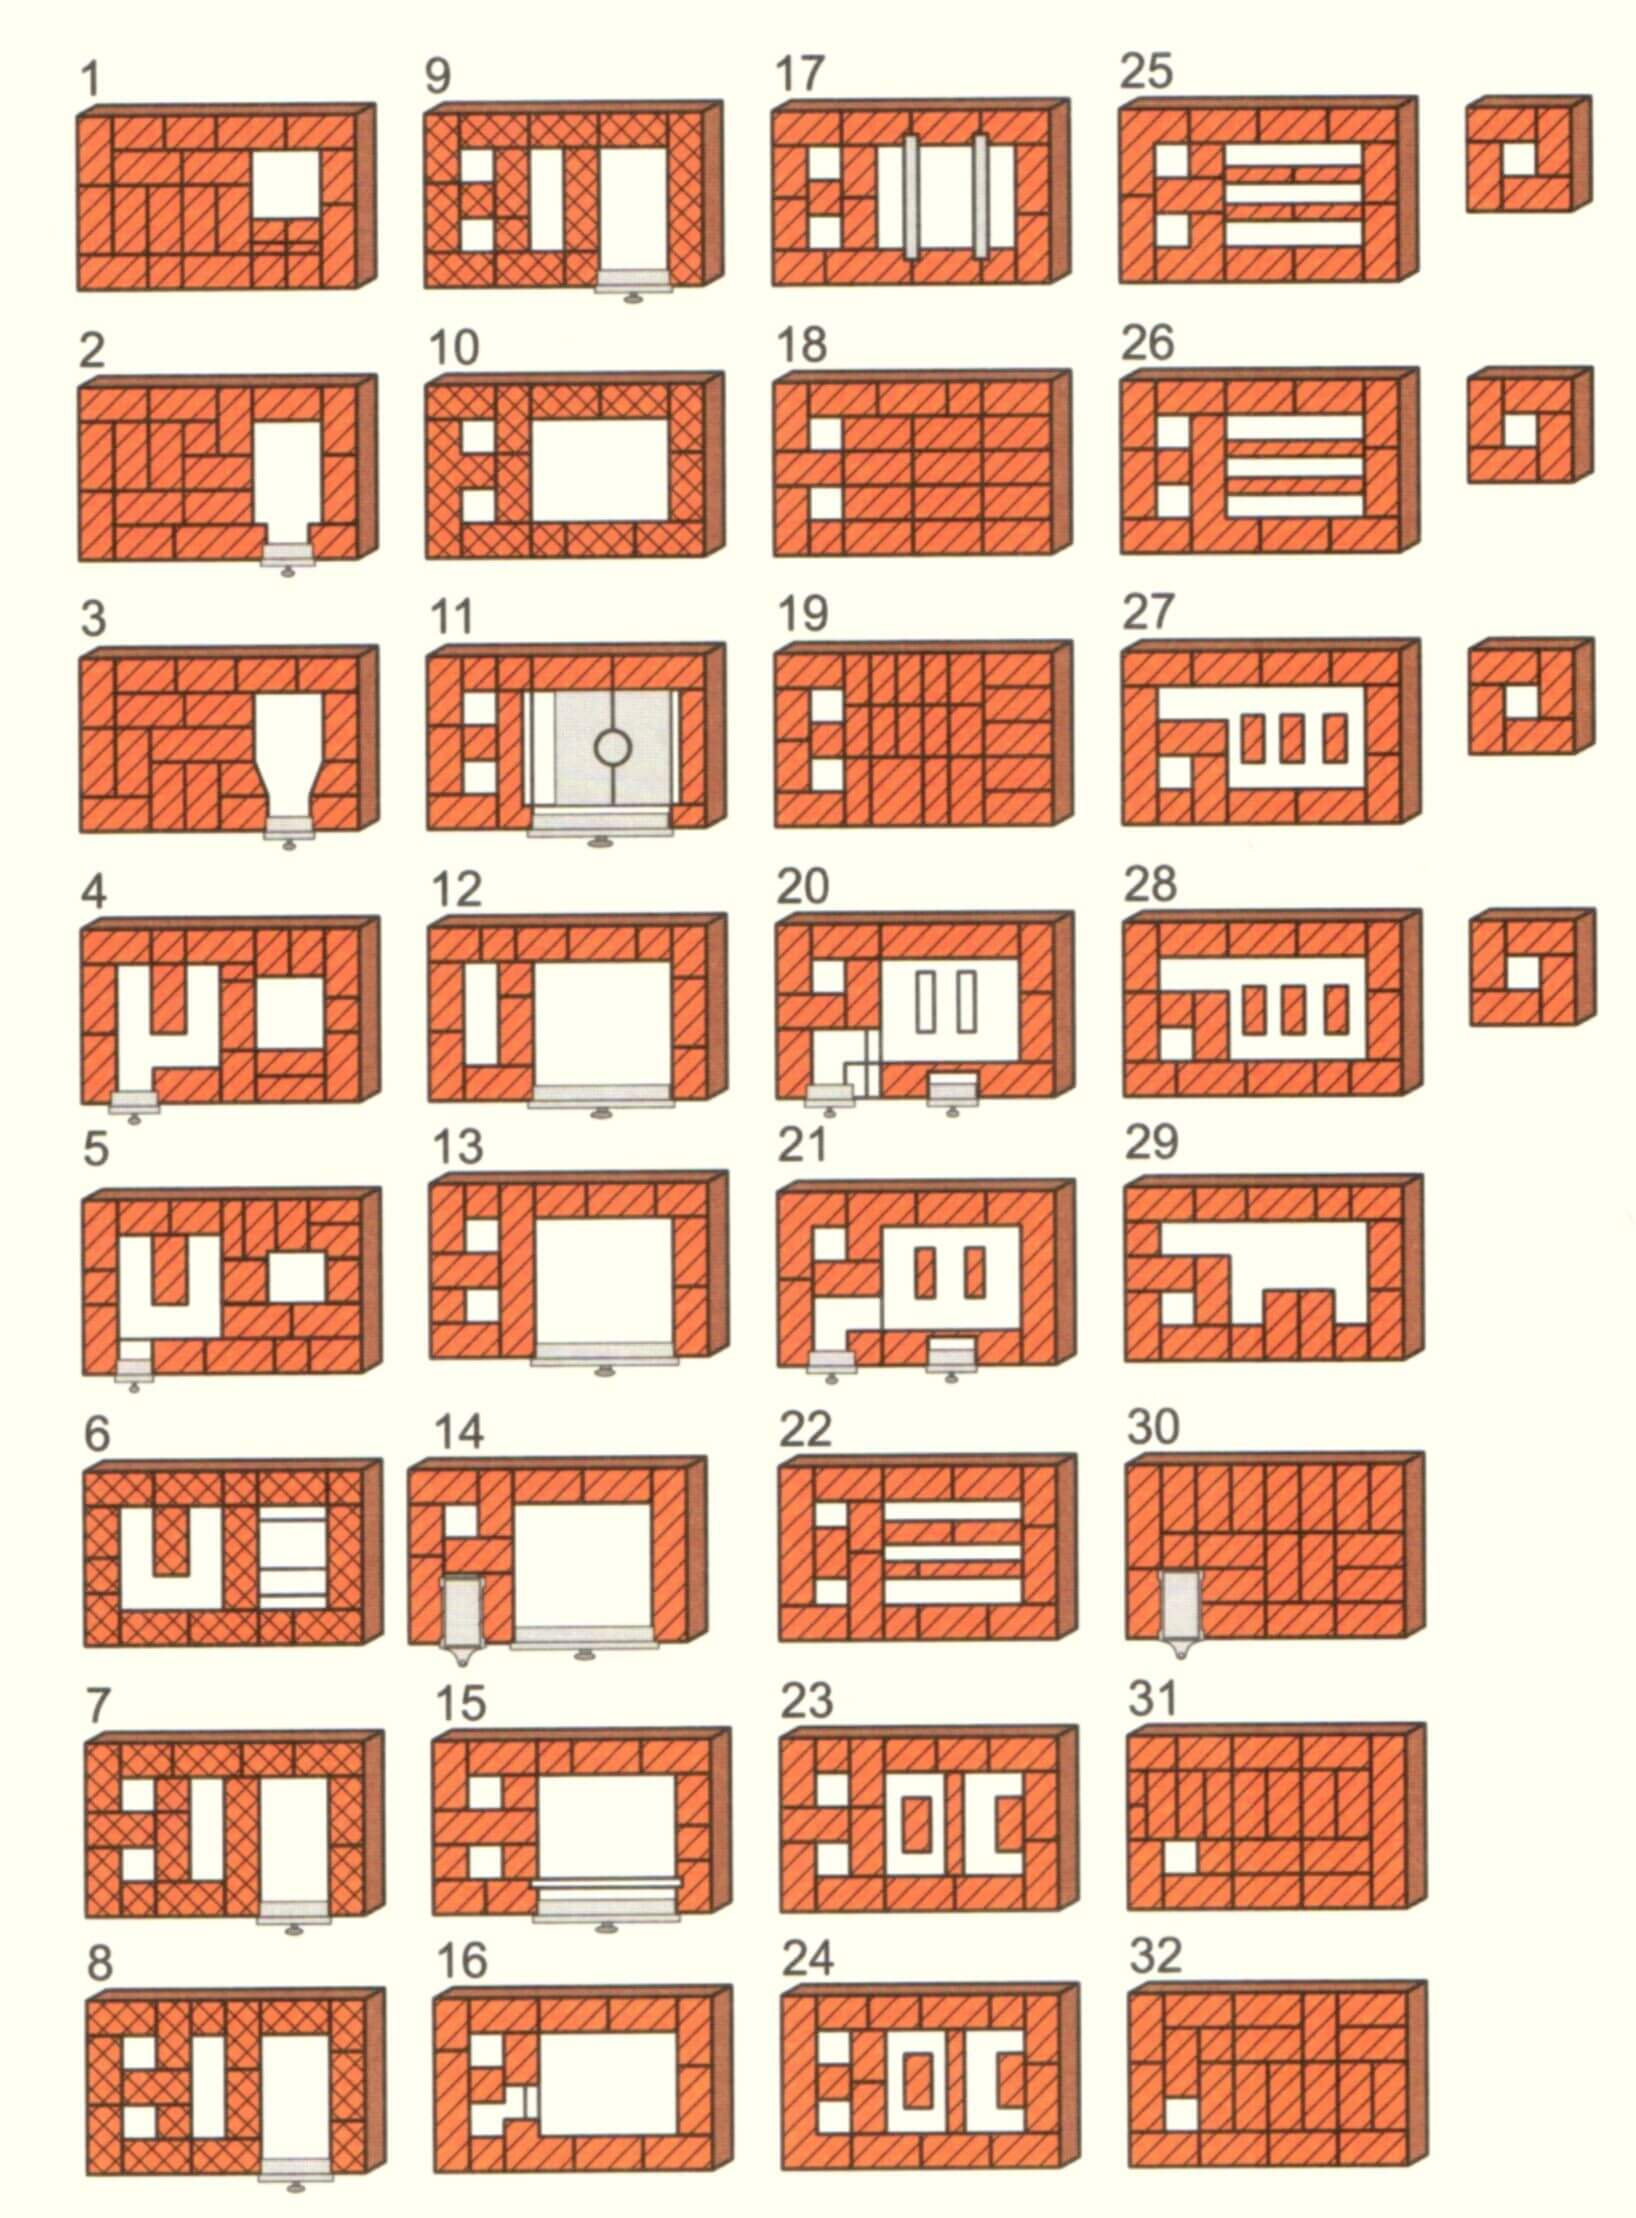

These photos serve as a scheme for individual adjustments. Visual filling will also show the direction of the gas flow and the part with the highest heat output.
Materials and tools
From the above materials, select the following items:
- waterproofing coatings;
- dry sand;
- rubble;
- mesh for reinforcement;
- wooden trimming for formwork;
- steel thread and nails;
- cement batch.
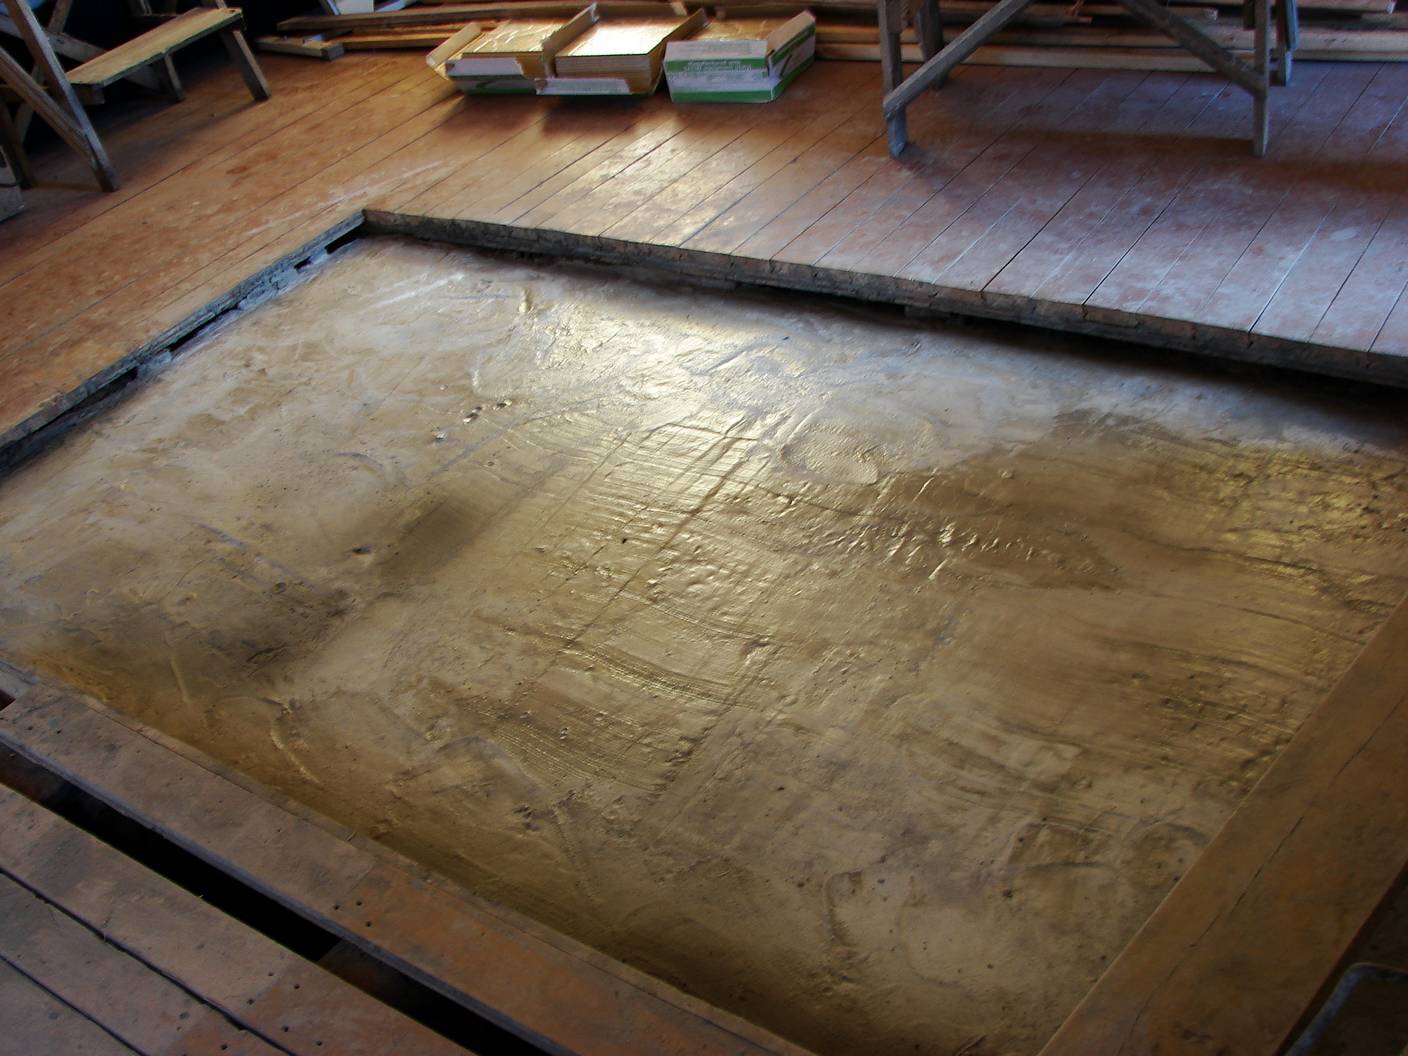
Foundation Installation
The stove connects the two parts of the same mechanism, so it is necessary to make the foundation stable and ensure the reliability of the heat generator.
Filling rules are the same as used in the assembly of a stationary heater. To begin with - it is necessary to select the outline of the base, and 100 mm from the fireplace itself. If the installation takes place in a room with parquet - the base for the stove is cut out.
Work algorithm:
- make a recess from 0.5 m to 0.7 meters;
- fill the bottom of the boiler with 10 cm of sand, compacting and spilling it with water;
- Cover the sand with rubble and carefully tamp it;
- from gravel, at a height of 5-7 cm to install a grid of reinforcement;
- on the basis of build-in formwork (put the upper cut of the boards at one level, which will ensure the alignment of the foundation);
- mix sand, gravel and cement mortar (3: 1: 4), then pour a homogeneous mass into the base;
- tamp the concrete, then align it with the rule, passing in parts of the formwork.
After pouring the foundation, wait a week for full setting.Do not forget to separate the concrete from the installation of waterproofing, such as roofing felt.
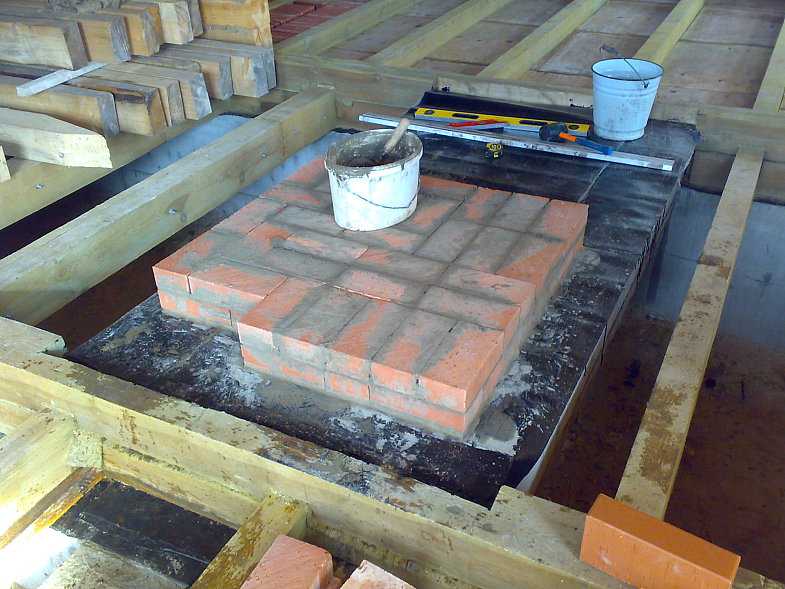
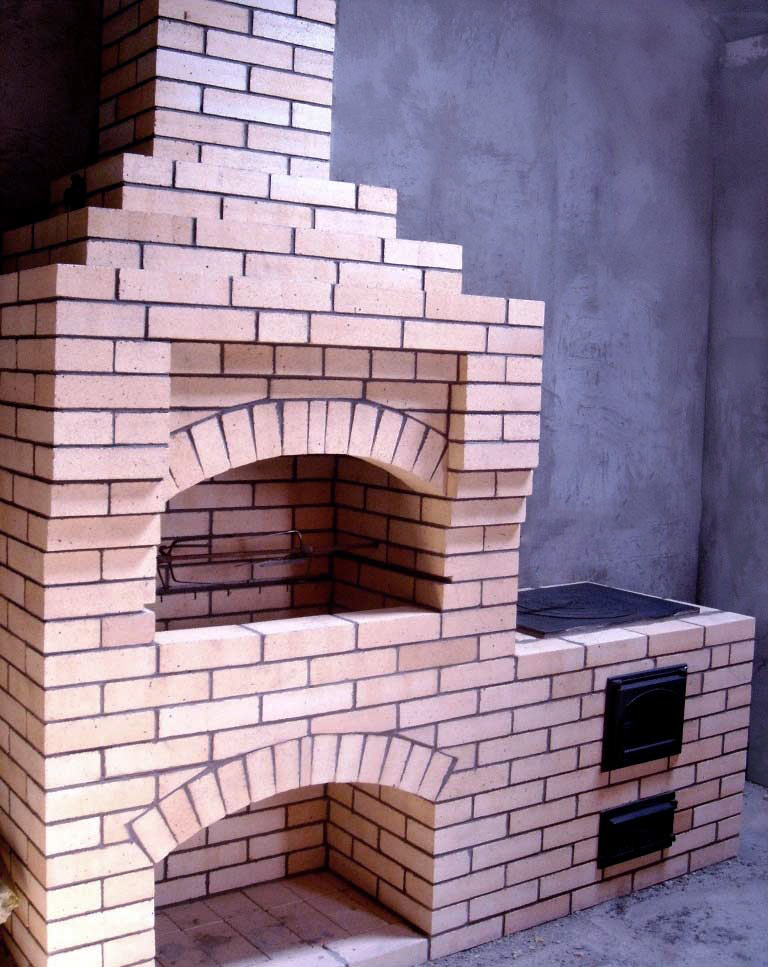
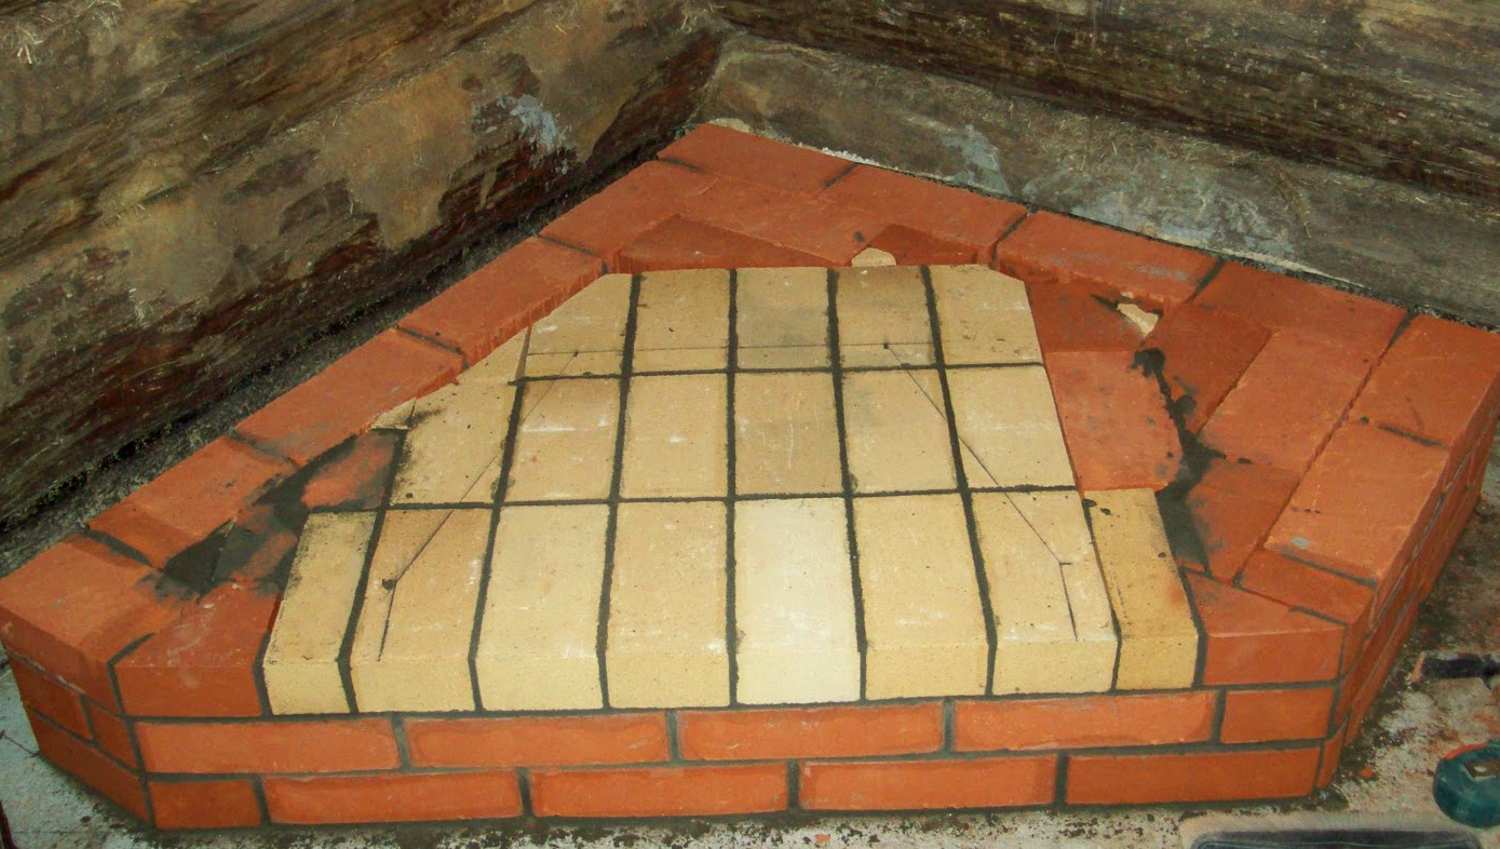
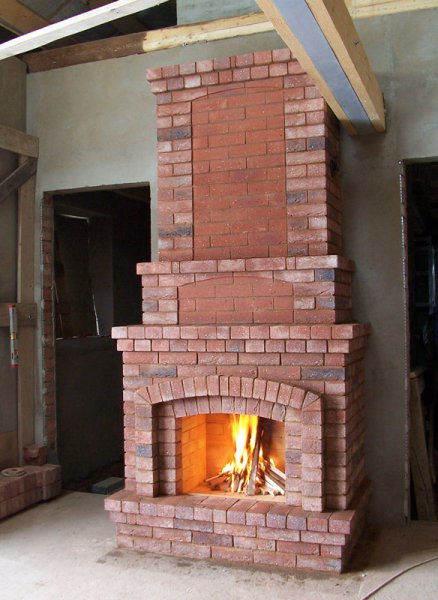
Fireplace laying
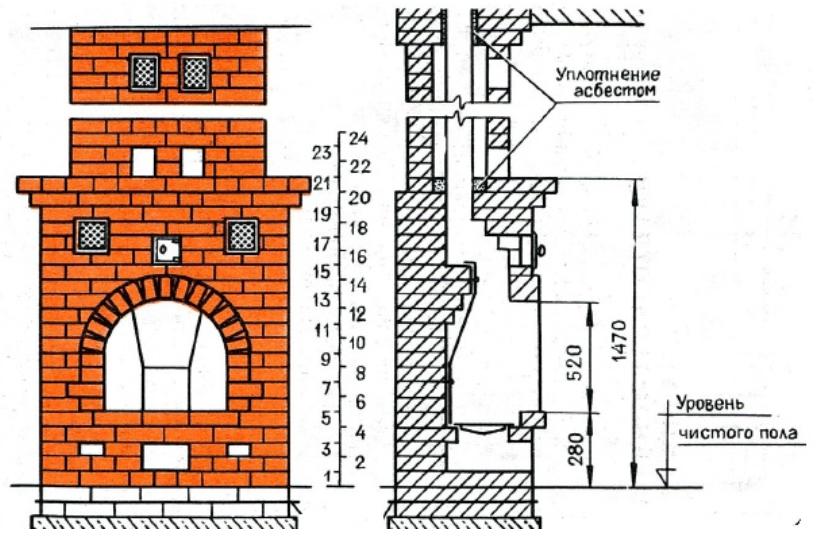
After the foundation is dry, you can proceed to the ordering of the structure. The first row fits completely. The second row is arranged in such a way as to outline the gas passage, the blowing chamber and the place for the firebox. Further, following the drawings, it is necessary to model the masonry chamber for the furnace, forming at the same time the bottom, which is the third row.
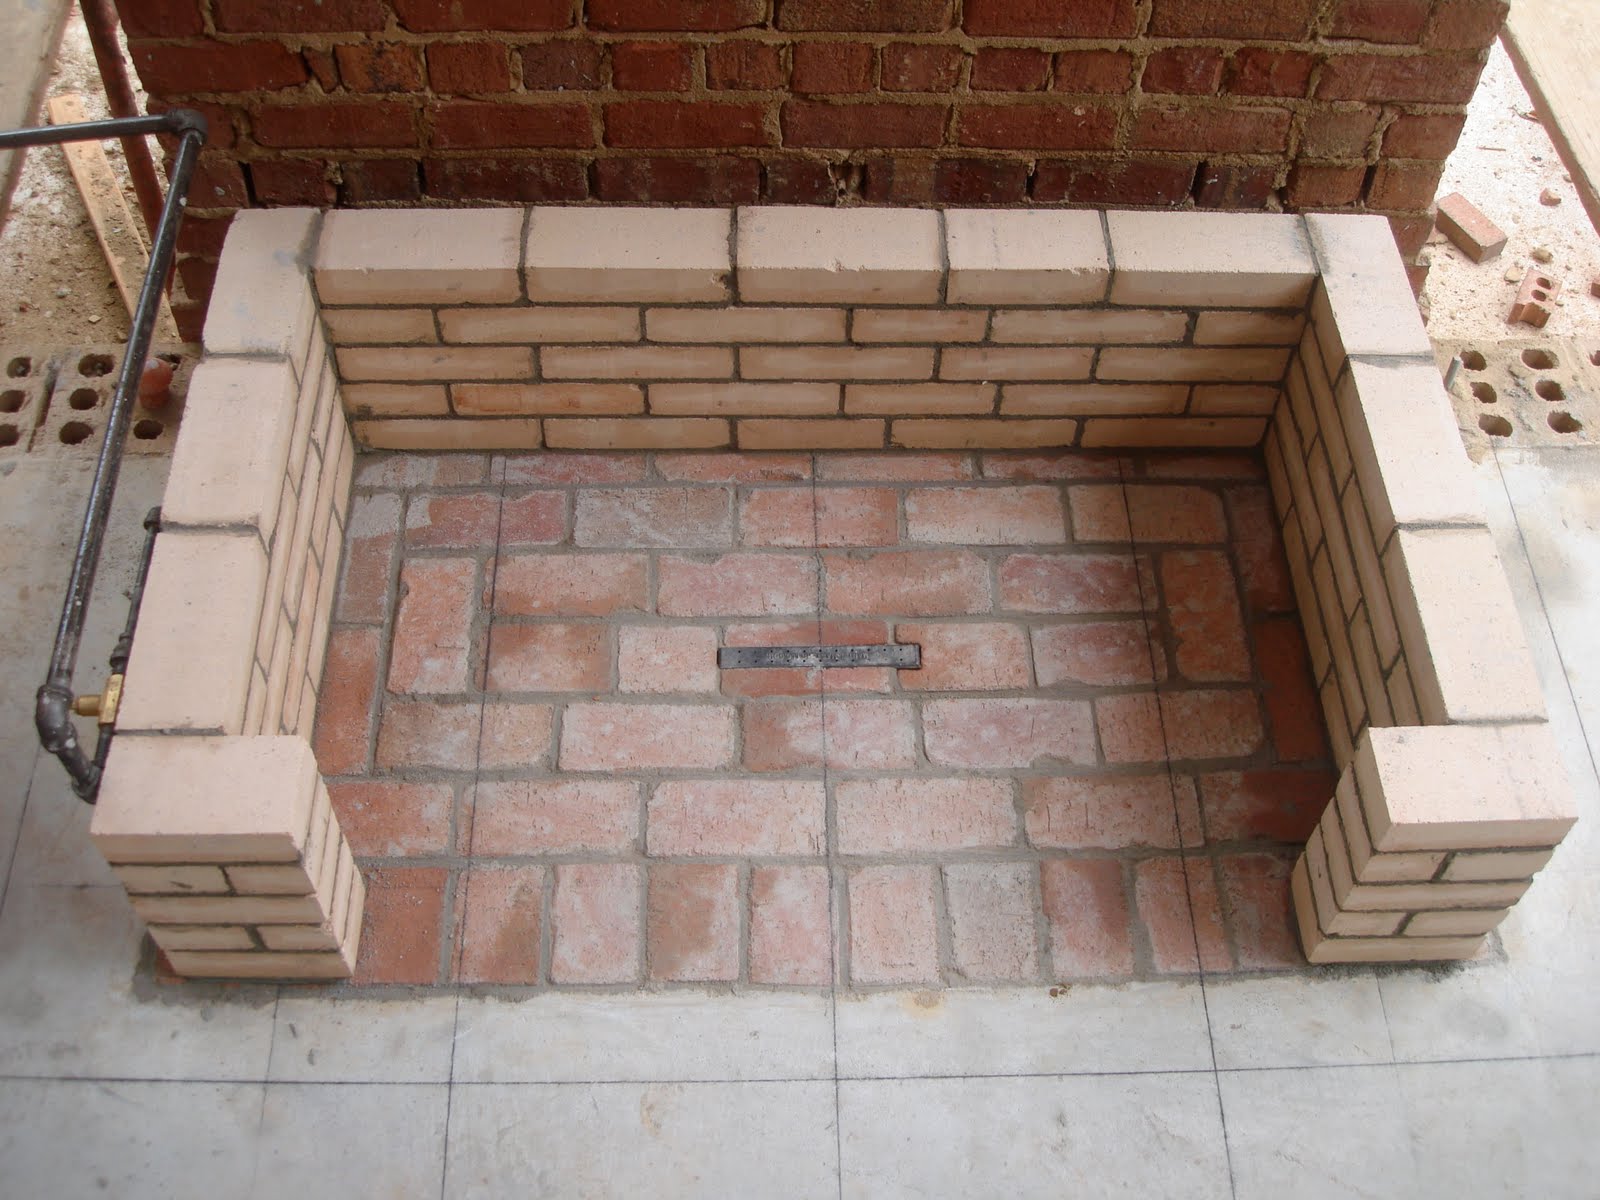
To make the overlap, you can use metal corners - they act as a support and cover the door aperture. With this condition you need to lay out the fourth and fifth row. After that there are several layers with the installation of the door. And already in the ninth row, the hole is covered with bricks, paving several more rows.
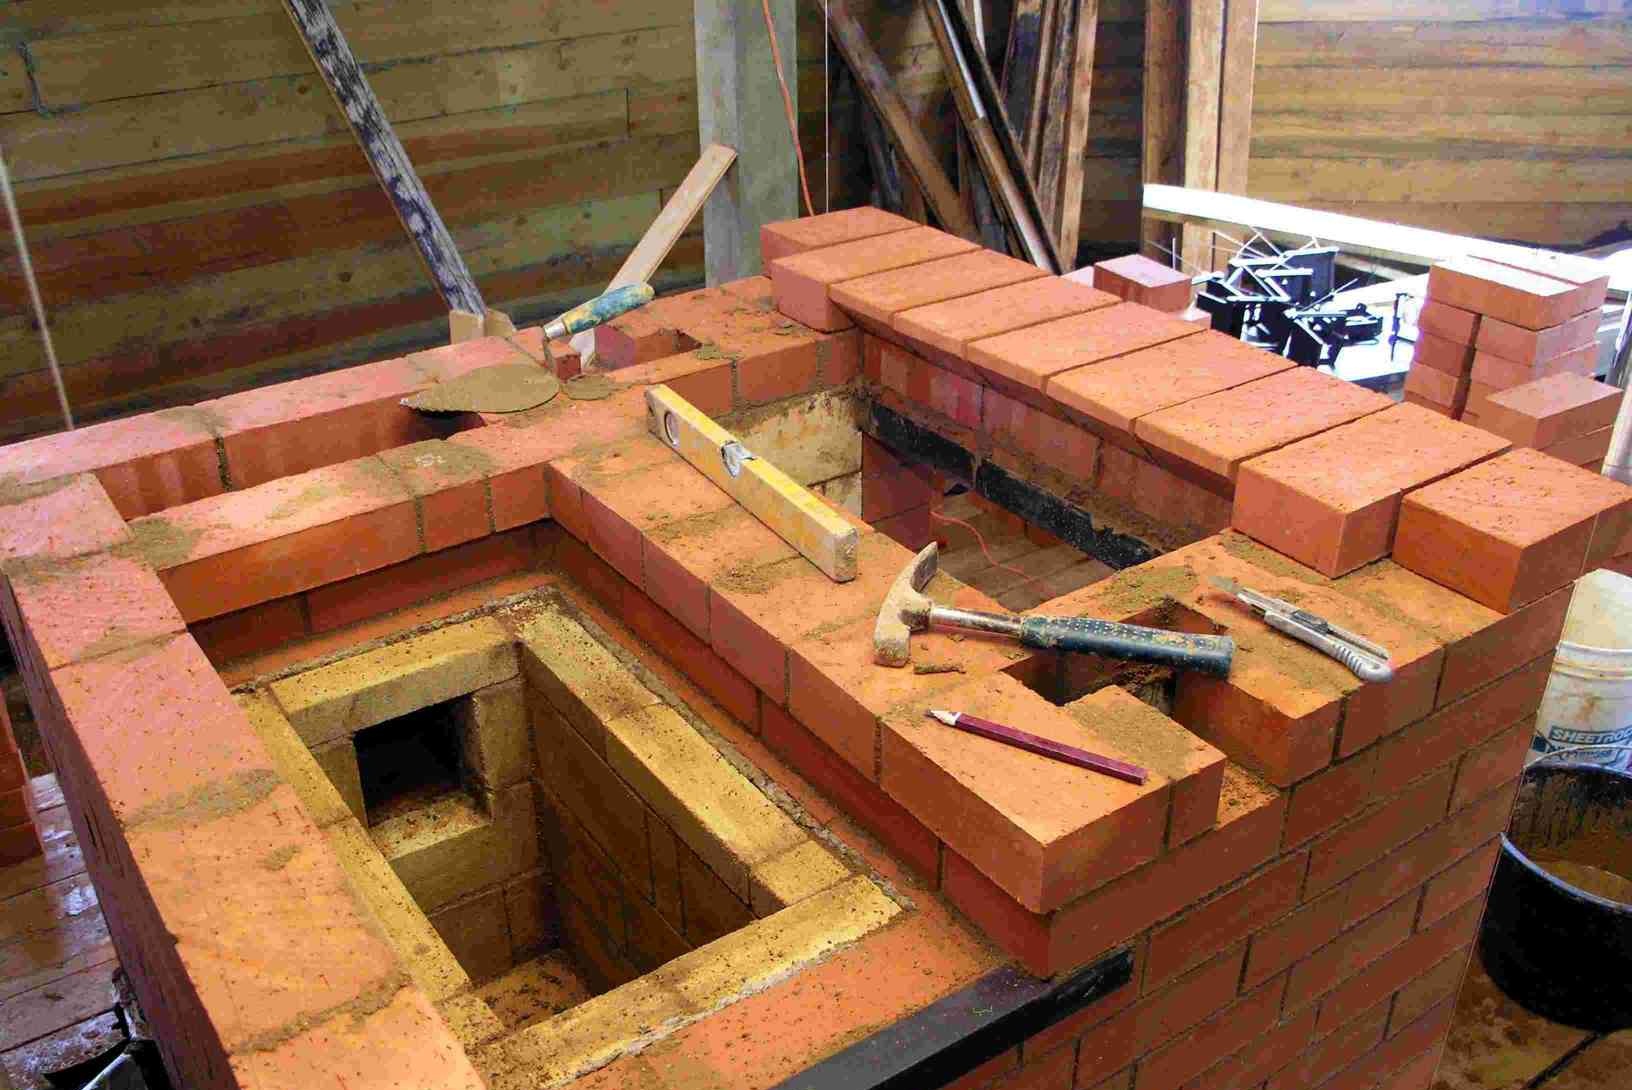
On the eleventh layer, it is necessary to insert the hob, so you must first lay the brick dry, measure the area under the stove and only then do the laying with the structure. Several rows after - you need to lay according to the scheme, securing the holes in the frame with wire.

On the sixteenth row, you can lay the beginning of the arch under the slab, not forgetting the steel strip for support.In the subsequent masonry to simulate the arch. On the nineteenth layer, the gap between the bricks needs to be increased - for the valves and then clean the doors. In the next laying, install a strip of steel on smaller valves, and in the twenty-first row, place the strip on top of the luggage - it will be the base of the chimney.
From the twenty-second level of masonry begins the chimney - the channels need to be done already, and gradually shut off. Put the lead on the scheme to the twenty-sixth row, where they install a common valve from the same steel corner.

Next comes the furnace overlap - these are the next two rows, then the flue gasket. It is built according to the scheme with bandaging and shifting bricks by half to a certain height.
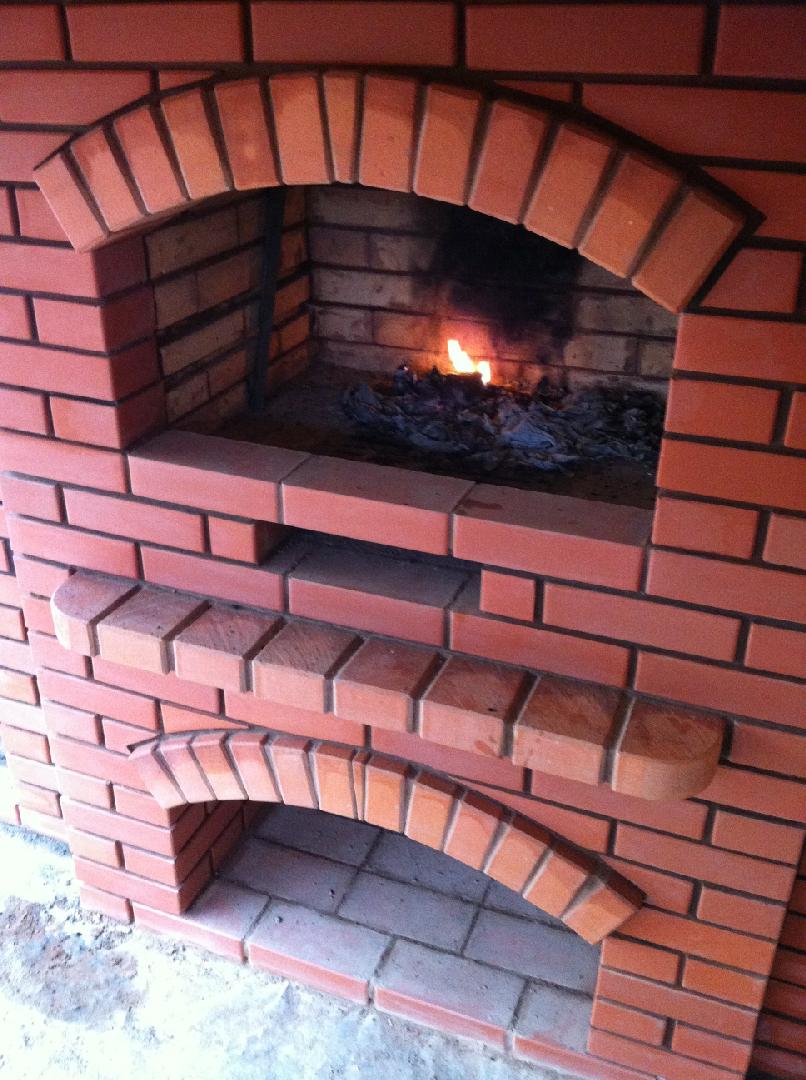
After finishing - it is necessary to dry the stove and gradually melt the fireplace.
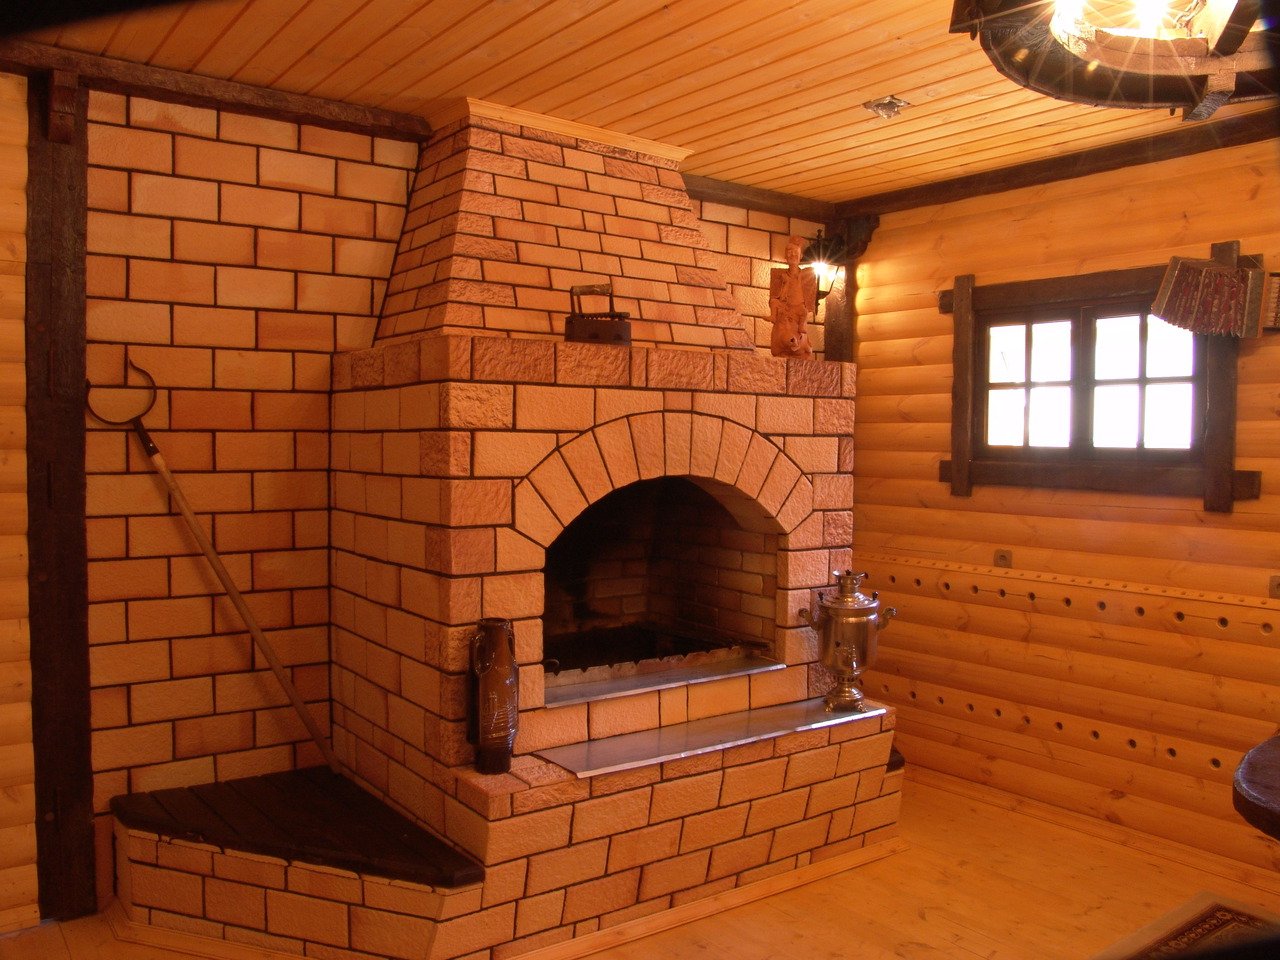
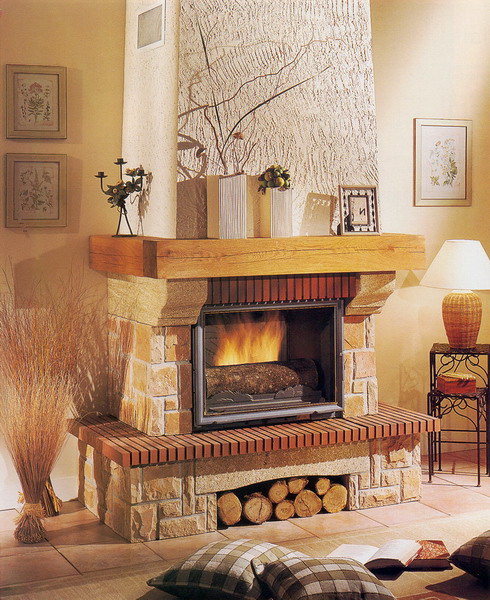
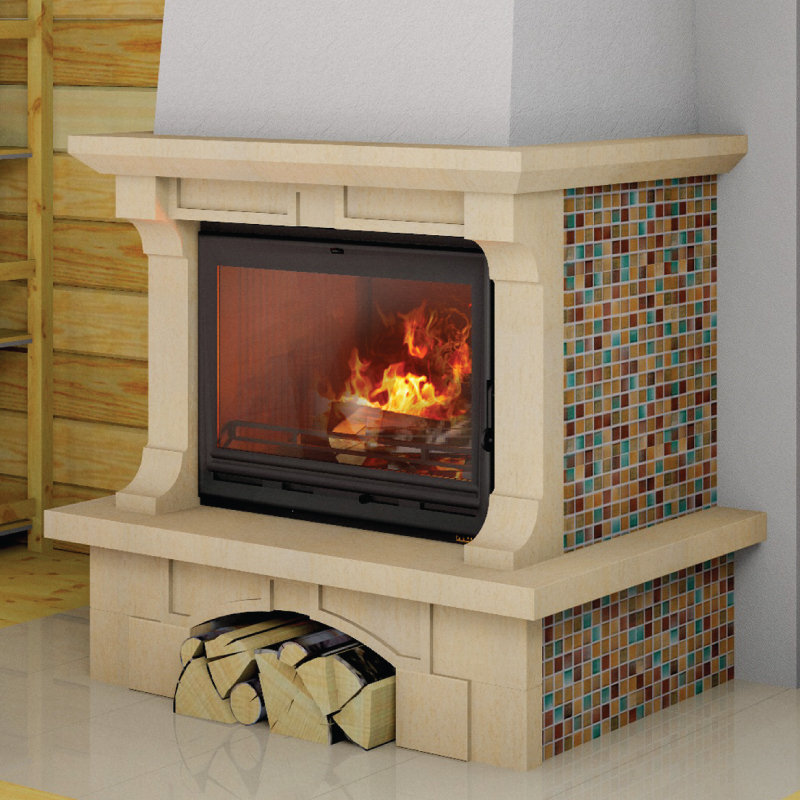
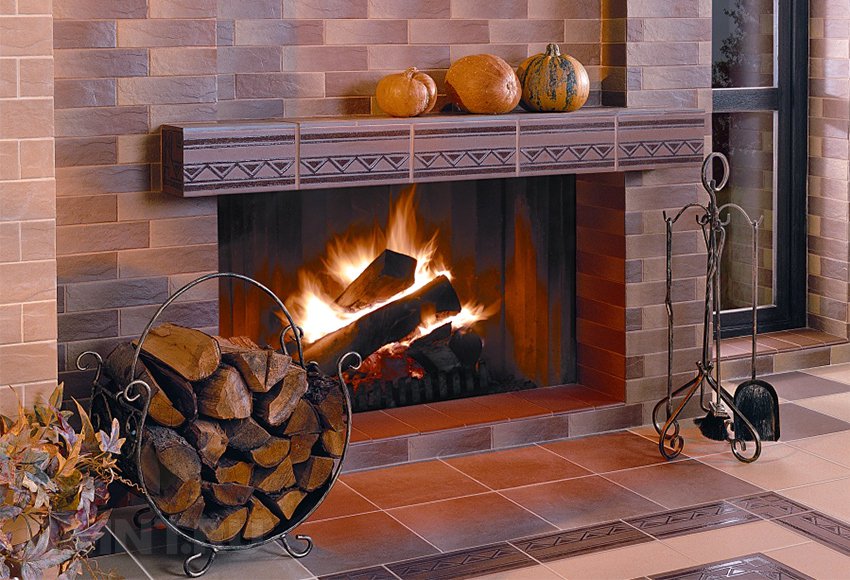
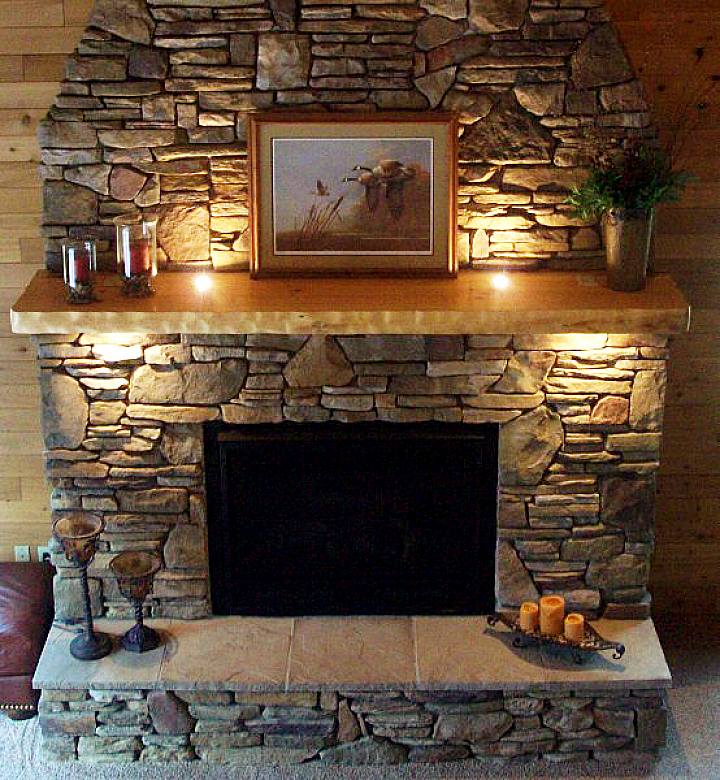
Facing
Before putting the furnace into full operation, it is possible to revet it with the material you like. Here your imagination is limitless: decorative stones, tiles, various mixtures. It is important to understand that the lining should correspond to the overall decor of the room and look advantageous at evening fireplace meetings.
Decor
Decoration should be dealt with in the last turn - this is a kind of final touches. There are many elements of decor from metal patterns of classic design (for a Swedish oven) or modern lights under the hob that will look advantageous in a more modern style.
Do not forget also that the choice of doors is also extensive - from heavy open structures to simple glass forms.
Alteration from the old furnace
If you already have a stove built into the wall, you can convert it into a fireplace. Rebuilding it is much easier - because you already have a certain frame. But it is necessary to remember: the size of the firebox should be increased, the chimney should be expanded, and a glass door should be used for heating for security purposes. Otherwise, the design should be adjusted according to the same rules.
It is also unusual that from the so-called “Russian stove” you can easily make a fireplace by adjusting the drawings and install a safe door.
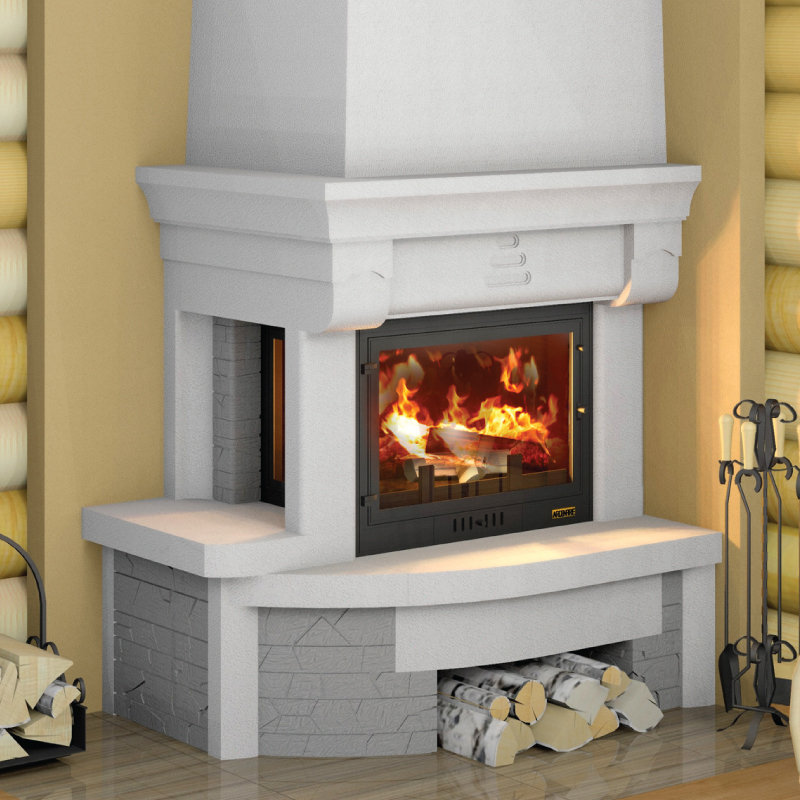
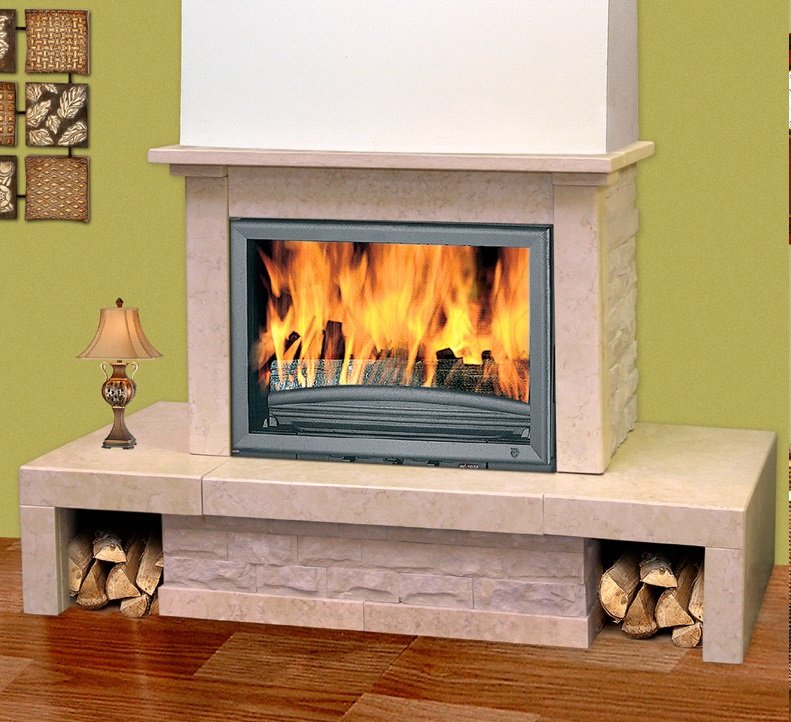
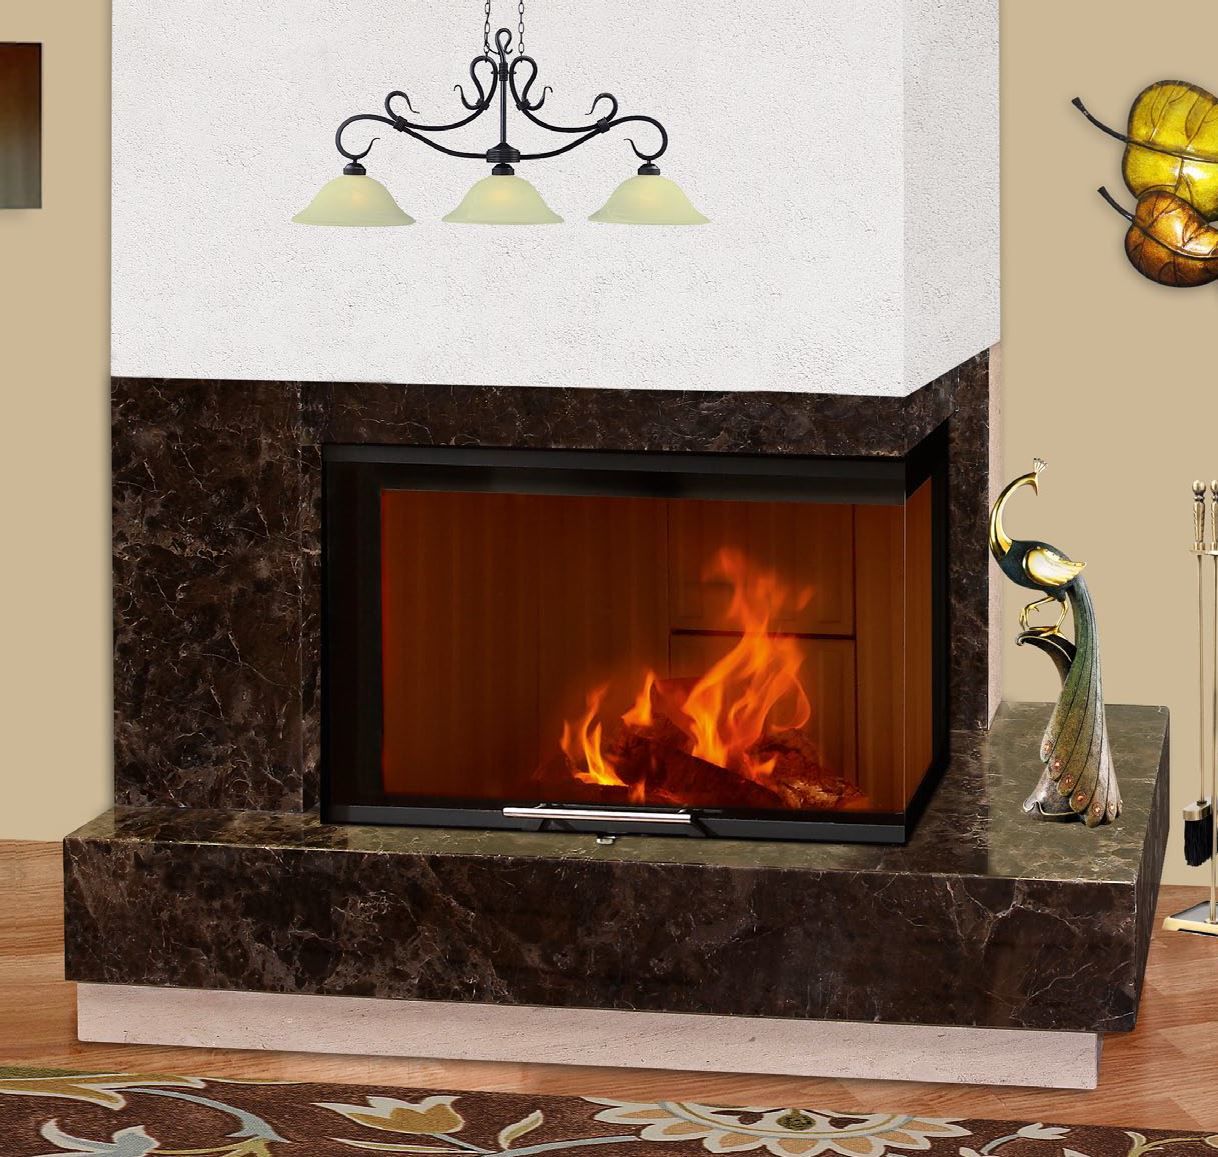
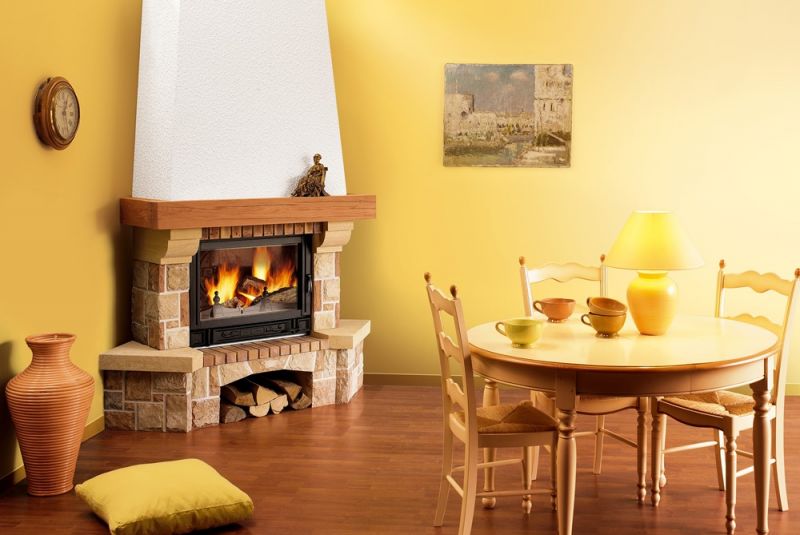
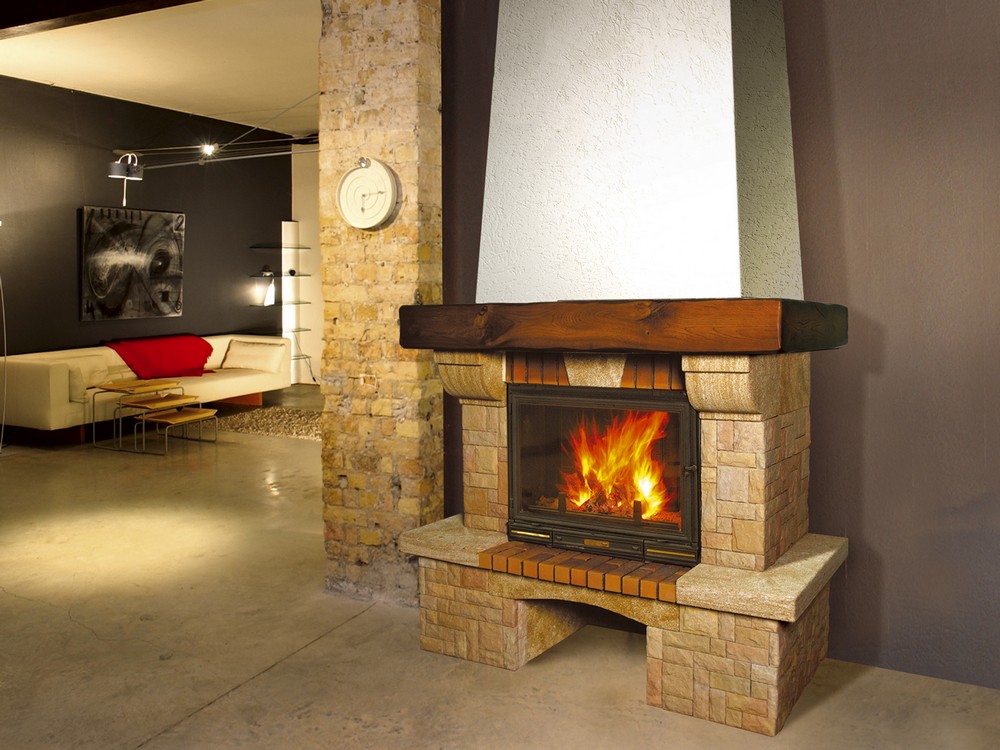
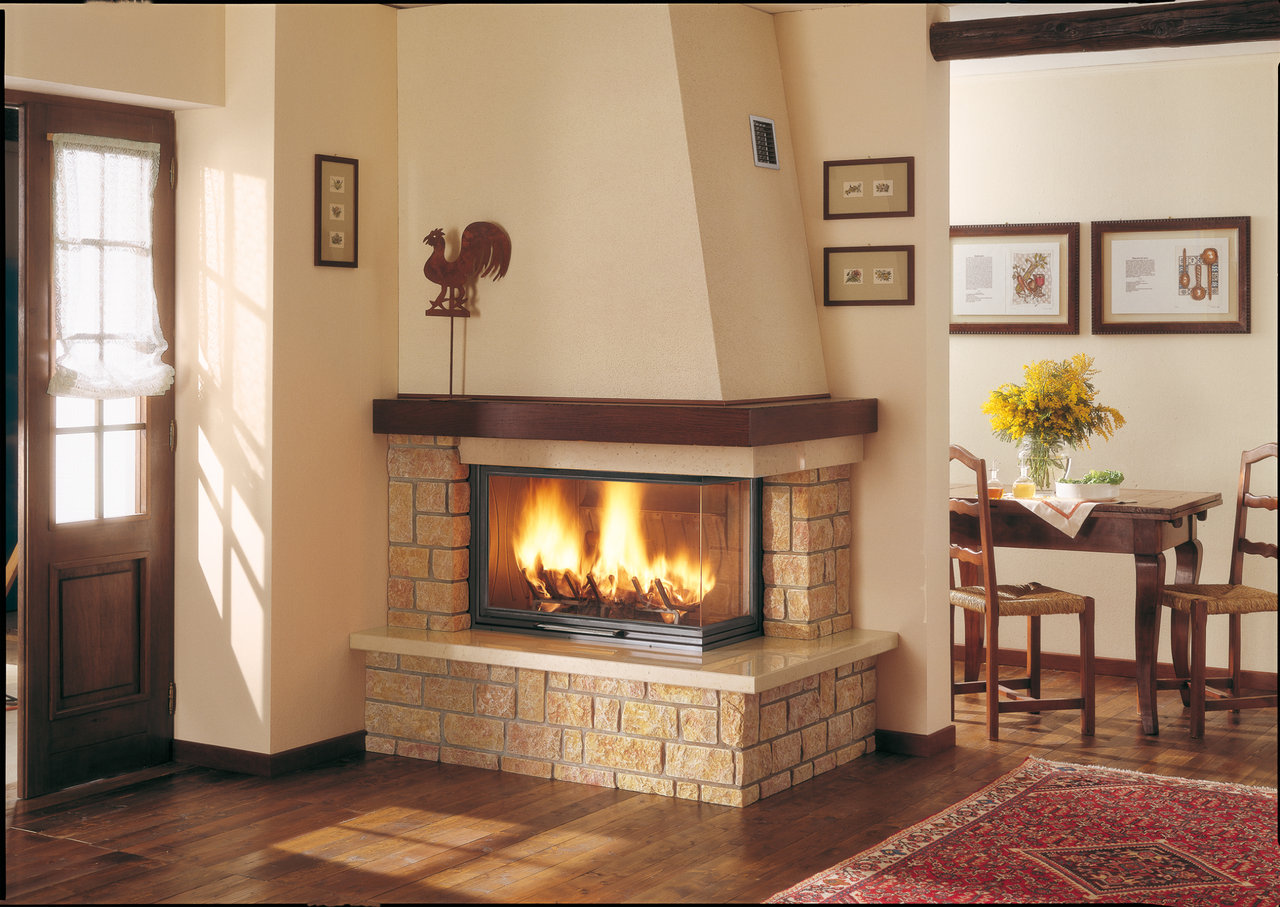
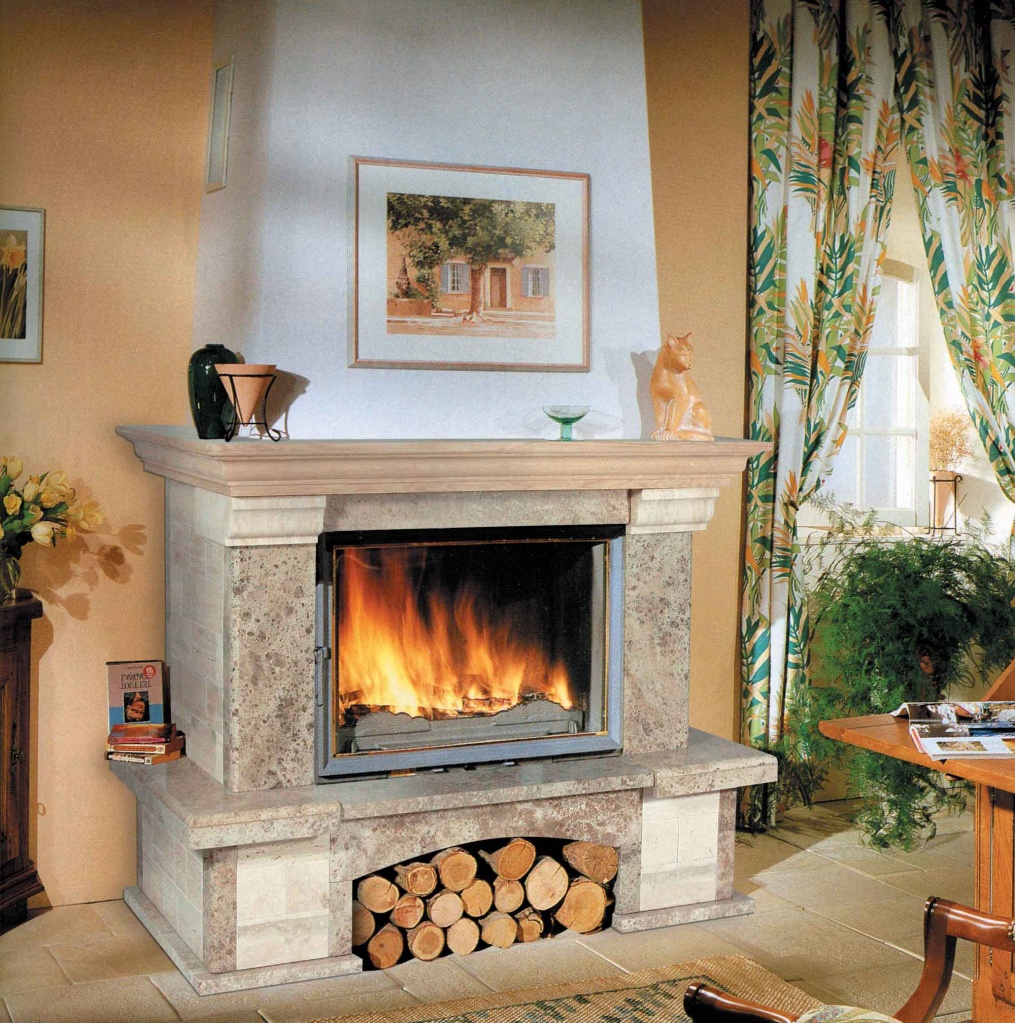
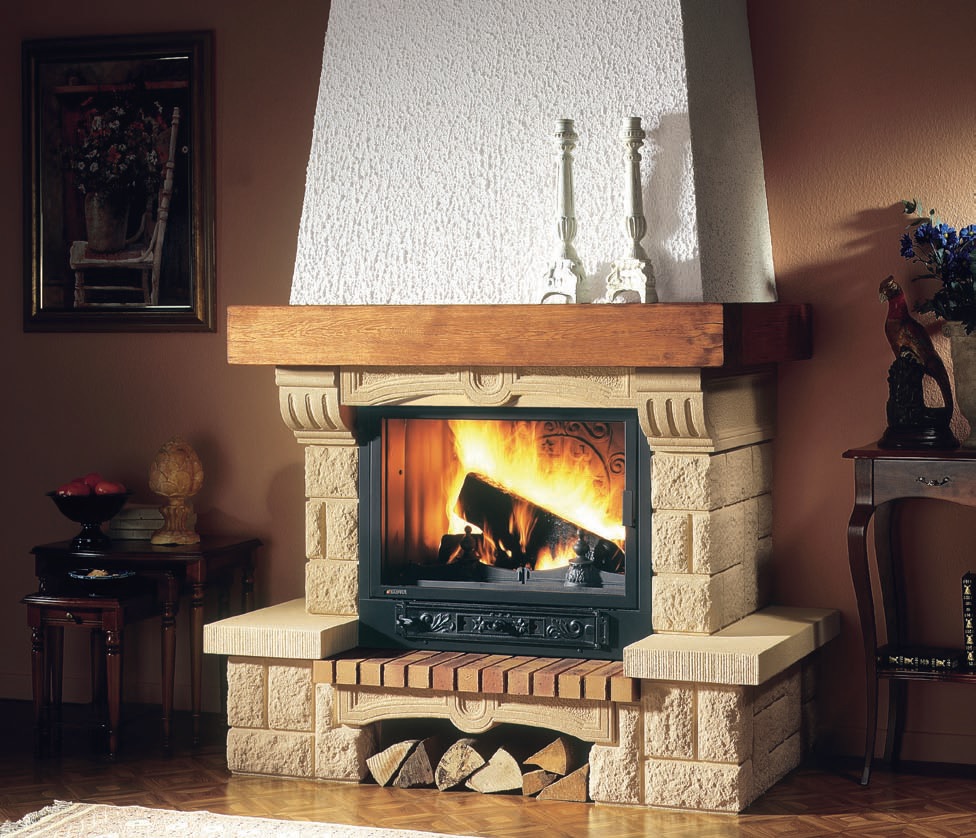
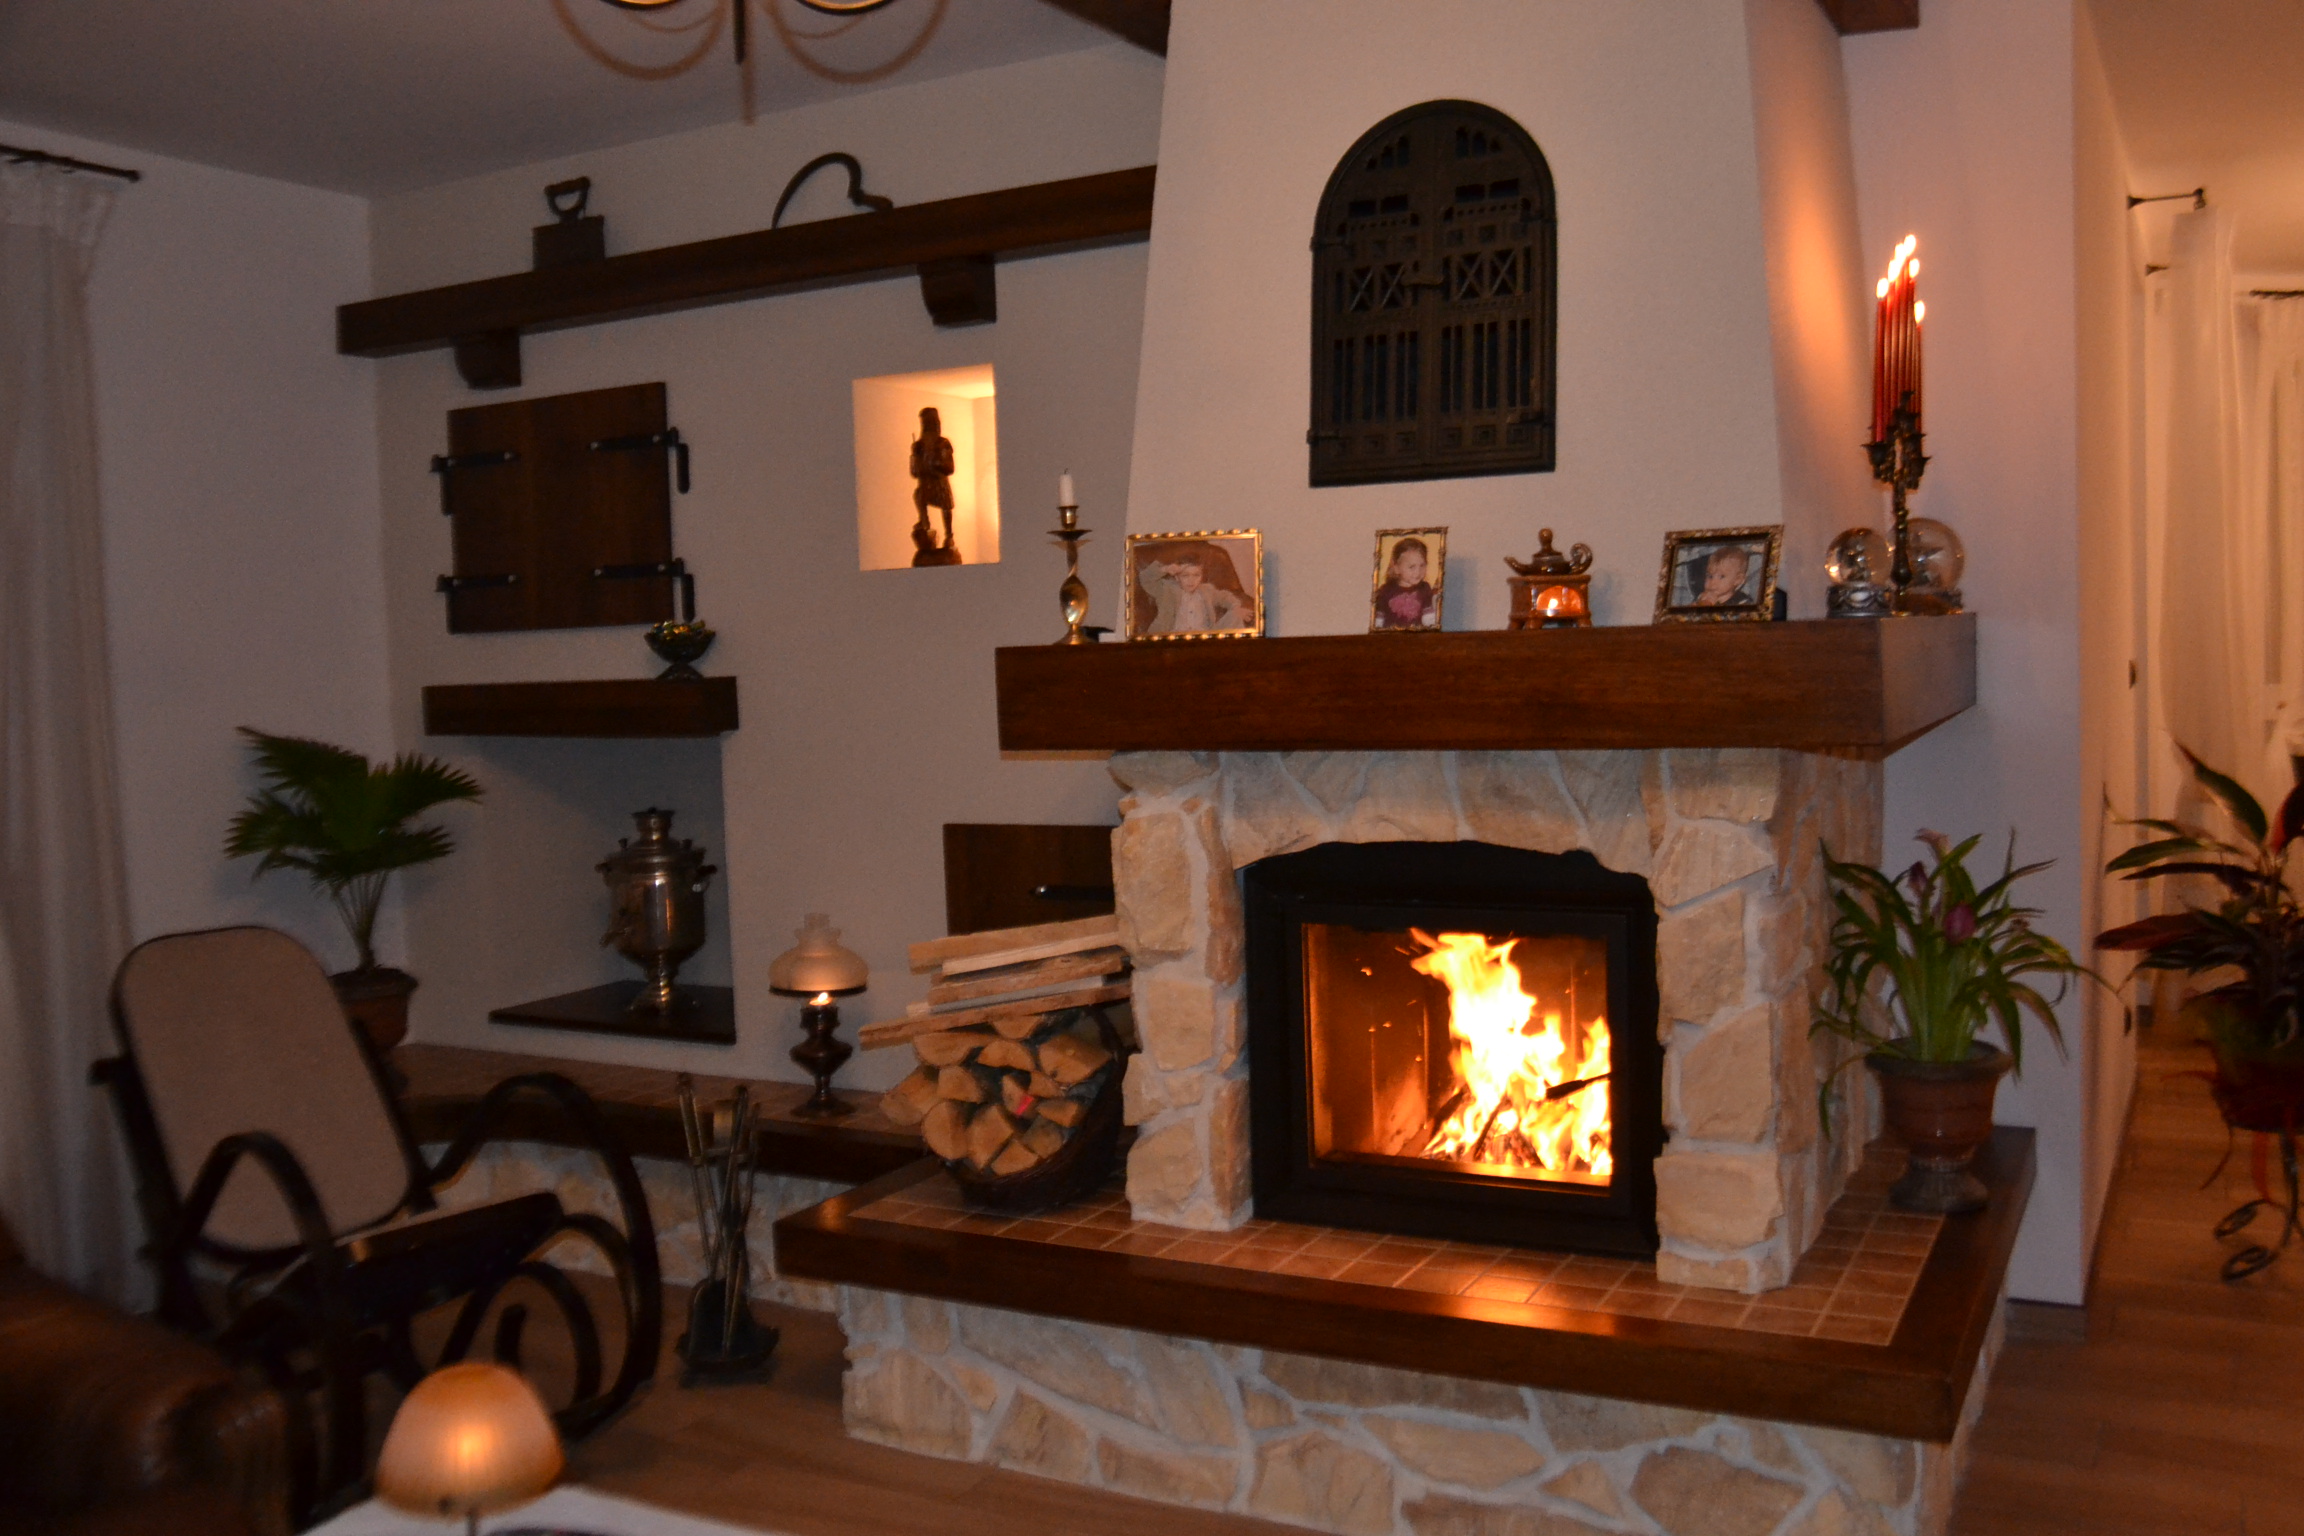
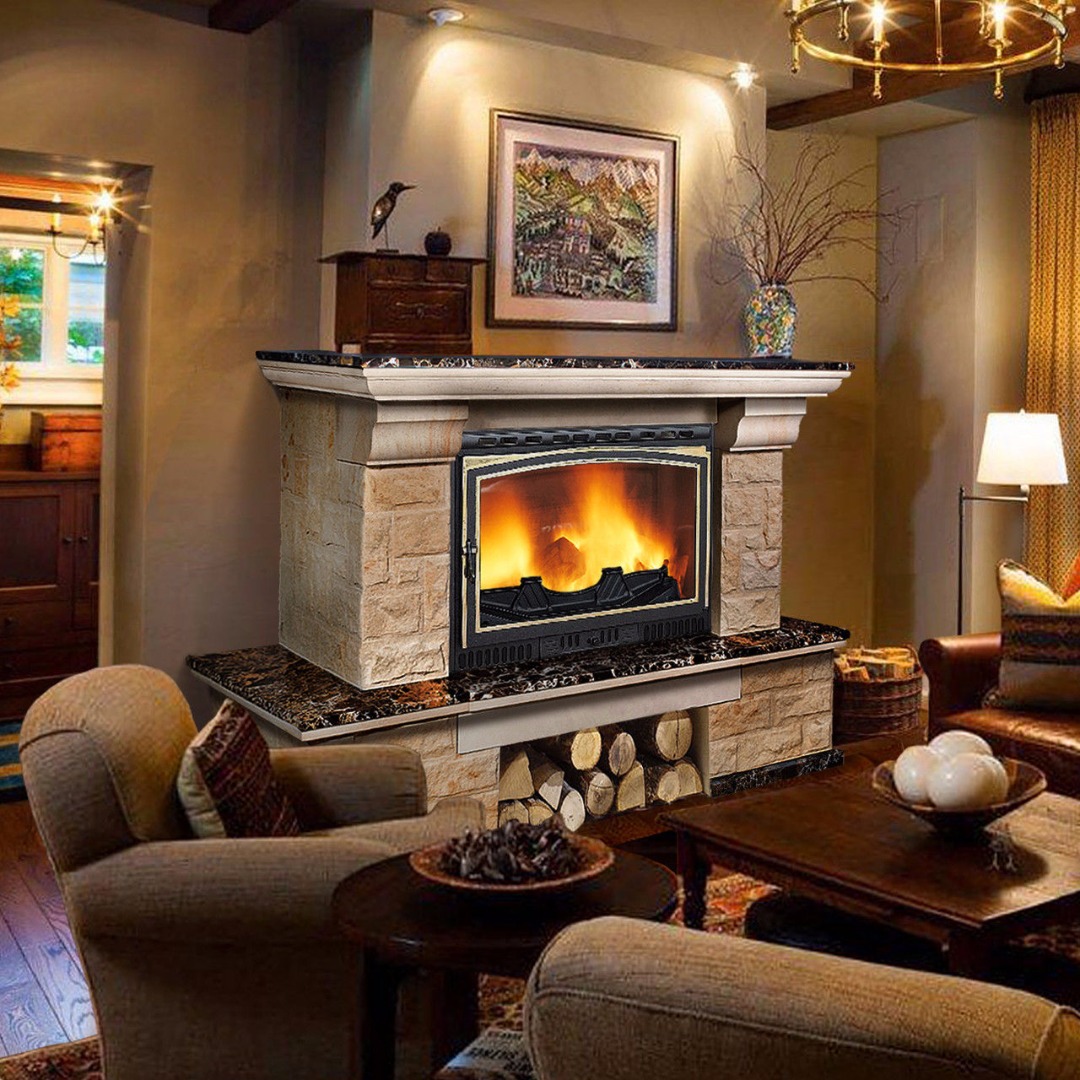
Interesting solutions in interior design
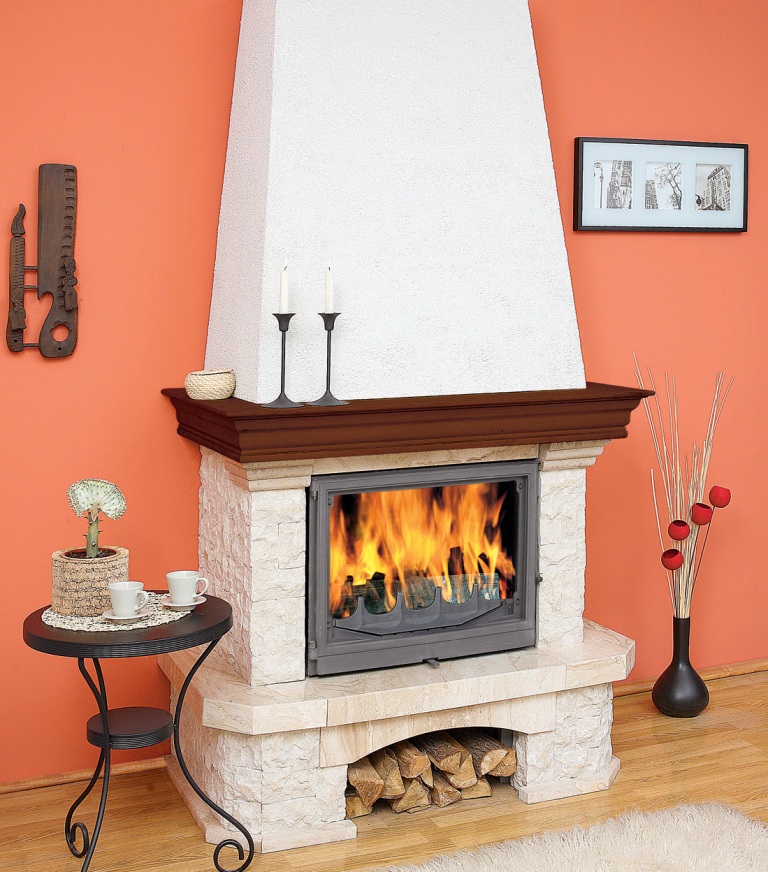
Fireplace stoves can be adapted even to the most decorative design, to the most stringent decor conditions.

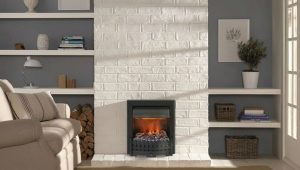
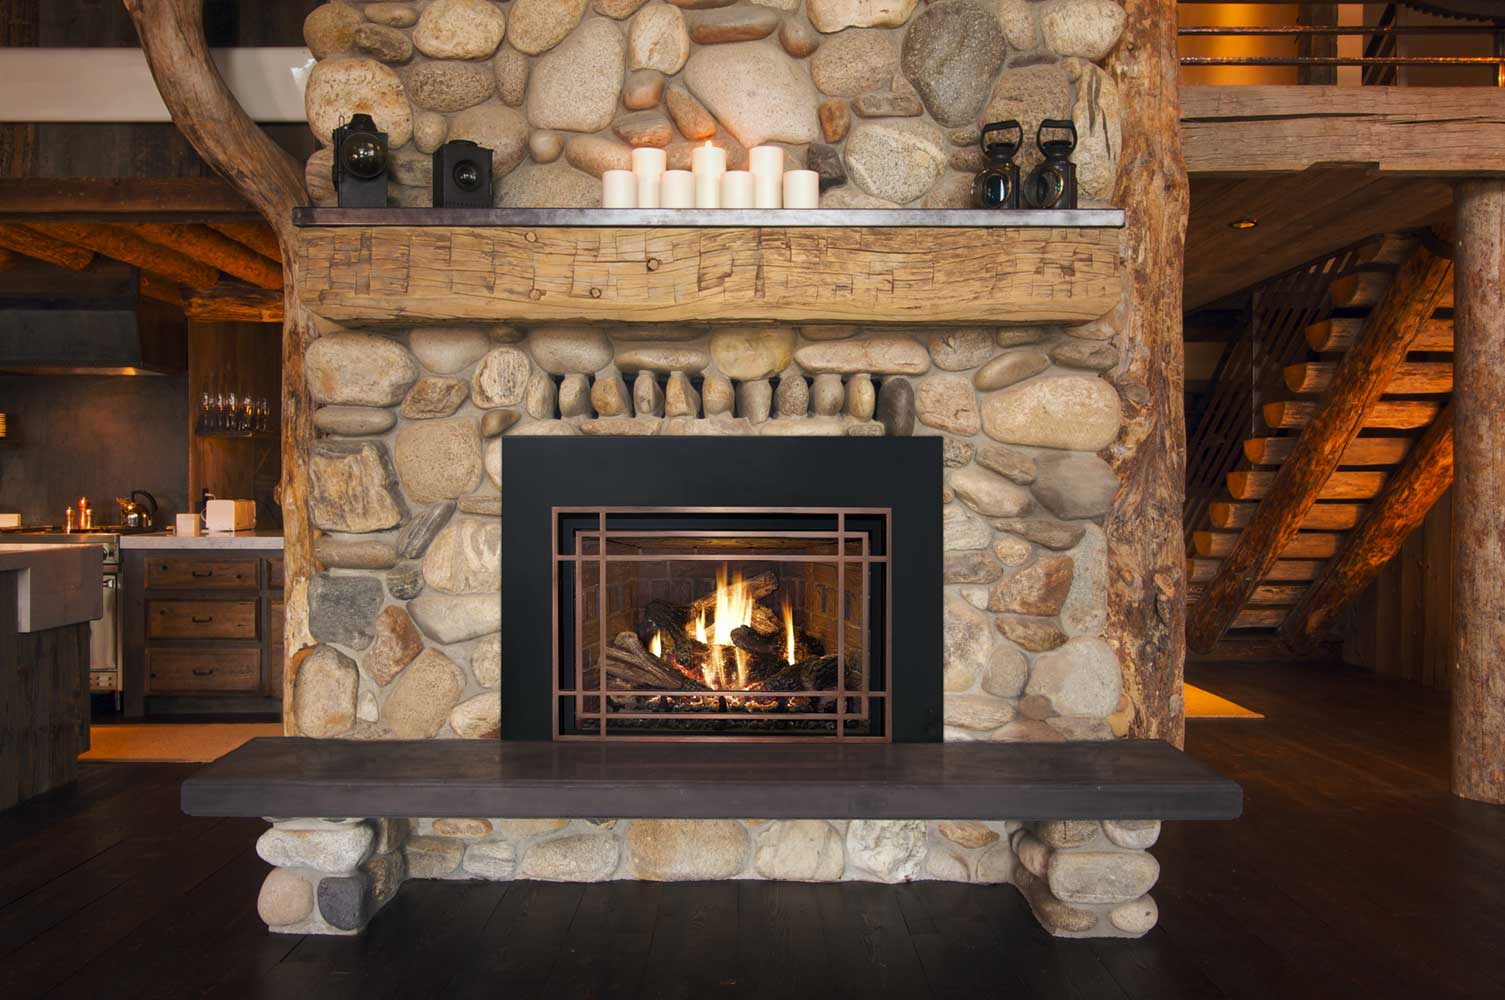
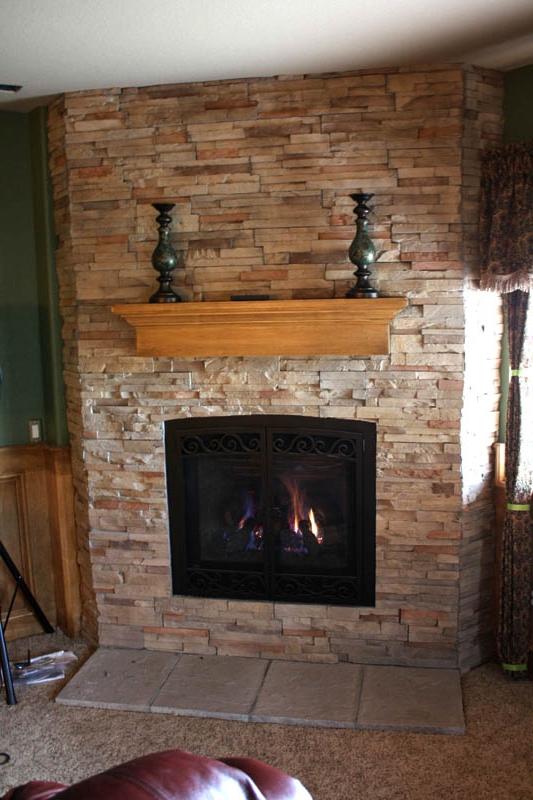
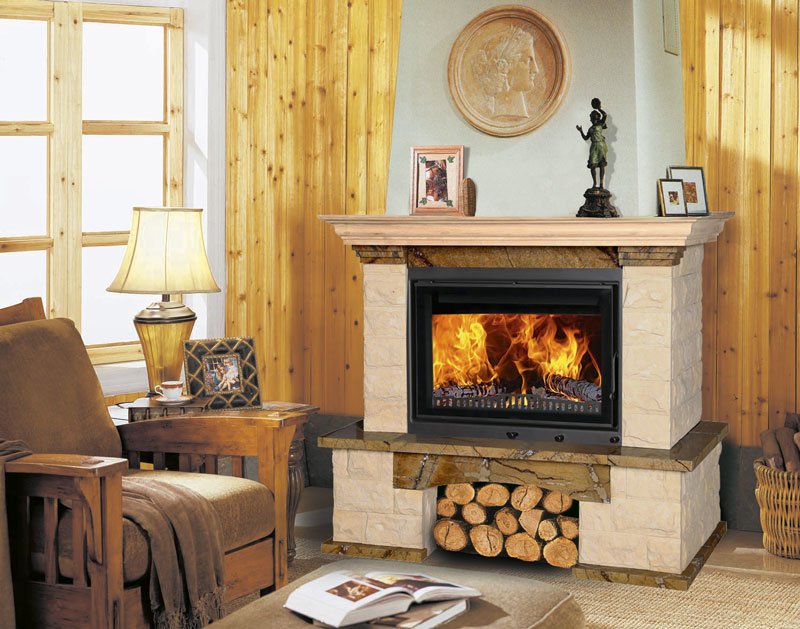
Fireplace on the wood - easily fit into a modern interior.
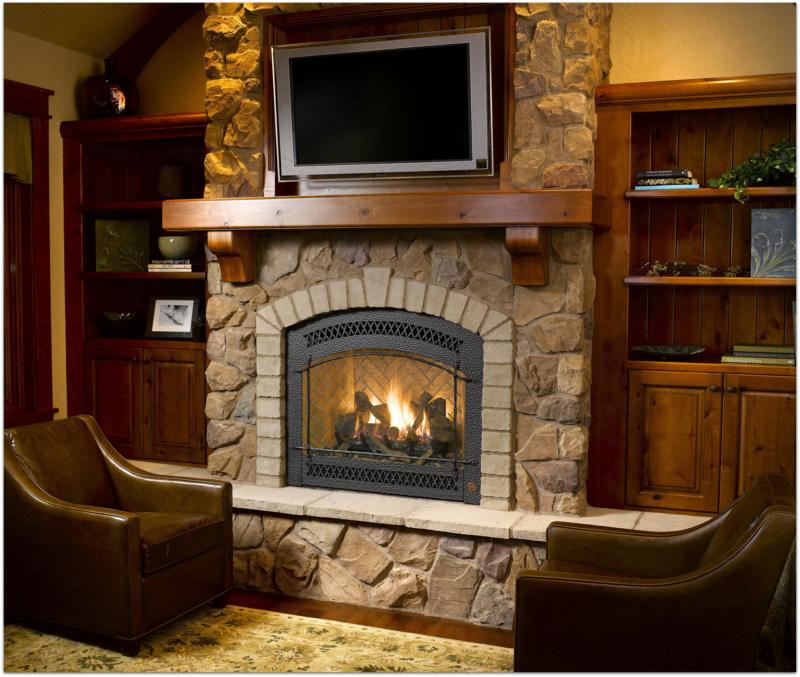
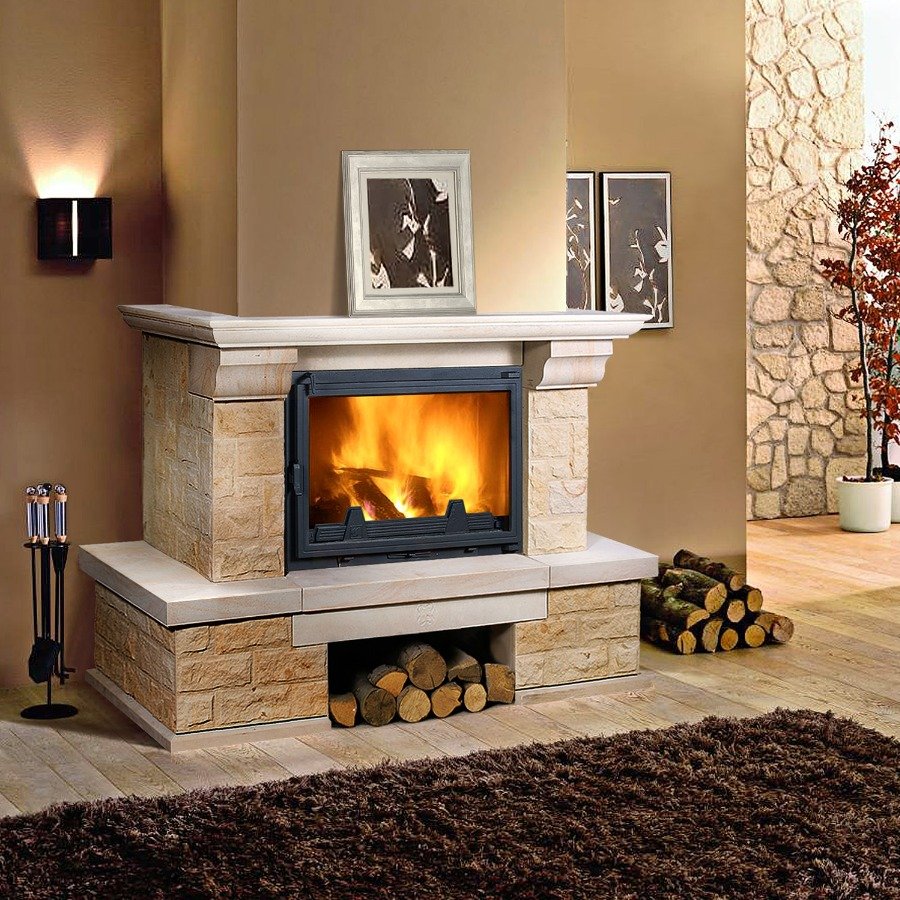
Modern will dictate its conditions: it will be necessary to revet a brick and give it a gray tint. But for those who like experiments, there is a much more interesting option: the built-in glass fireplace is like a partition between rooms.
It is possible to decorate the fireplace on its own, for example, with drywall or facing brick. It remains to add elements of firewood collected by the pyramid, large candles or photographs - and the possibility of comfort will increase in many ways.