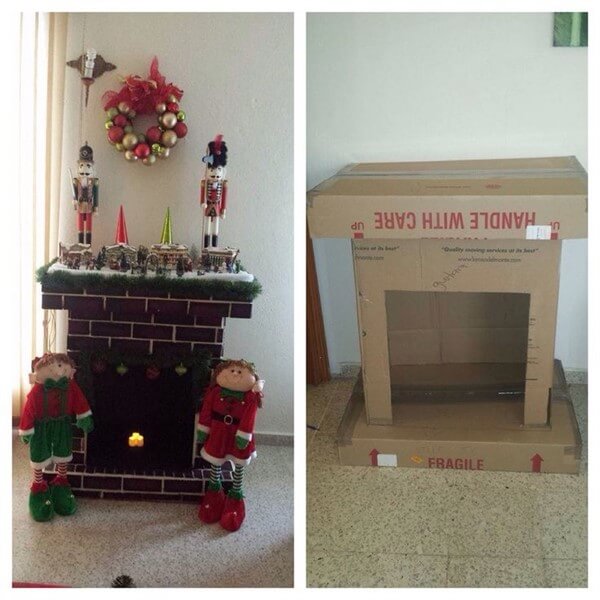
Fireplace do-it-yourself from boxes
We all want our interior to be stylish and beautiful. To achieve this goal, designers around the world have come up with a great variety of decorative elements. Among them, far from the last place is the fireplace. But what to do if the dimensions of the apartment do not allow to install a full-fledged fireplace complex, or simply do not want to spend money? There is a way out - you can make a decorative (fake) fireplace out of cardboard boxes with your own hands!
Yes, yes, you heard right - from the most ordinary cardboard boxes, which often remain after the purchase of household appliances. To make such an imitation fireplace, you will not even need any special knowledge and building skills - to make it easy and simple! How? Read on!
Materials
To make a fireplace with your own hands out of the boxes, you will need the following materials:
- Naturally, one or more large boxes - depending on what kind of fireplace you want to get in the end;
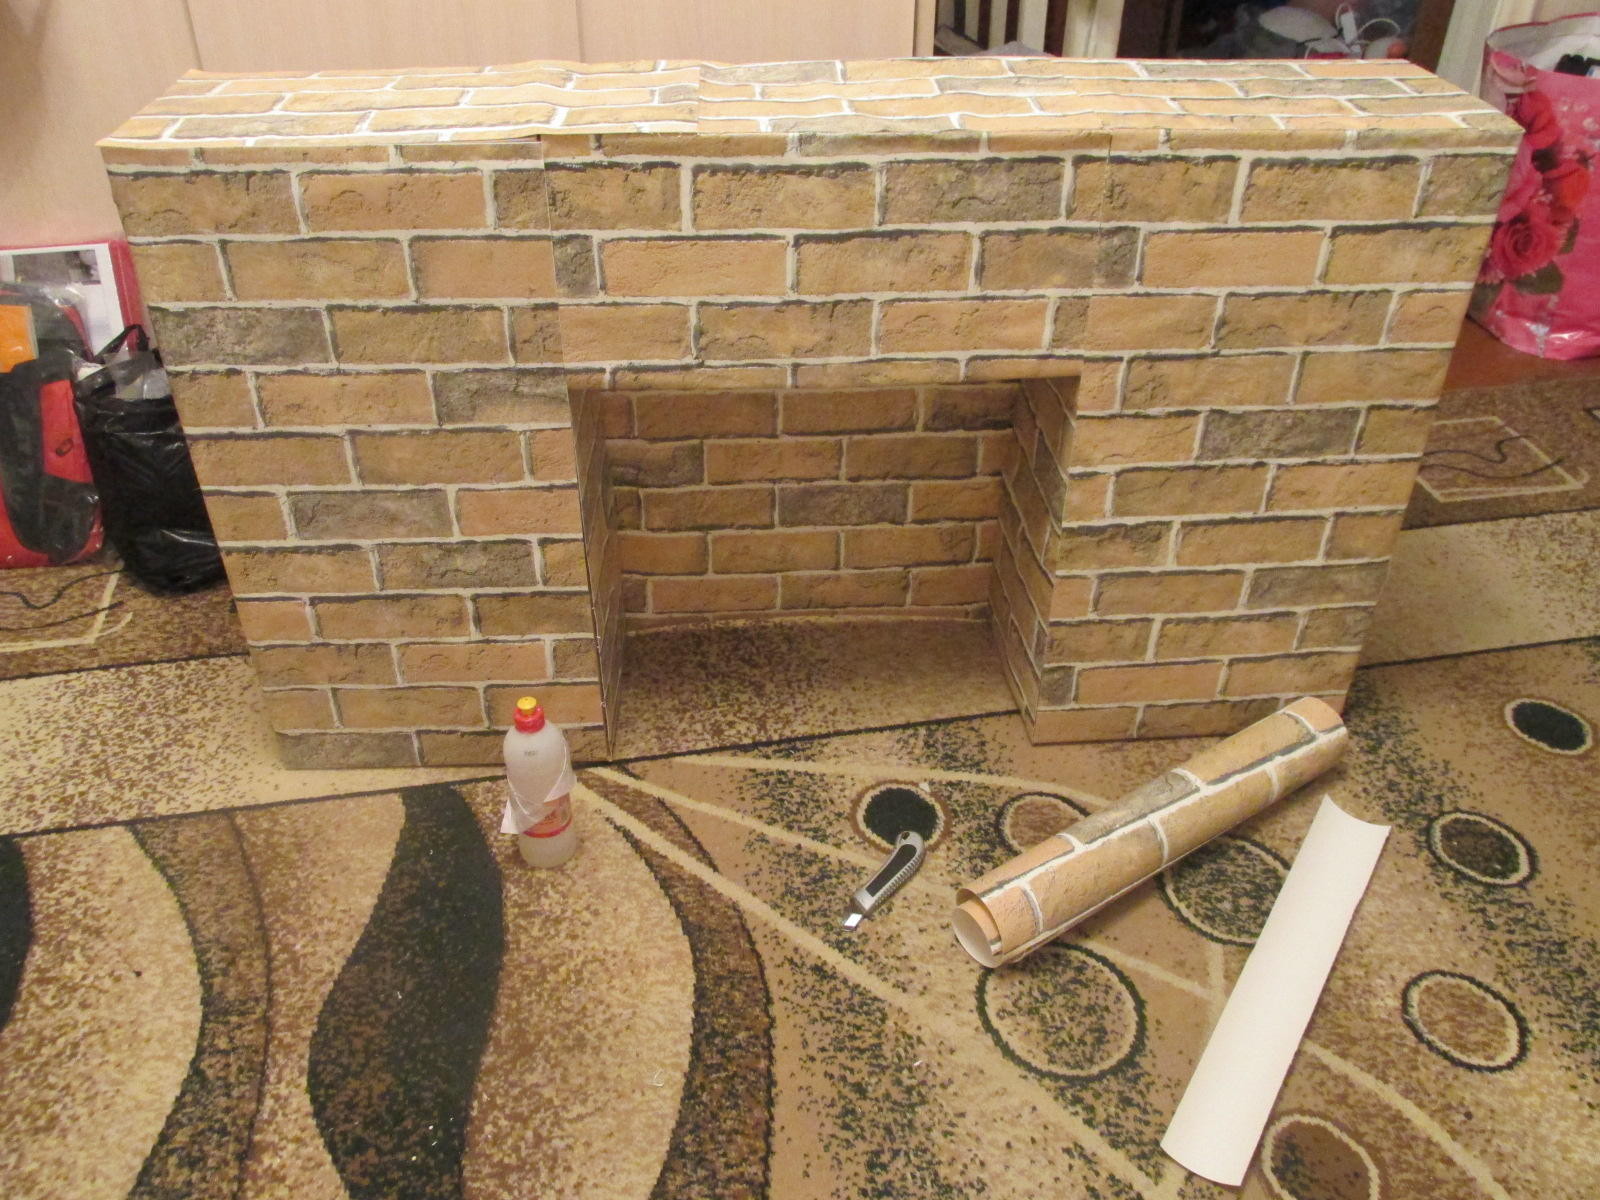
- Wallpaper (one roll is enough) or white paper;
- Office glue or PVA glue;
- Three types of scotch - regular, paint and double sided;
- Paint brushes, sponges, rags;
- Office knife, scissors, ruler, pencil, as well as a tape measure and construction level;
- A sheet of drywall or plywood to create a mantel;
- Depending on the type of decoration, You will also need:
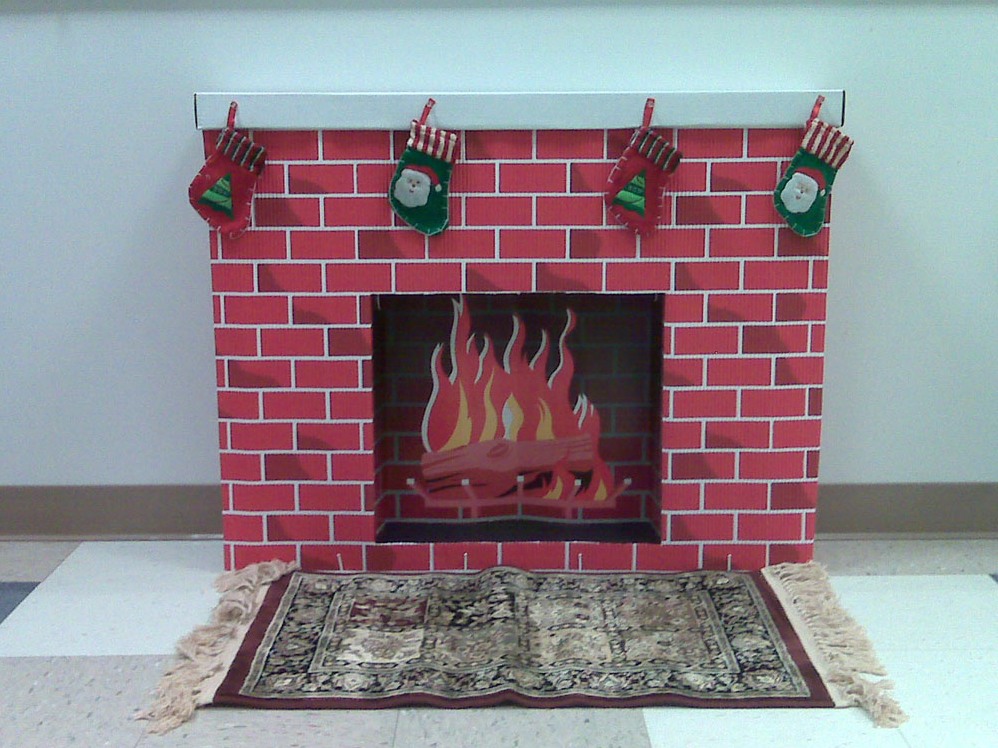
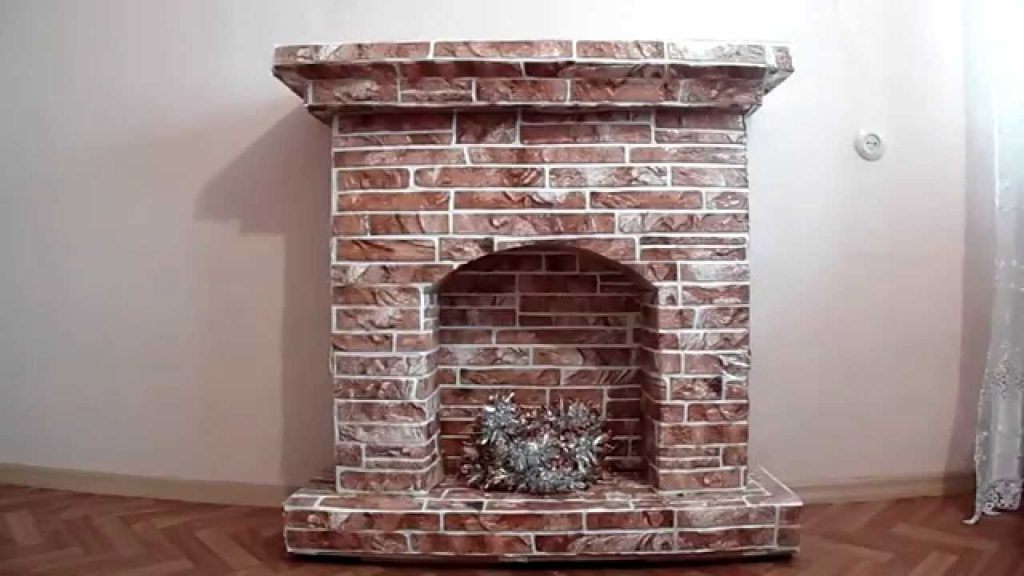
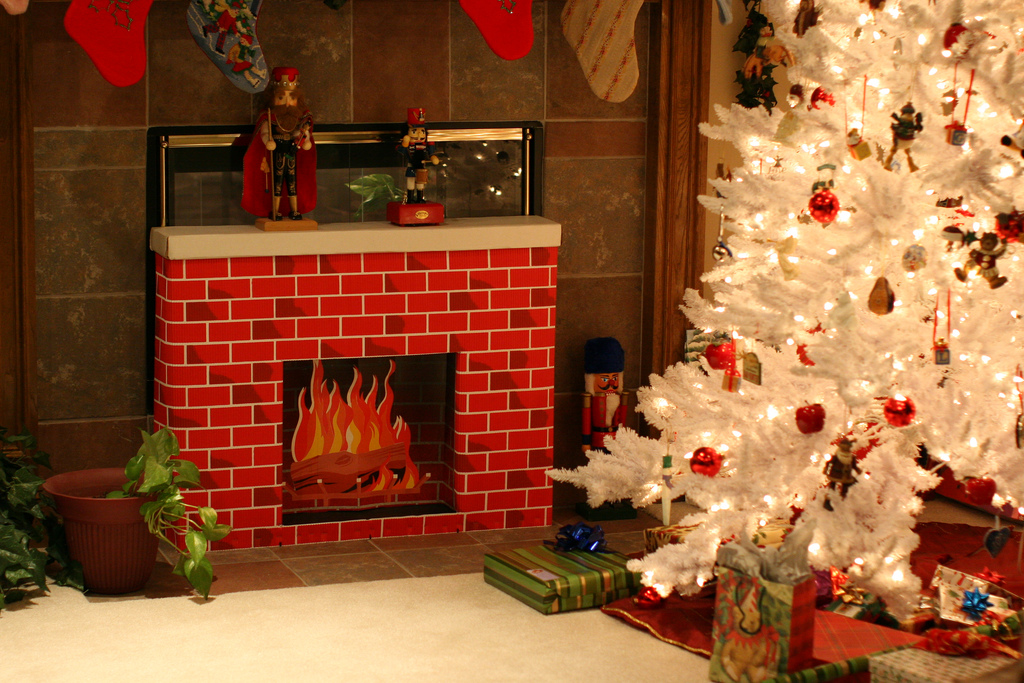
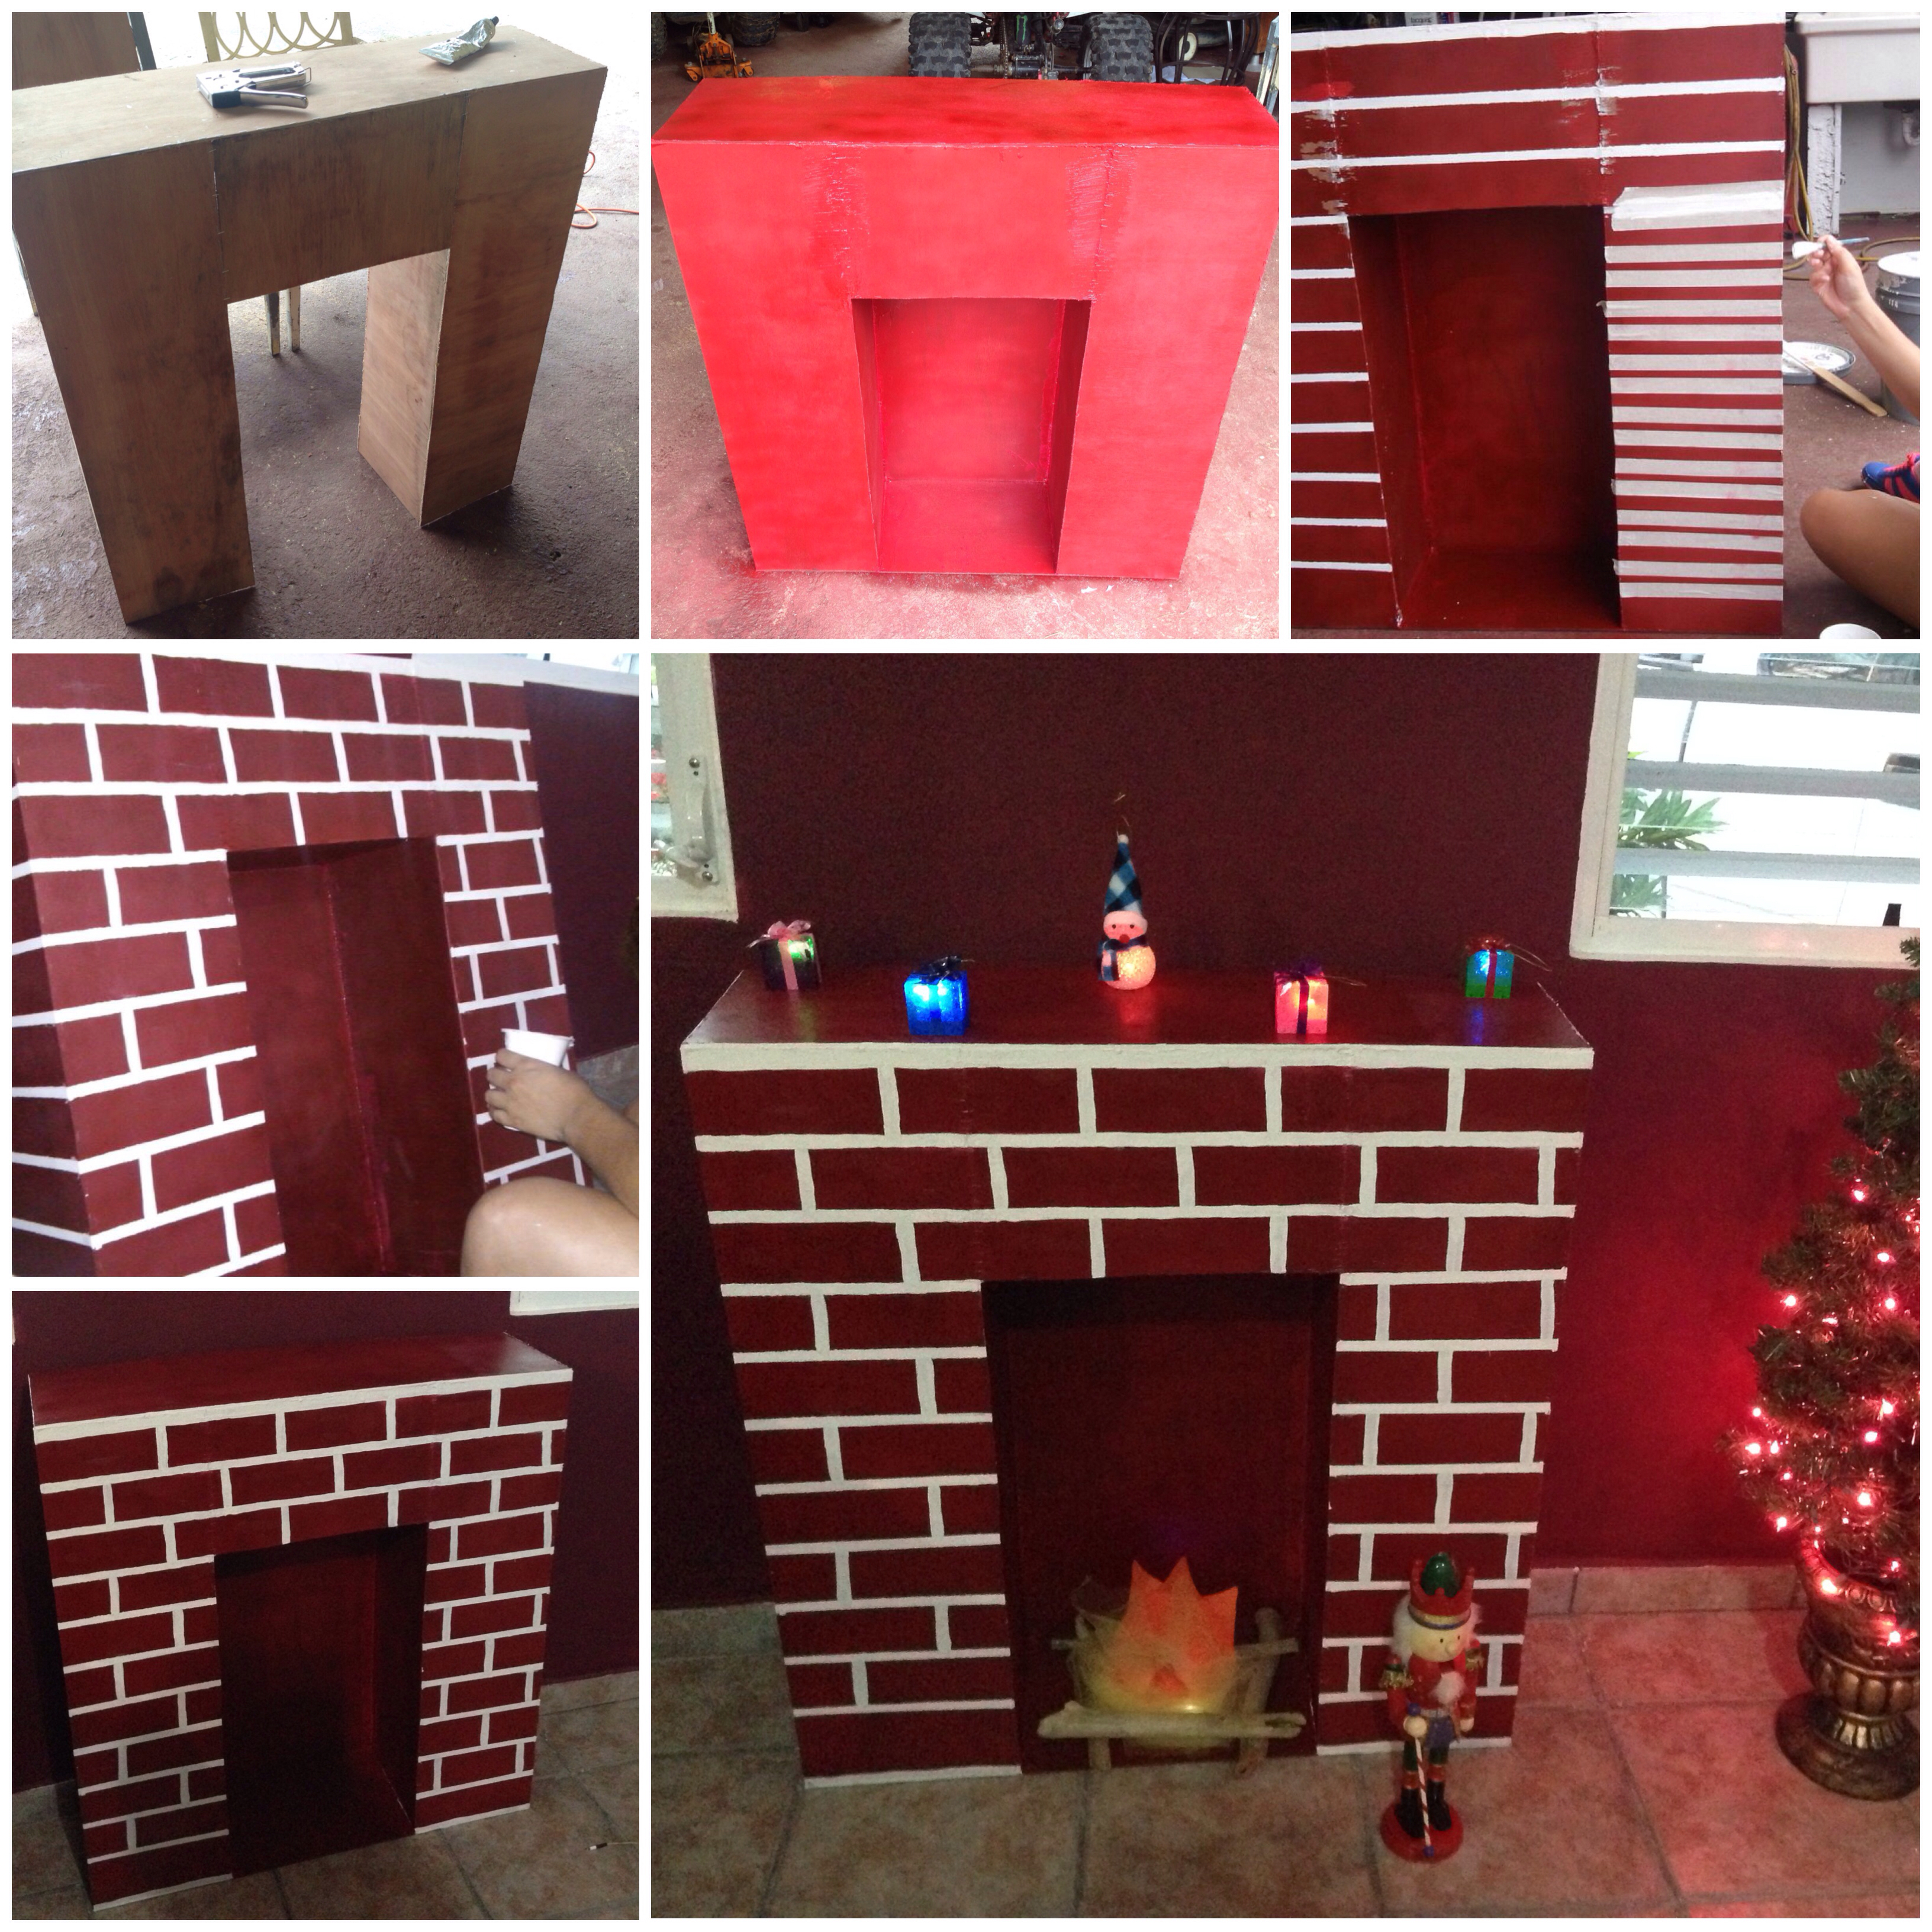
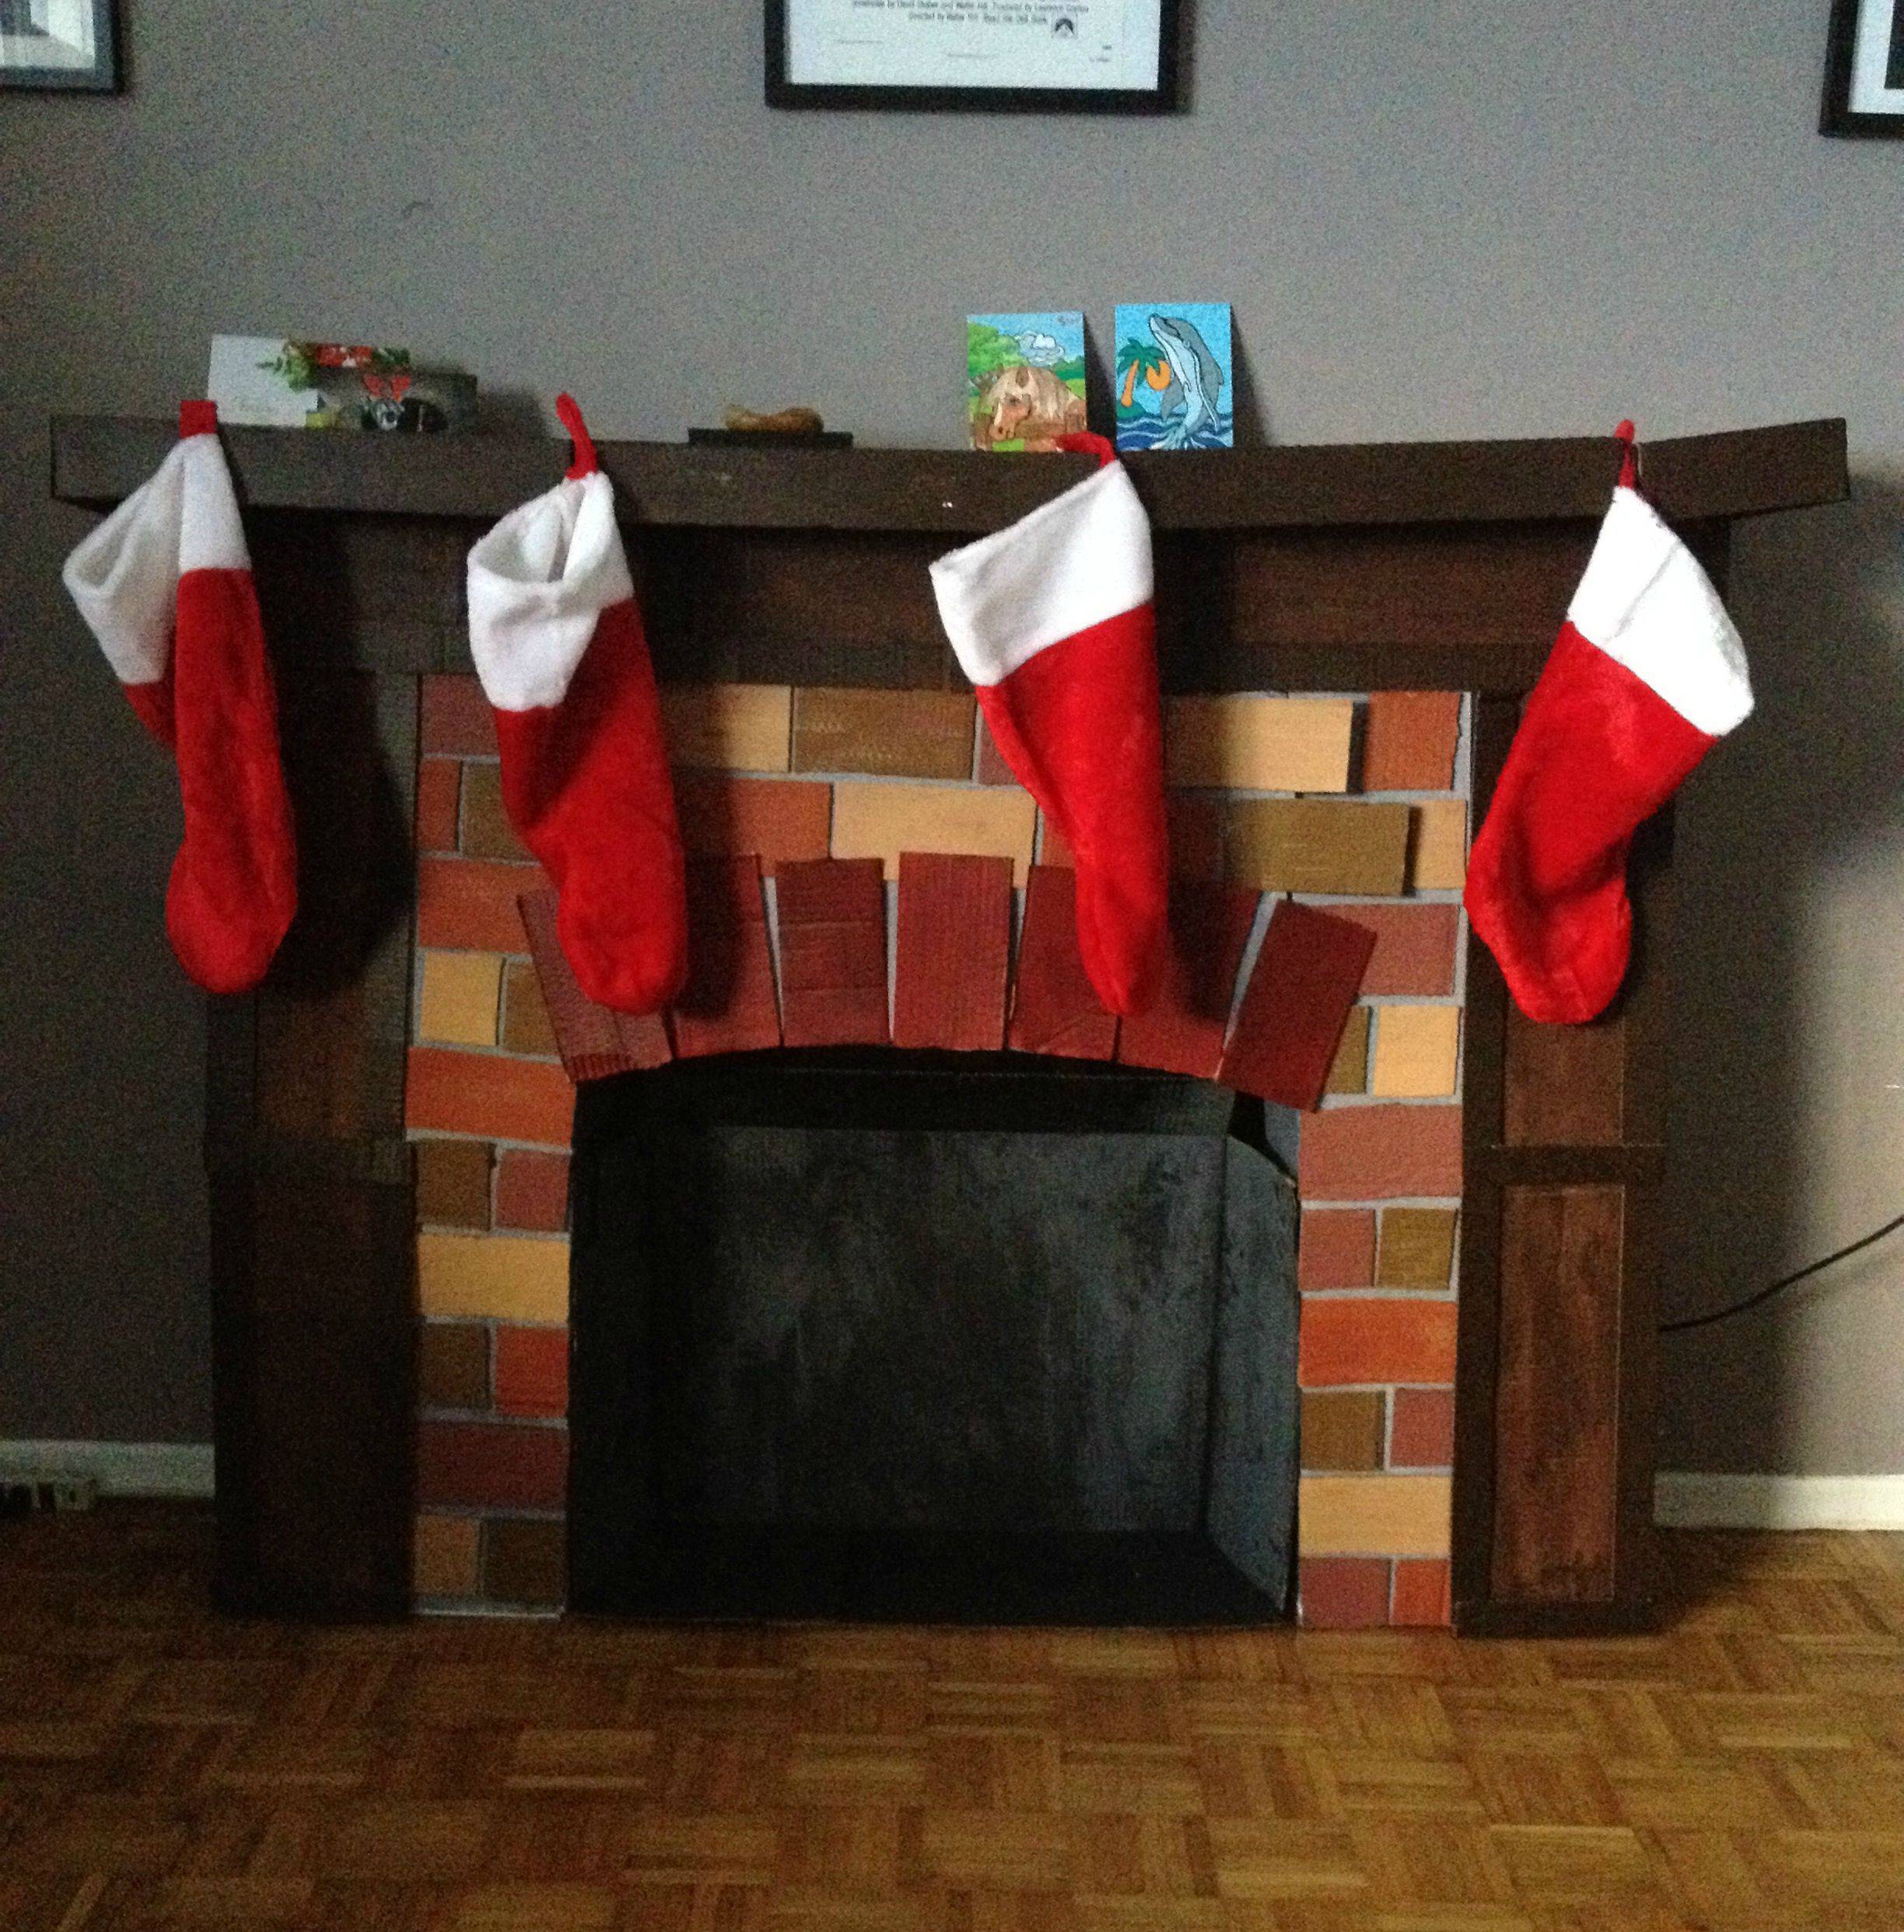
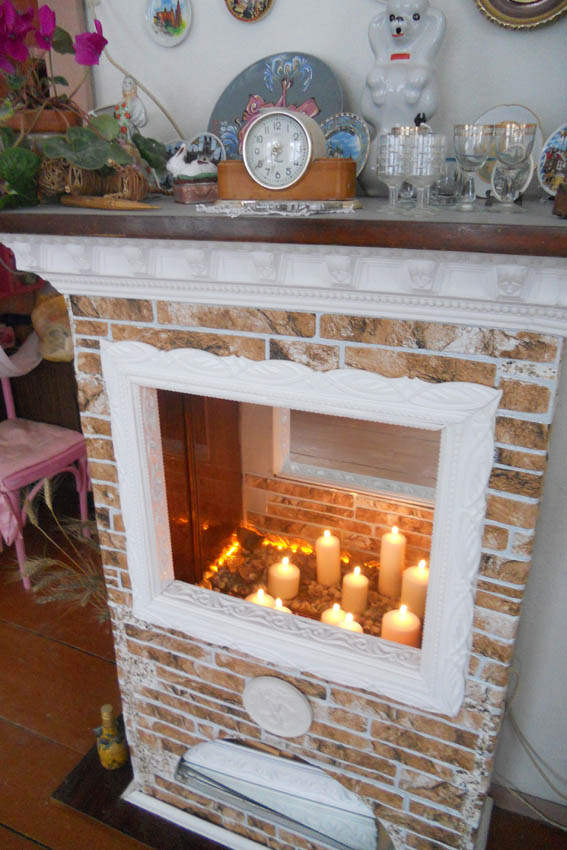
- a roll of wallpaper with a "brick" pattern or red cardboard - if you want to decorate your fireplace "under the brick";
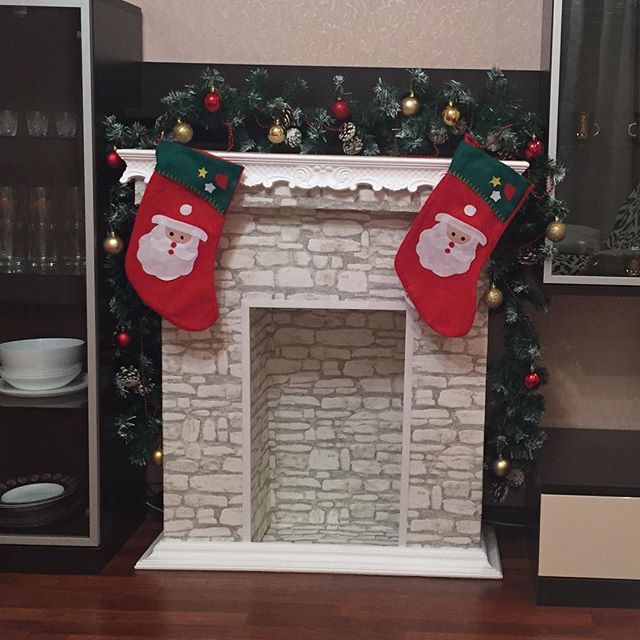
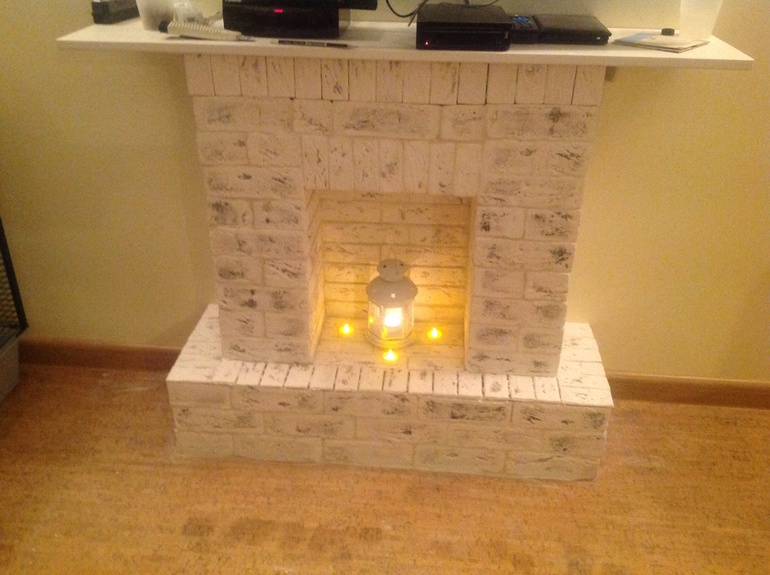
- a roll of self-adhesive film with a pattern imitating natural stone, marble or malachite;
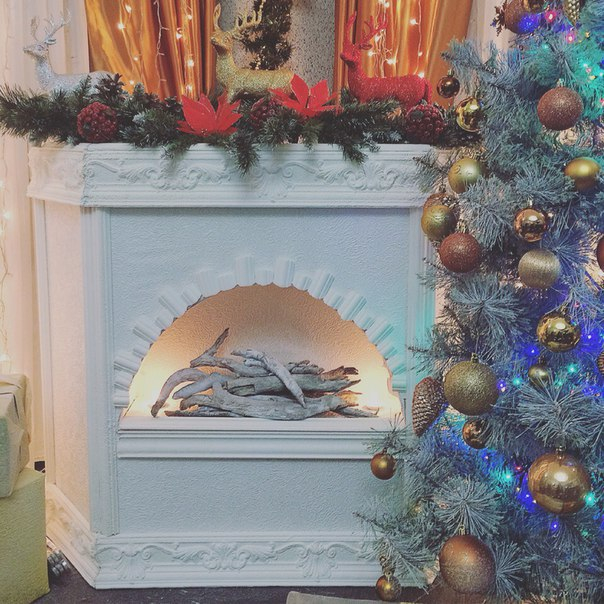
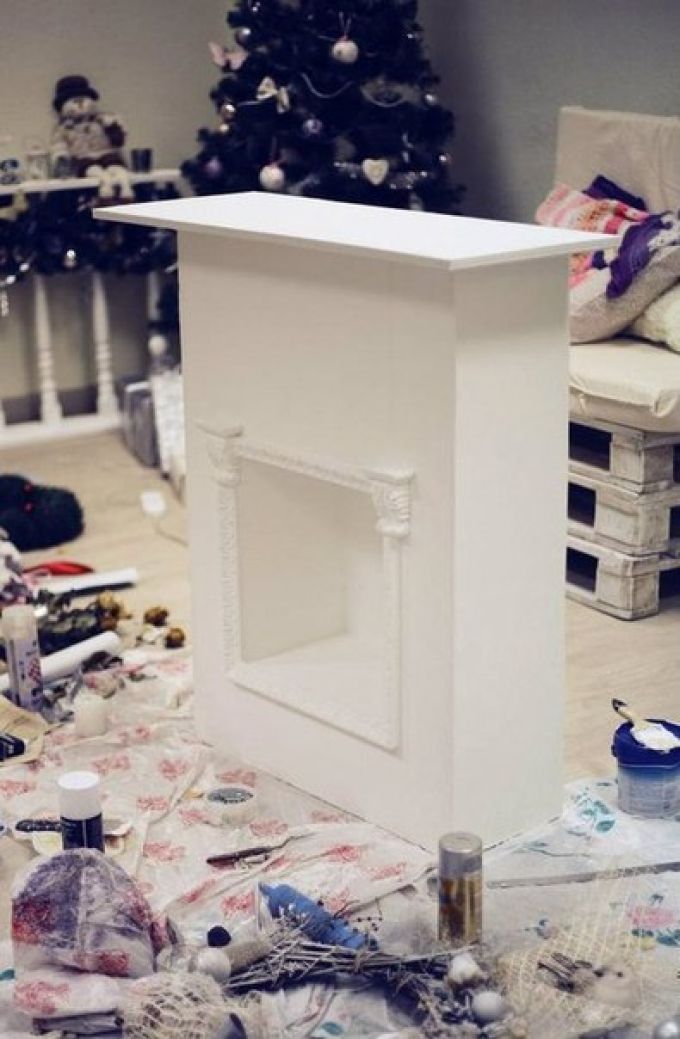
- a can of white paint, ceiling plinth and foam moldings (columns, capitals, rosettes, moldings, etc.) - to create a more classic, elegant decor;
- “Liquid” volumetric wallpaper - to achieve the effect of embossed marble chips on the surface of the fireplace;
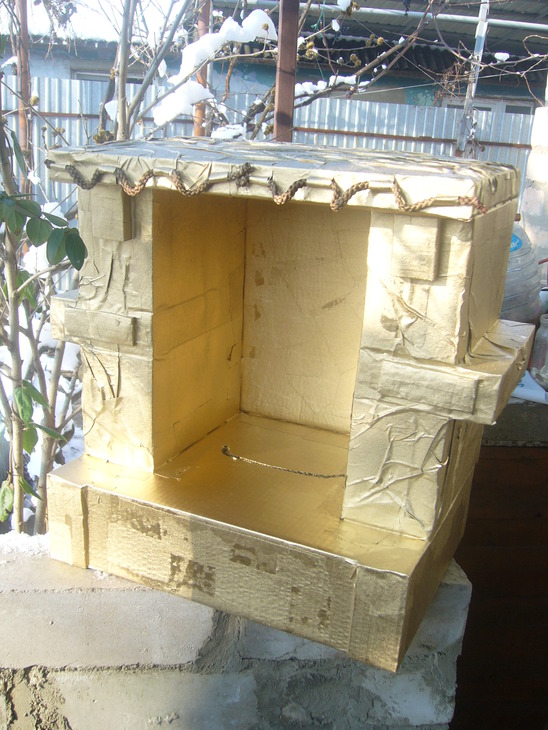
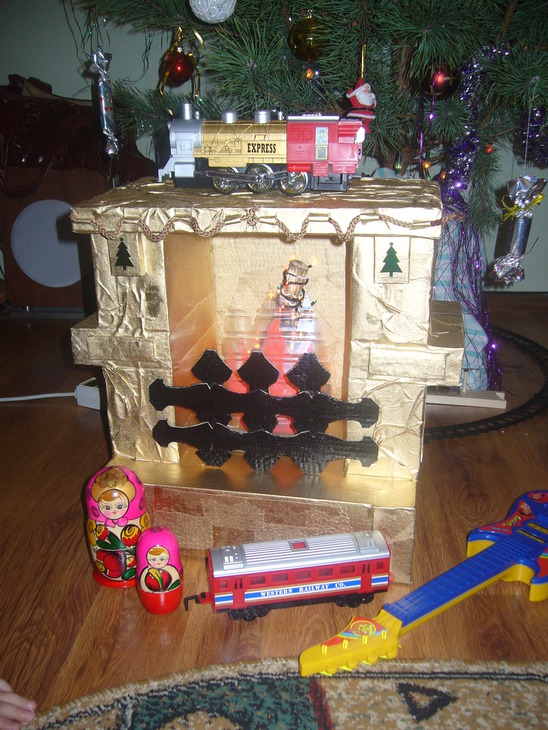
- Bronze, silver or gold acrylic paint - for special decoration of the fireplace decor elements.
Kinds
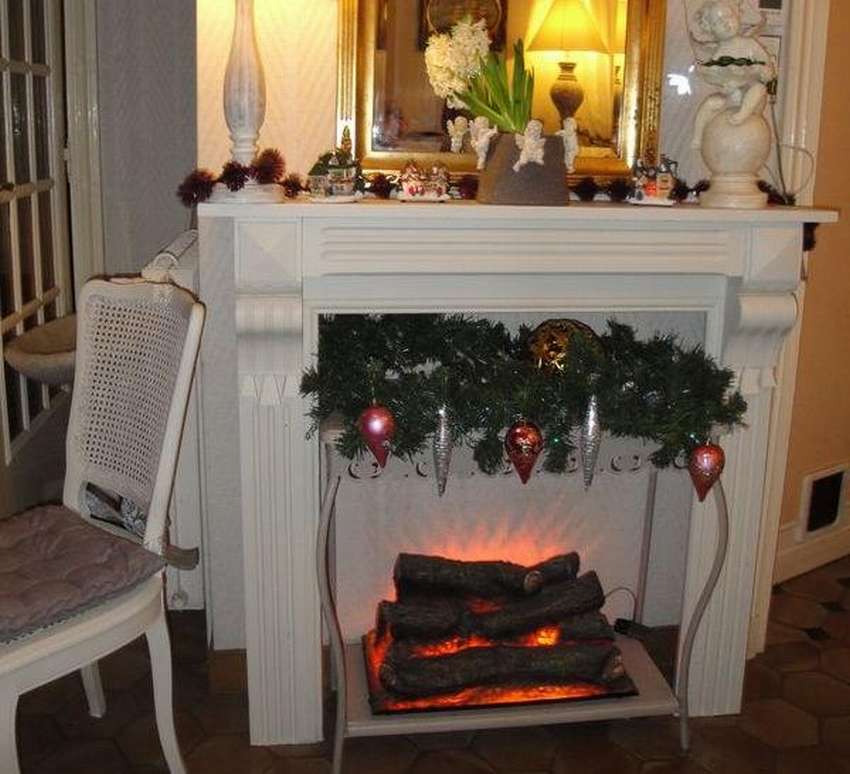
Surprisingly, out of cardboard boxes, you can make not only a home raised fireplace, which can perform an exclusively decorative function,but also build a portal for electric fireplace! Of course, such a portal excludes the installation of a gas burner, or a biofireplace, since there is an open flame present and a fire may occur. It is impossible to install a heat exchange fireplace with a water boiler and a casing in it, due to the cumbersome nature of this design and, of course, the danger of cardboard ignition from overheating. You also can not install electric fireplaces with an open hearth and built-in heating function - for the same reason. An electric fireplace with a closed fireplace insert and imitation of a flame (on the LCD screen or with the help of a backlight) can be inserted into the design of cardboard boxes.
According to the style directions there are the following types of fireplaces (fireplace portals) out of the boxes:
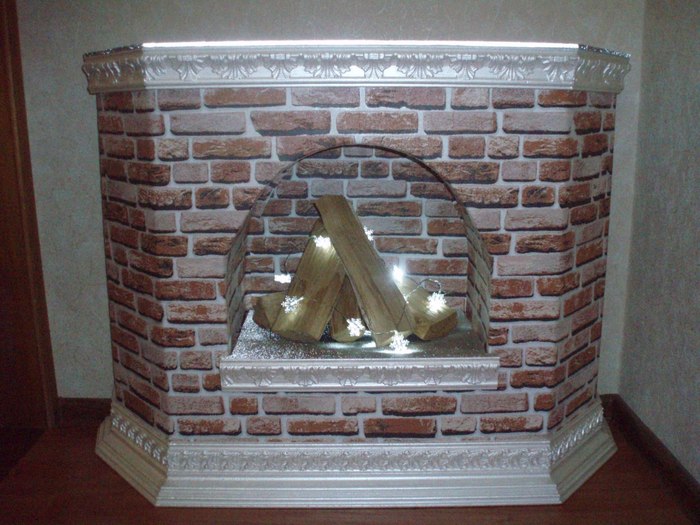
- In modern style. This design style of the fireplace portal assumes a variety of textures and colors, a combination of modern forms and antique elements of decor (moldings, rosettes, etc.). This fireplace will fit well in almost any interior;
- In high-tech style. It would seem that the high-tech style suggests some futurism, the use of such ultra-modern materials like steel,plexiglass - what does cardboard boxes have to do with it? However, even of them you can make a fireplace in this style - it is enough to make it an interesting geometric shape and paint it in black or steel color, and insert a mirror into the firebox. Alternatively, you can put glass on the mantelpiece;
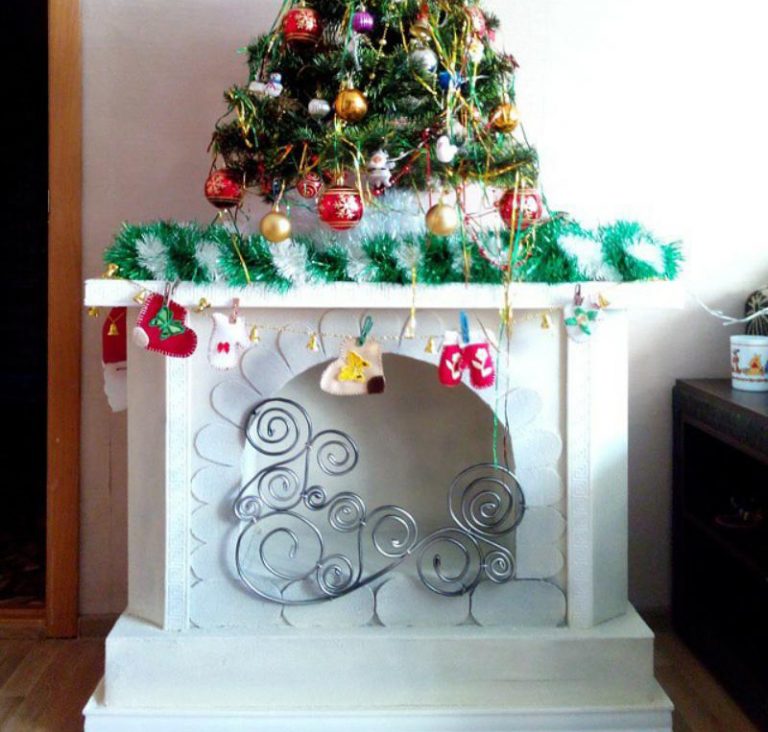
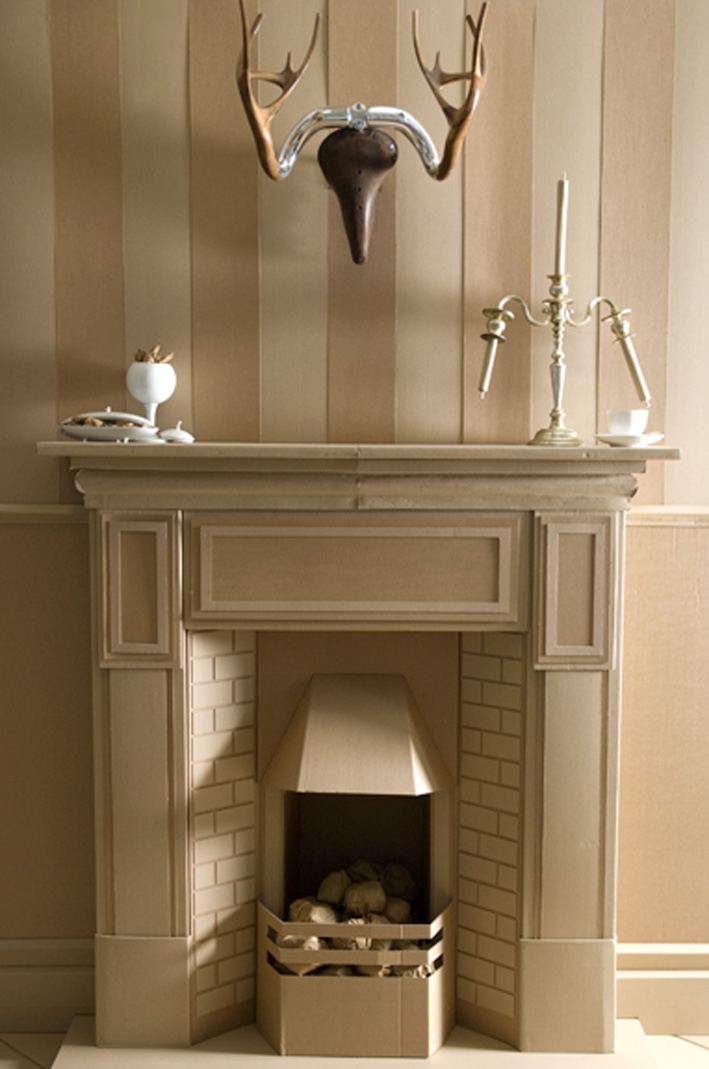
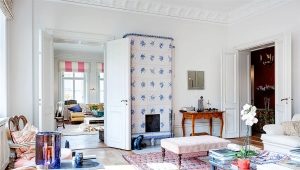
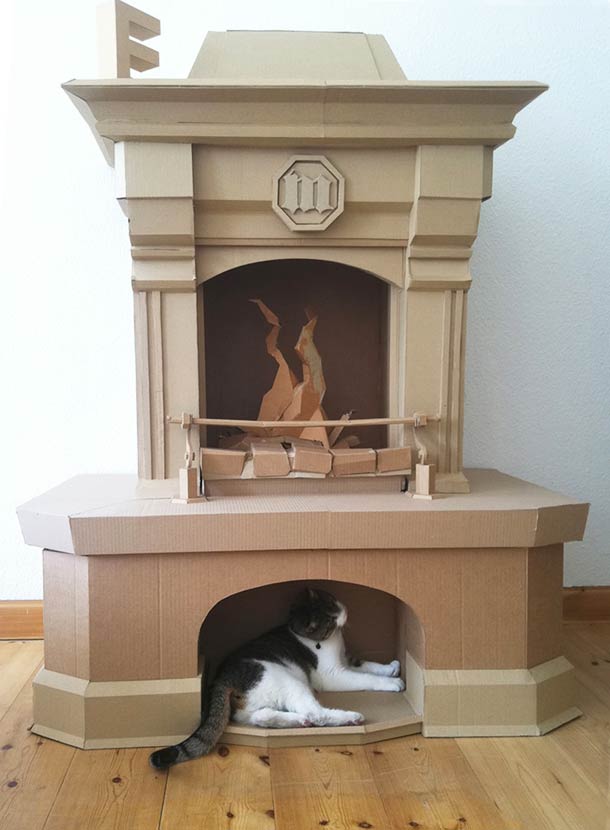
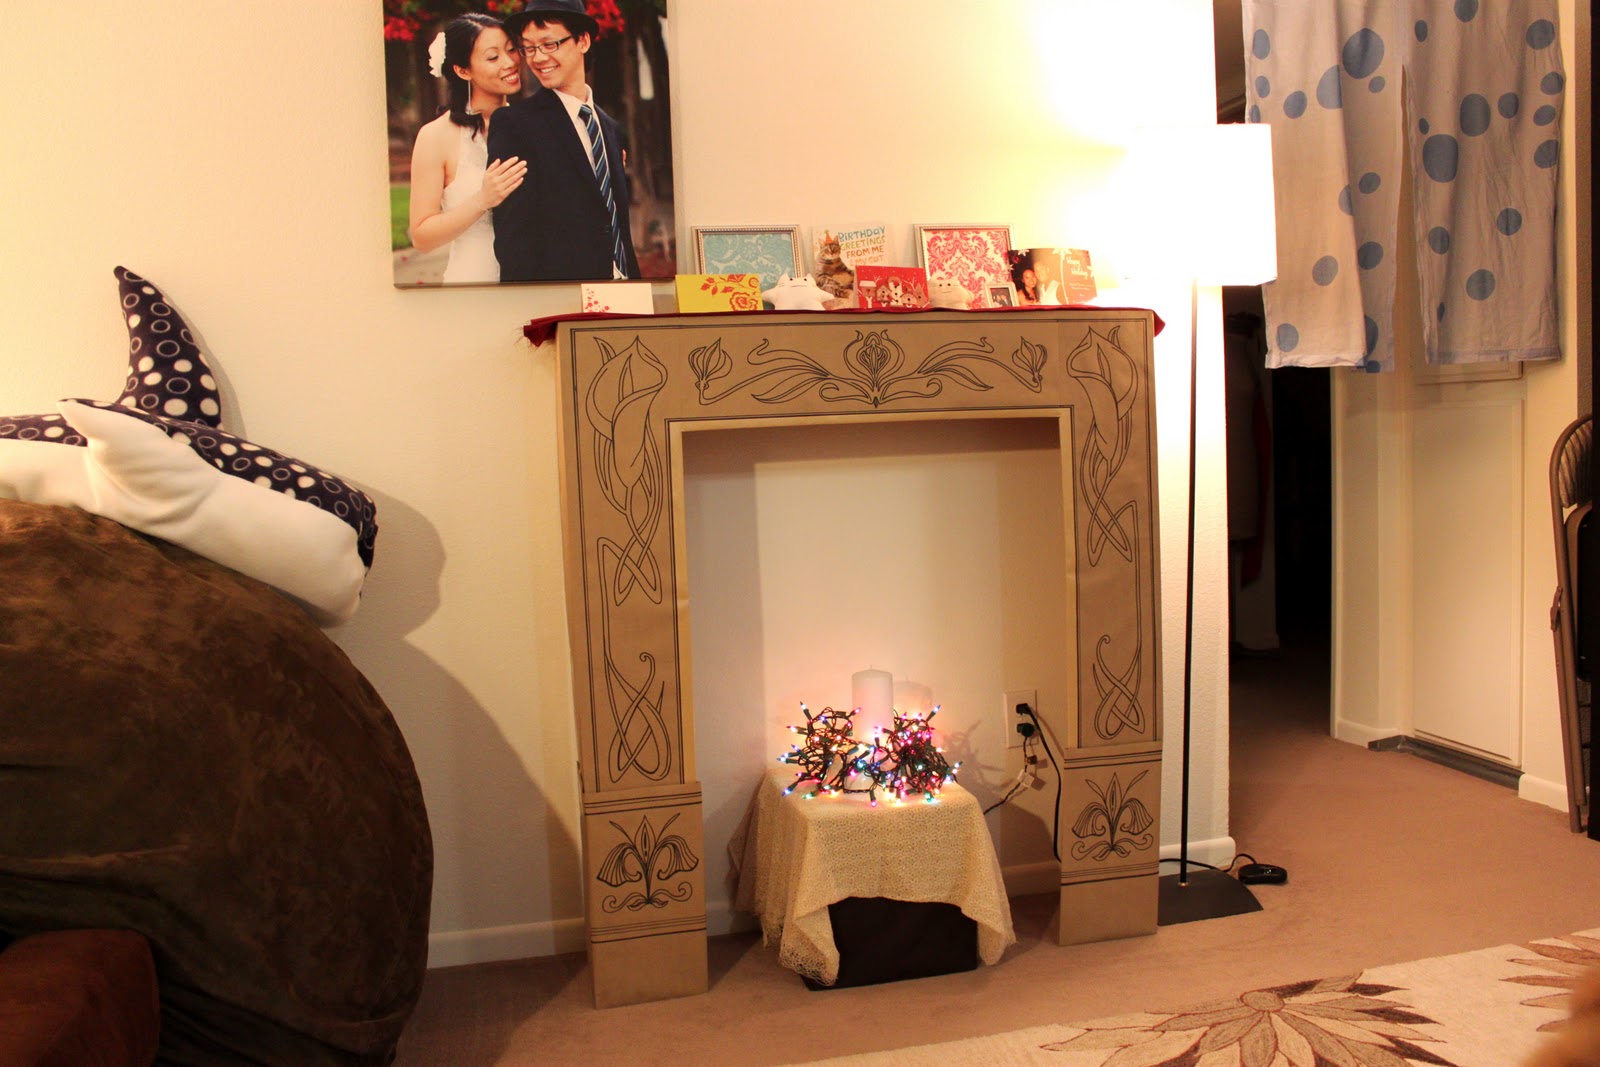
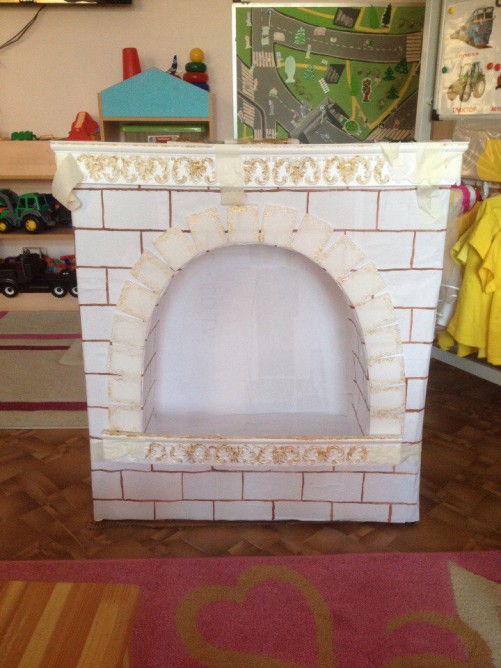
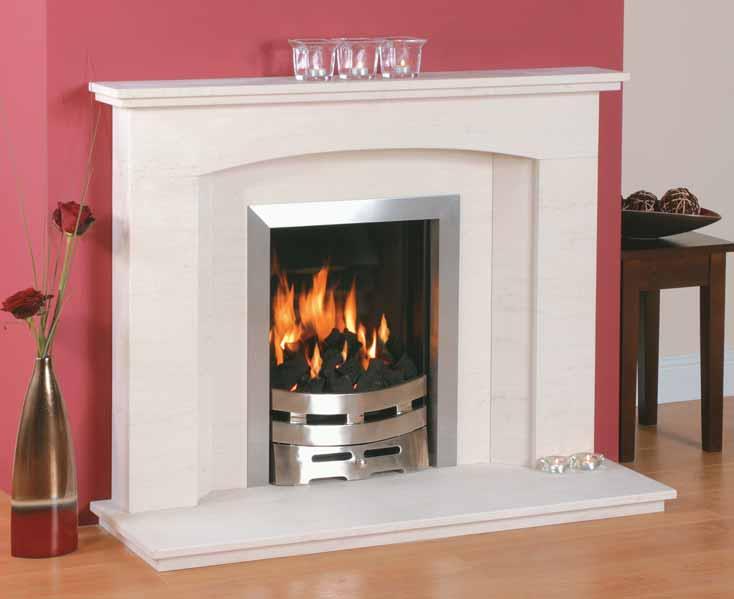
- In classic style. As you know, the classics are always in fashion. Strict lines, a minimum of additional decorations - such a fireplace can be put absolutely in any apartment;
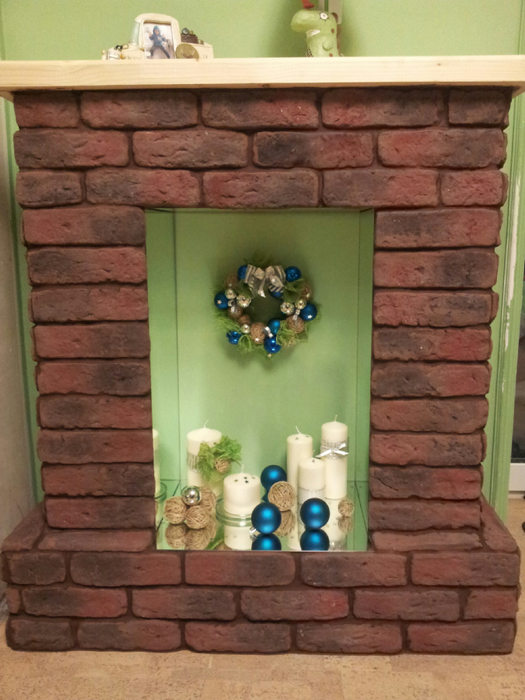
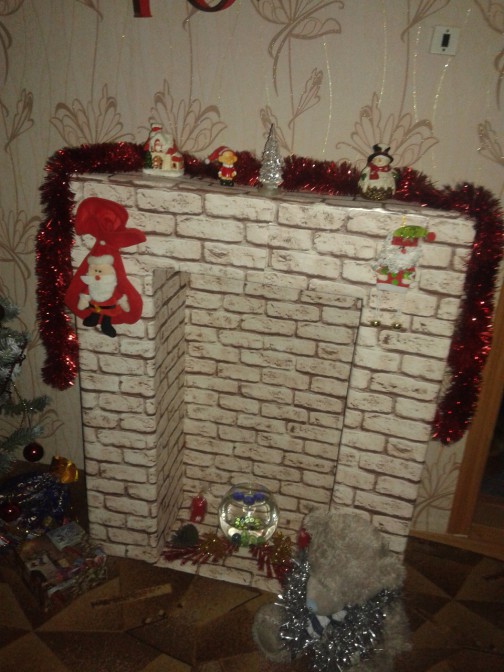
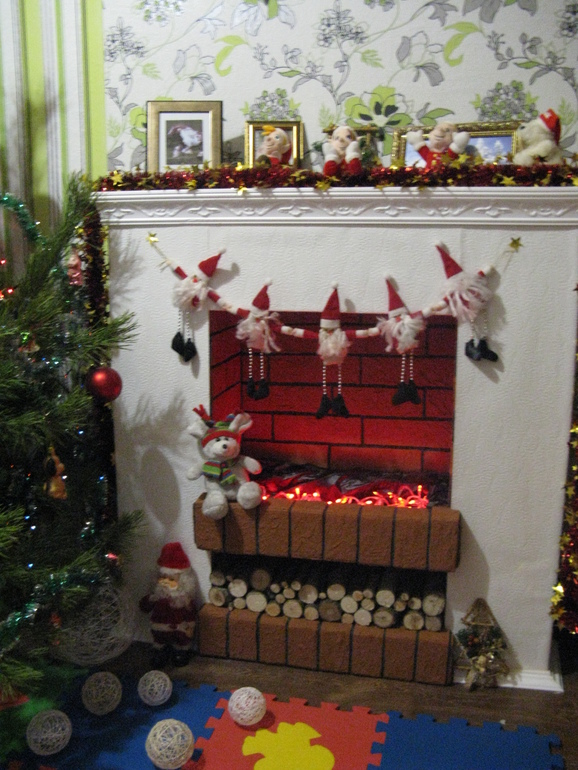
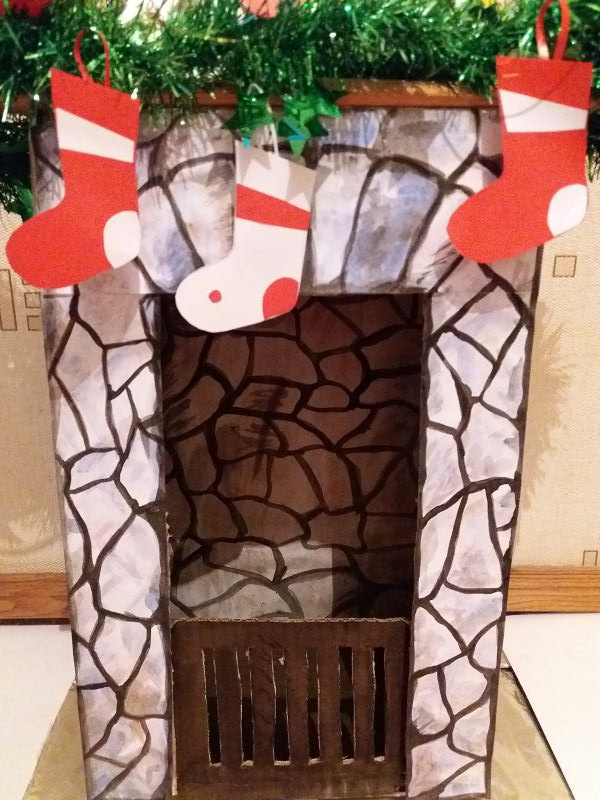
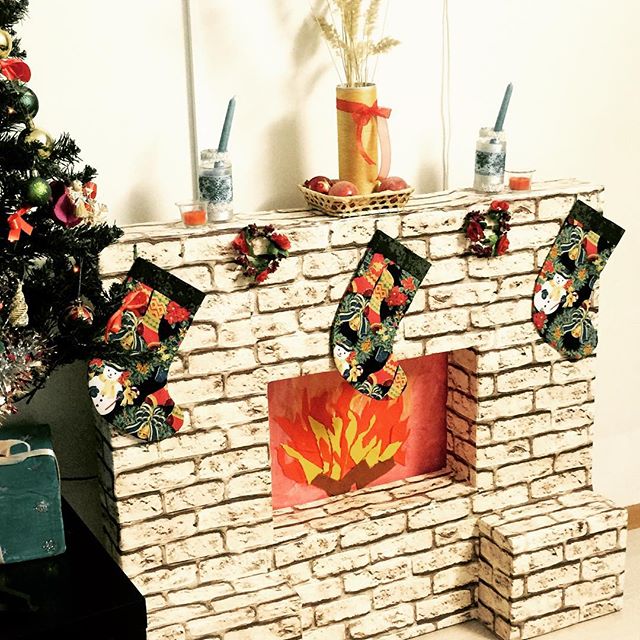
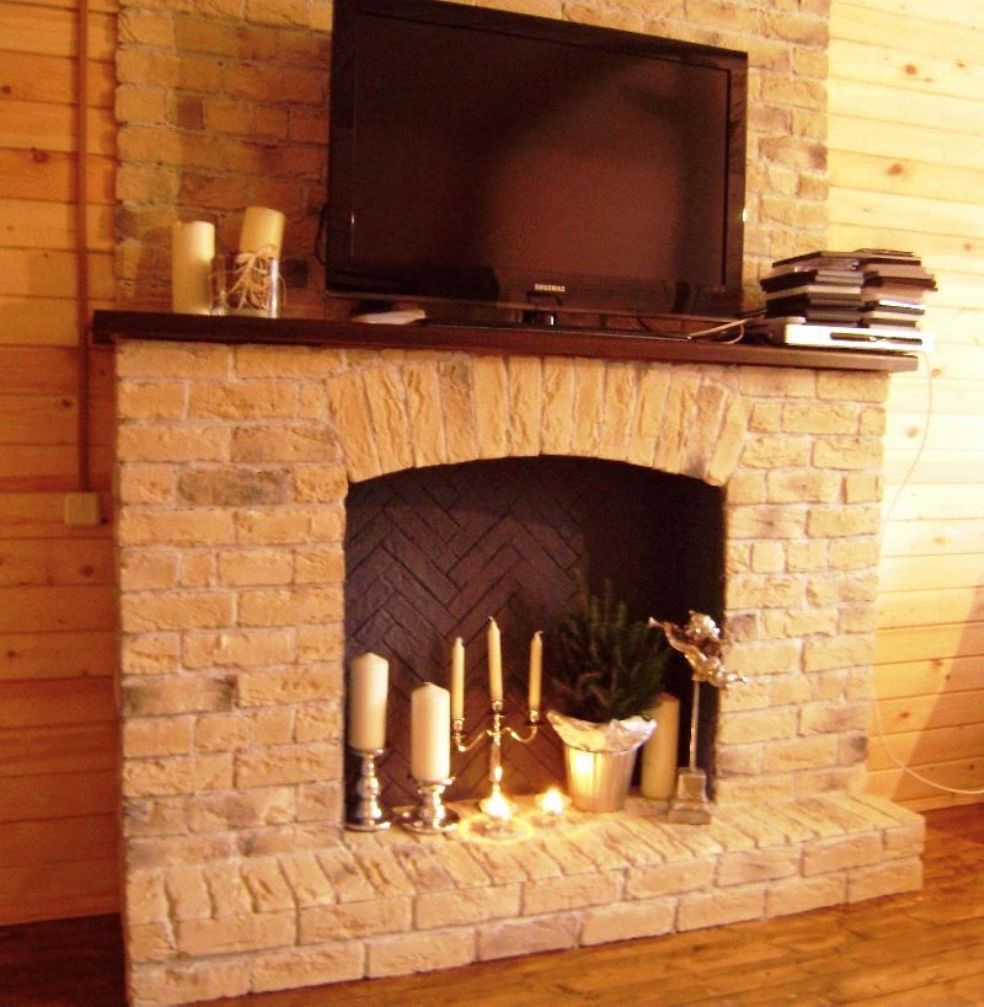
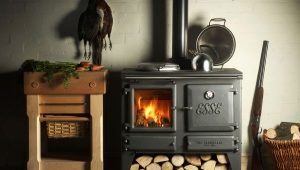
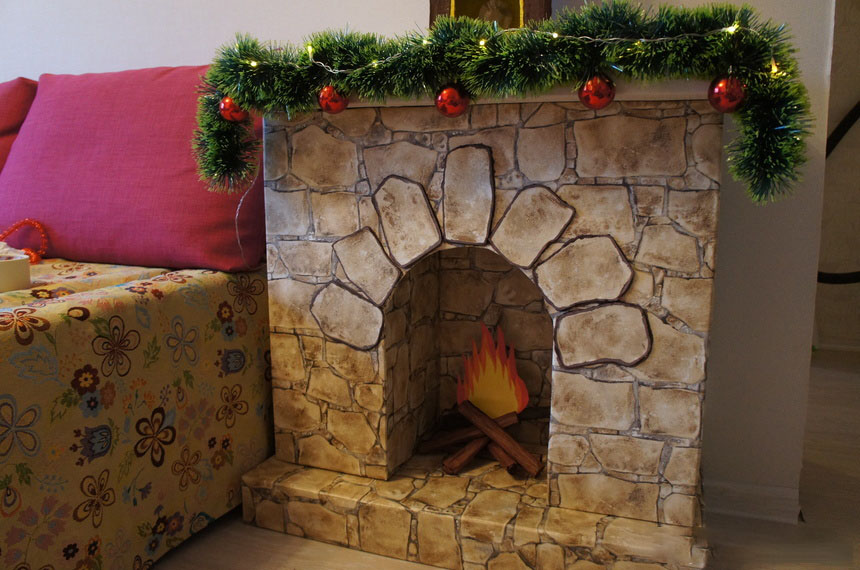
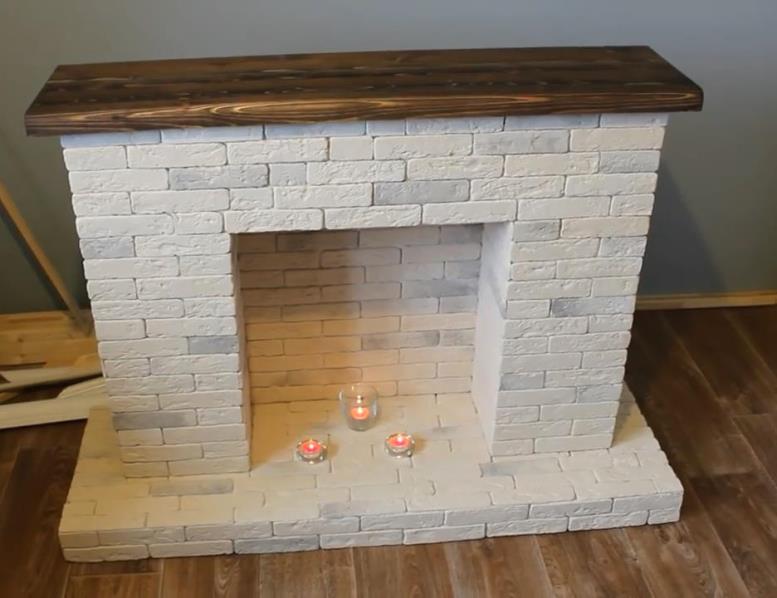
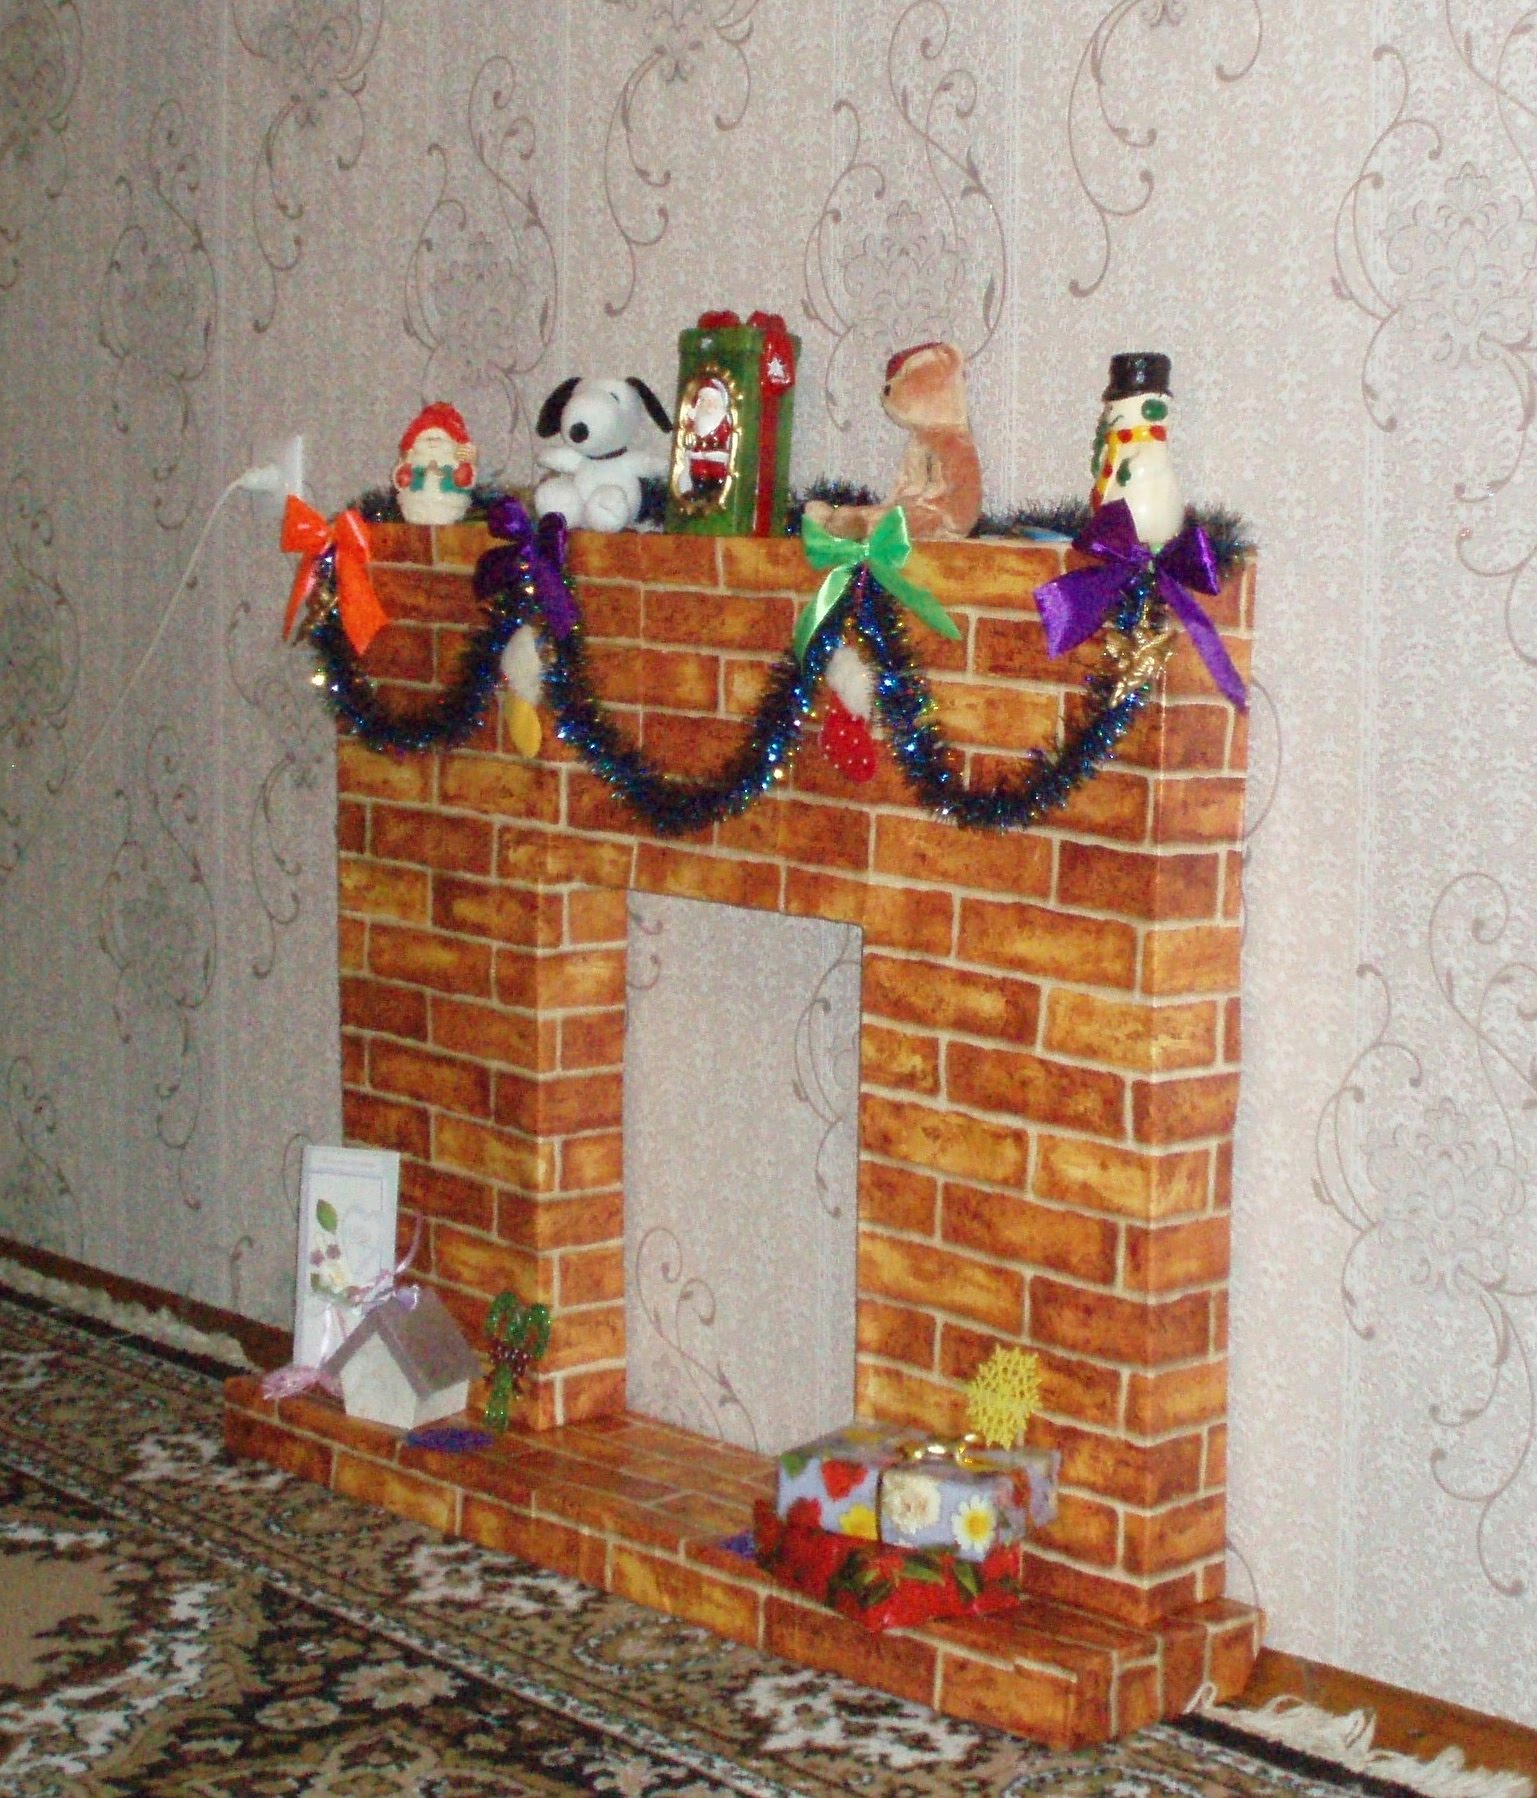
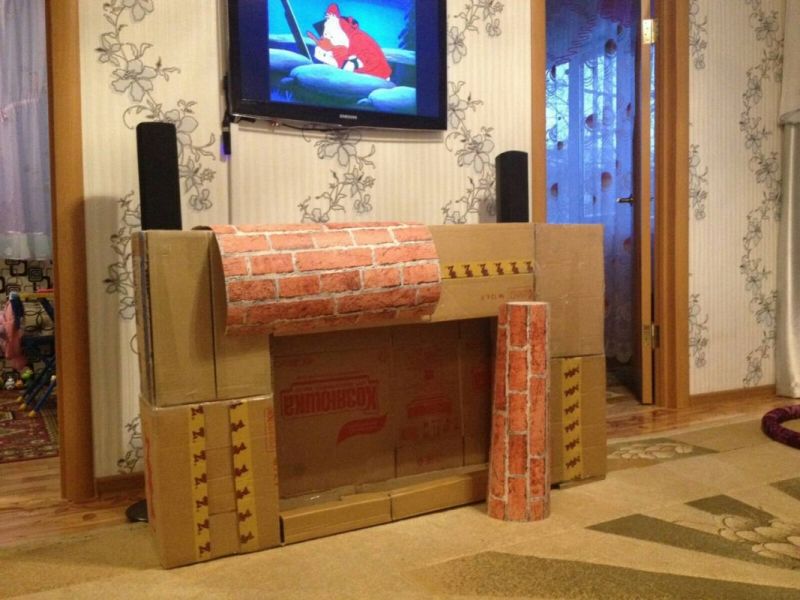
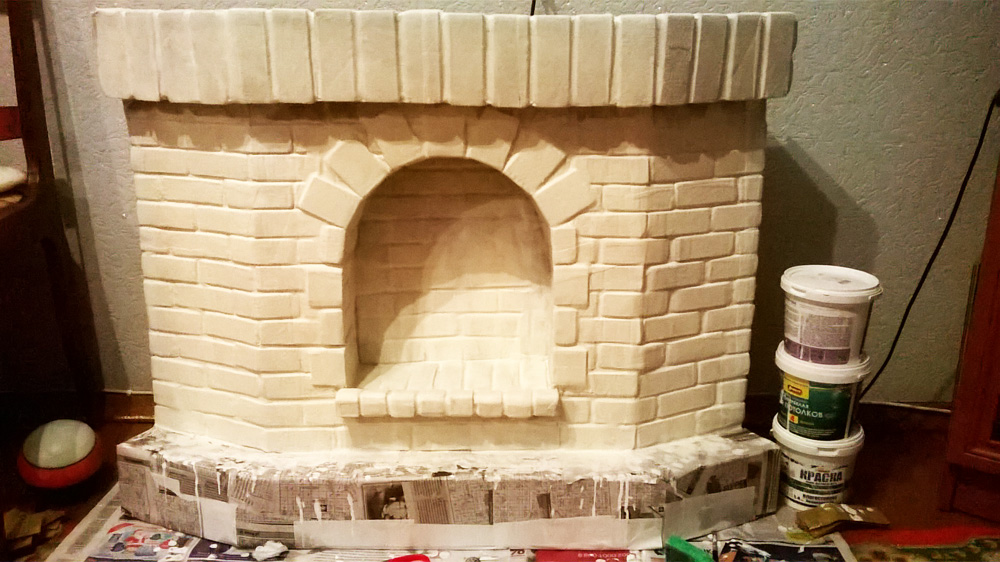
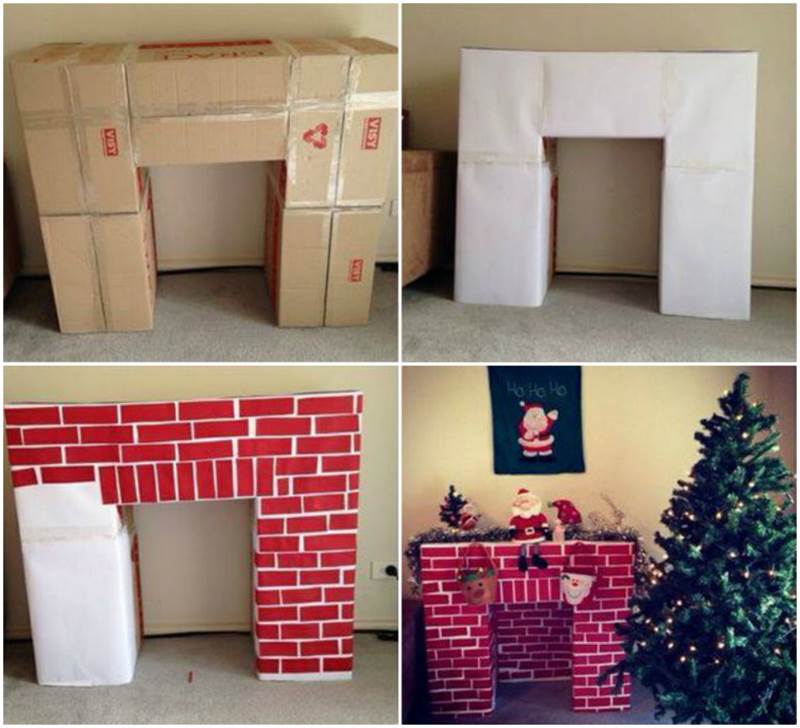
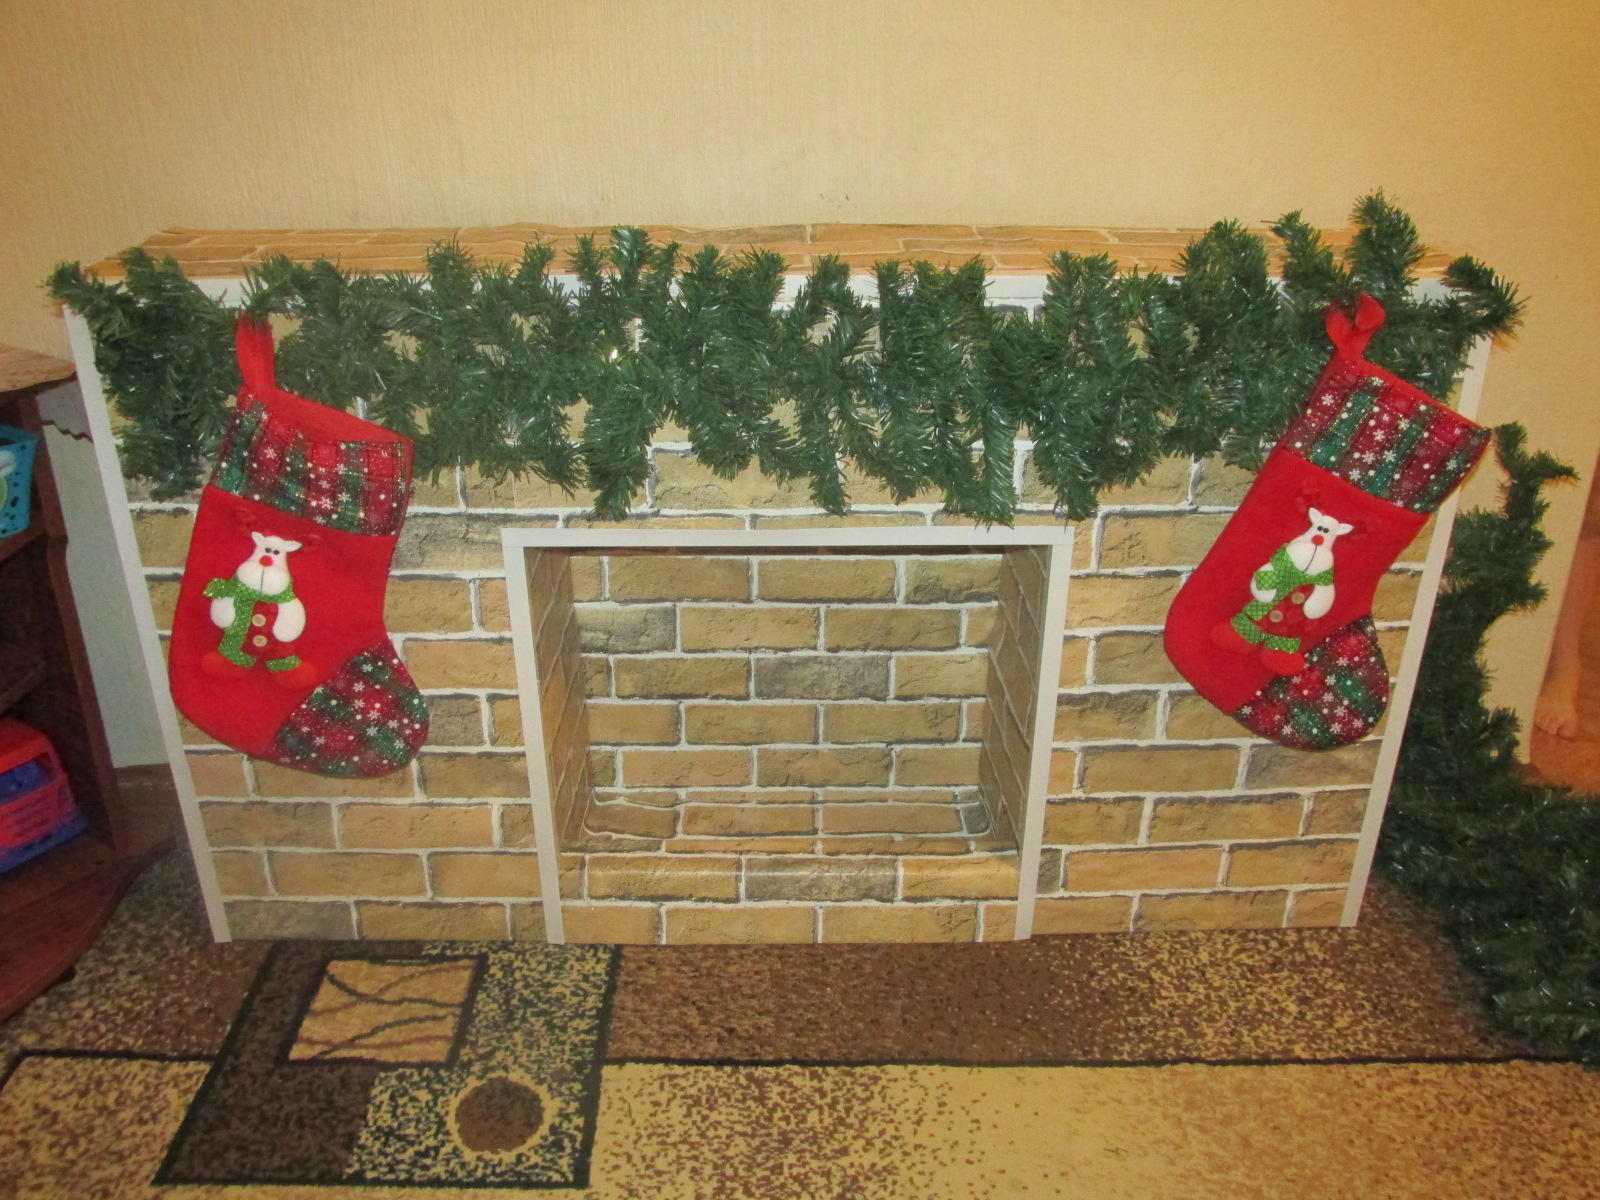
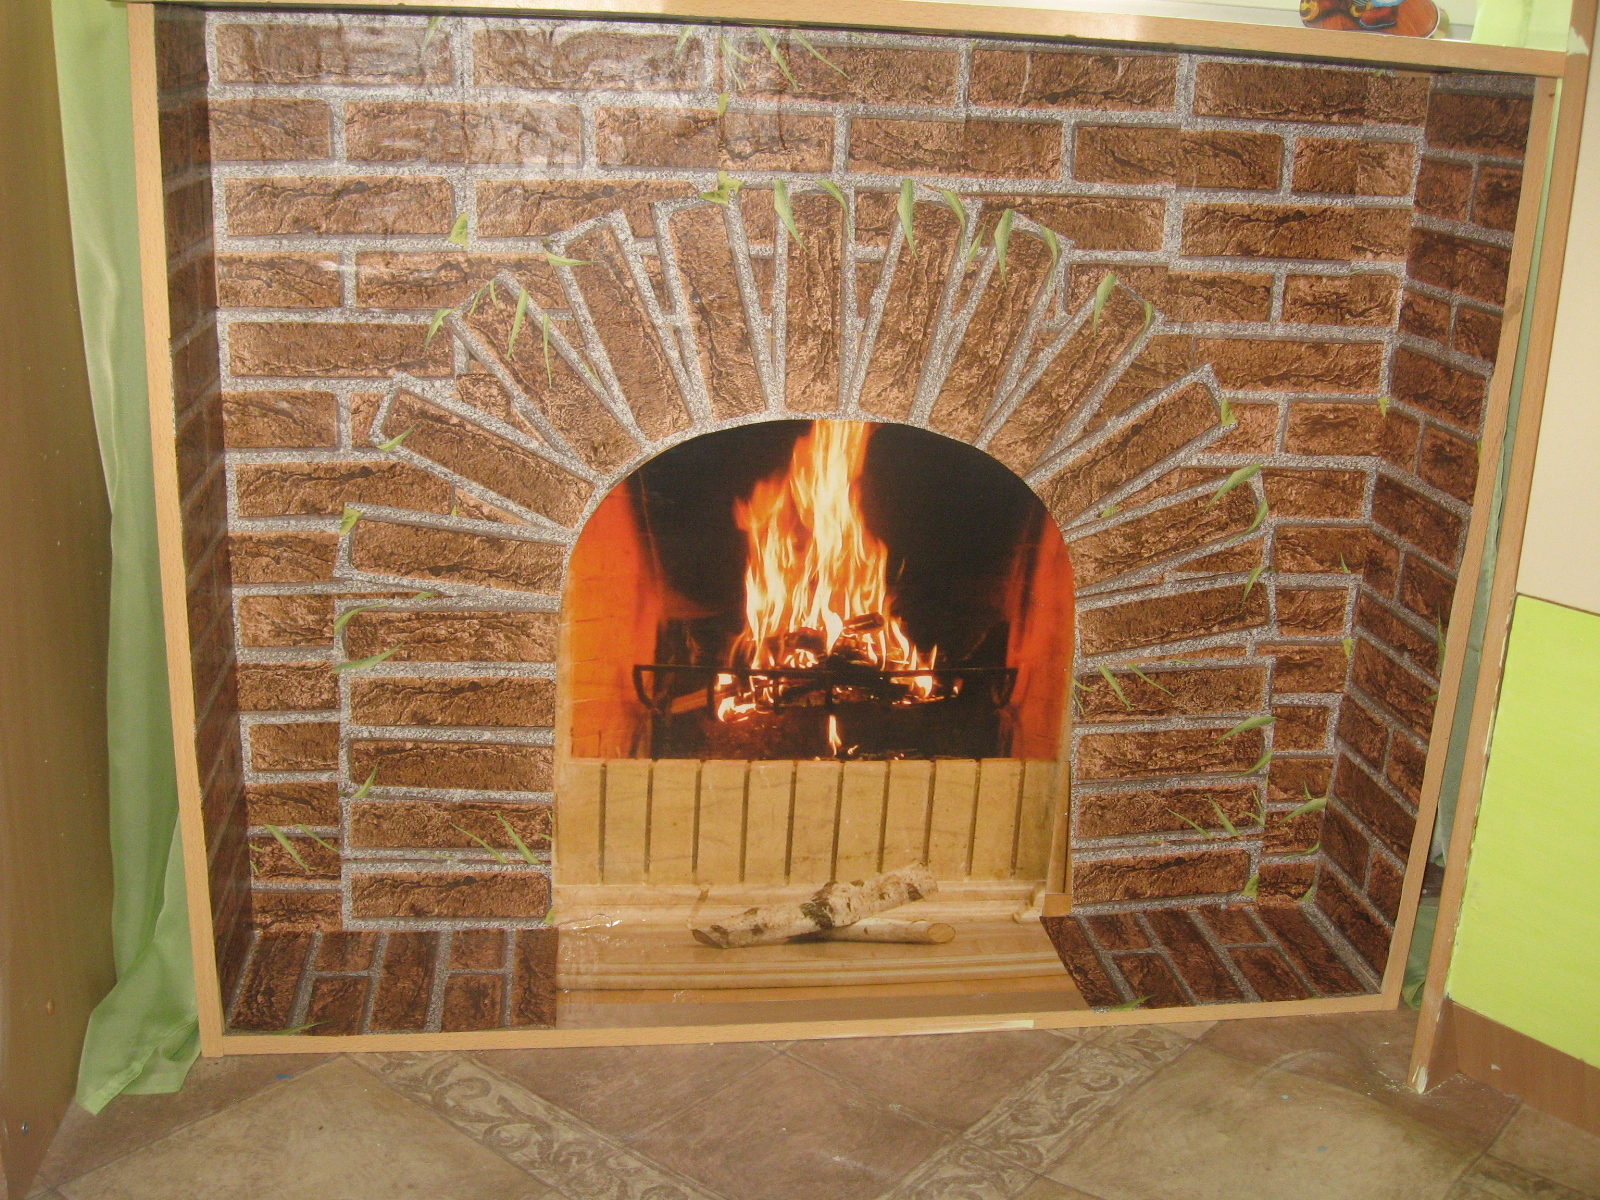
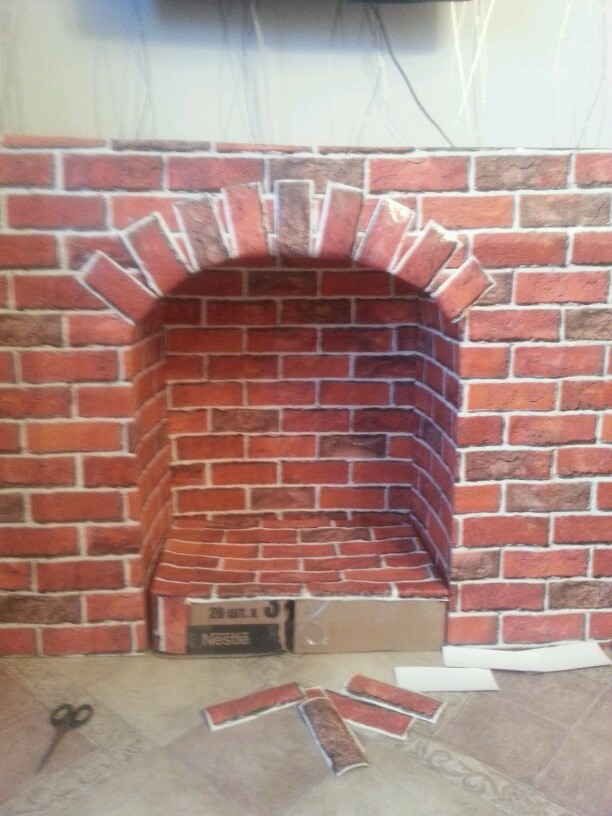
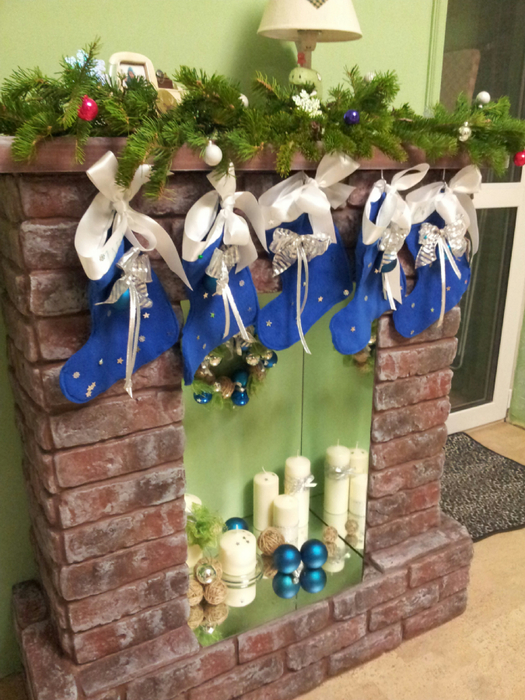
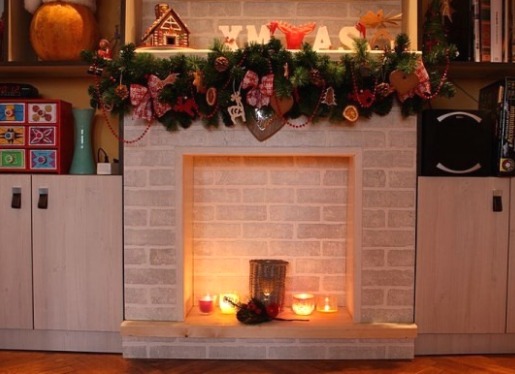
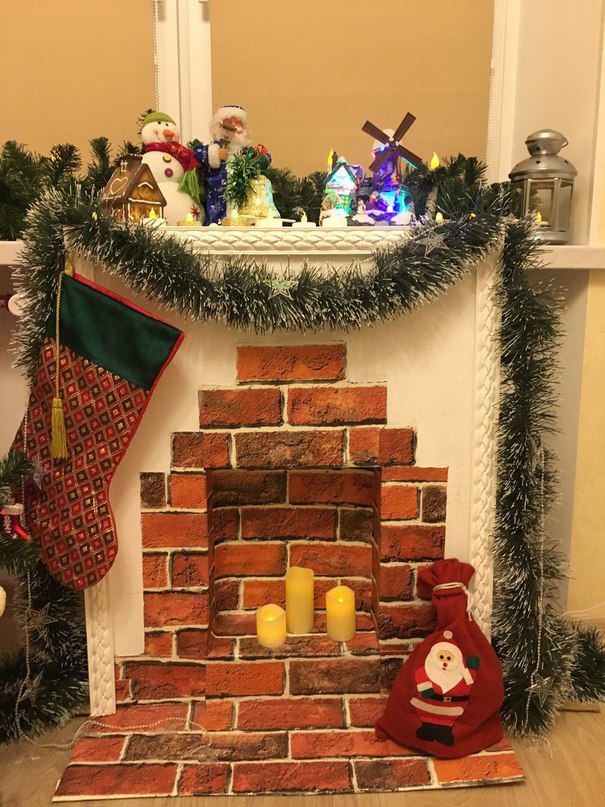
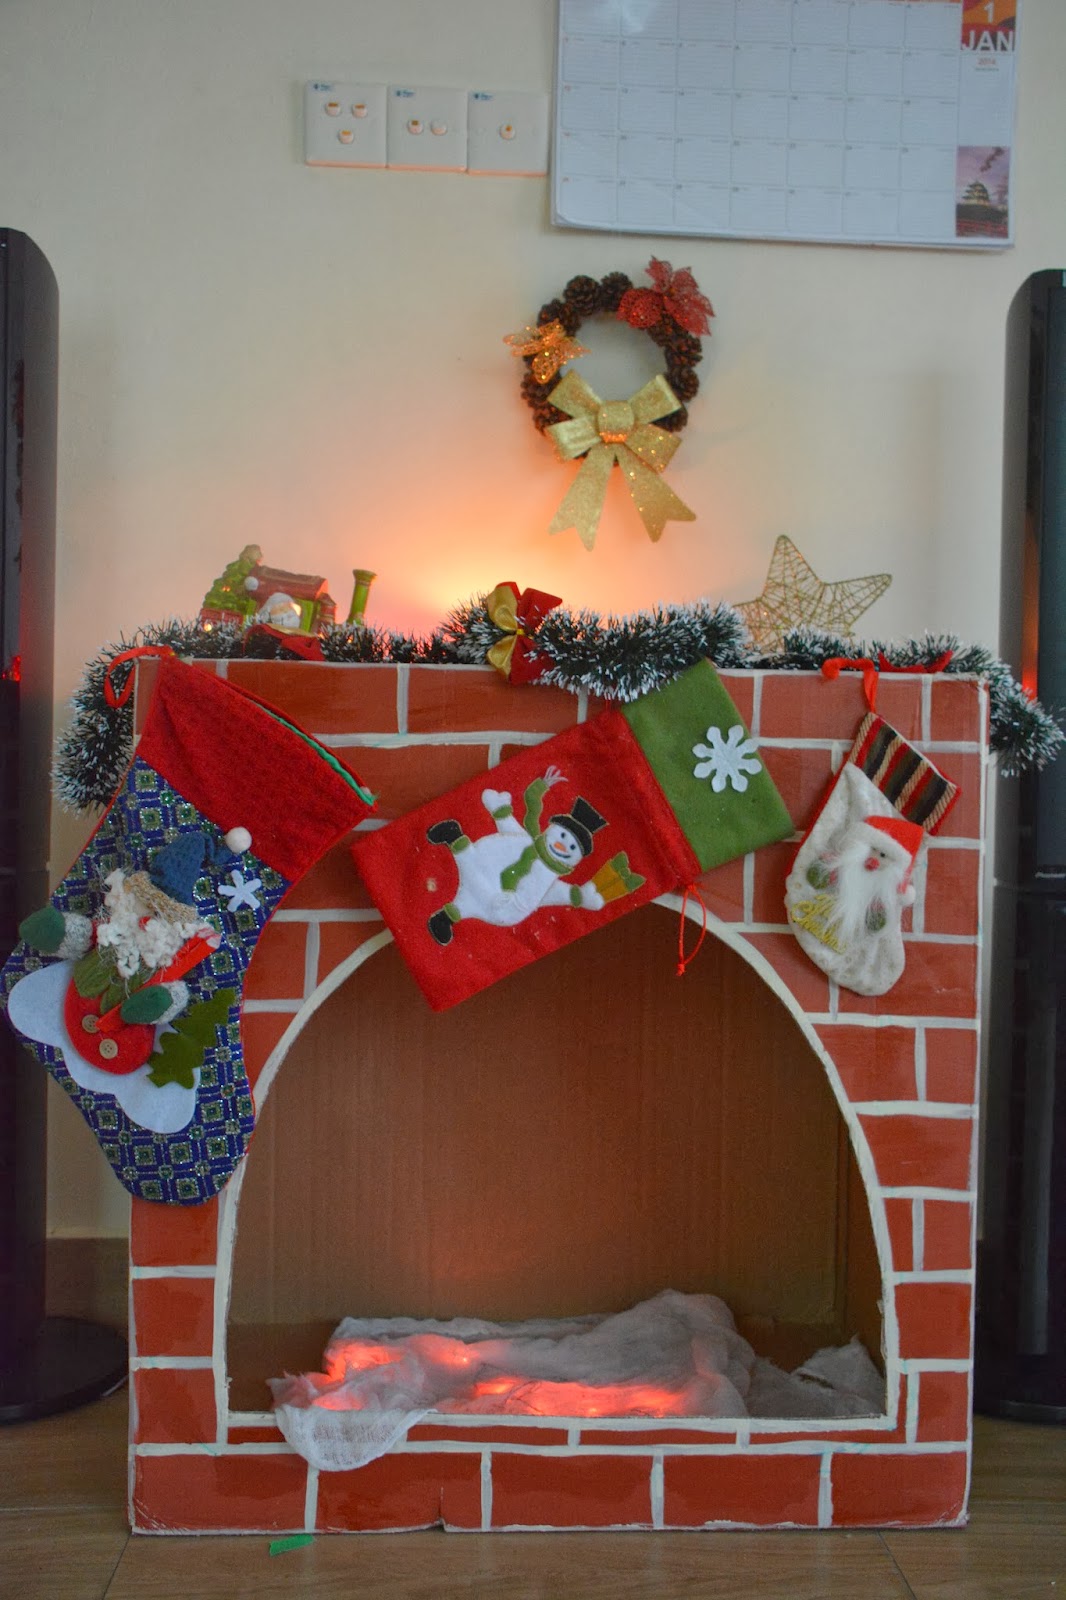
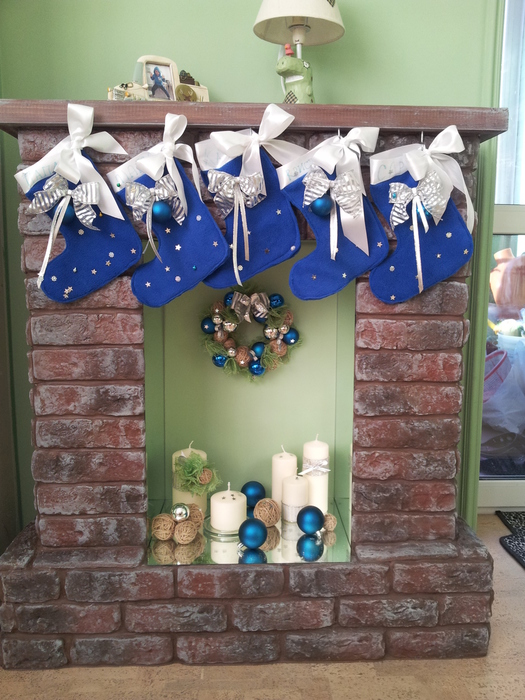
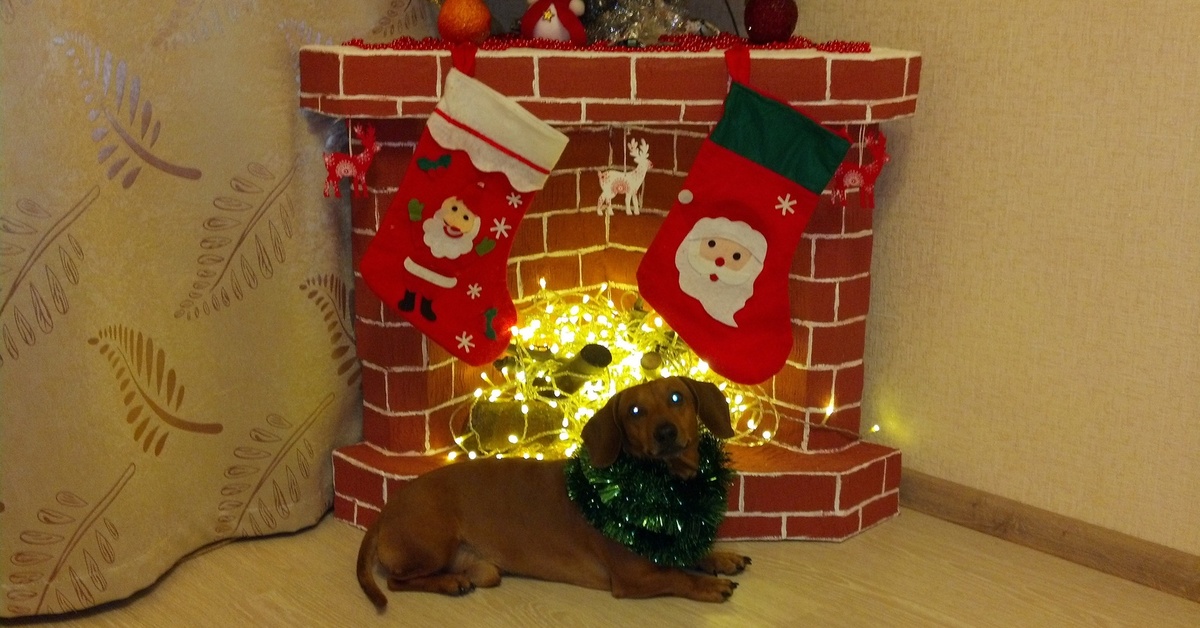
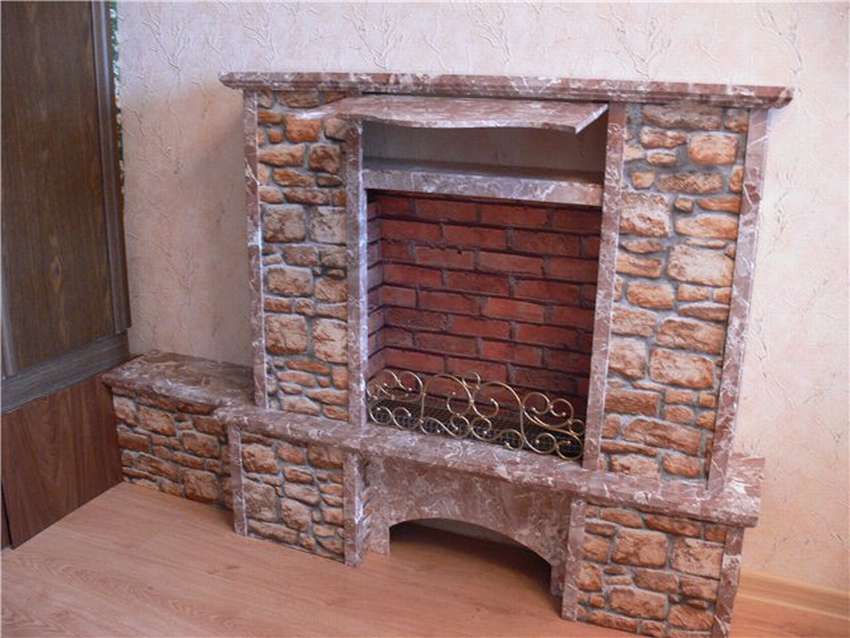
- In country style. Loved by many "rustic" style. It differs in the fact that such fireplaces are made of brick and natural stone. In order to give the fireplace out of the boxes of this kind, it is enough to glue it with self-adhesive film or wallpaper with a brick or stone print. In the furnace must be put firewood.

How to do it yourself: step by step instructions
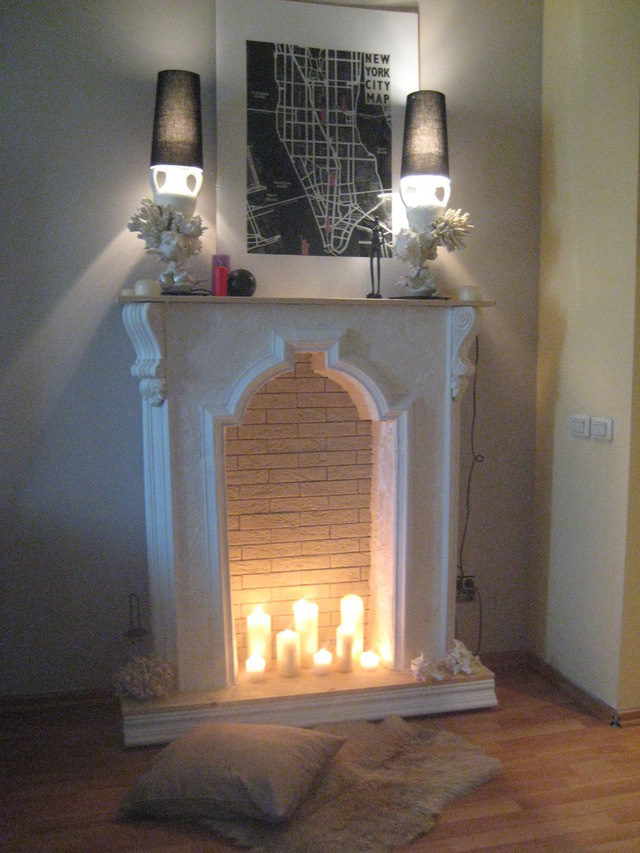
- First, determine the location of the future fireplace. This can be either a wall (frontal location) or an angle (angular location). If you need to disguise any defect on the wall or in the corner, properly positioned decorative fireplace will fit perfectly;
- At the installation site, perform all necessary measurements to clarify the parameters of the future box with the help of a tape measure and a building level;
- Carefully design the drawing.Put on it a fireplace as much as possible, with the details of the decor, respecting all proportions. Do the drawing in color, so it will look more natural and, as a result, it will be much easier for you to understand what the original result will look like;
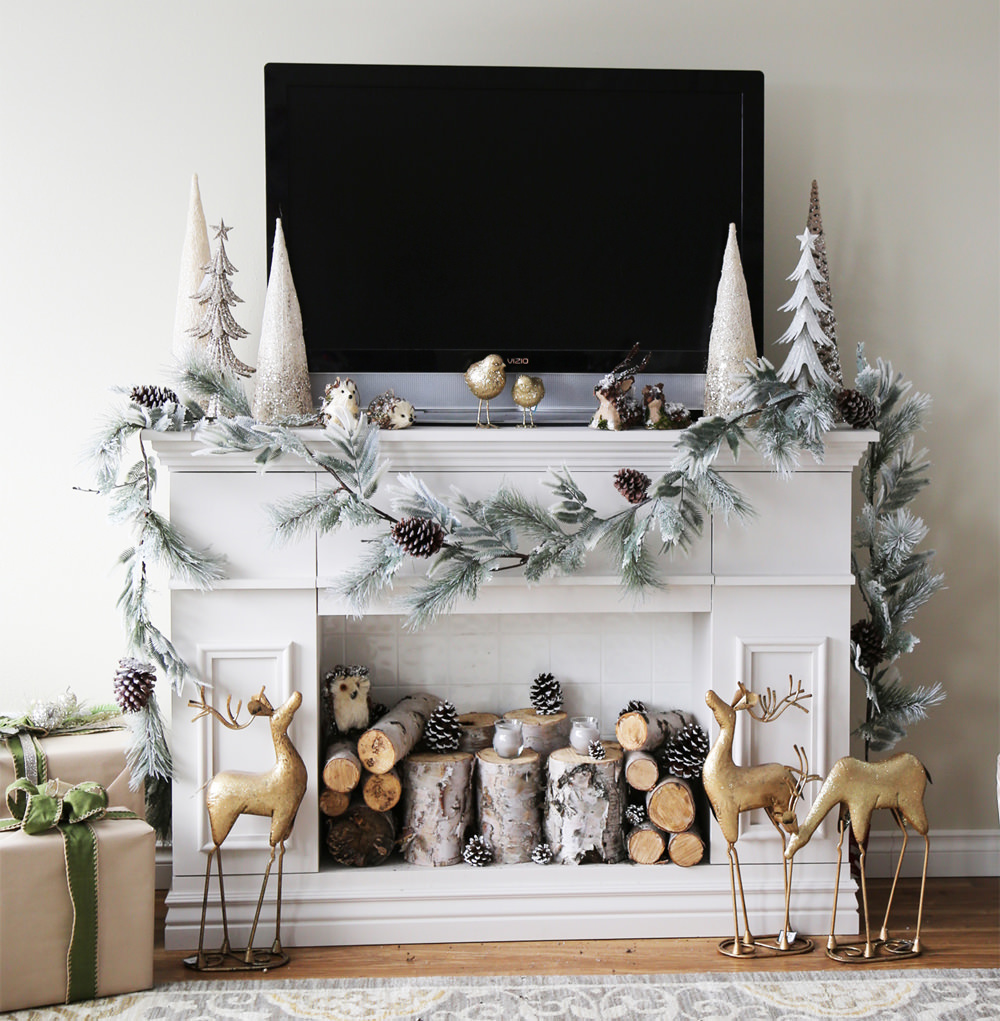
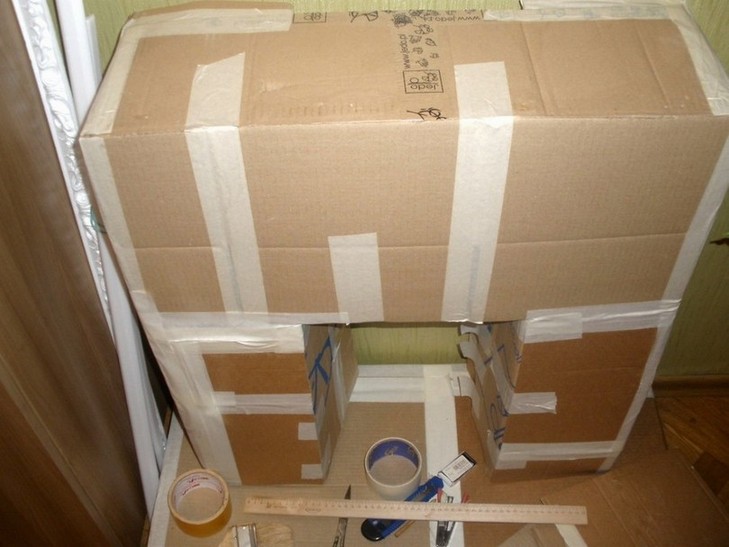
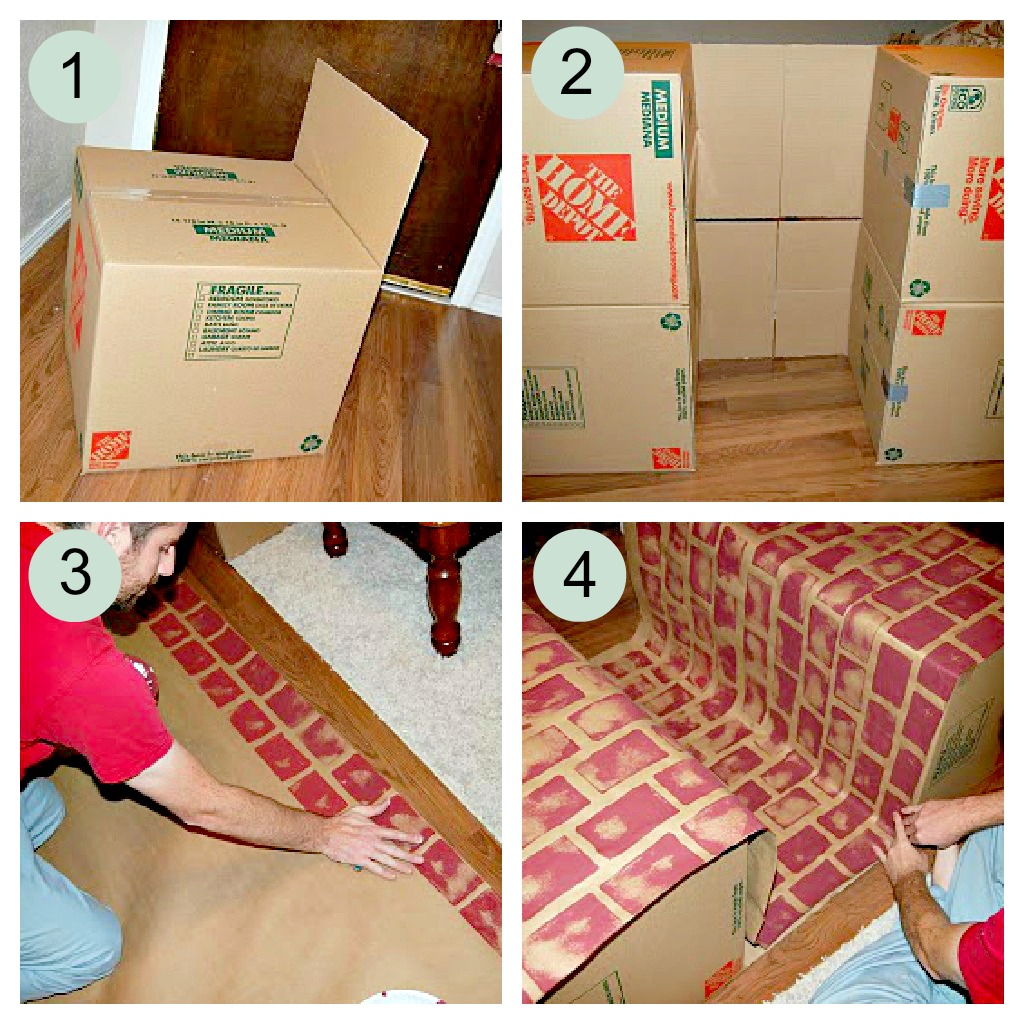
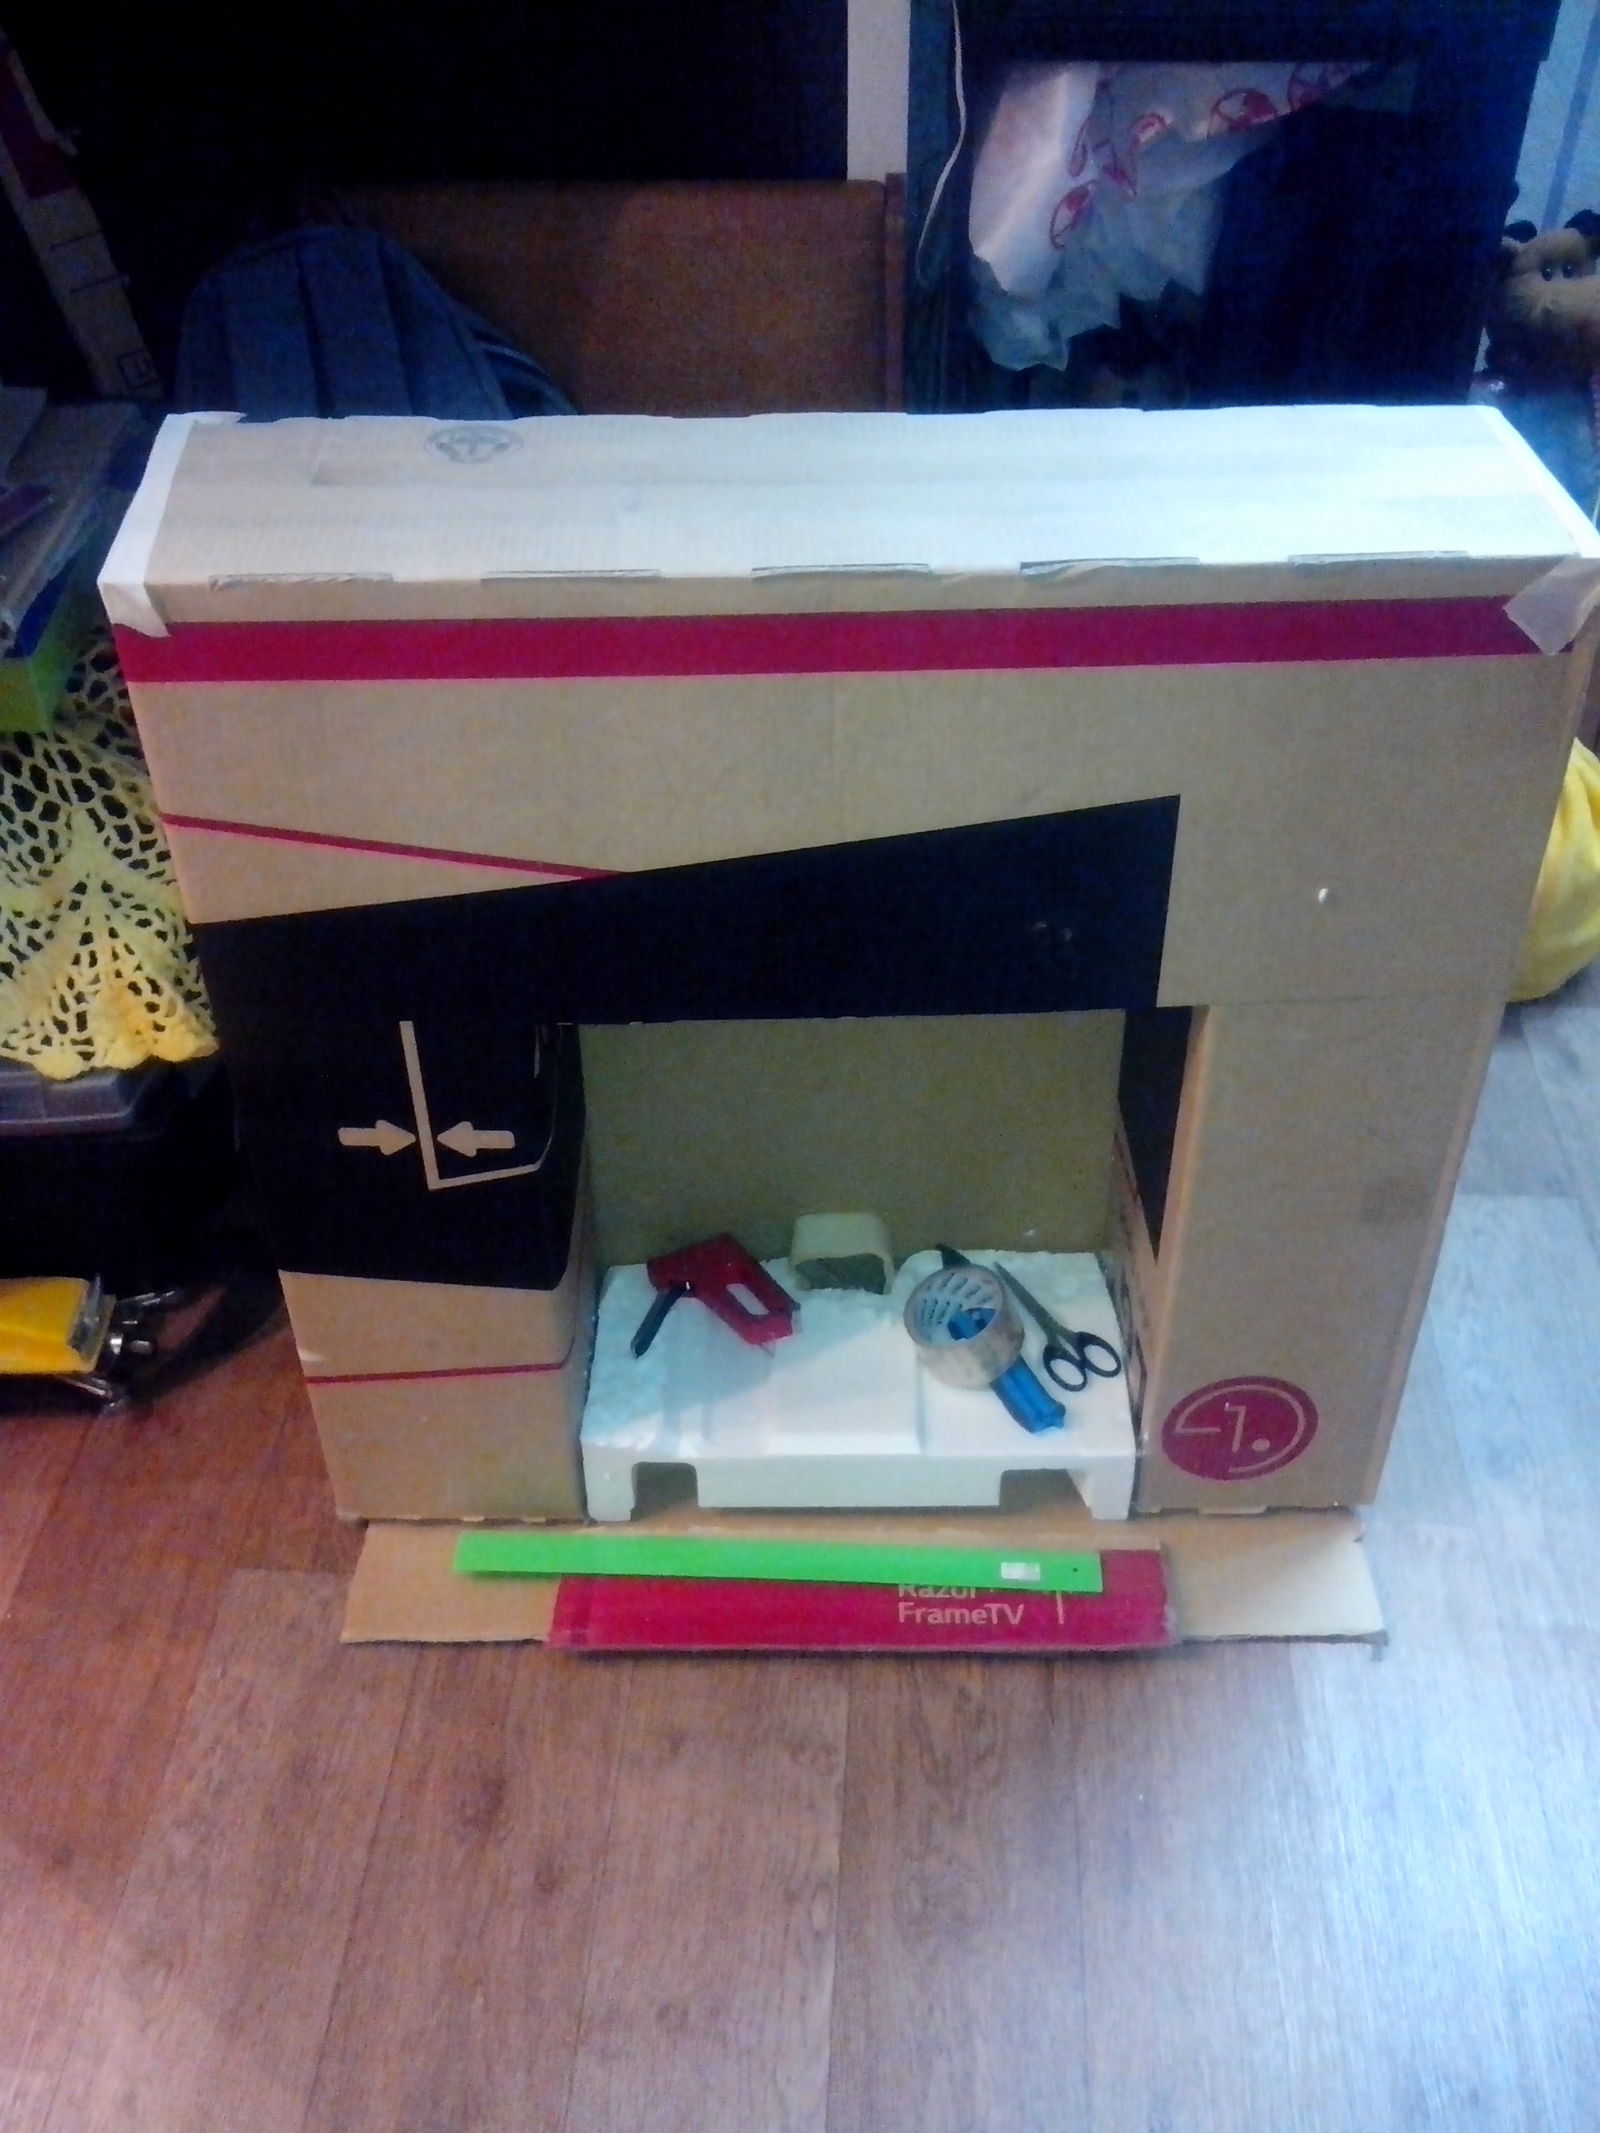
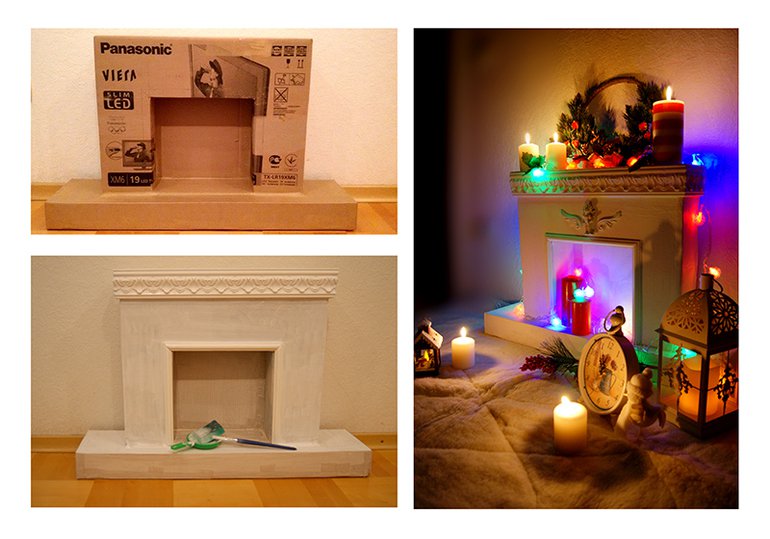
- Preparing materials. First we select a box or several boxes. The ideal option would be a whole box of a widescreen flat-screen TV, but if you didn’t find one, you can use sheets of cardboard pre-cut from other boxes and fastened to each other with tape;
- We make room in the room, we lay out our materials. Gently draw all the details on the box. Watch for rational use of materials - for example, it will be easier for you if the corners of the intended fireplace coincide with the corners of the box;
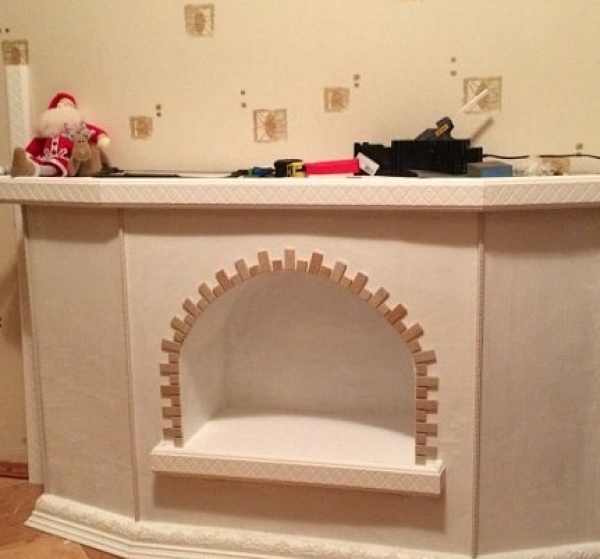
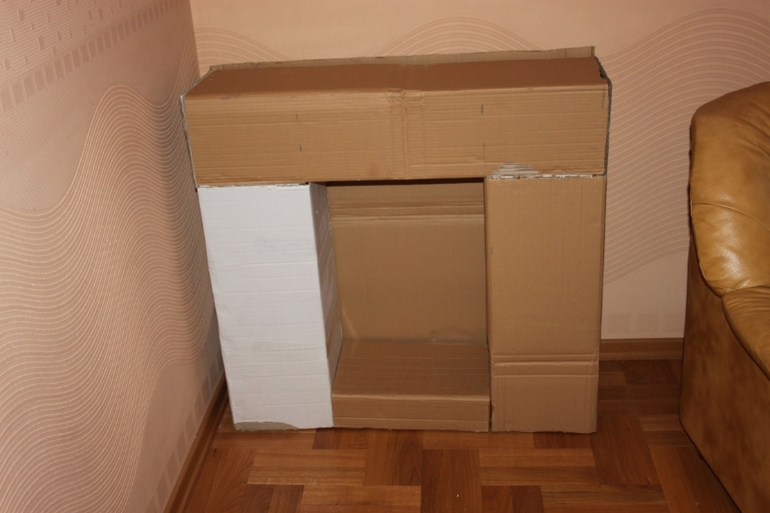
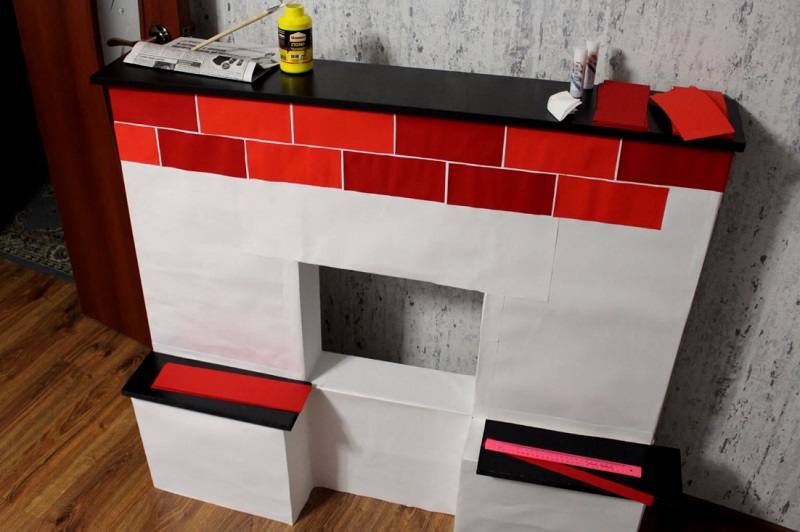
- The main parts of the fireplace are the podium (base), the portal and the upper shelf. Installation begins with a podium. Since he will have to withstand the weight of the whole structure, it is necessary to strengthen it. They do this by inserting special cardboard inserts (the so-called stiffeners) into the prepared base. Have them perpendicular to the floor, securing tape.The height of the ribs is equal to the height of the side edge of the podium. By the way, you can strengthen the sides by sizing them with a couple more layers of cardboard. The base is made, as a rule, slightly wider than the portal, by about 8-12 centimeters;
- Next, we form the portal.

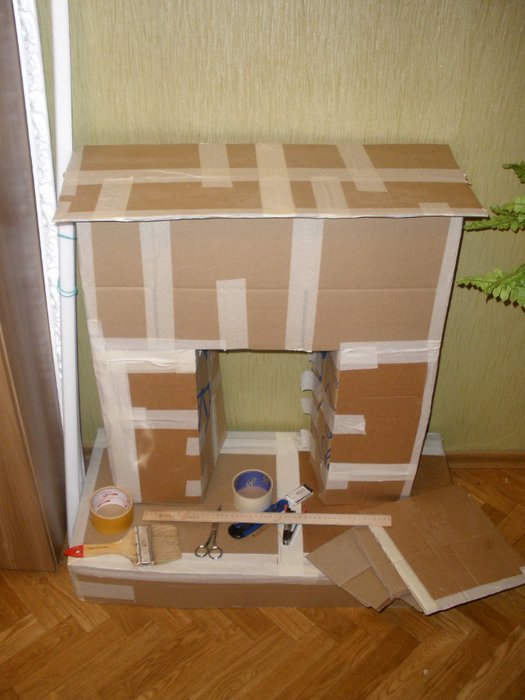


There are two ways to assemble a cardboard portal - frame and with a back wall:
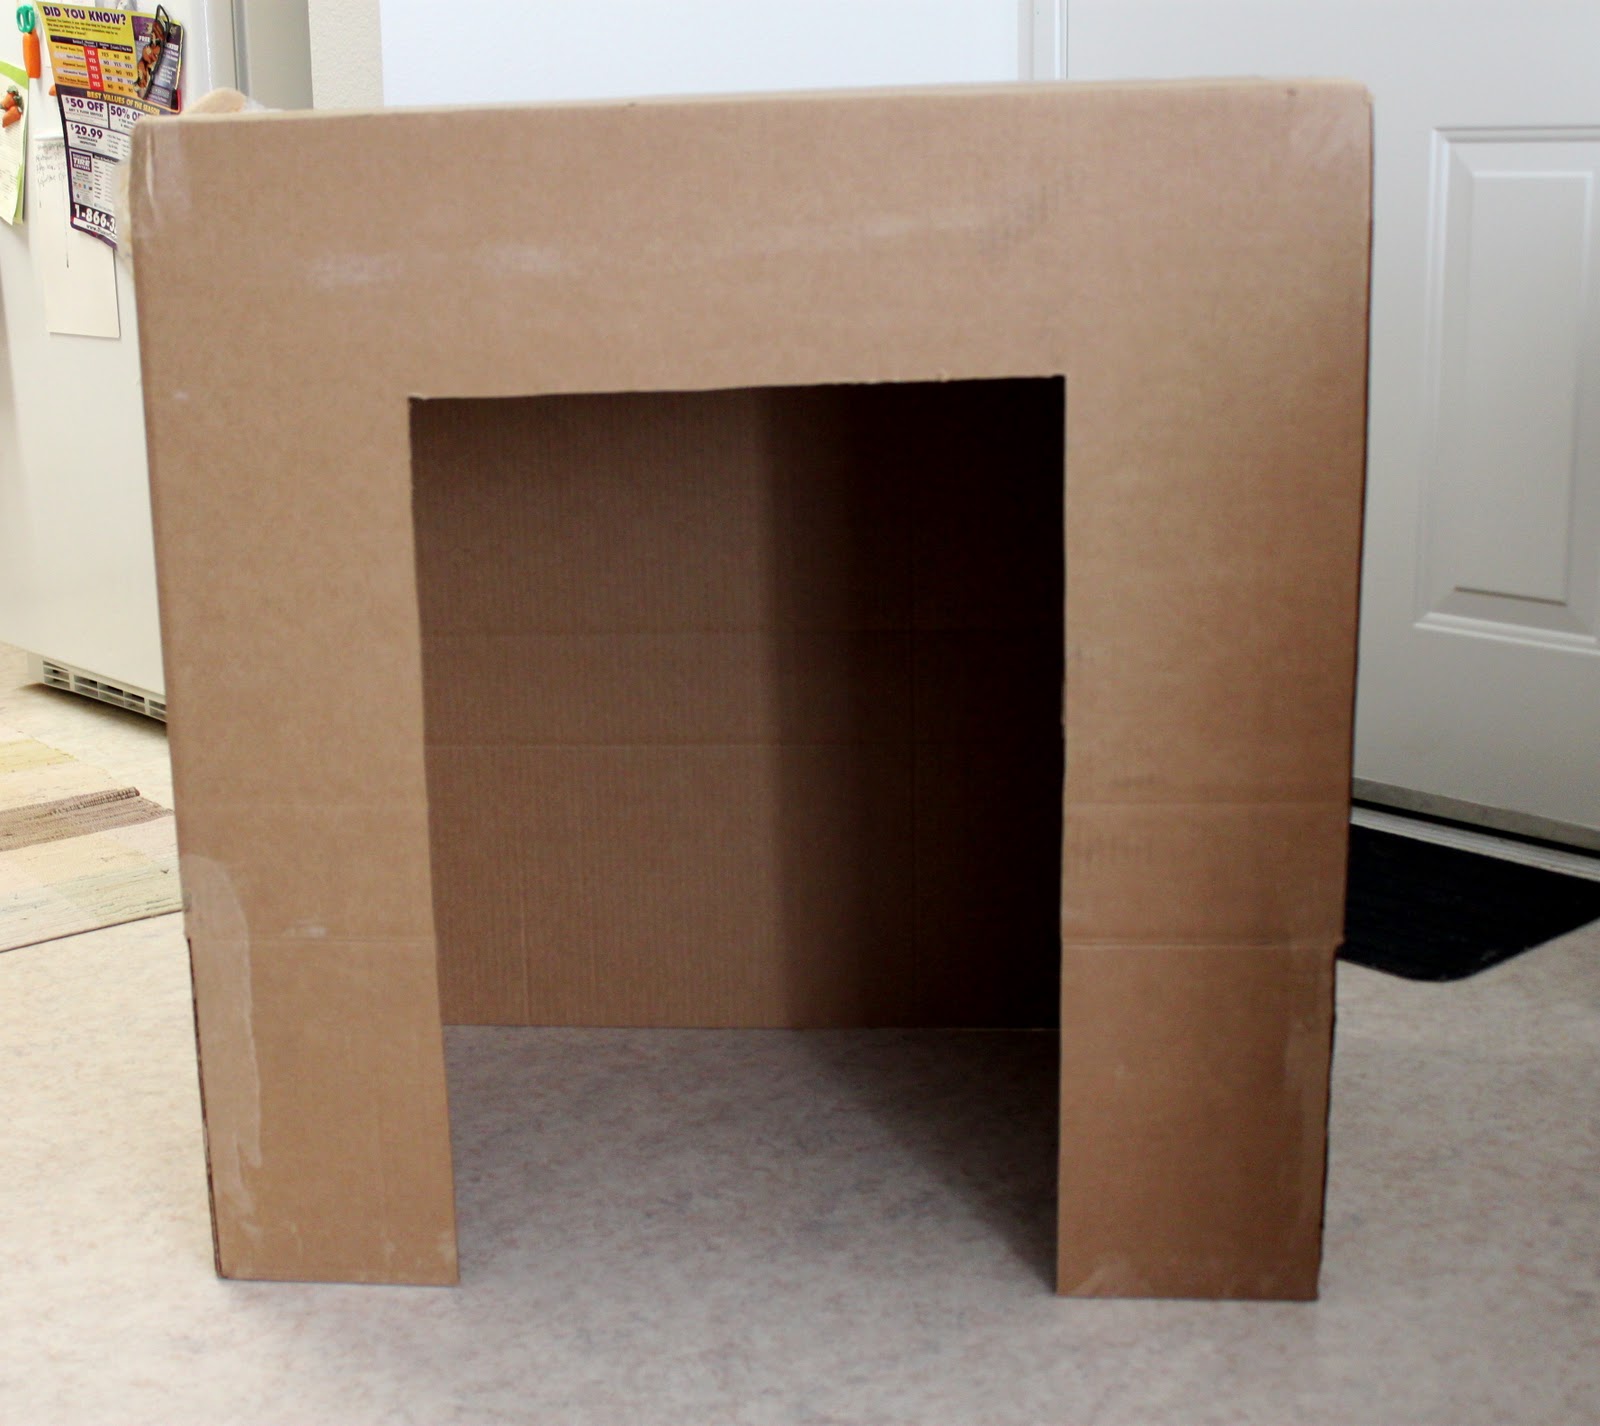
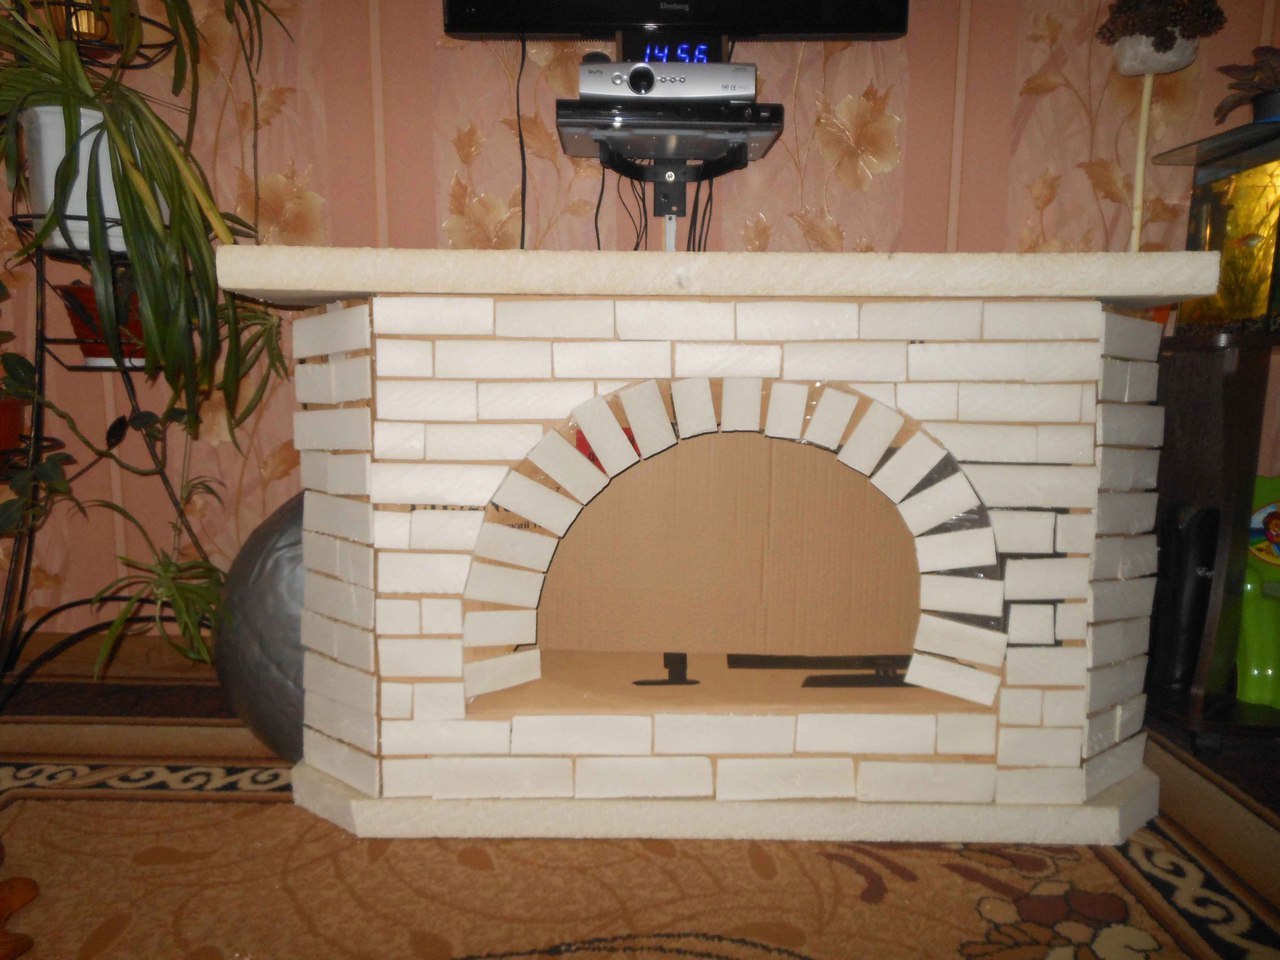
- for the manufacture of the portal on the frame, we take a sheet of cardboard prepared in advance, which will act as the front panel of the future fireplace portal. Outline the inlet of the hearth, the upper part of which is cut using a stationery knife, and then we cut the window in the center. The resulting sash bend inward, it will be the side walls of the hearth. Next, cut a rectangular strip equal in width to the inner walls of the portal, and in length - the width of the hearth. We get the ceiling of our hearth, which we secured with scotch tape. To strengthen the structure we glue inside the frame panels, they must first be glued together from several layers of cardboard. We put the resulting portal on the podium, glue it with masking tape or strips of white paper, smeared with white glue.We are waiting for some time to glue dried up and check the strength of the connections;
- as for the second production version of the portal - with the back wall - it is much simpler than the previous one. In fact, this is just a big box. The hearth is formed as follows: we transfer the prepared drawing to the front wall of the box, cut out the window with a stationery knife, as well as in the first embodiment, the flaps are folded inwards and glued to the back wall of the box. The upper part of the hearth is formed from a separate sheet of cardboard. That's it, the portal is ready for installation on the podium.
- Install a fireplace shelf. For its production, you can use drywall or a sheet of plywood, or glue it from several cardboard sheets. To the portal of the regiment is attached with double-sided tape. Like the podium, the shelf can be a little wider than the portal;
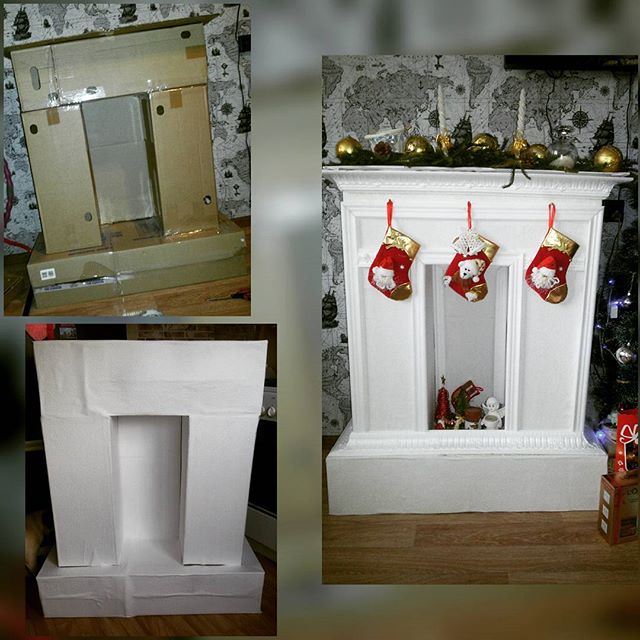
- We start finishing work. Gently paint all the joints and unnecessary color spots on the surface of the box with several layers of paint. If it is not possible to use paint in a can, an ordinary water emulsion will do. If desired, you can pre-glue the resulting structure with white paper,and you can even putty plasterboard solution;
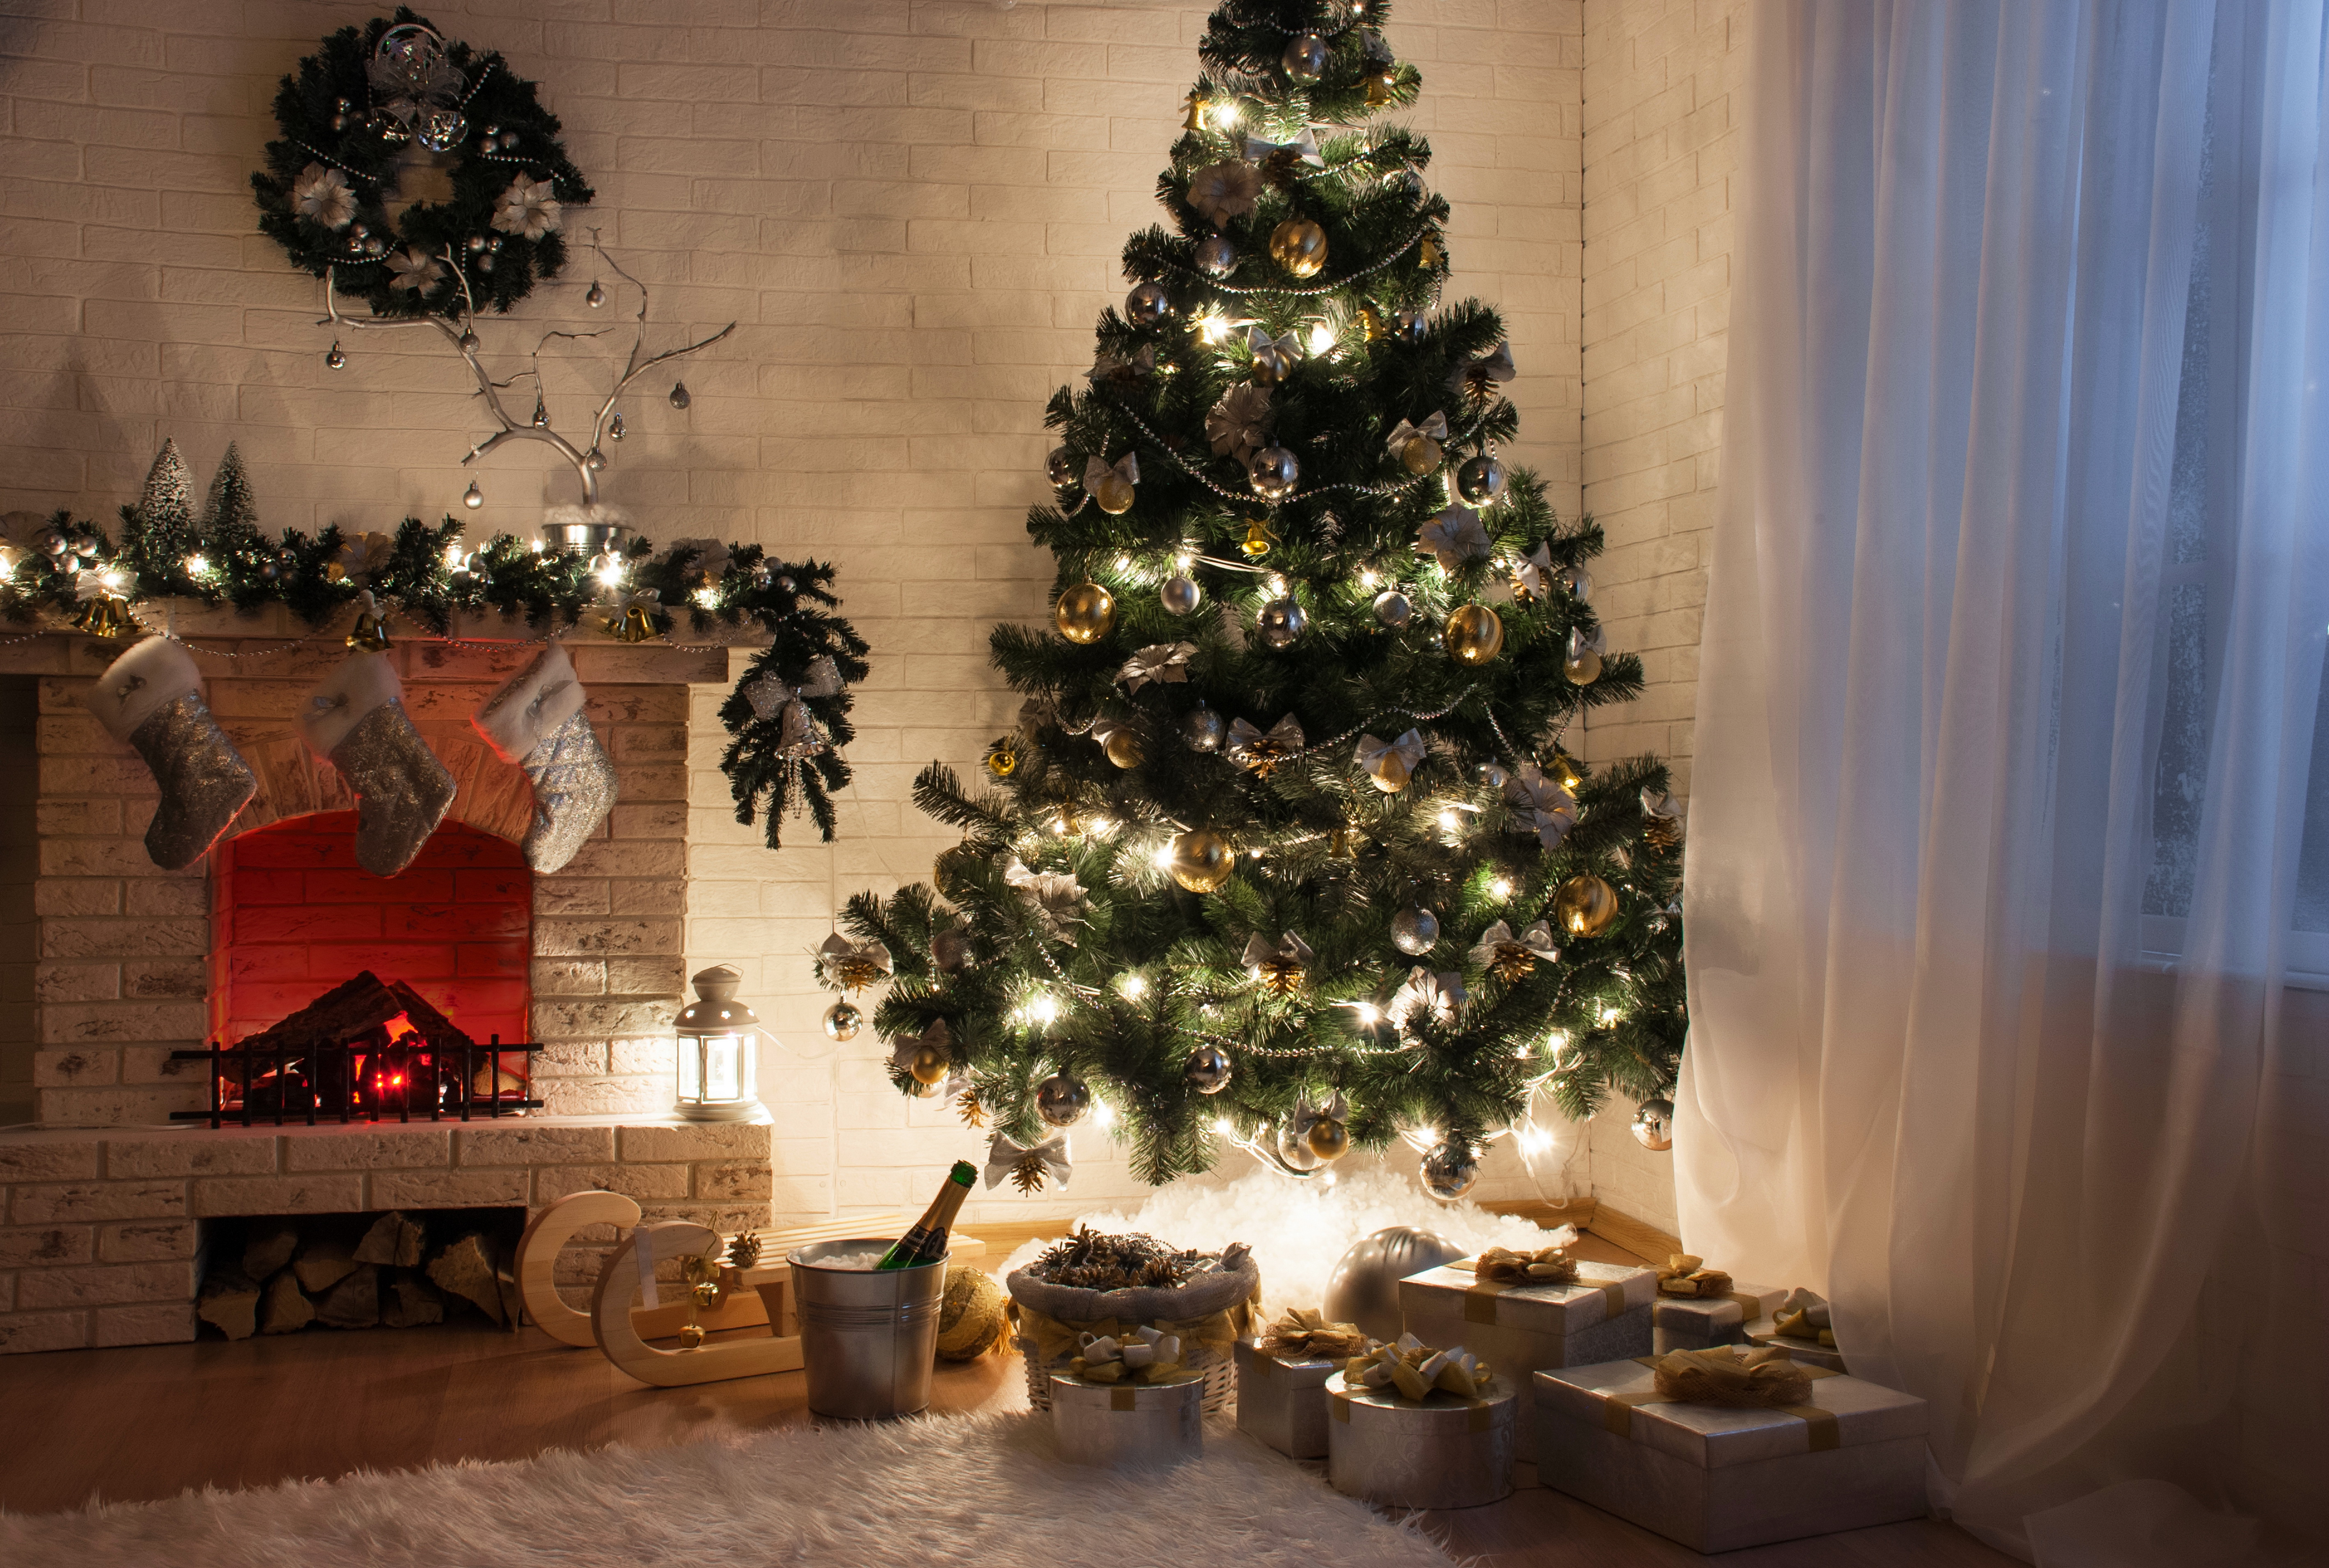
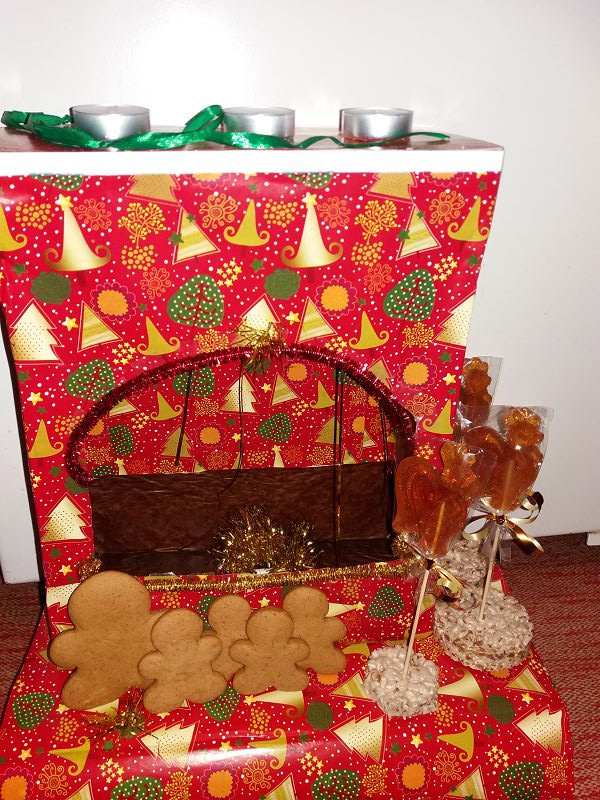
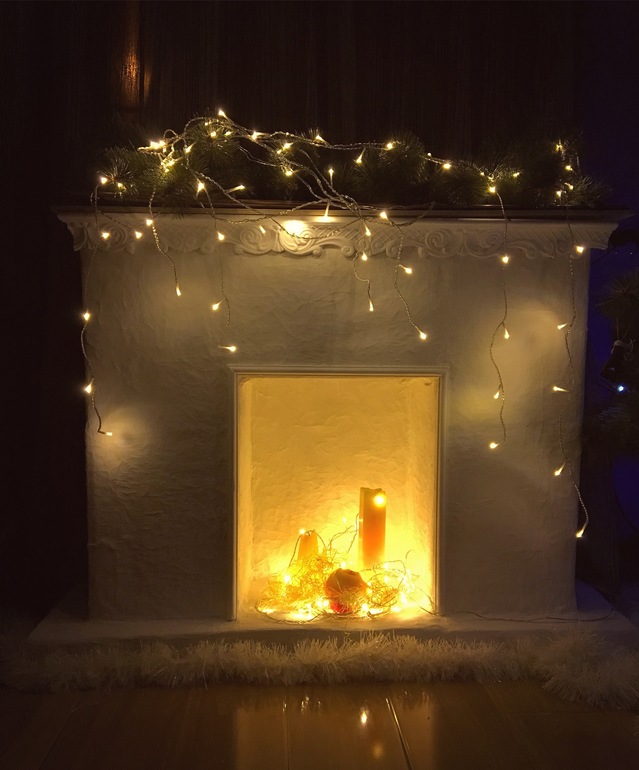
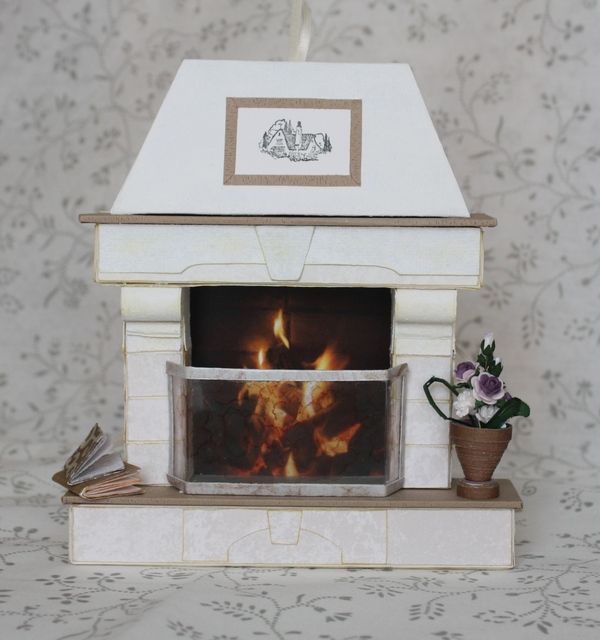
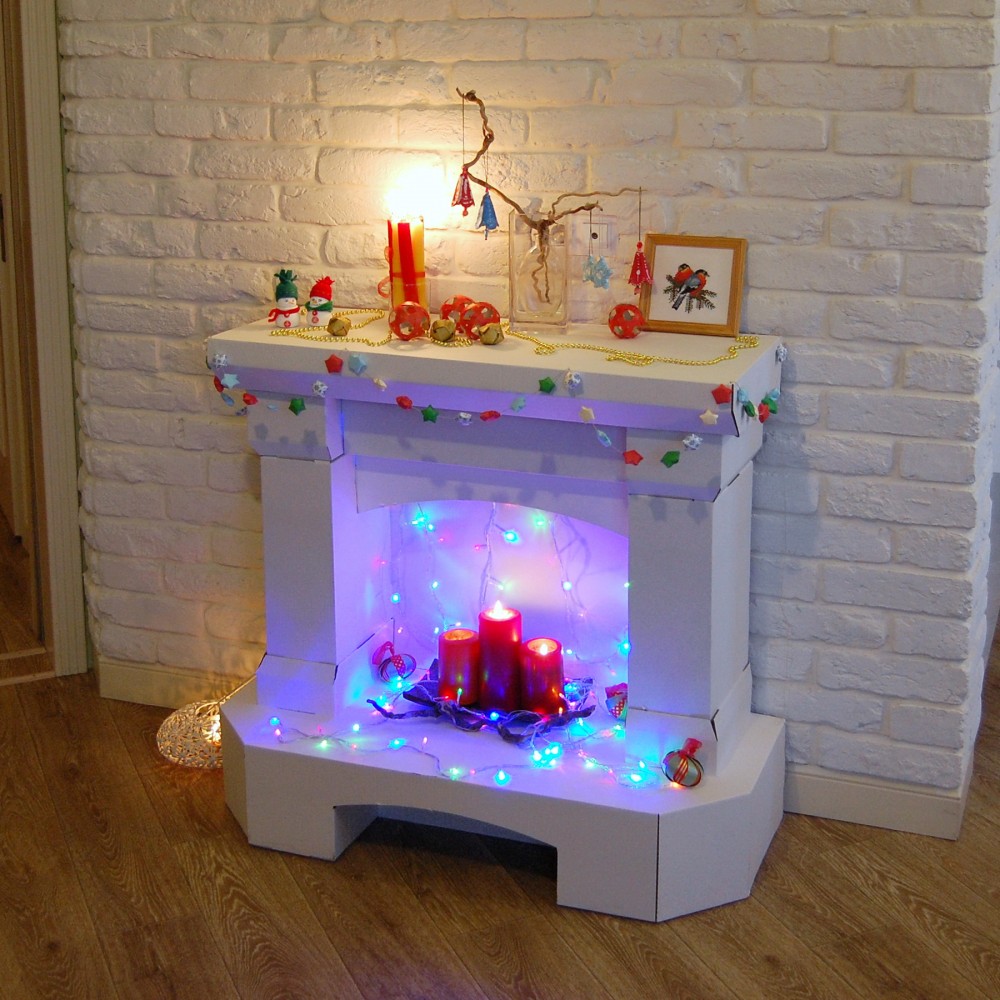
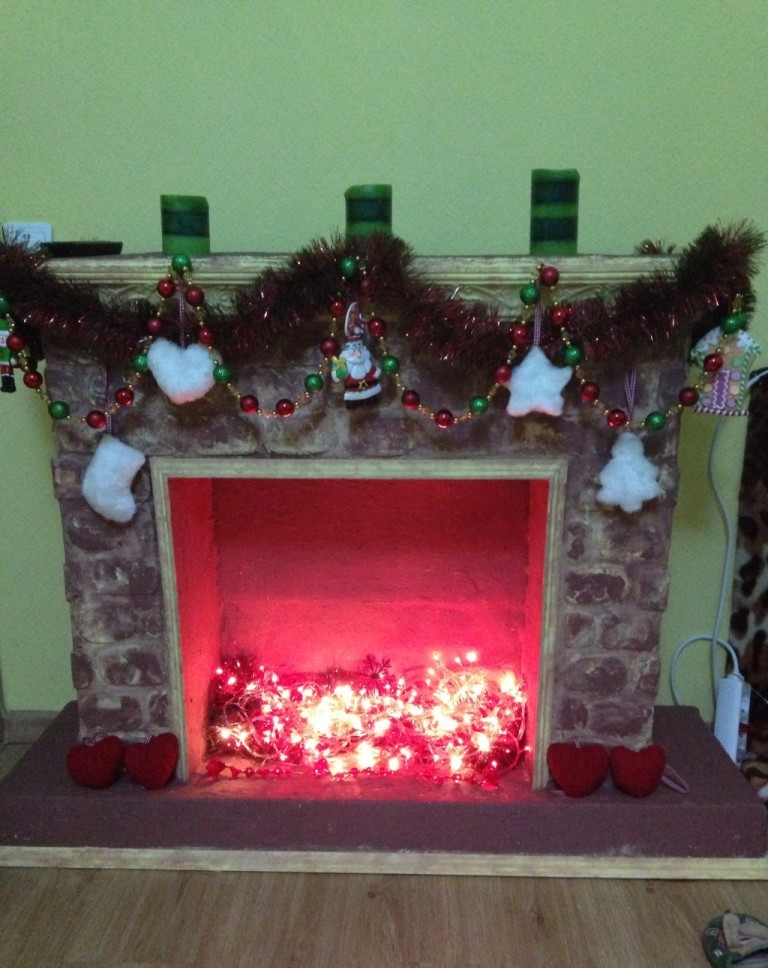
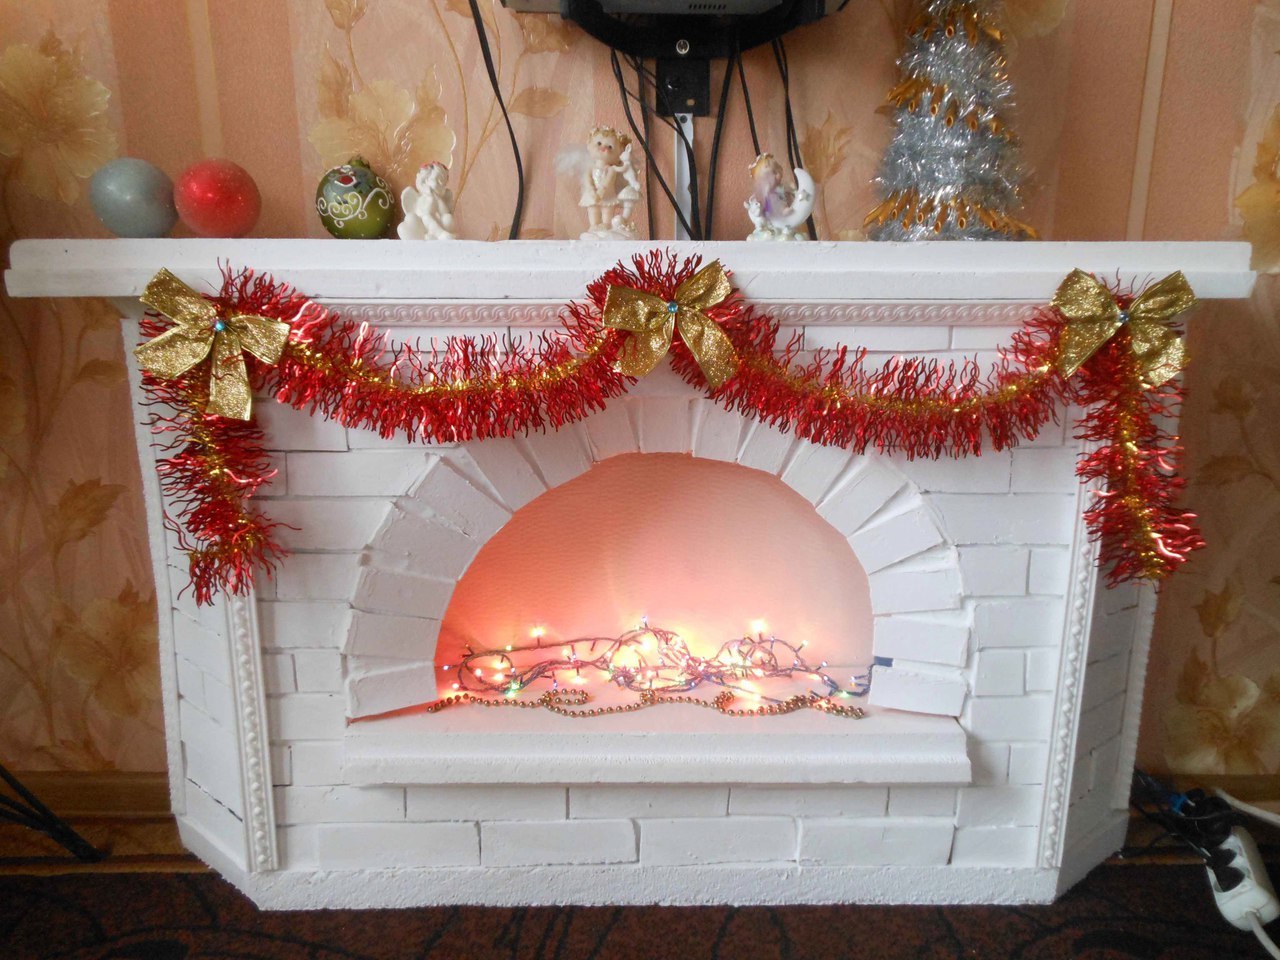
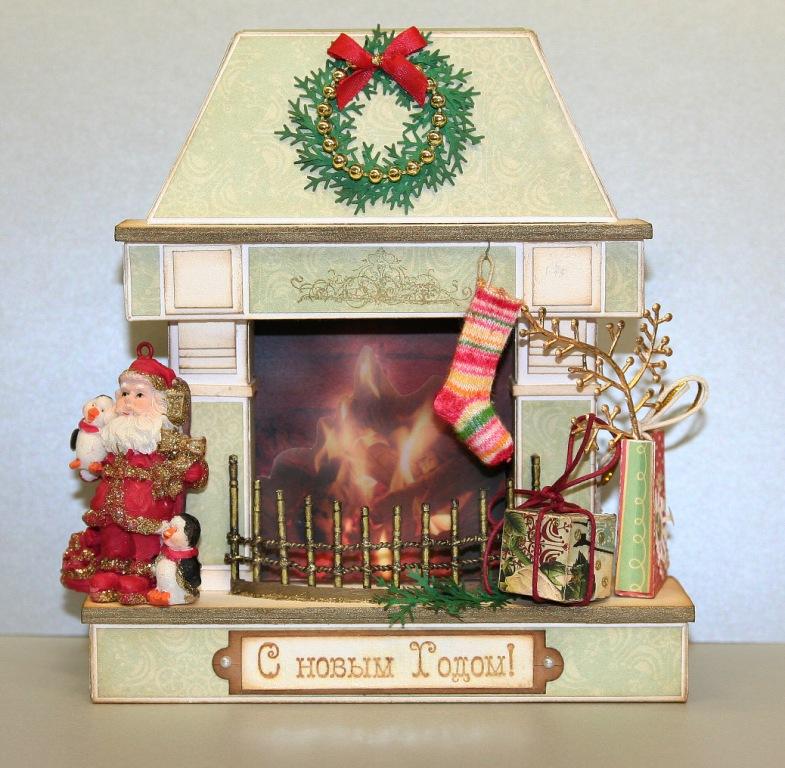
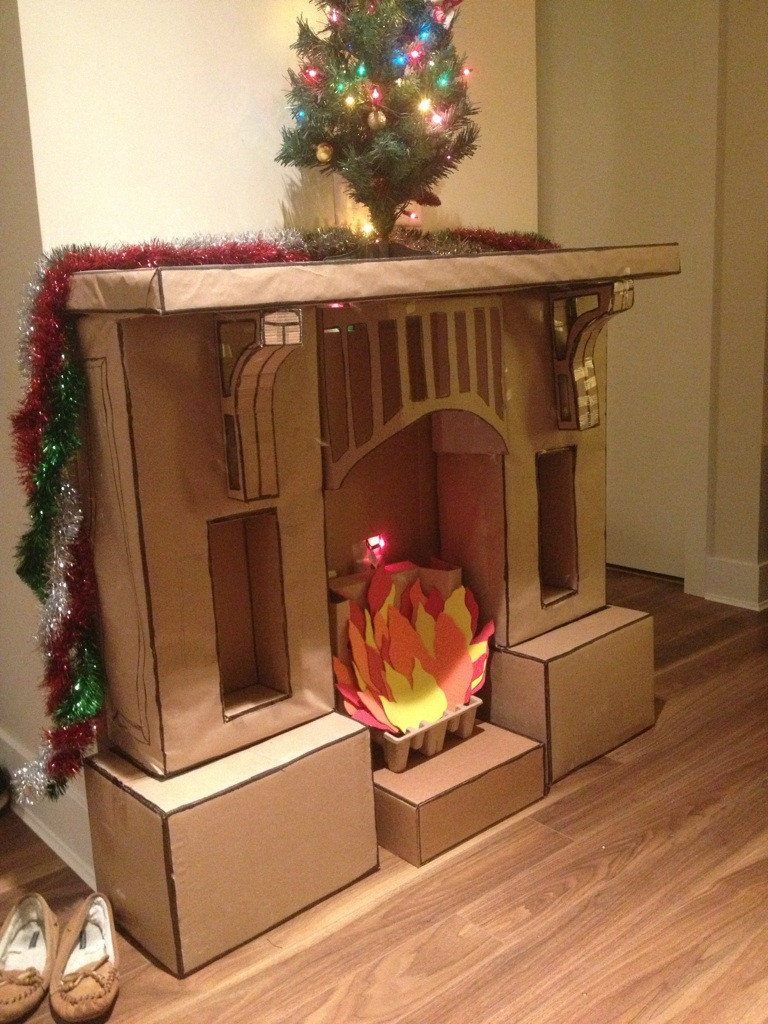
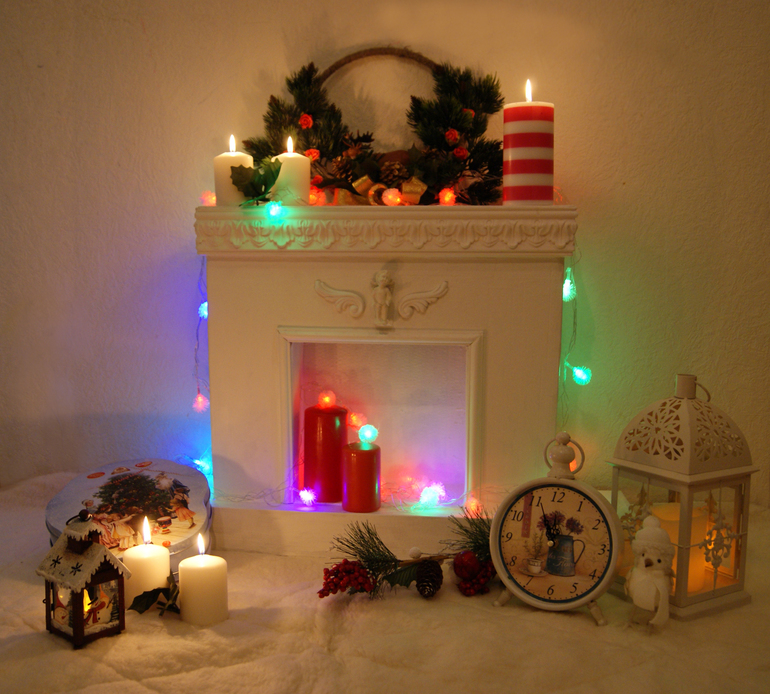
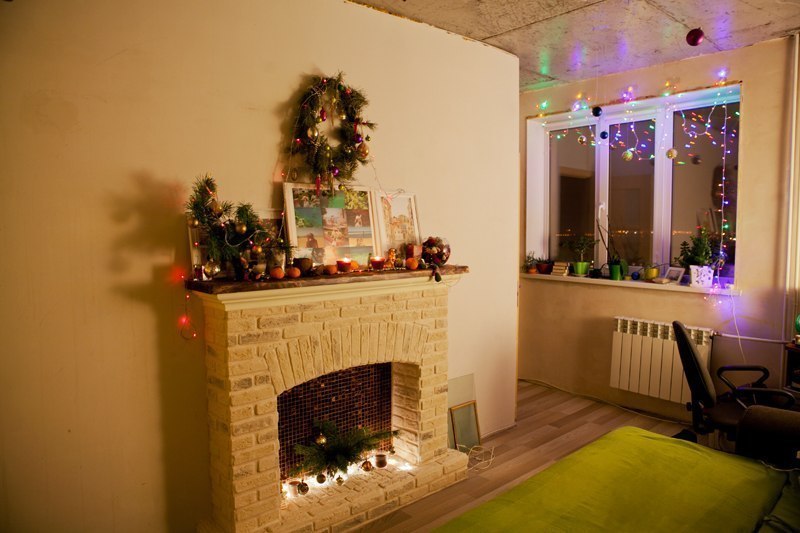
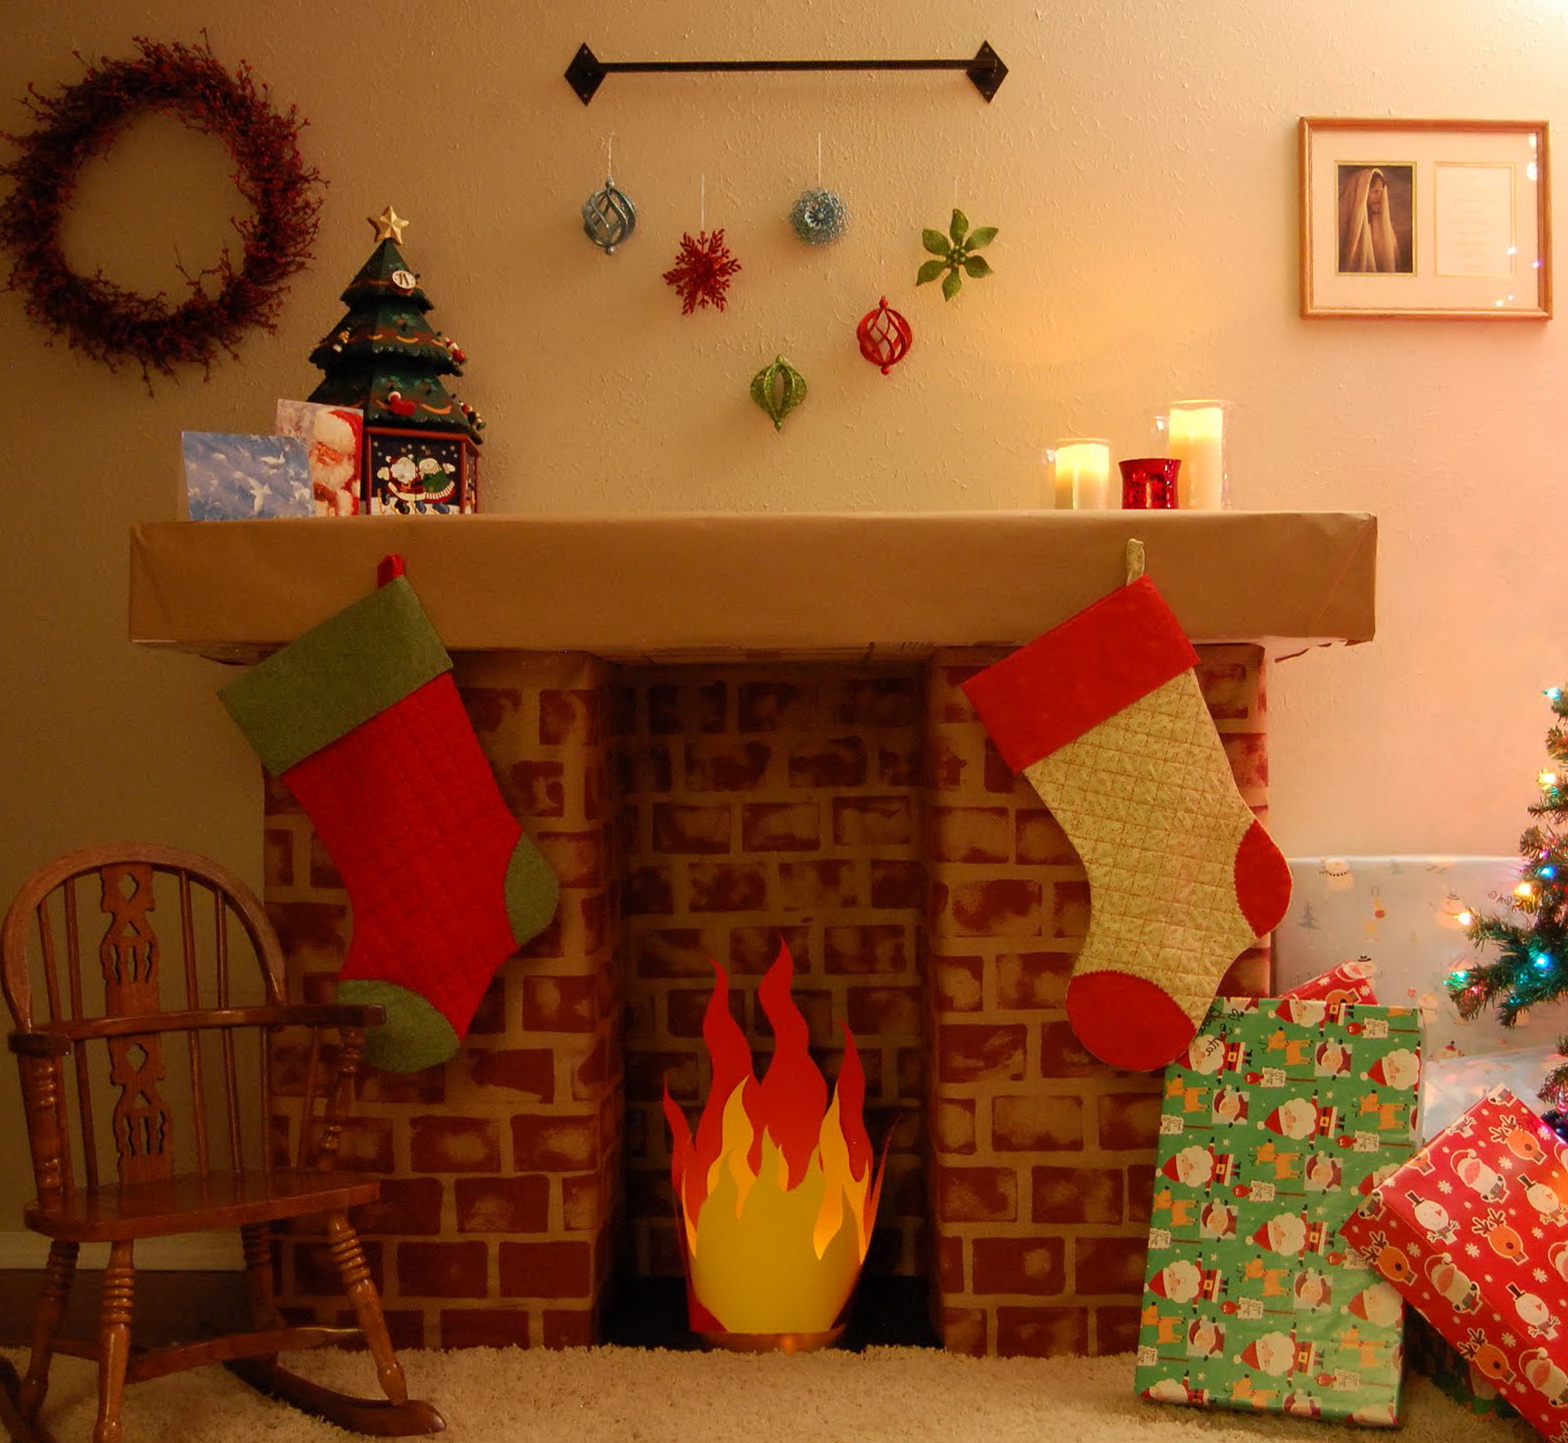
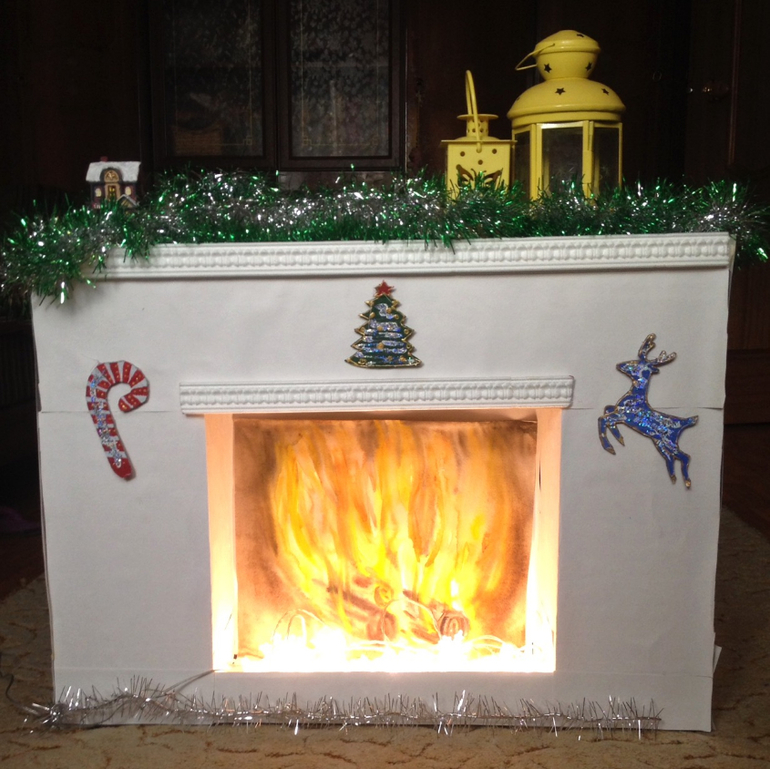
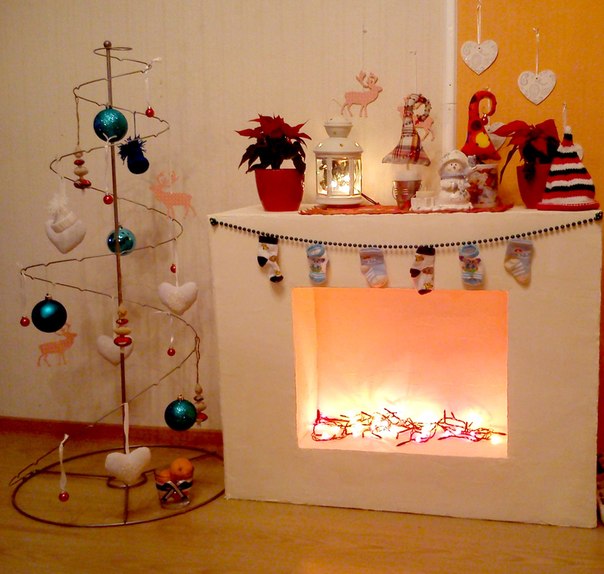
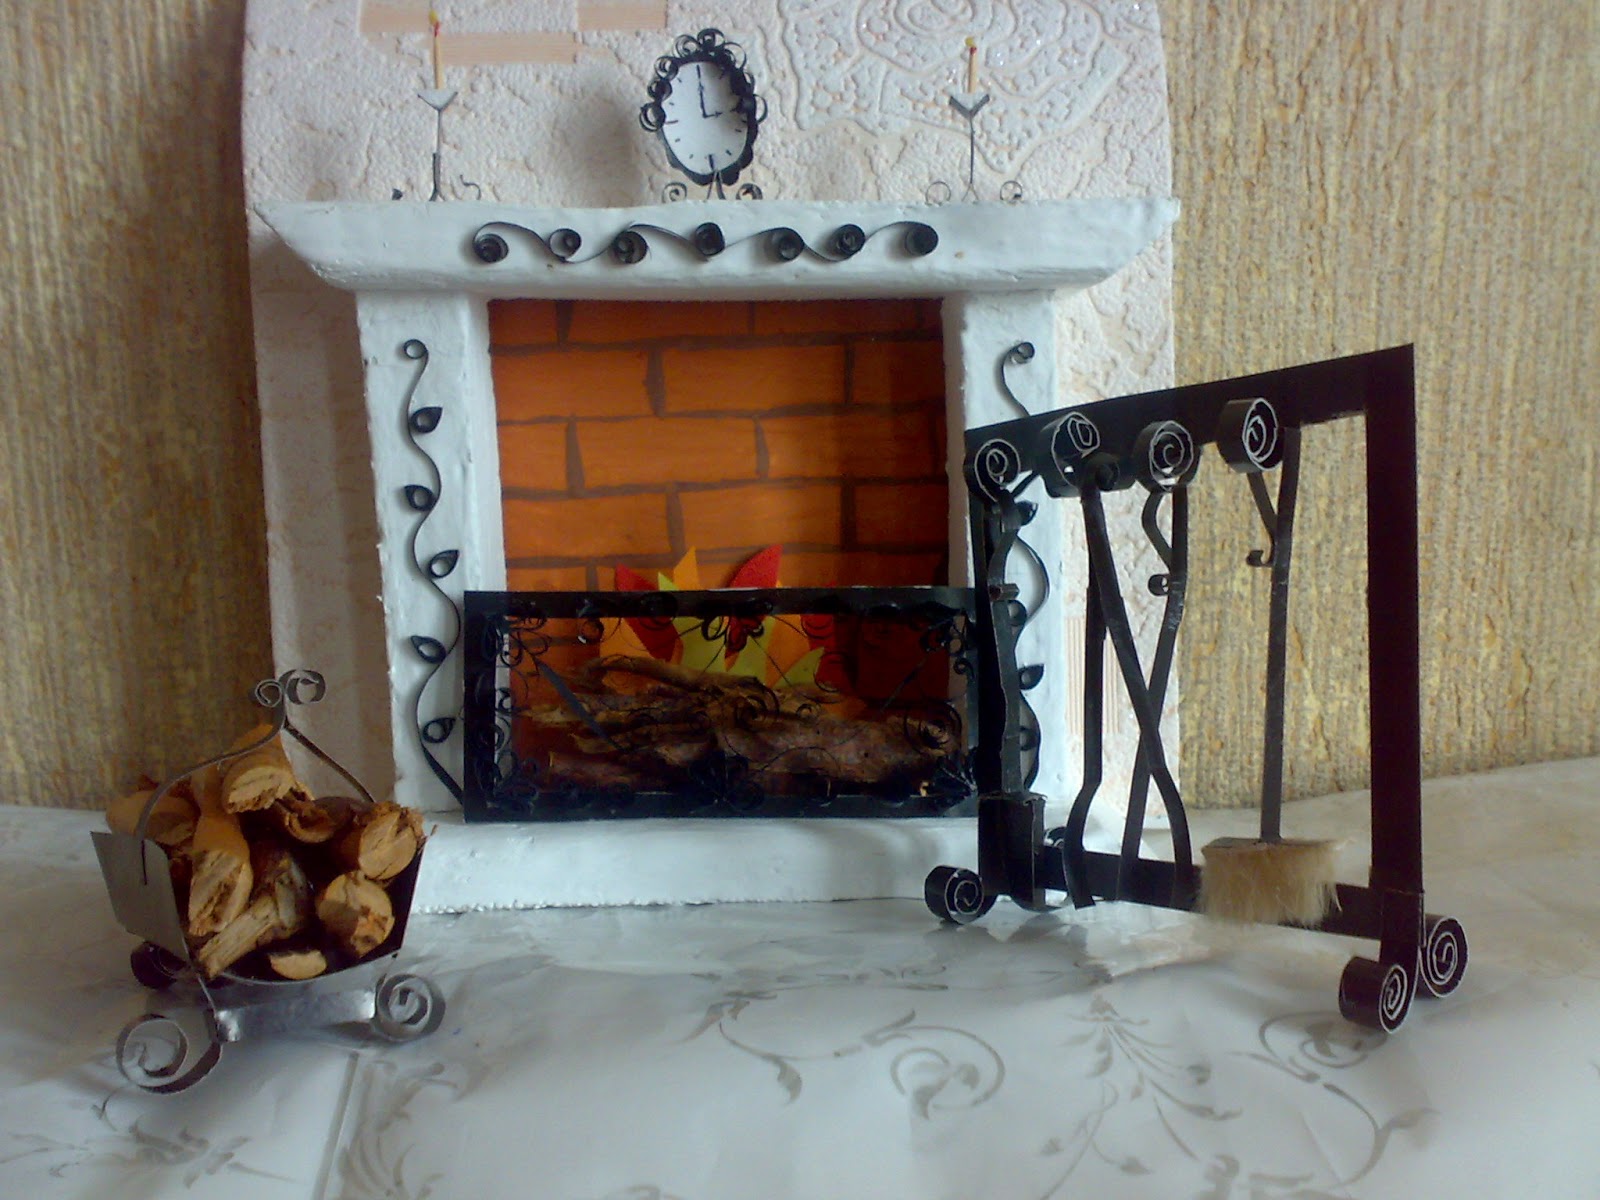
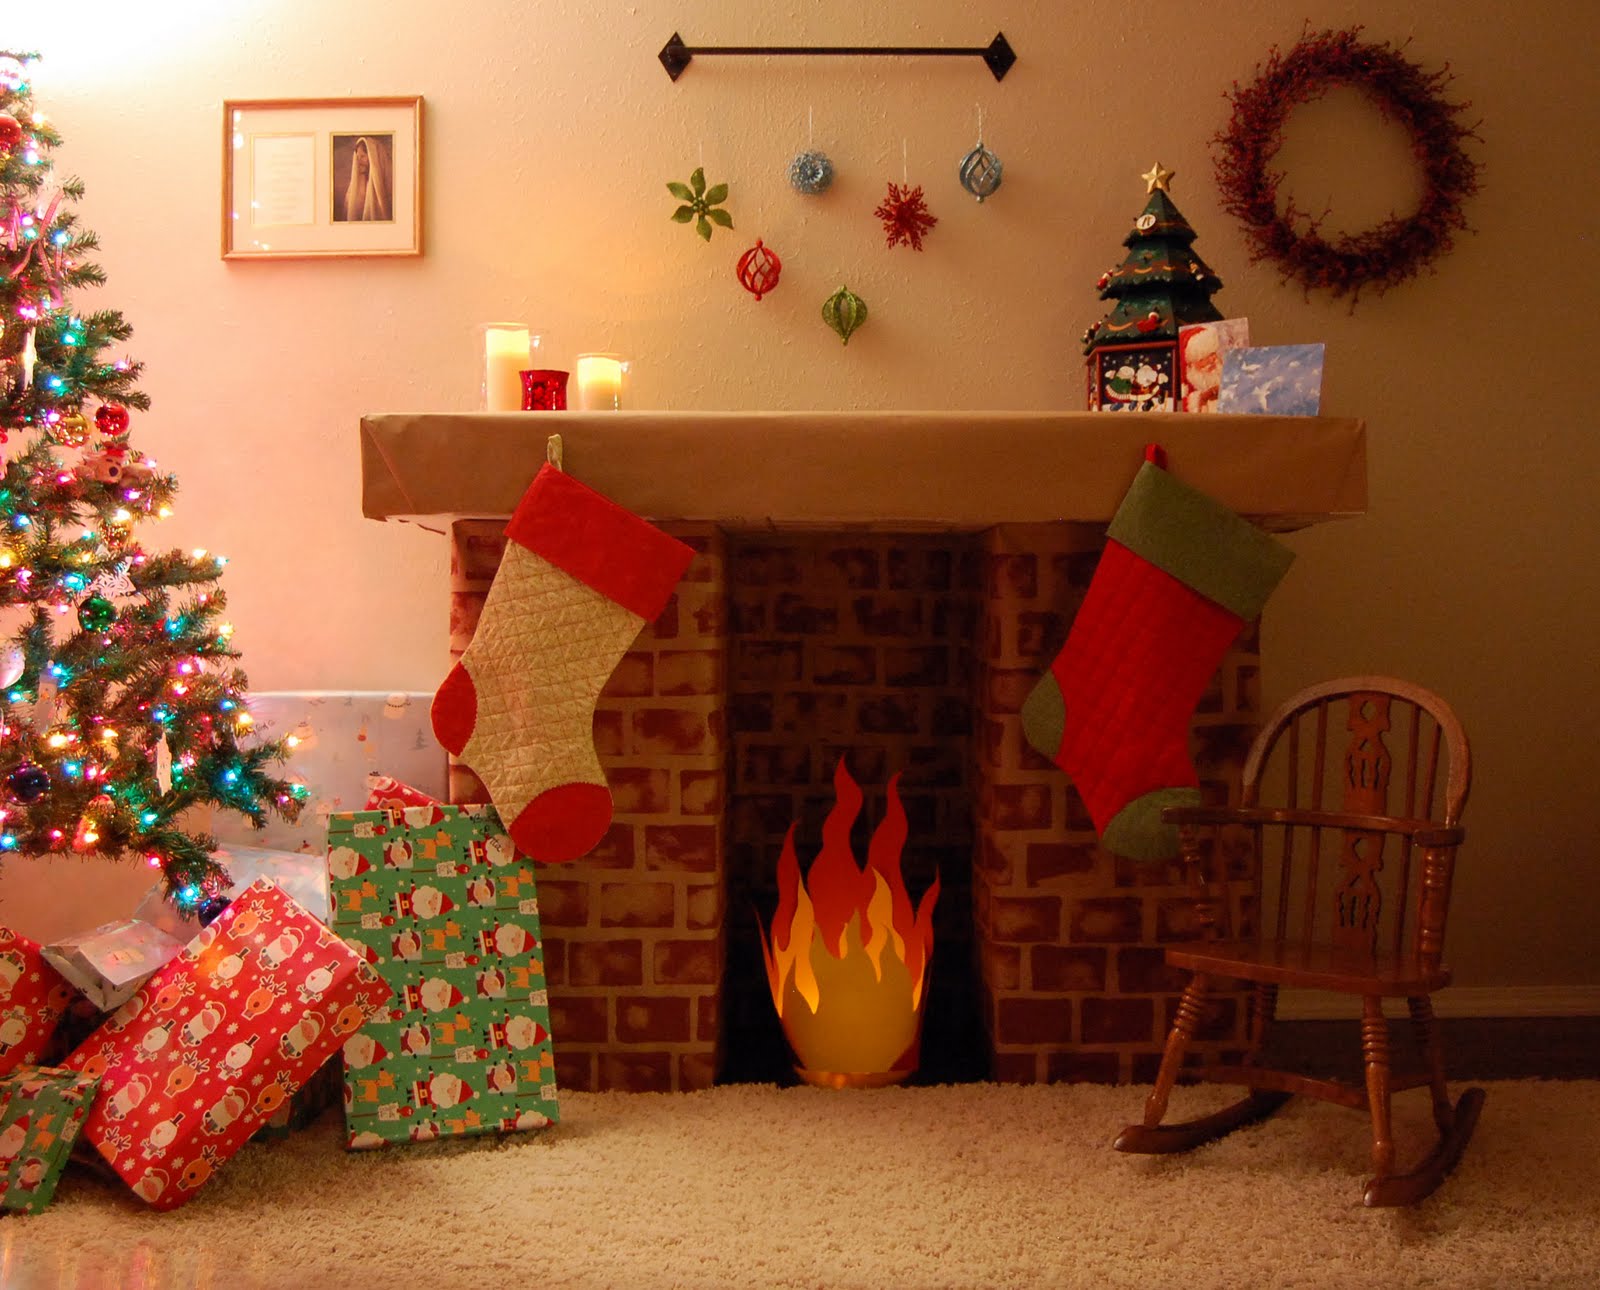
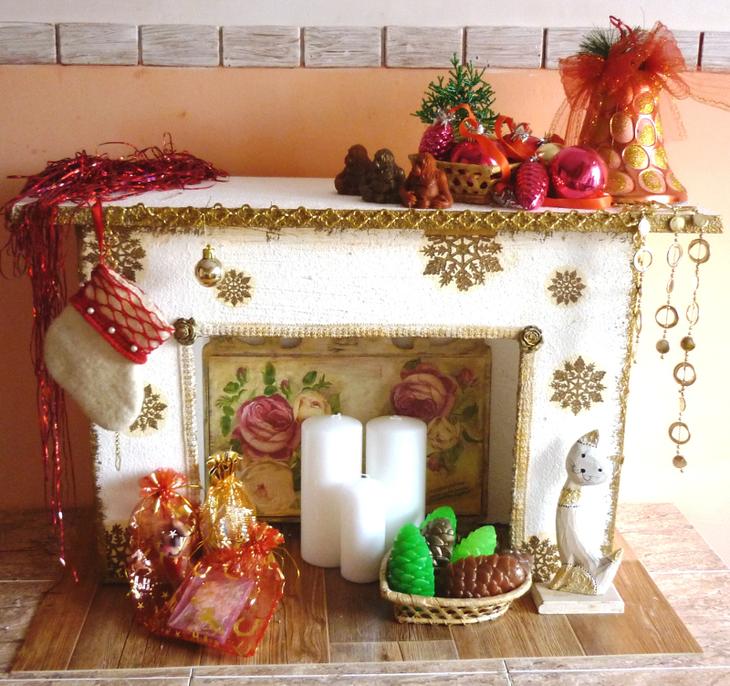
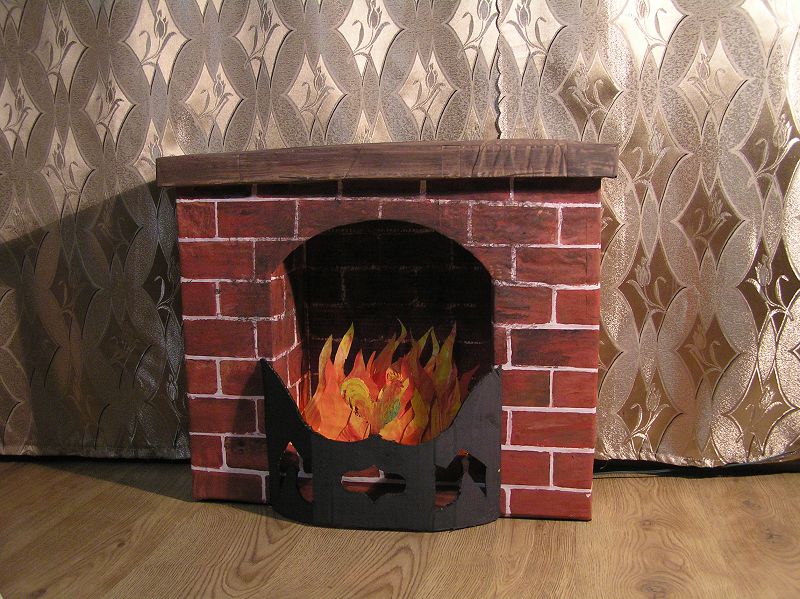
- The last and probably the most pleasant stage in the manufacture of the fireplace is its decoration. Here everything depends on your imagination. You can glue on your new fireplace with a self-adhesive film or wallpaper with marbled, brick or wood color; impose elements of plaster moldings. You can use liquid wallpaper - and then your fireplace will have a rough marble crumb structure. Decorate the fireplace hearth with fake wood (they can be made of cardboard or twigs); use a garland or a flickering lamp to imitate a flame. It is also possible to light candles from time to time there, but this way of decorating the fireplace is not entirely safe, since cardboard is still not a refractory material. Keep this in mind and do not leave open fire unattended. Place photo frames, figurines, and other nice decorative items on the mantel.
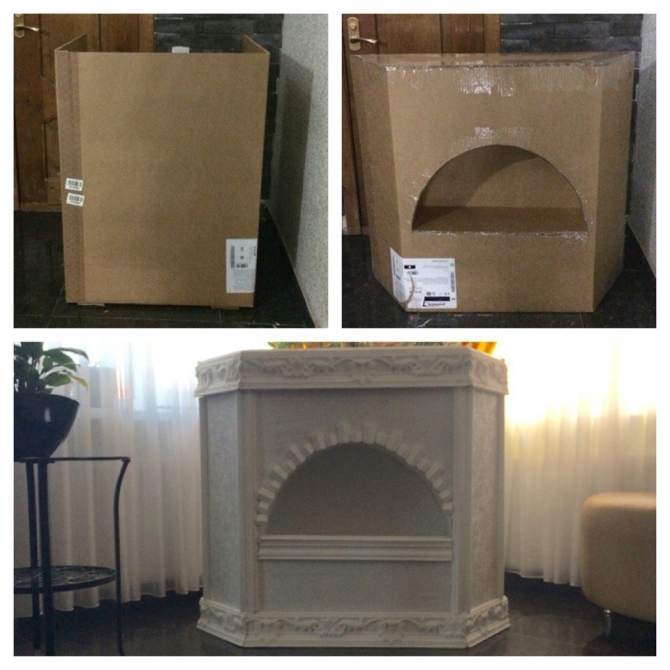
Making a corner fireplace is easier than frontal. The materials used are the same, only the method of forming the box differs. The plan for its implementation is step by step:
- We draw a drawing and choose the corner of the house in which the future fireplace is supposed to be placed;
- We need a large cardboard box, from which a smooth canvas is formed, which afterwards fits in so that the side folds of the box ideally coincide with the corners of the future dislocation of the fireplace. As a result, you should have a triangular structure that needs to be sealed with masking tape;
- For stability and reinforcement of the structure, stiffeners are formed at the top and bottom. They are obtained as follows: from the top and bottom of the fireplace measure about 12 centimeters and make small cuts with a clerical knife. On the inside of the box draw lines that connect these labels. Further, along the lines drawn, it is slightly carried out with the same clerical knife to form a smooth bend of the cardboard, after which they are bent, stripped off all the unnecessary and glued together at the junctions. Thus, stiffeners are formed at the top and bottom of the fireplace;
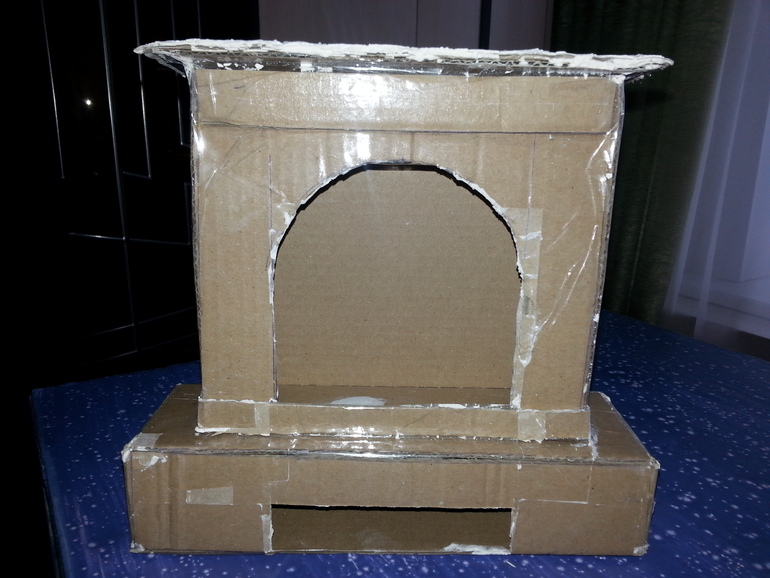
- In the center on the front of the fireplace we cut out a hole for the firebox, the bottom is necessarily rectangular, the top can be rounded off as an arch. We do not cut off the lower part of this rectangle, but bend it inwards, forming a right angle and forming the bottom of the firebox.We cut all unnecessary things, fix the bottom with masking tape;
- Creating the side walls of the hearth. We take cardboard sheets that are equal in height to the inlet of the firebox, in length - to its depth. You can install them with a triangle, simplifying your task, you can form a right angle on each side - then you have to additionally glue the missing places of the firebox with cardboard sheets. With the help of masking tape we fasten the structure. In order to form the top of the firebox, we also take a cardboard sheet and adapt its shape to the existing structure, also carefully sizing the joints;
- Now to our portal you need to attach a mantelpiece and the bottom. To make them, you will need two triangular sheets of cardboard that need to be glued with PVA glue;
- We give the constructions to dry thoroughly and proceed to decorating our fireplace. His methods are identical to the methods of finishing the front fireplace, respectively, will not be repeated.
Upon completion of all work we install the fireplace in the selected place.
If you wish, you can make fake firewood from cardboard scraps to decorate your fireplace (corrugated is best suited). So, we begin:
- To begin with, we prepare everything we need: sheets of corrugated cardboard, from which a smooth top layer is removed, a stationery knife, sharp scissors, white paint and a thin string;
- In order for our future firewood to be in perfect harmony with the fireplace insert, it is necessary to measure its parameters and, based on this, calculate the optimal size of firewood;
- Measure on the prepared sheet of cardboard required dimensions "logs", cut the strip. Roll it into a roll. The thickness may be different, it depends on what you want to get in the end - "log" or "twig". Wood can be made "bitches", it will give them naturalness;
- After folding the cardboard sheet into a roll, its edge is well coated with glue, tied with a string and left to dry. Make several blanks of different sizes;
- For the manufacture of "knots" we form a thin "twig" out of cardboard, glue and dry it, and then cut it with an office knife at an angle and glue it to the "logs" with glue and masking tape;
- After the glue is completely dry, our "firewood" must be painted.For a start, they are thickly covered with white paint, and then you can toned them to match the color of any wood. If you do not want to bother, then put on a white surface a few black strokes - and are ready to "birch firewood";
- Gouache is well suited for coloring logs.
Here is our wonderful fireplace made of cardboard boxes! Due to its mobility and low weight, it can be easily transferred from room to room, although it should be done with care so as not to damage the structure. It does not require any additional care - just brush off the dust from it and not put it in places with high humidity and in the open sun. Cardboard is an environmentally friendly material, so this fireplace will not cause any harm to your family members. If you follow all the rules of operation, a cardboard fireplace will serve you for years, become a stylish and modern decoration of your home and will delight you with the knowledge that you have created this beauty with your own hands!