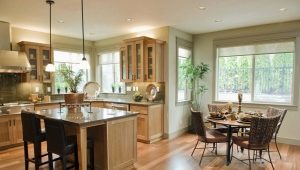
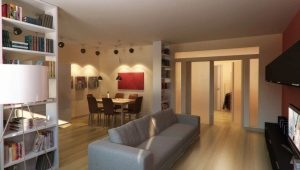
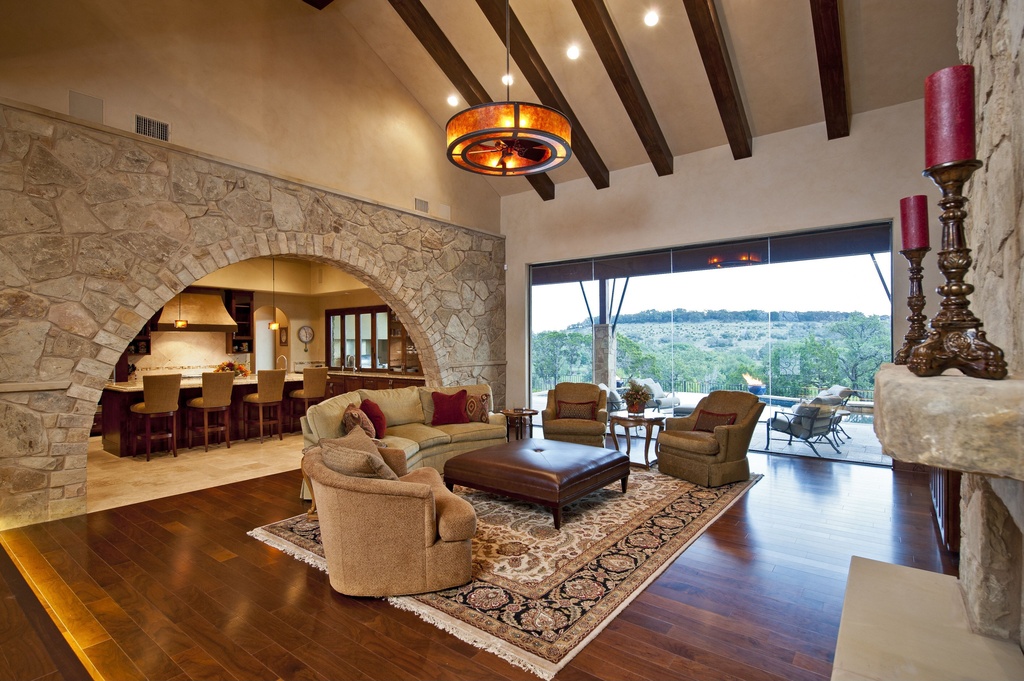
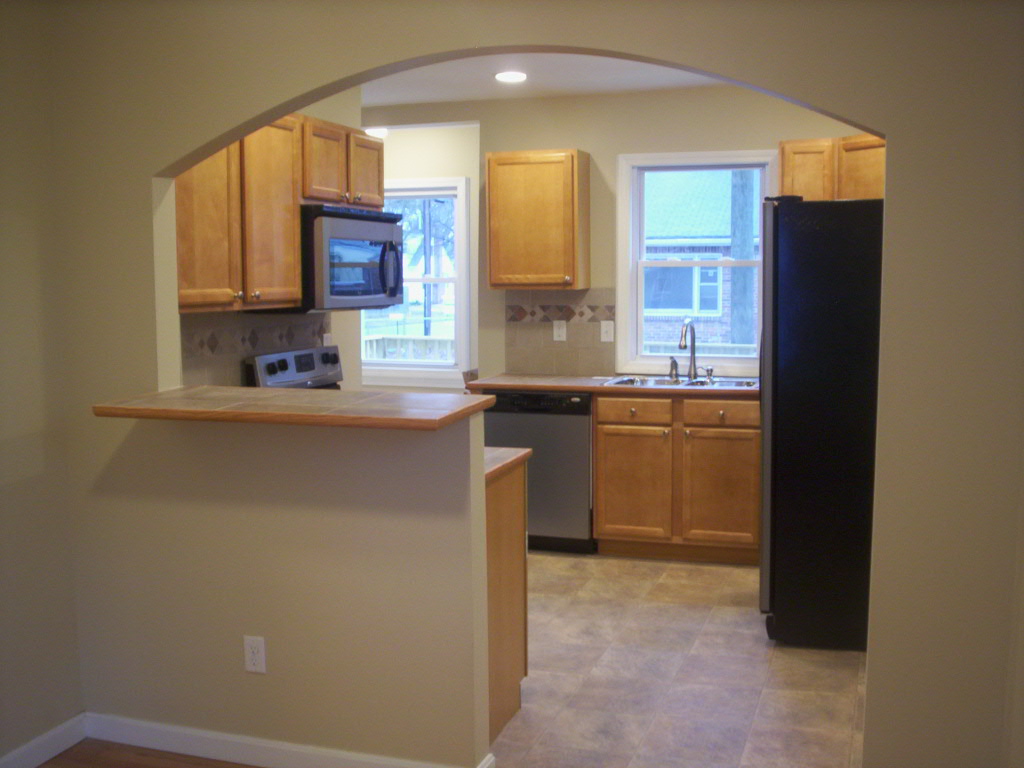
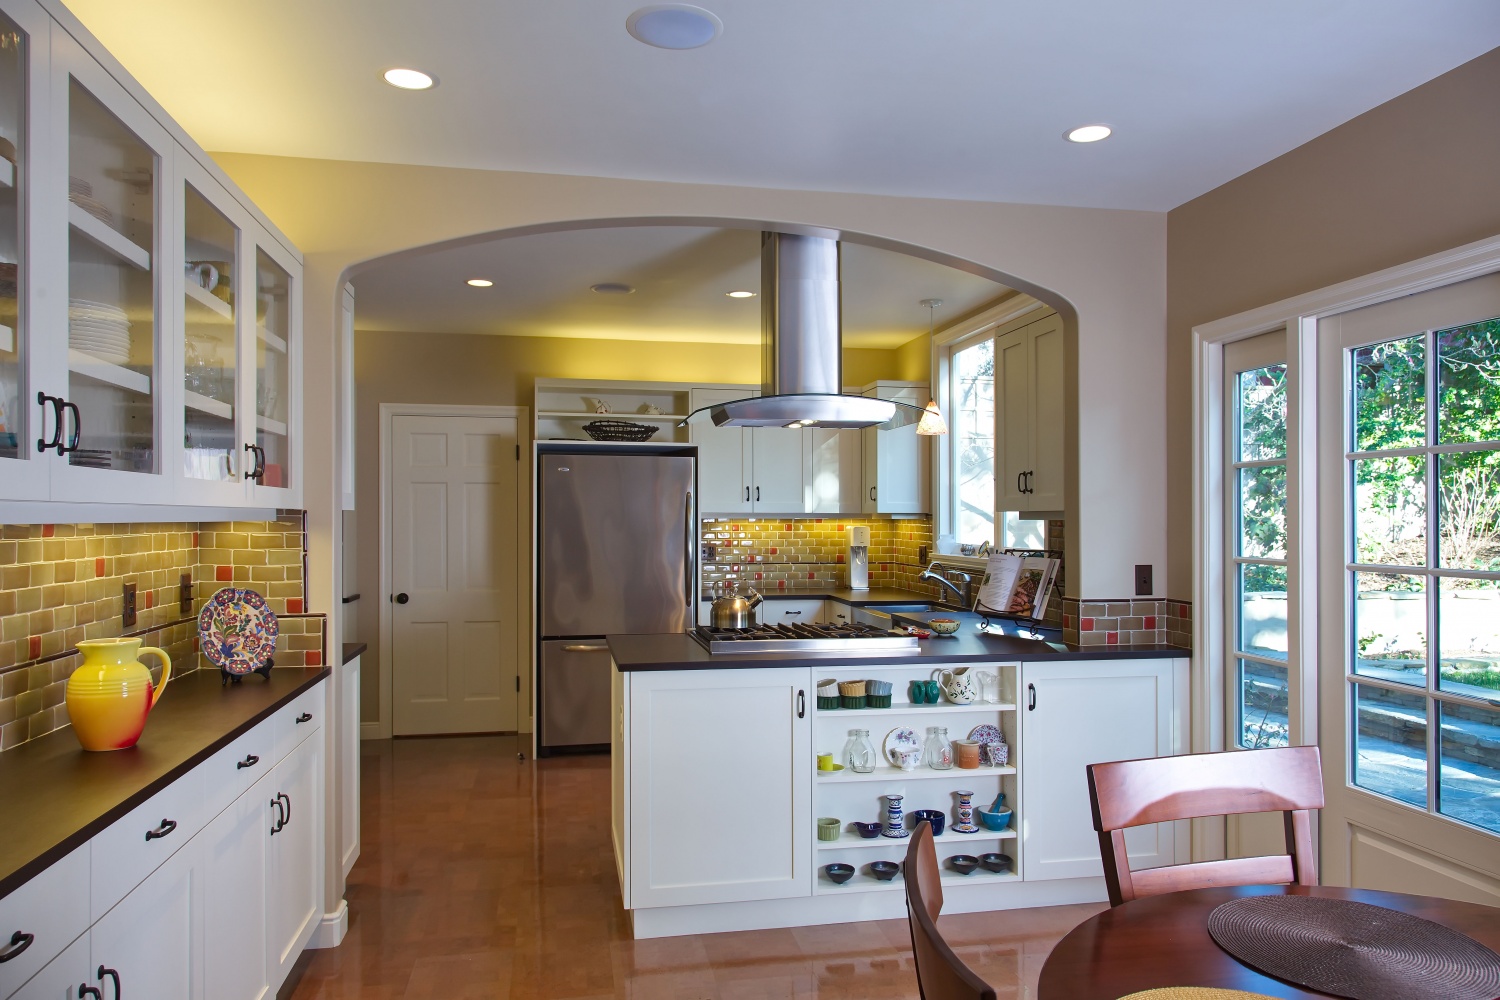
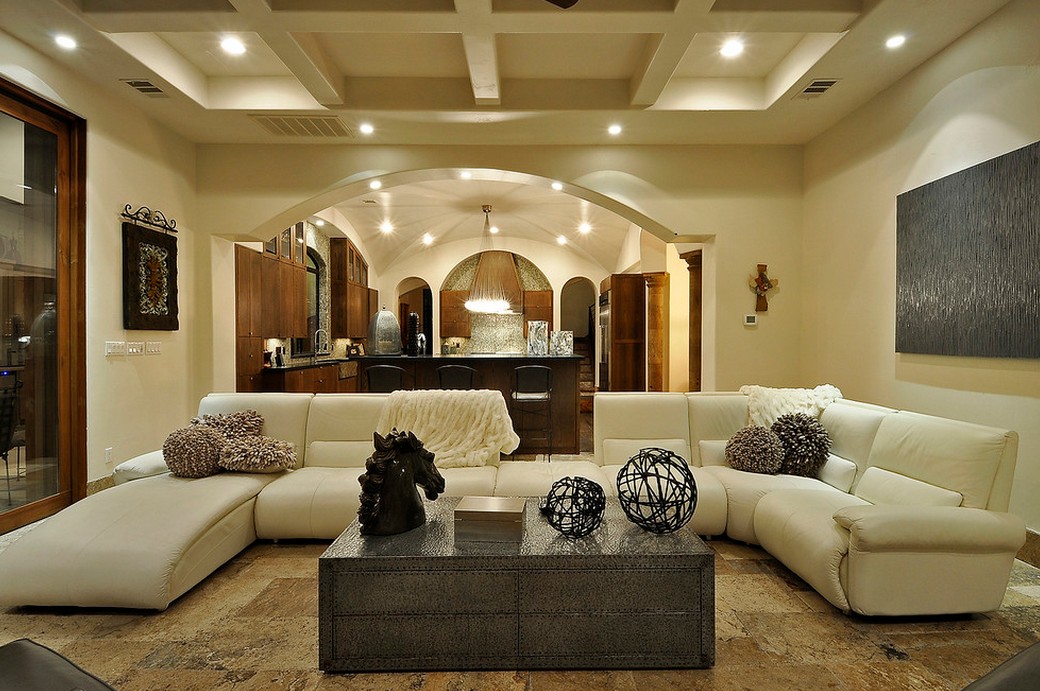
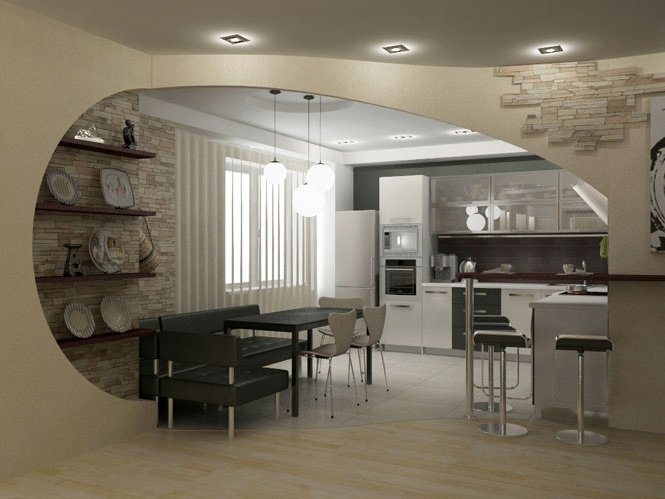
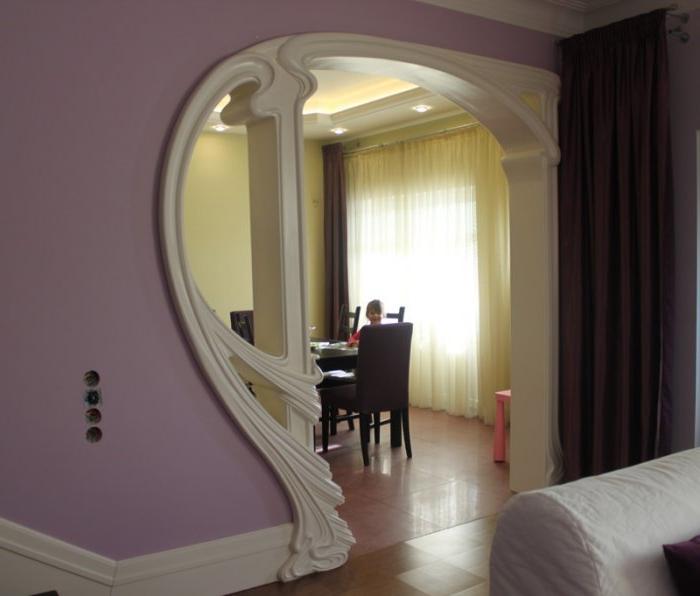
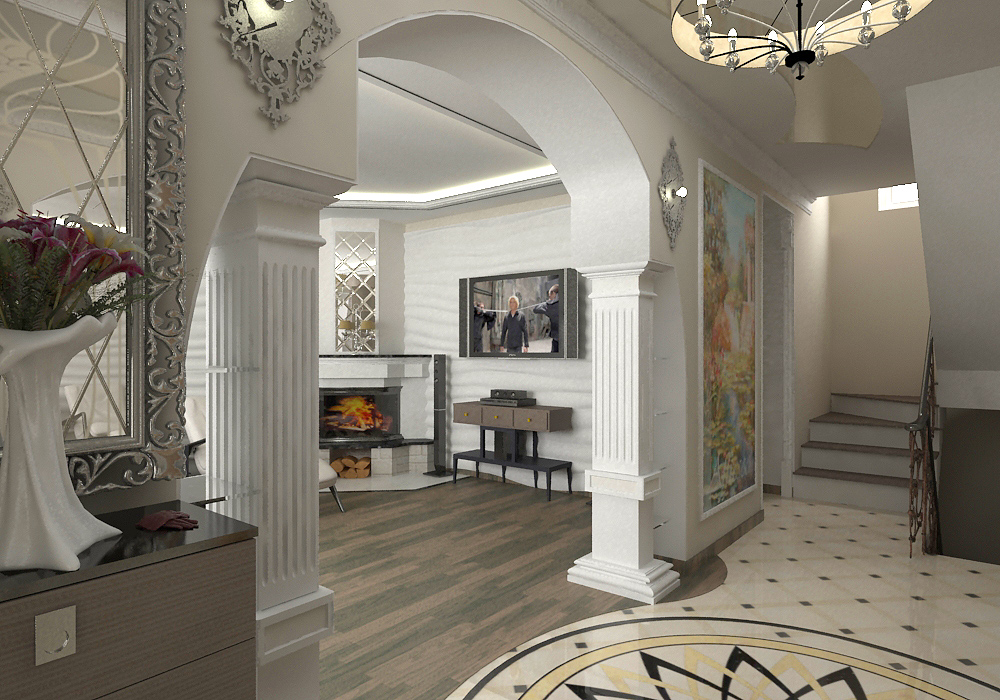
Arch between kitchen and living room
Features and benefits
Competent design and finish of the doorway between the rooms play an important role in the repair. Today, many apartment owners are not content with a standard layout with doors, but prefer to dismantle them and create new solutions. The arch between the kitchen and the living room is both a simple and functional beautiful element of the interior, which has the following advantages:
- it demarcates the space and allocates residential areas in the room;
- thanks to this method, the interior appears personality;
- the arch visually enlarges and expands the space;
- This element serves as an additional decor.
Their drawbacks of such a design are noted by the lack of privacy of both adjacent rooms, the constantly open view of the kitchen and the penetration of extraneous odors from there. In addition, it is worth remembering that the kitchen has a special atmosphere: high humidity and high temperature, which is not suitable for decoration and furniture in the living room.
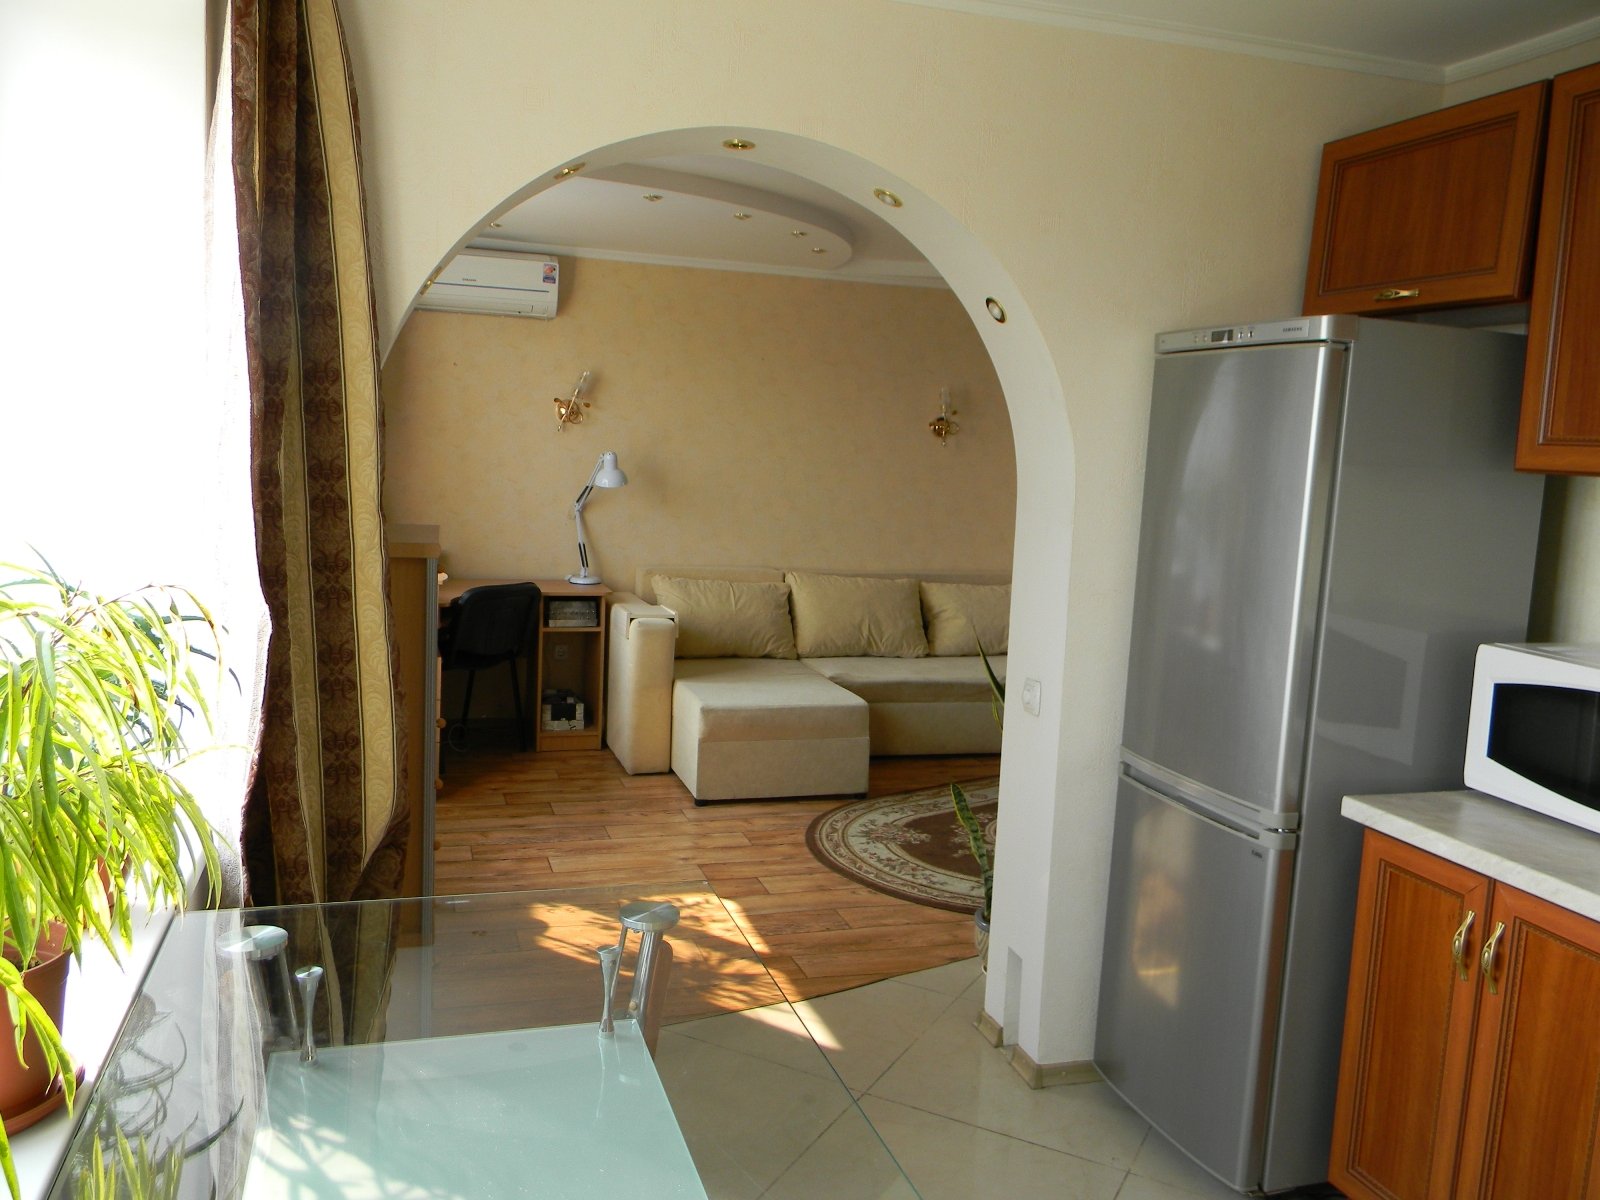
In small apartments the doorway between the kitchen and the living room is often equipped with hinged doors, which, when opened, take even more space from the premises. Installing an arch instead of doors adds free space in a small living space. Any owner can make it with his own hands from available materials, even without the experience of such works.

Forms
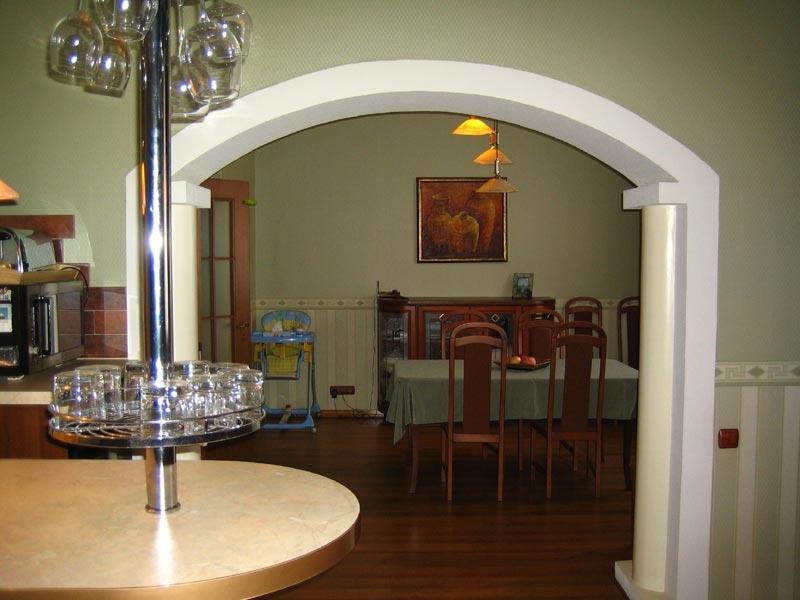
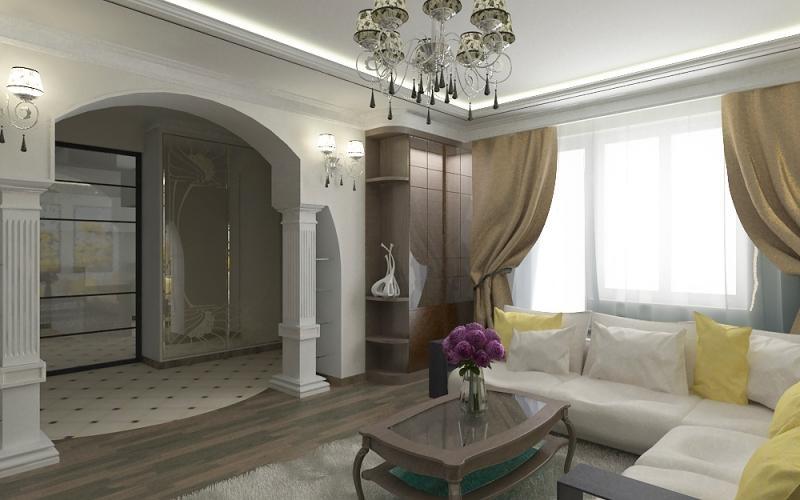
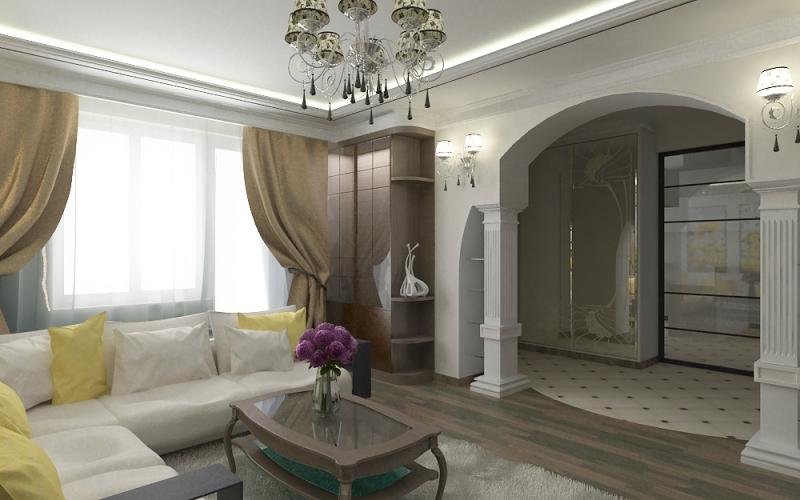
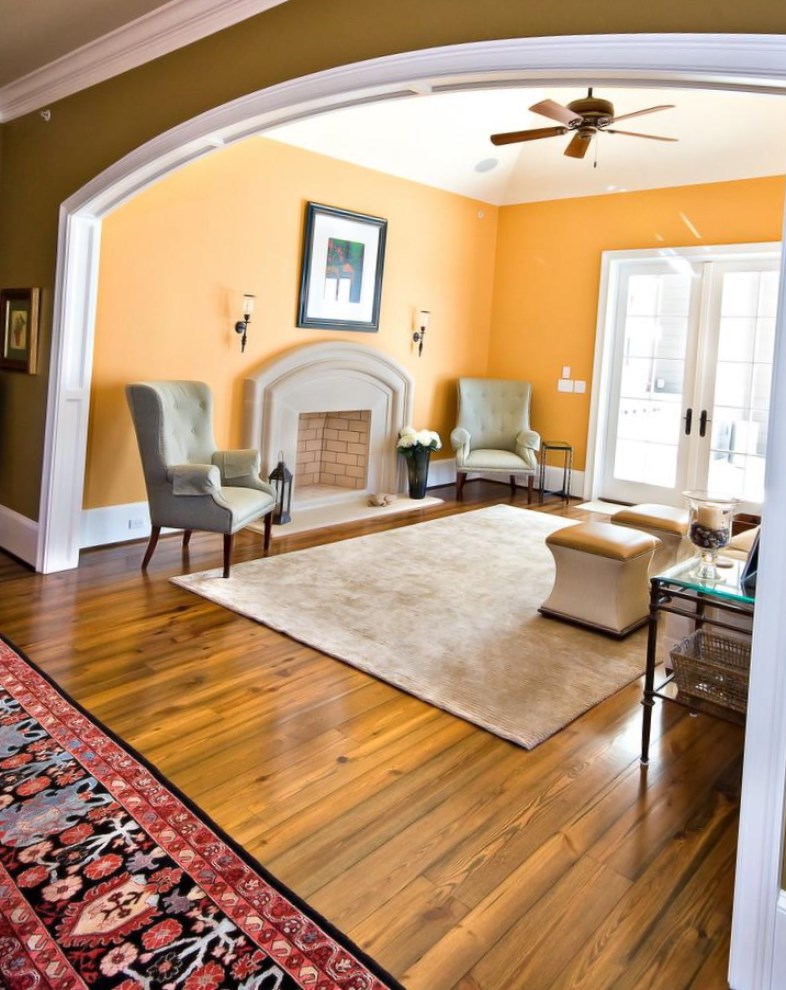
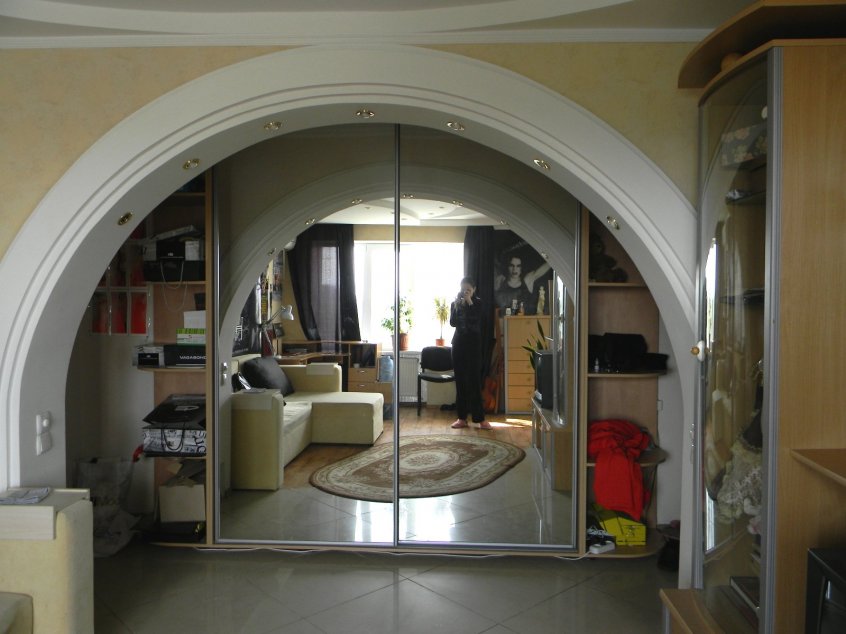
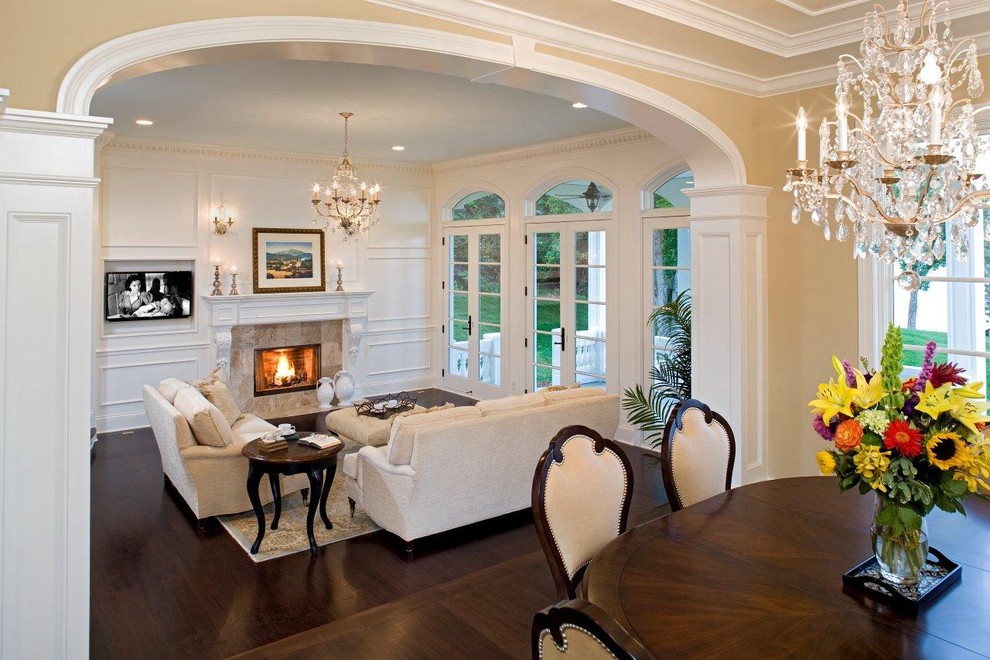
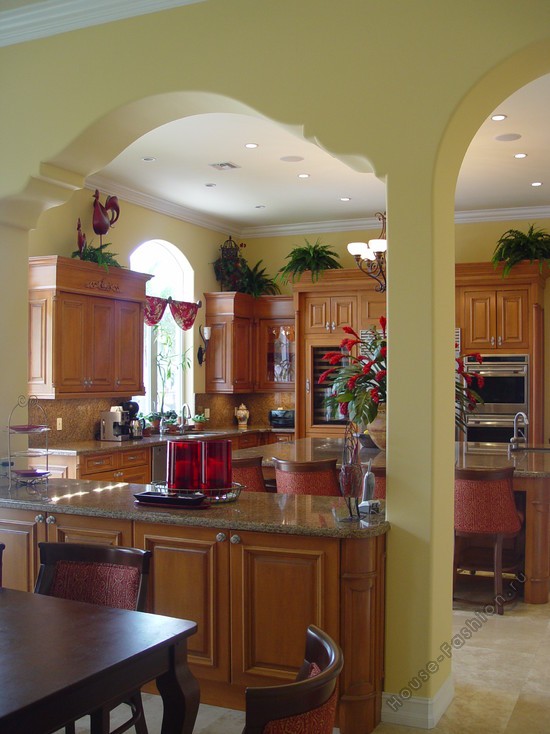
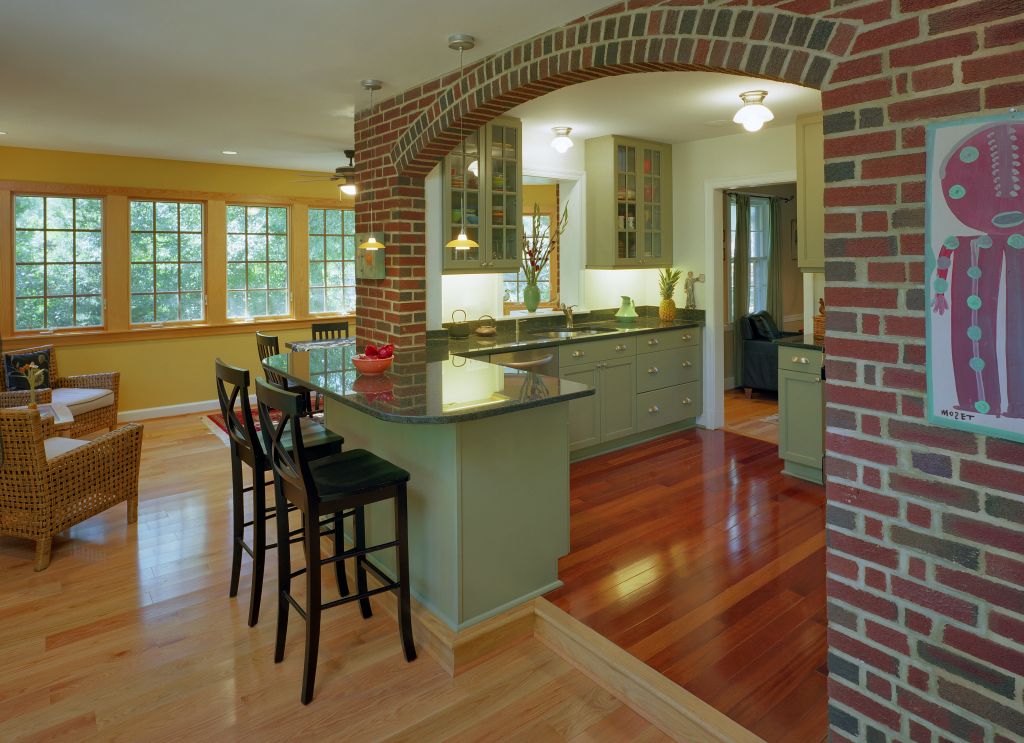
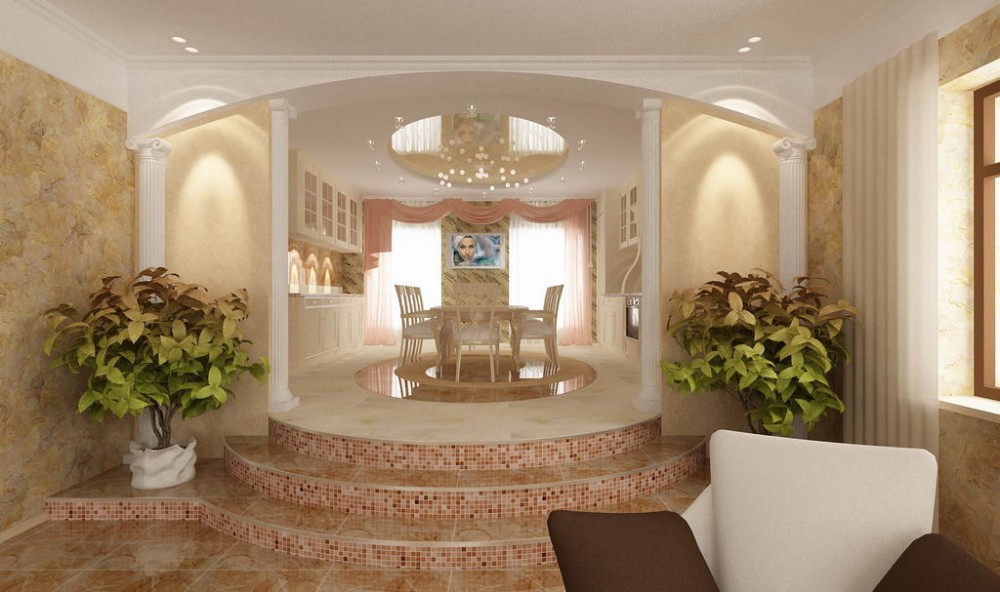
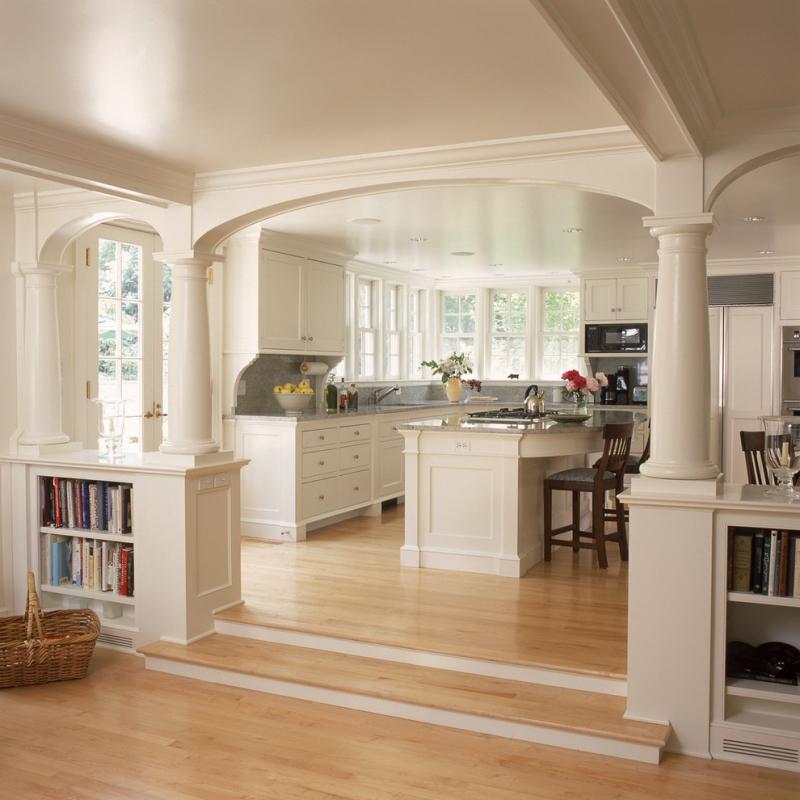
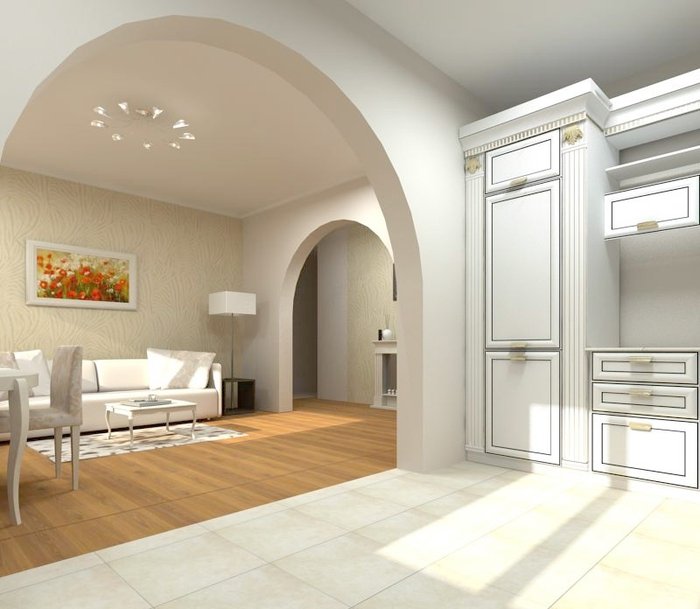
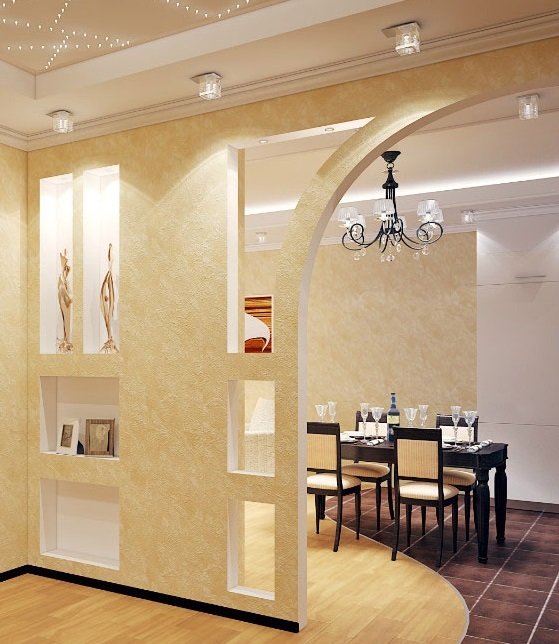
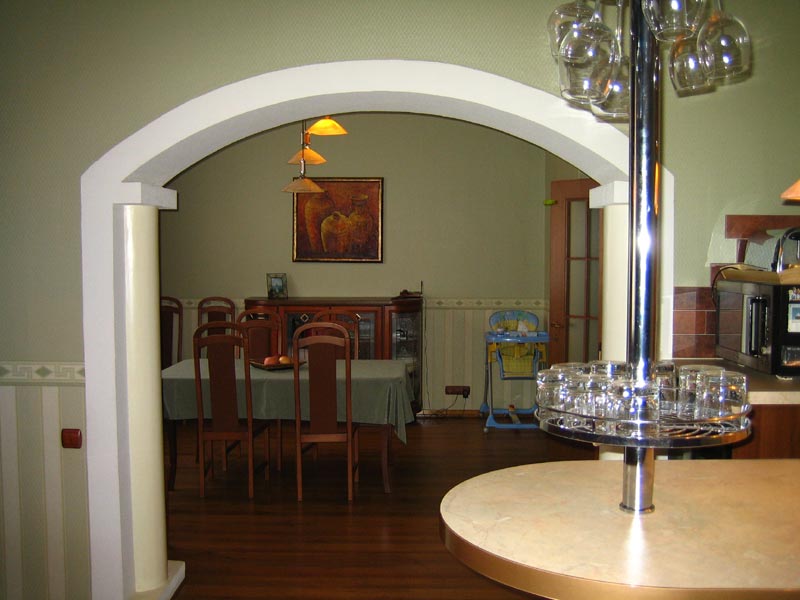
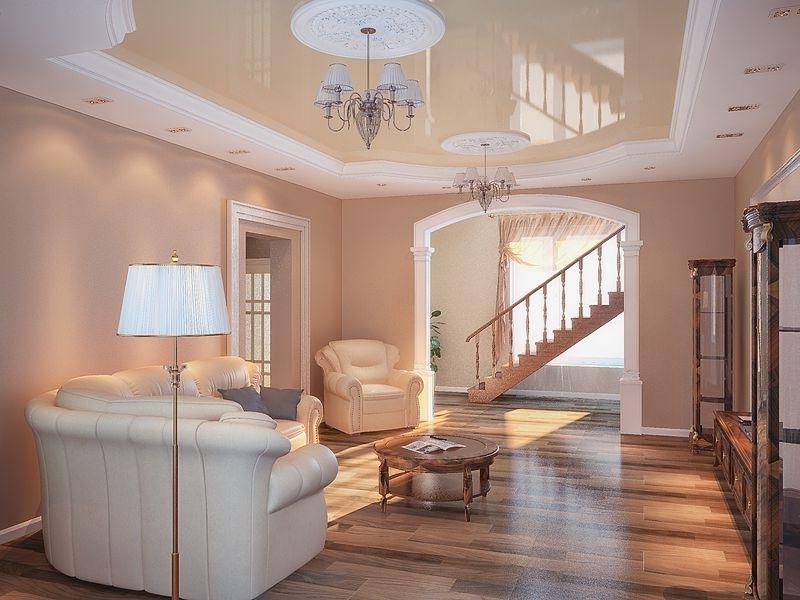
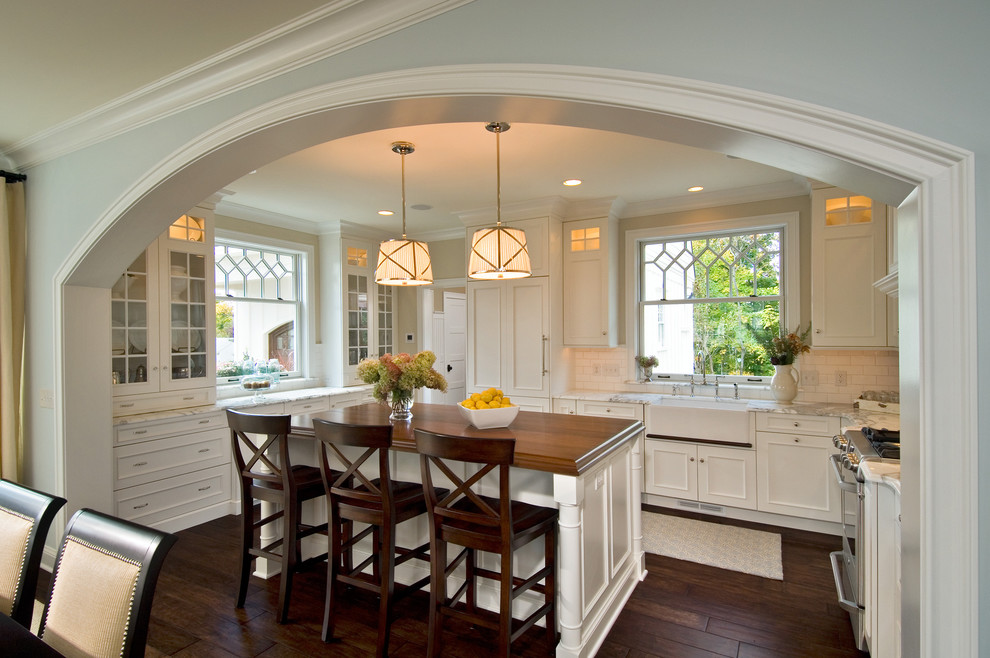
The most popular form - a semicircle at the top, rolling in flat vertical edges to the floor, often equipped with columns. Such projects are suitable for narrow openings and almost any interior. The rectangular arch is also a versatile option, most often it is combined with the high-tech style. Its construction is the simplest. The figured opening in the form of an ellipse will add to the image of the interior of romance and originality. The top of the arch in the form of a trapezoid is usually used for the interior in the old style.
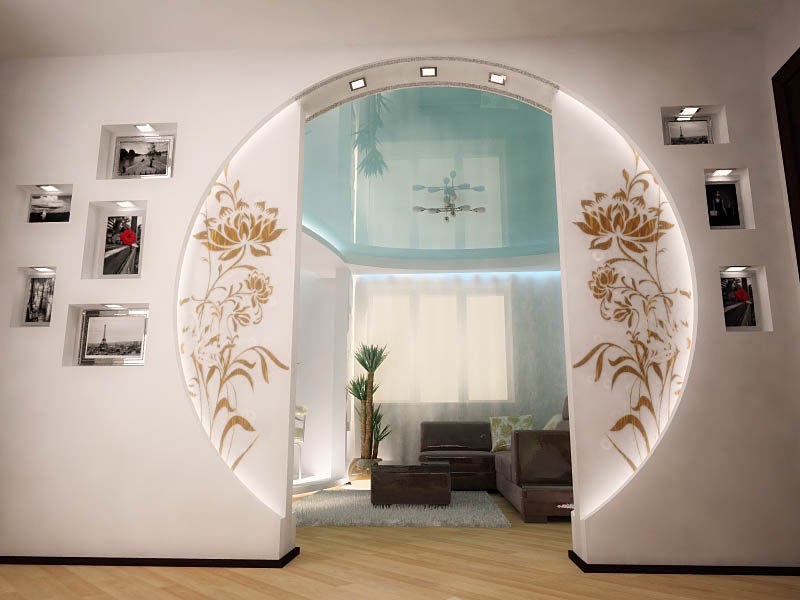
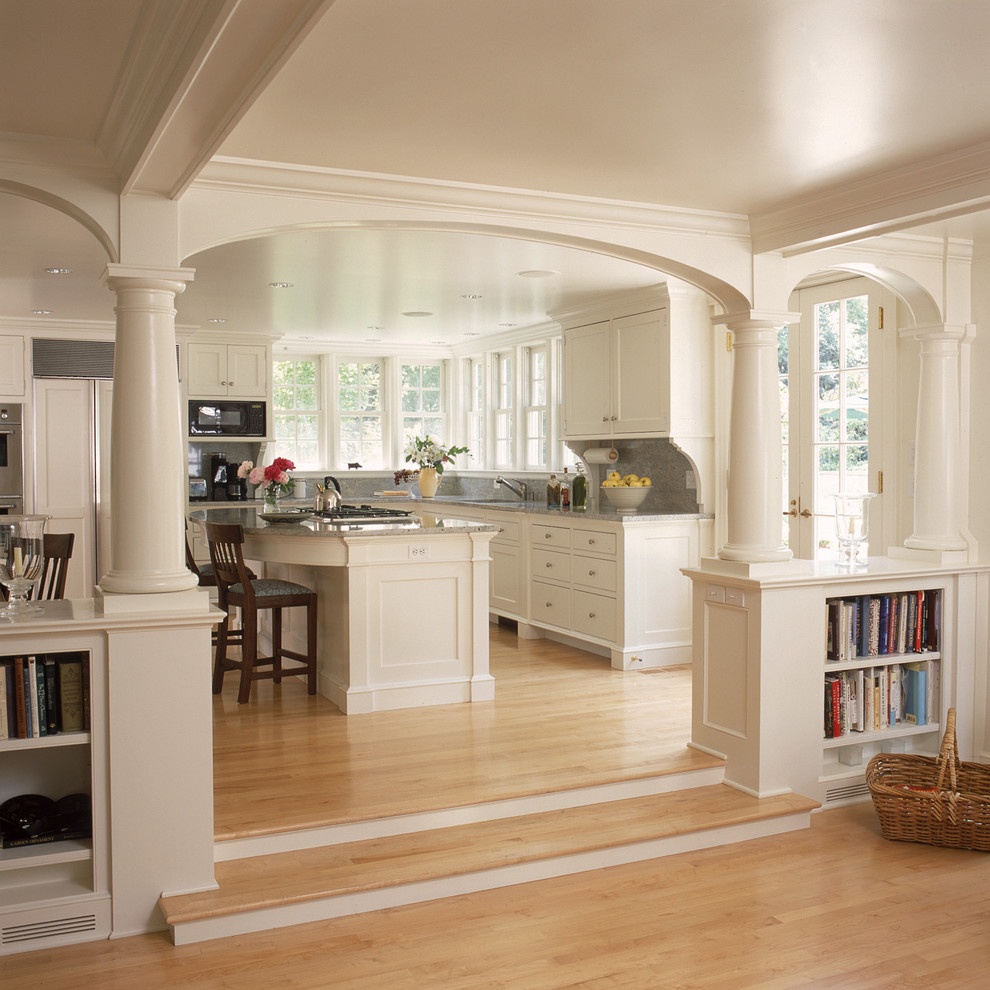
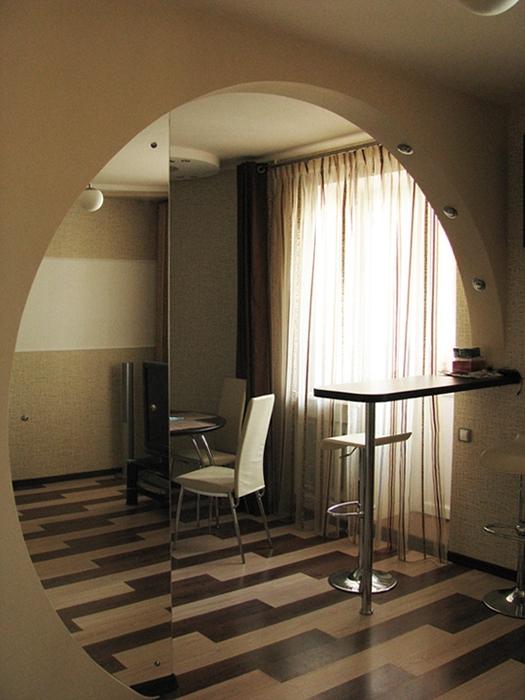
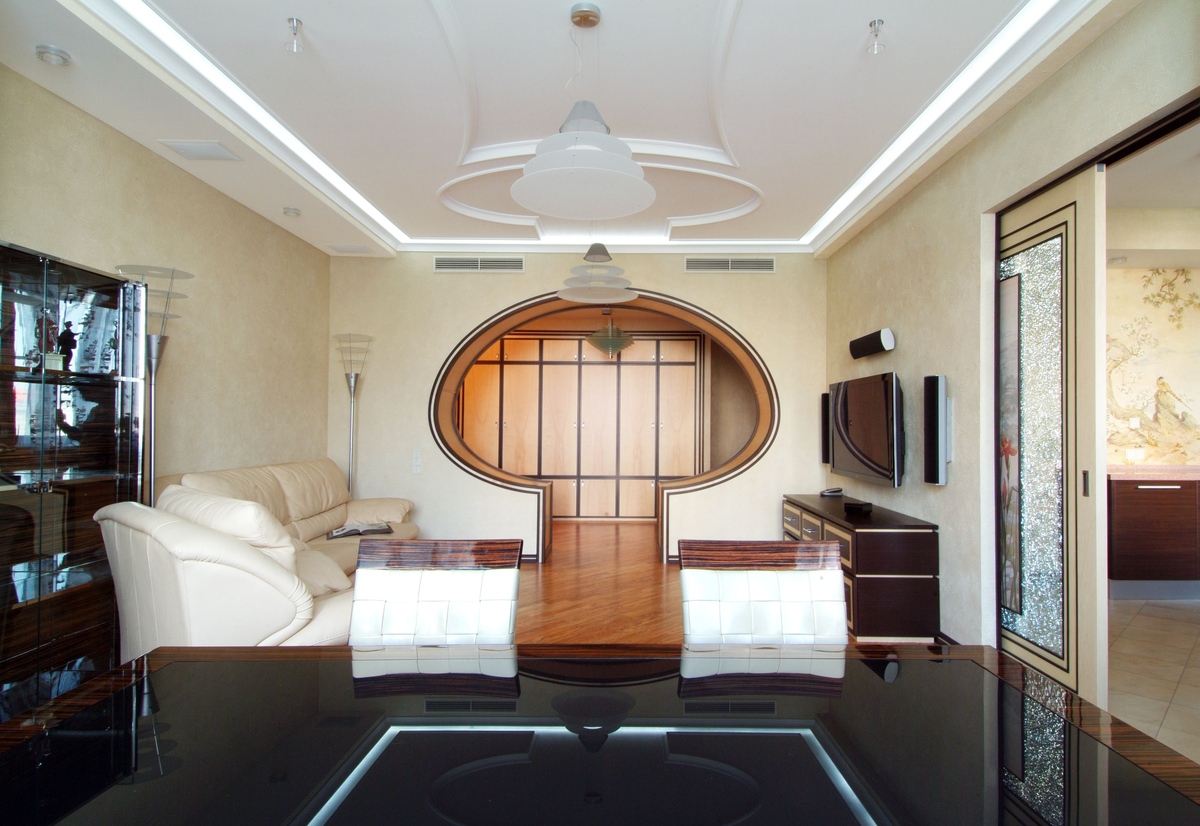
There are a large number of ideas arches asymmetrical shape. They are successfully combined with wide openings when the width is greater than the height. You can, for example, install a structure that has a rounding on one side in the upper part and a horizontal overlap on the other side, which smoothly passes into the ceiling. Create asymmetrical models in the form of a drop, petal or trapezium with unequal sides.
Materials
For the framework of the arches is very often used drywall. This material is relatively cheap, easy to cut and is attached to the base with ordinary screws. His sheets can without any problems to give any curved shape with a knife. It is best to purchase for these purposes, moisture-resistant drywall green. By itself, the material will not be strong, it is necessary to fix not stiffeners from the metal profile.
Instead of drywall, you can use plywood or plastic, which is also very easy to cut into fragments with curved lines. They, unlike gypsum raw materials, do not crumble or crack. High-density multilayer plywood is also a natural wood material, environmentally friendly. If it is laminated, then there is no need for a decorative finish. Plastic is cheap, lightweight, effortlessly cut and screwed with screws. The polymer material is protected from moisture, rotting, deformation and is easy to clean with a damp sponge.
For figured arch also use fibrous materials: MDF, laminated fiberboard or particleboard. They are stronger than drywall or plastic, harmless and easy to handle with a manual or electric jigsaw.The result is a rigid structure with a ready-made decor, with pleasant-looking wood textures or any glossy colors.
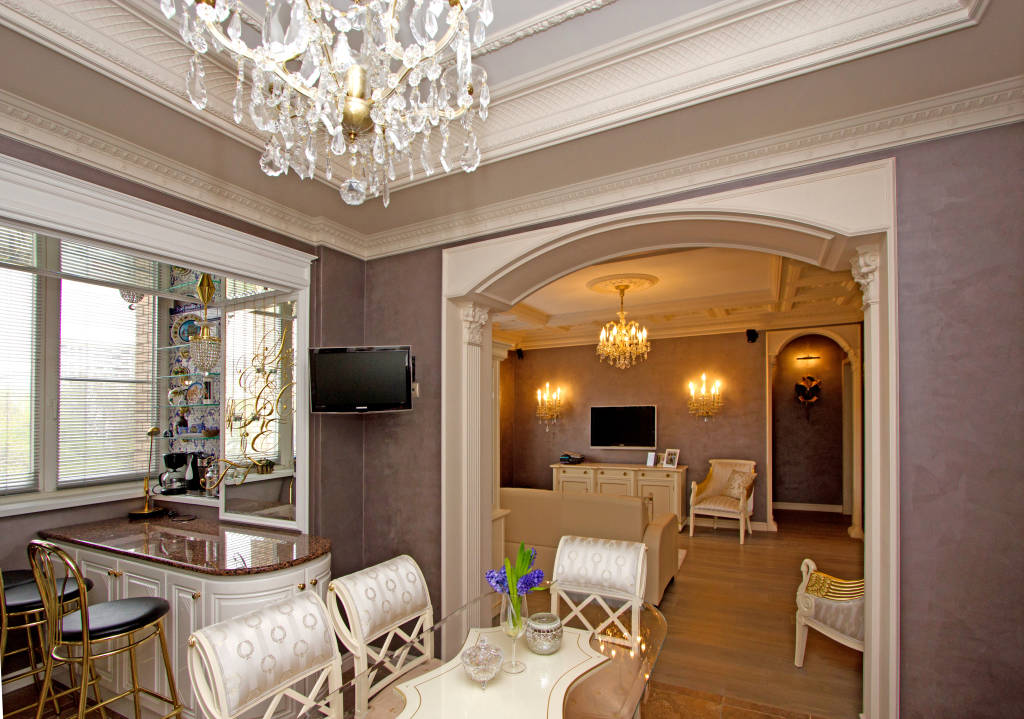
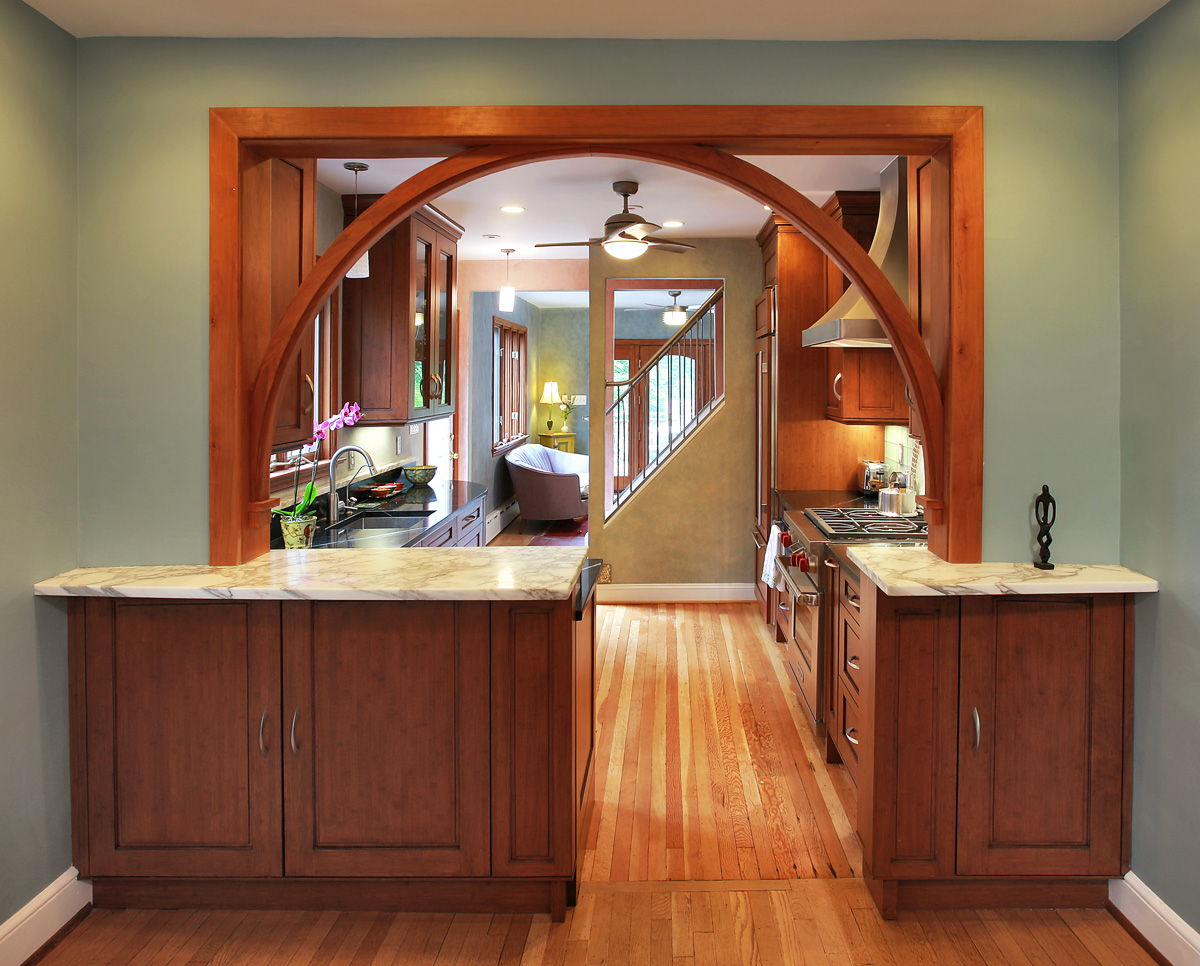
Natural wood allows you to create the most elegant and prestigious design of the arch between the living room and the kitchen. Despite the high cost of materials and installation of the structure, it turns out a great solution in interior design. This arch is the strongest and most durable. Surfaces can have magnificent relief bends, be covered with high-quality varnish.
If the arch frame is made of draft material: plasterboard, plastic, non-laminated plywood, untreated wood, that is, the need for decorative finishing. Acrylic, water-based and silicone paints, paper, vinyl and liquid wallpaper, tiles or decorative plaster are used for decoration.


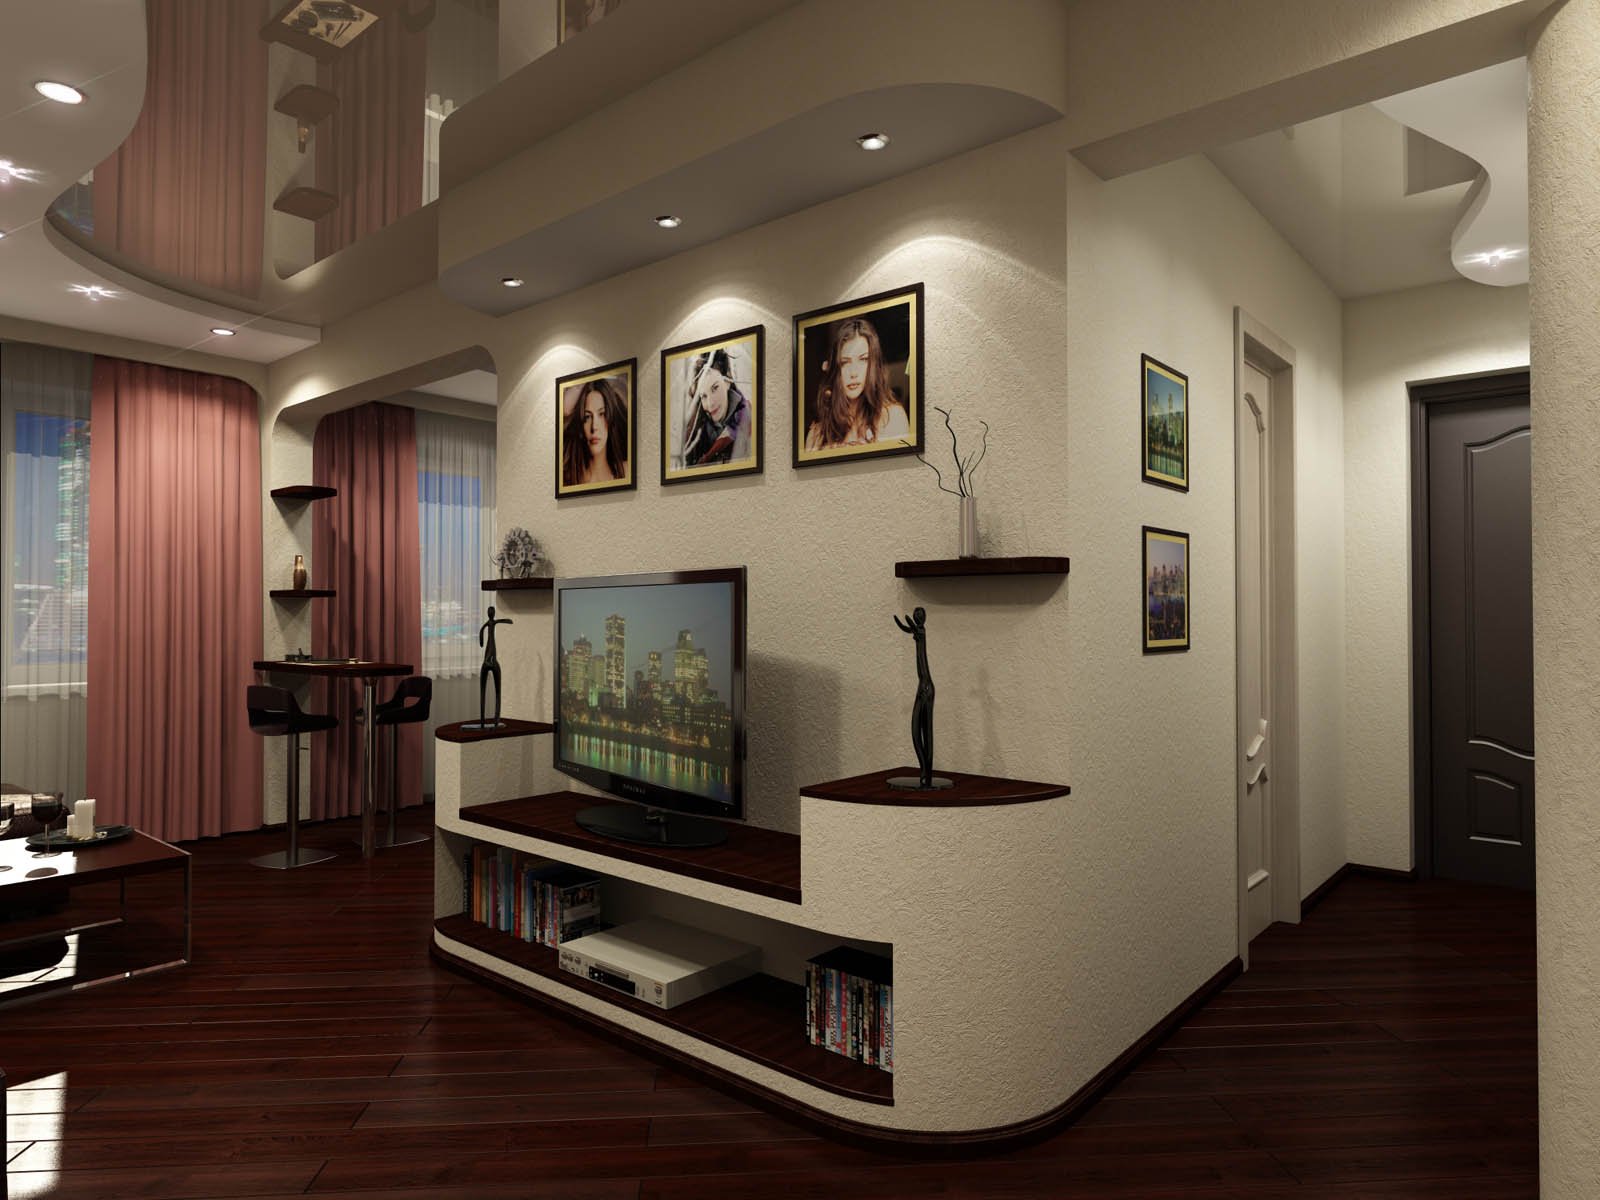
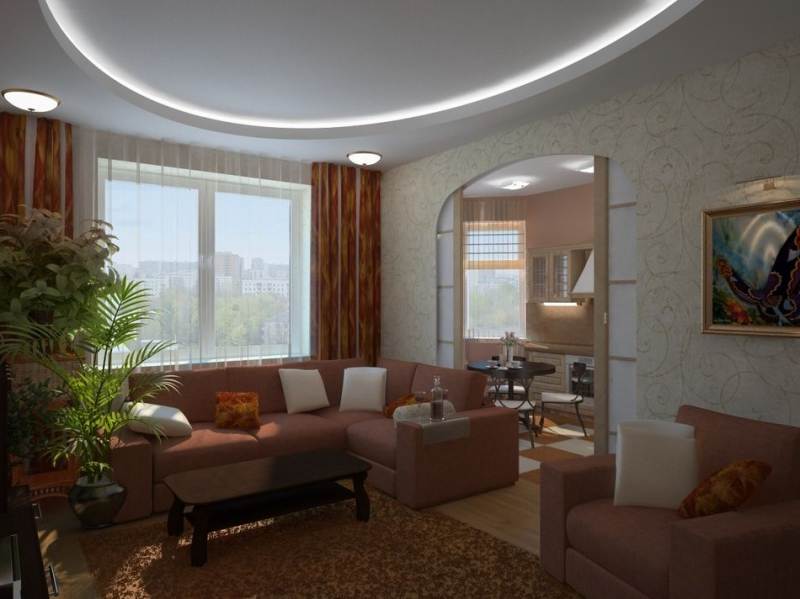
Design options
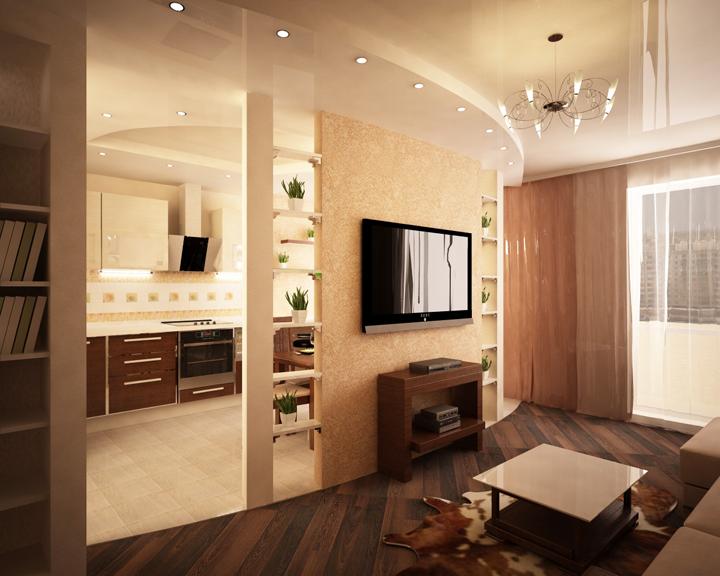
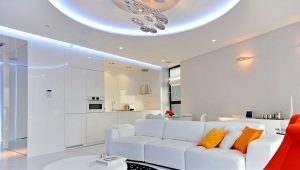
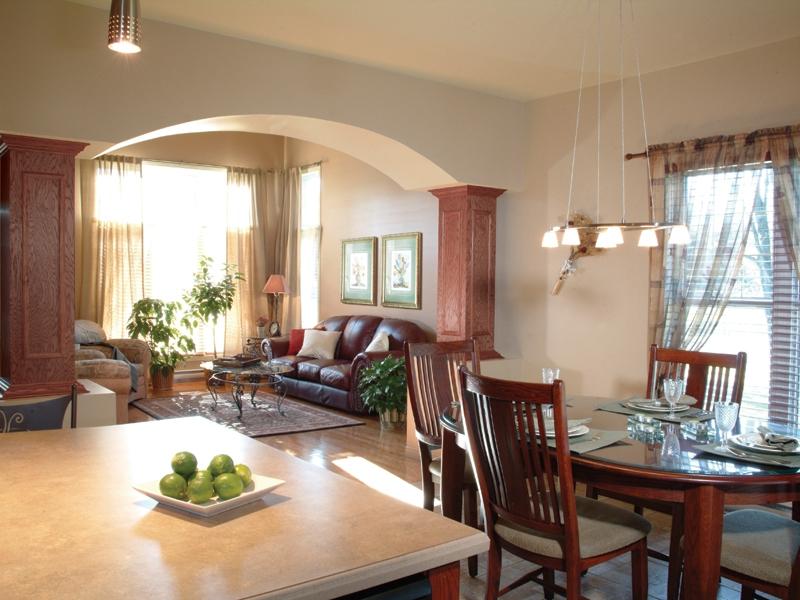
Effective method of separating the space of the kitchen and living room gives curved arch, inscribed in the wall. It is made of drywall, filled and painted to match the color of the wall, with which it merges into a single element and has no transitions. That is, it seems that in the ceiling just cut a wide opening.This design option is suitable for large spacious rooms, besides it will additionally increase the space.
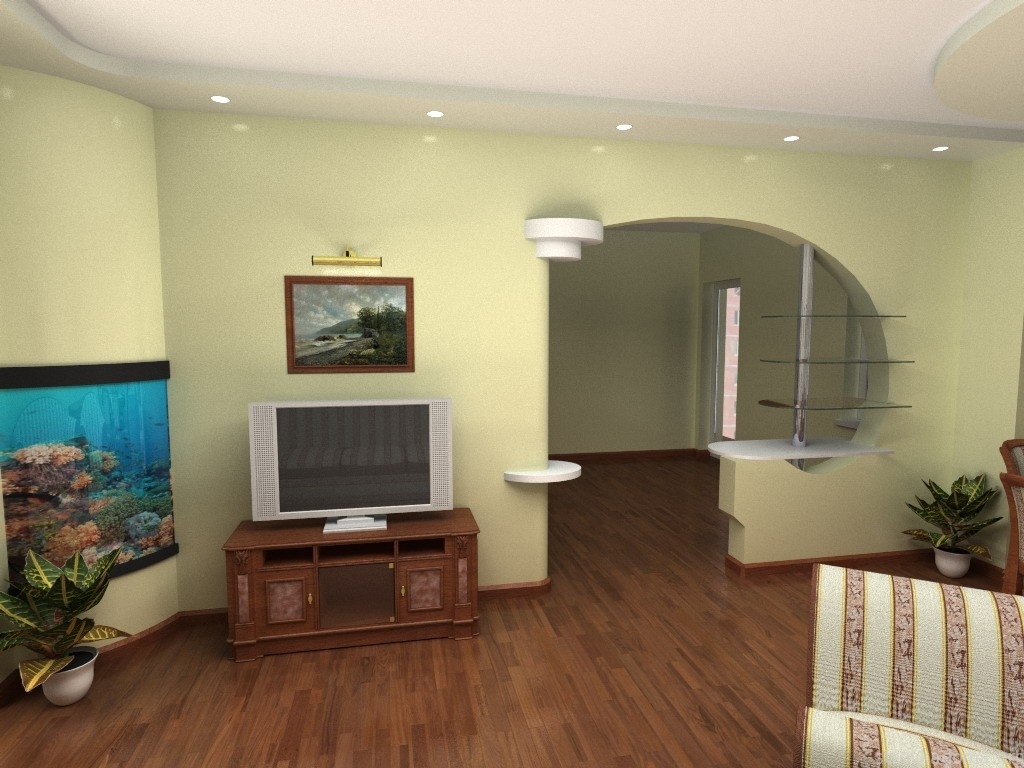
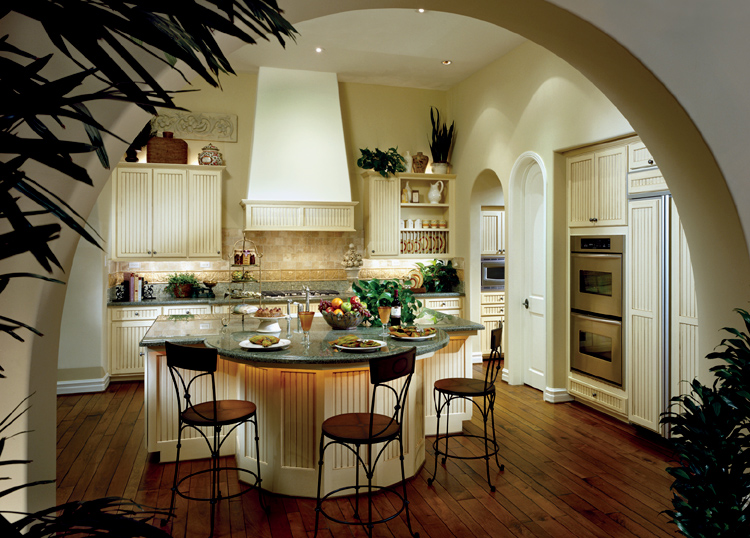
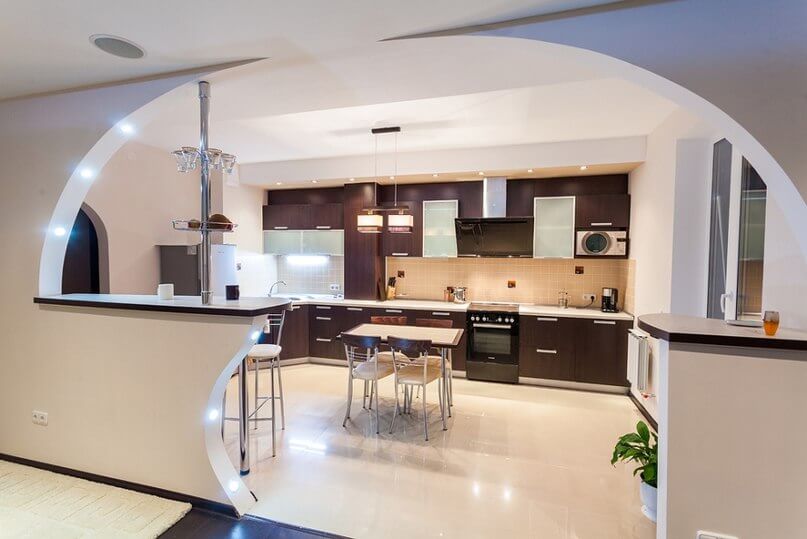
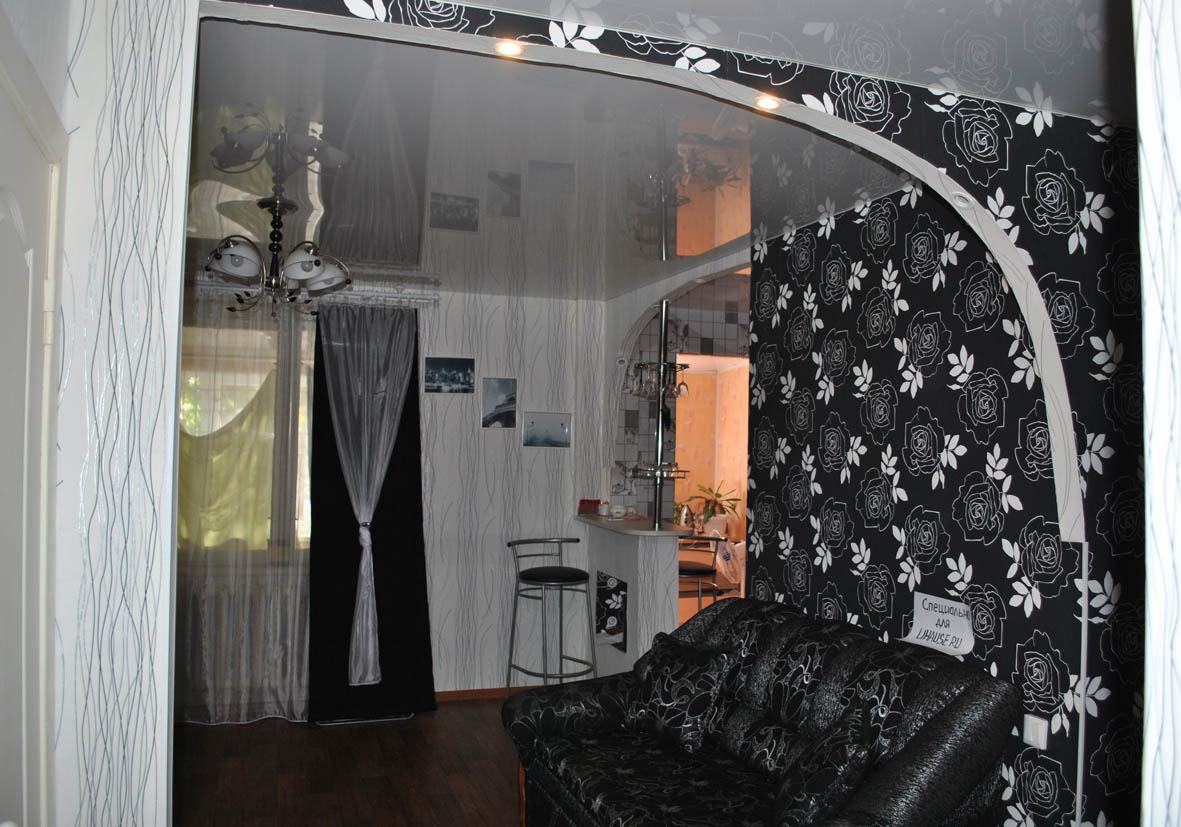
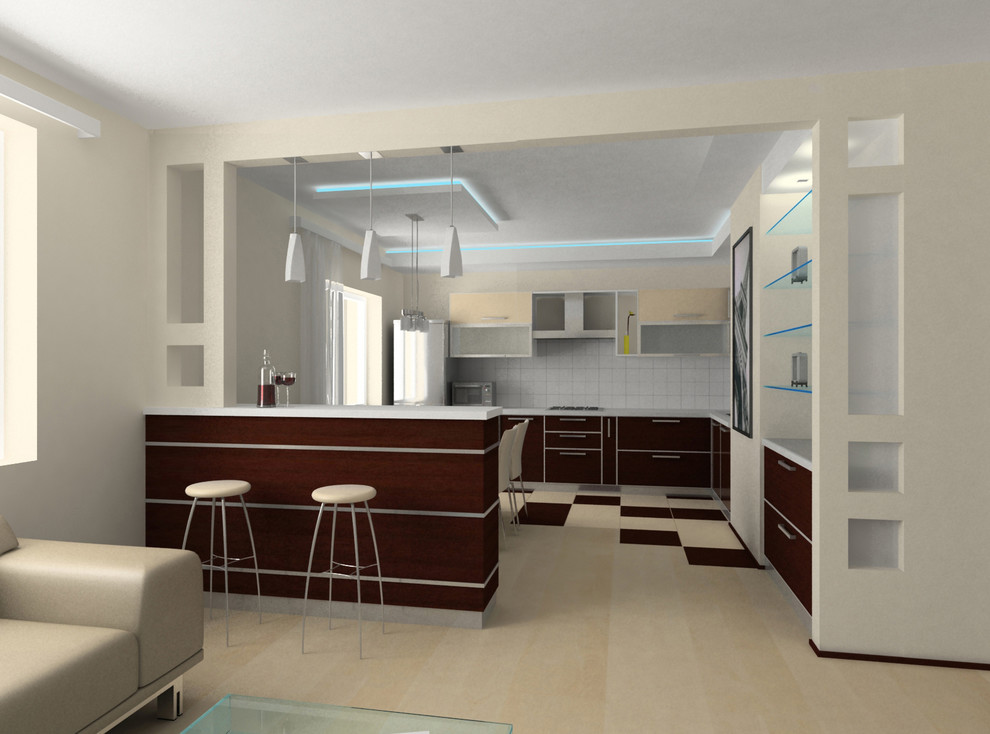
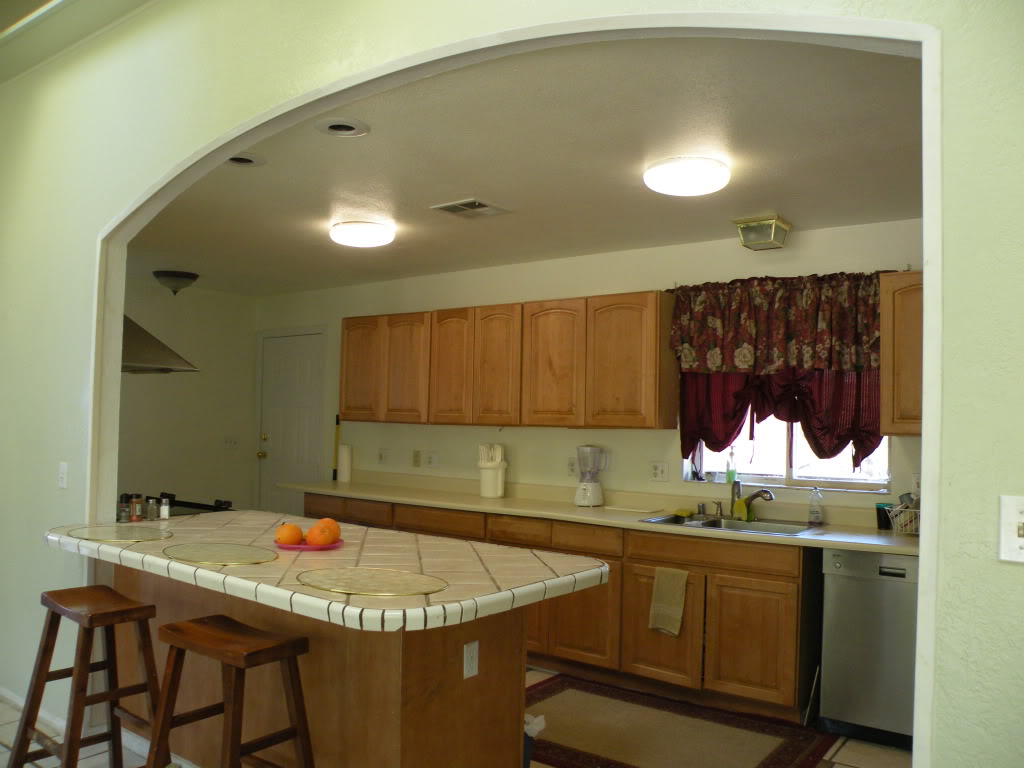
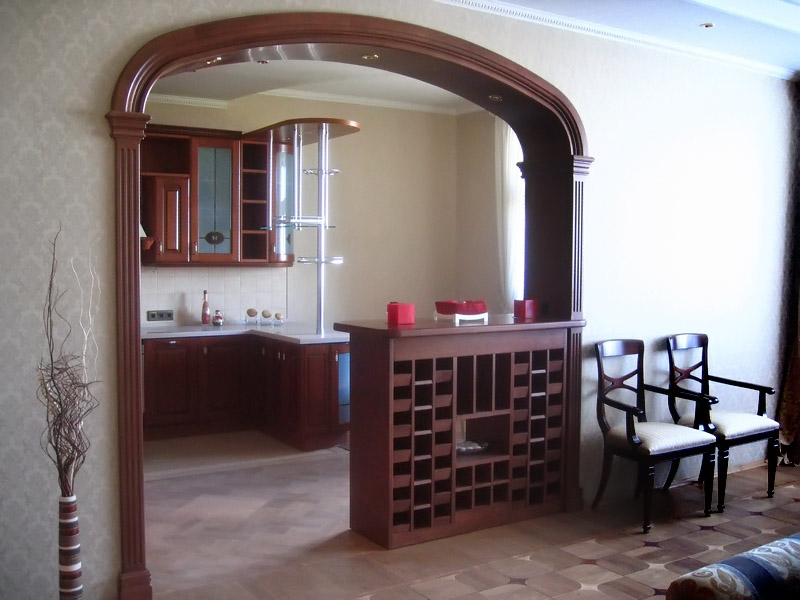
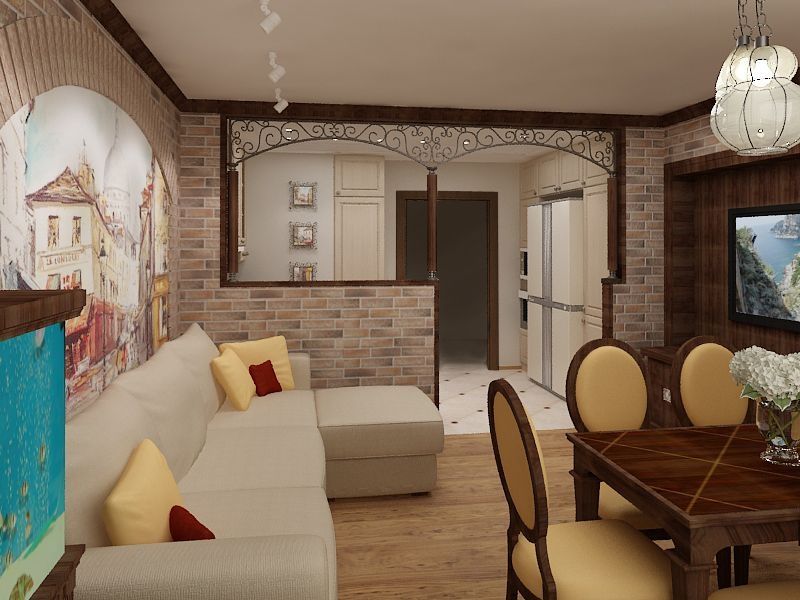
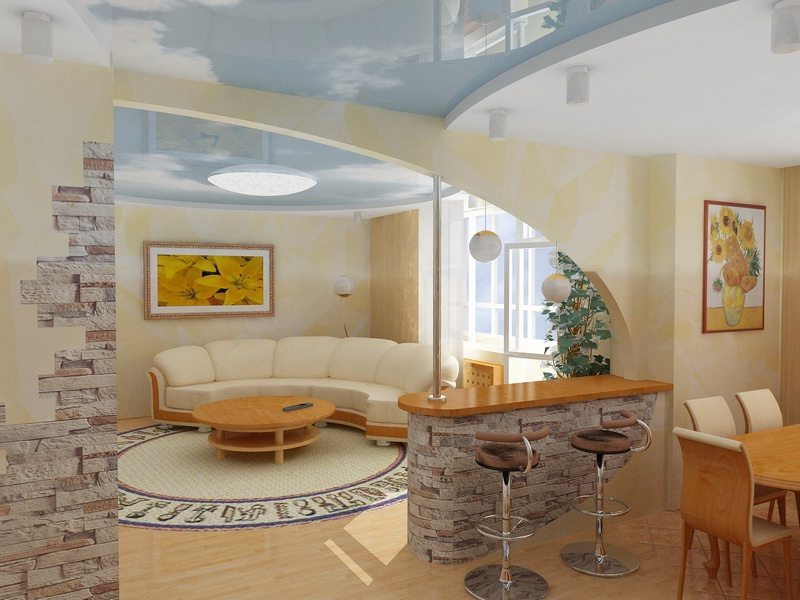
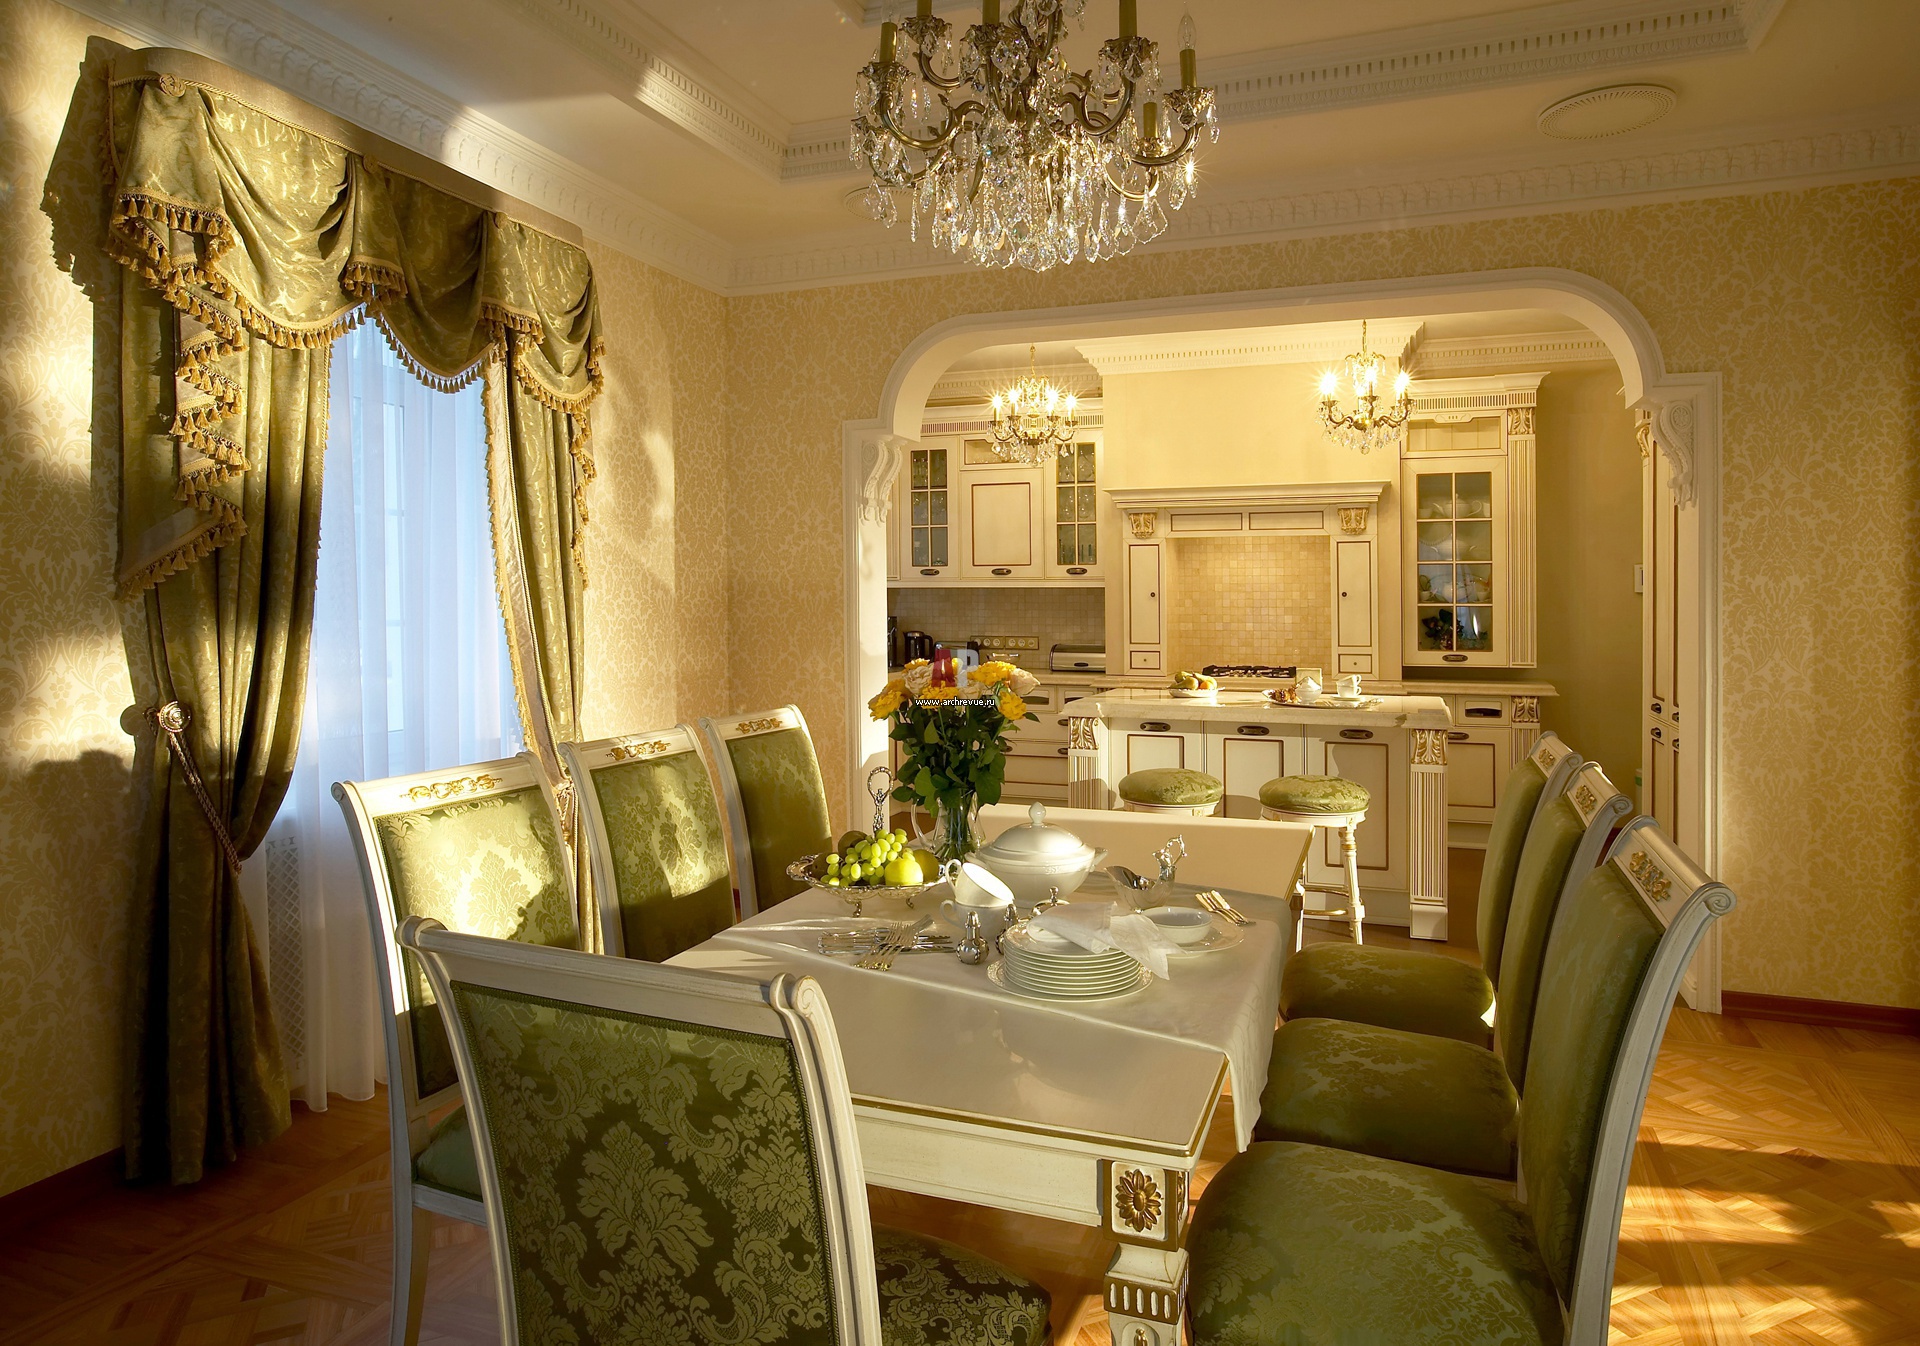
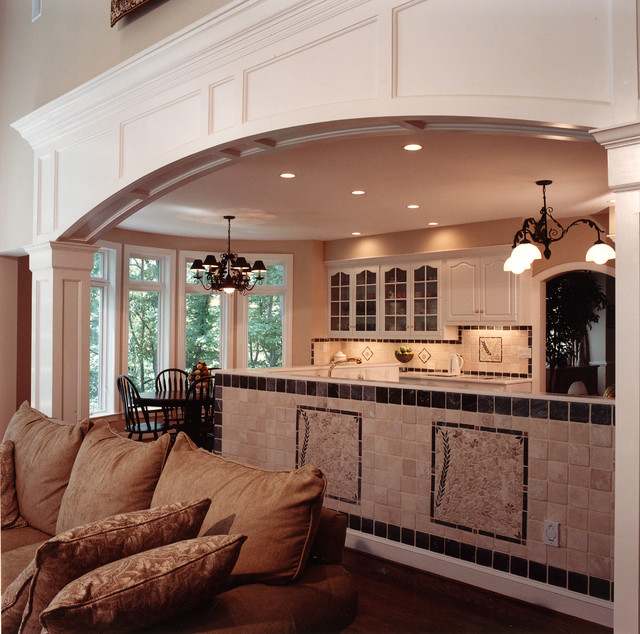
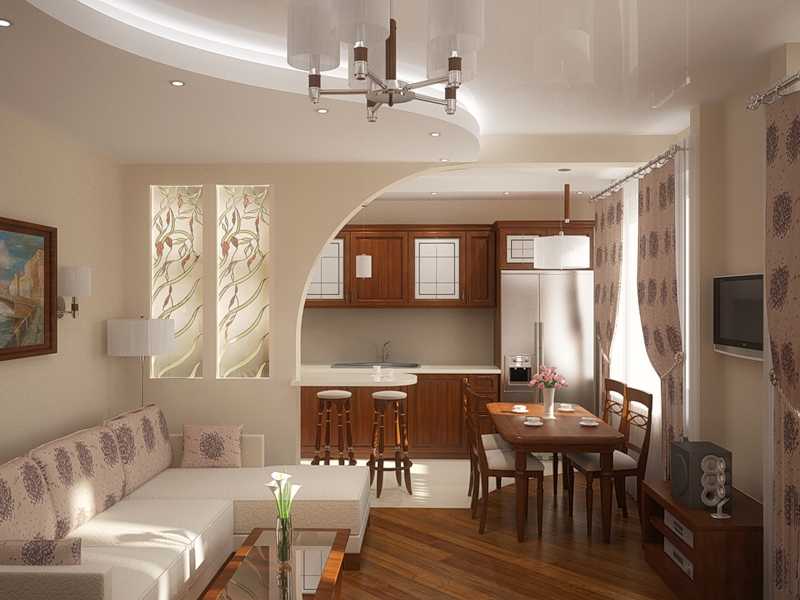
The original version of the arrangement in the apartment - an arch between the rooms with a bar. This idea was invented because of its practicality: to prepare cocktails in the kitchen and serve them immediately to the living room. In addition, many will appreciate this design original and prestigious. This design requires a wide opening between the rooms so that in addition to the rack there is room for passage. It is possible to create symmetrical and asymmetrical forms, with columns, shelves, from natural wood or modern finishes.
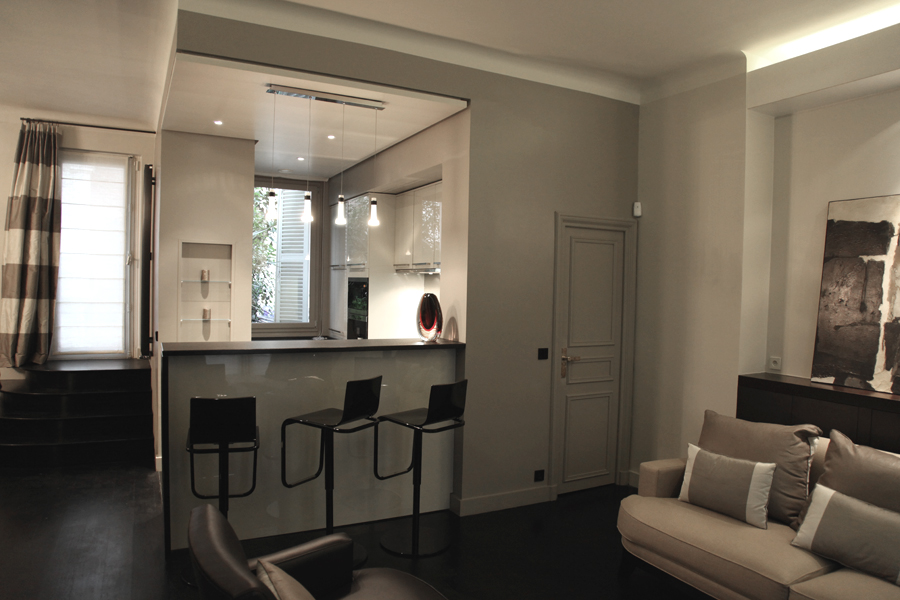
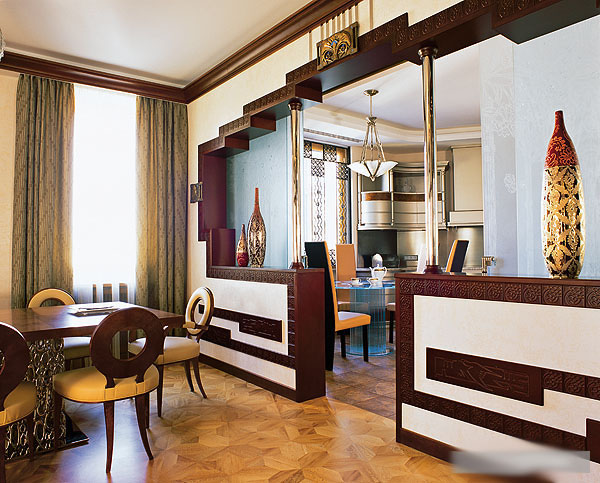
A great way to design in a large apartment - an arch with a separate opening for the bar. For passage there is a narrower opening, for serving drinks and dishes - wider with a table top. From the available materials - drywall and metal profiles with a minimum of exterior finish, you can create a real masterpiece in the interior.
It is possible, using inexpensive materials, to create a figured arch in a medieval style with a frame imitating stonework. For framing, you will need plates of foam or other polymer, which, due to their low weight, are simply glued to the plasterboard frame.
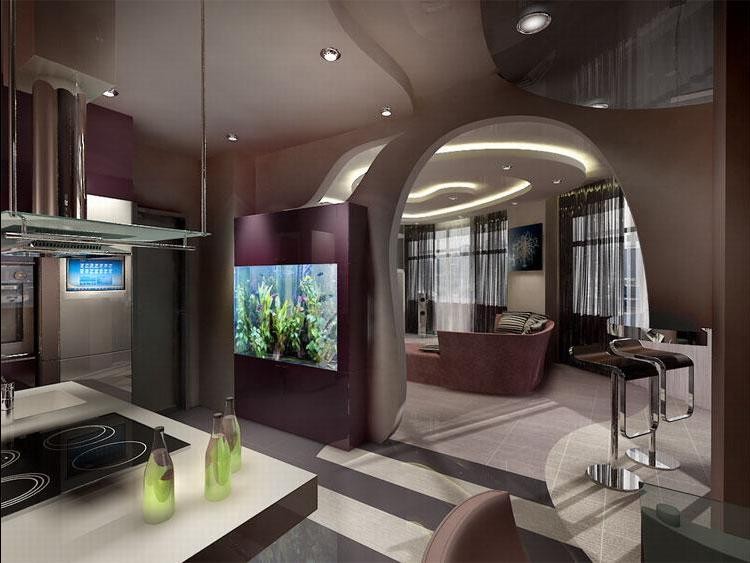
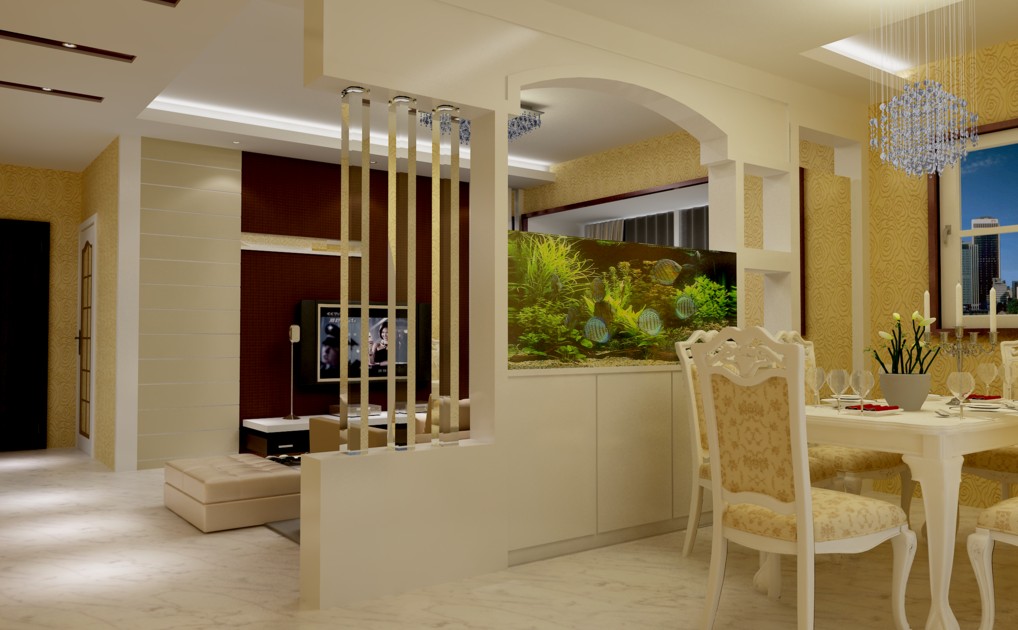
Using drywall, you can create a complex spatial figure of the arch with the top point lighting. It will take considerable time to assemble and certain skills of such works, but the result is worth it. The design with monotonous white painting will make an unforgettable impression on guests. On the sides there are open and closed niches for storing various items. This model is both functional and elegant.
Lighting
In such structures can be spot lighting. For it use LED, fluorescent or halogen lamps. All these lamps produce a pleasant even light, not flickering and not straining your eyes. They are economical, with less power than incandescent bulbs, they do not heat up during operation. Another advantage is their long service life and resistance to mechanical damage. While the incandescent lamp spiral can break under the slightest mechanical impact, spotlights are not as susceptible to shocks.
LED lamps are the most eco-friendly and do not have a harmful effect on the body.Fluorescent and halogen lamps contain hazardous toxic gases, mercury vapors. Typically, such devices are mounted inside the arch casing, power cables are held in a niche and connected to the network.
Lighting in the interior arch adds coziness and elegance to the interior, additionally highlights the division of the room into zones, adds comfort. In the drywall frame, you can easily make round holes for lamps of any size. A series of point lamps in the arch with a bar will look very well.


DIY assembly
Before creating a project and a phased plan, it is necessary to measure the opening between the rooms and calculate the most successful form, possible materials, their number. Expensive wood should be used for simple forms and models; it alone can effectively emphasize the beauty of the interior. For complex projects with transitions, several levels, built-in shelves and lamps it is best to use a frame made of metal and drywall.
For work you will need: construction level, tape measure and pencil, knife, metal shears, drill and screwdriver, a set of screws of various lengths.Before installing the arch is often required to dismantle the old floors, remove interior doors and boxes for them. You need to clean everything up to bare concrete. Additionally, you need to take into account the place for the possible wiring of cables built-in spot lighting. Then metal profiles are attached to the concrete base, creating a figured frame of such rigidity that it is able to withstand the future weight of drywall sheets with exterior finish.
According to the project, the lines of future fragments of the arch are drawn on sheets of drywall. In order for them to be easily cut, it is worth creating solid stencils for them. To give the necessary curved shapes to rigid aluminum profiles, slots are made on their lateral sides - with them the frames easily bend. You can cut with scissors for metal, but the best option is an angle grinder (Bulgarian) with an abrasive disc for metallic materials.
Further, the structural elements are securely fastened with screws. Between the seams of sheets of drywall to create a flat surface put a layer of liquid putty. If necessary, built-in lighting, even before assembling the fragments, it is necessary to cut holes for the lamps, bring wires to them and, connecting to the network, check the operation.
The installation is completed with a decorative finish, which can be started after the arch frame is assembled when the putty has dried.