Bar counter do it yourself kitchen
What is it and why is it needed?
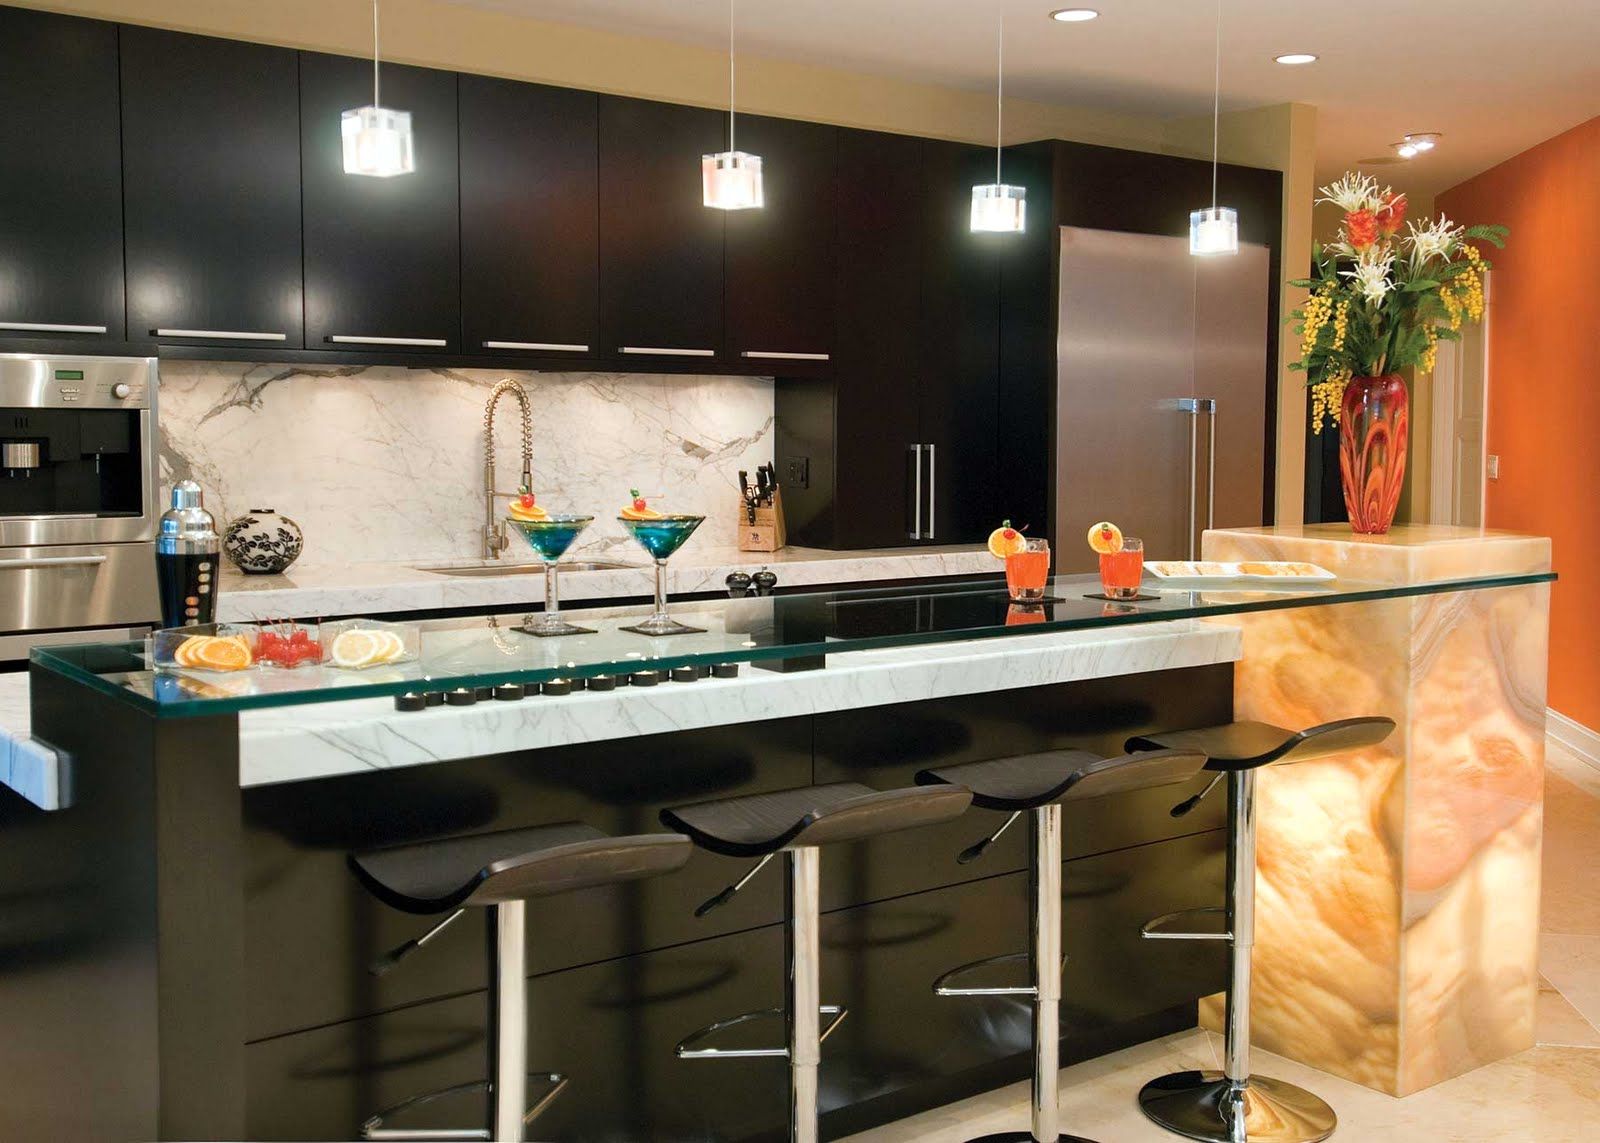
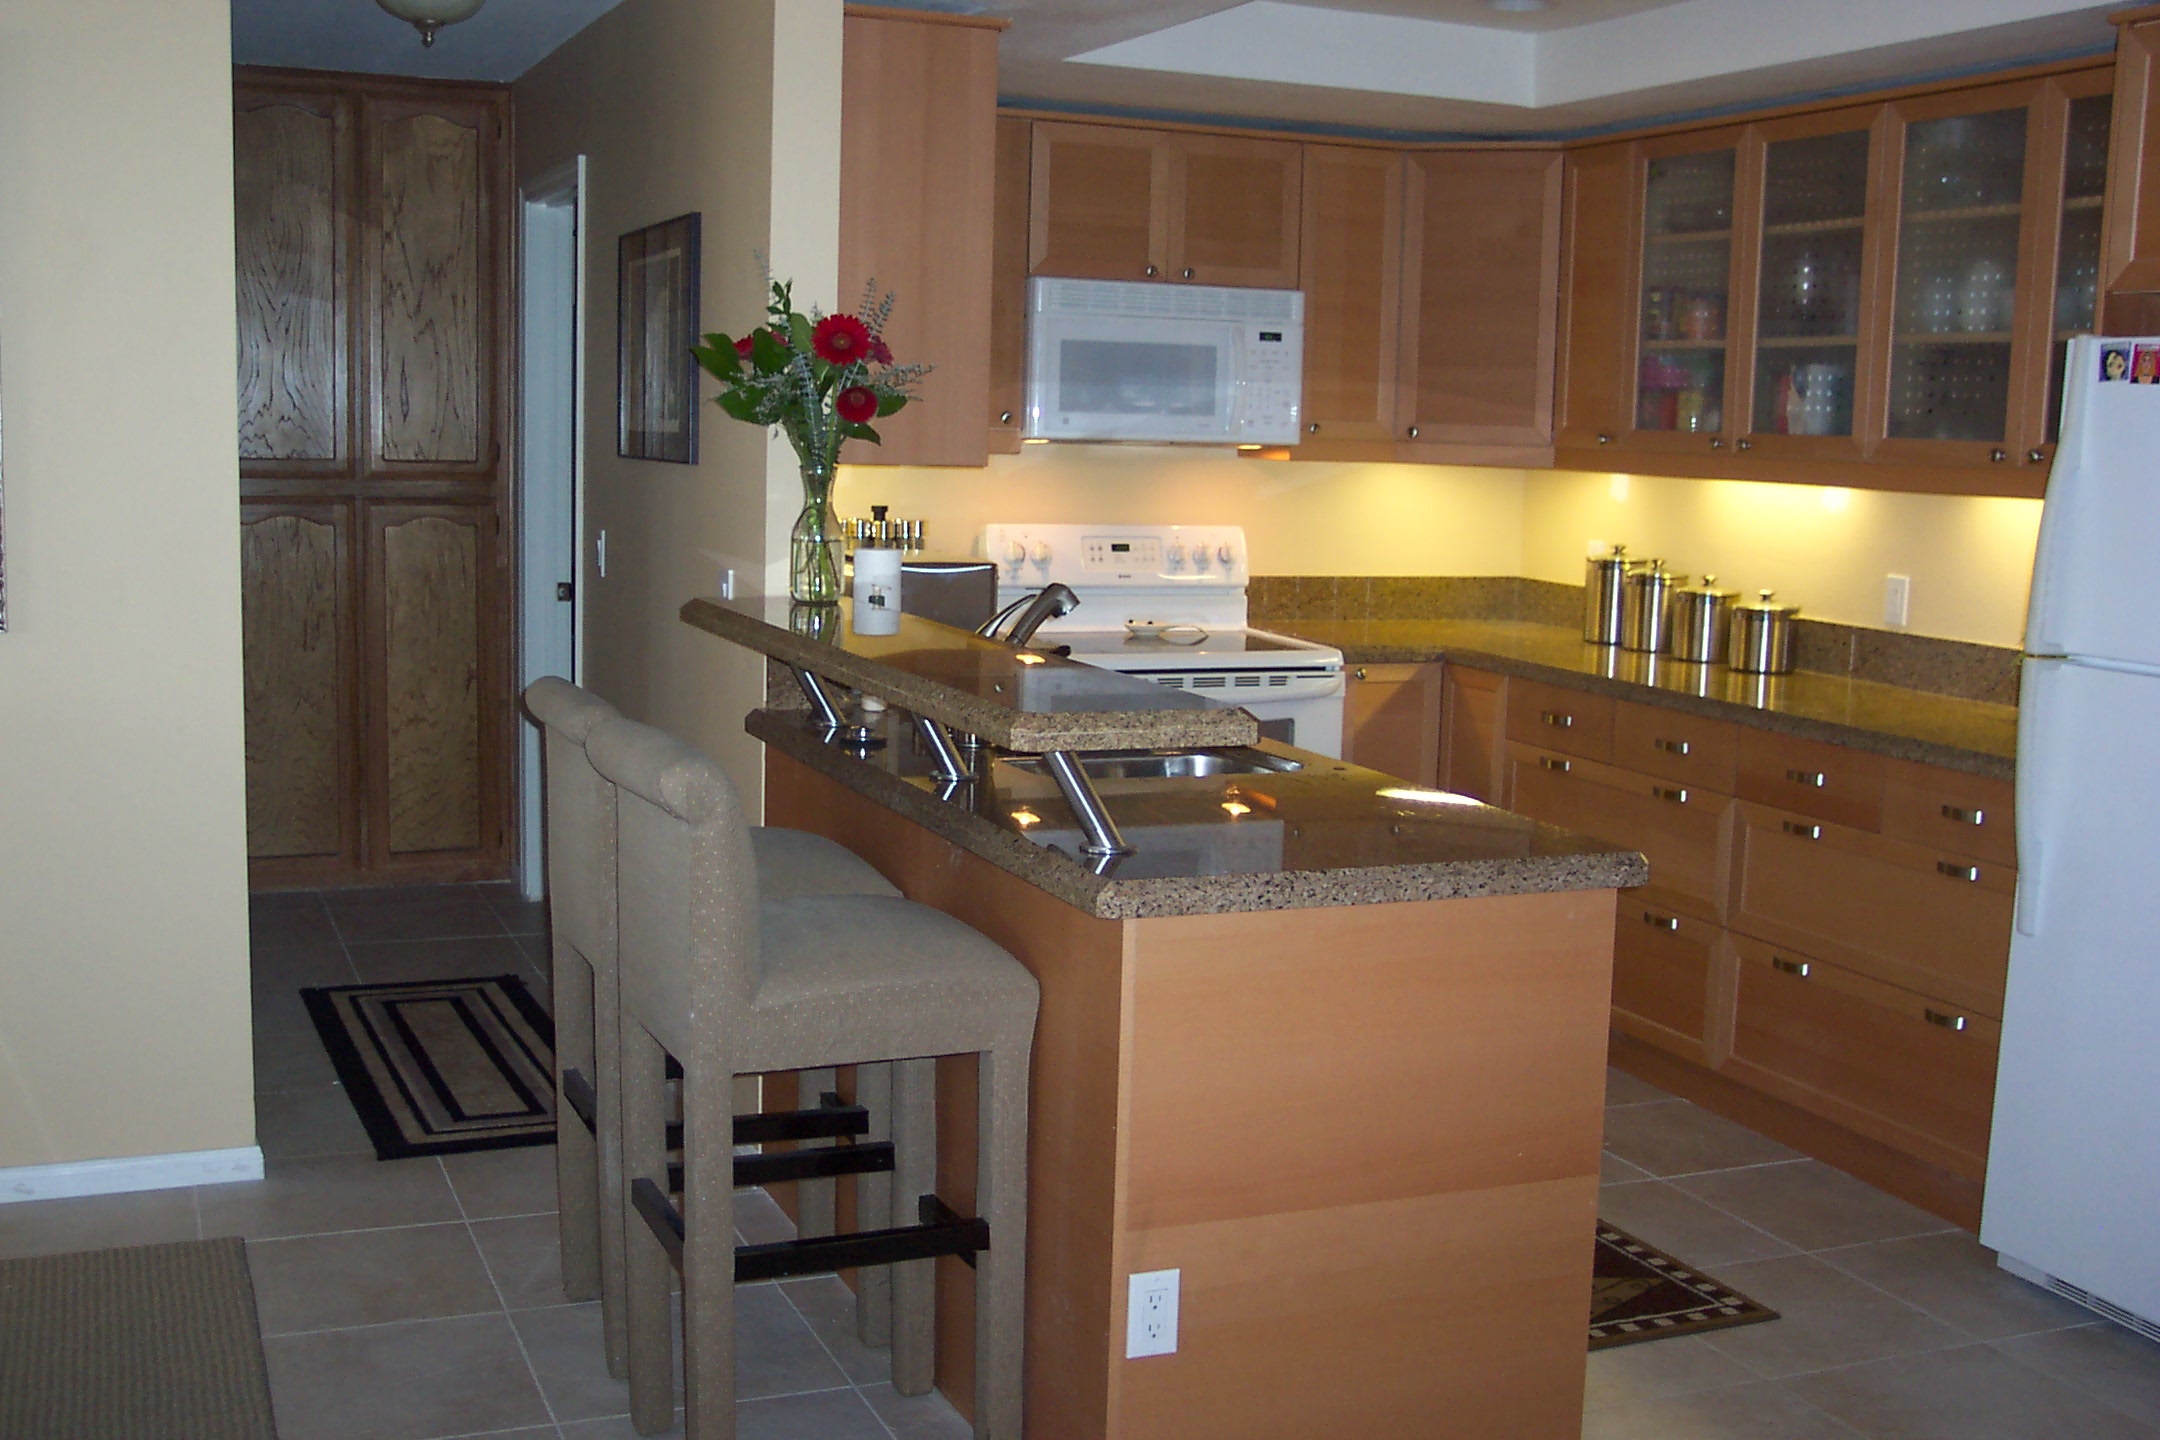
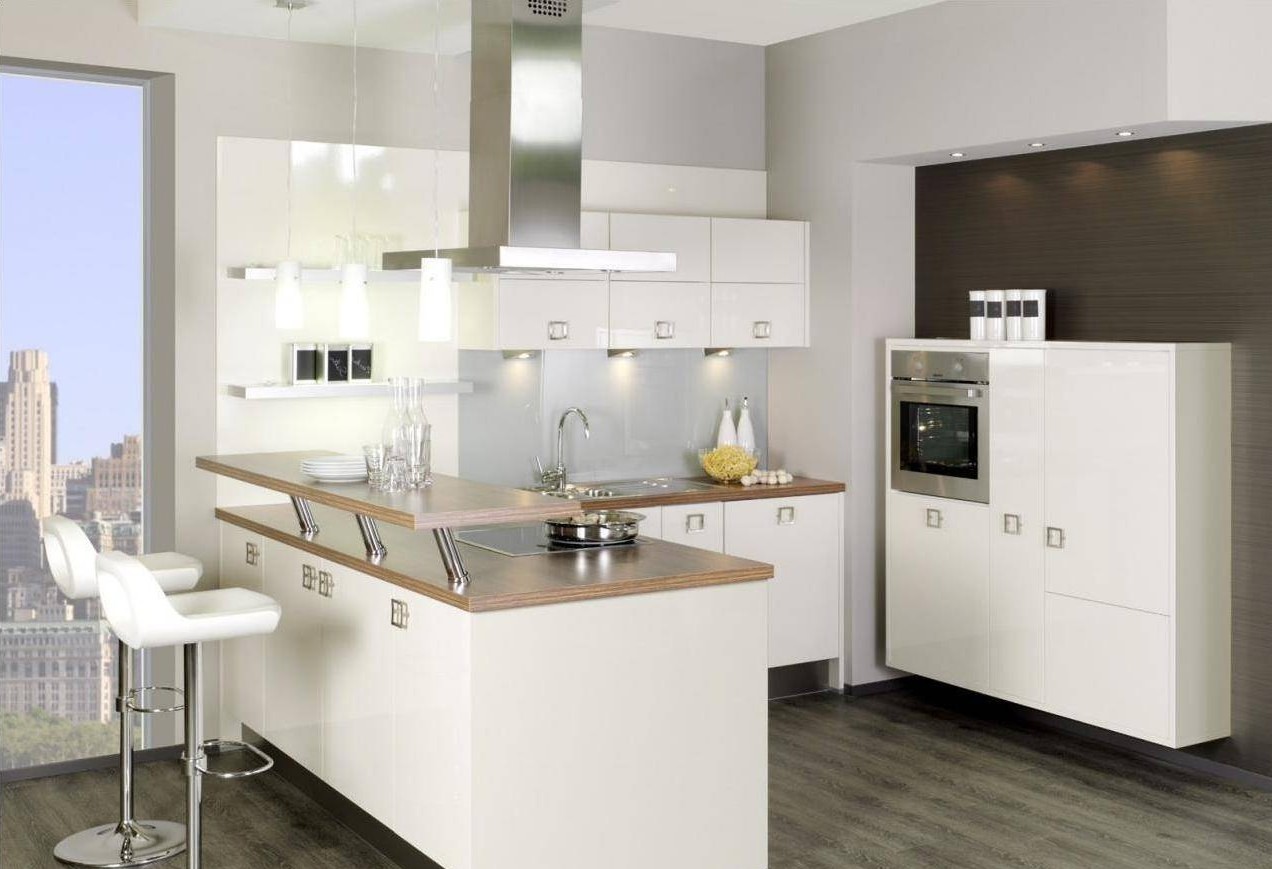
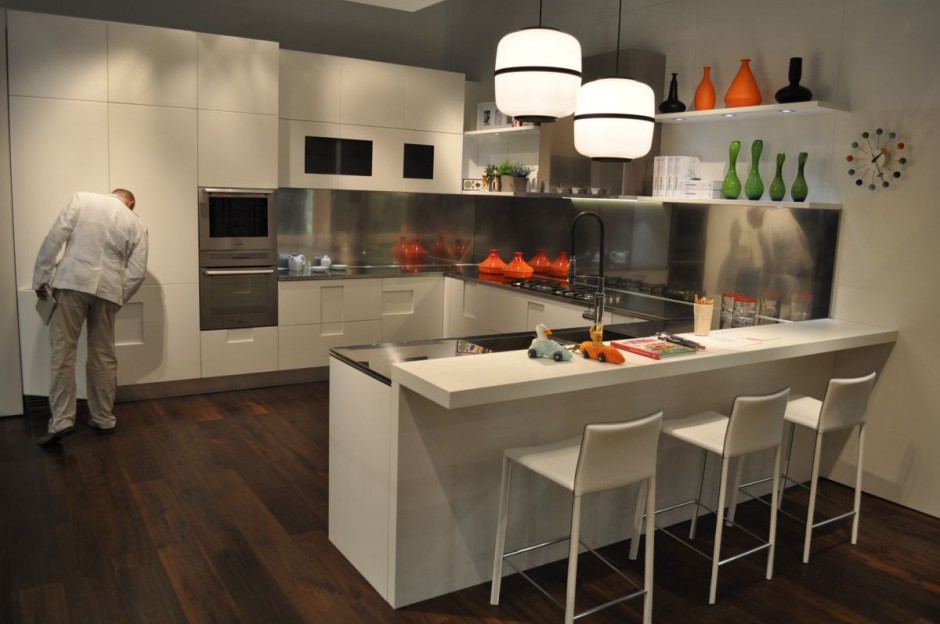
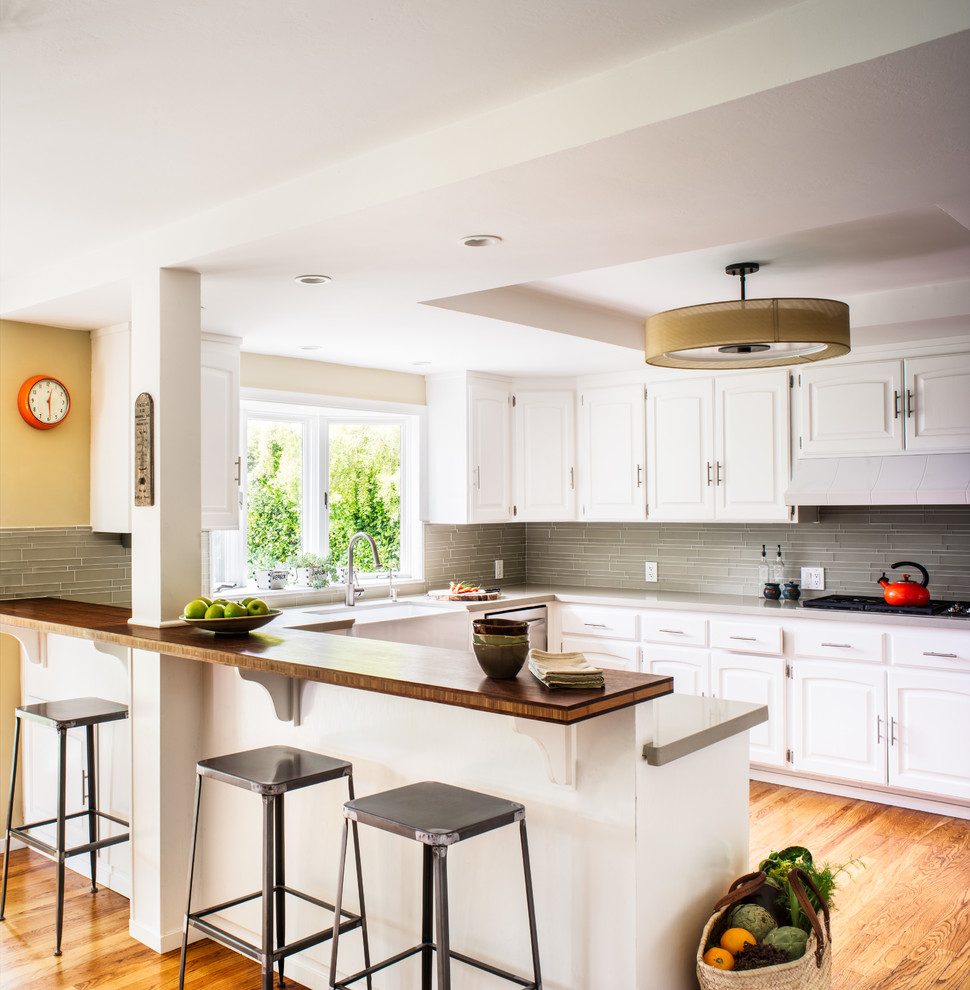
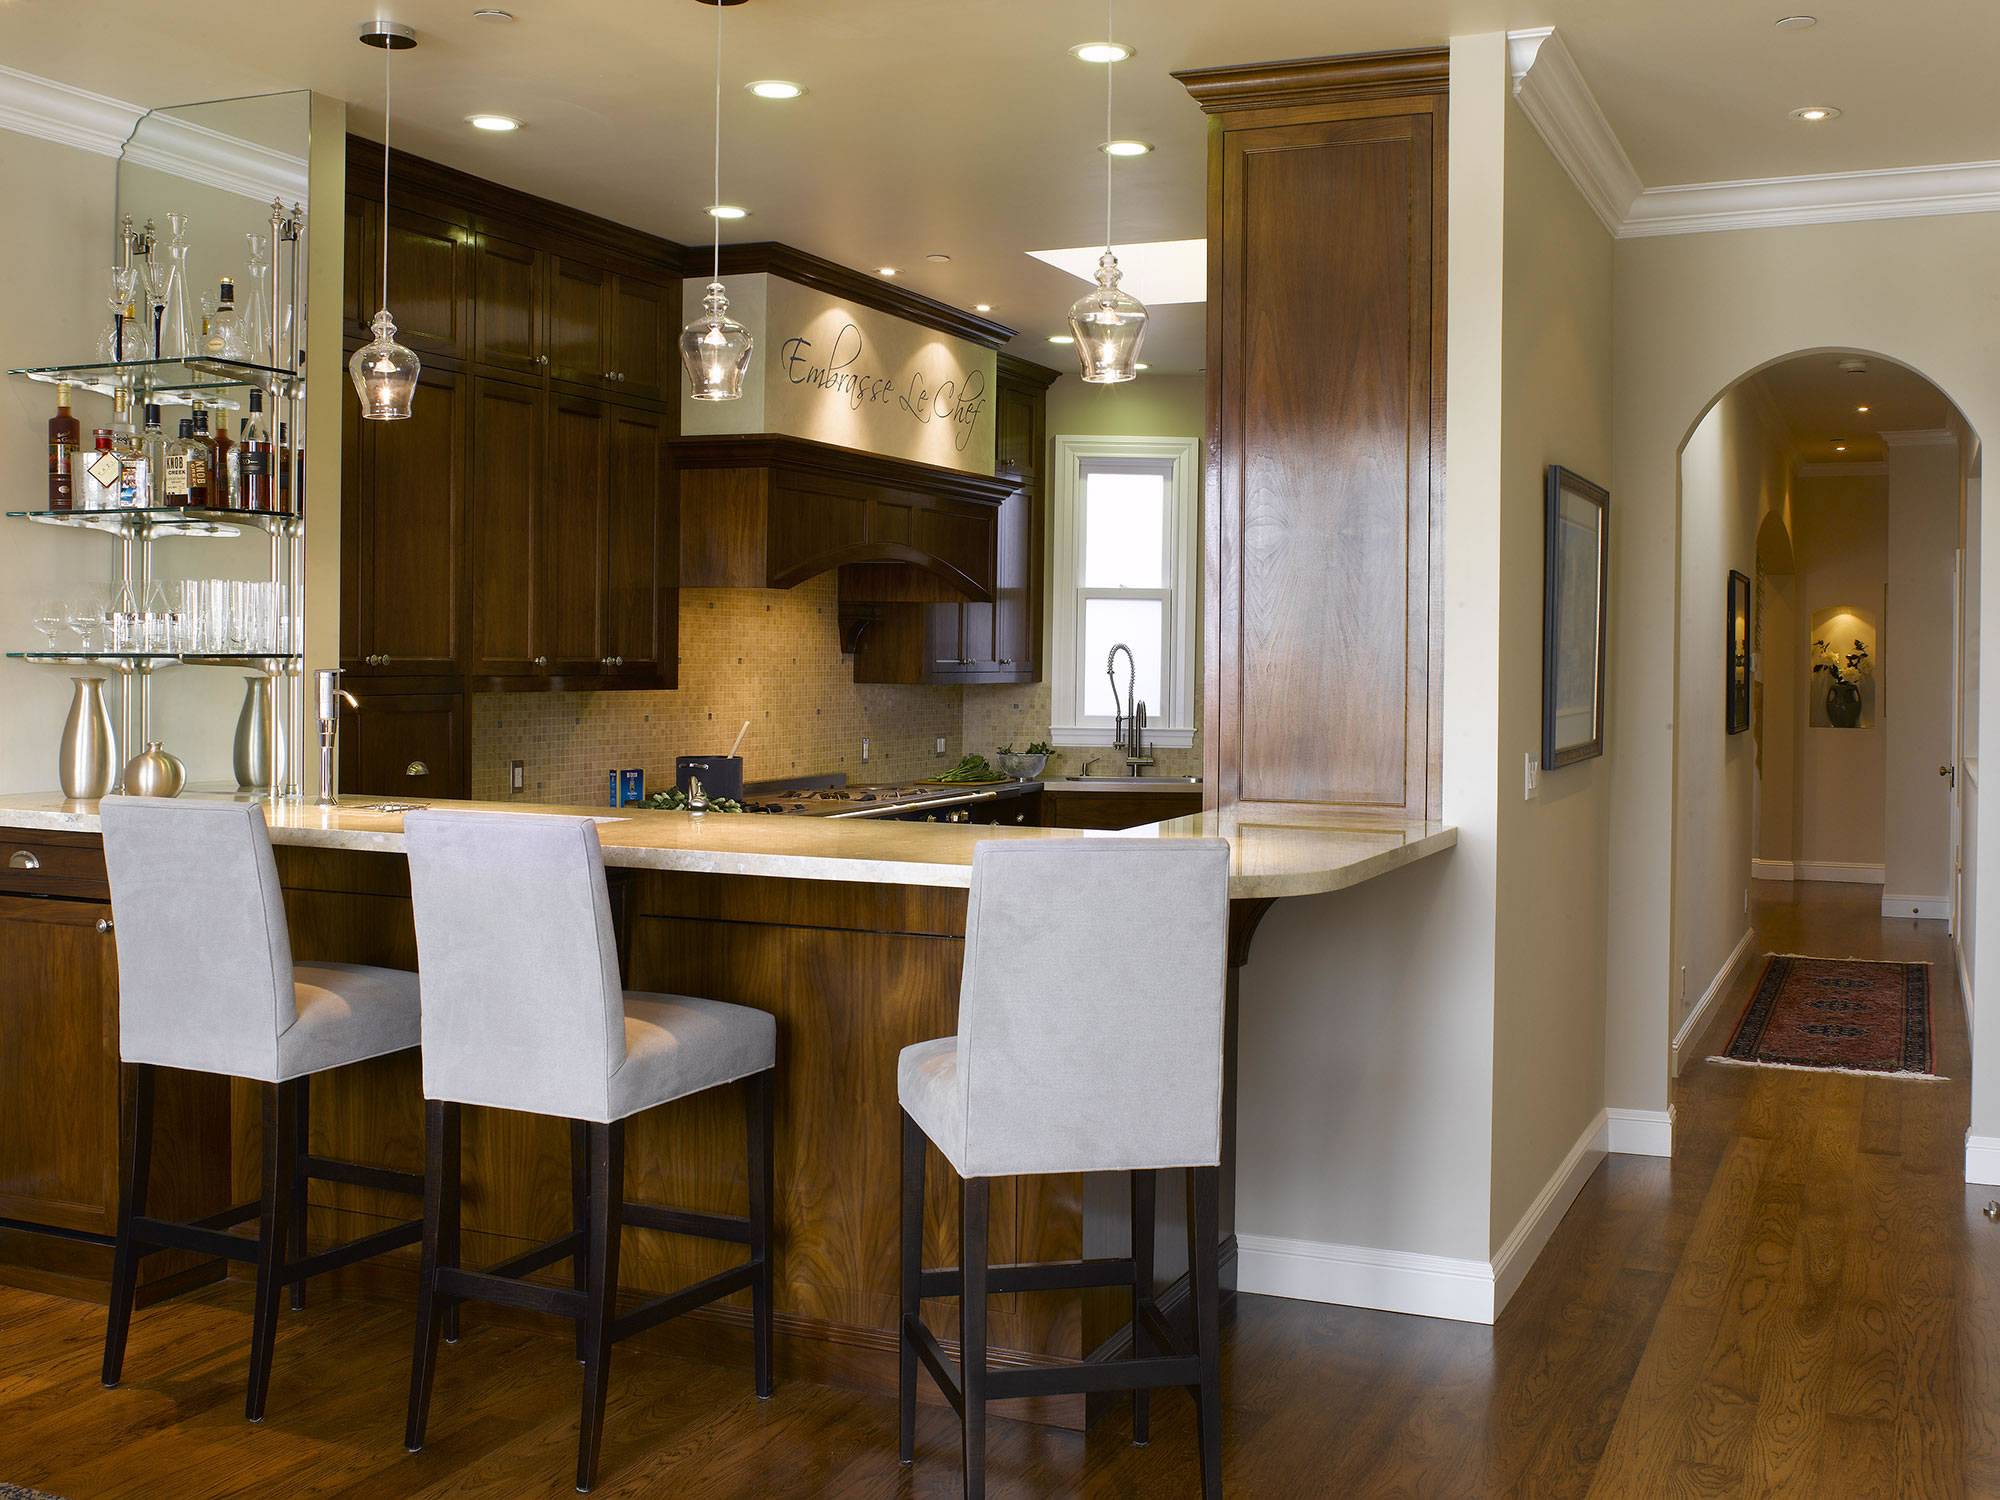
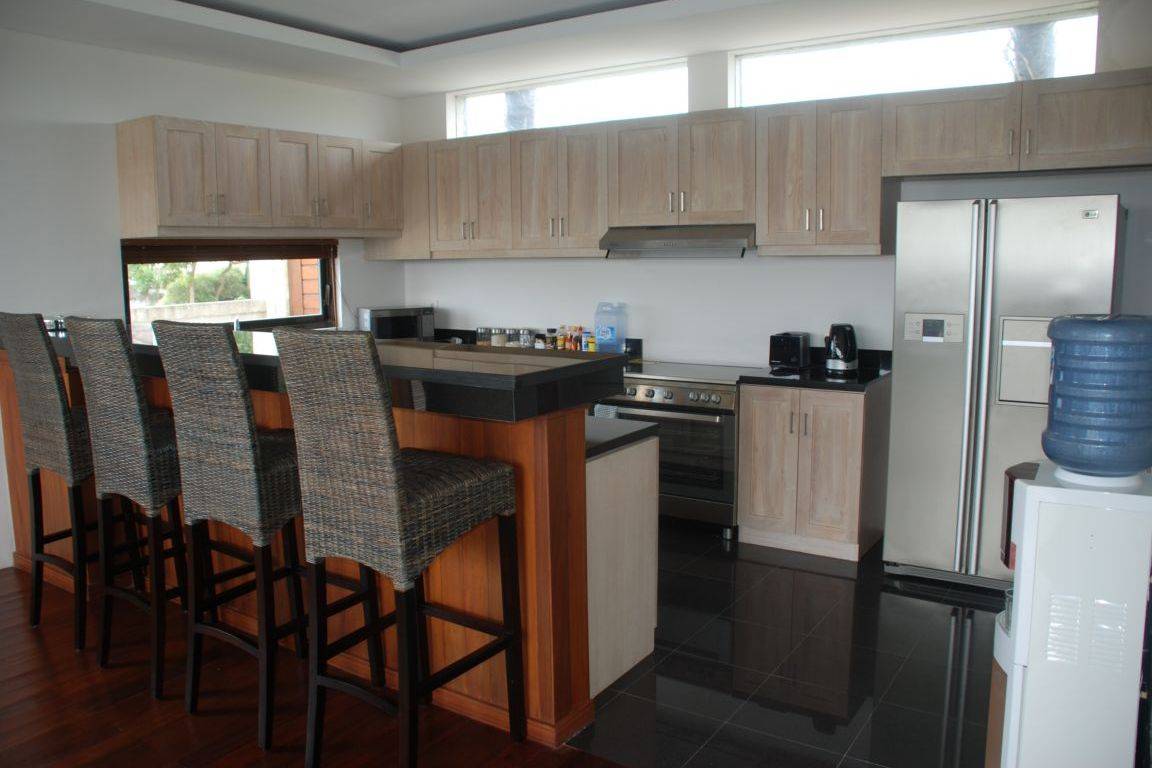
The bar counter is the subject of the bar interior. Its purpose is to divide the space into two parts: for visitors and for the bartender. In a modern apartment, having a bar counter saves money and time for arranging the kitchen. It also looks stylish.
Many housewives want the kitchen to be a zone of their personal space, so separating the kitchen from the living room is a good idea.
Another way to save space in a small kitchen is to combine a bar counter with a dining table. This option is suitable for a small kitchen in the apartment type "Khrushchev".

History of
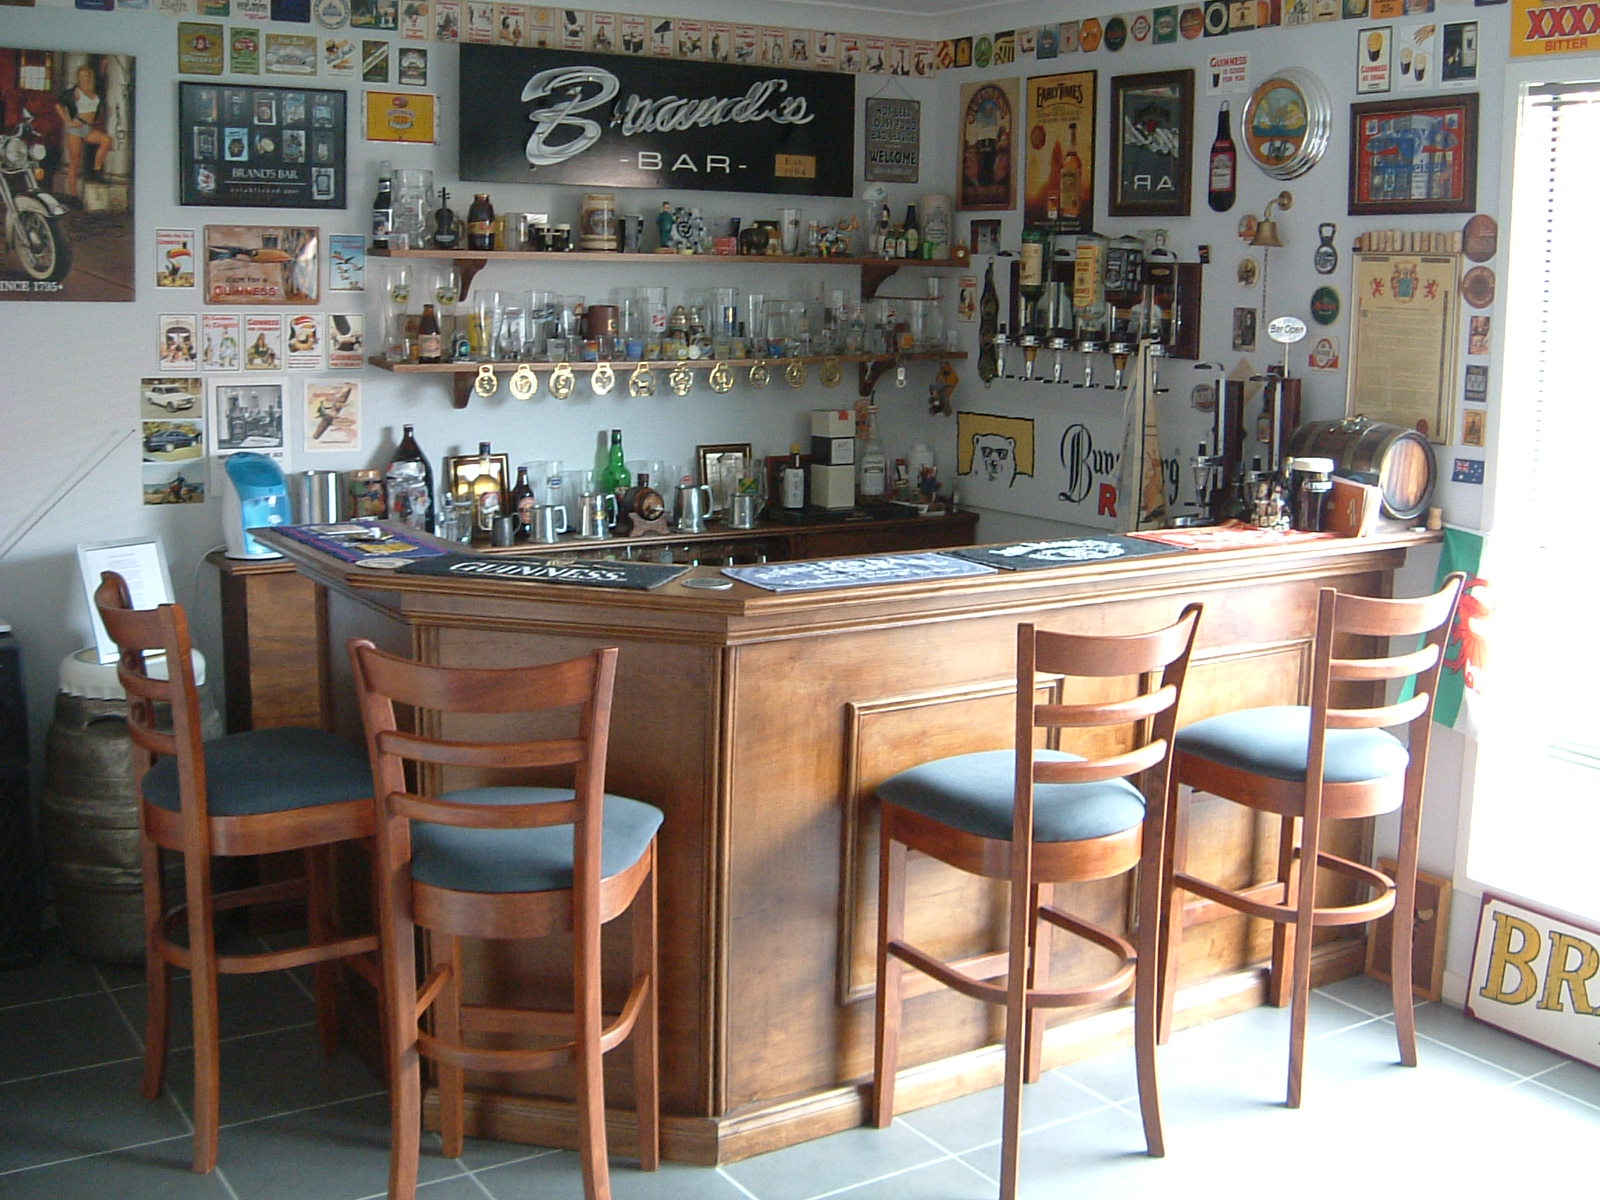
For the first time bar (pantry) counter appeared in America in the XVIII century. According to one version, the pantry counter was designed to protect bartenders in bars and taverns. After all, visitors often organized drunken fights and gunfights in which the owners and employees of the bar suffered.
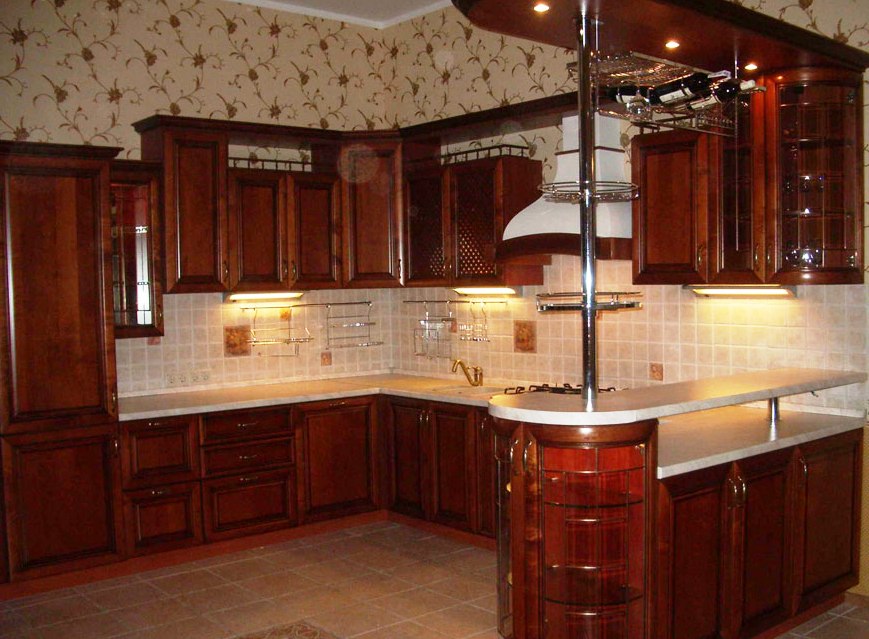
According to another version, the bar counter was invented by supervisors,who, after long rides on horses in plantations (looking after the work of slaves), wanted to drink as they please, but not sitting. In addition, the rules of good tone suggested that when talking, the interlocutors should see each other's faces. Drinking while sitting or standing was considered rude. In Dixieland, the bar counter was an island and a two-tier one: in this way the slave-bartender did not distract the gentlemen from intercourse, making and pouring drinks. This type of bar counter is popular in our time in luxury homes.
Modern models
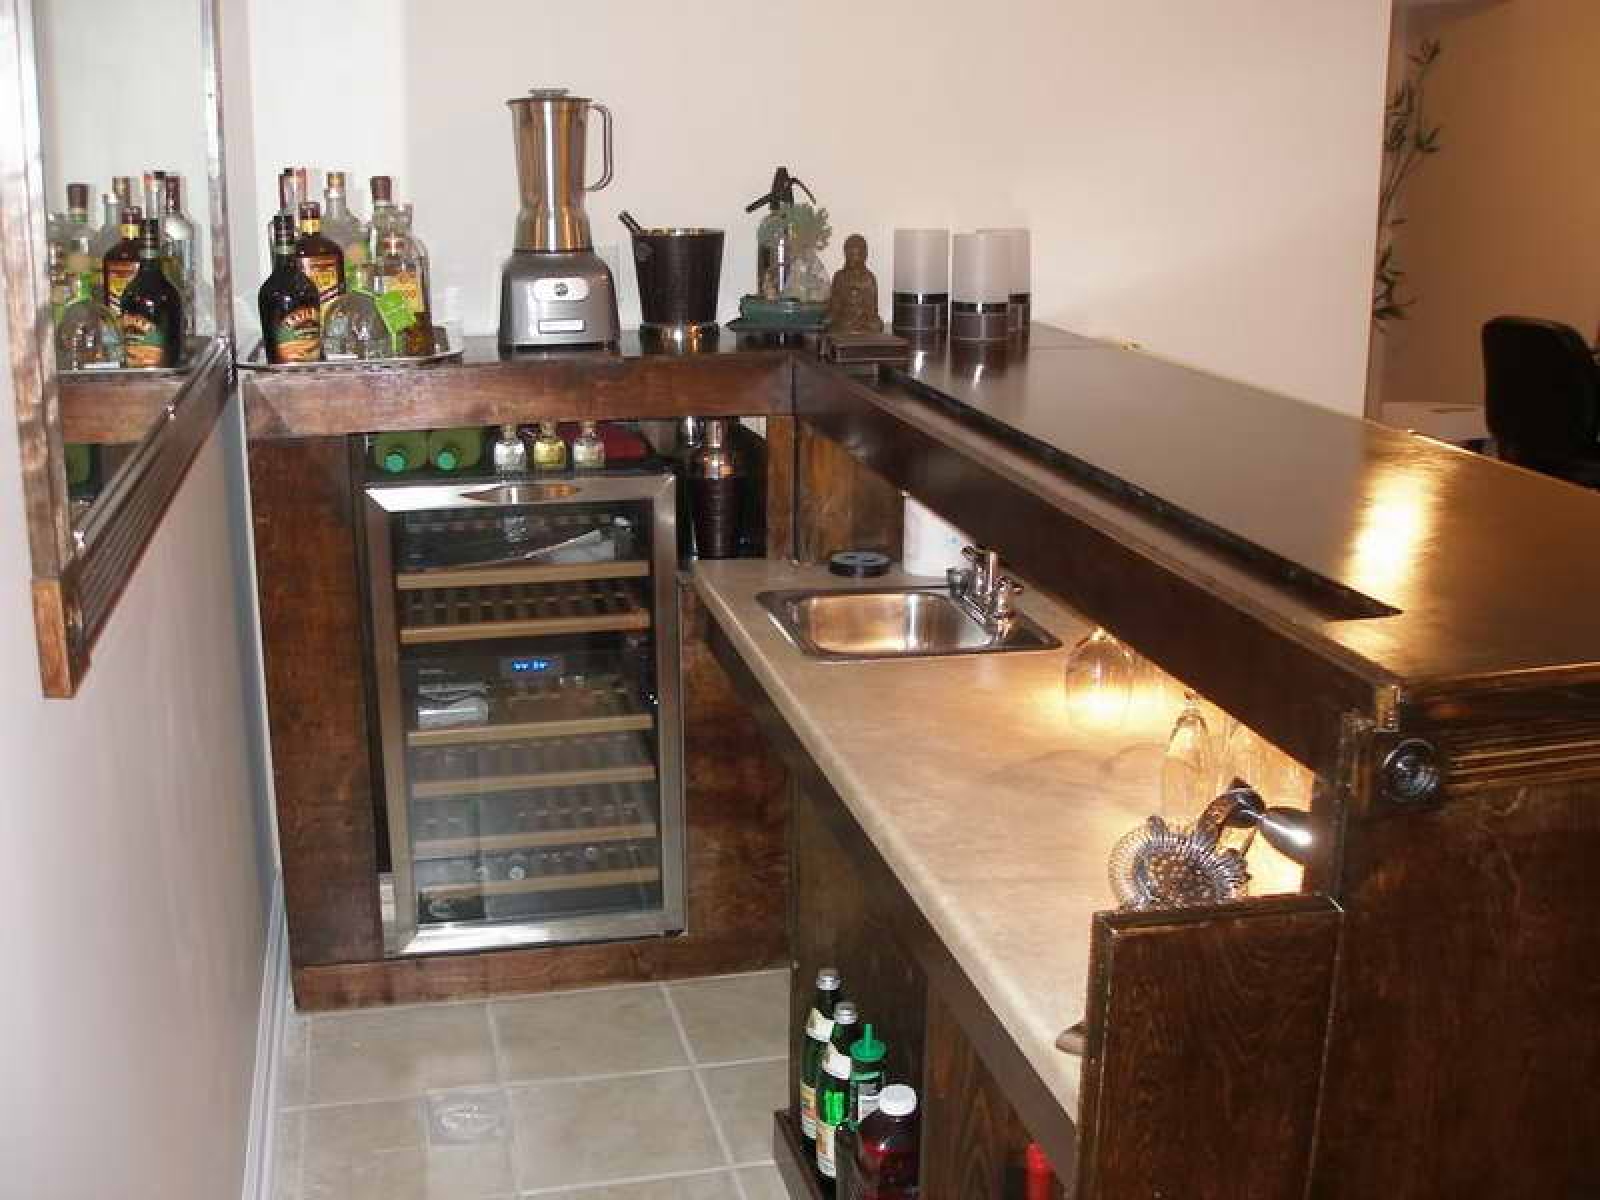
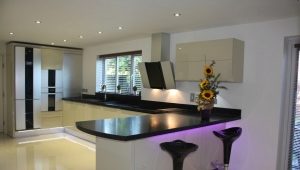
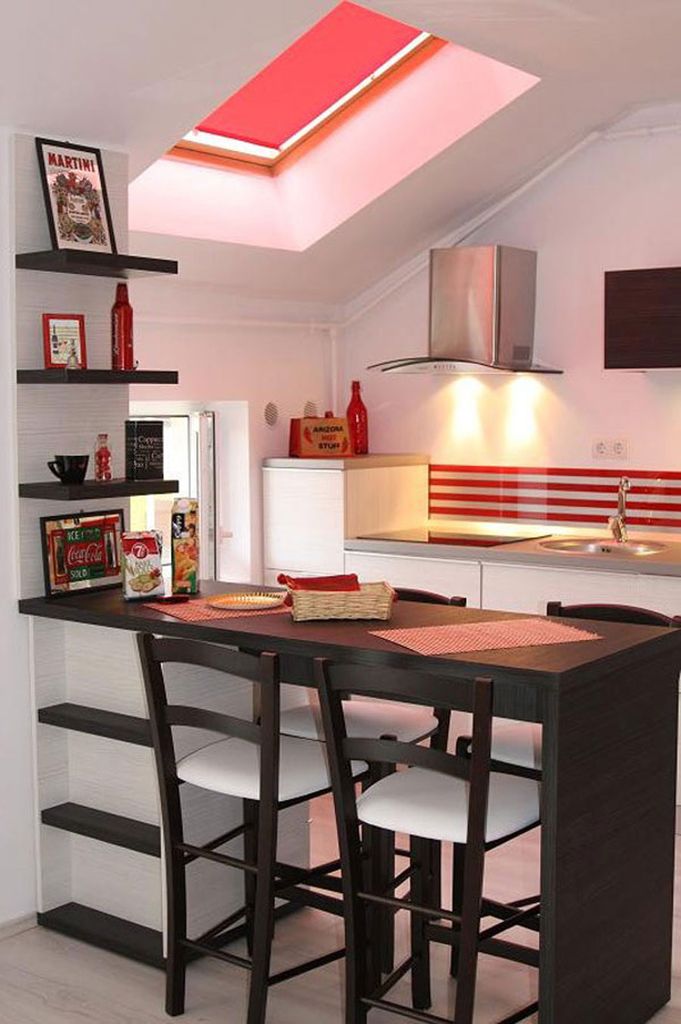
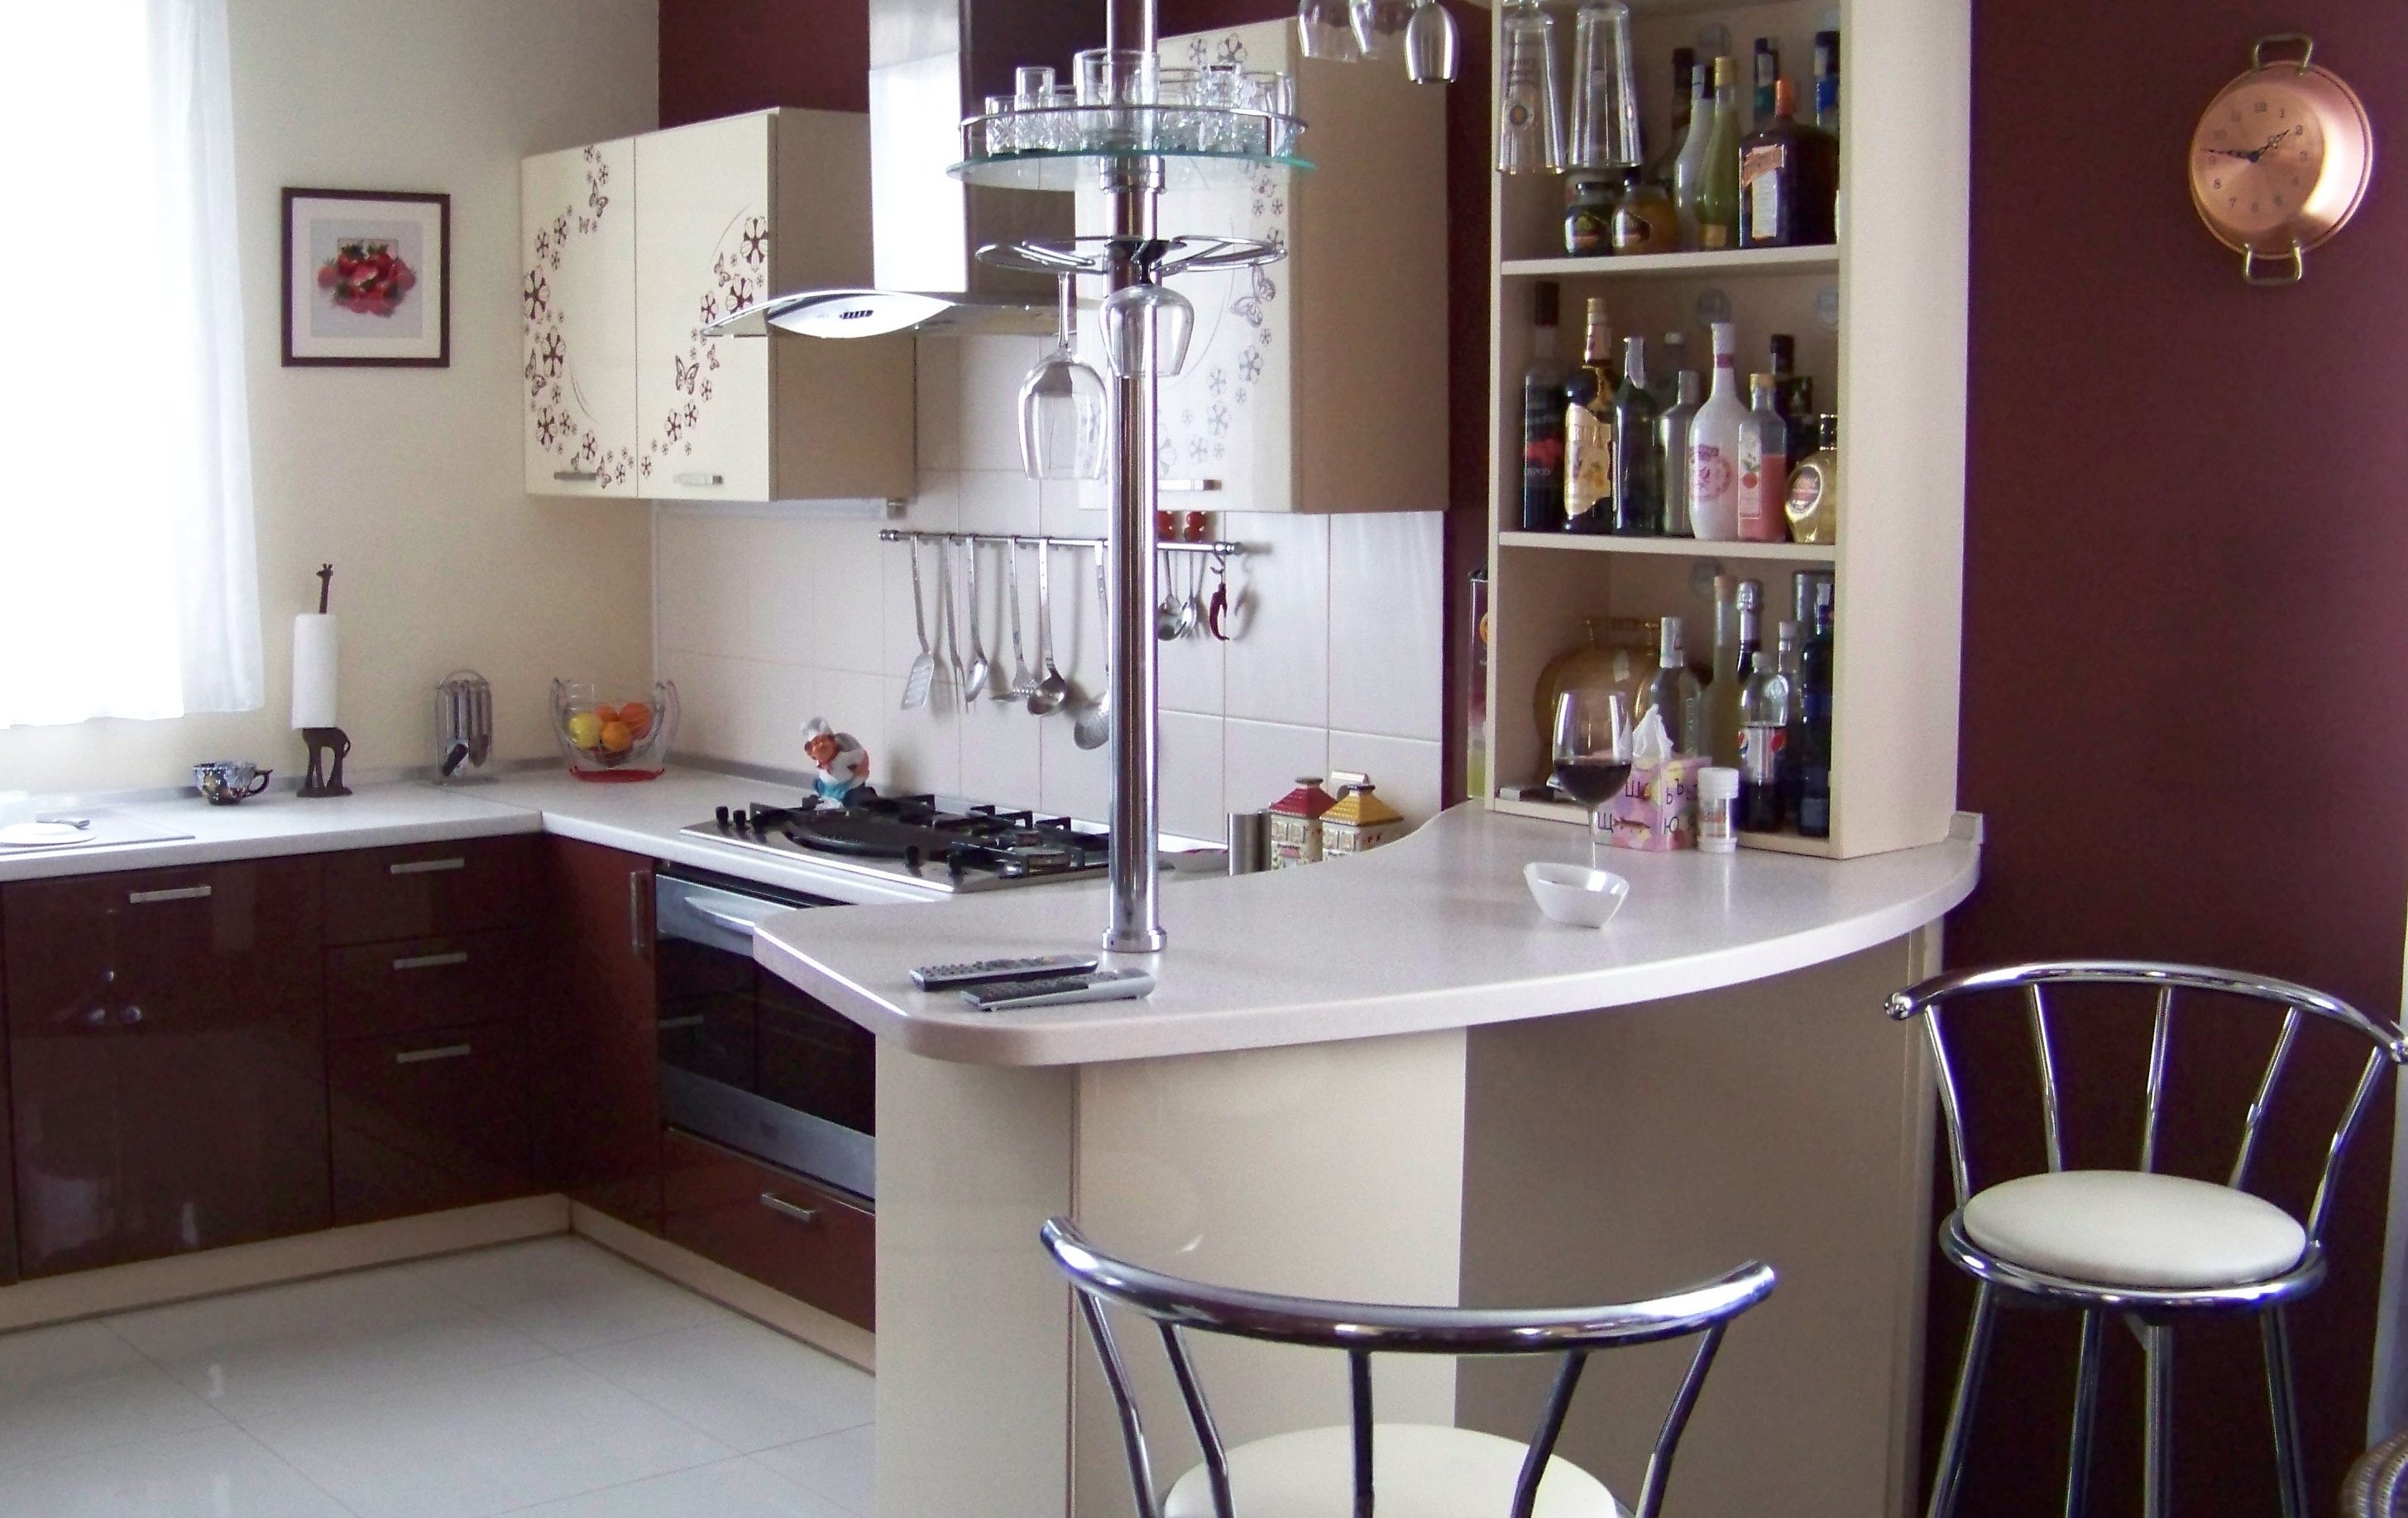
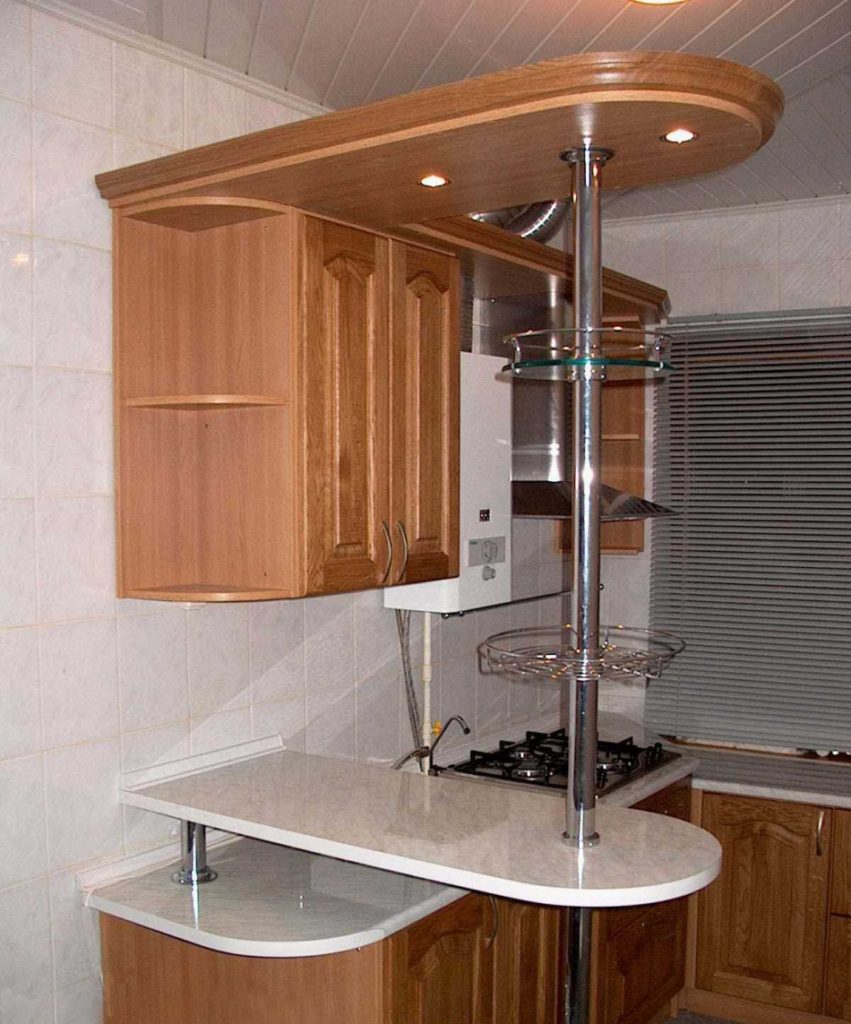
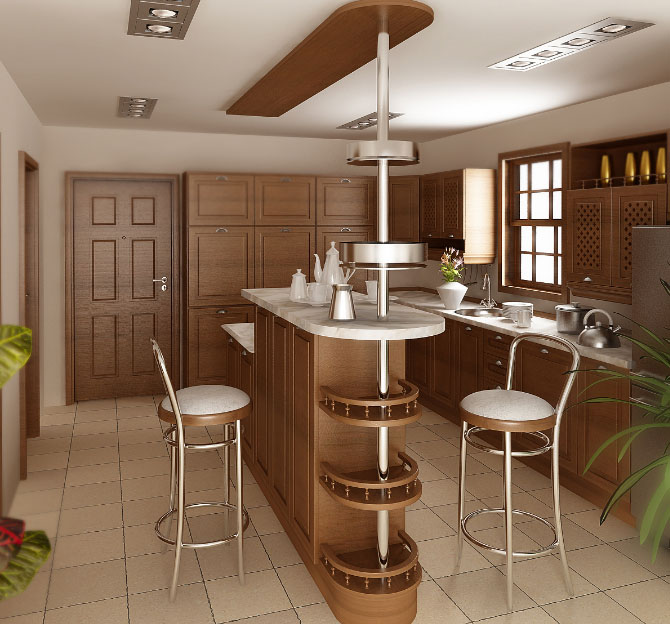
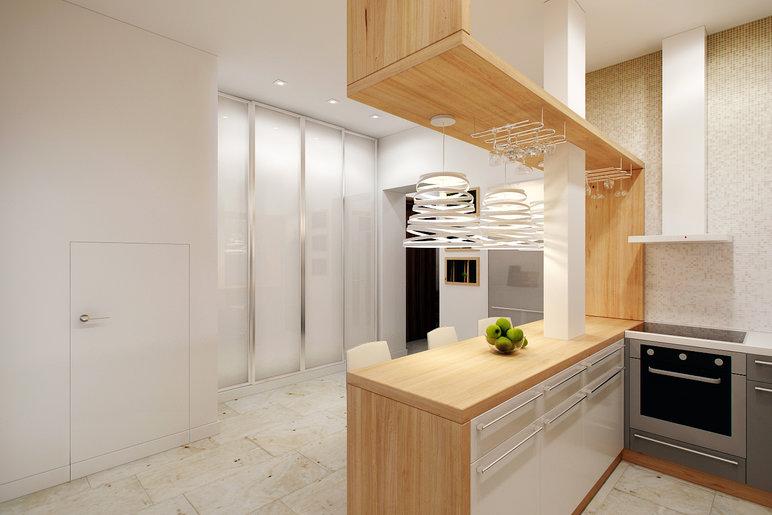
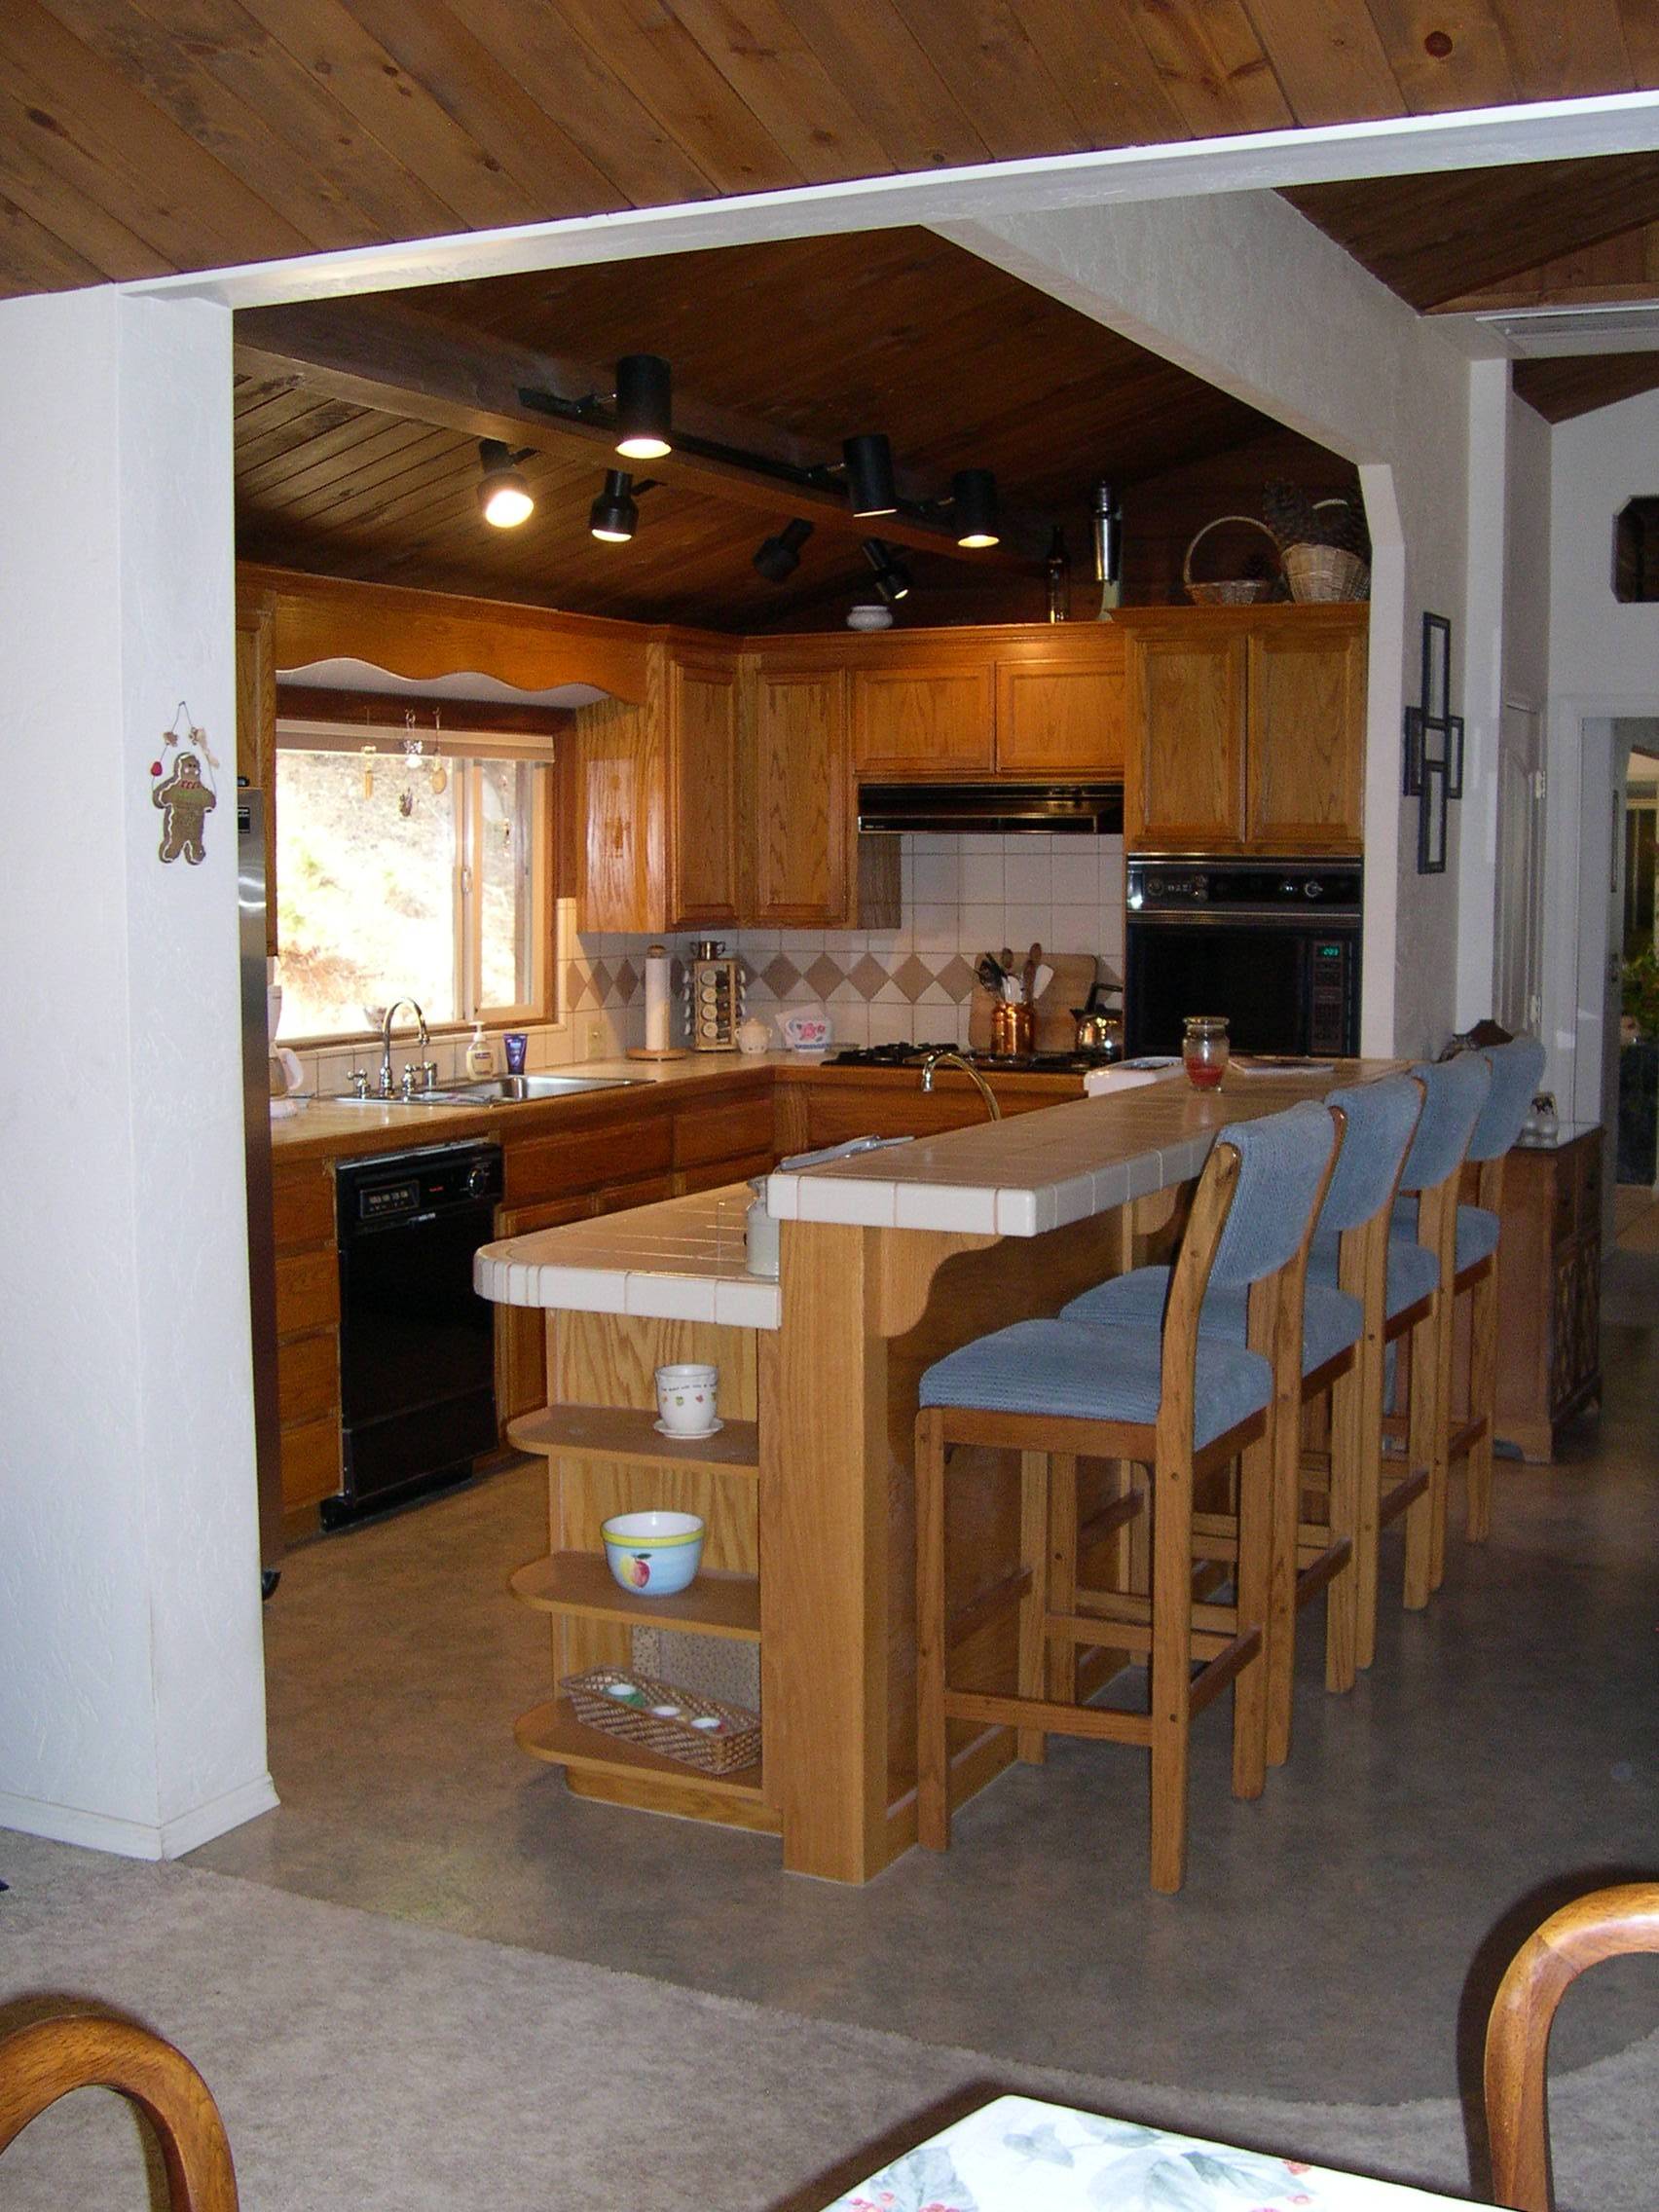
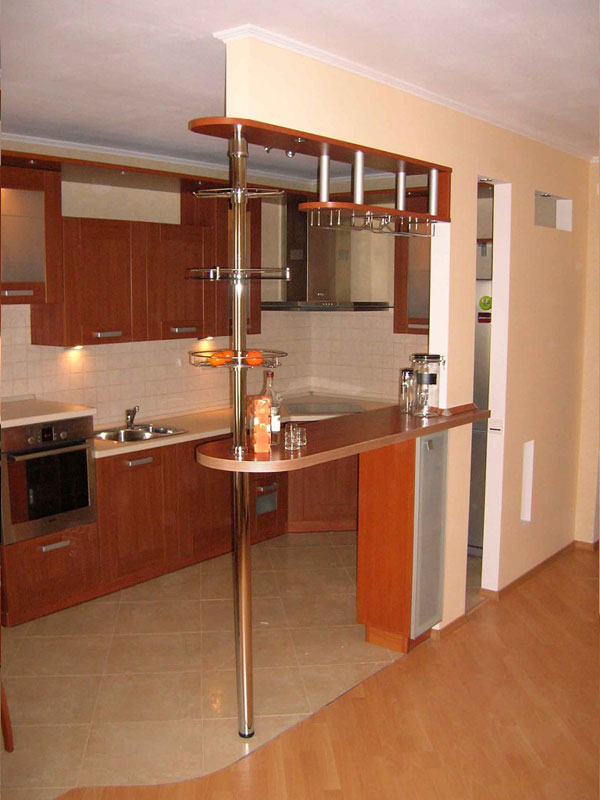
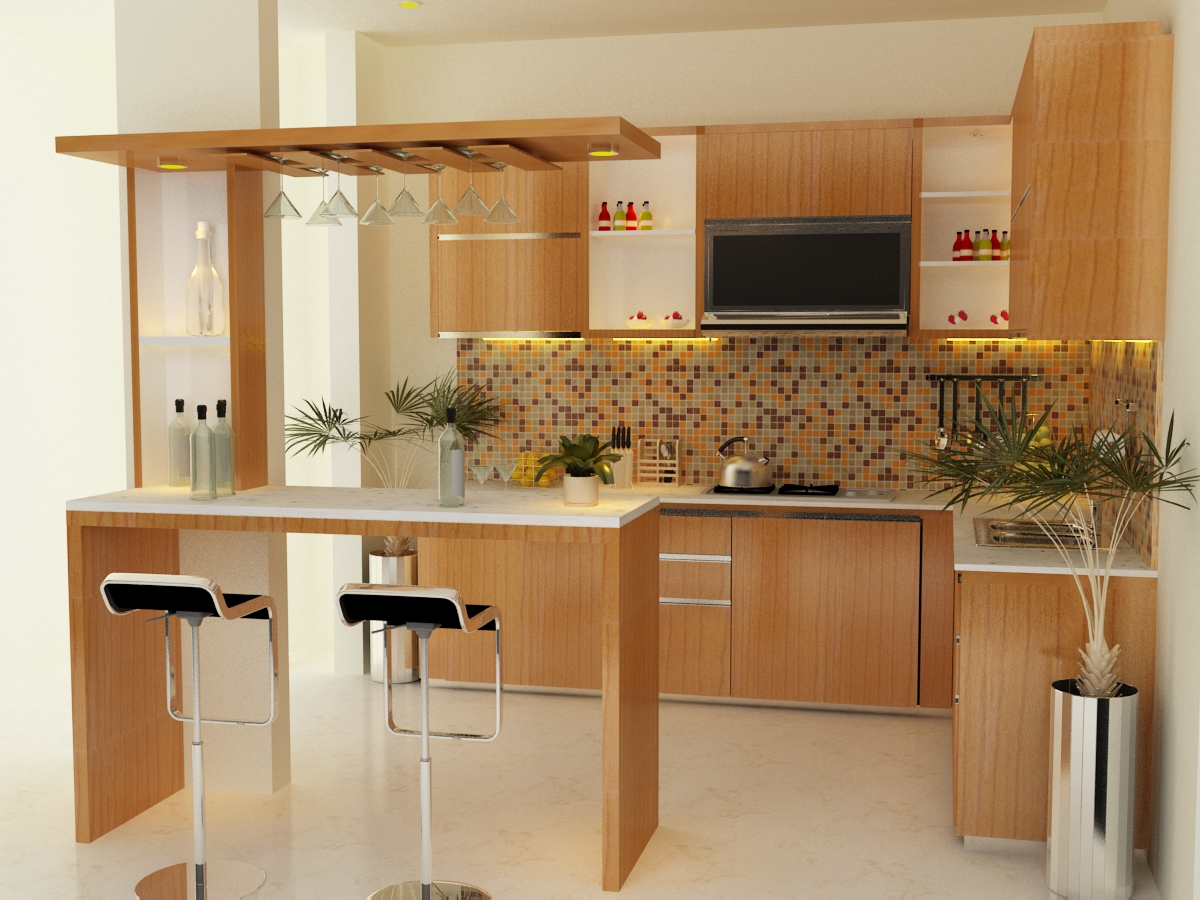
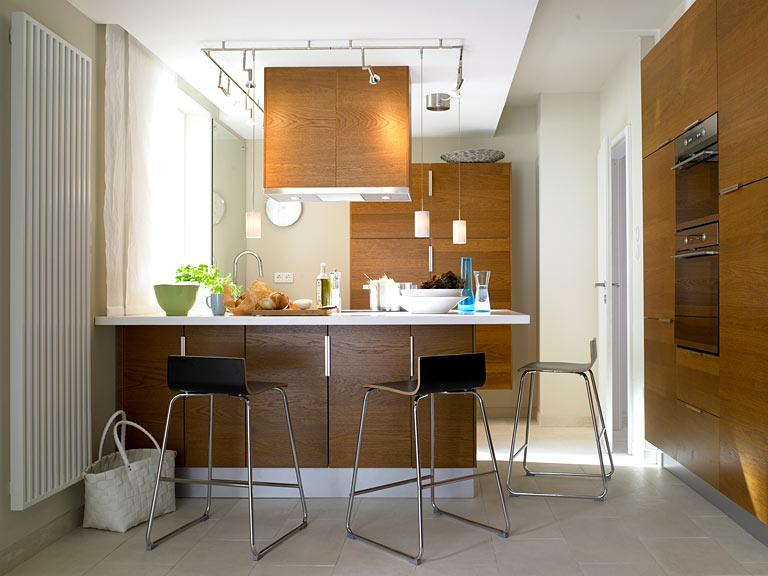
In the XXI century, two-tier bar counters have undergone some changes. The lower tier in modern racks is located in the direction of the kitchen. It serves as a cutting table at a comfortable mistress height.
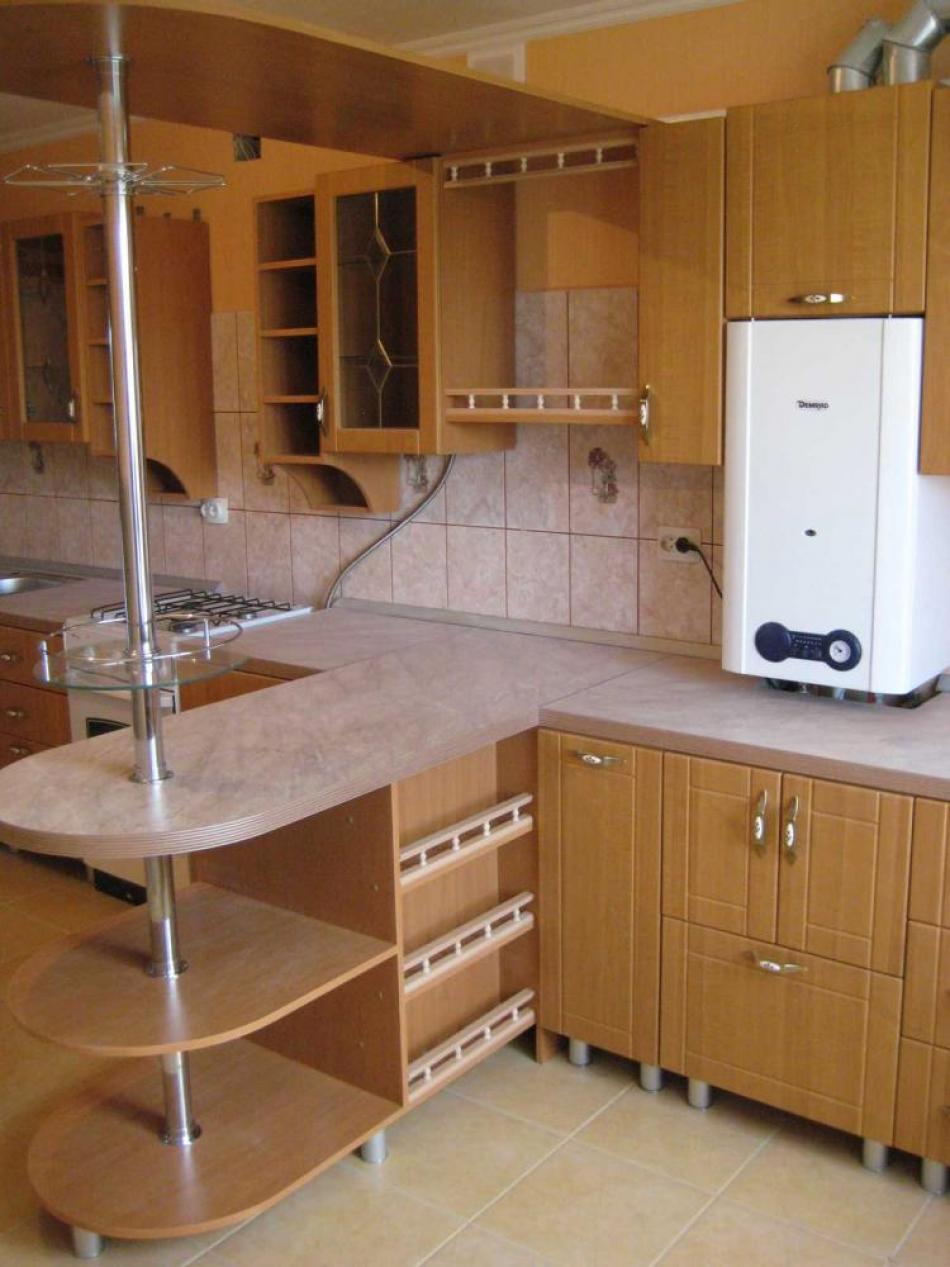
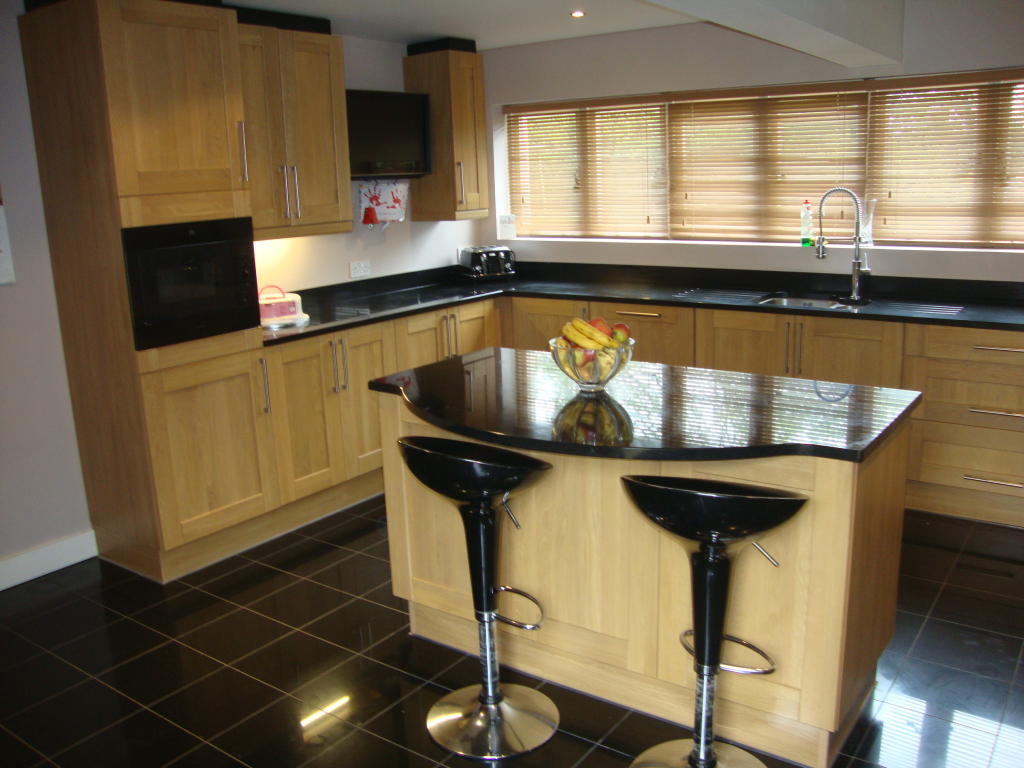
But the most practical bunkers are racks, in which the lower tier is reduced and has the appearance of a side table, on the right and in the center. Such a table can be both dining and working. For example, while the parent is cooking, the child draws at the table. During the festive feast, the bar table becomes a dispensing table: drinks and food are arranged on it.
Choosing a style
The bar counter is installed taking into account the interior of the room and based on the style of the kitchen set, in order to preserve its appearance and add a feeling of comfort.First you need to assess the capabilities of the kitchen to decide which rack can be installed in this particular room.
Types of bar counters are divided into:
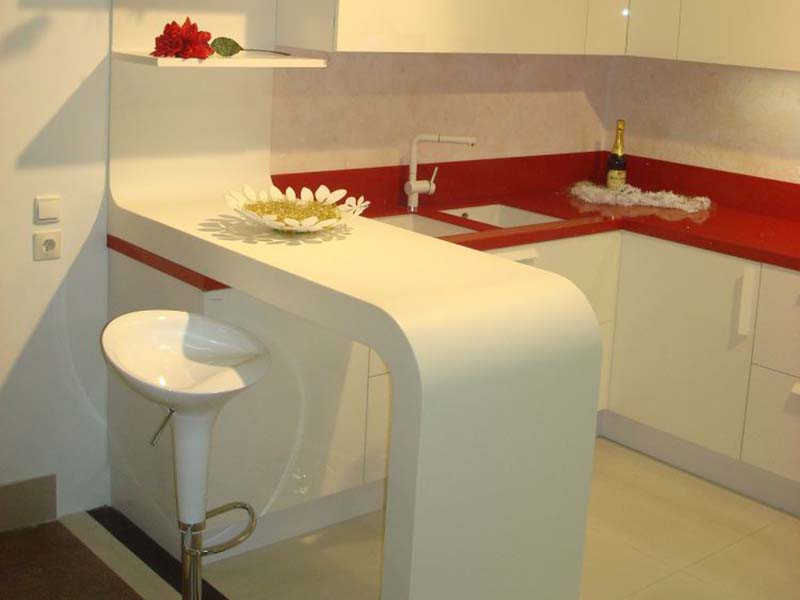
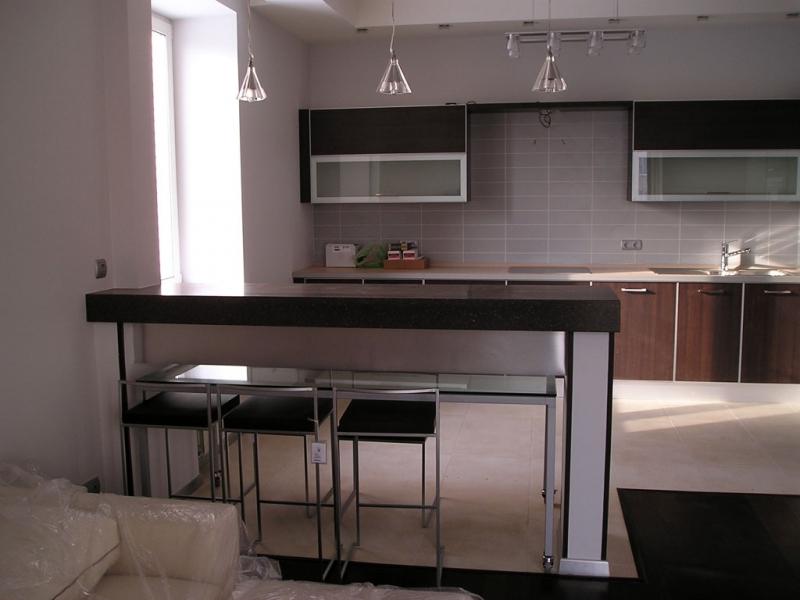
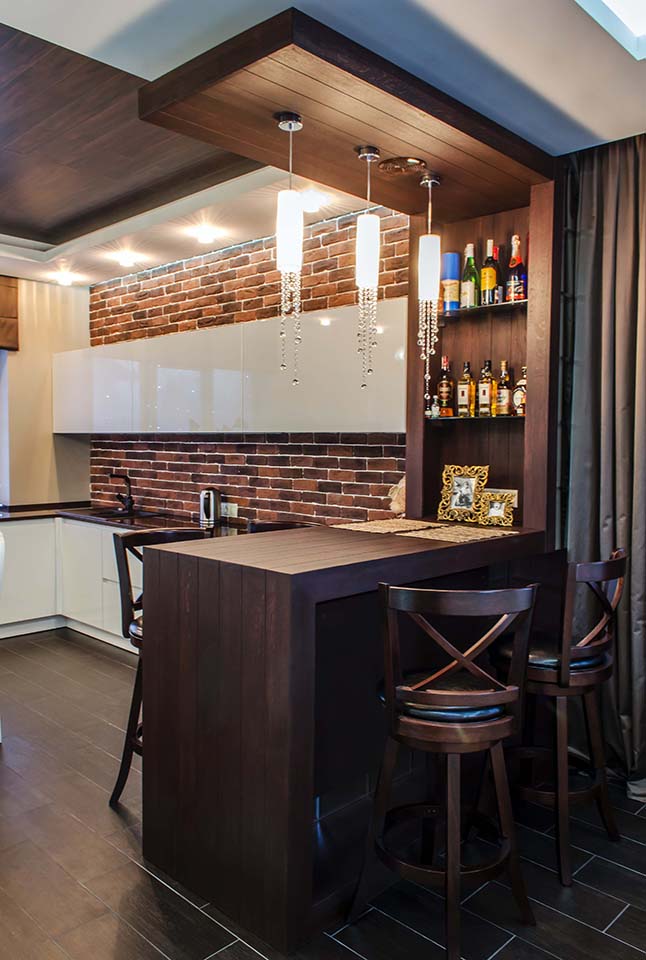
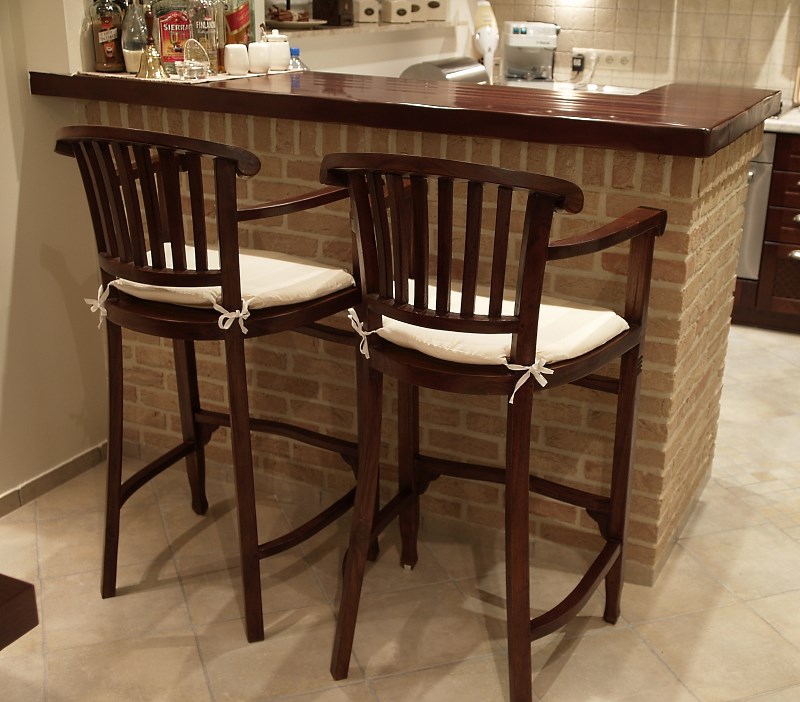
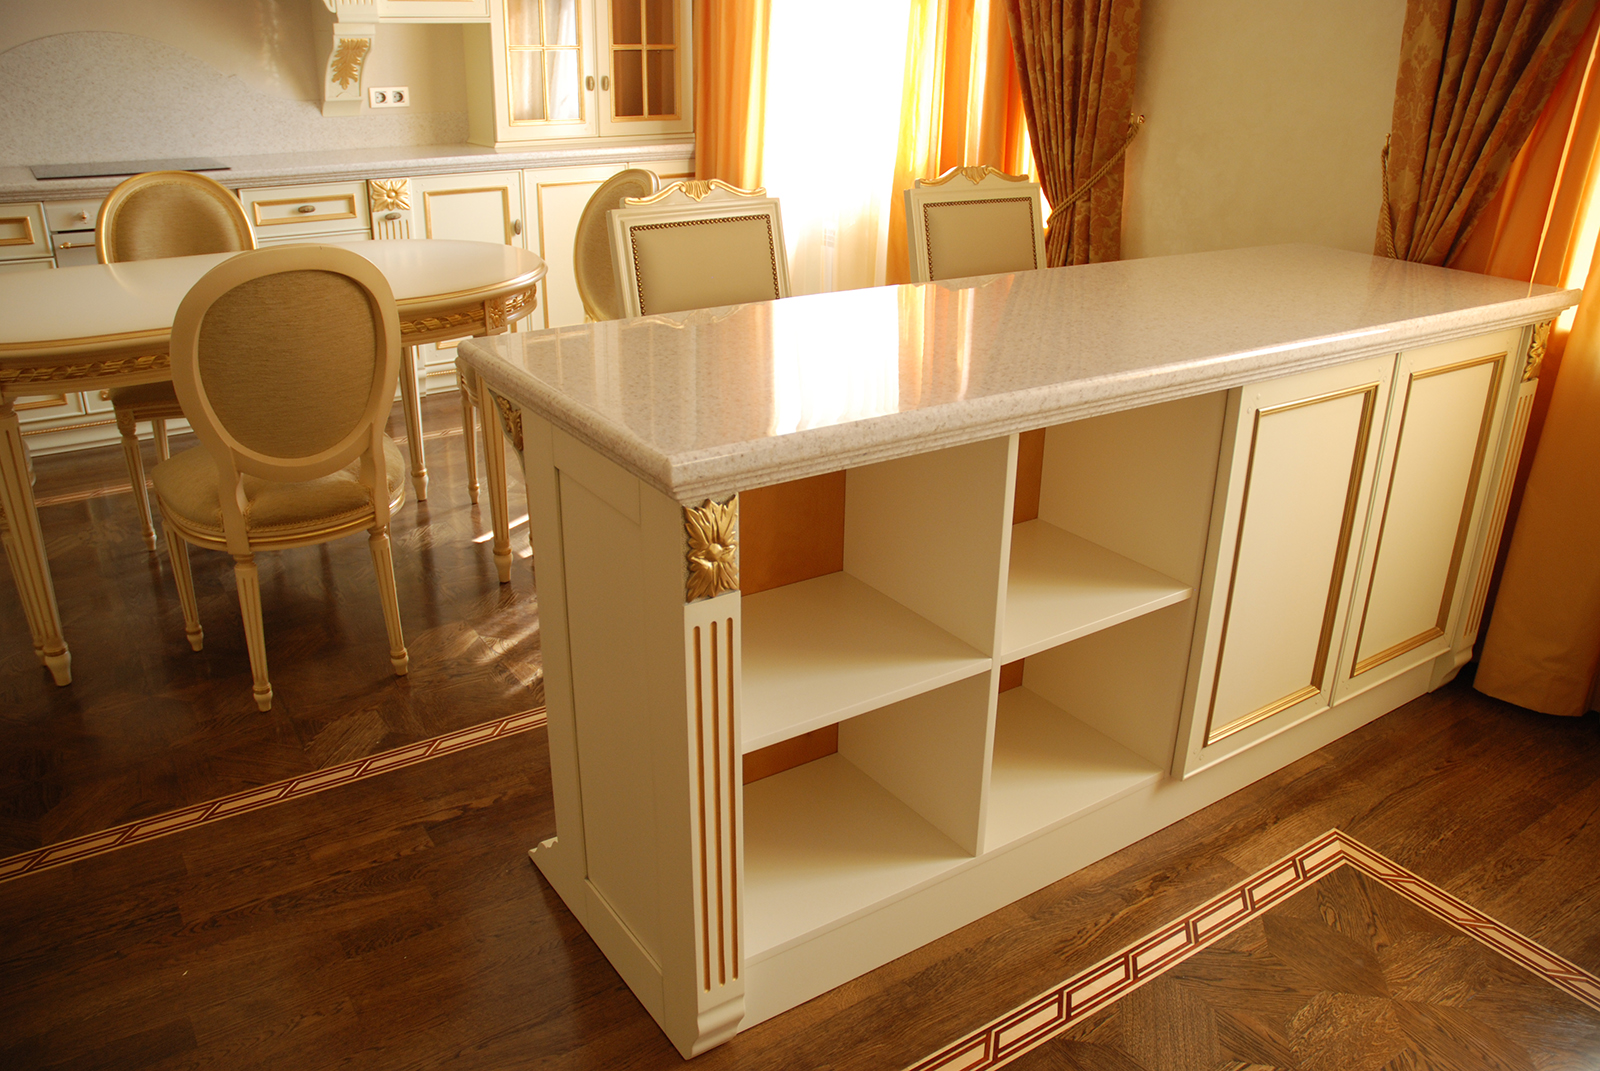
- Classic - consoles are installed at a height of slightly more than a meter, and on them is already located table. It is possible to add a design by means of high chairs from a tree.
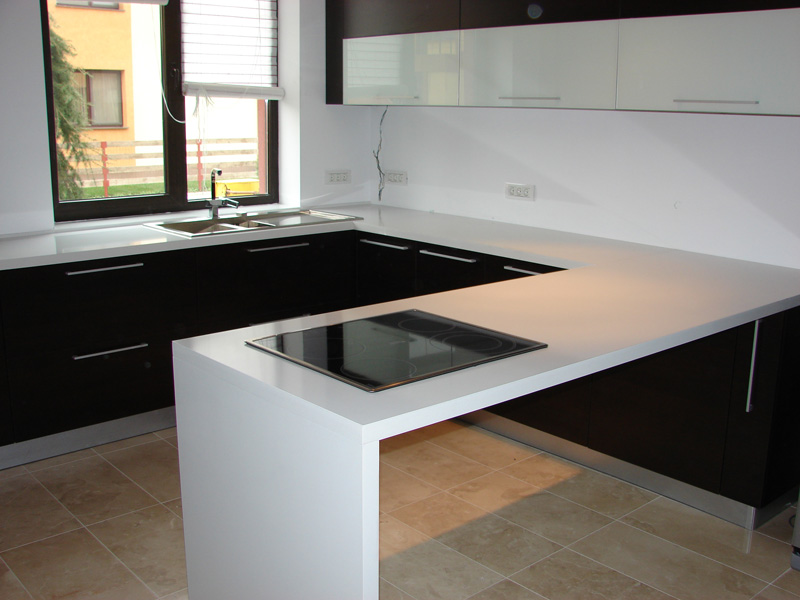
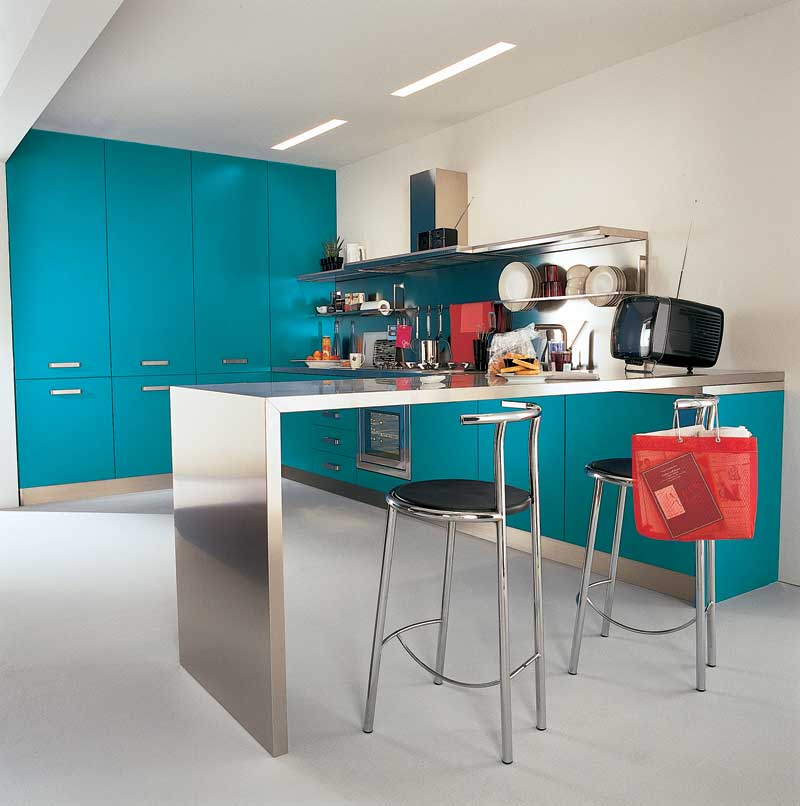
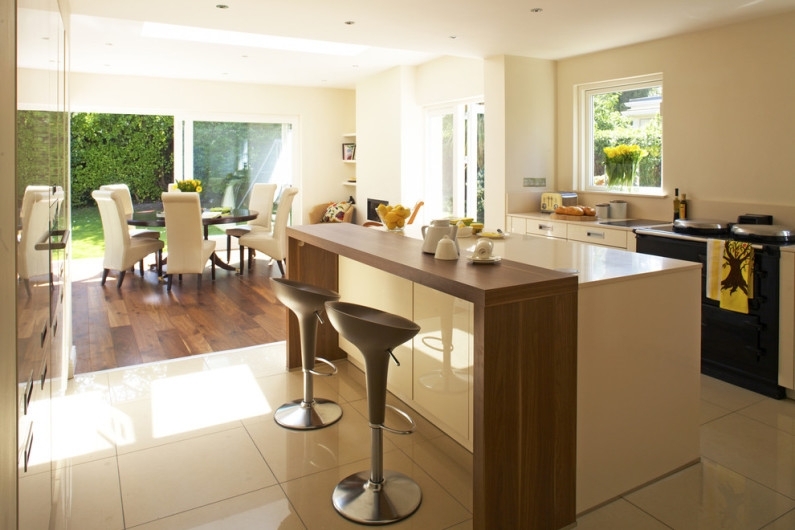
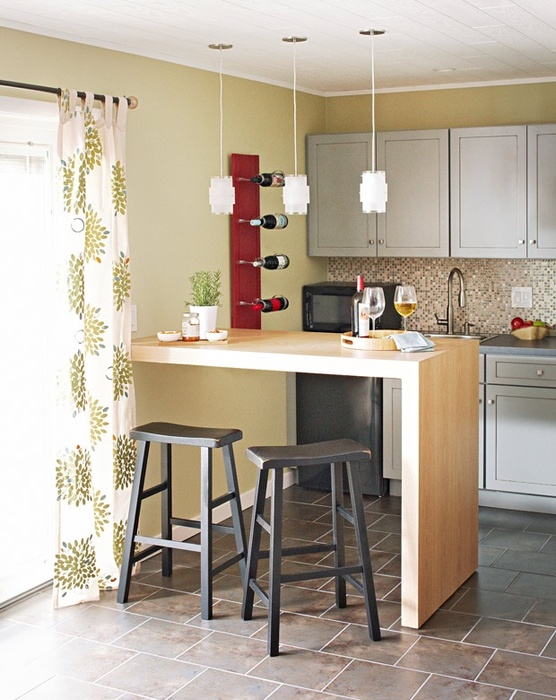
- Combined - stand combines working and dining table. The height of the rack must match the rest of the furniture.
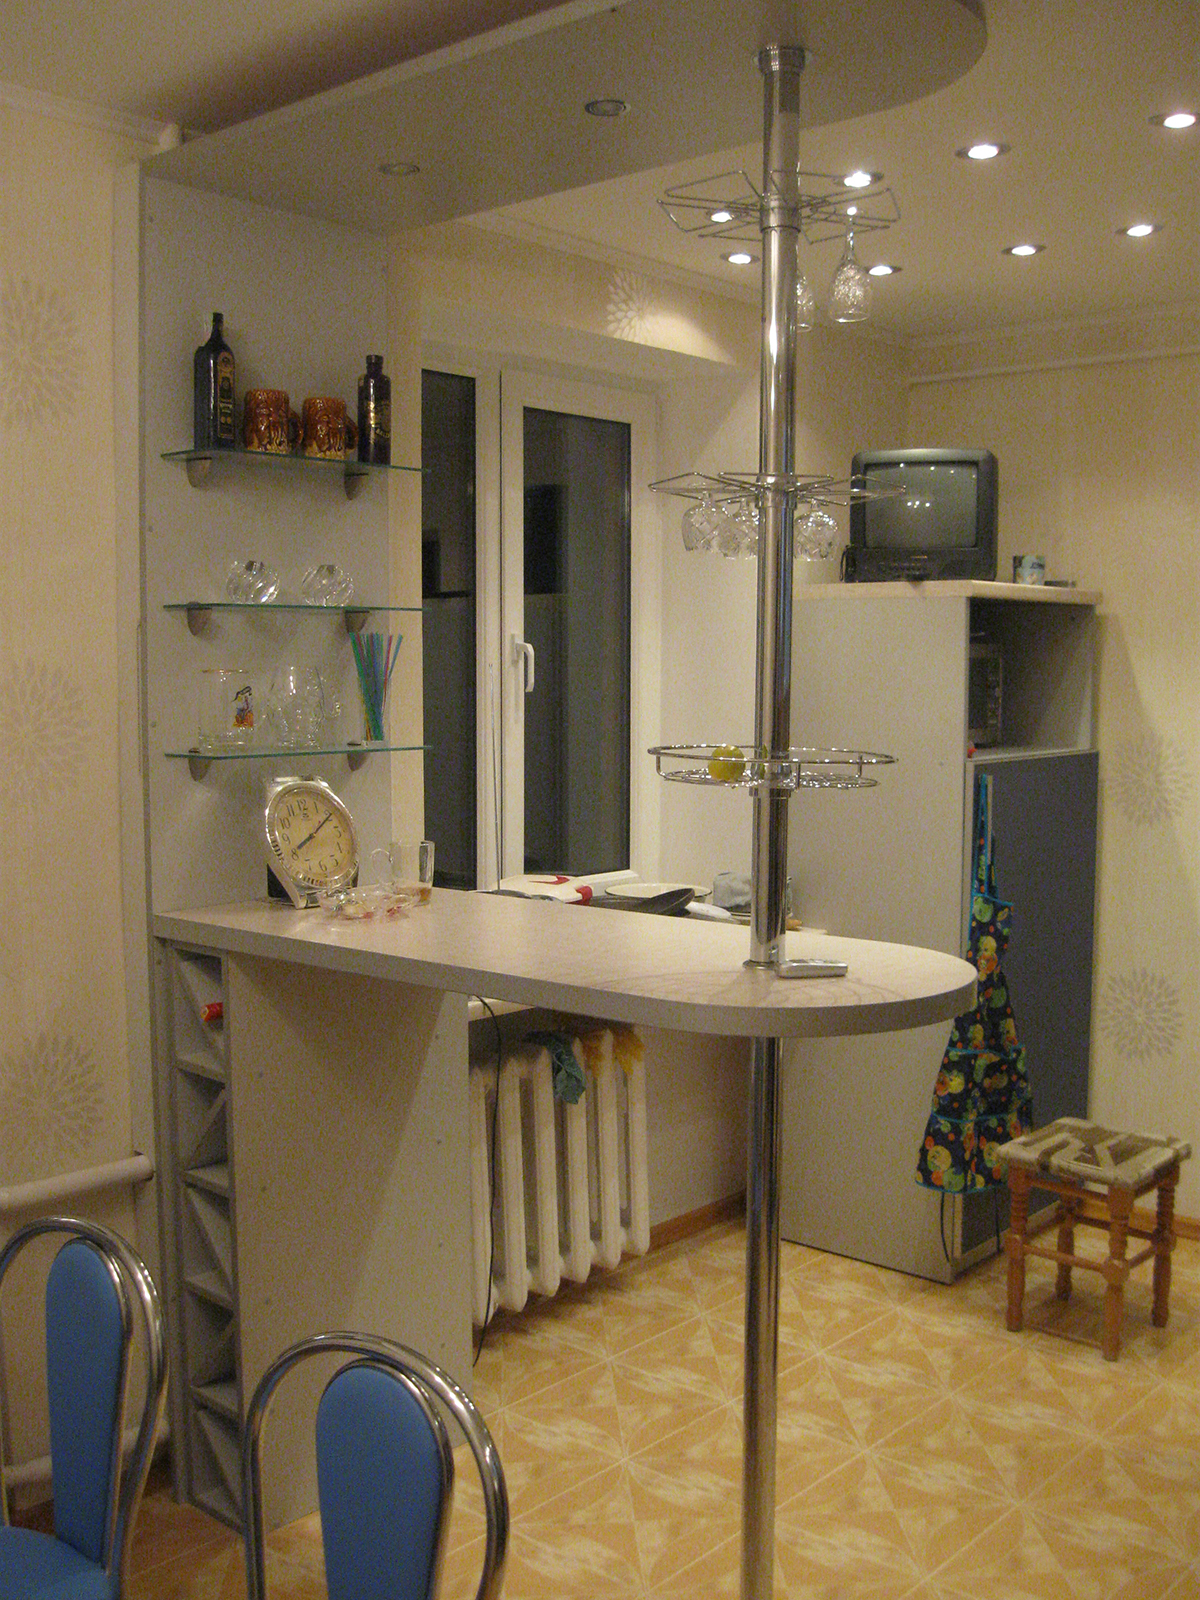
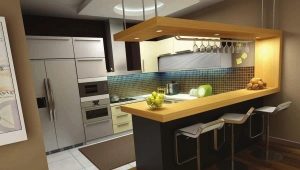
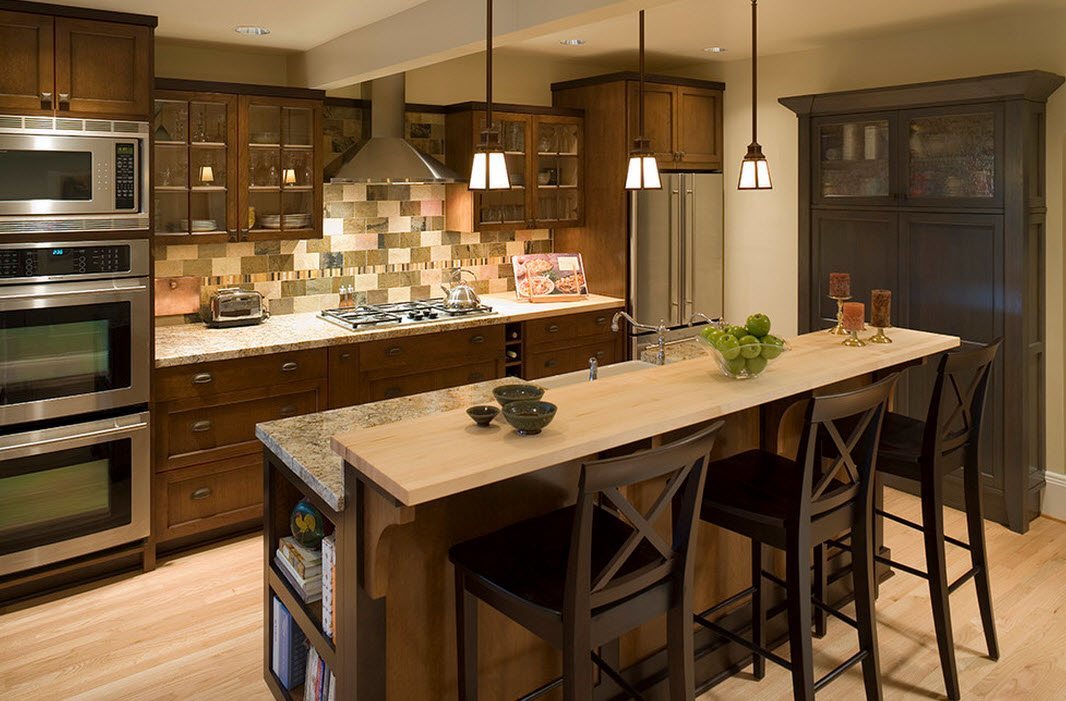
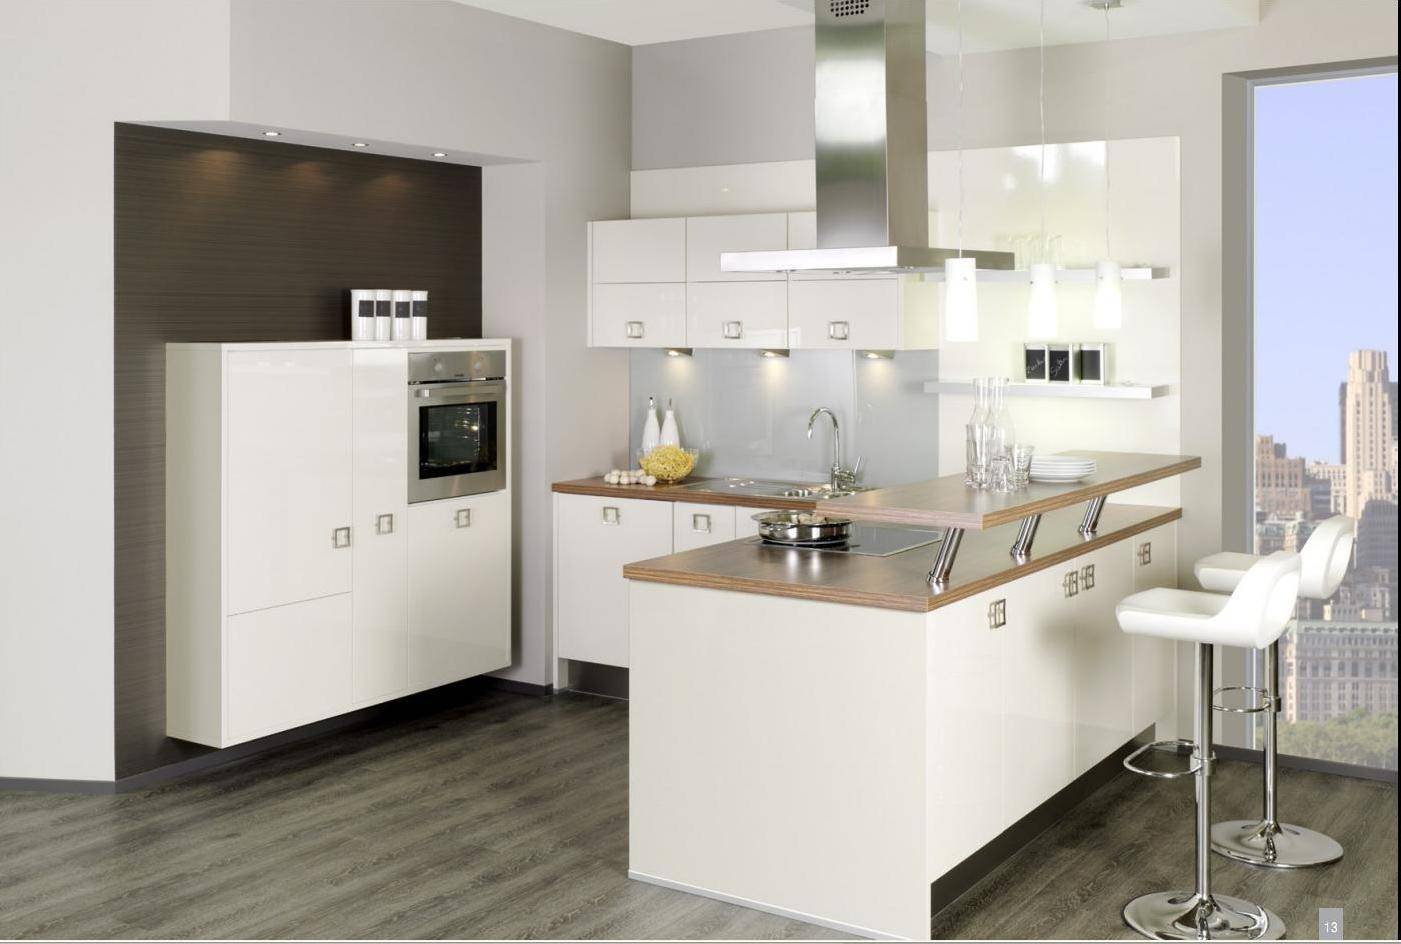
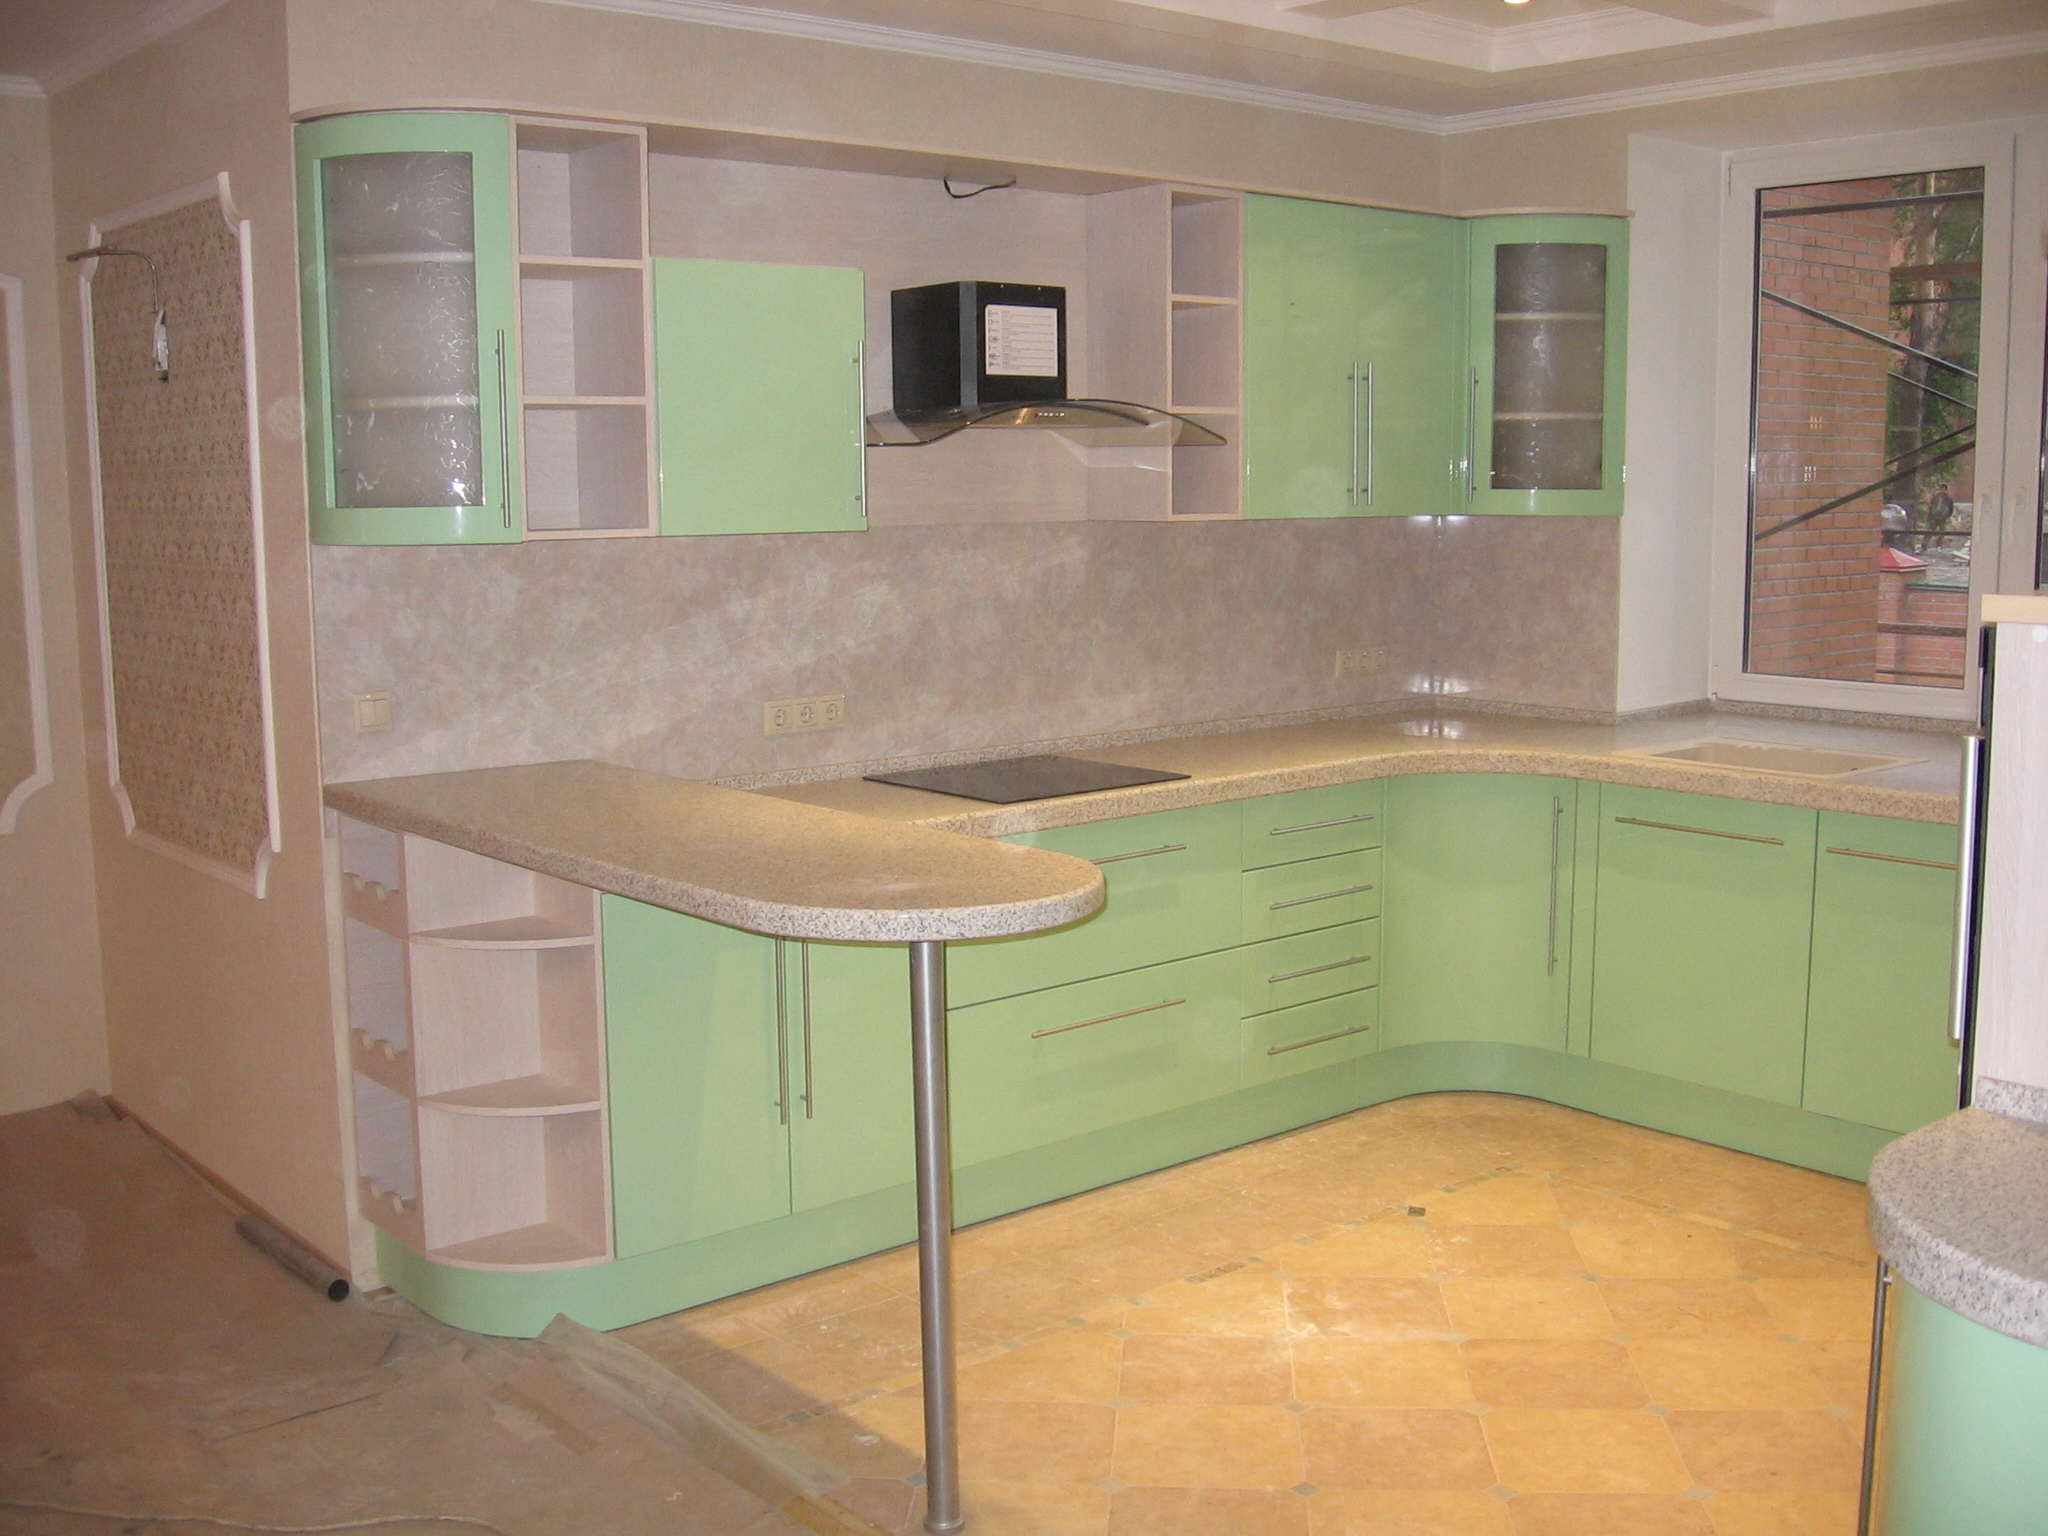
- Two-level - an option for a small kitchen. The rack consists of two levels: the top - the rack, the bottom - the dining table.
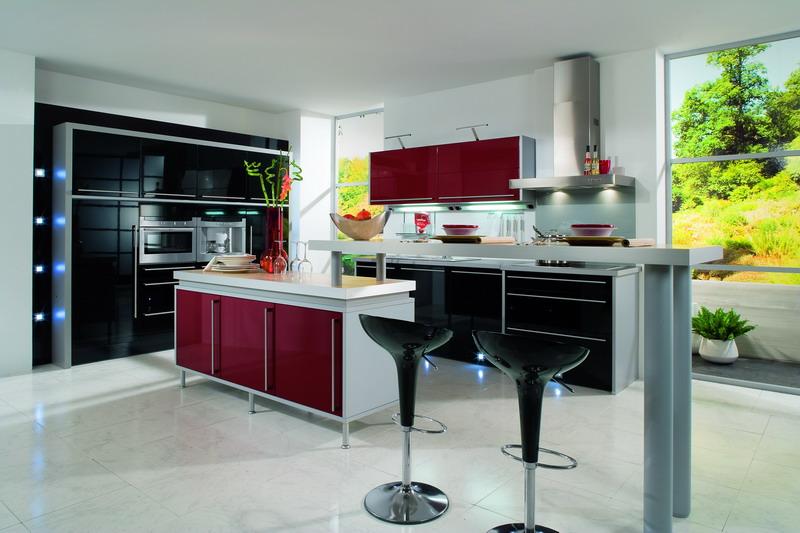
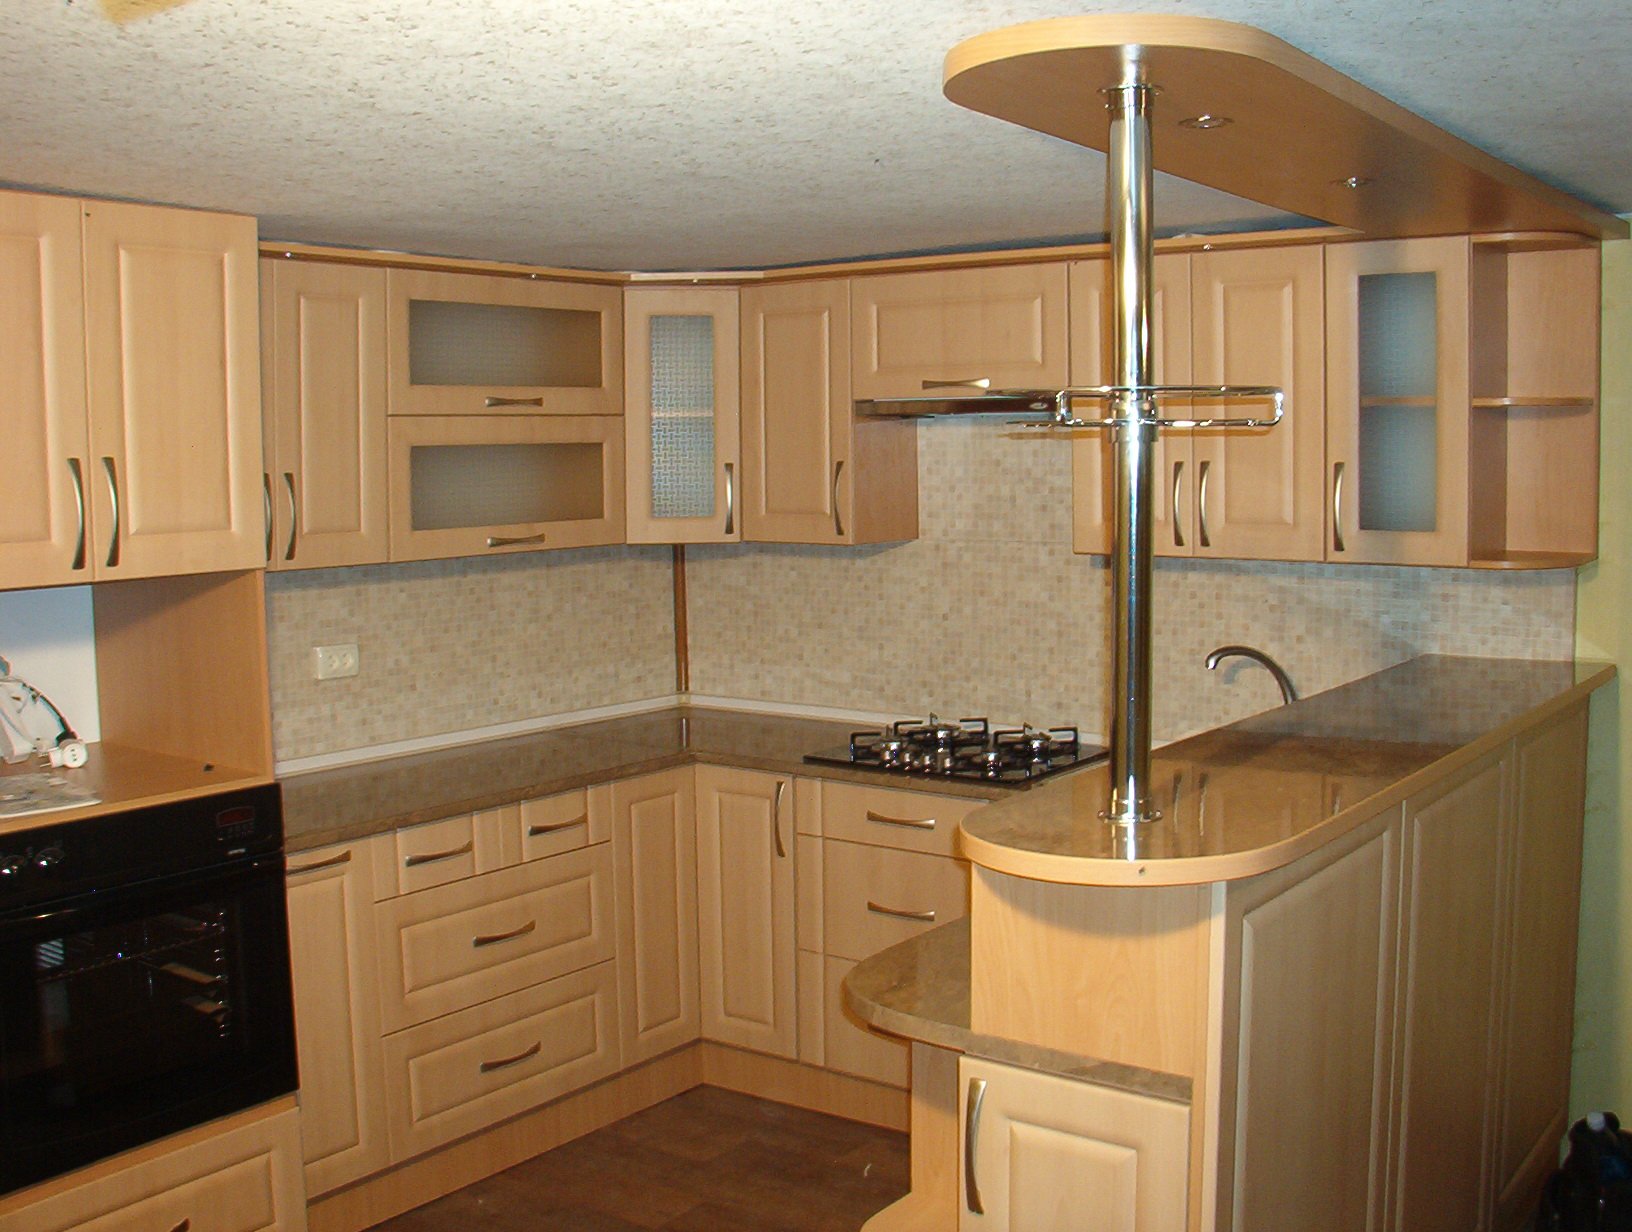
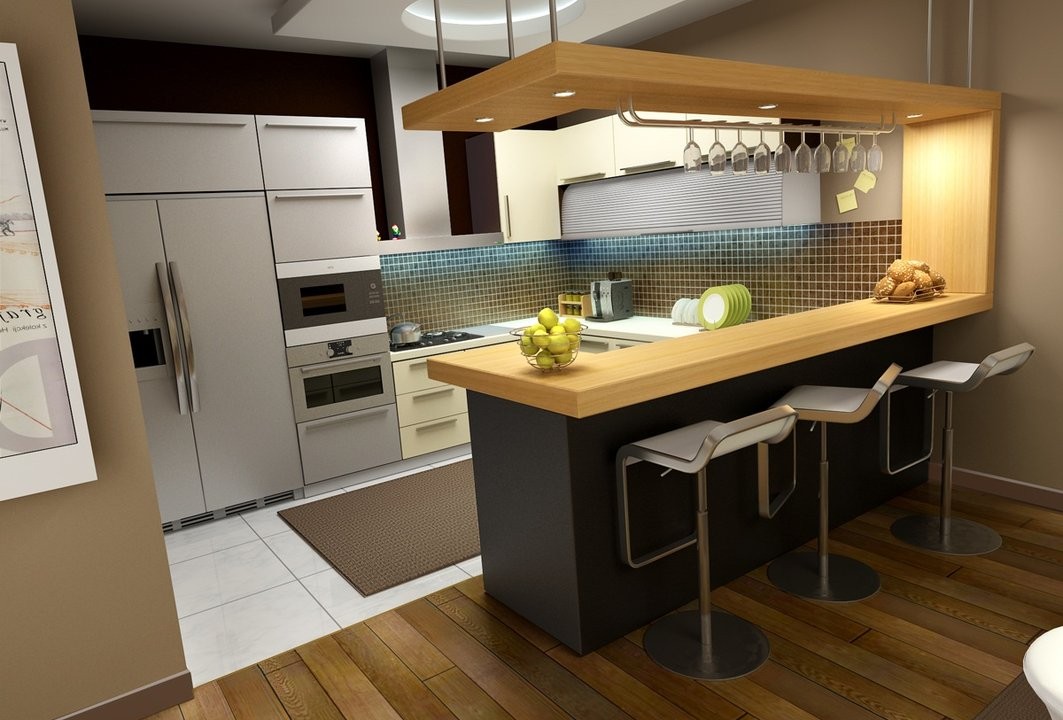
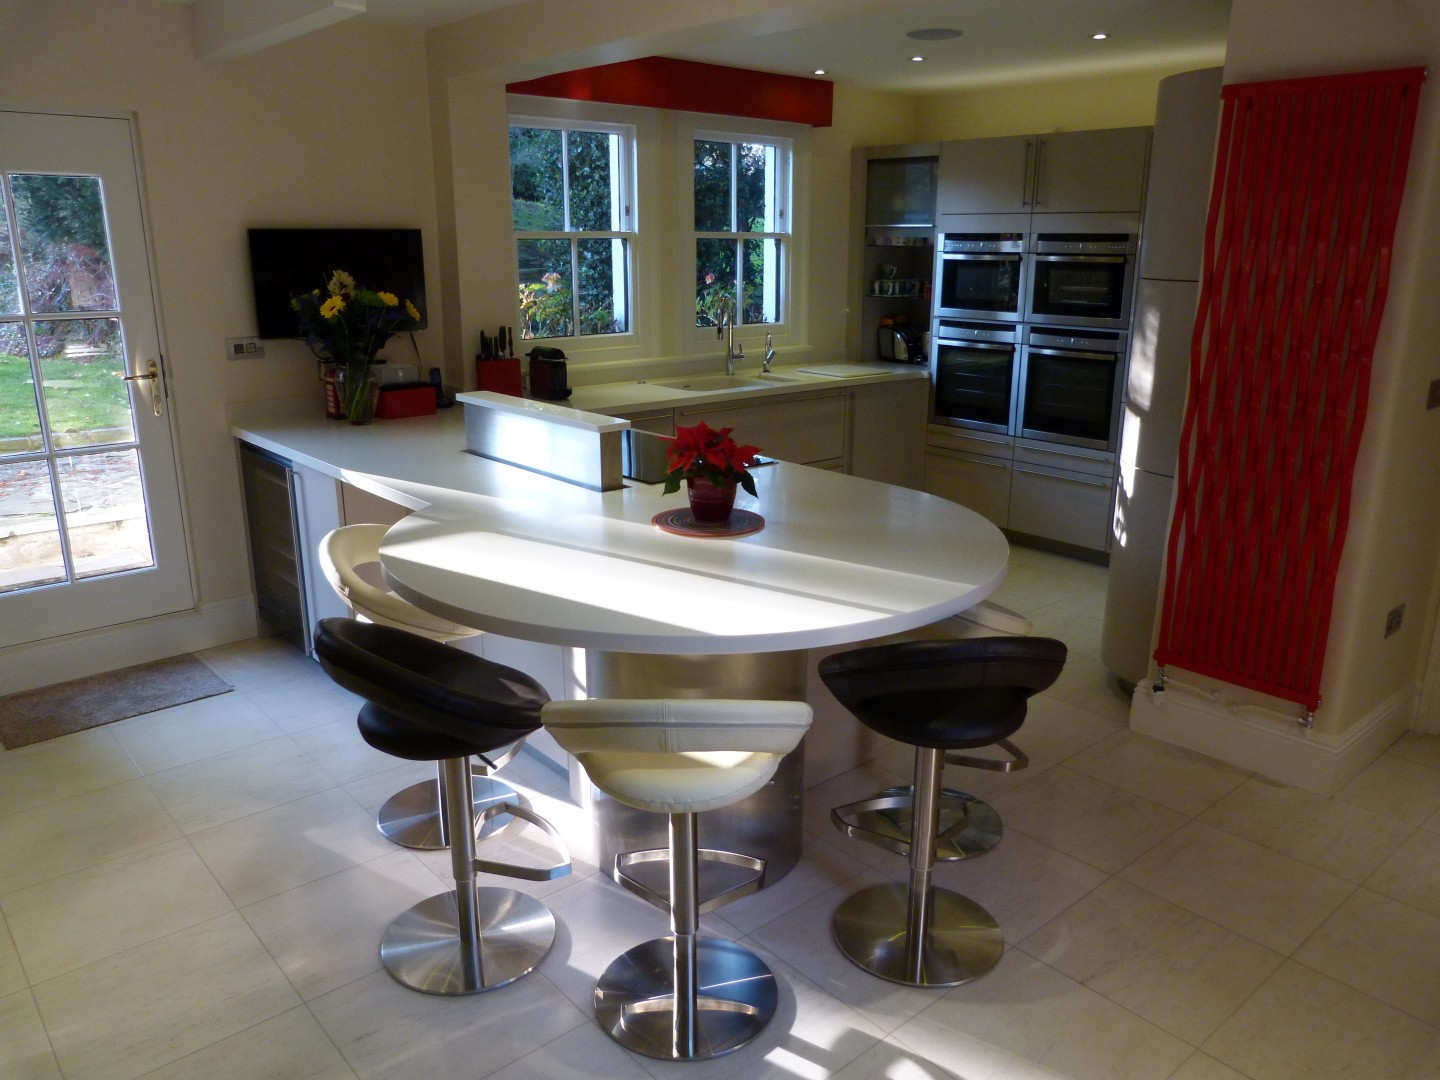
- The central - bar counter is located in the center of the kitchen. The advantage of this stand is that on the one hand there is a hob and sink, and on the other a dining table.
- Traveling - stand can combine a dining table and a desk. In some cases, it can serve as an ironing board. If the lower tubular couplers will be located under the table top at 21 - 26 cm, then the bar counter can be removed if you need to save space.
It should be noted that the bar counter is not a full-fledged dining table, but only a kitchen supplement.
Materials
One of the most common and affordable materials for the manufacture of a bar counter with their own hands are:
- Drywall This material helps to save money, but you can make a rack of any shape out of it. It can be decorated in different ways: to paint, to impose tile or stone. If you wish, you can come up with your own design option.
- Plastic. This material is inexpensive and easy to work with. The main drawback of plastic is fragility.
- LDSP. This material is more expensive than the previous ones and it is more difficult to work with it. But it will last longer. Wood chipboard is sold in different colors, so you will not have to arrange the future stand yourself.
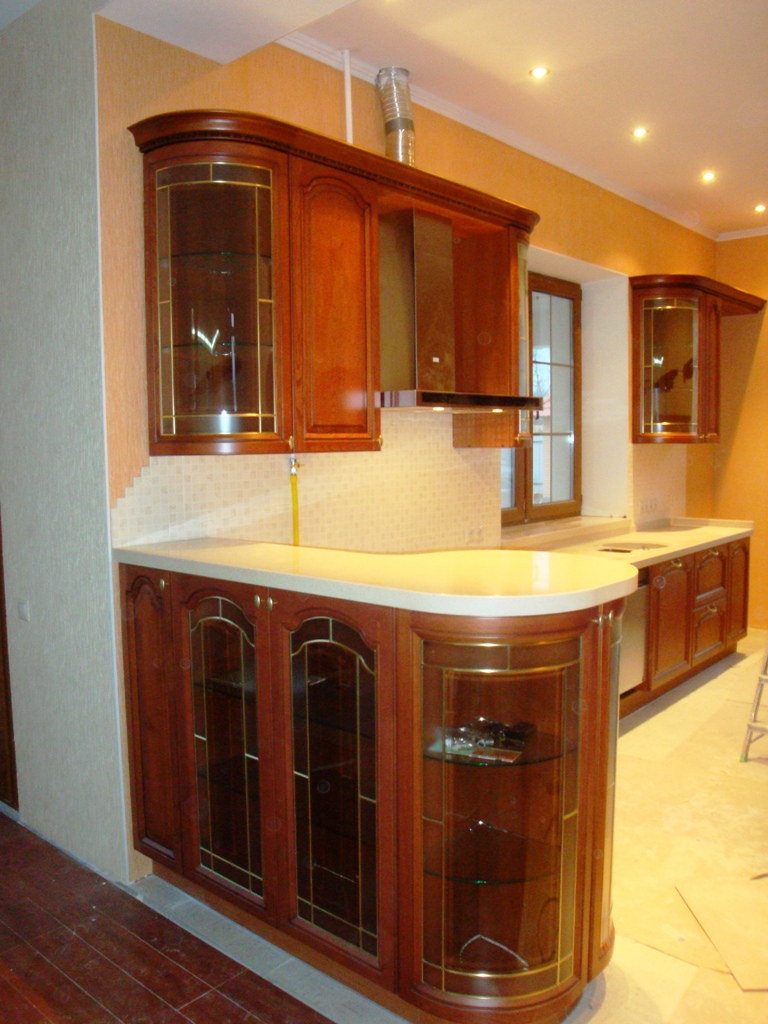
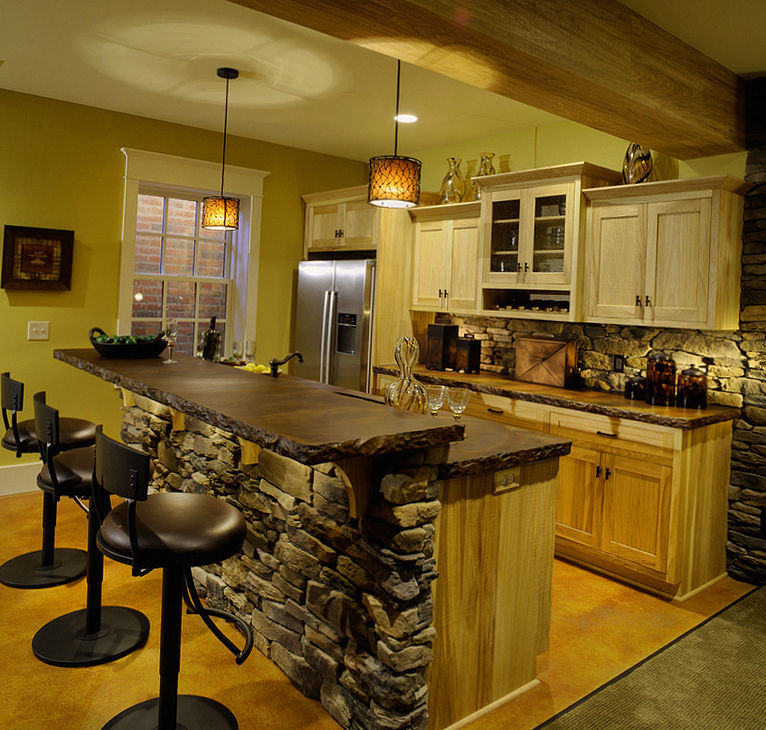
- Natural wood is an expensive material and only a professional can work with it. The rack from a natural tree looks solid and serves long.
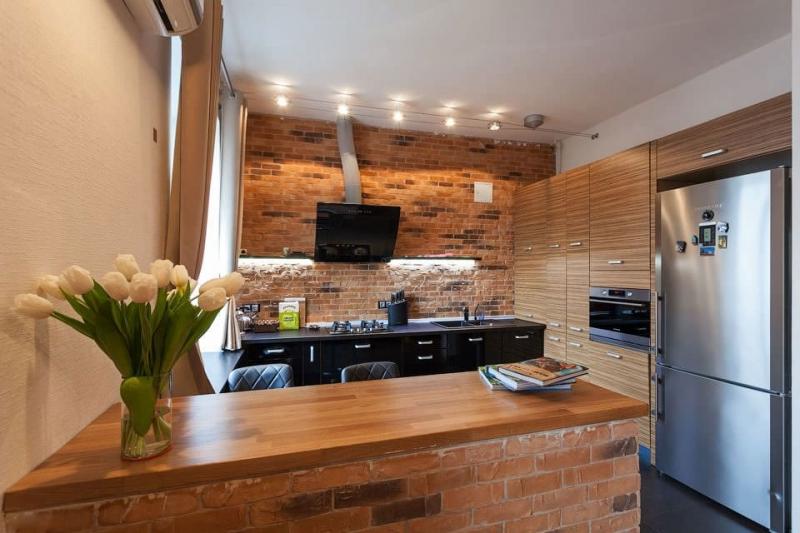
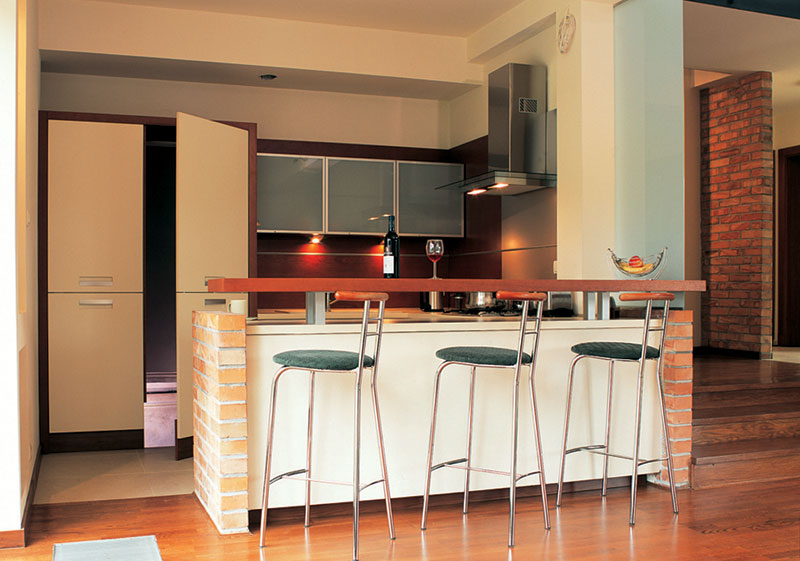
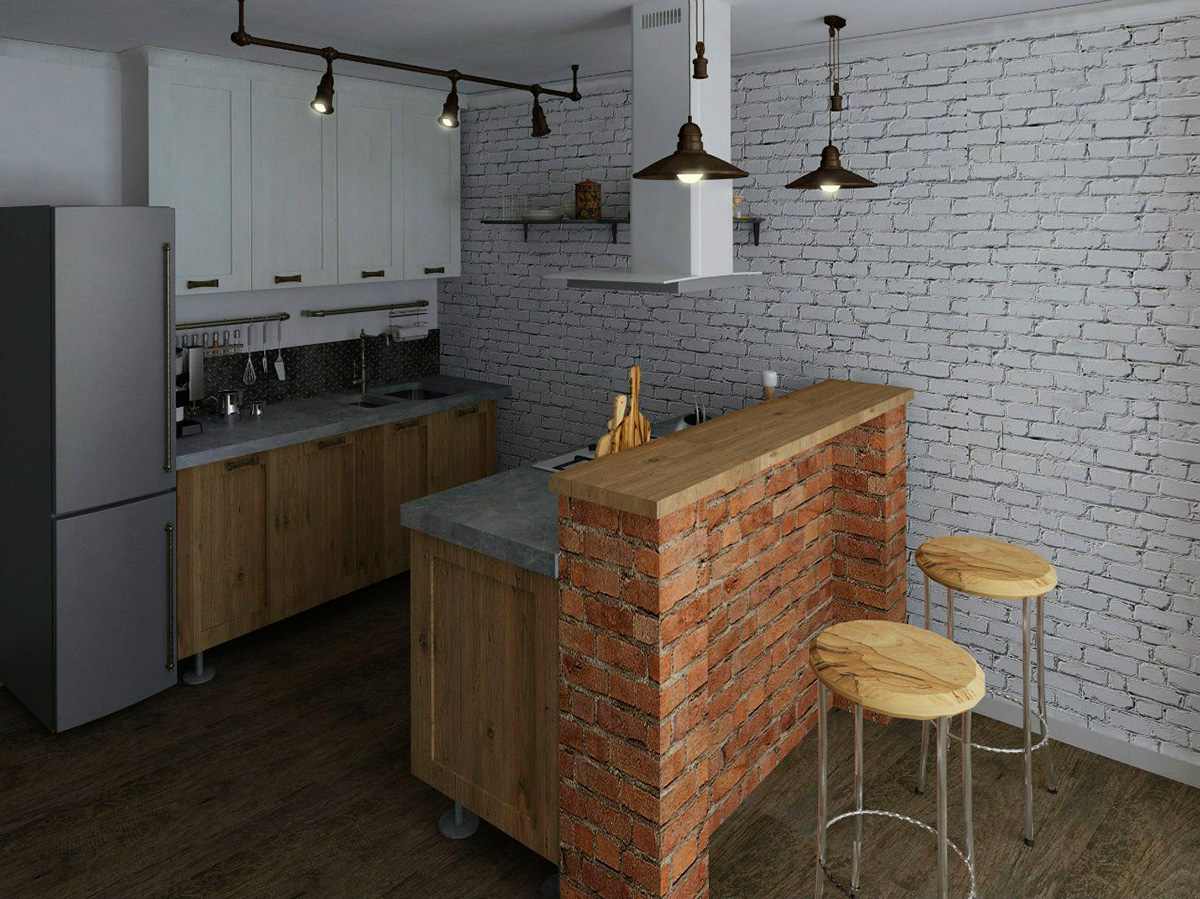
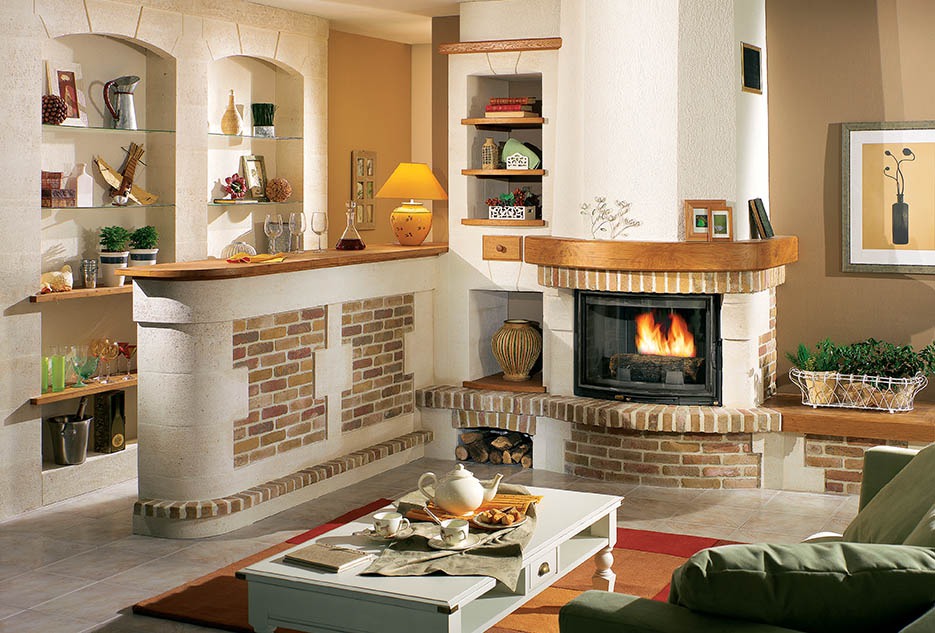
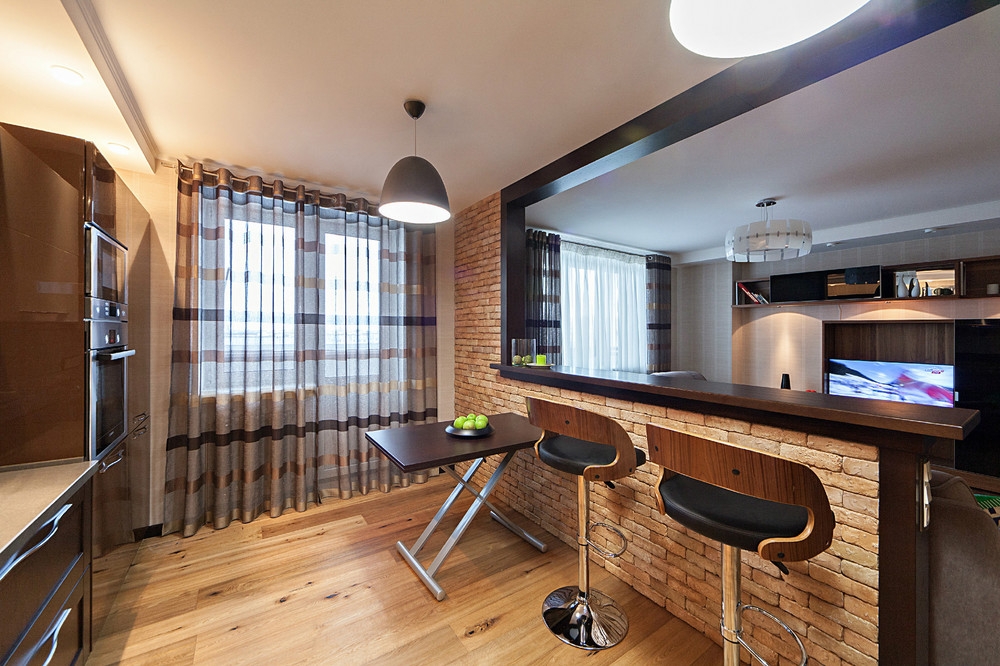
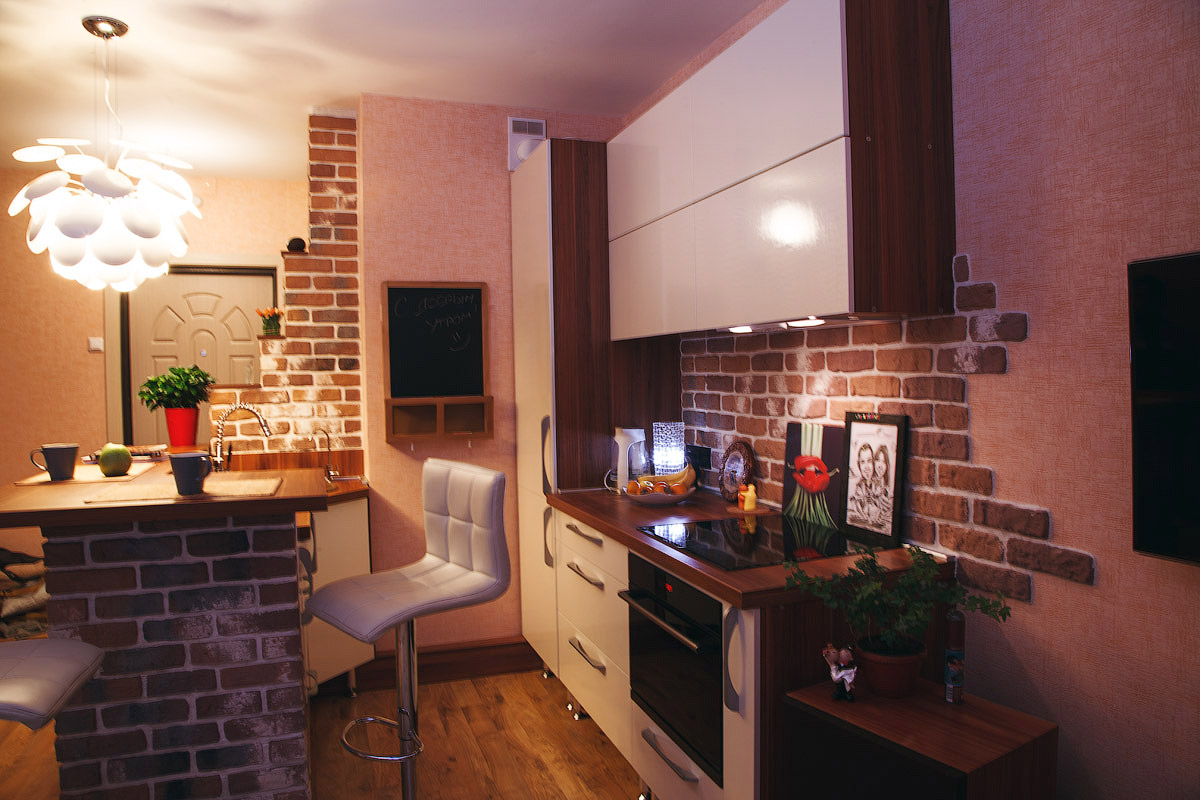
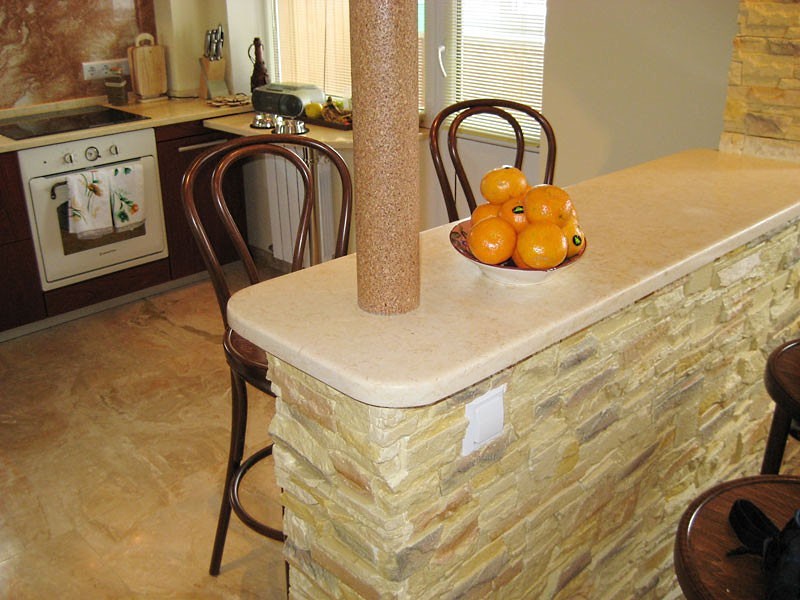
- Brick or stone. These materials look good in coarse styles, but building a rack with them is a huge problem. The weight of these materials is so large that the installation of the rack from them in the apartment is unsafe - it can not withstand the floor. Therefore, you can make a brick support bar counter in one brick.
It is possible to build a bar counter entirely of brick or wood in a country house or in the country.
Nuances
A do-it-yourself bar counter will decorate the interior. The main element of the rack is the table top. Therefore, it must have a solid and durable plate that is resistant to moisture.

In order to make your own tabletop, you must first select the appropriate material. Next, the shape is cut with an electric jigsaw. The edges of the tabletop must be cleaned and sealed with a special tape. If you don’t want to do it yourself, you can purchase a ready-made tabletop.
In the manufacture of need to choose the lighting design. Halogen bulbs can be mounted above the table top. An alternative - a chandelier above the bar.
Instructions for making
The easiest to manufacture
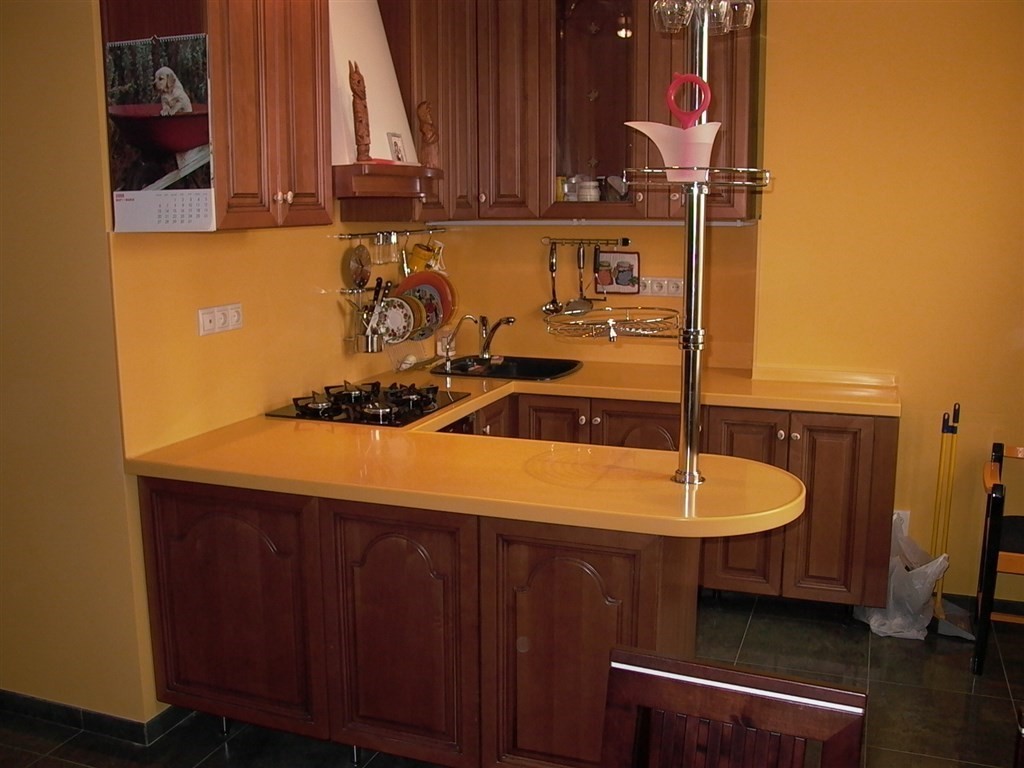
Before you start work, you need to purchase a tabletop, chrome pipe, varnish.
- At first the necessary nozzle on a drill is selected.
- Next is drilled hole for chrome pipe. What will be the length of the rack depends on the size of the kitchen.
- Chrome pipe is fixed with pipe anchorages.Before this pipe must pass through the tabletop.
- With the help of flanges we mount the joint between the pipe and the table top.
- The second side of the table top is fixed with brackets to the wall.
From wood
For the manufacture of such a rack, you must purchase a tabletop, parallel bars, plywood, moldings, baseboards, varnish and paint.
- First you need to make the basis of the bars. Their height should be from 105 to 110 mm. The length is chosen based on the size of the kitchen.
- The frame is set of two bars, which are located on top of each other. Next to the frame vertically installed bars.
- Nails secure the design.
- Evenness is checked by level.
- The resulting construction is attached to the wall and to the floor. For this, nails and dowels are used.
- The construction is veneered on both sides. Self-tapping screws are used for this. Veneer can be replaced by a sheet of plywood.
- With the help of nails you need to fix the tabletop to 50 mm. The front side of the bar counter is a canopy from 25 to 30 mm. On one level the table top and the frame are fixed, so that on the opposite side the frame corresponds to the norm.
- Brackets are mounted on the front side. So the tabletop will be more sustainable.
- With the help of wood glue on the veneer moldings are mounted.
- For decorating joints using a plinth.
- The opening of the bar counter is finished with varnish, paint or stain.
When the rack is completely dry, you can safely use it. Making a bar counter with their hands completed.
From plasterboard
Before work, you need to purchase drywall, grater for drywall, paint, metal profile, putty, brushes and roller.
- First you need to determine the size of the structure.
- With the help of metal profiles is made frame. To increase the strength of the frame, you can use screws.
- Make two plasterboard walls. They need to be fixed to the wall and to the floor at a short distance.
- To strengthen the structure, it is necessary to install a transverse profile between the walls.
- Inside the perimeters set the profile, which is fixed with a sifter.
- The level checks the evenness of the surfaces.
- Wiring is carried out in advance if the bar should be illuminated.
- If the frame is sufficiently stable, drywall sheets are fixed. To do this, the screwdrivers are screwed close together for durability.Screws should be handed deeper so that their caps do not protrude. This is necessary so that later they can be painted over.
- Special grater grind irregularities.
- Joints and openings are filled.
- Making sure that the putty is dry, it is cleaned with sandpaper and primed.
- At the end of the work, the bar counter is decorated with paint; a roller and brushes are used for this.
- If the structure is loose on the wall or floor, the seams are treated with sealant.
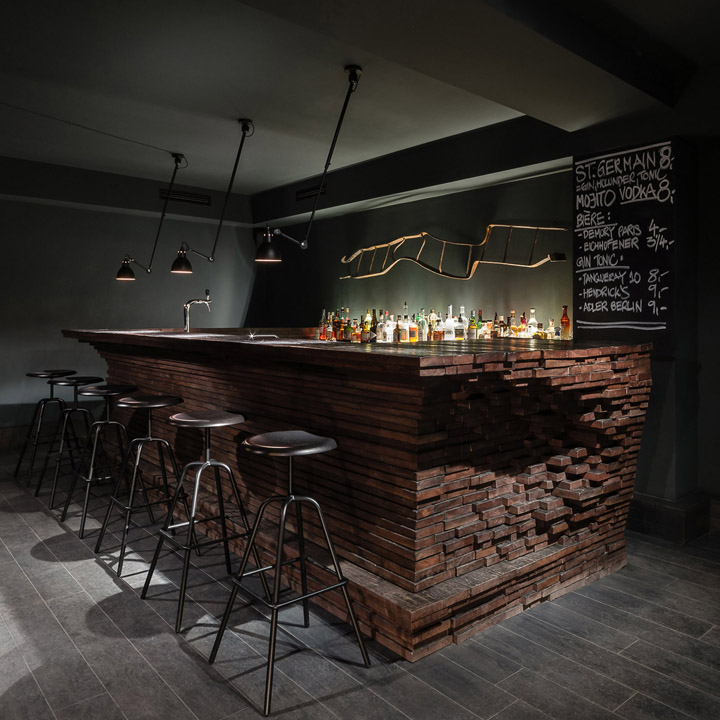
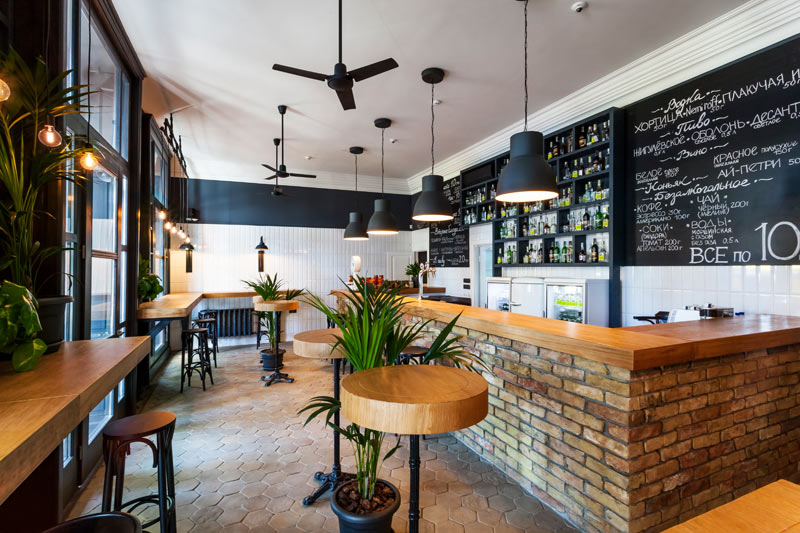
Brick
The construction of brick is durable, but at the same time very heavy. Such a bar can be installed anywhere in the room, moreover, it will divide the kitchen into two parts.
- First you need to buy bricks and cement.
- Brick neatly laid out on each other, which is bonded with cement mortar.
- If a red brick is used in the manufacture of the stand, then at the end of work it is not necessary to plaster it. It will not pour. When using other types of bricks will have to apply plaster. But it will take a lot of time and effort.
- When the bar is ready, a tabletop is placed on top.
It must be remembered that a brick is a heavy material and not every floor will withstand it.Therefore, in advance you need to make drawings, and determine the weight of the future design. To reduce the weight of the stand in the work, you can use lighter materials, such as drywall. Also, the weight of the rack will be much less if the tabletop is not from natural stone, but from wood.
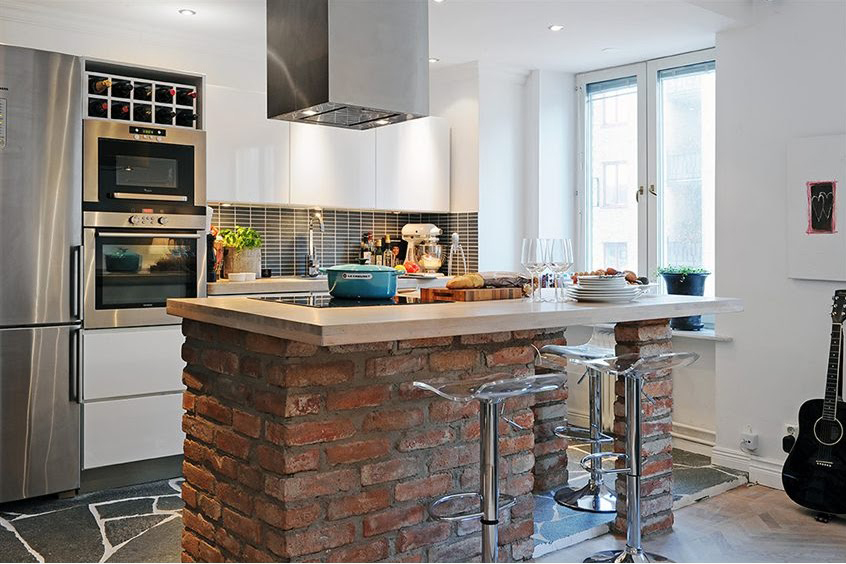
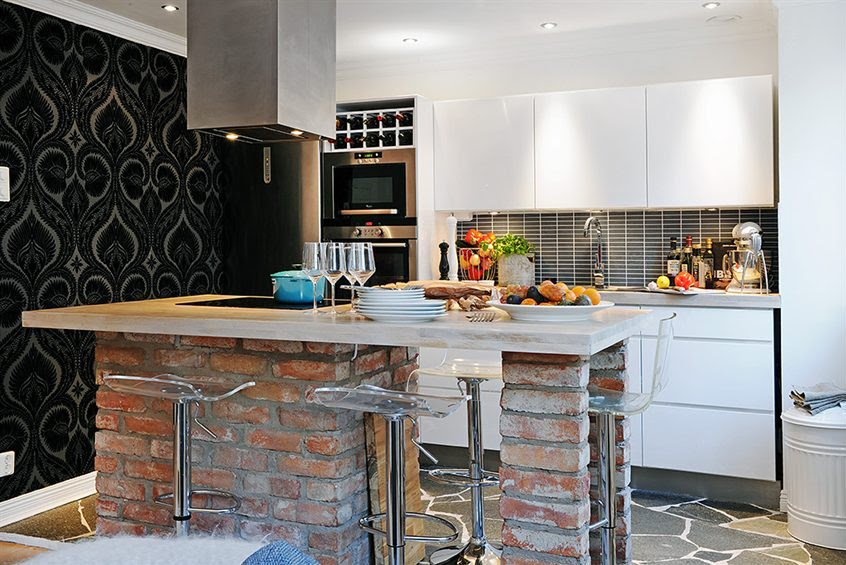
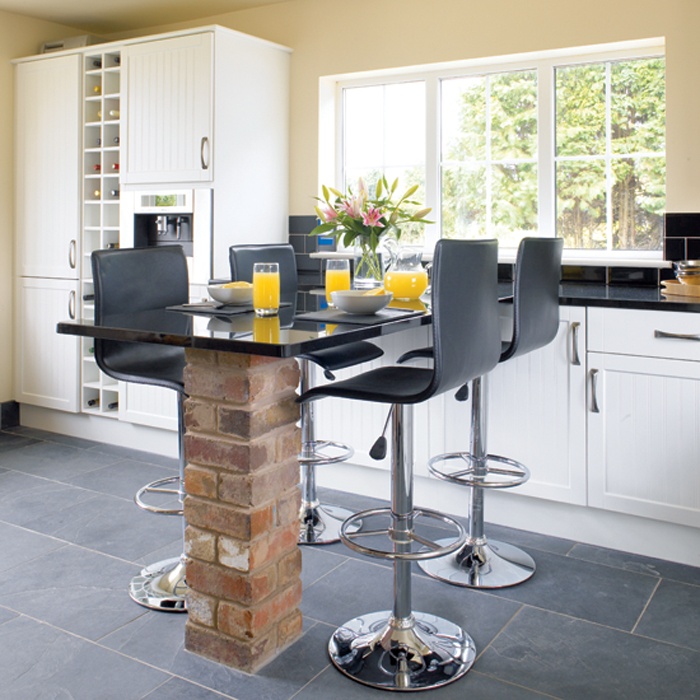

It is desirable to install a brick bar counter in a country house or in a country house, since the floor of the apartment is not always able to withstand such a large weight.
It is possible to make a bar counter with your own hands. All that is required is the desire and ability to work with various tools and materials. Before starting work, a drawing must be drawn up that takes into account the dimensions of the kitchen.

The bar counter will complement the interior and add uniqueness to the room. If you know all the subtleties in its manufacture, then everything will work out.