Shelves in the kitchen with their own hands
How to make
It would seem that in our time, when in stores you can buy anything, and what is impossible, you can easily order on the Internet, who would think of doing shelves with their own hands? Nevertheless, such a need sometimes arises. As a rule, this may be due to the following reasons:
- lack of space in the kitchen or its non-standard sizes;
- the desire to make the room non-standard, original and dissimilar to everyone else;
- the need to make sure that the hands grow from where they should be, and at the same time to distract from the daily routine associated with the main work.


Whatever the incentive to make furniture with your own hands, it is important that the result of the work does not disfigure the once native and pleasant kitchen.
If this is the first experience of this kind of activity, it is better to start with something simpler.
In the manufacture of shelves, it is desirable to adhere to the following plan:
- Determining the place where the shelf will be installed;
- Making a working drawing;
- Purchase of necessary materials;
- Shelf manufacturing;
- Protective coating;
- Fastening on the wall.
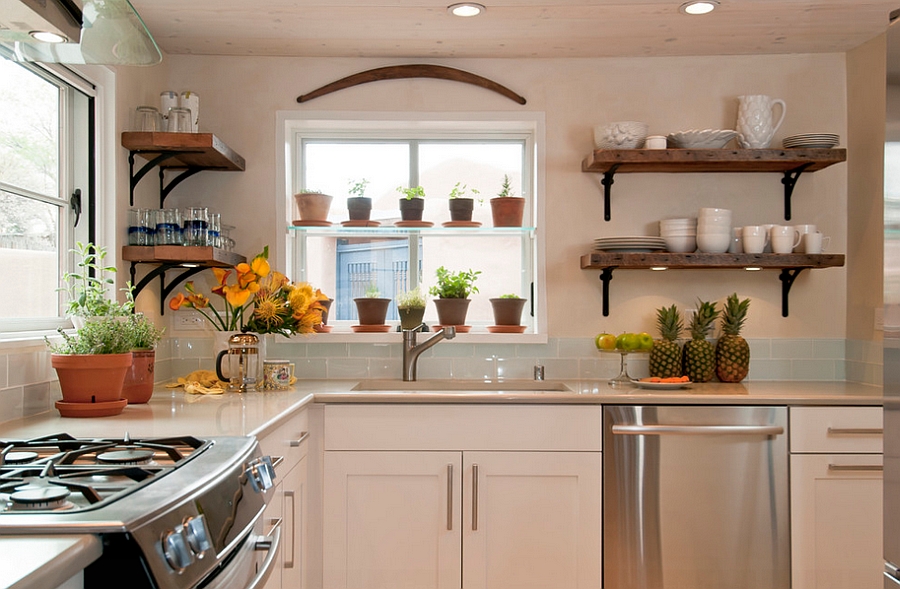
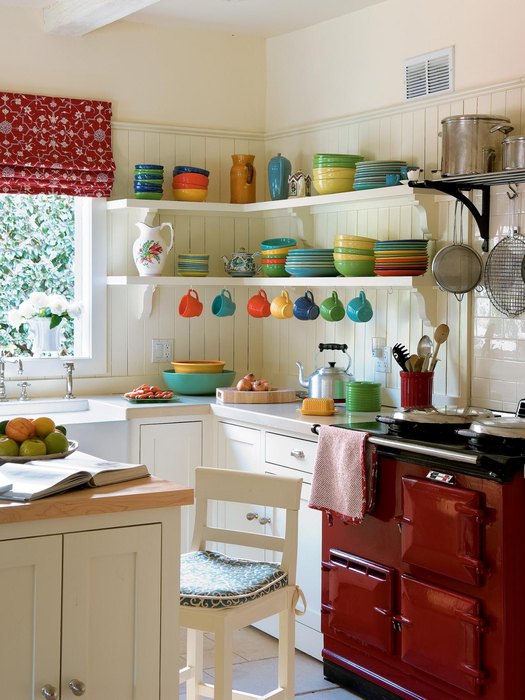
Determining where the shelf will be installed
This seemingly uncomplicated action is quite important. The location of the shelf depends on its destination. It is absolutely unacceptable to place a shelf for flowers in a place where sunlight does not fall, and a rack for dishes at a distance of five meters from the sink. In addition, you need to anticipate such nuances as usability. If the bottom edge of the shelf is at the level of the temple, and it hangs near the entrance itself, then this can be dangerous.
Making a working drawing
There is no need to adhere to some strict standards, just a sketch indicating the size and attachment points.

Sketch made in haste. Even such an uncomplicated image will tie a waking fantasy to the harsh reality and help to correctly calculate the amount of materials needed. In addition, you need to remember that if the drawing indicates: width is 90 cm, then the kitchen should have a place where these 90 cm can be placed.
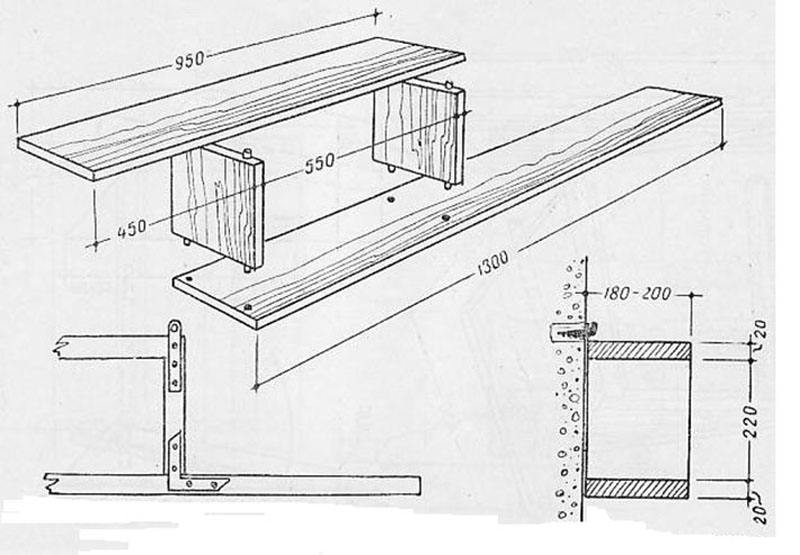
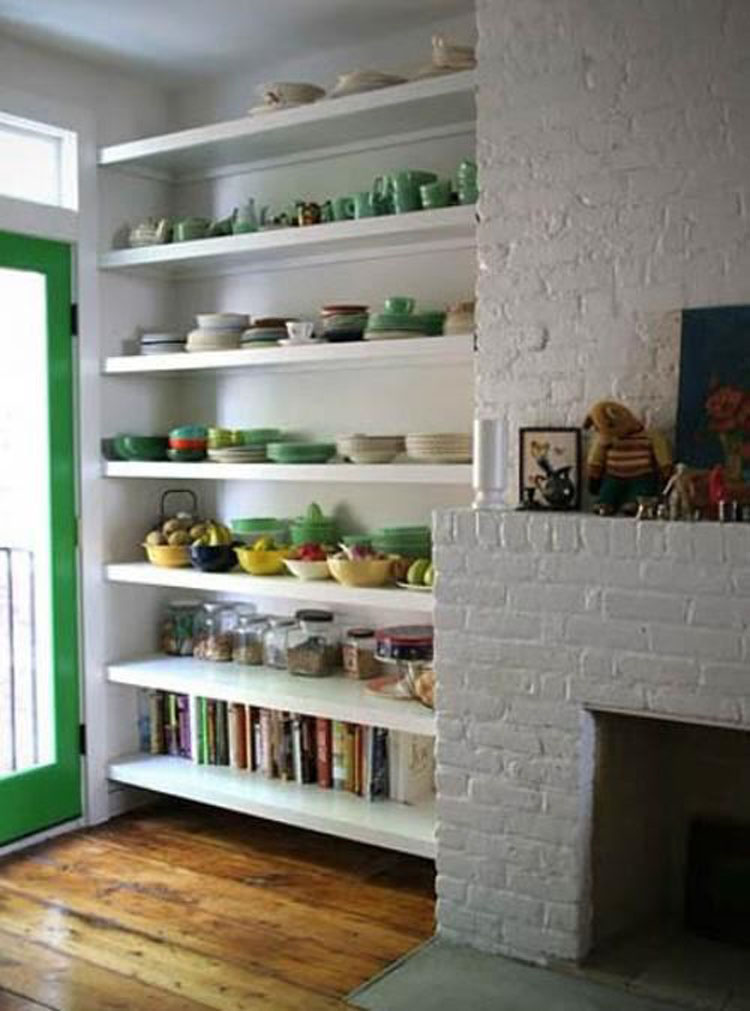
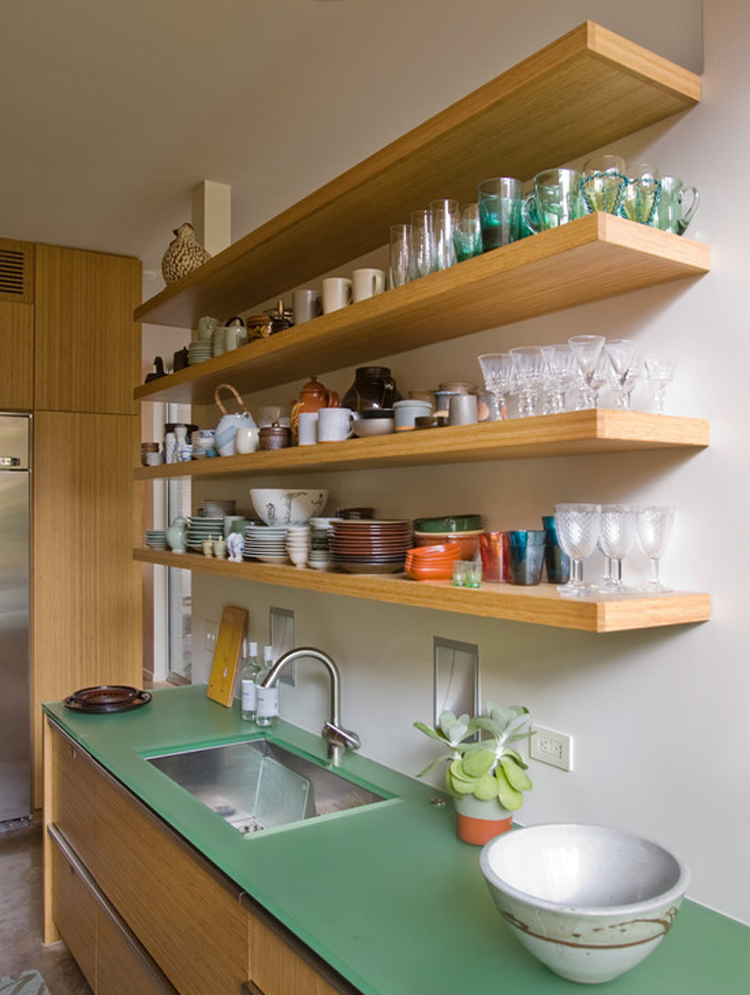
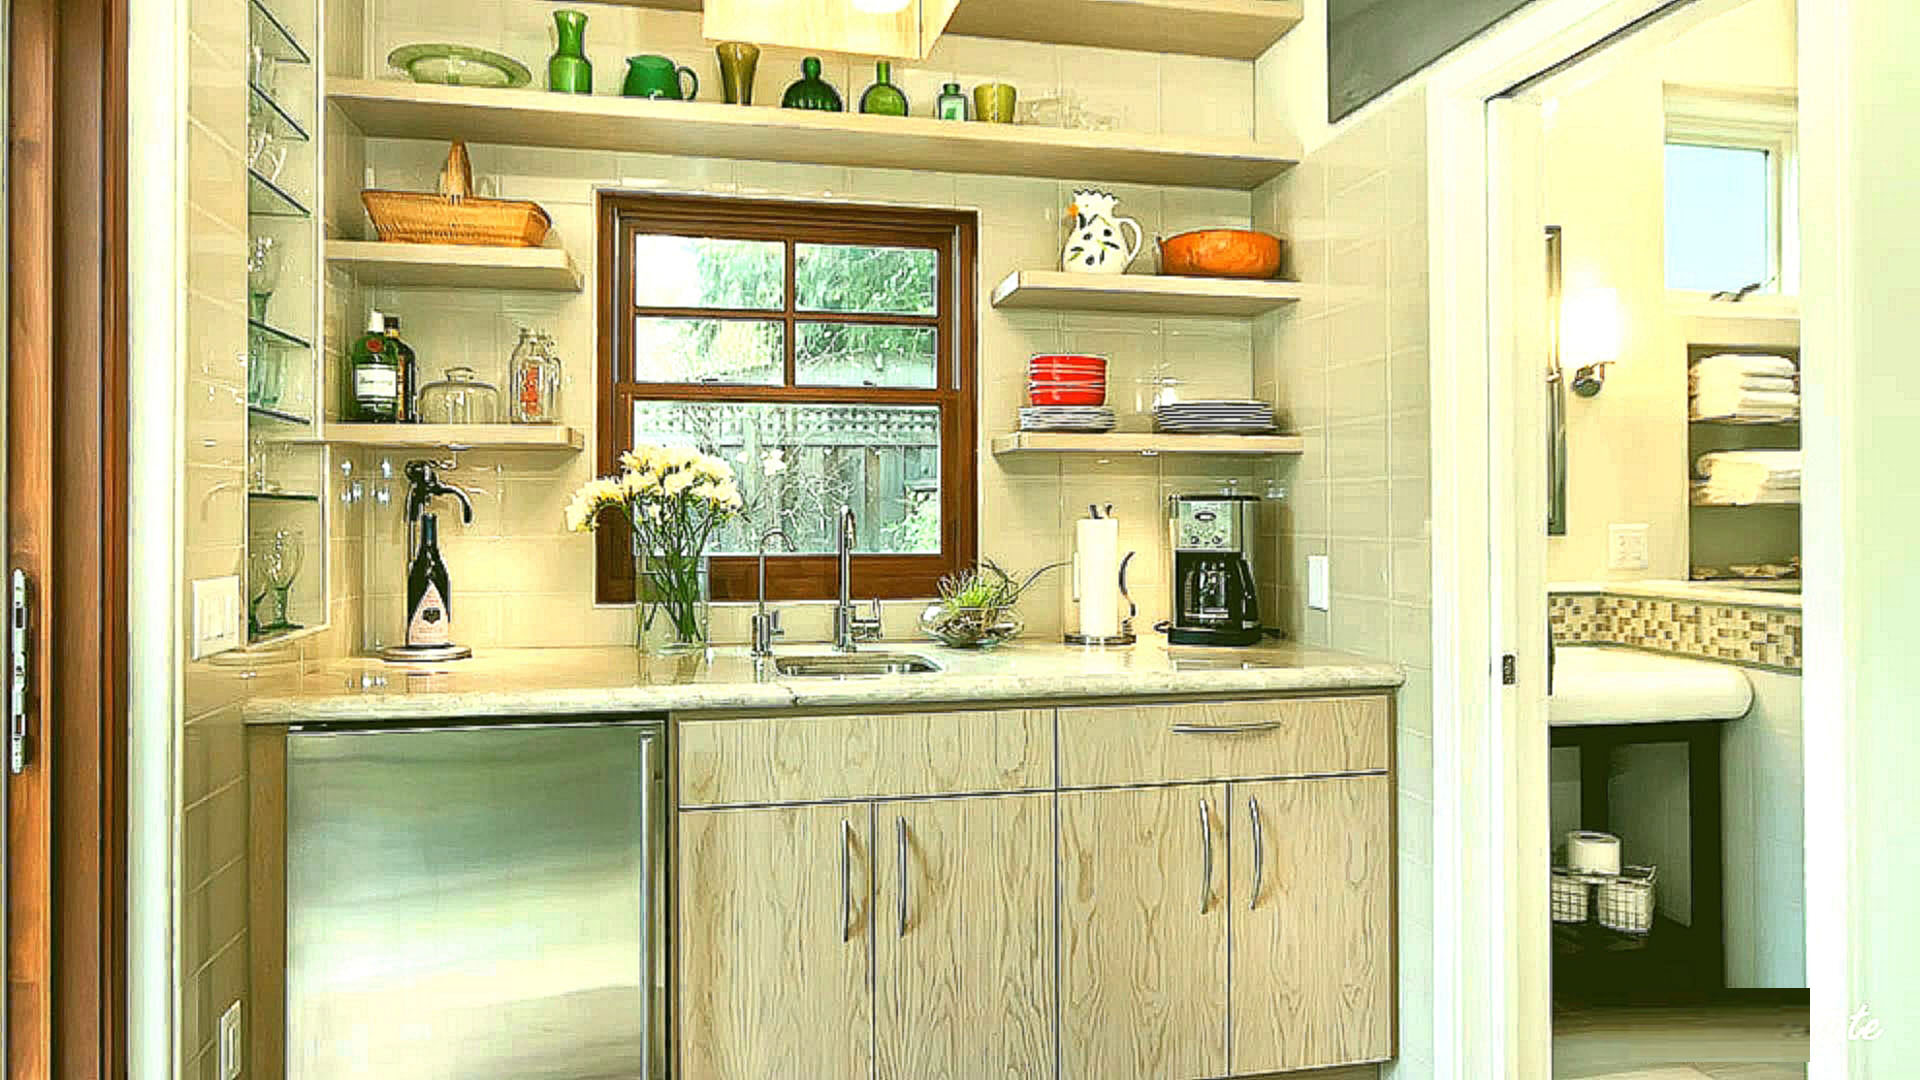
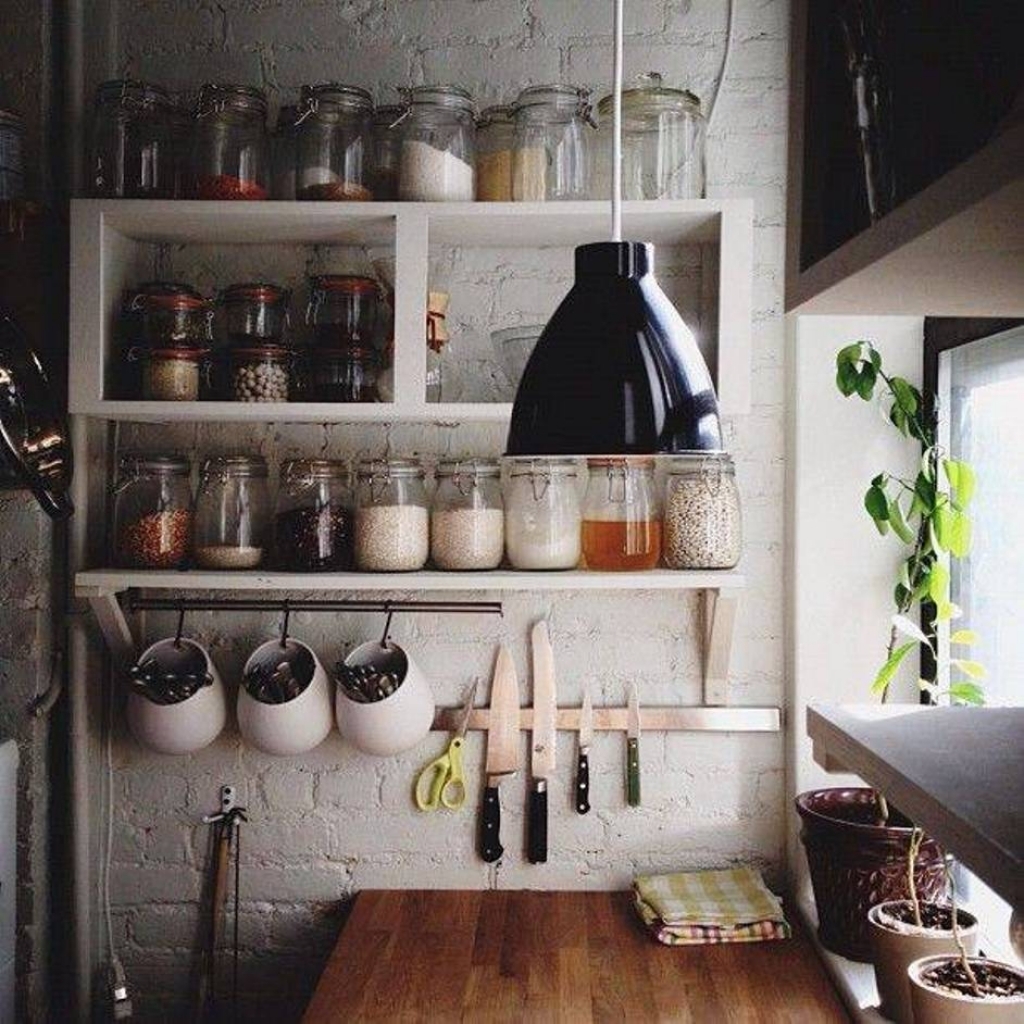
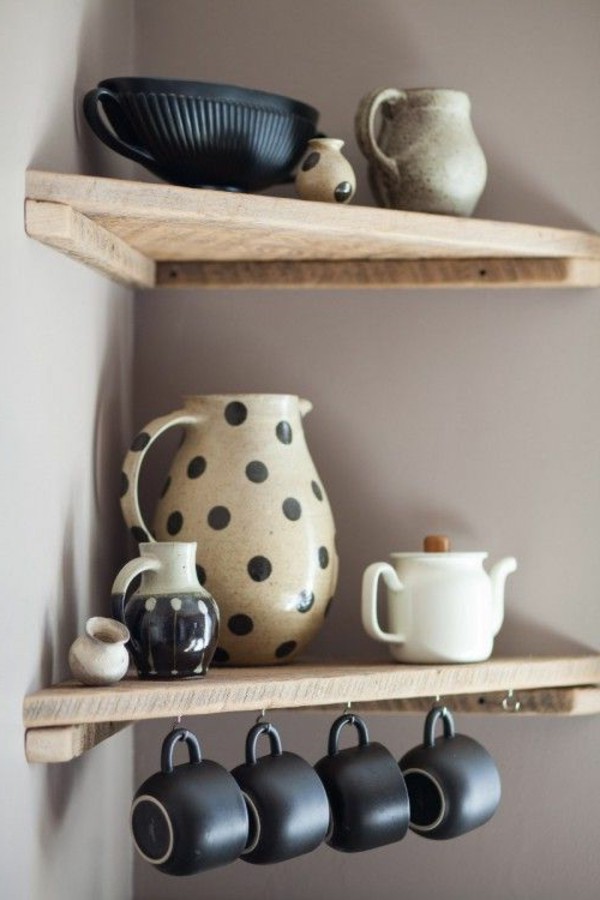
Equally important is the depth of this product, it depends on the destination. 10-15 cm is enough for a vertical bottle-holder, 8-10 cm for a shelf under spices, and 25-30 cm for the storage of dishes.
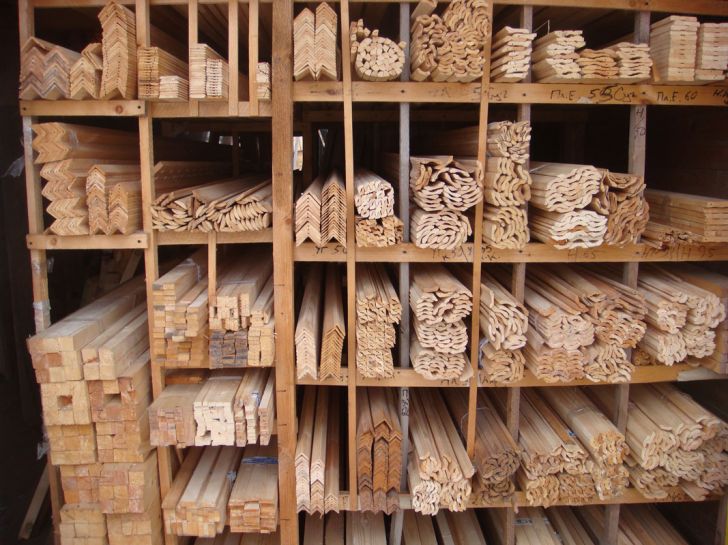
Purchase of necessary materials
Having made a simple sketch of your future creation, you need to decide on the materials. It all depends on your goals and skills. You can perform a shelf of chipboard, plastic panels or drywall. In this case, just go to the store building materials.

If you need to make a shelf "antique" of aged wood, then it is better to go to where the old building is being demolished and to find several floorboards there.
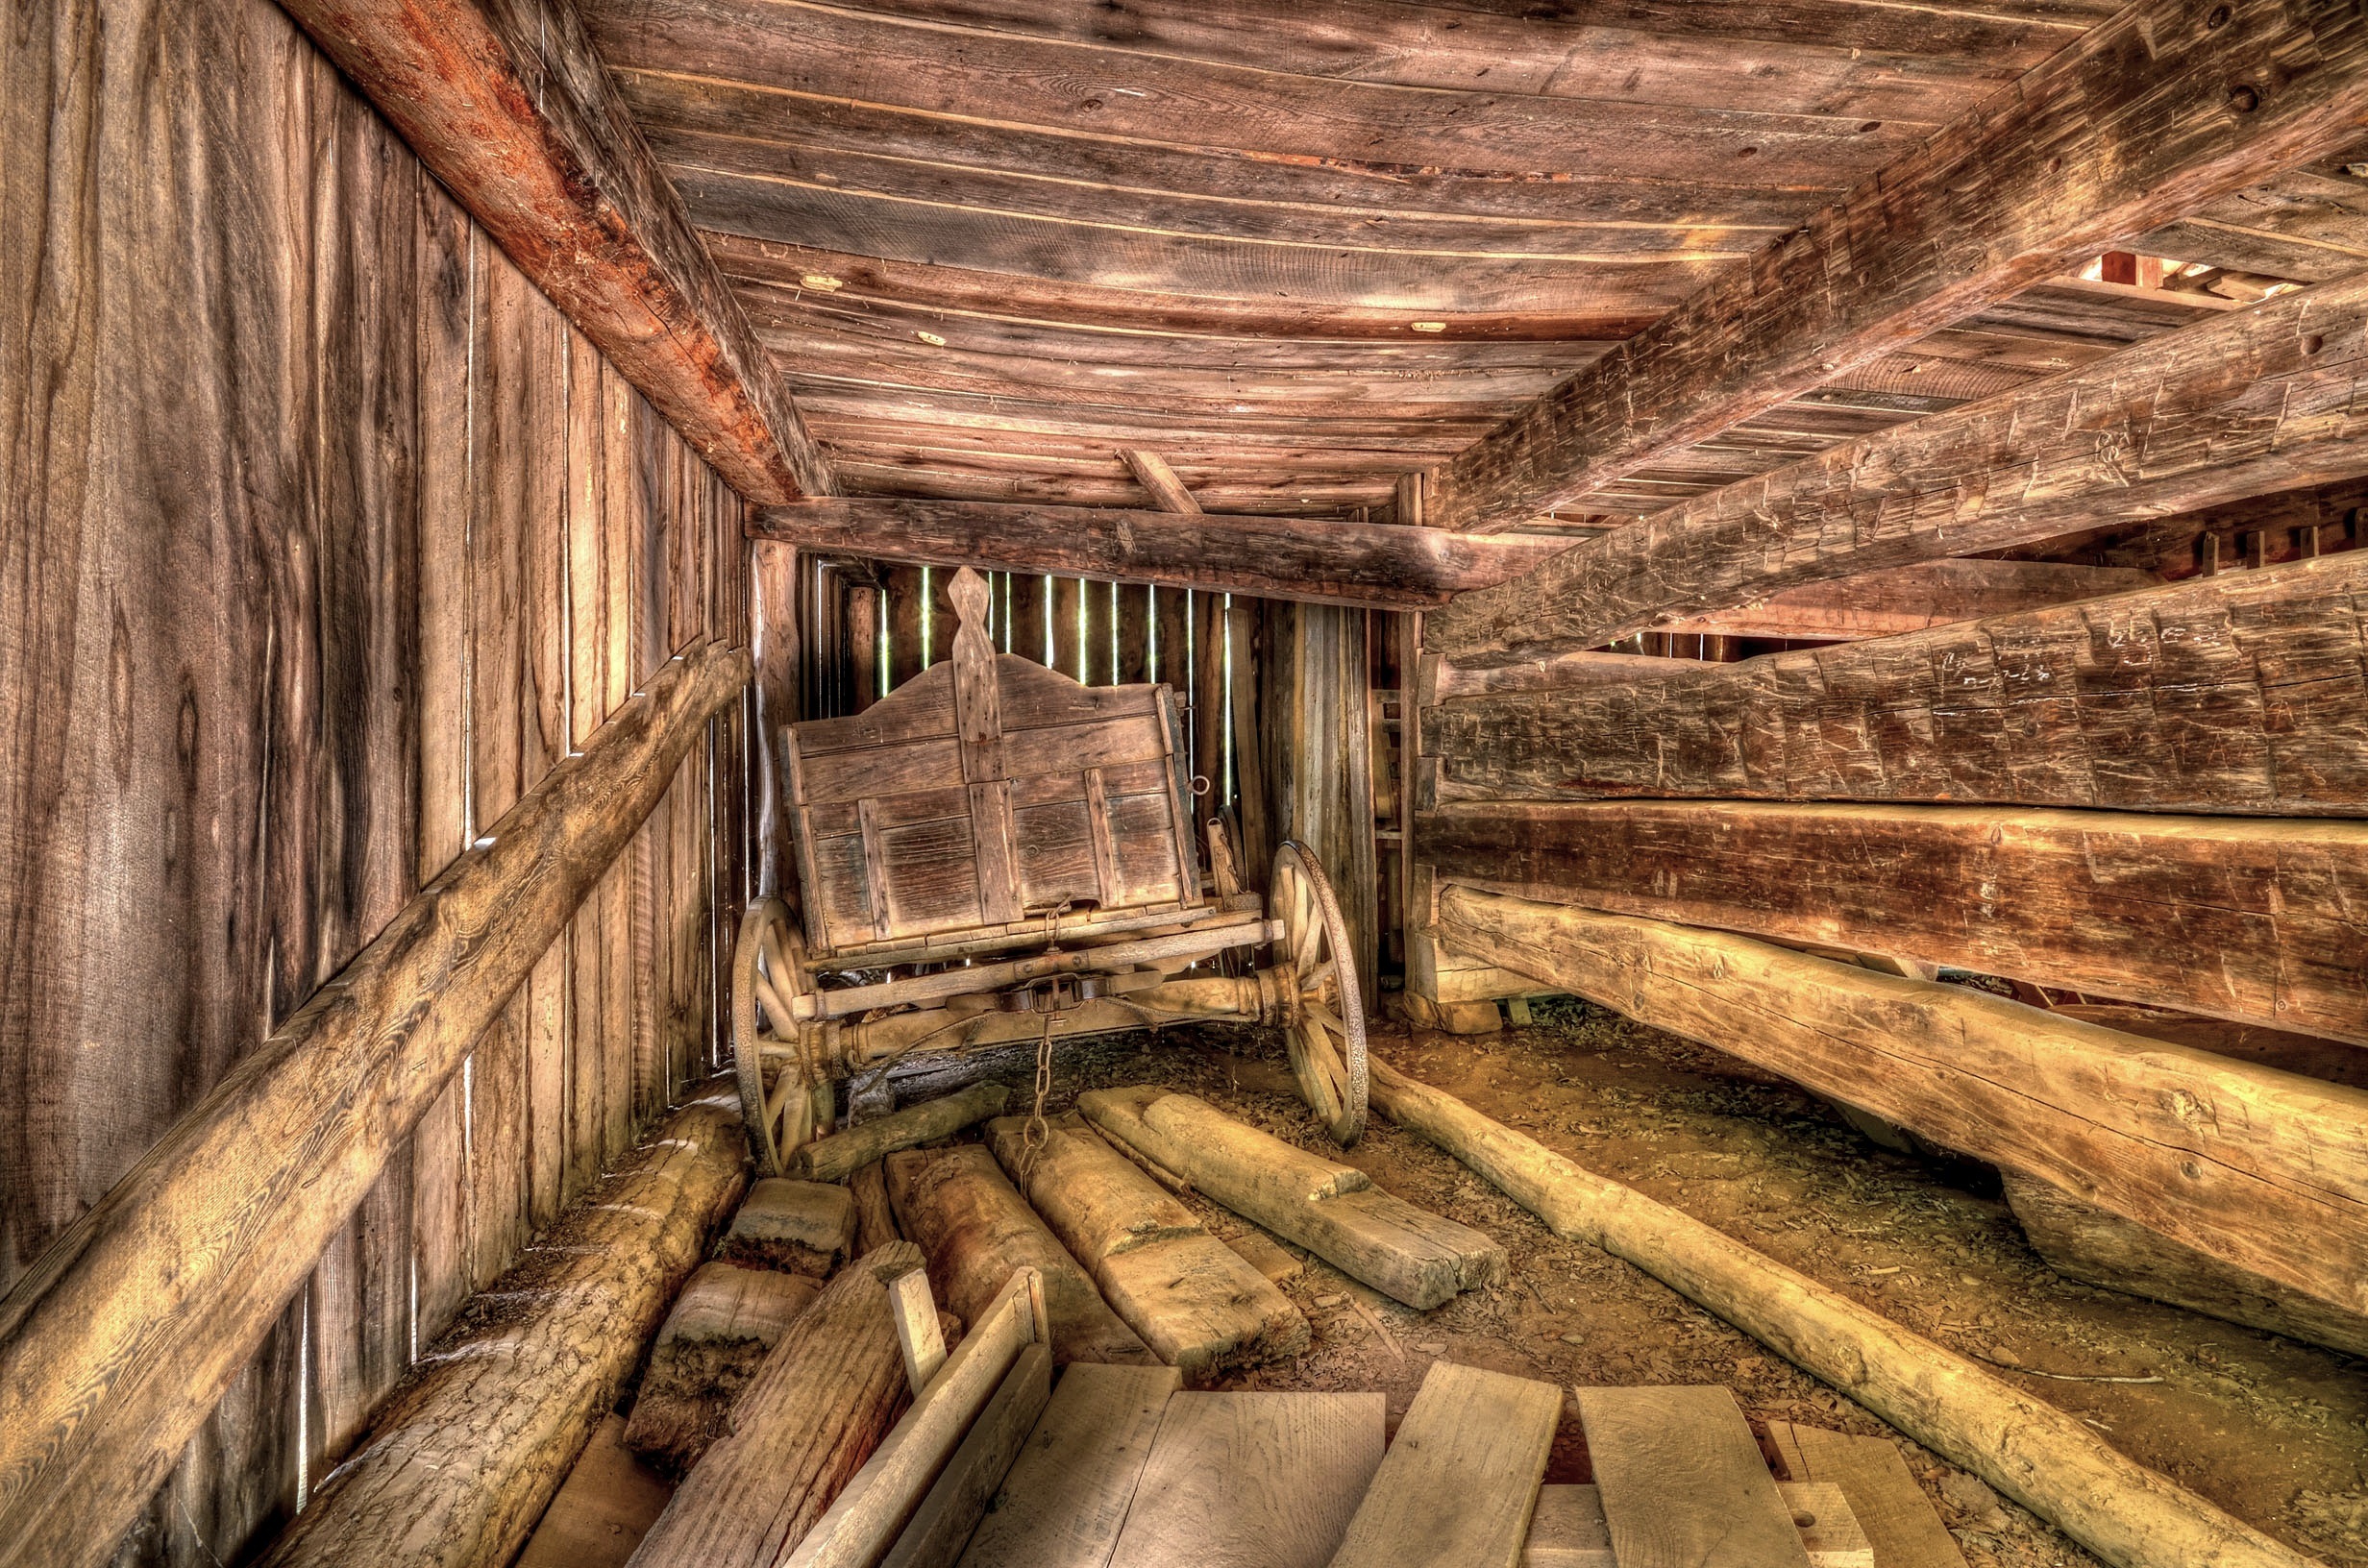
After processing, they will be able to serve for many years.
However, ordinary boards can also be bought in the store.
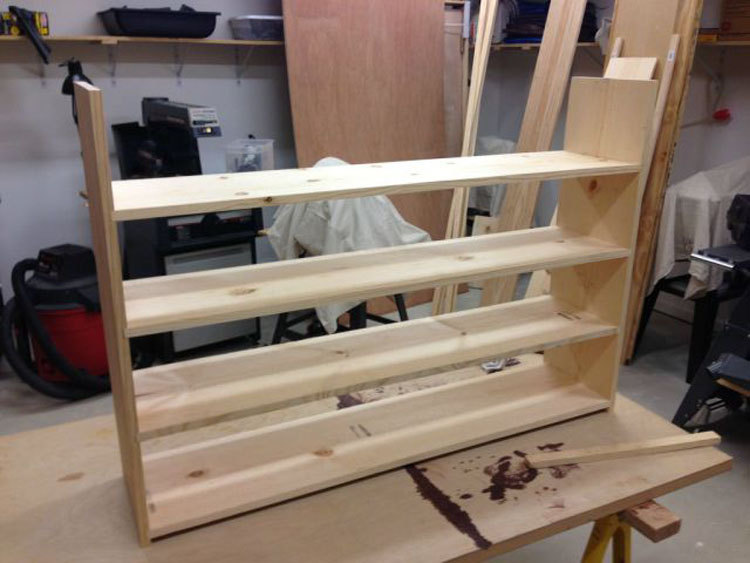
Shelf manufacturing
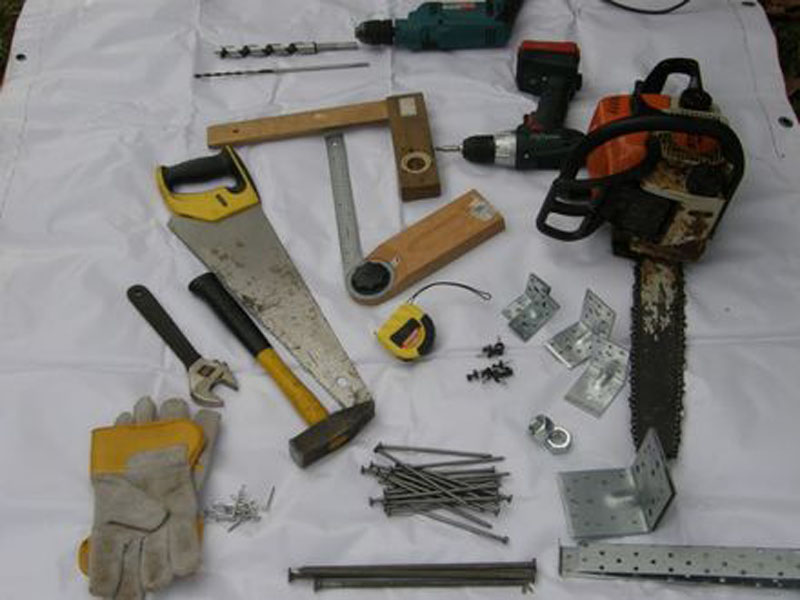
For work you will need:
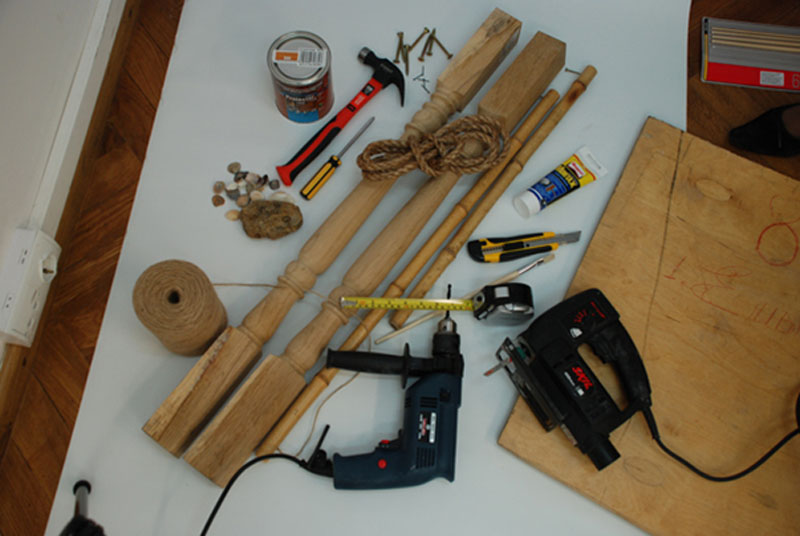
- Screwdriver (screwdriver);
- Hacksaw (jigsaw);
- Hammer;
- Chipboard, plywood, boards;
- File, sandpaper;
- Paint, varnish, possibly glue;
- Pencil ruler;
- Screws, nails, brackets and other mounting material.
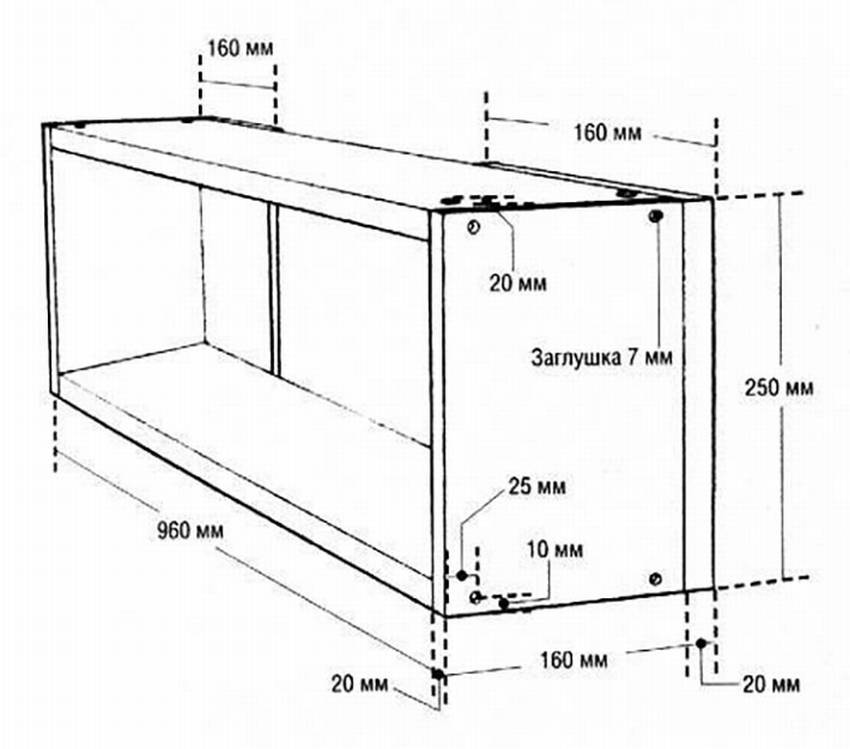
Armed with a pencil and a ruler, it is necessary to put a markup on the selected material.
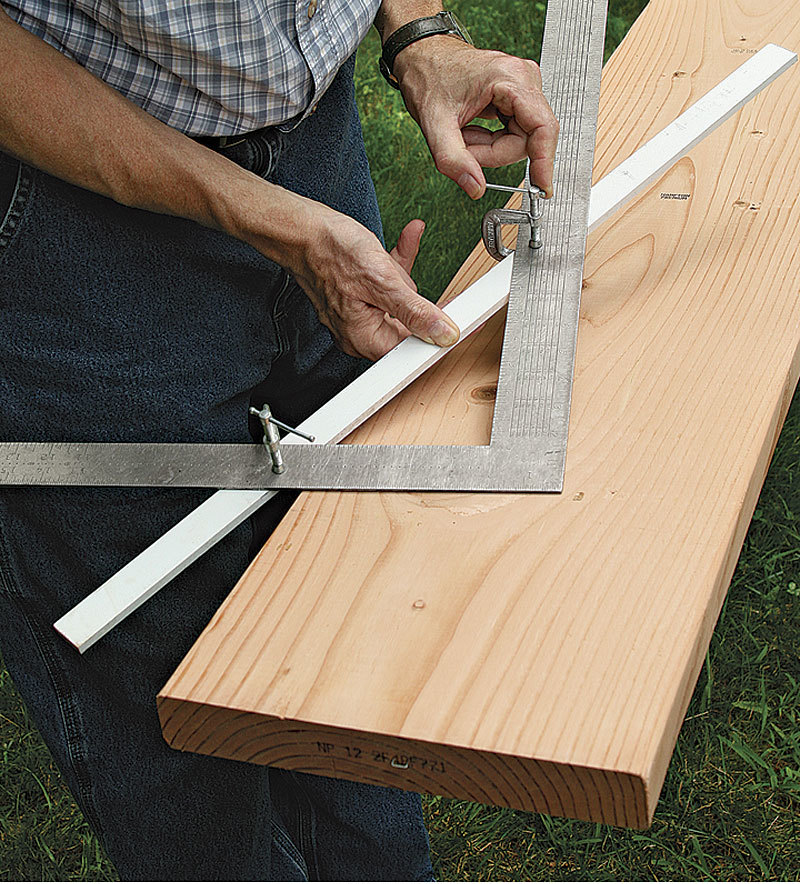
Using a hacksaw, you need to cut the boards (chipboard, plywood), and then polish the parts obtained.

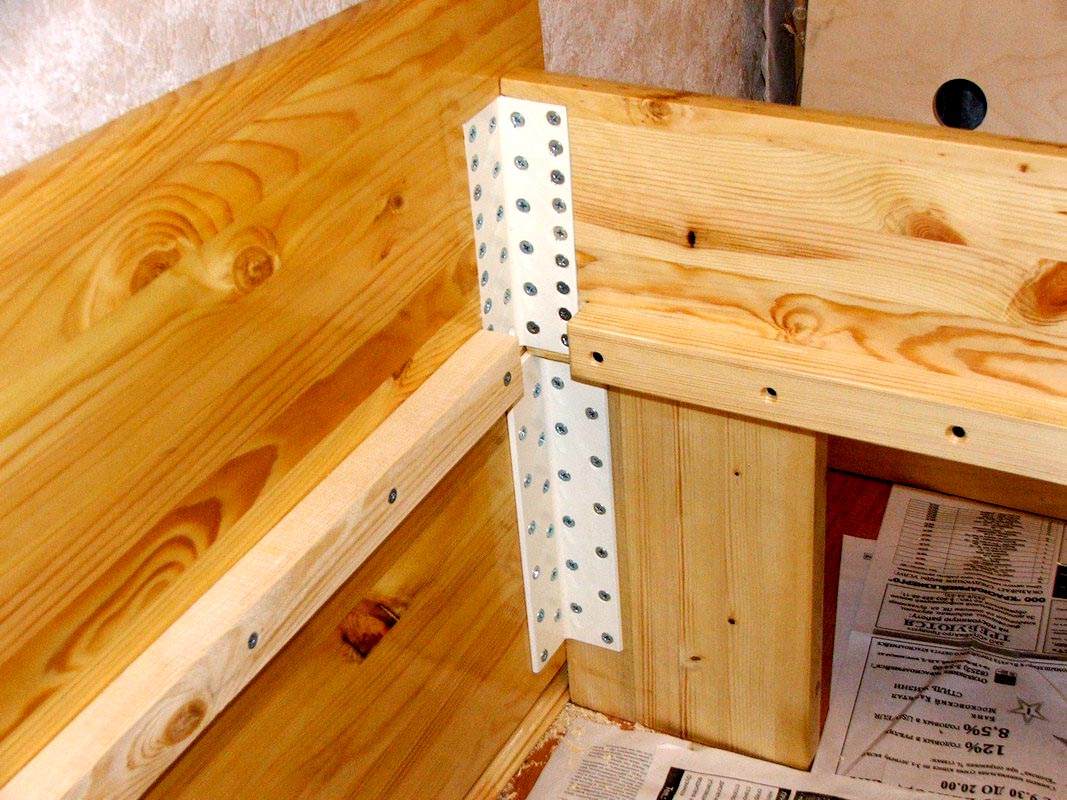
Processed blanks need to be fastened together with screws and attached to the finished shelf fasteners.
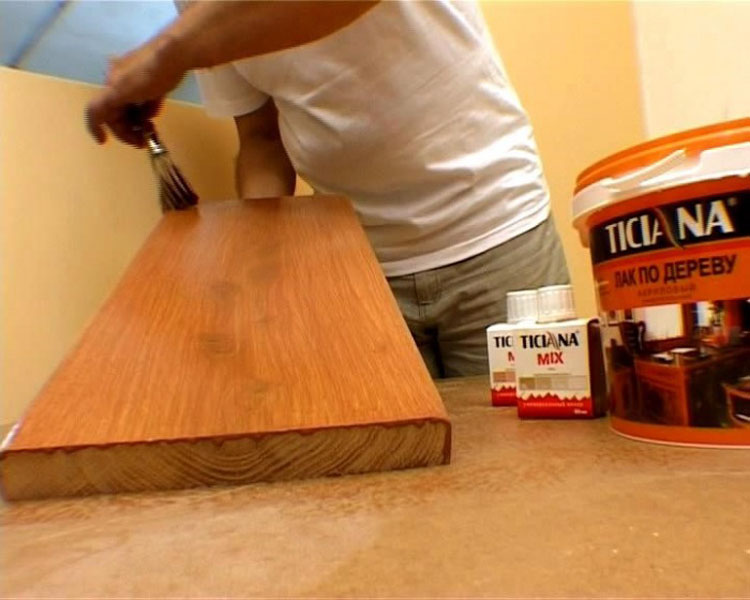
Coating
Since the kitchen shelf has not only an aesthetic, but also a purely practical purpose, it is necessary to protect it from various mechanical and chemical influences.
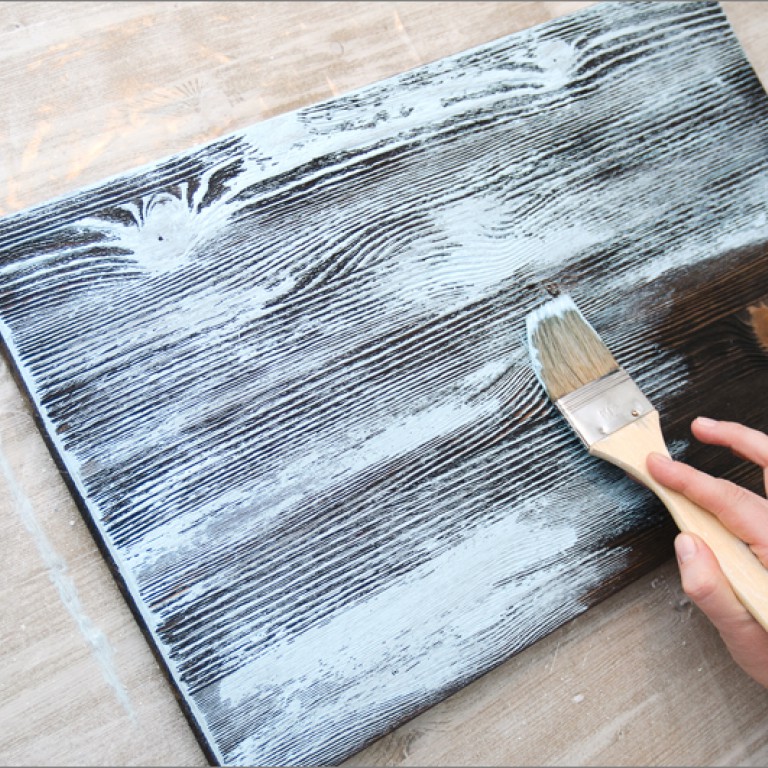
For these purposes, you can use paint, varnish, adhesive film. The color of the shelf should be selected based on the overall style of the kitchen. Shelves made of wood can be varnished, if the structure of the boards has an attractive appearance.
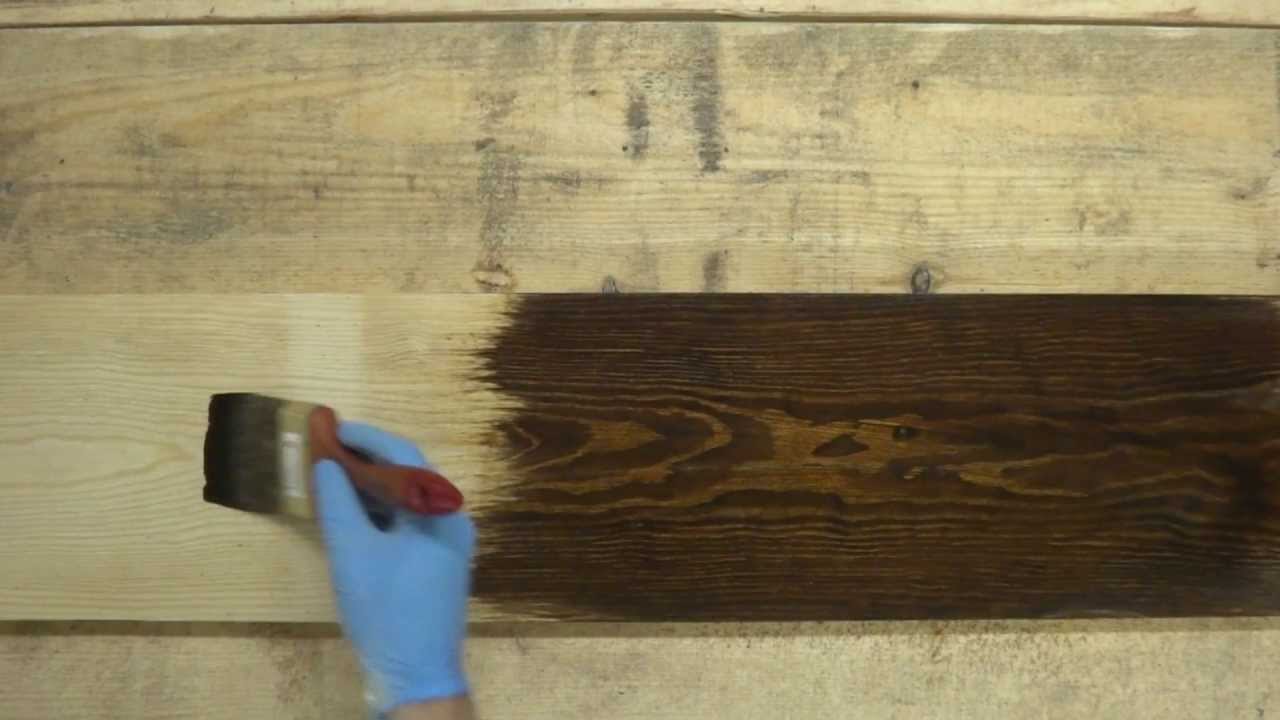
To highlight the texture use the stain. If at hand there is no ready stain, you can use a weak solution of potassium permanganate. Before covering the entire shelf with a stain, you need to check the coating on the remaining trim.
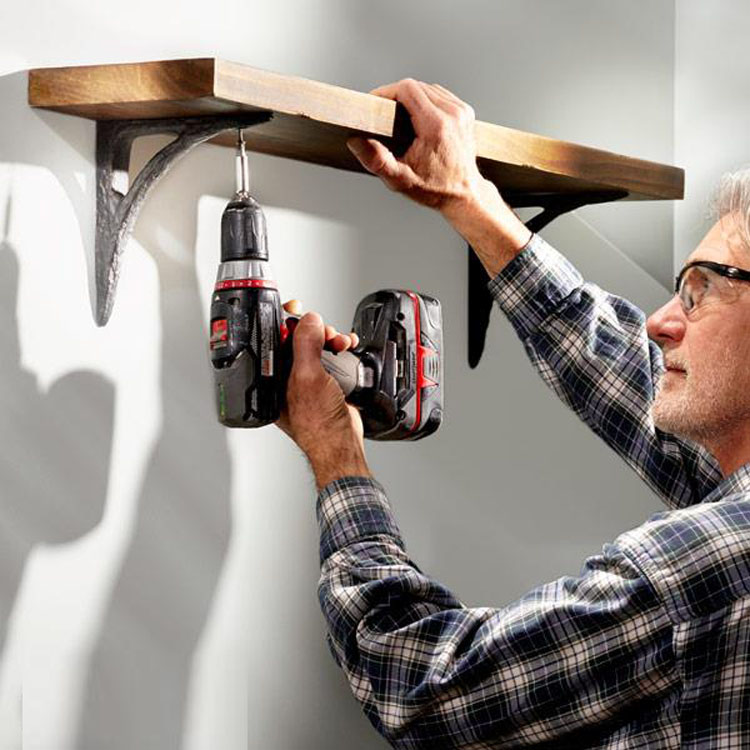
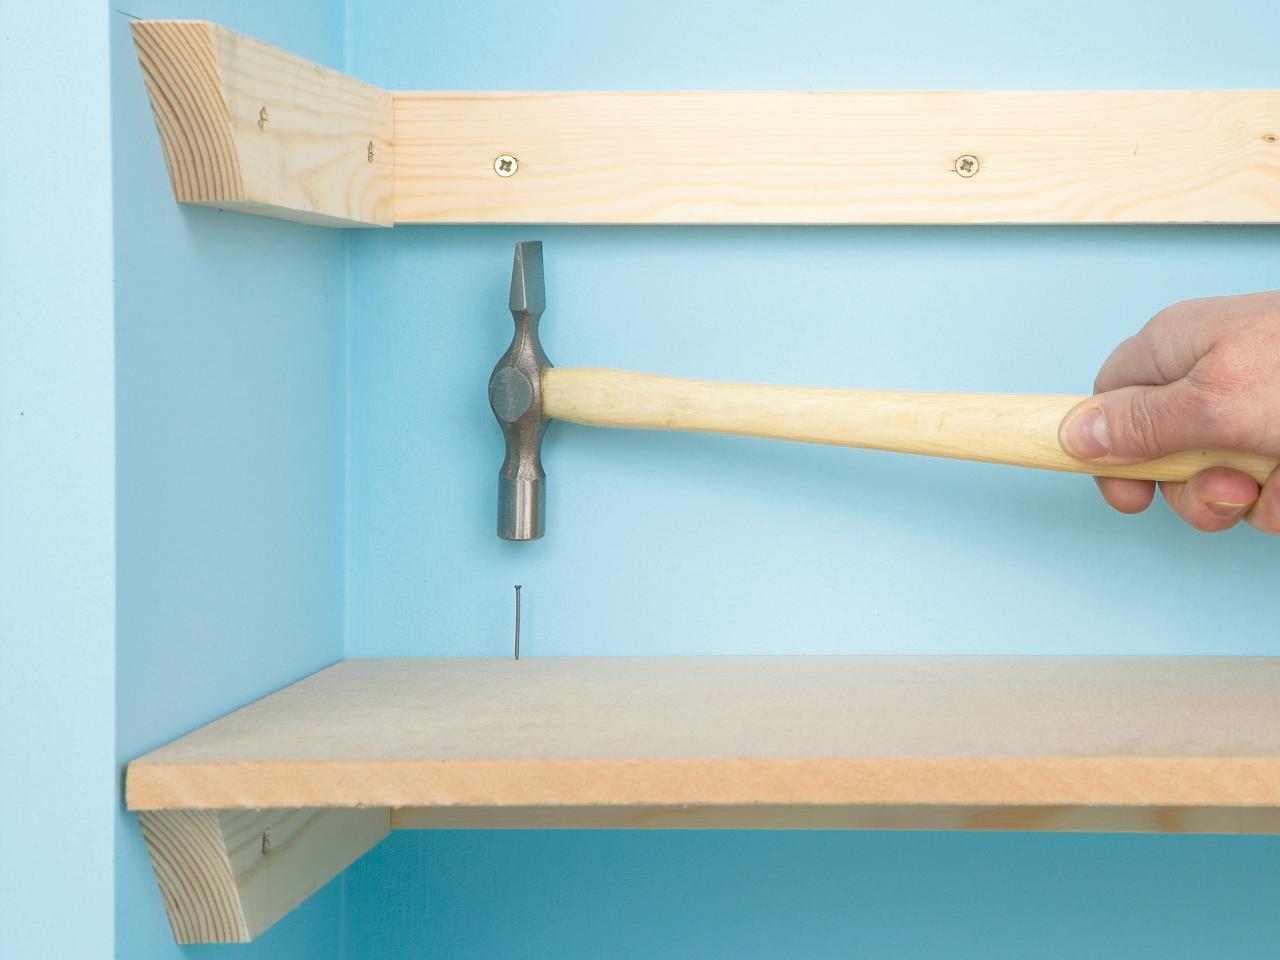
Wall mount
When the shelf is ready, it must be mounted on the wall. Mounting methods depend on the intended load and wall material.
- Wooden walls. Allow them to hang heavy enough shelves. For fastening can be used nails, screws or screws.Fastening tools: hammer, screwdriver, screwdriver.
- Slag blocks, brick and concrete walls. You will need a hammer drill, hammer, screwdriver (screwdriver) and dowel-nails. First, holes are drilled in the attachment points where the dowels are driven. The shelf is fastened with nails, which are included in the kit, depending on the design, either with a hammer or with a screwdriver. Shelves on such walls can carry a very solid load.
- Plasterboard walls. Not designed for heavy shelves. For fixing, you will need special dowel-nails, drill and screwdriver. At the attachment points, holes are carefully drilled into which the dowels are inserted, and you can simply press firmly on the plastic cylinder or hammer it lightly with a hammer. A special nail is twisted with a screwdriver.
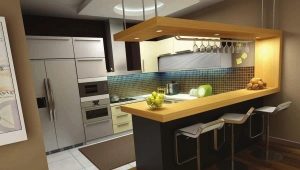
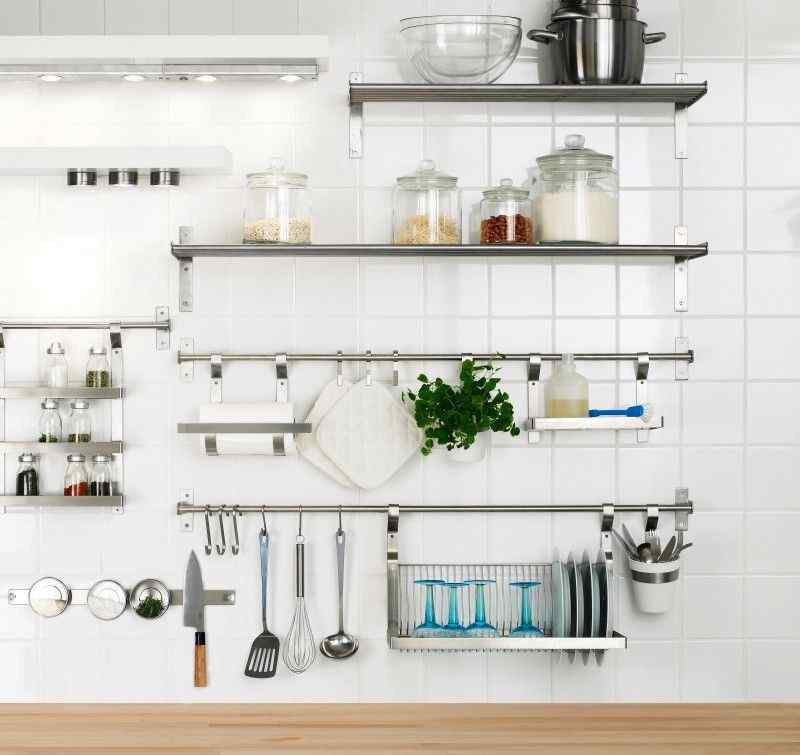
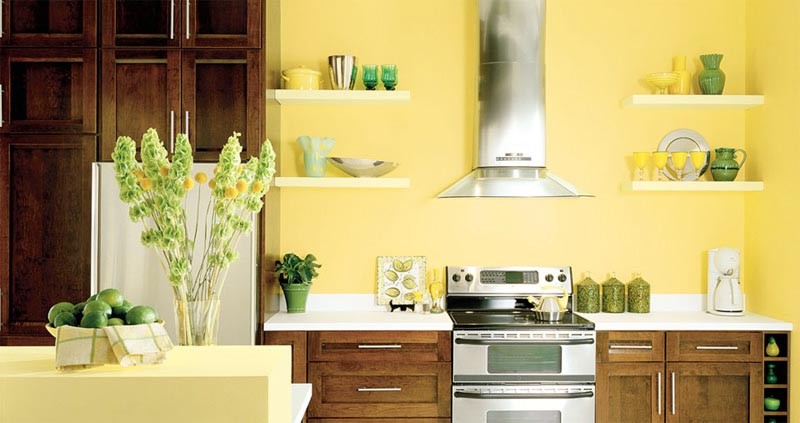
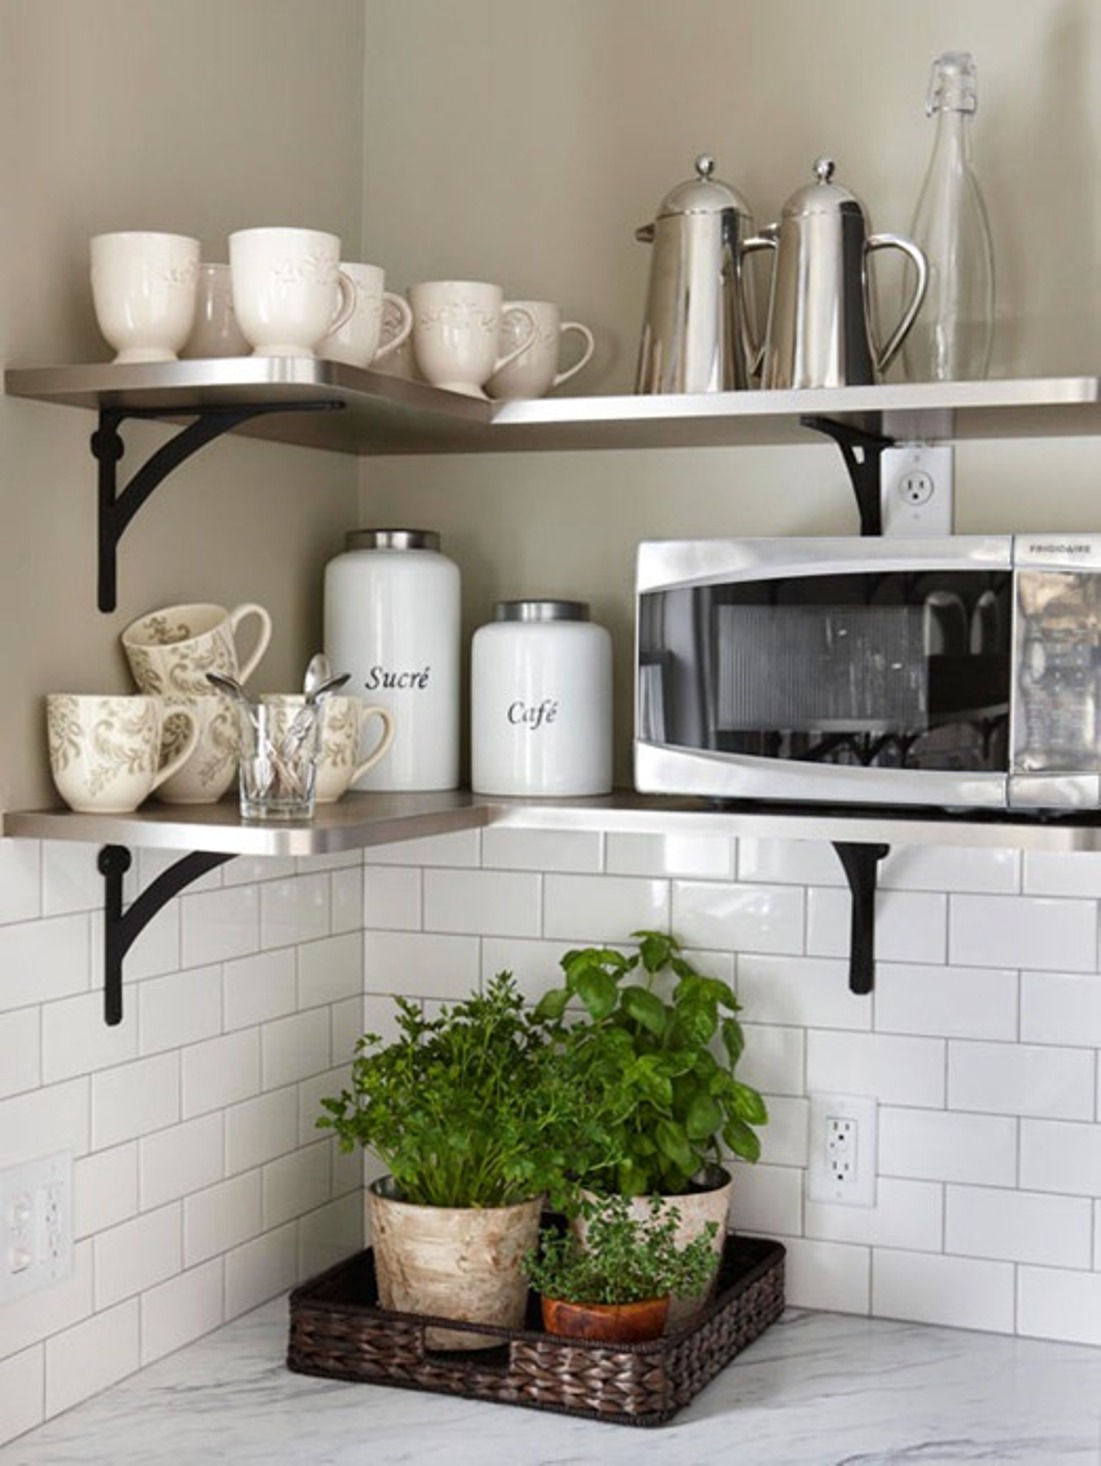
Interior design
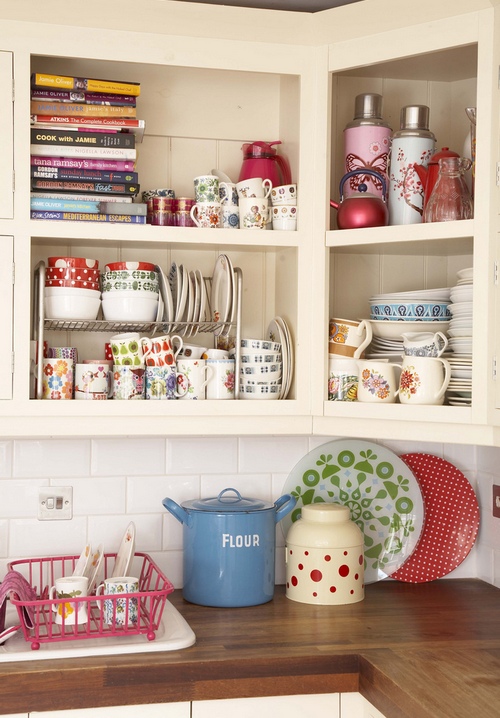
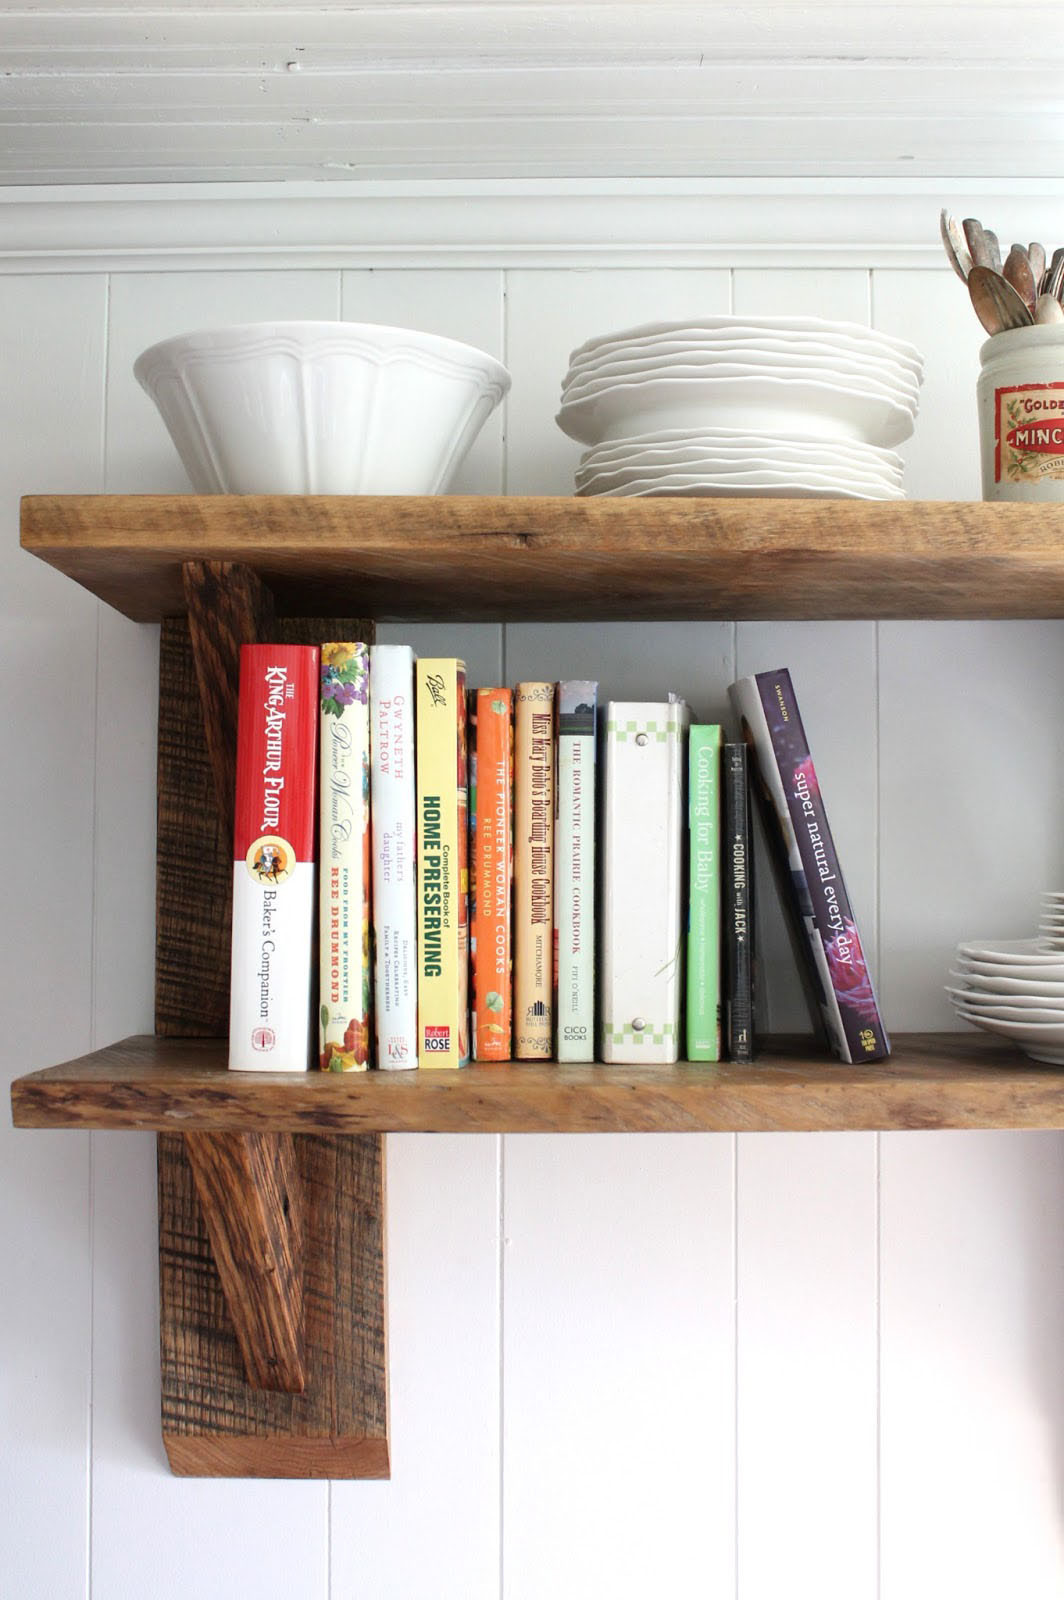
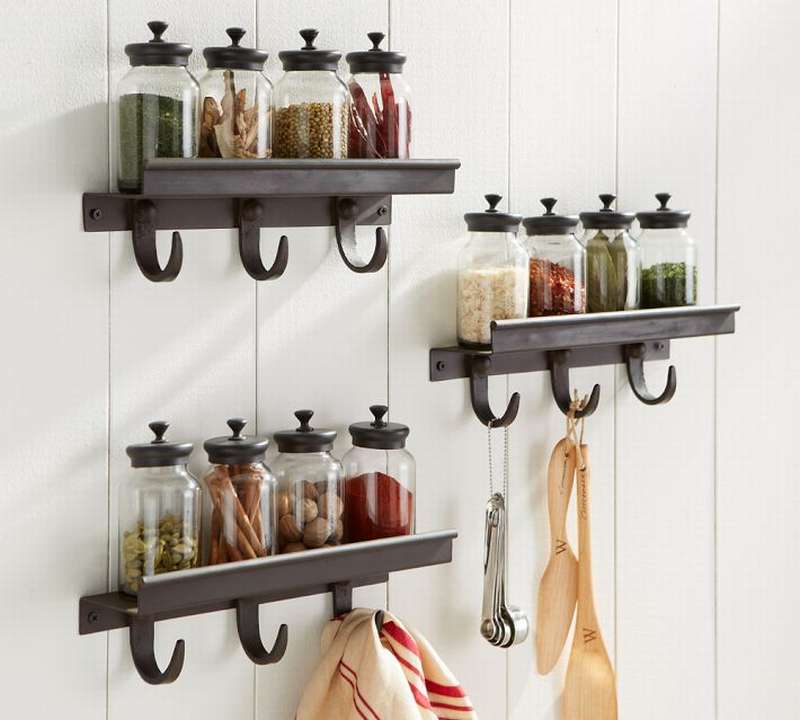
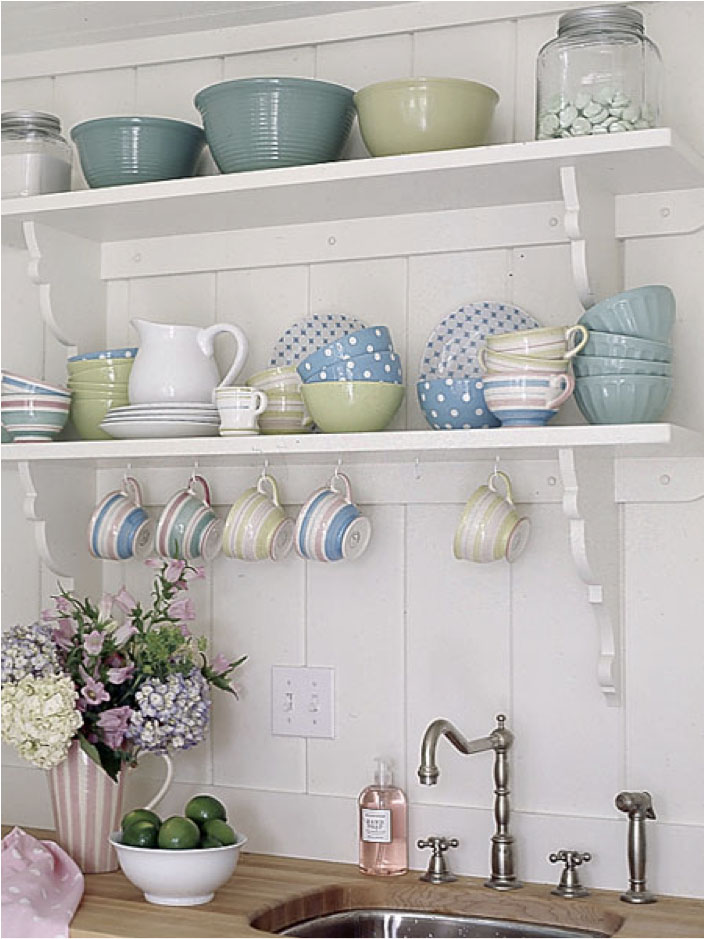
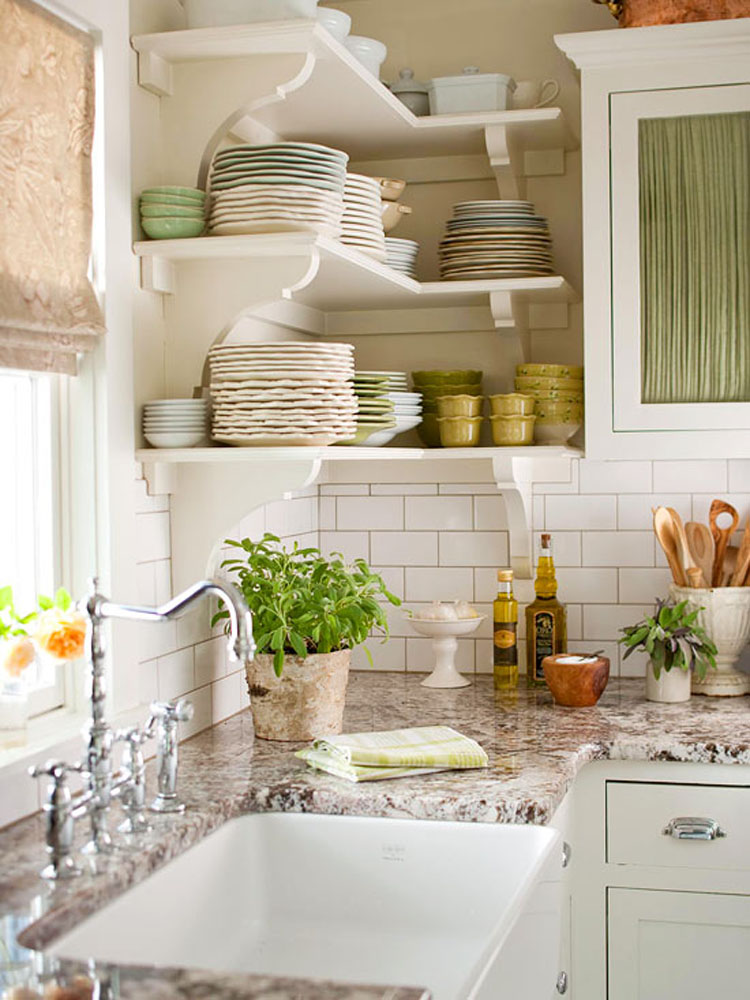
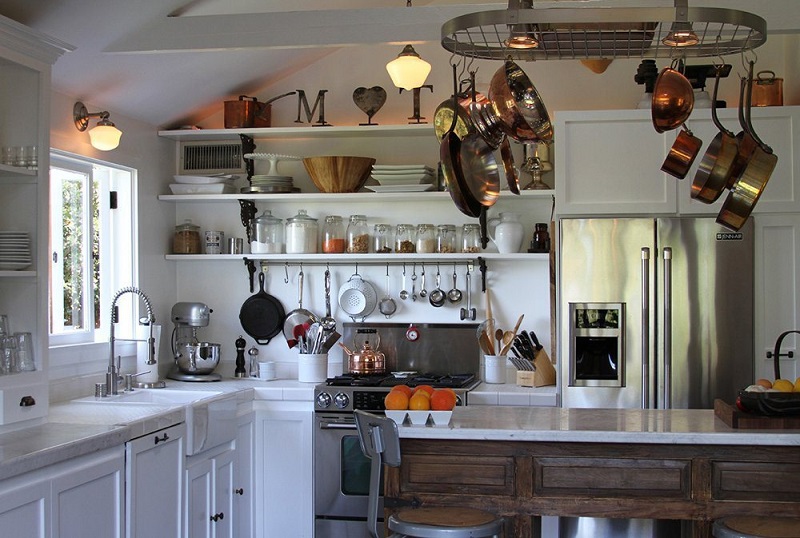
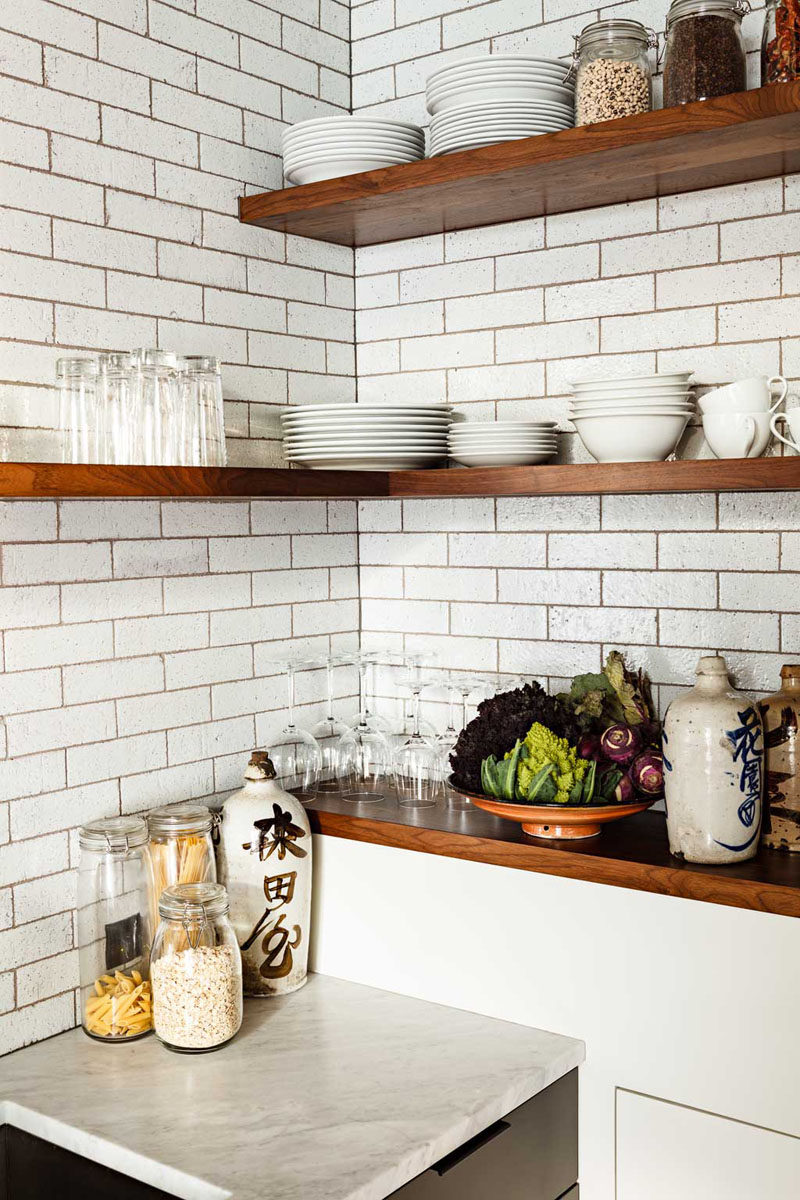
Getting to the manufacture, though simple, but still furniture, you first need to think about how it will be combined with the environment. First of all, you need to decide for what this shelf is needed in the kitchen. It can be a flower stand, a bottle-holder, a regular mounted shelf for spices or a rack for dishes.
The desire to do something original should not go to the extreme. Agree, it would be rather absurd to look like a regiment "antique" in the kitchen in the style of "Techno". Consider some of the directions in the design.
In the style of "Techno"
The Techno style attracts with its simplicity and the ability to apply any modern material. Shelves at the same time are simple and functional. Here rarely, even almost never, used decorative materials. Forms are rectangular, chopped.
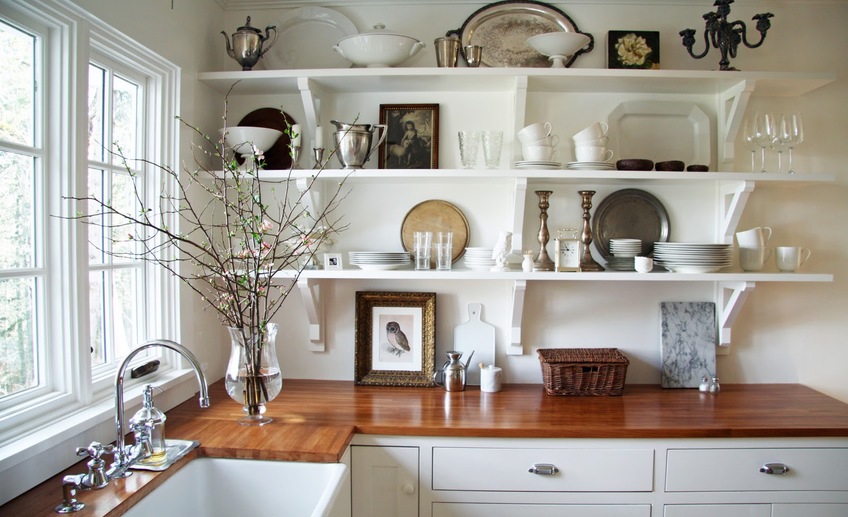
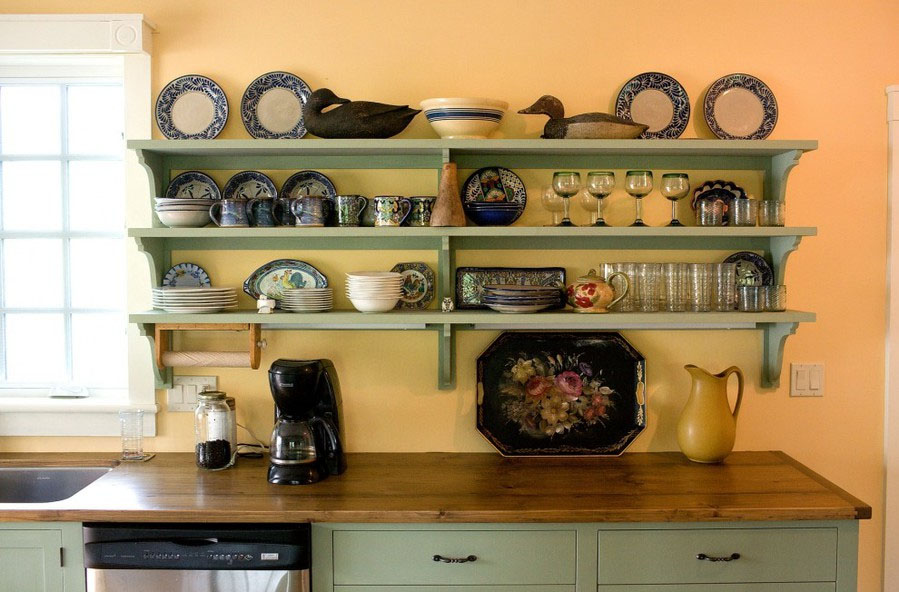
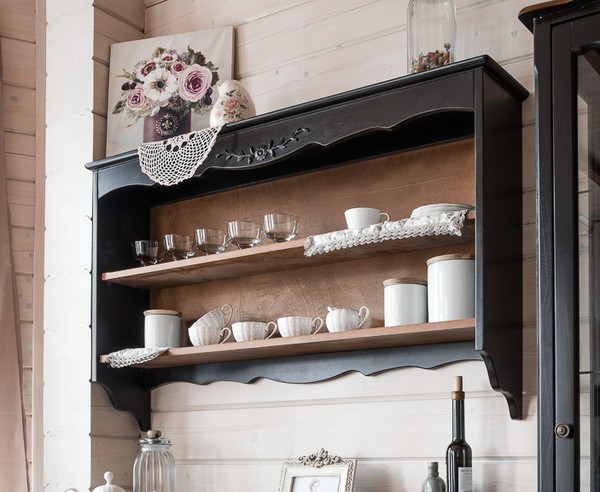
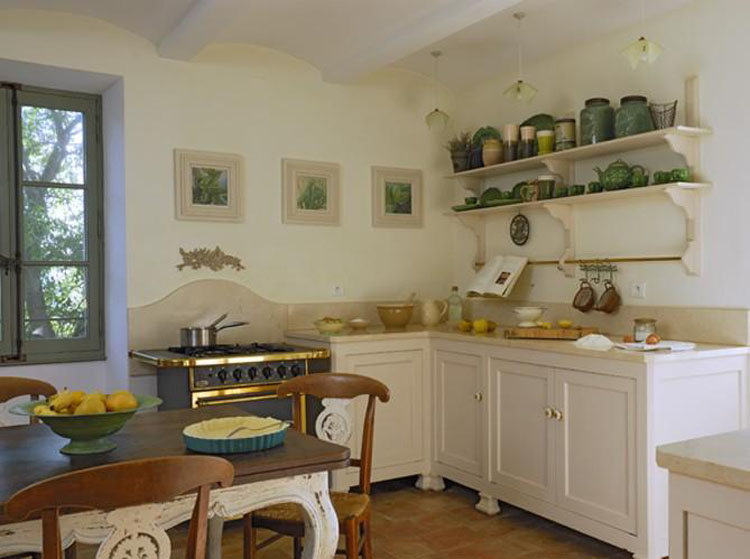
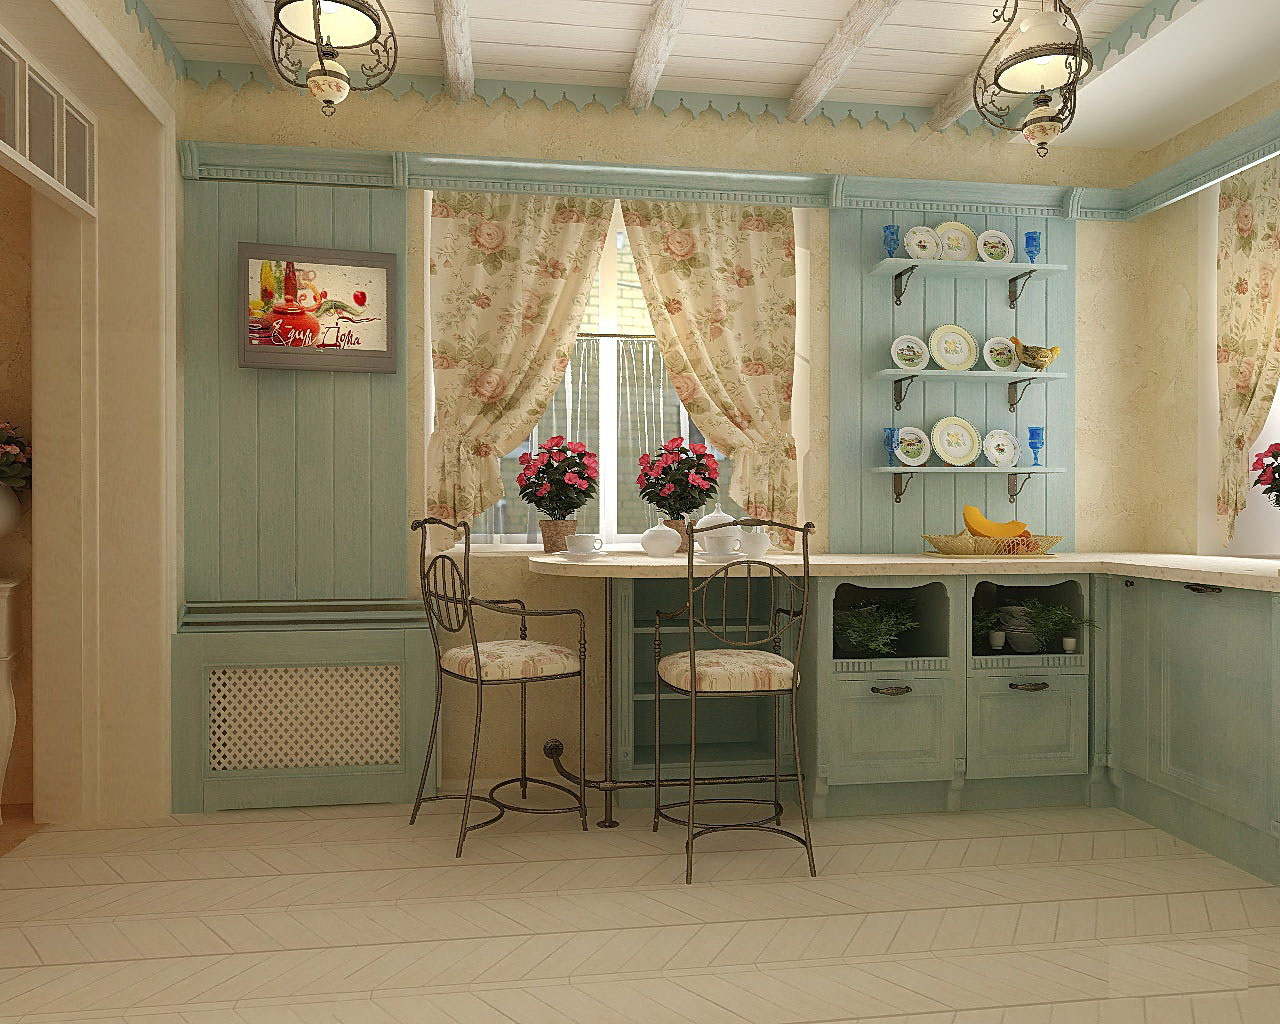
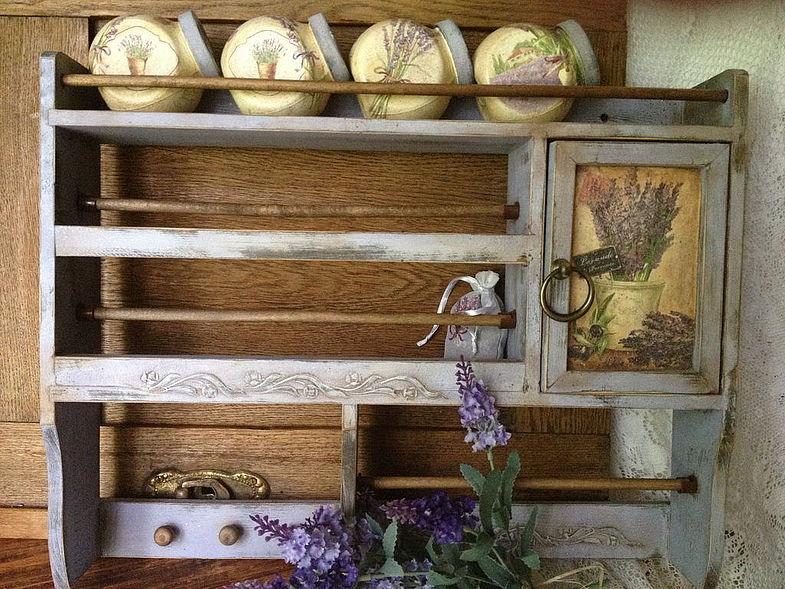
Classic "Provence"
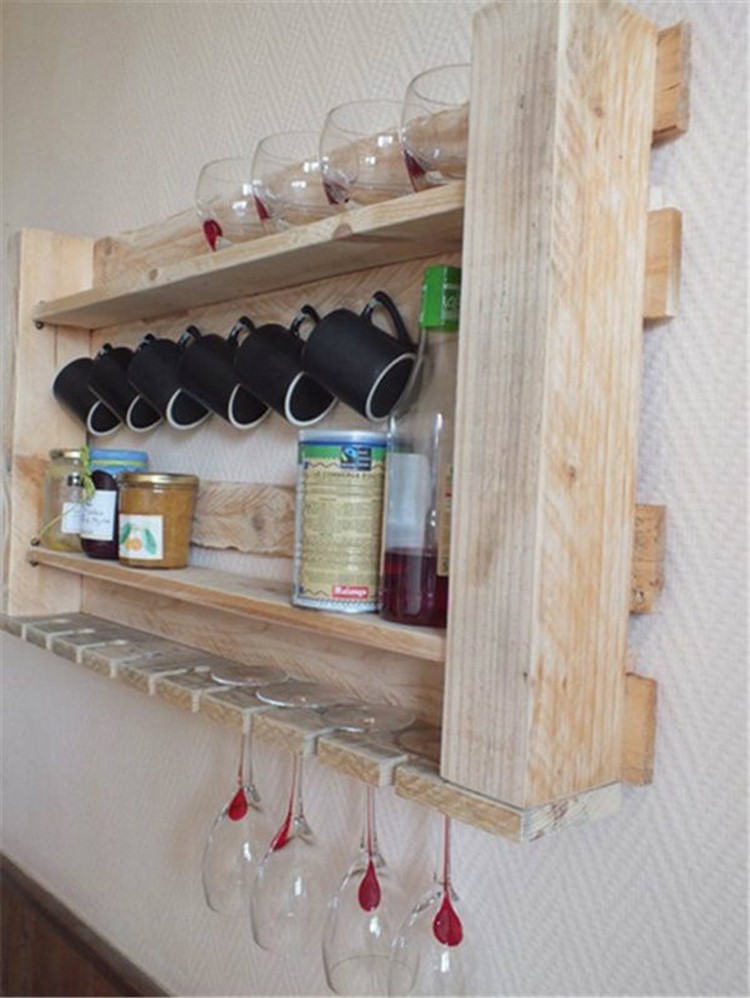
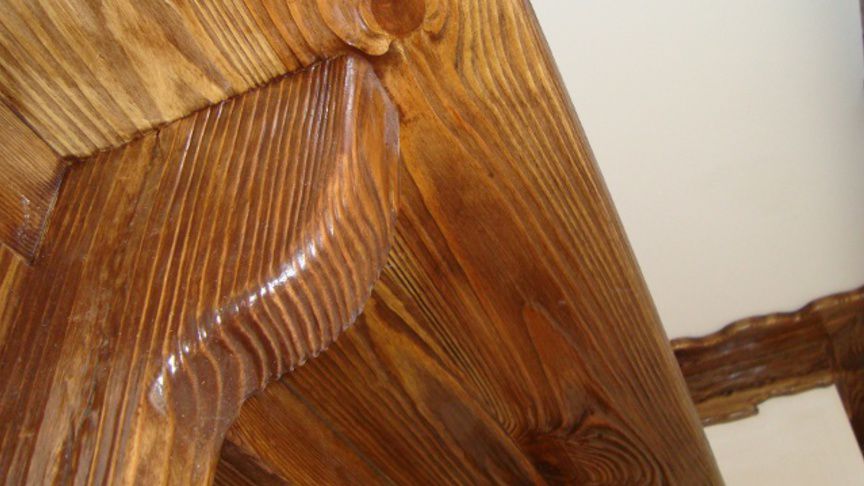
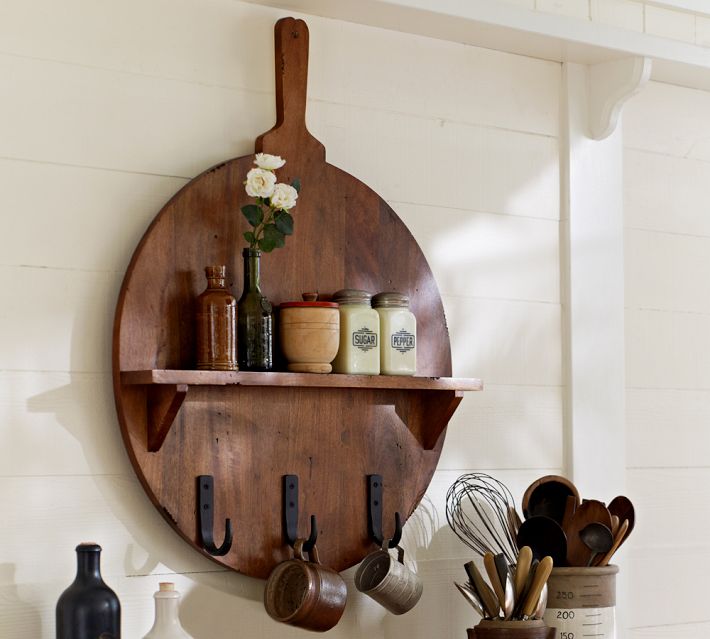
“Provence” style, requires the use of natural materials, artificial “aging” of wood or “antiqued” design is welcomed, but nothing prevents to use paint with a suitable color for decoration. Options for the manufacture of shelves are limited only by the flight of the fantasy of the one who makes them.

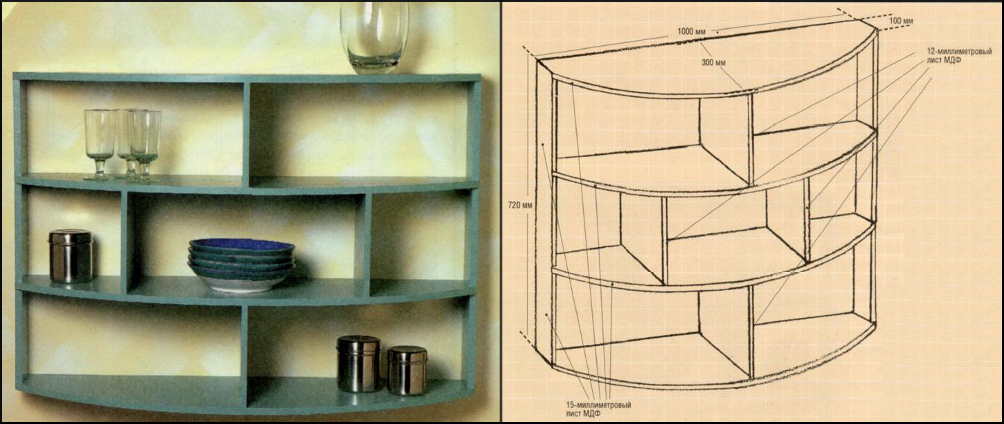
You can arrange the carving and smooth bends:
Of course, it looks very beautiful, but it requires quite serious skills in working with wood, so you can try to do something simpler to get started:
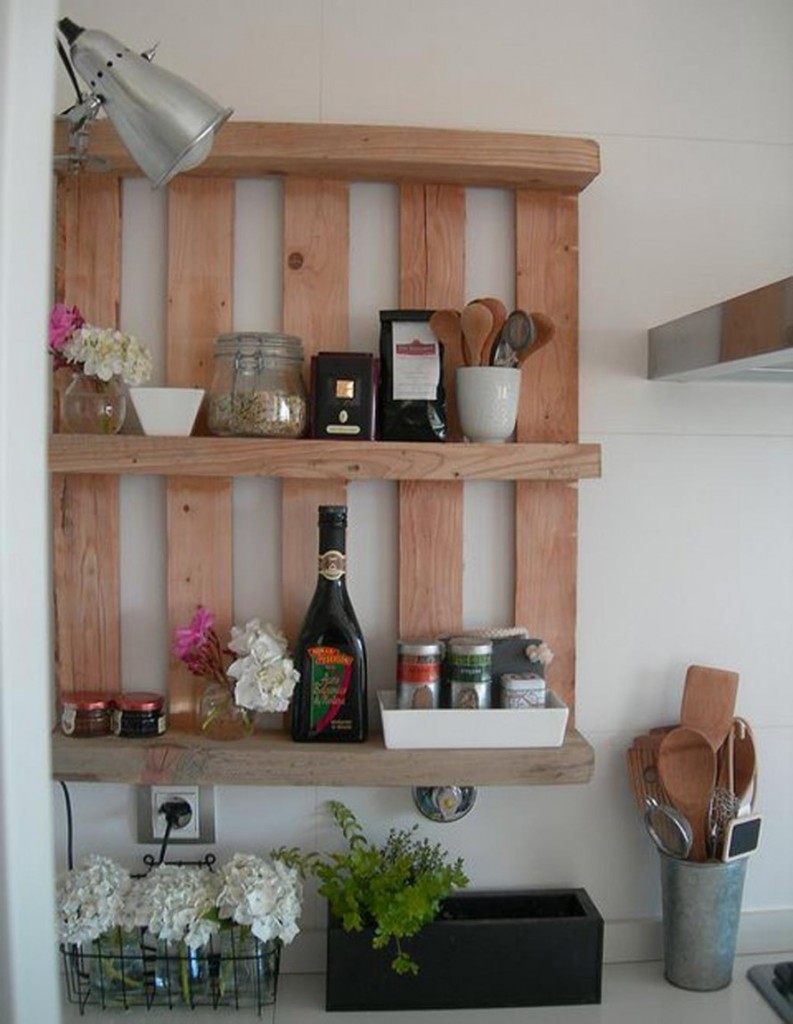
A simpler version of the "provincial" style.In the end, the style of "Provence", as a truly provincial, provides an opportunity to express themselves in the form of the most unpretentious simplicity:
Extremely simple version.
However, it is not necessary to strictly adhere to any specific canons.
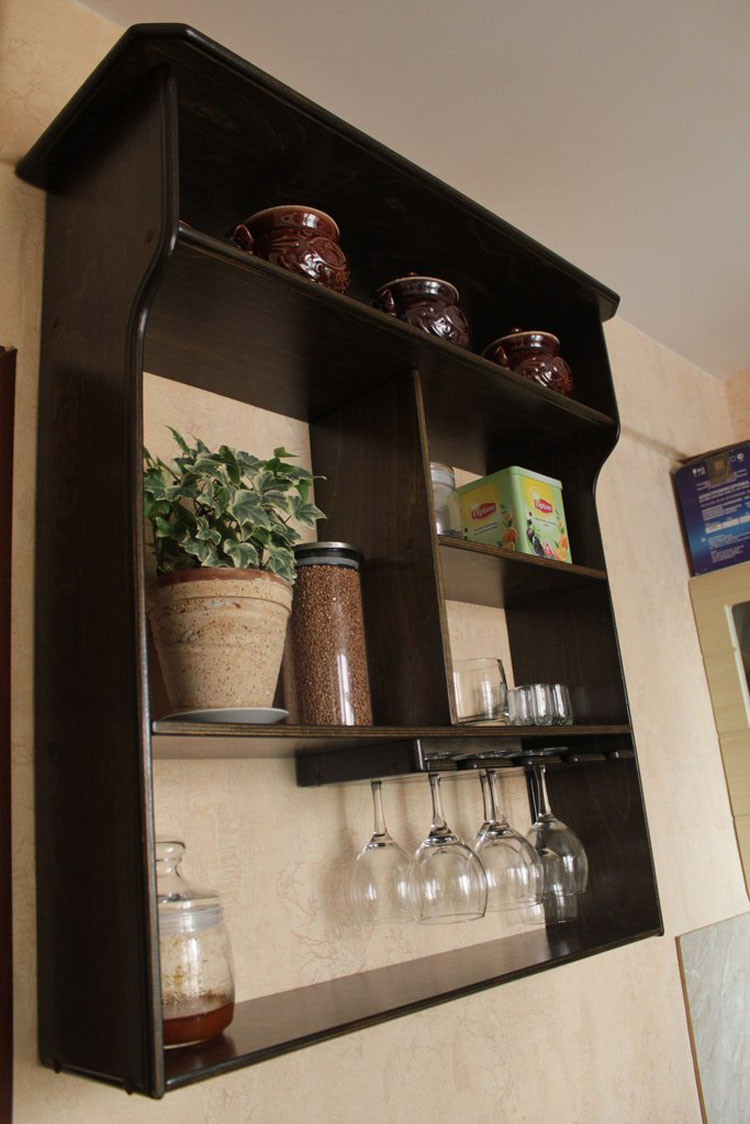
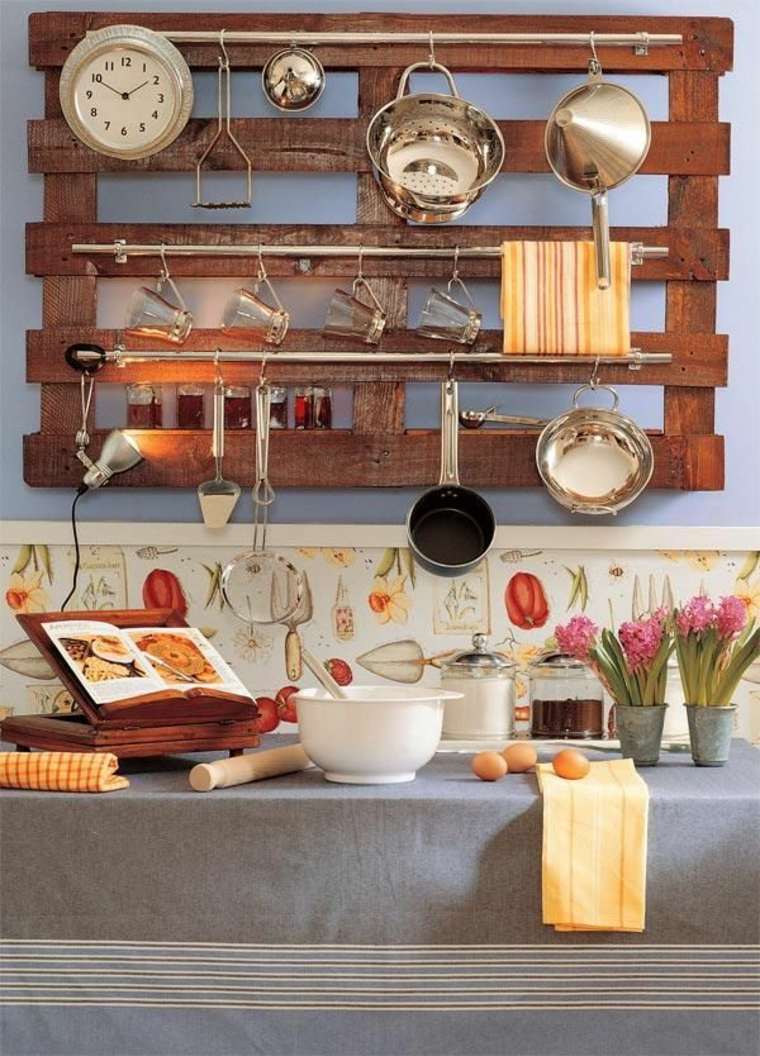
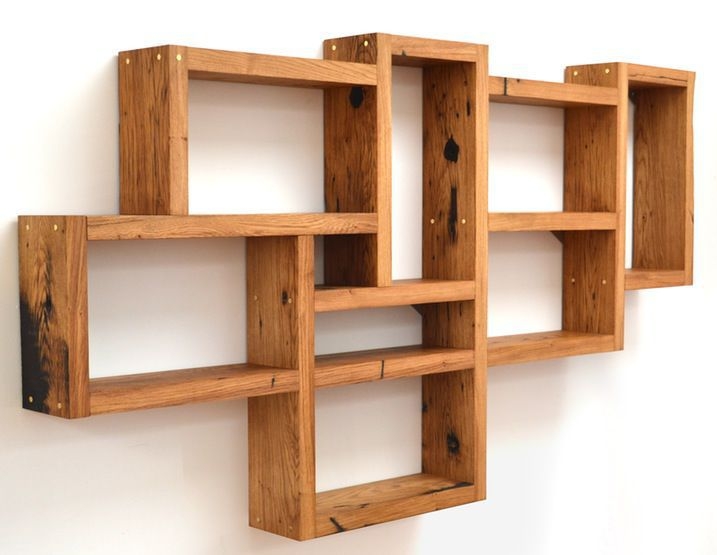
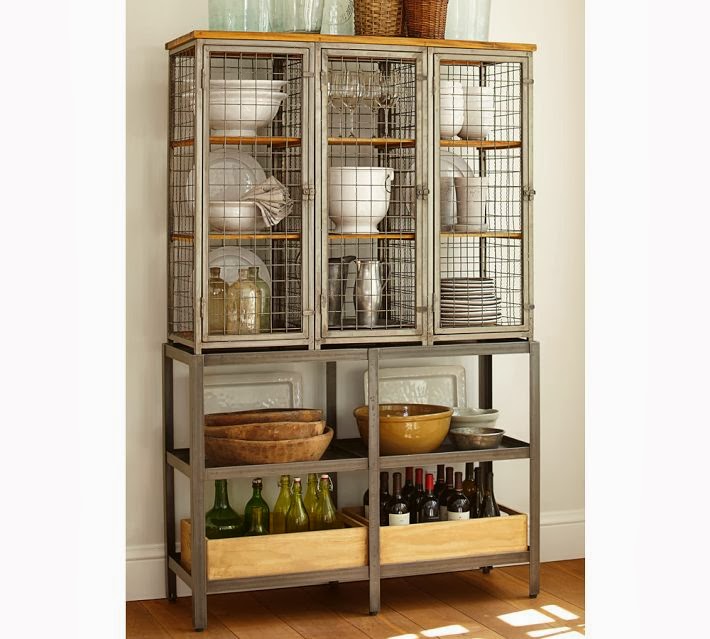
You can make an open, openwork design, and you can make a blank wall on all sides. Nobody forbids even to fasten the door. True, it will be a locker, but is it really a matter of terminology? The beauty of making something with their own hands - the lack of restrictions and the ability to apply their imagination to any materials at hand.
Installation Methods
Shelf made, framed, it remains only to install. Here, too, have their own subtleties. Installation options:
- Fastening on the wall with brackets;
- Corner shelves, mezzanine;
- Hinged shelves;
- Suspended shelves;
- Free standing shelves.
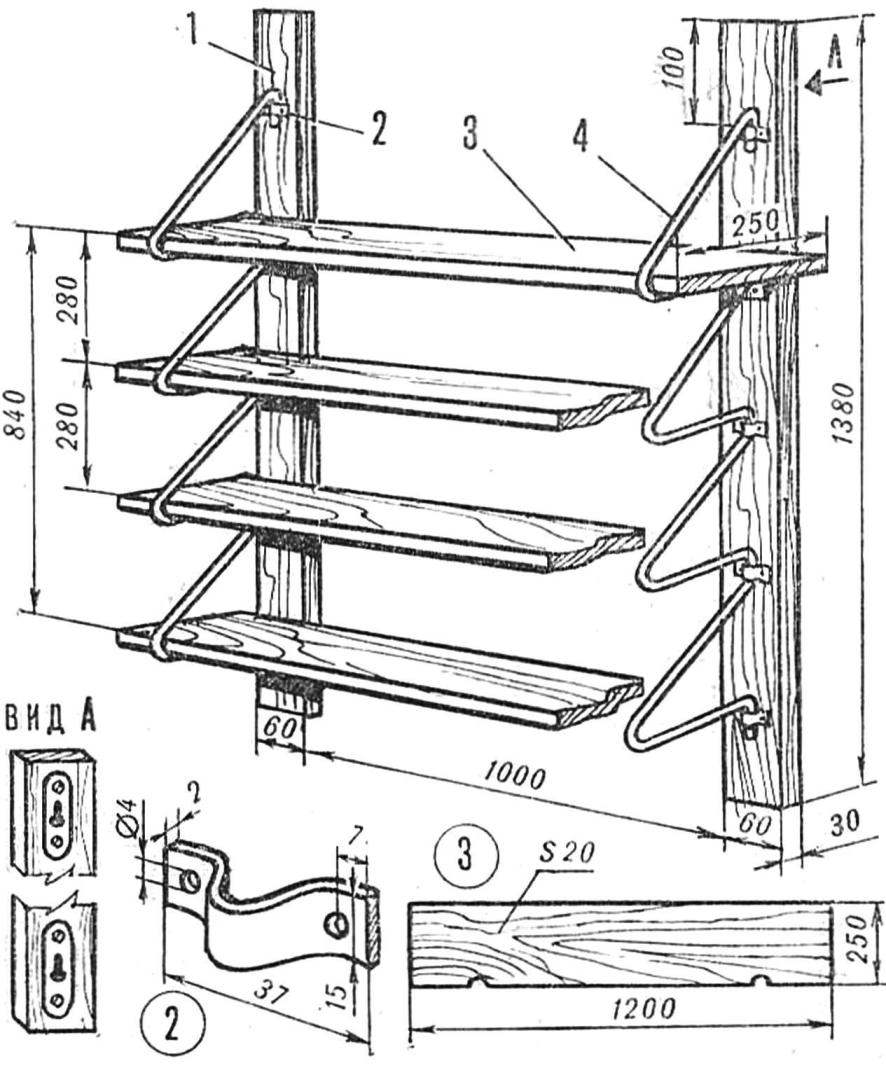
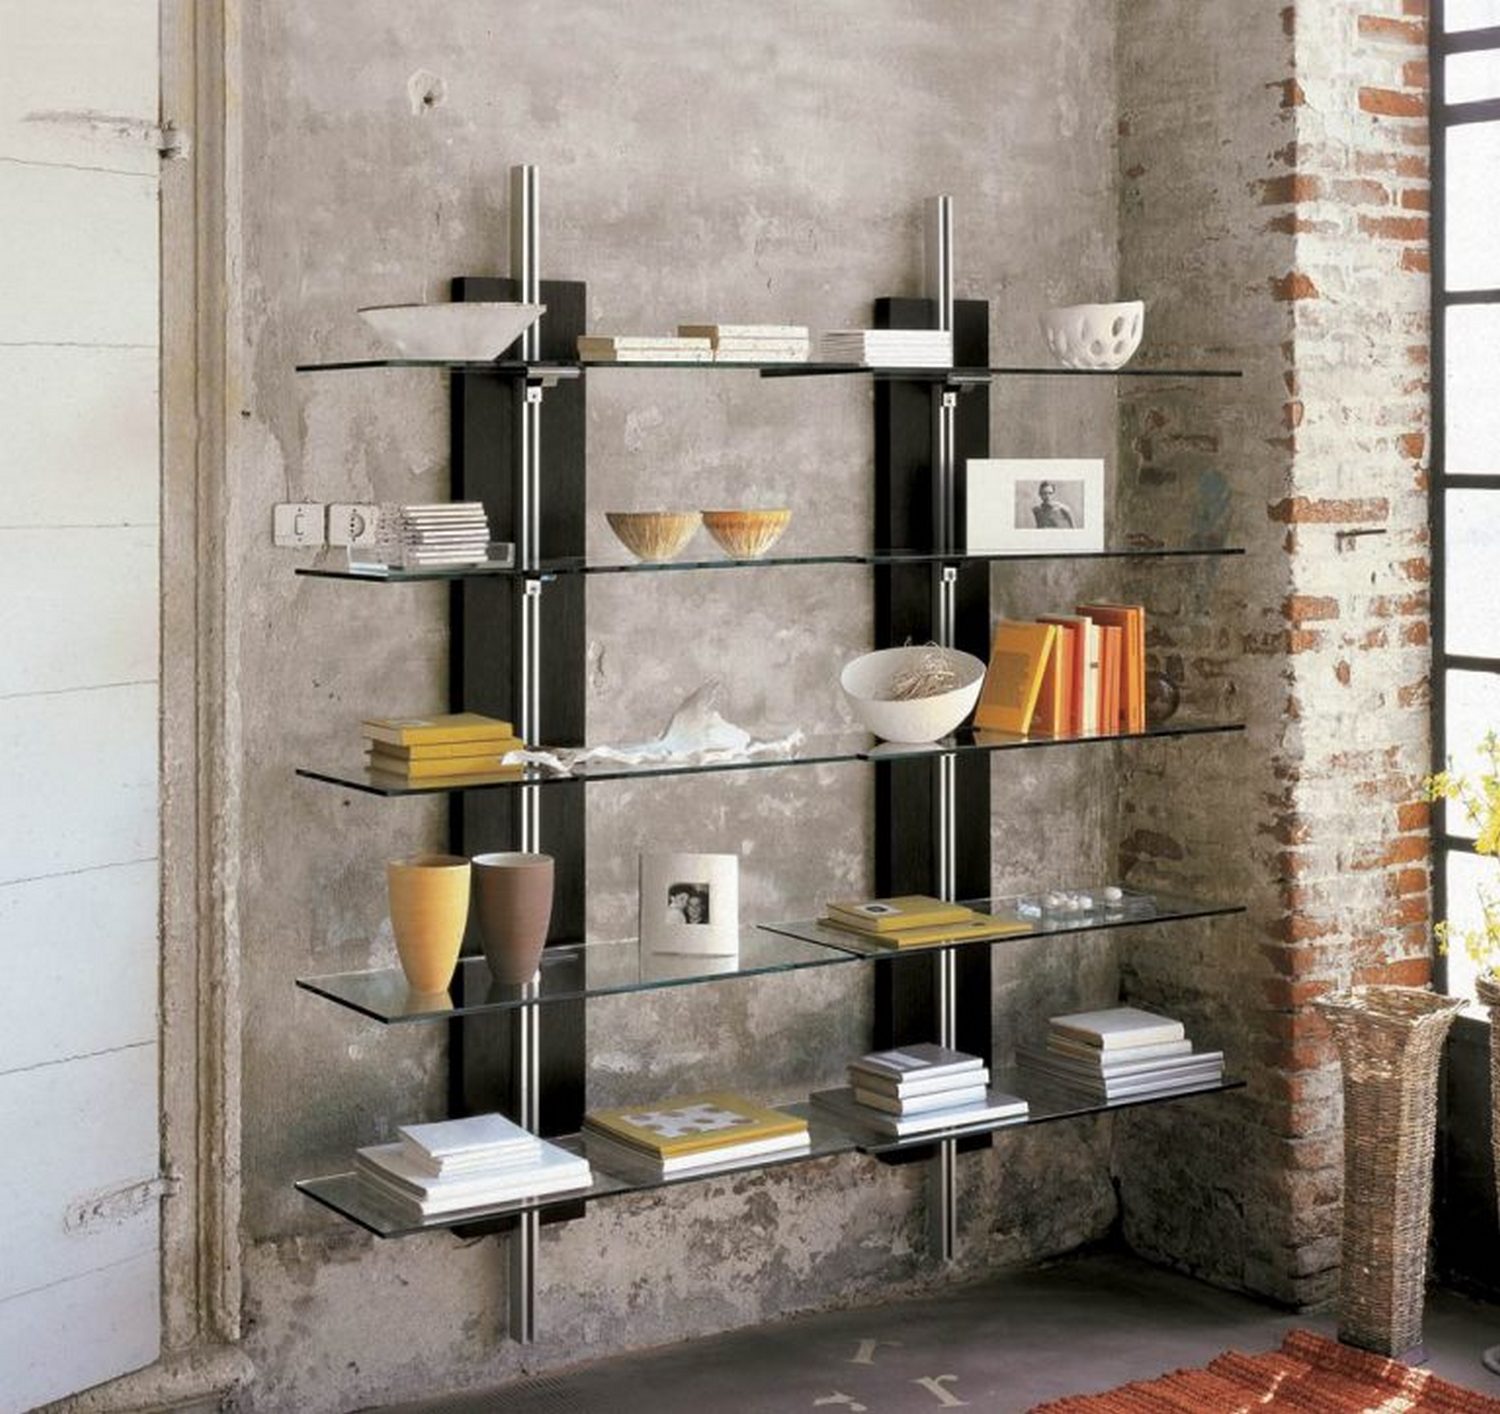
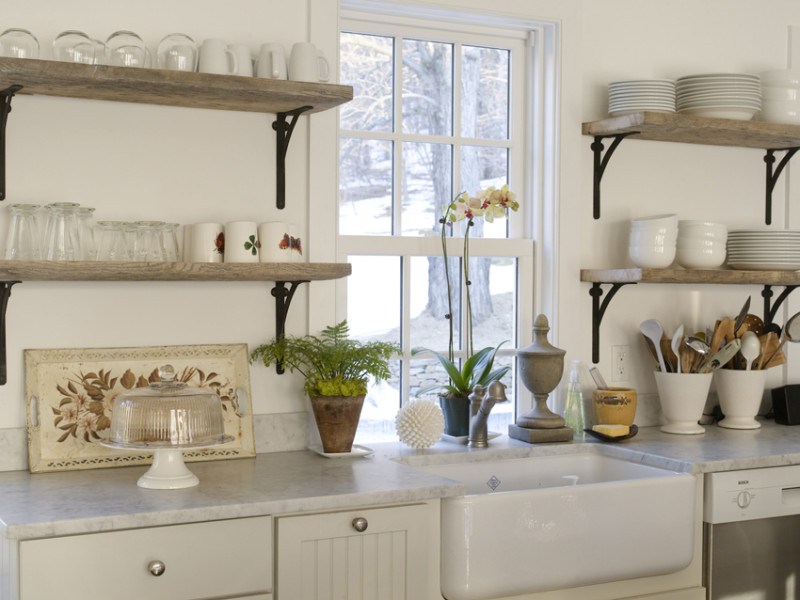
Mounting on the wall with brackets
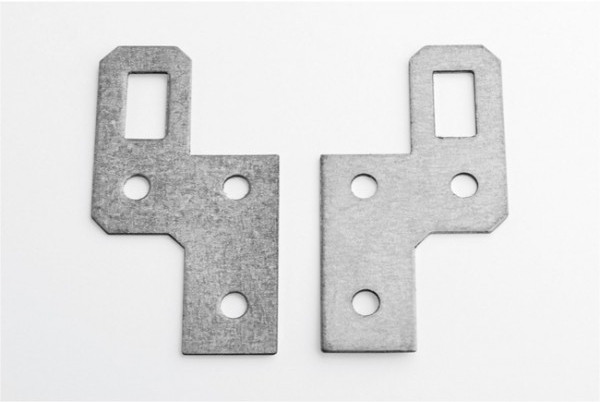
If the product is mounted on one wall and does not have a power frame, then it is necessary to use angle brackets that will take over the load.
They can be purchased ready-made, in the store building materials, and you can do it yourself,having cut a rectangular piece of board or fiberboard. The photo shows the use of both methods.
Mounting with brackets.

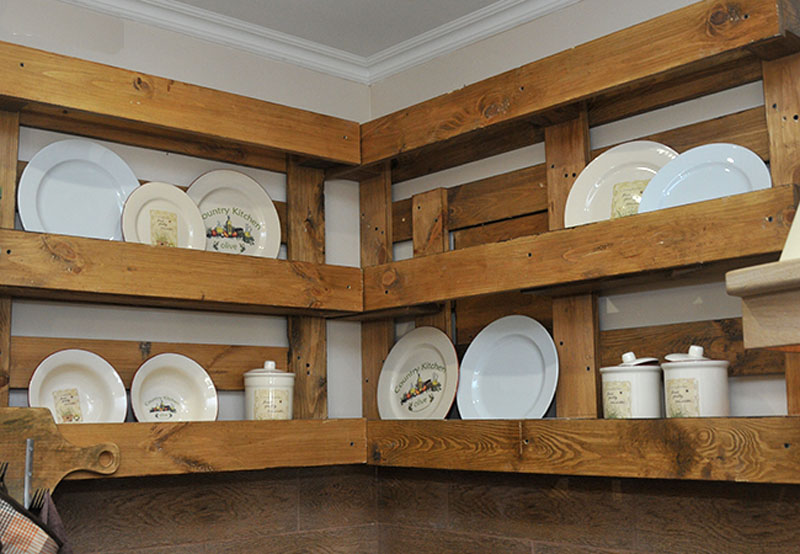
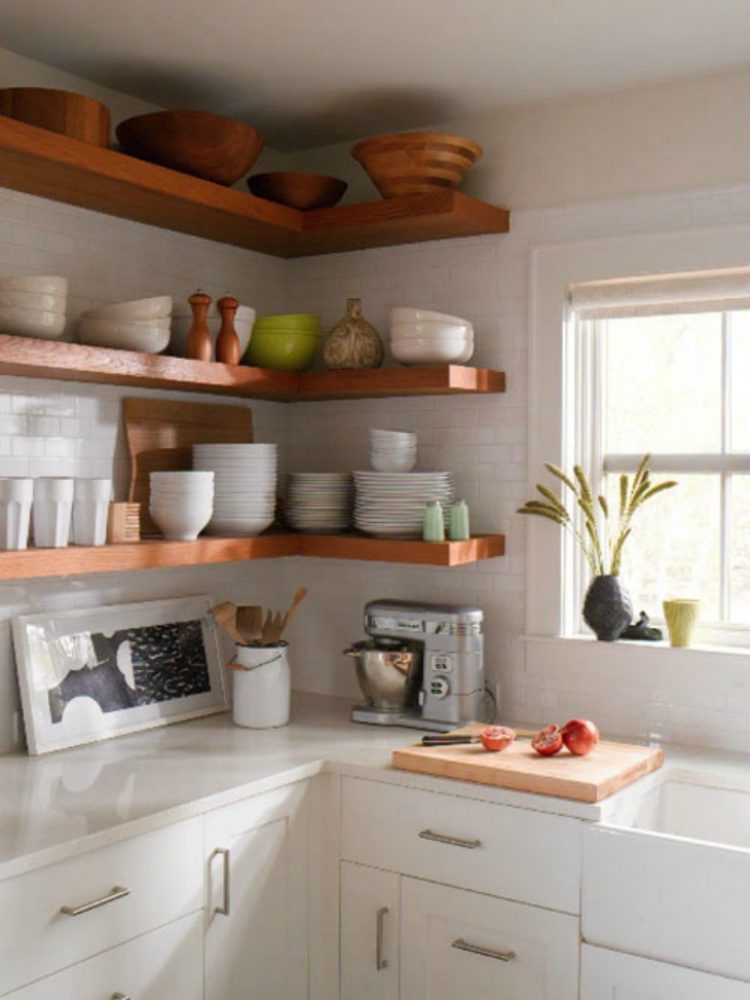
Corner shelves, mezzanine
Brackets are not needed if the shelf is attached not to one, but to two walls. It can be, both angular shelves, and mezzanines, located in some narrow niche.
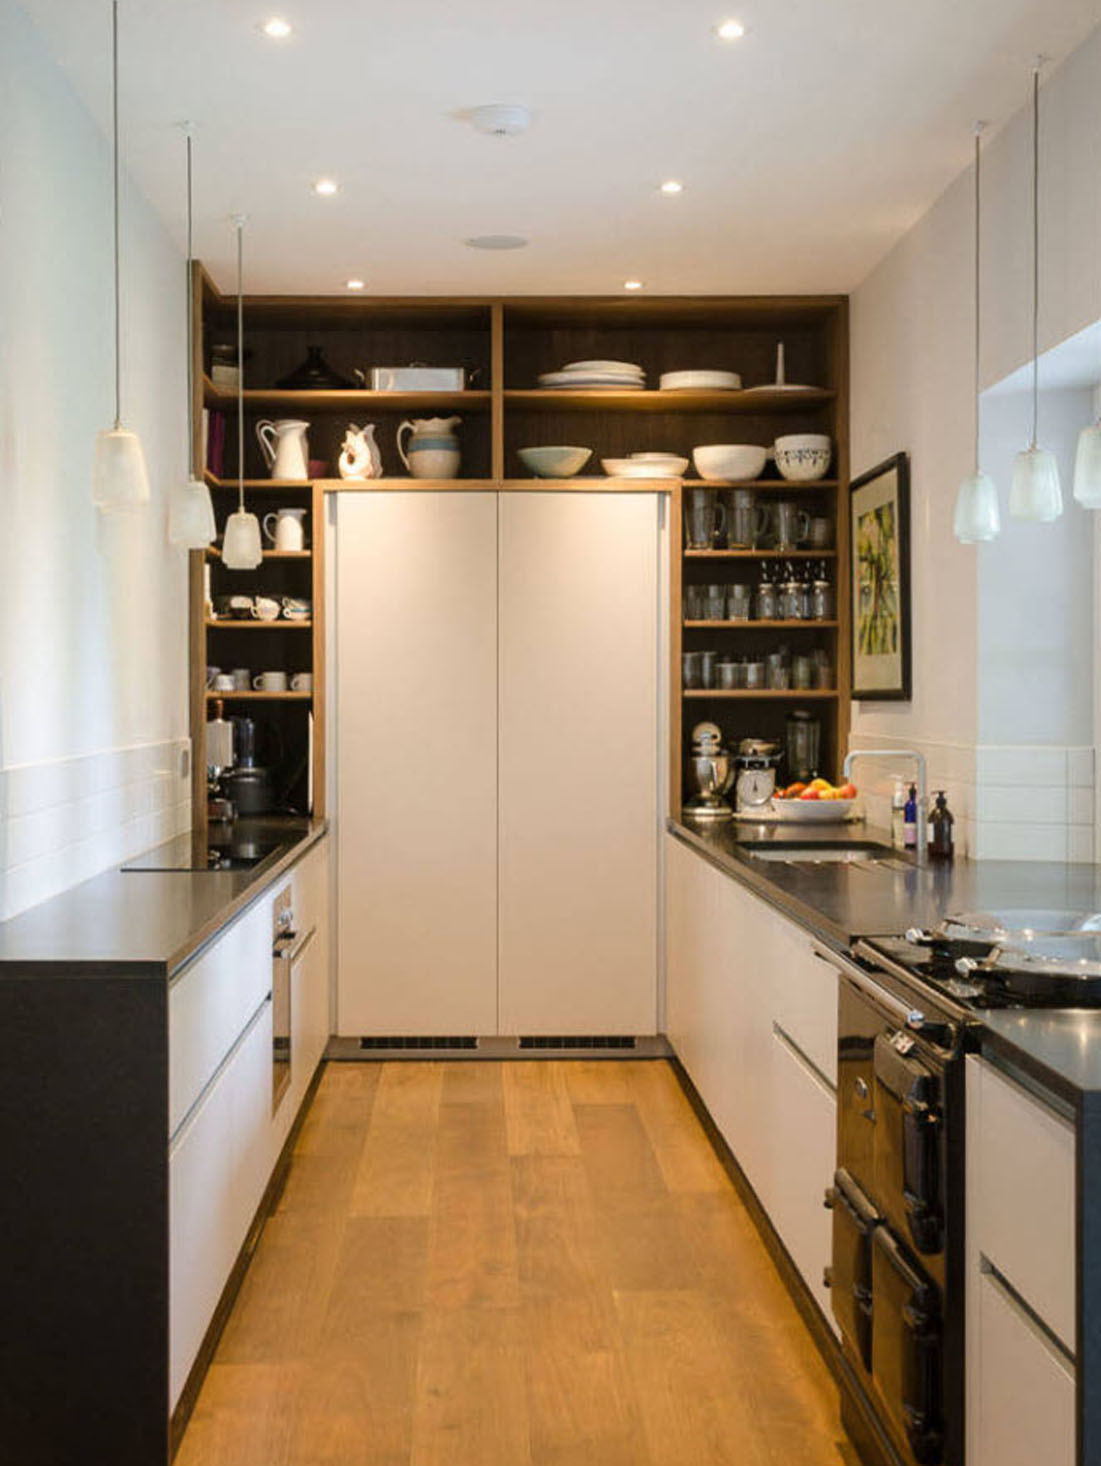
Corner
In these cases, it is sufficient to use any support, which can serve as bars, nailed or bolted to the walls. In the simplest case, you can drive in the dowel-nails or screw in screws (screws), leaving them to stick out 1-2 centimeters. The shelf in this case is simply placed on top.
Hinged
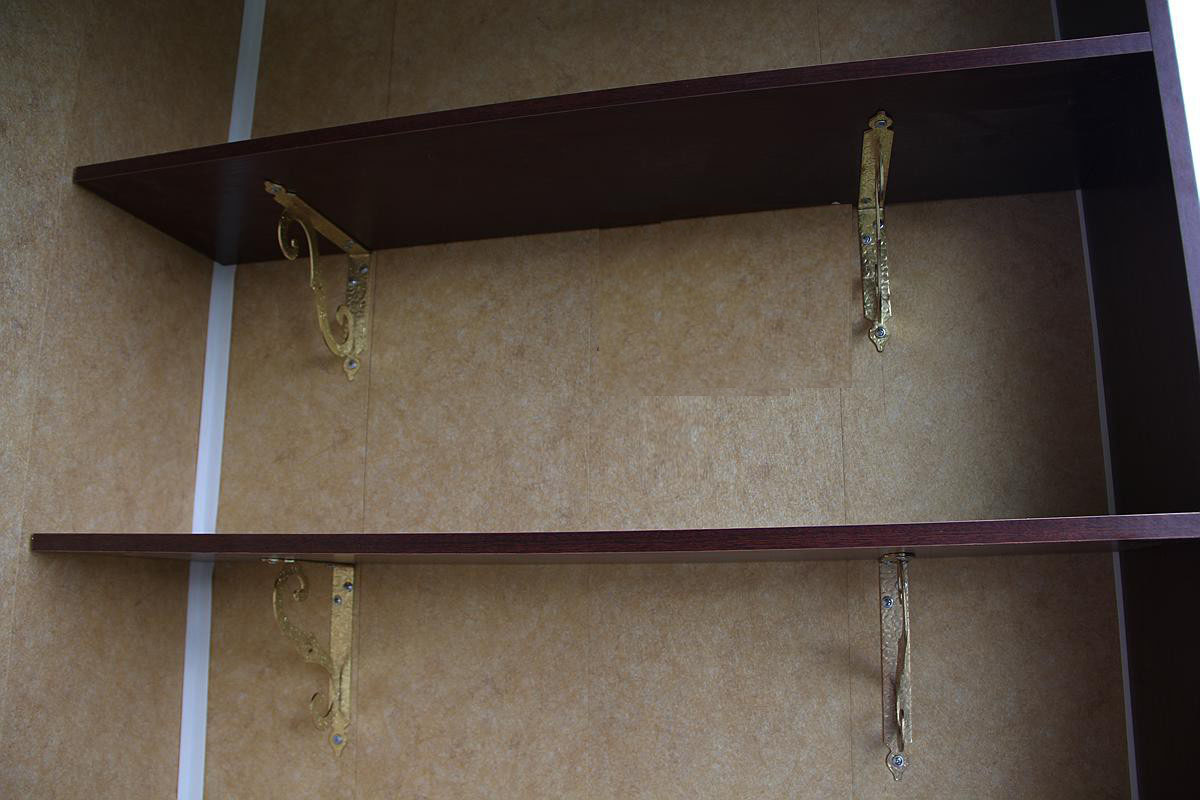
If a multi-tiered structure is made, then the fixing should be carried out using special hinges.
They are attached to the back side with screws or self-tapping screws, and then the whole structure is hung on the fasteners protruding from the wall, which can be dowels-nails, screws or ordinary nails.
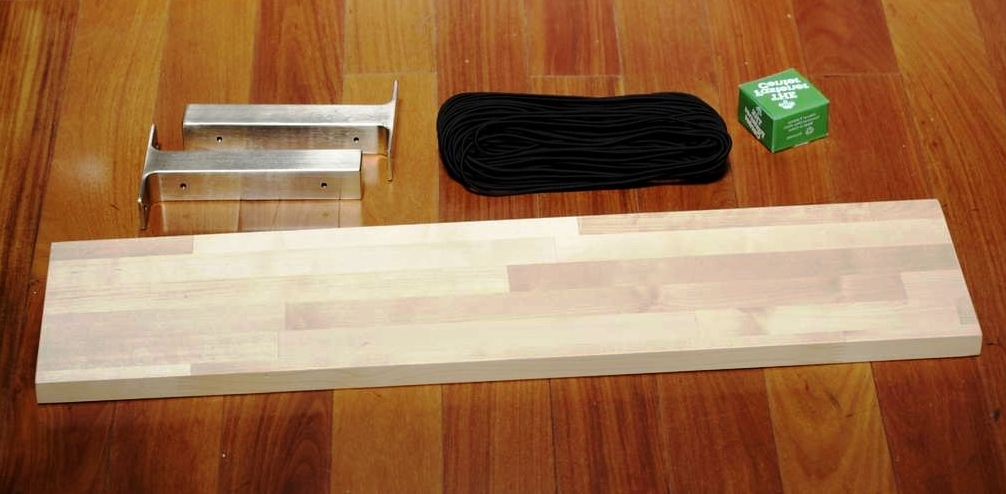
Suspended
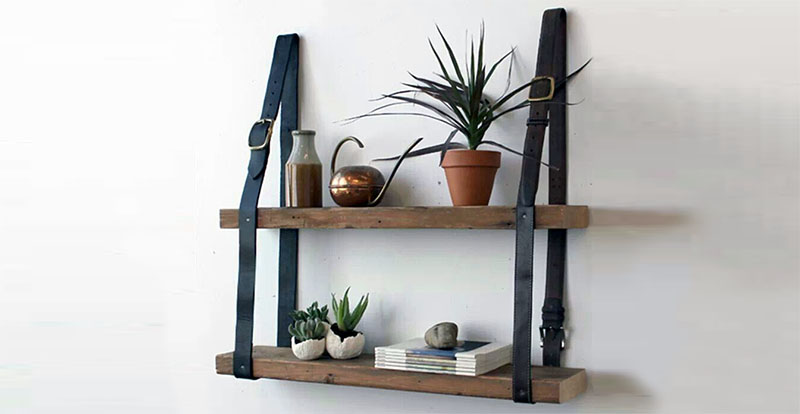
This mounting option combines both ease of implementation and plenty of room for imagination. Judge for yourself, in order to fix the wall shelf, it is enough to drive two nails into the wall,and using different types and colors of twine, ropes, ropes and even men's wardrobe accessories (the fastening on the basis of old trouser belts was considered above), you can achieve a wide variety of forms.
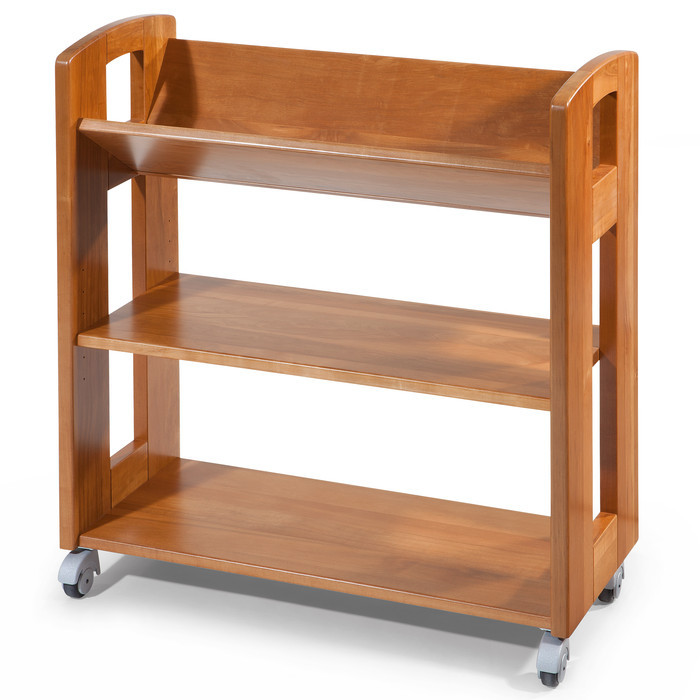
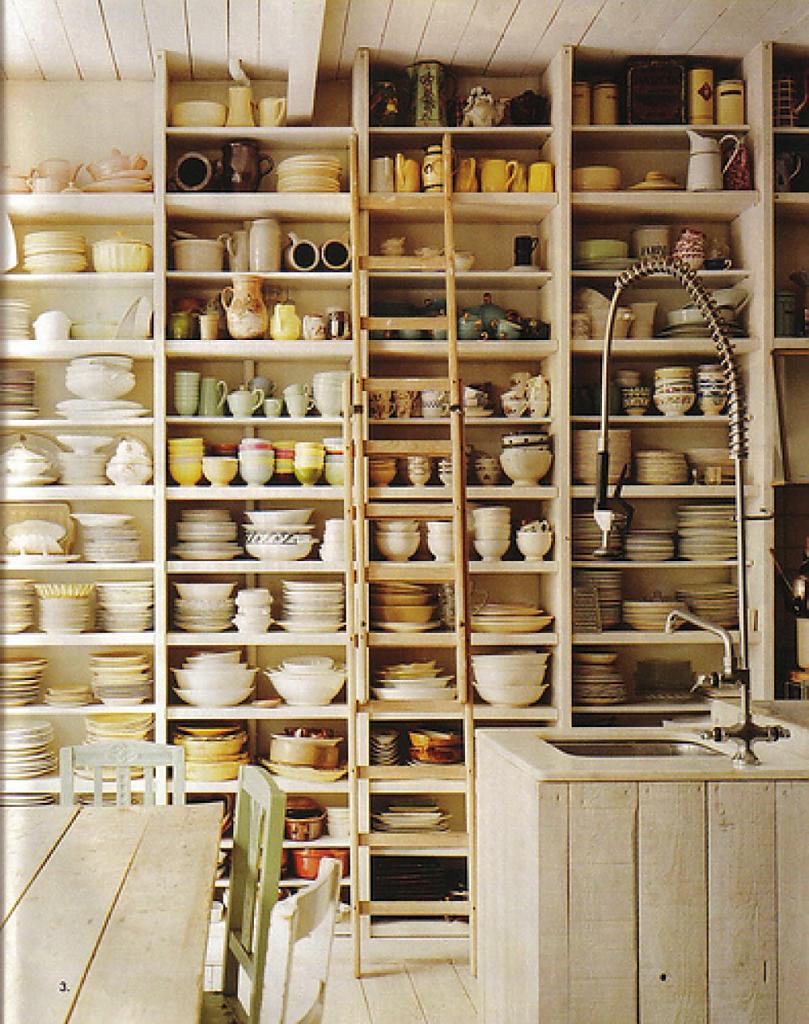
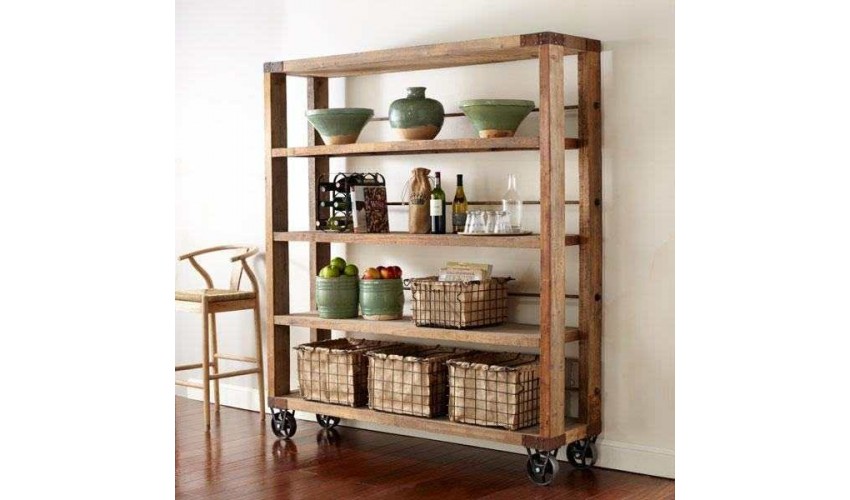
Free standing shelves
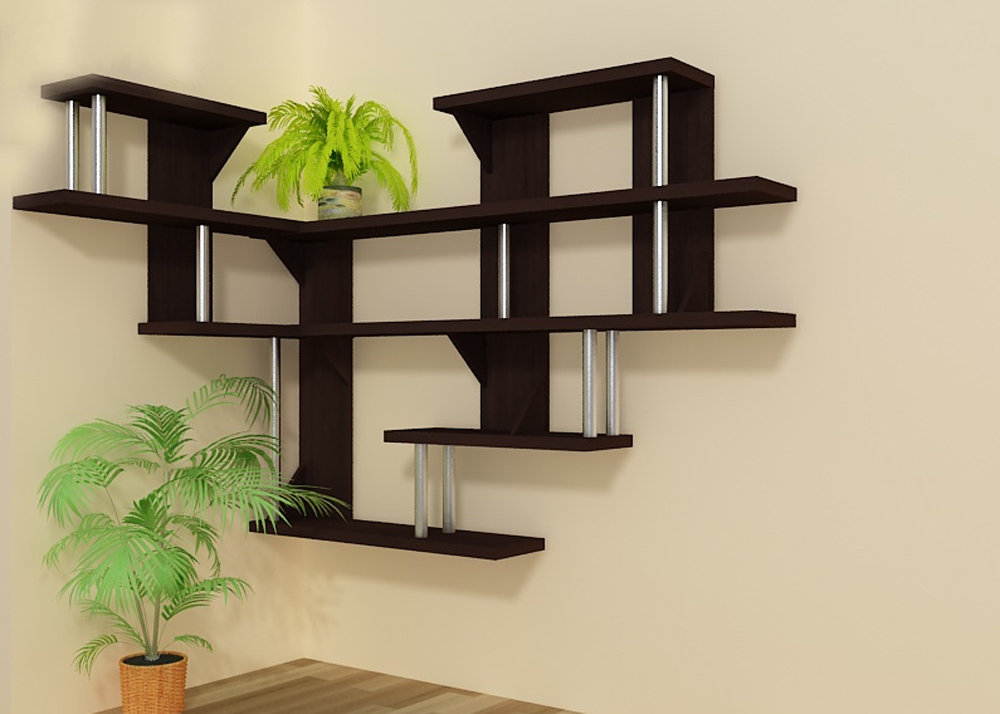
And we must not forget about the easiest way to install shelves. You can simply put it on the floor in any place convenient for you. The so-called "shelves" can consist of several surfaces, interconnected by columns of various shapes, but there can also be blind back and side walls. In the first case, the design looks open and transparent, while in the second it is massive and reliable. What is best suited for your kitchen is, of course, you decide.
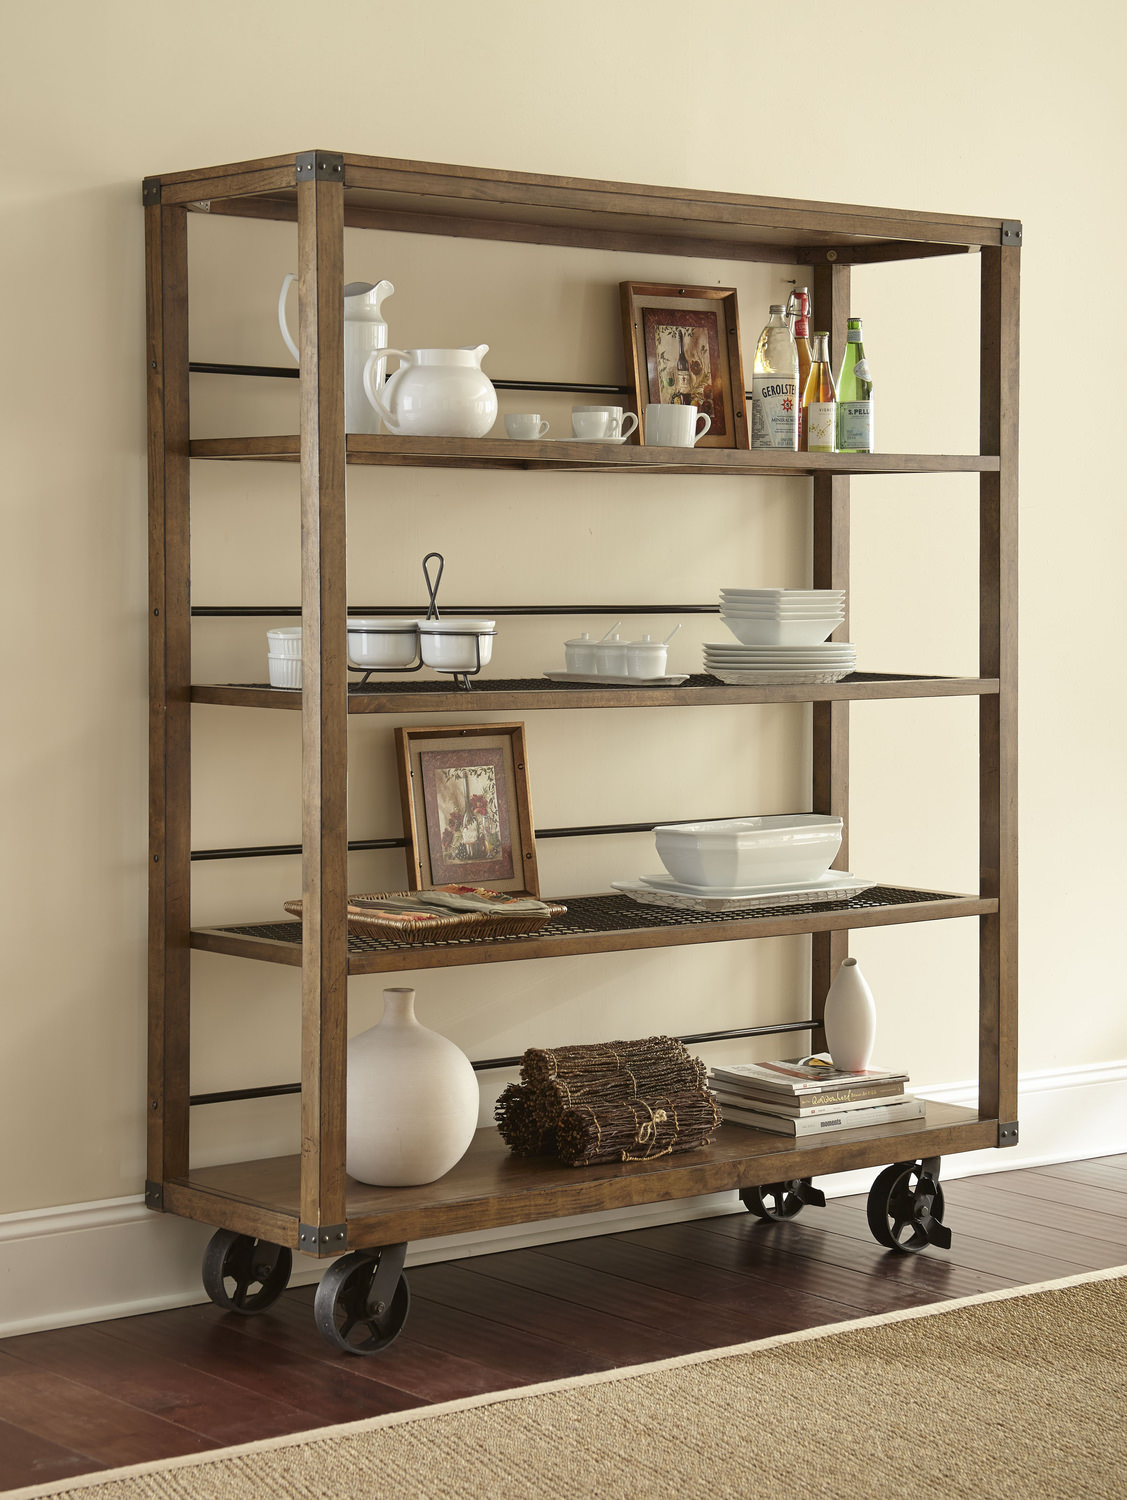
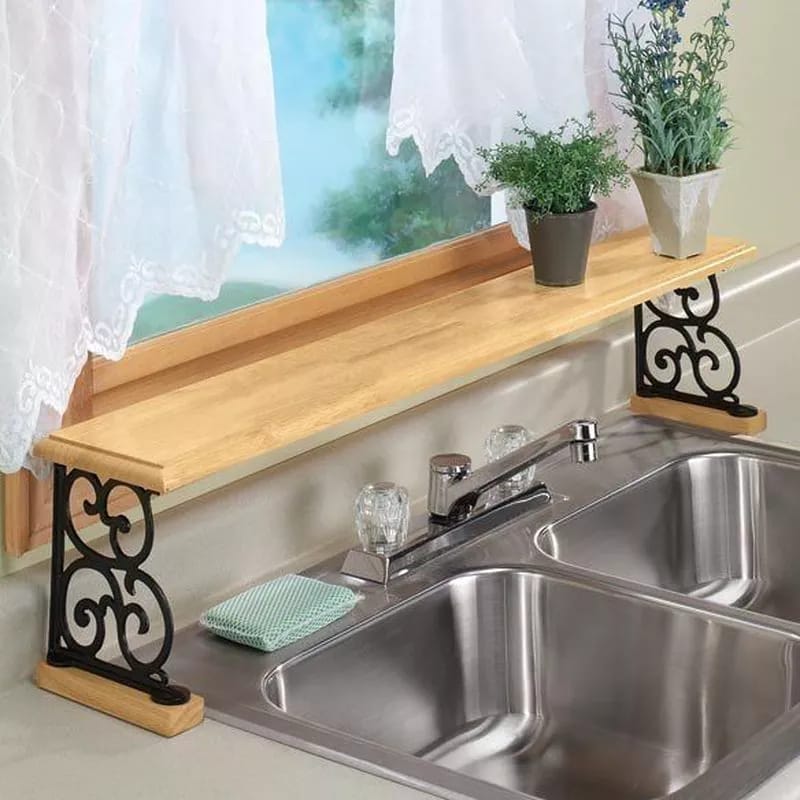
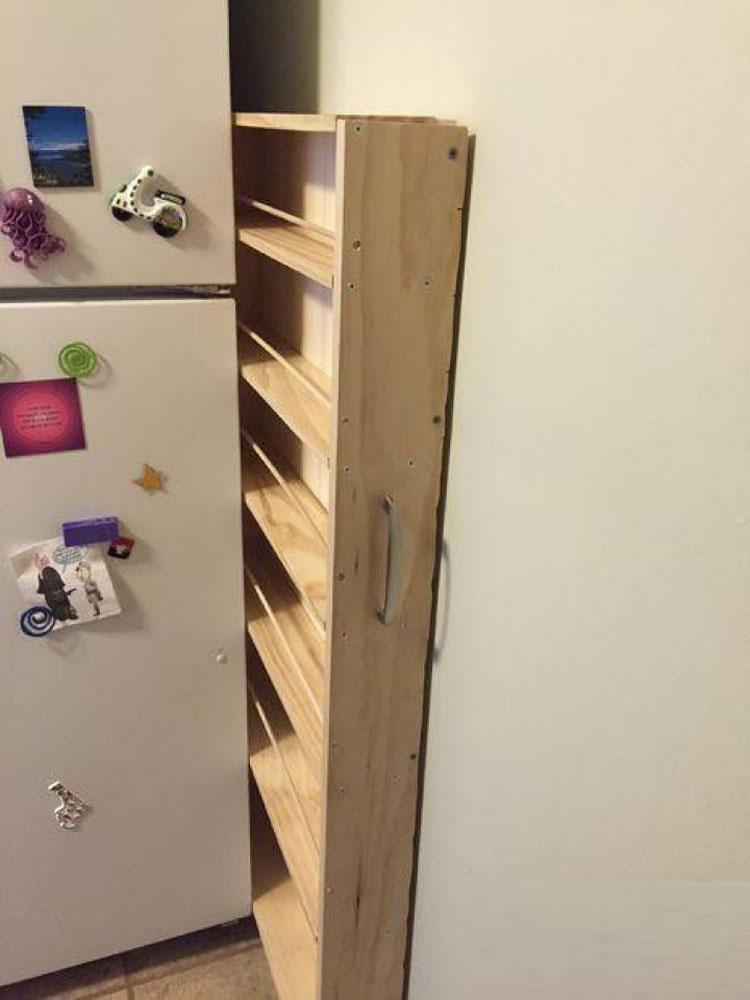
There are situations when the kitchen remains free space, but it is very small. For example, an empty space of 20-30 centimeters wide between two kitchen tables or a table and a wall. In this case, you can easily turn a free-standing shelf in vykatny or retractable. To do this, it is enough to purchase four furniture wheels in the hardware store hardware department and fasten them in the corners.
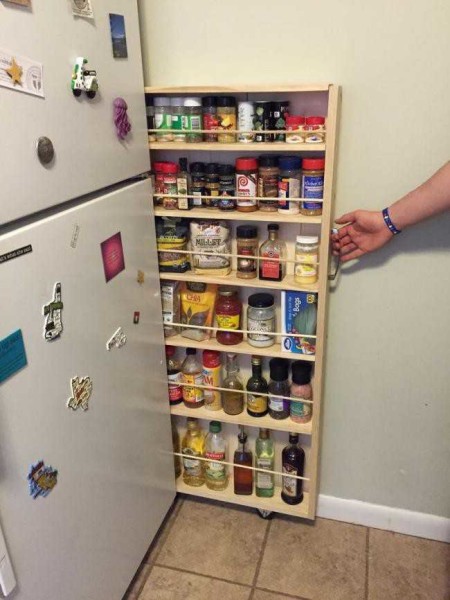
This shelf can be placed in a narrow place.