Zoning the kitchen and living room

Zoning tasks
The zoning of the kitchen and living room is used to isolate individual functional areas in the premises without using solid walls and partitions. Thus, a greater visual volume of rooms is achieved, the interior acquires originality. It is always interesting to develop interesting design ideas with zones and bring a project to life.

In small-sized rooms, studio apartments, a single room is taken to zone in order to maximize the use of the scarce area and not feel discomfort from its lack. Resorted to this method and in spacious rooms to give them style and convenience.

Design specialists can cope with zoning tasks, but you can solve all problems yourself. This will require a little imagination, spatial imagination, available building materials and methods of interior decoration.

Functional areas
In any kitchen, you can select the main functional areas:
- working - for cooking;
- for eating;
- bar;
- recreation area.
Even in a small kitchen, with the help of simple methods, you can create two zones: a large one with a dining table, and a smaller working area, where the stove is compactly located, the tabletop and the sink. And in spacious rooms with an area of 15-18 square meters. m. and more simply need to organize several functional areas.
The following areas can be distinguished in the living room:
- a dining table for several people with chairs, mostly in the center of the room, but there may be other options;
- spacious sofa, can be complete with a coffee table;
- TV, which is optimally located on the opposite side of the sofa, another location option, so that it is visible from the kitchen;
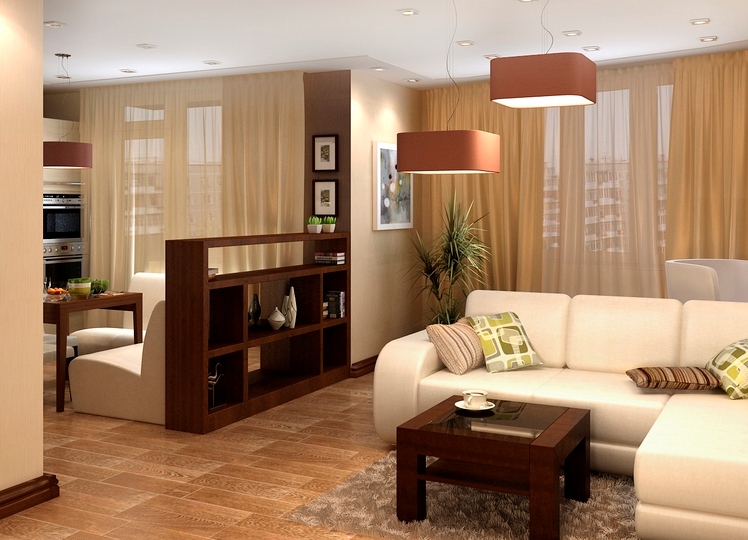
- storage cabinets, bookshelves, shelves with souvenirs.
Another method of space delimitation is the separation of the kitchen and living room zones, when they are actually a single, indivisible room, but their visual boundaries are clearly visible.
Types of effective zoning
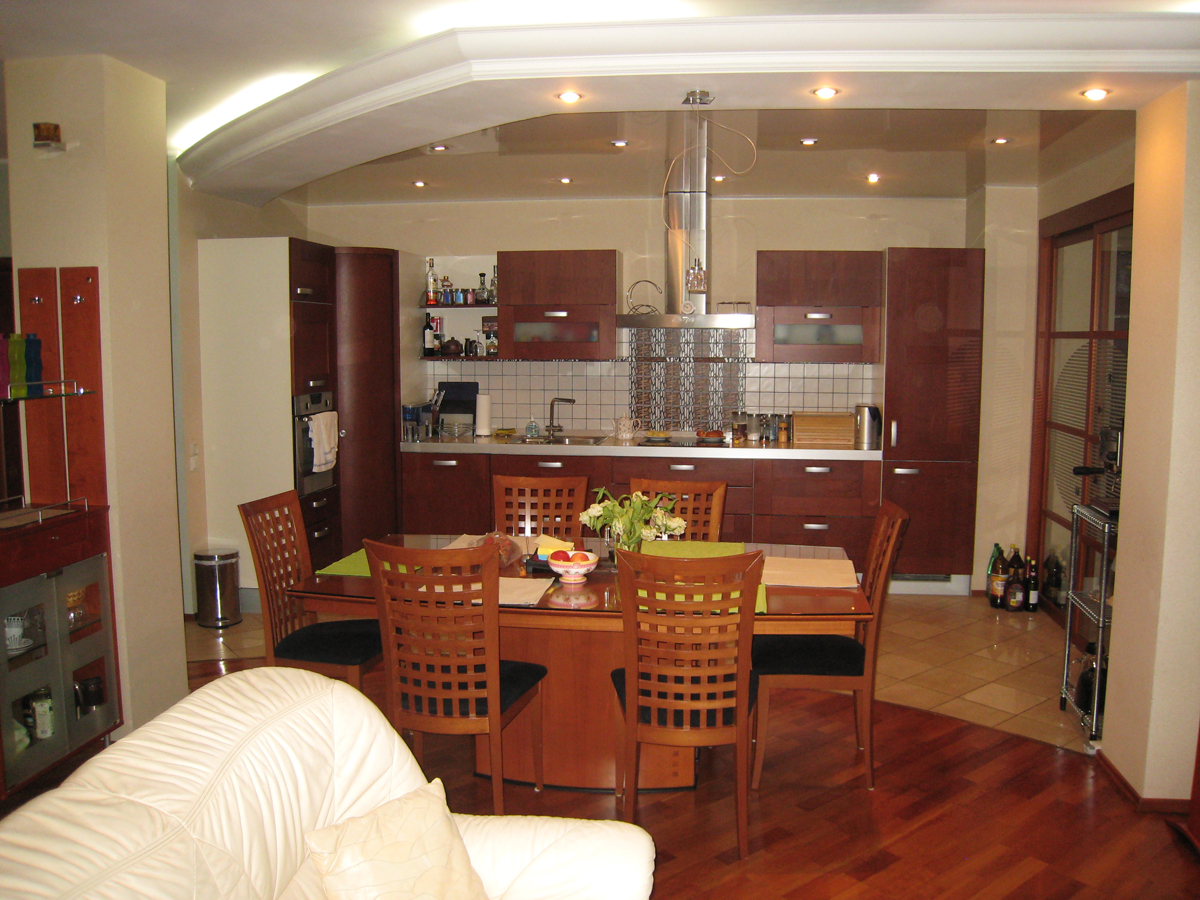
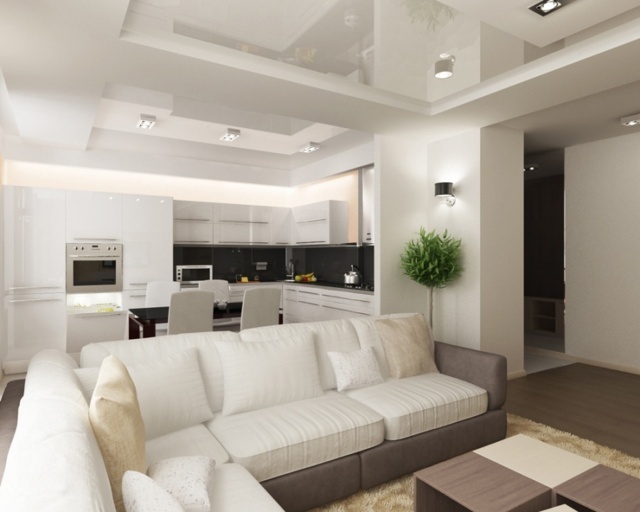
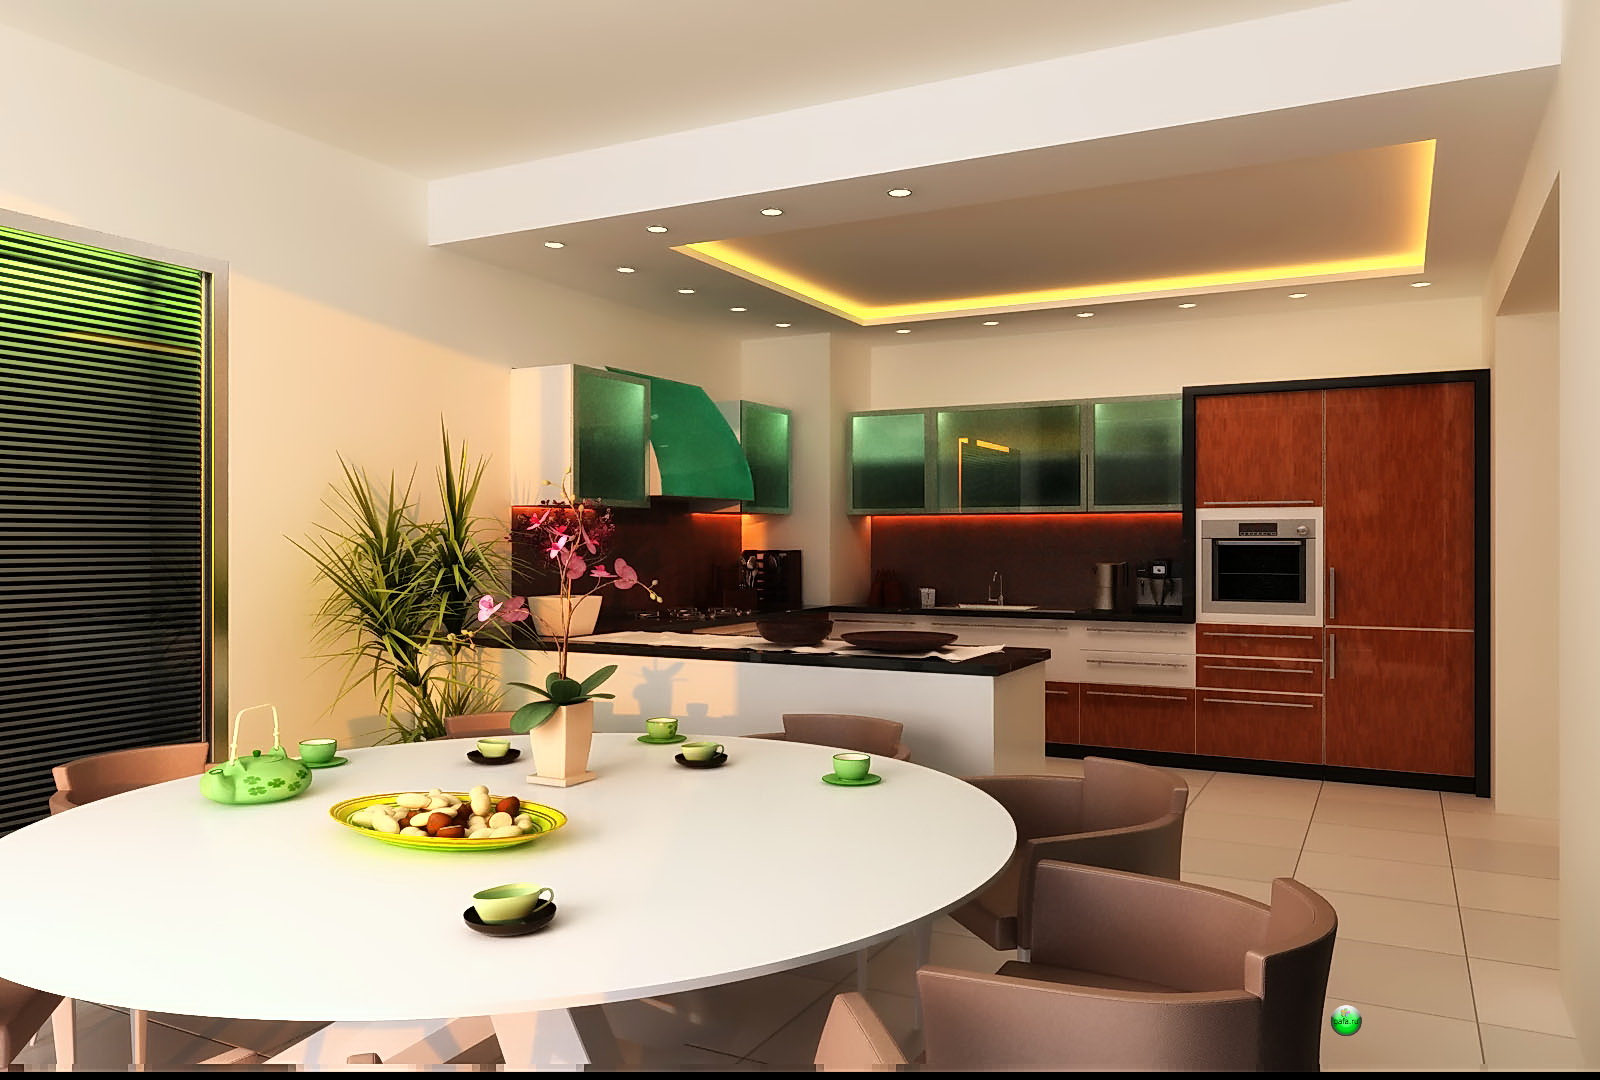
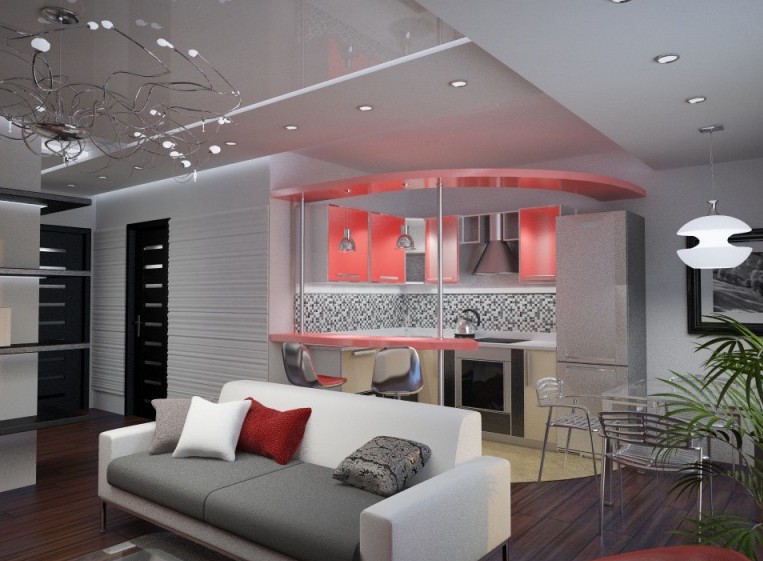
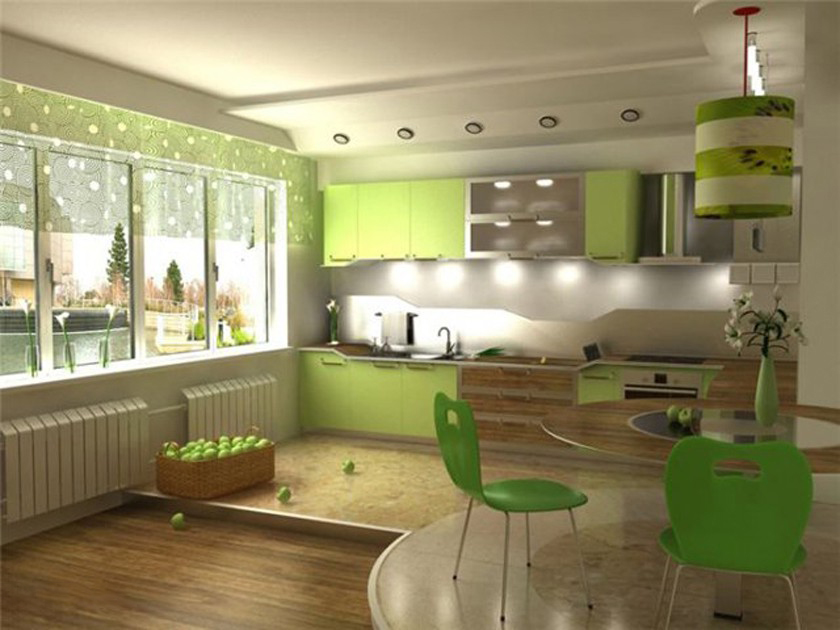
The simplest type of zoning in the kitchen - using the ceiling. This detail of the interior is immediately evident at the entrance, so that the separation will be clearly visible. At the same time, funds are not spent on complex installation and rearrangement of furniture in the room.And for small kitchens with an area of not more than 10 square meters. m. it is generally perfect. When zoning use the installation of a two-level ceiling. Best for this purpose fit drywall.
Plasterboard sheets are mounted on a rigid frame of a metal profile. A lower level will be reduced by 10-15 cm relative to the ground level - this is a general rule for single-level ceilings. When installing a plasterboard base mark the position of the frame around the perimeter on the walls, it should recede from the ceiling by 5-10 cm. In the resulting niche you can then hide the wiring, built-in lights and other communications. There you can also install an additional layer of insulation, protection from noise or leakage.
A smaller, lower ceiling level is installed above the work area. The transition can be straight, slightly curved or even wavy. 3-4 small LED or fluorescent luminaires are often built inside. The ceiling above the main and working area can be painted in different colors or use different wallpaper. Then the transition will be more contrast.
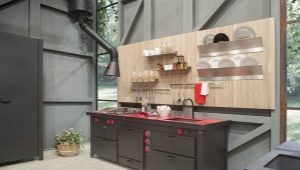
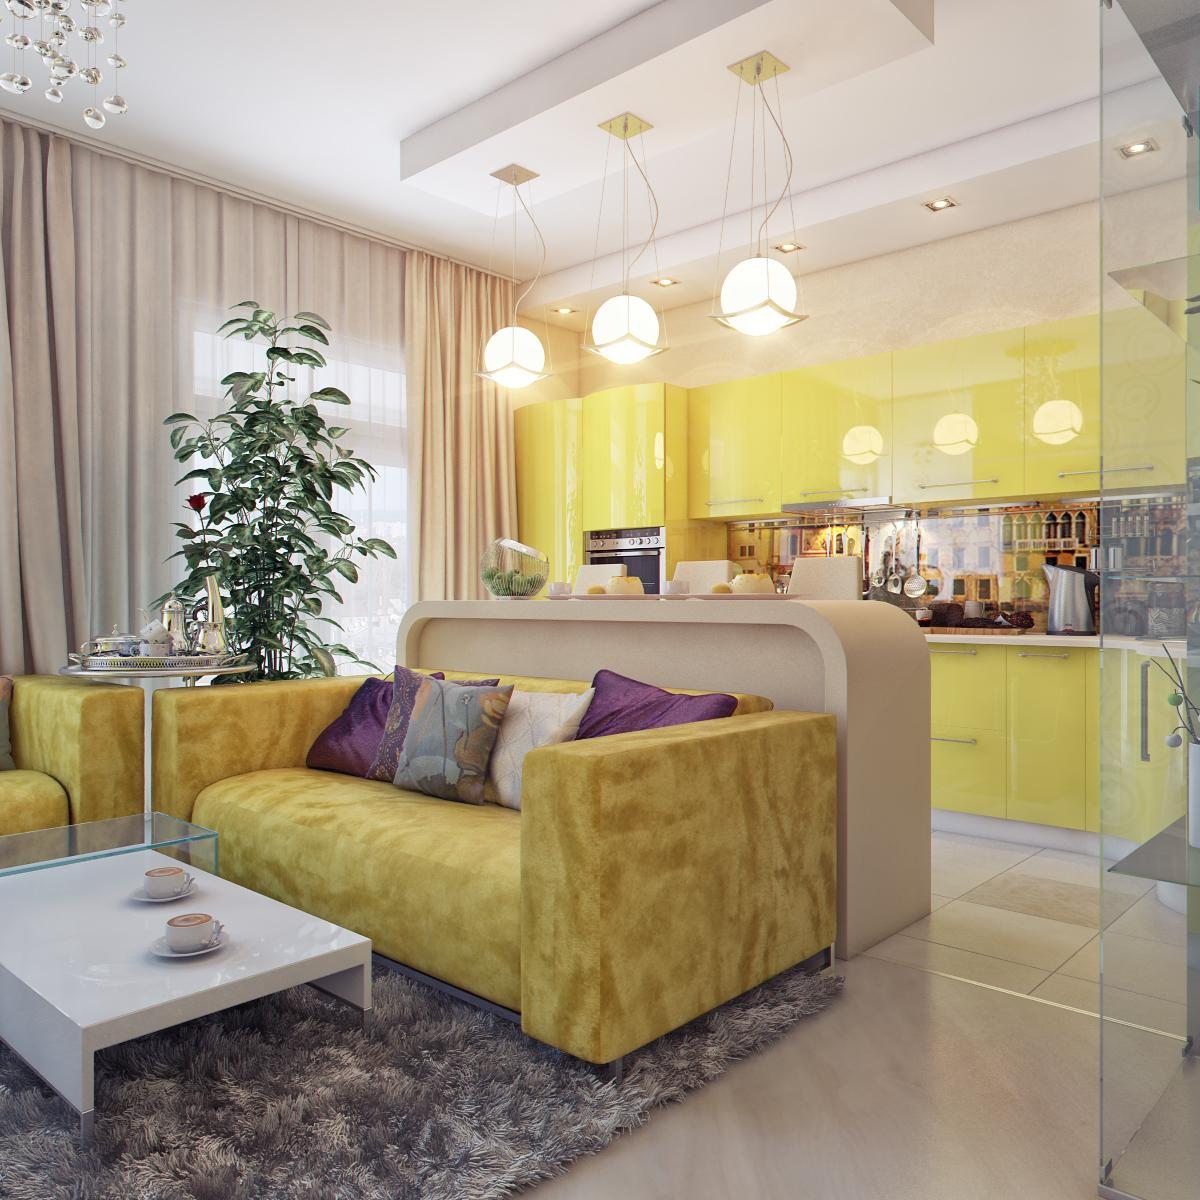
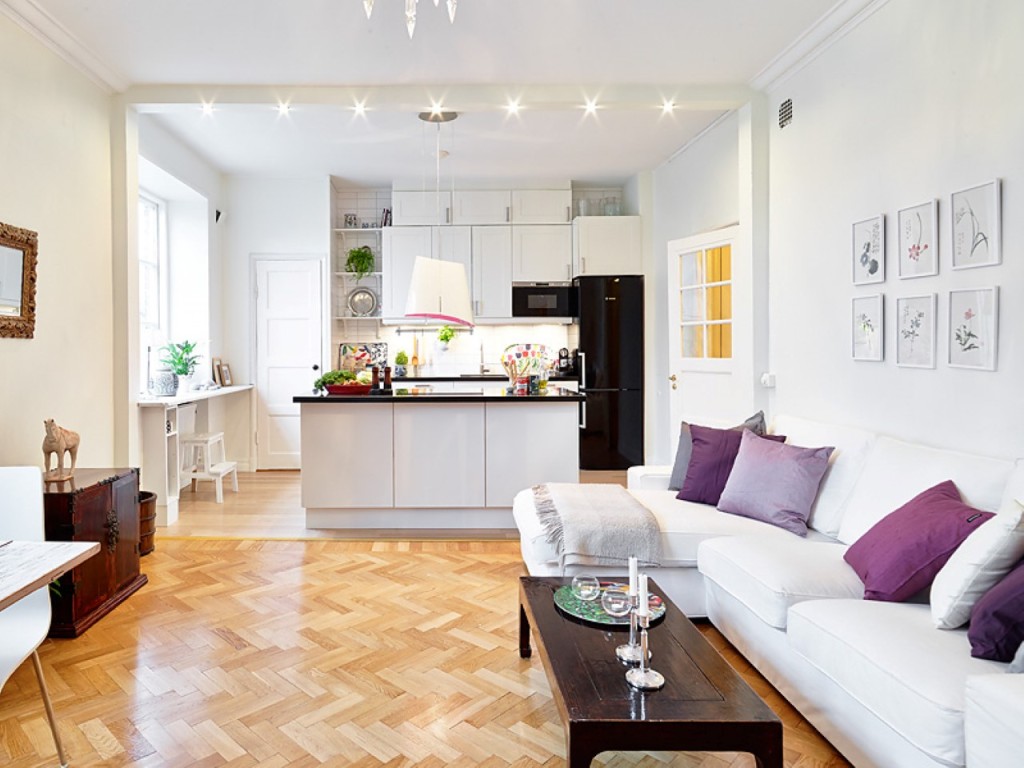
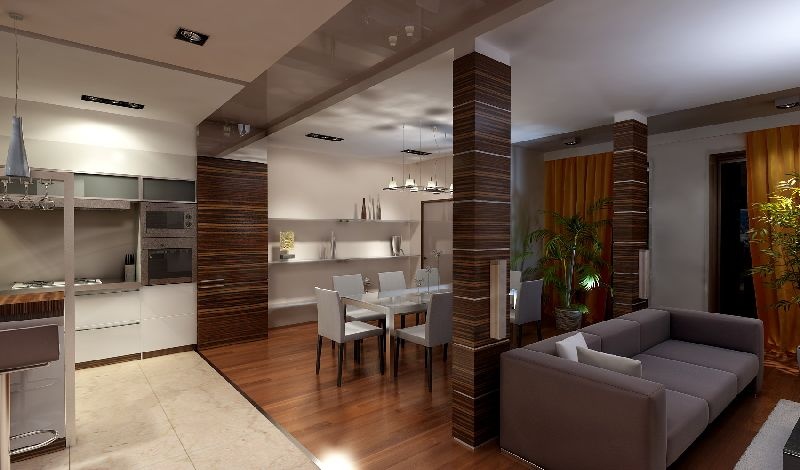
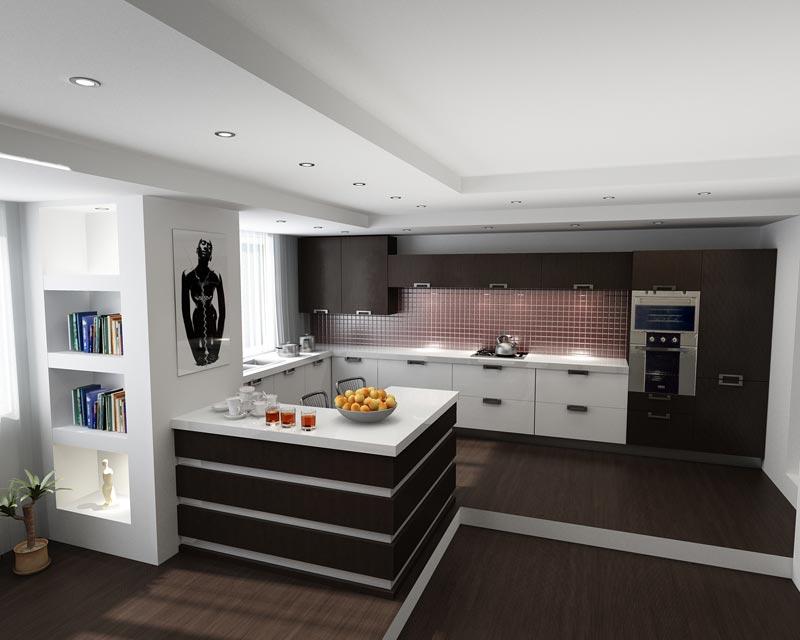
In spacious kitchens, island tabletops are often used to separate zones. There can be not only places for cutting products, but also a hob, sink, oven. True then over the hot plate may require installation of a suspended hood. The island plot can be organized from ready-made furniture or made according to your project from improvised means. In the kitchen, he can divide, for example, a dining area with a dining table and cabinets for storing dishes and food.
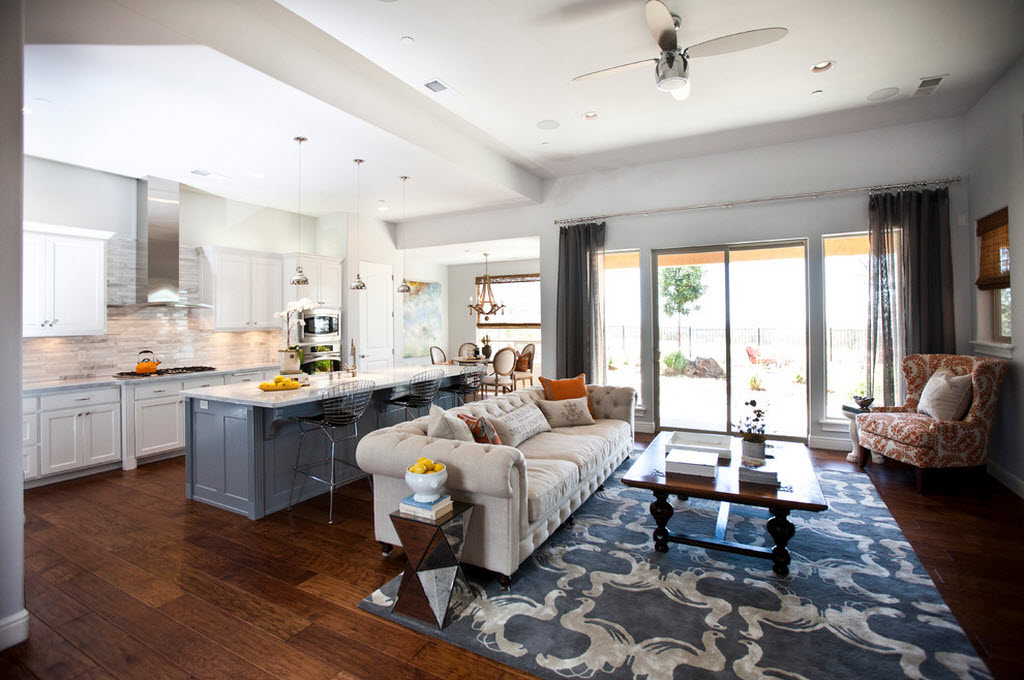
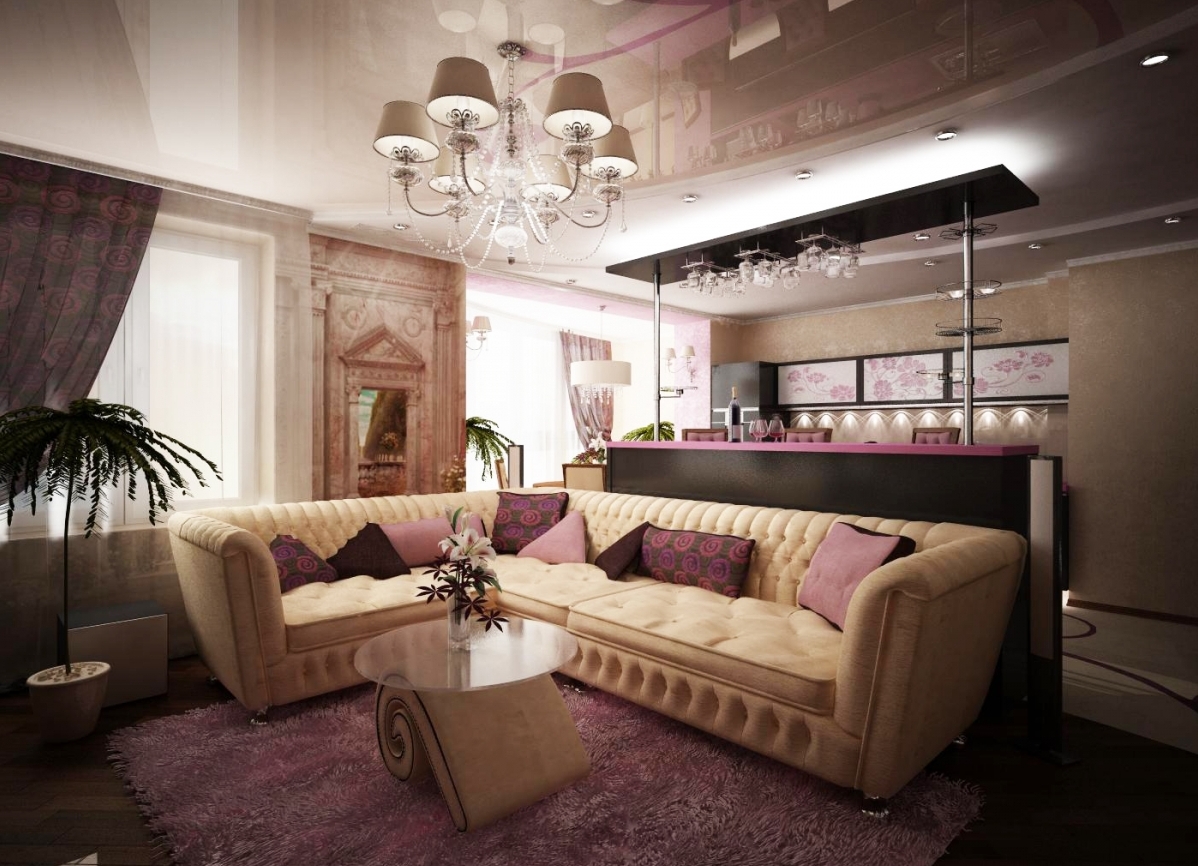
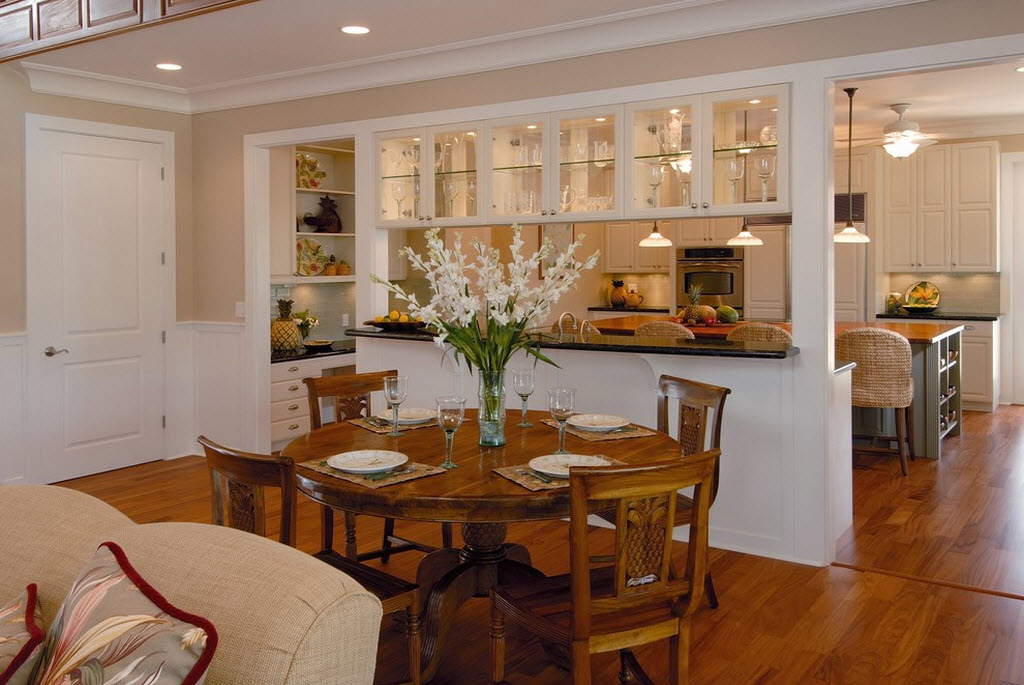
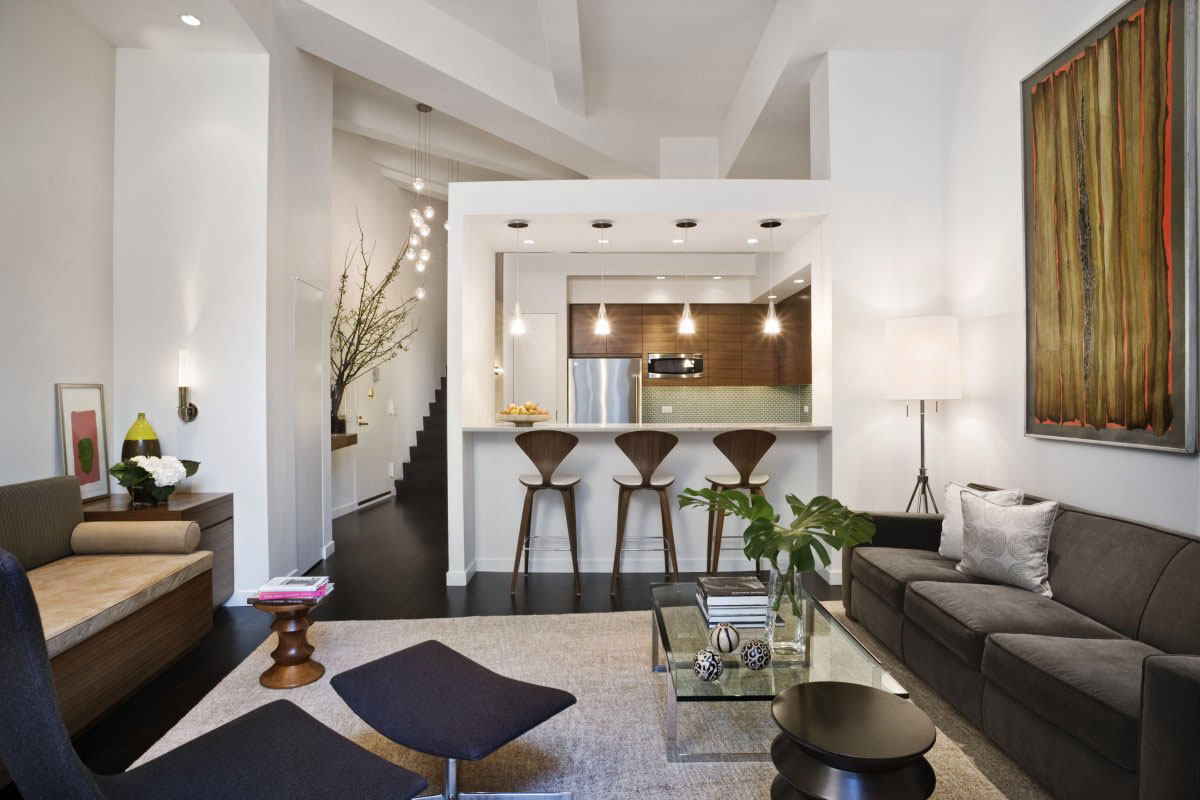
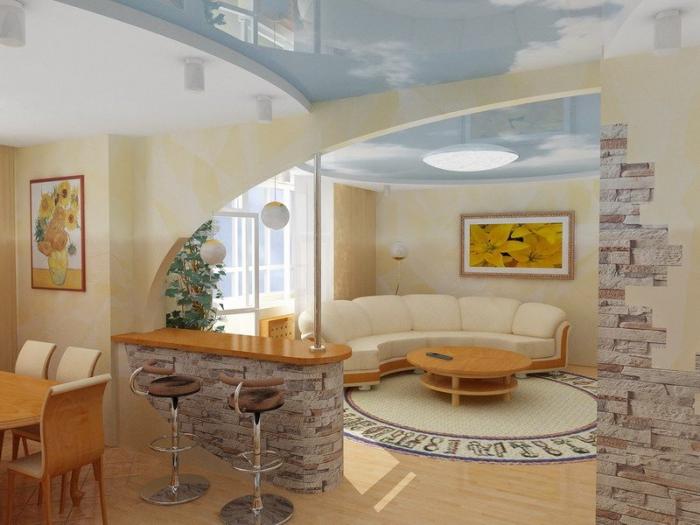
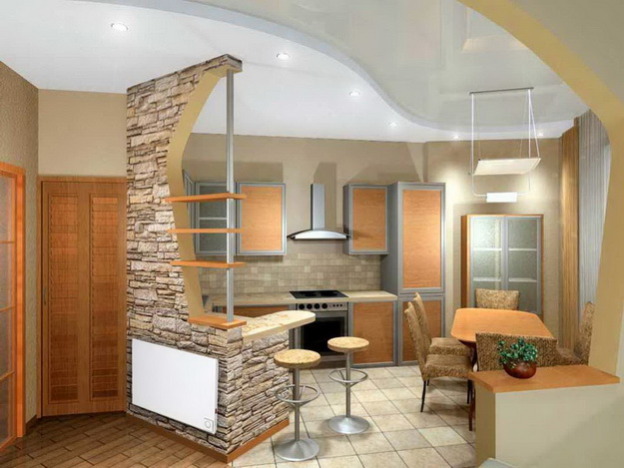
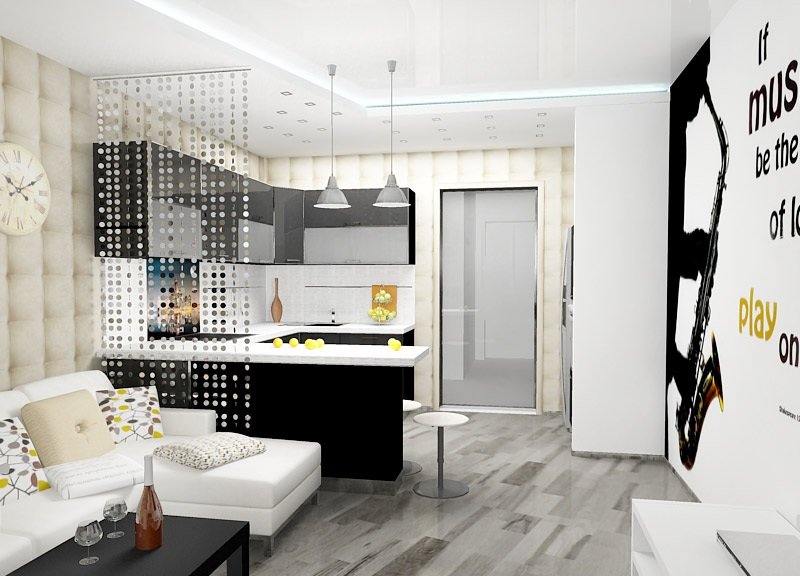
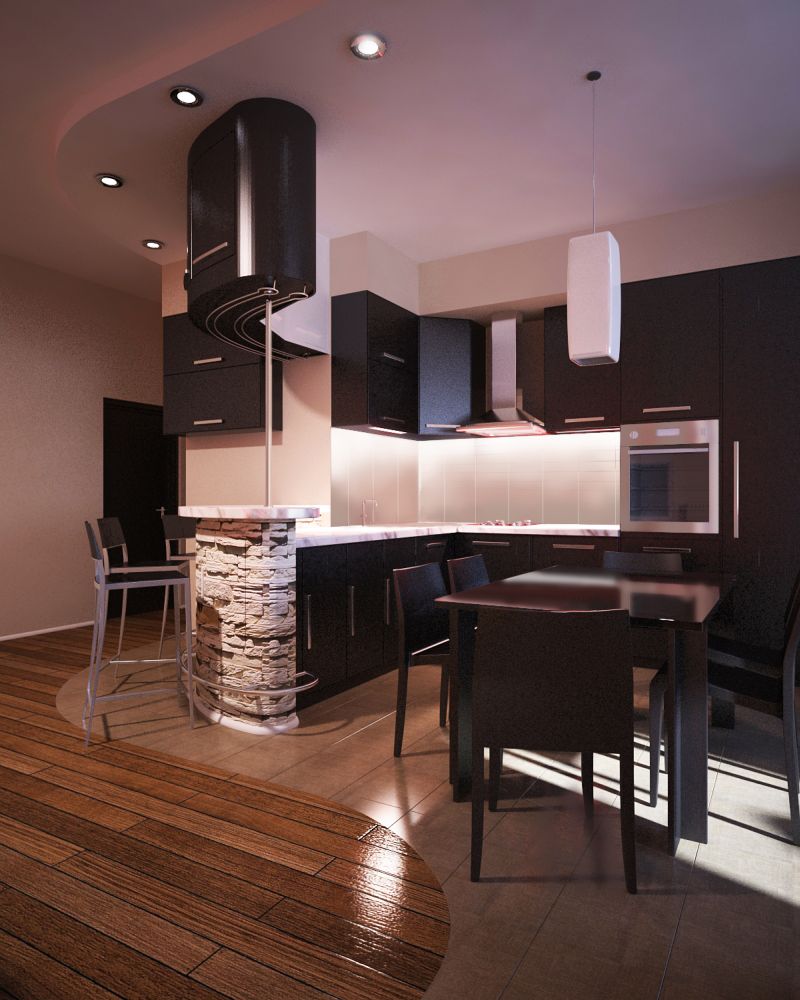
A simpler option with a central location of furniture is a bar for zoning. On one side is a working area, stove, refrigerator, and on the other a seating area with chairs or a sofa. Then it is convenient to serve drinks from the kitchen through the rack, and the interior as a whole will look very impressive. You can make a similar design with your own hands, or you can buy ready-made elegant models.

The separation of the bar counter is possible between the kitchen and living room, if they are located adjacent in the apartment. At the same time, the existing openings are dismantled, and a new stylish design is being built in the ceiling.It may be a small height with a tabletop and an open transition from room to room. And you can divide the kitchen and living area with a plasterboard wall, which has a figured hole for the bar window. Simple processing and installation of drywall sheets and aluminum profiles allows you to make a truly unique project that will delight family members for a long time.
The bar counter is well to provide the top point lighting. For a wide opening of 1.5-3 m. 3-4 small lamps are enough, the interior is immediately remarkably transformed. To turn them off you can use touch sensors, this will allow you to effectively consume electricity.
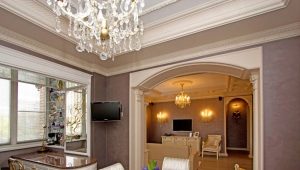
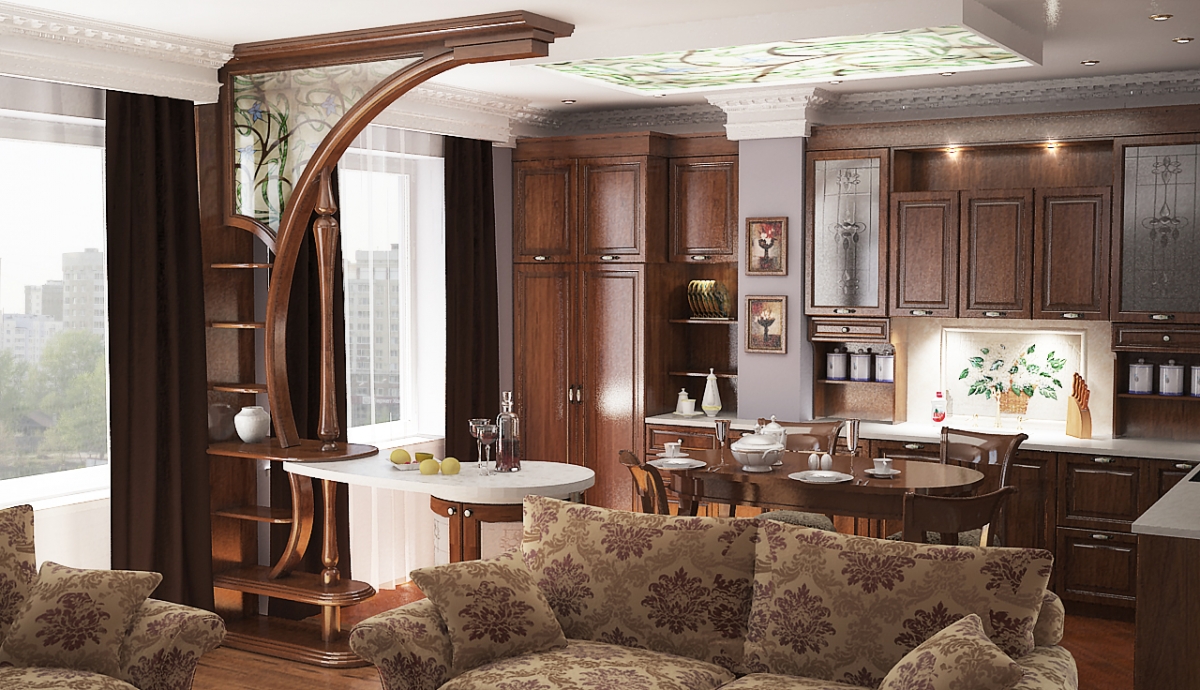
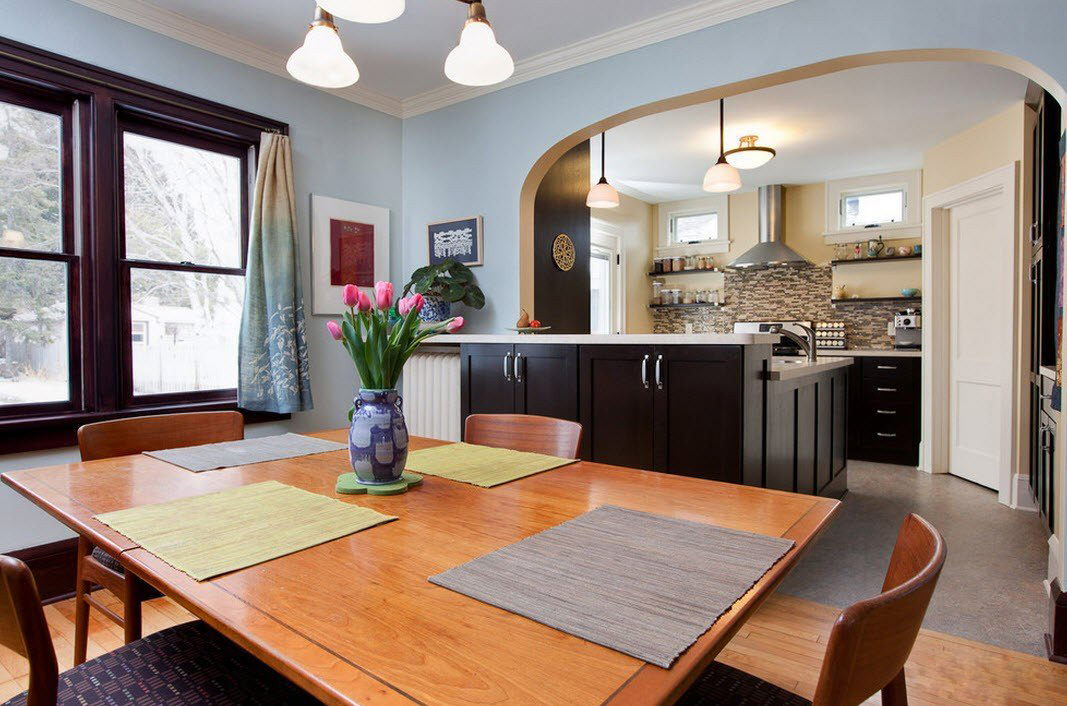
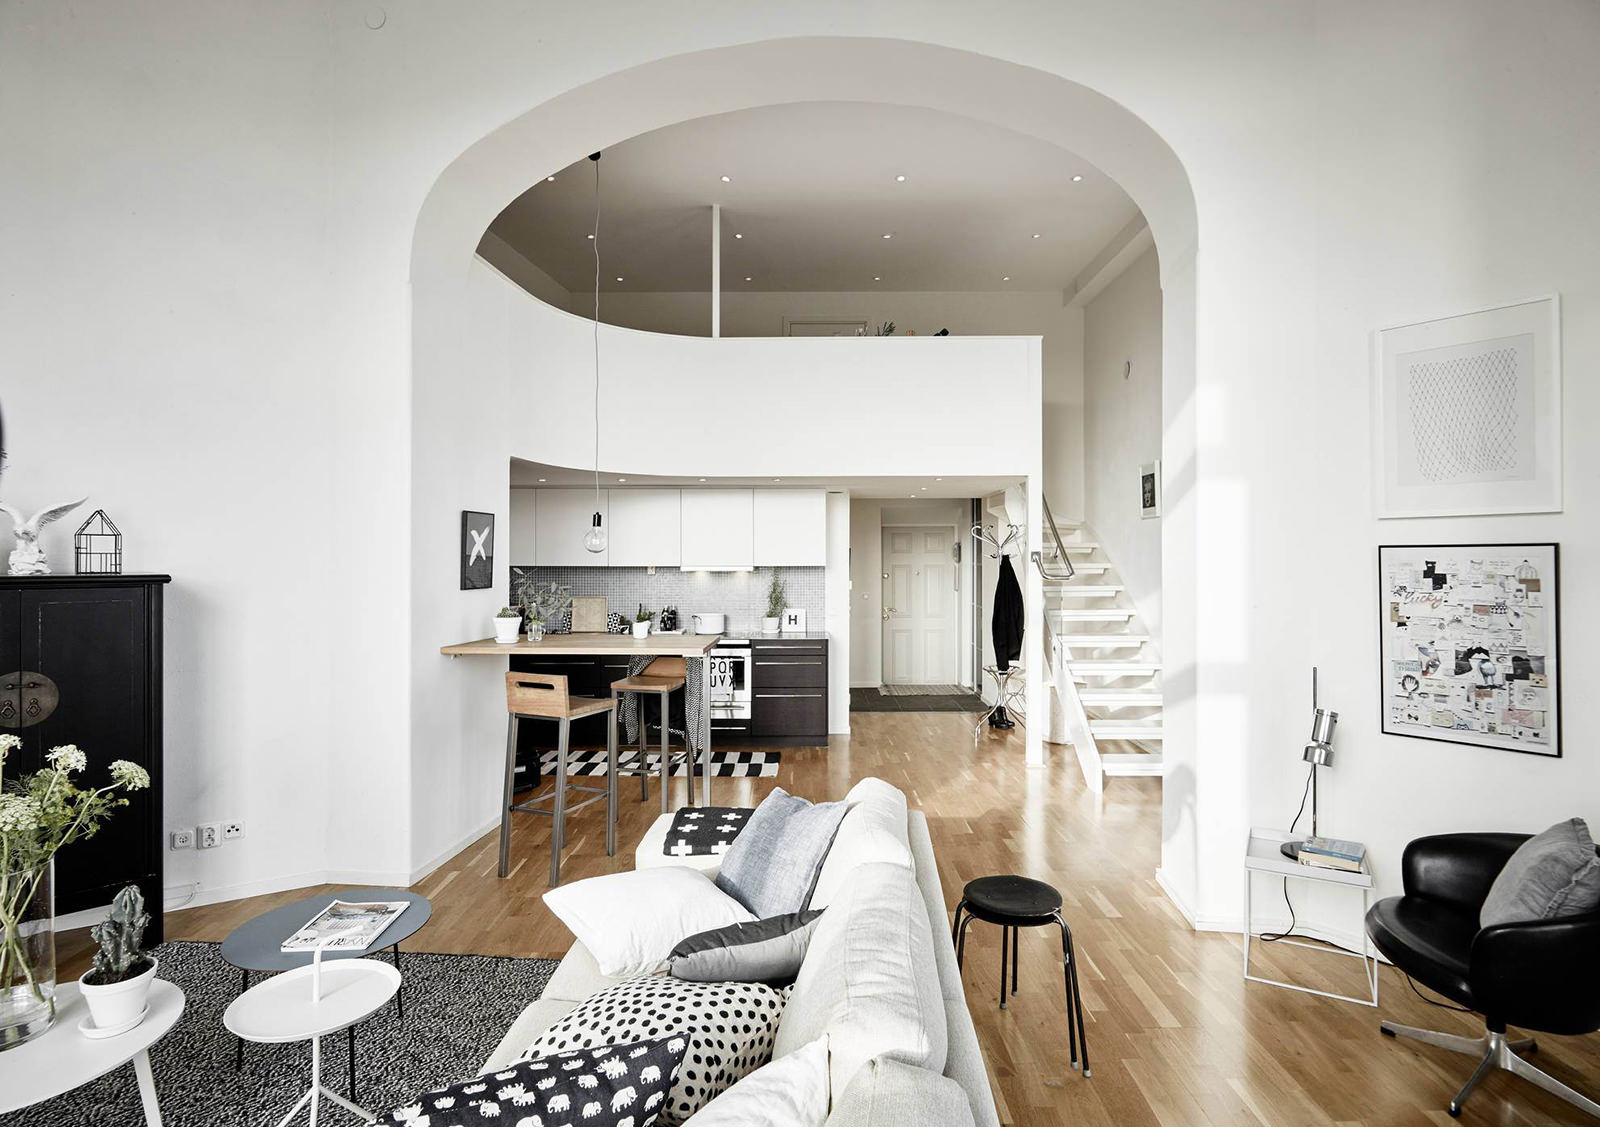
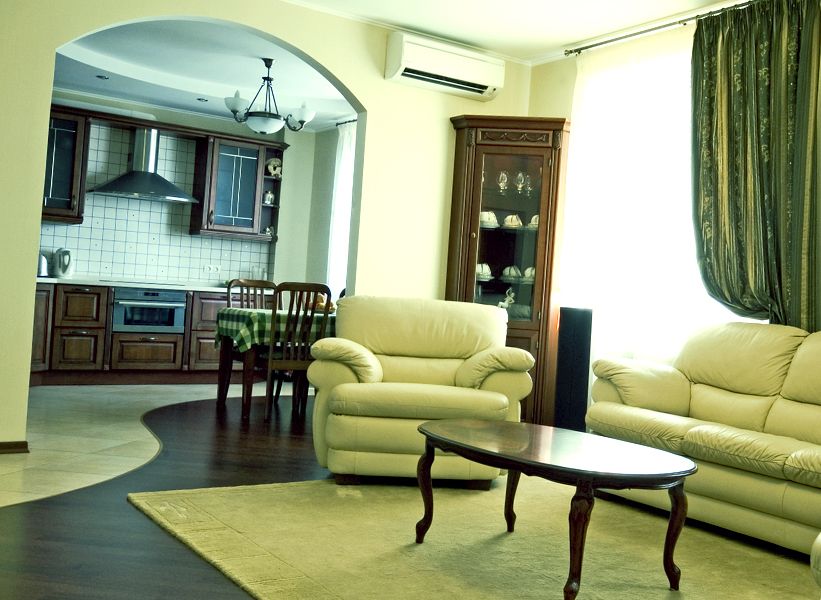
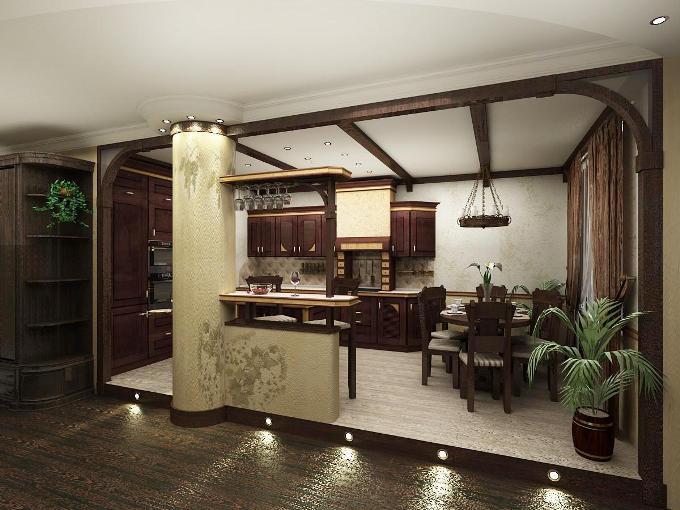
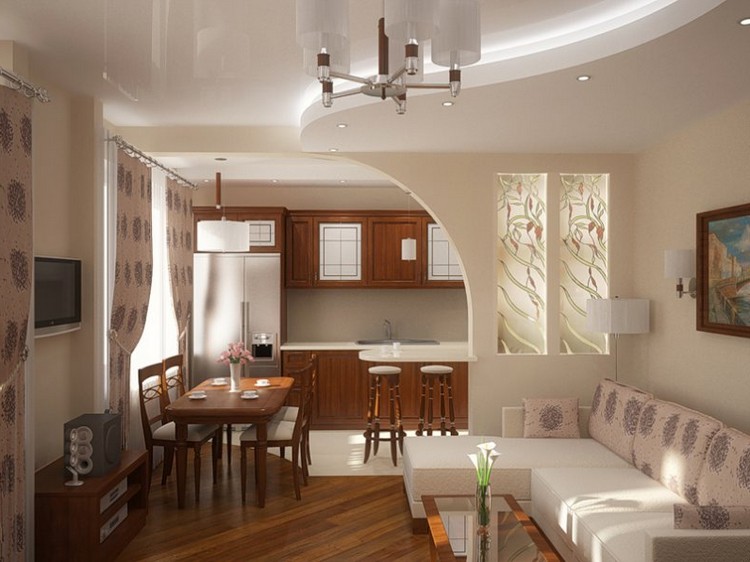
An interroom arch is a common example of zoning the kitchen and living room. It at the same time serves as a clear boundary of the functional zones, and gives a free overview, does not clutter up the space, creates a single image of the premises. The arch can have various forms, be made of various materials.
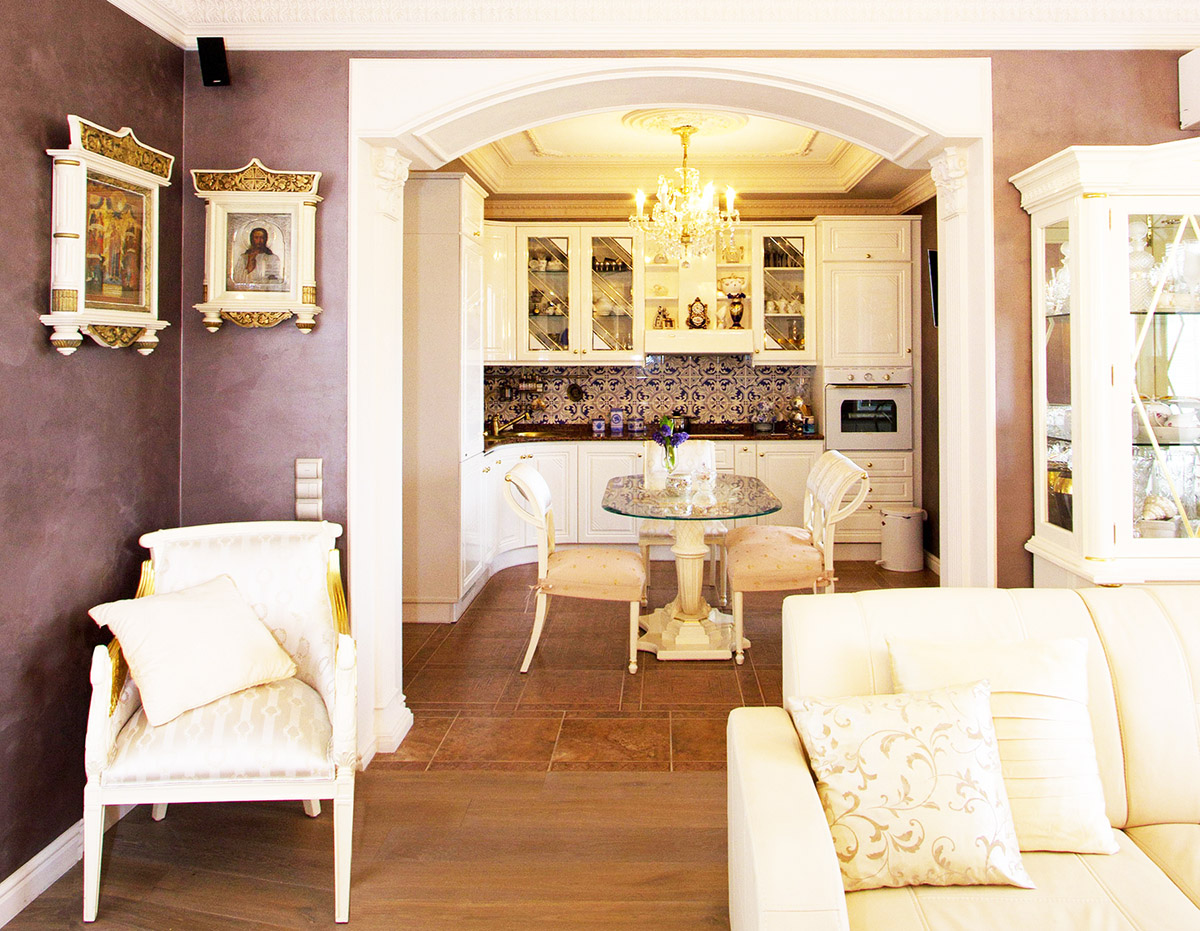

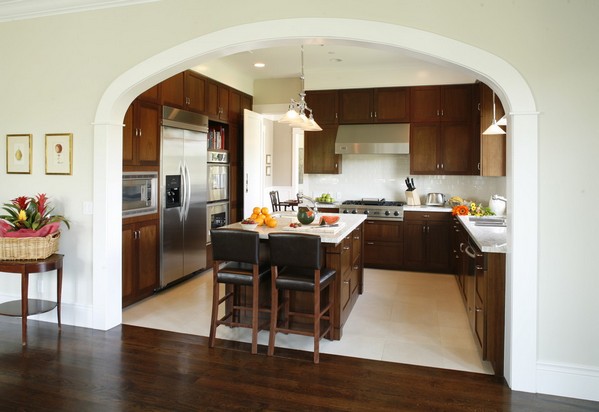
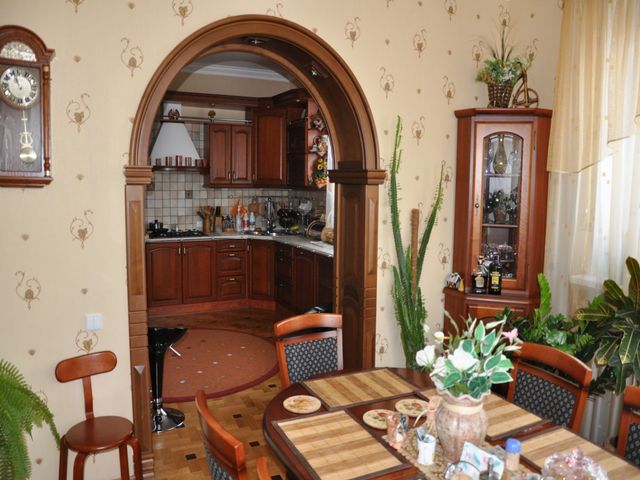
For narrow openings, it is advisable to install arches with a semicircular top, rolling in vertical sides.For the frame it is most advantageous to use drywall with a metal profile, plywood or hard plastic. After mounting the base, such an arch is puttied and processed with various decor options.
Finishing can be done in the following ways:
- Painting with acrylic, silicone or water-based paints. A simple and reliable option, but before work should reliably close the surrounding space from falling drops.
- Wallpapering. You can use ordinary paper wallpaper to match the color of the surrounding walls or high-quality vinyl. It will look good on a decorative arch silk plaster (liquid wallpaper). This material is relatively expensive, but for a small construction it will take a bit.
- Covering with decorative tiles. It can be taken from foam or other polymeric materials that are good for their ease. Polymer glue may be suitable for fastening. The frame from a tile under a kind of a decorative stone will be the successful image.
- You can use a self-adhesive film with a variety of textures or photo printing for arch decoration. The result is an original design at an affordable price that can be kept on the wall for several years without any problems.
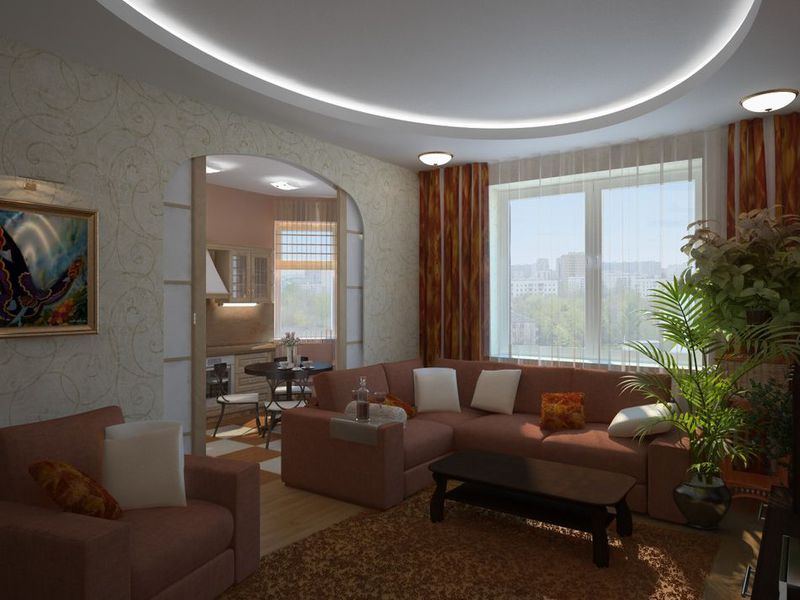
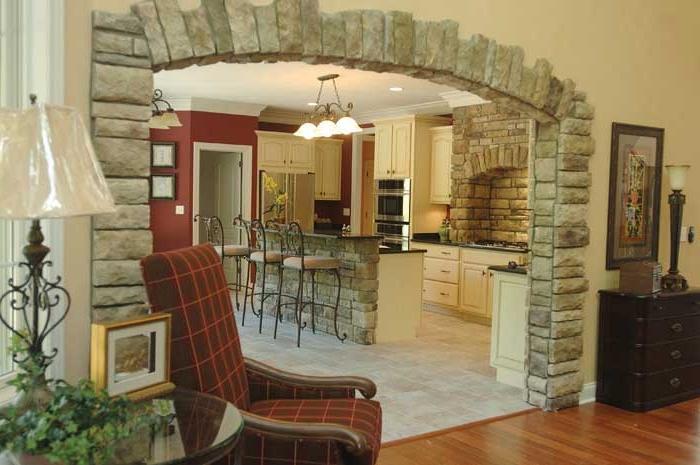
In the wide openings between the kitchen and the living room, usually complex arcs of asymmetrical figures are made. They can have several levels and transitions, and practical niches, shelves and decorative elements are often mounted on the sides. On the walls of such arches have switches, sockets, thermometers and other built-in equipment. Inside the niches of plasterboard conveniently position the wiring for electricity and distribution machines.
In more expensive projects, wide arches are made of solid wood. The most commonly used are oak, ash, birch, conifers. Before processing the wood is kept for a long time and treated with antiseptic, drying oils, varnishes. The result is excellent details for a prestigious apartment design that make a big impression.
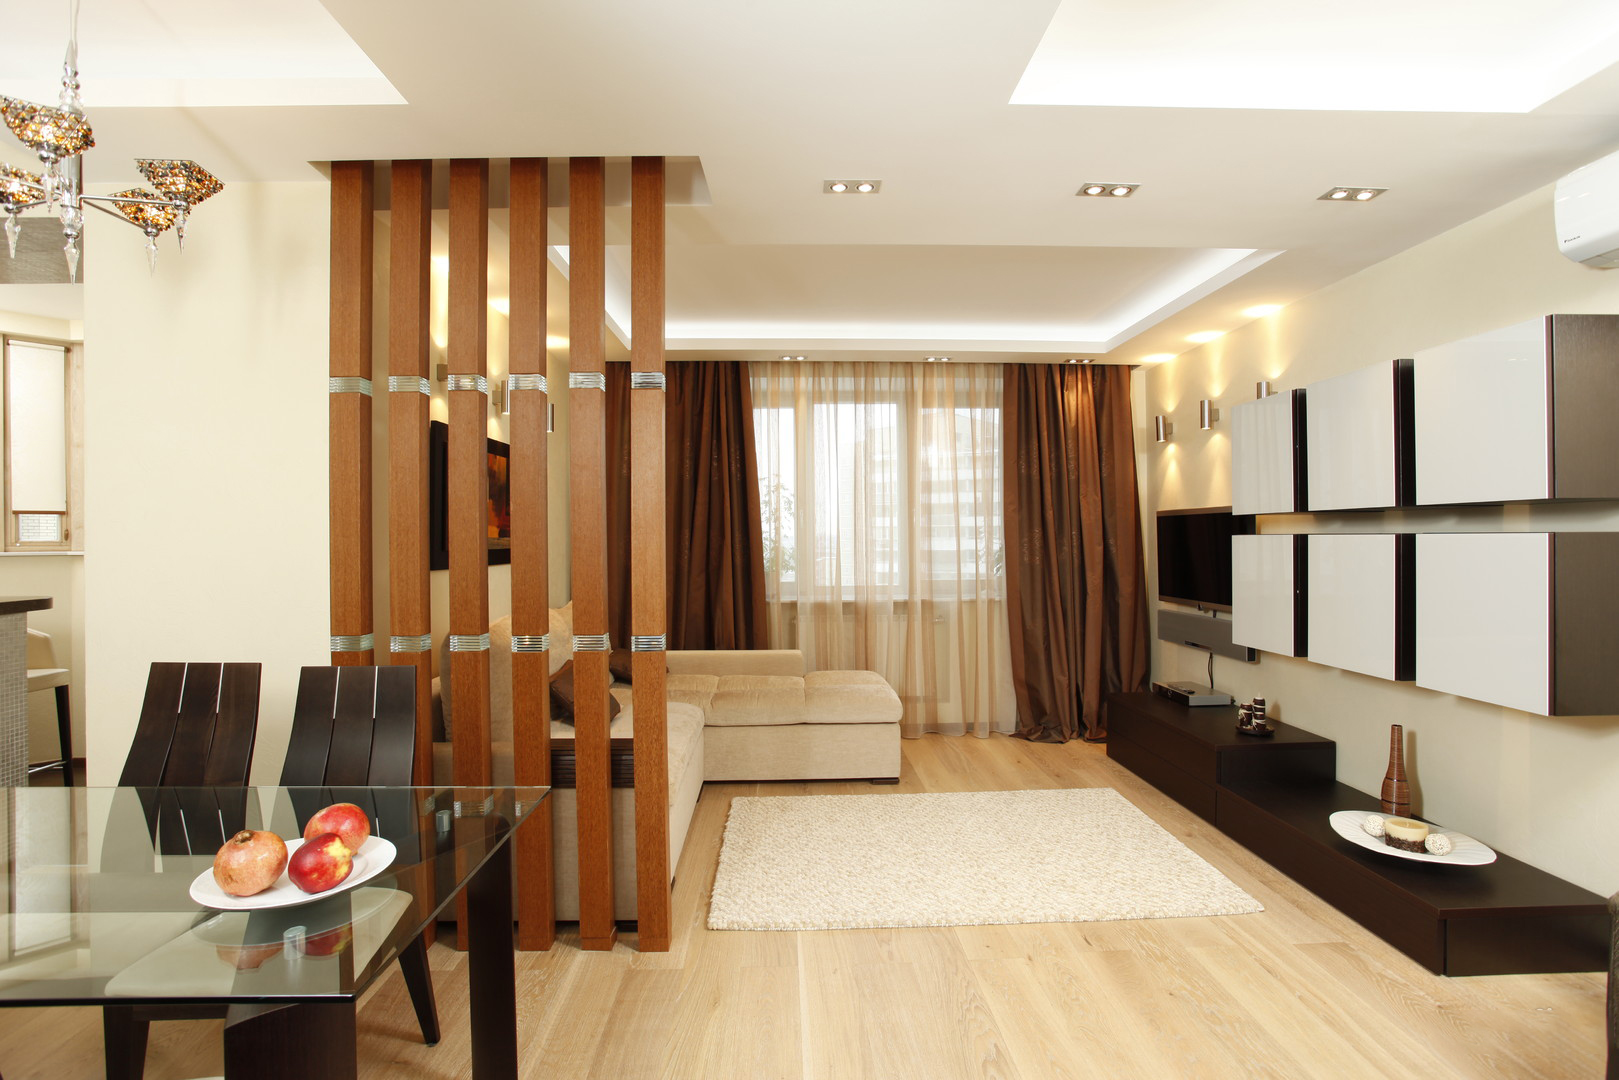
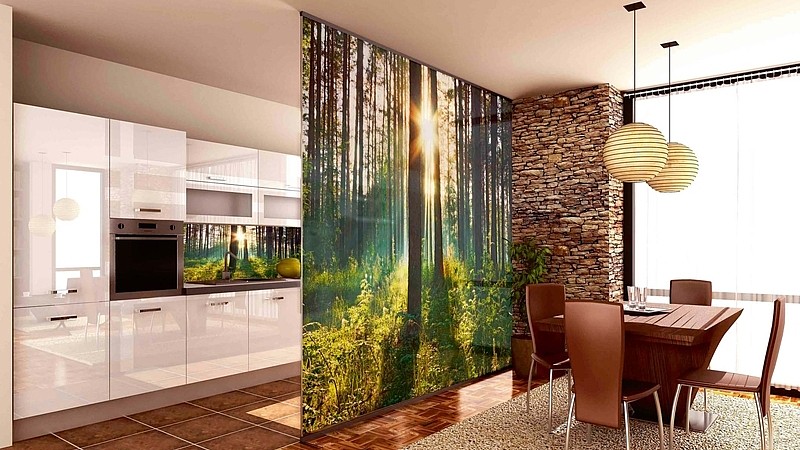
False walls are very popular in modern interior zoning. They, unlike the supporting structures in the house do not require maximum strength, so they are easy to make most of the available materials. The main tasks of such walls: separation of zones, additional decor and practical use due to shelves, hangers, niches.False walls are usually made slightly out of the ceiling. Thus, the best air exchange, penetration of heat into the next rooms, the general lighting is reached.
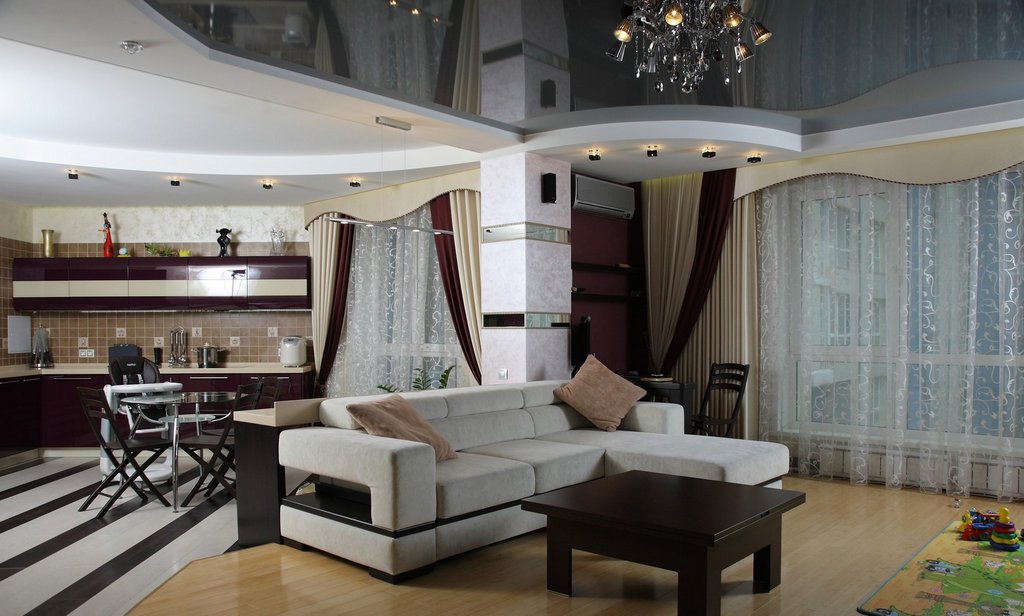
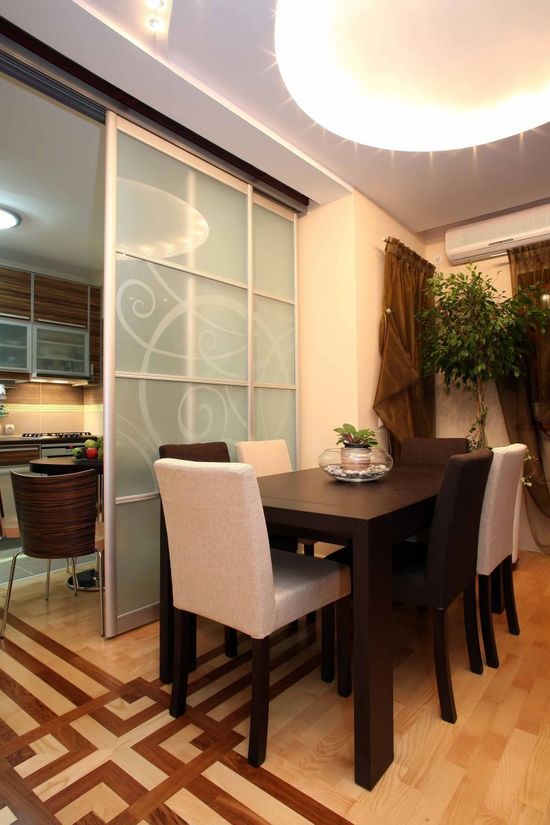
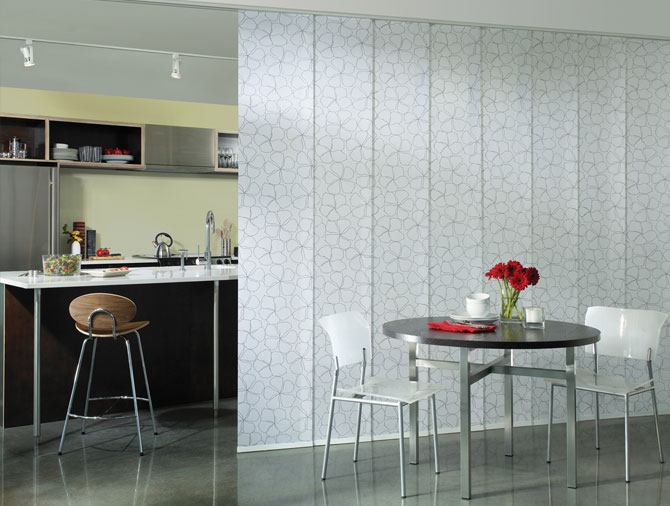
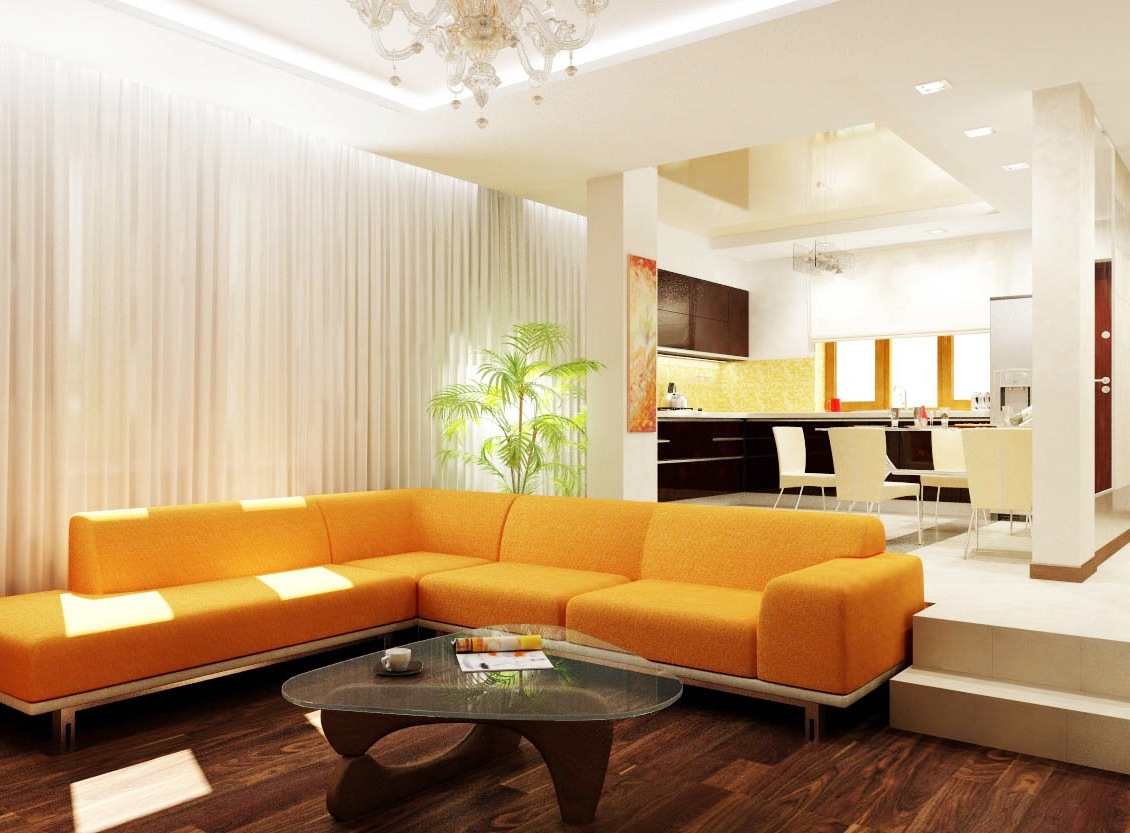
Instead of stationary false walls, portable elements can be used to separate zones: sliding screens, partitions, curtains, furniture. The advantages of this method is that you can easily change the interior, and does not require complex installation to distinguish areas in the living room.
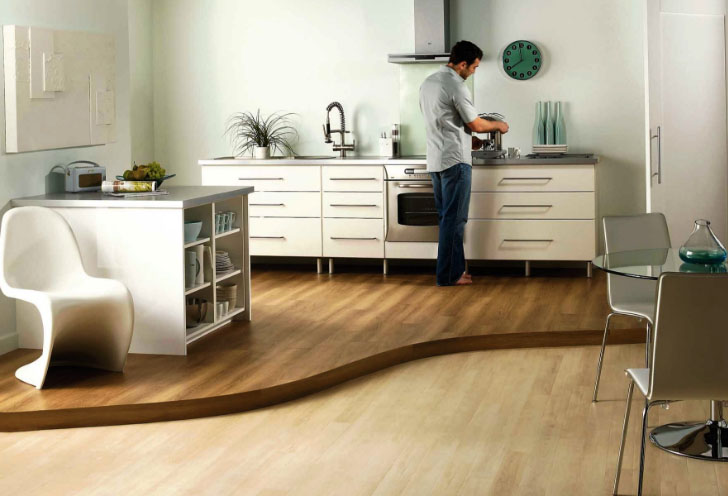
Very impressive, but difficult to install is the separation of zones in the room using different levels of the floor. Its cover, in contrast to the ceiling, take the brunt of the furniture, walls and people walking on them. Therefore, the construction of multi-level floors require special strength of the frame. It is made of welded metal parts or dense wooden beams, followed by finishing. But as a result, you can get a beautiful and practical interior.
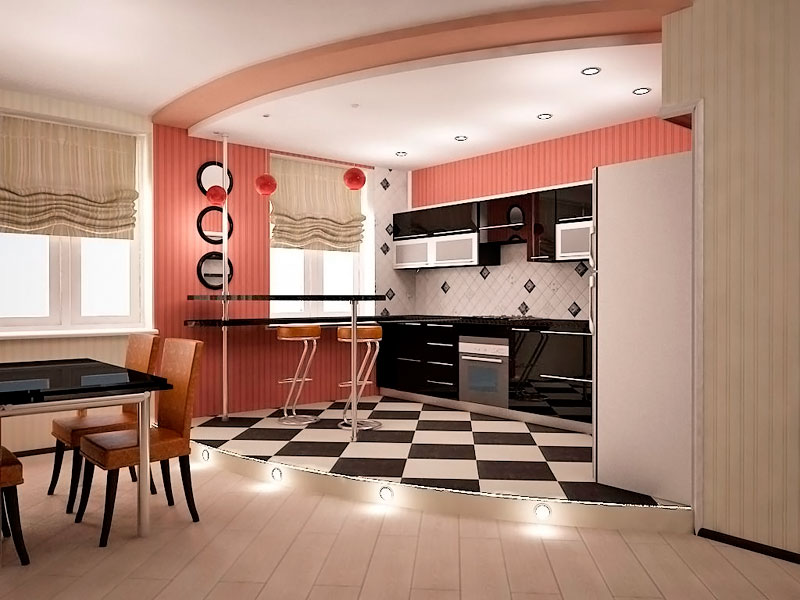
A common variant is with a podium in the center of the room where the bed or sofa is located. You can, on the contrary, make a deeper middle of the room, and raise the level of the floors along the perimeter.If the transitions in the living room are too high, then install special steps. Despite the complexity of the work, they look very nice.
Interesting zoning options
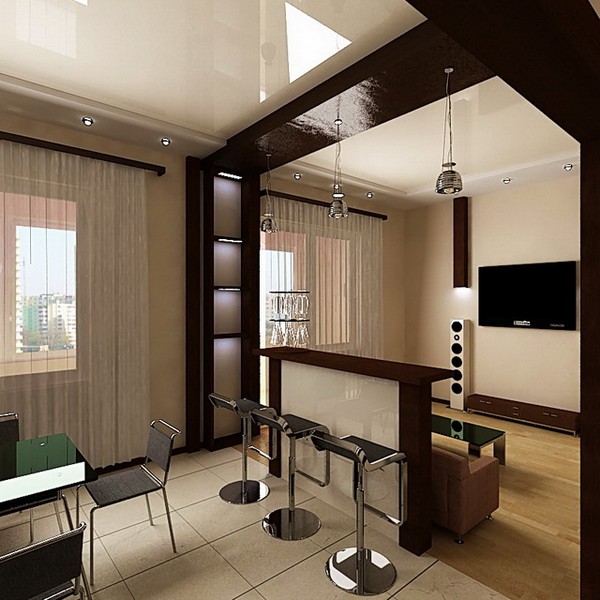
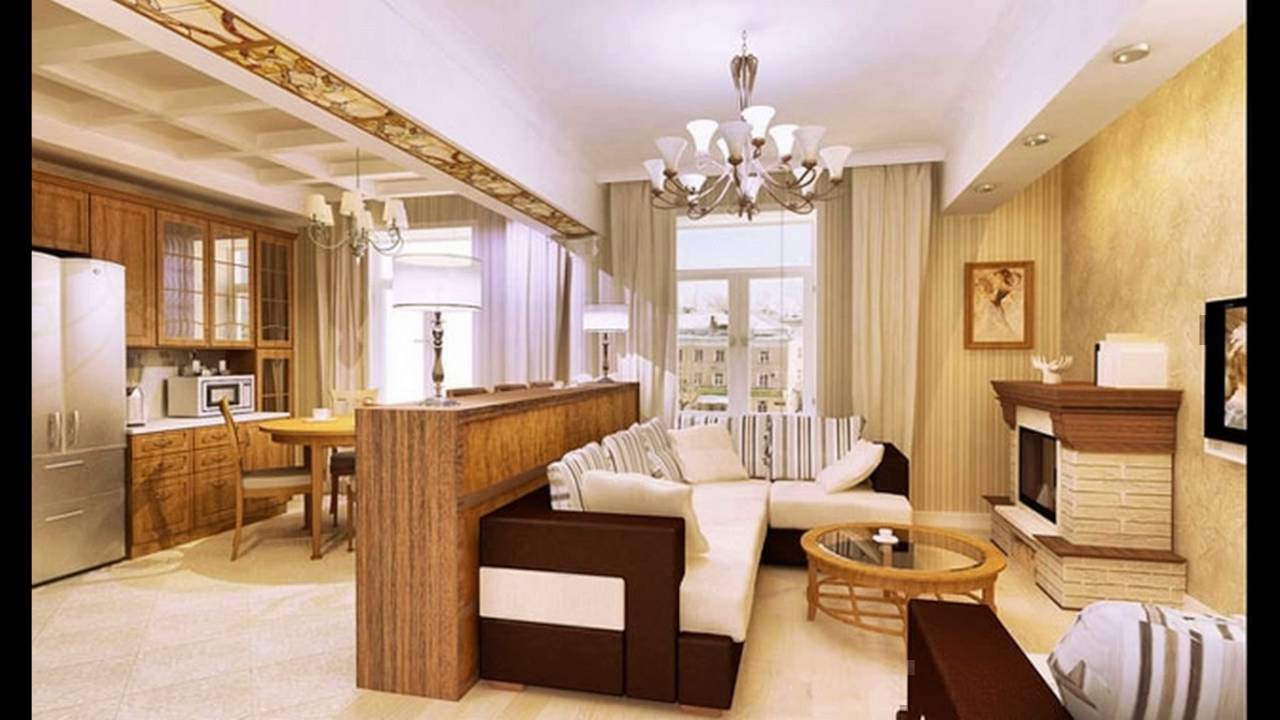
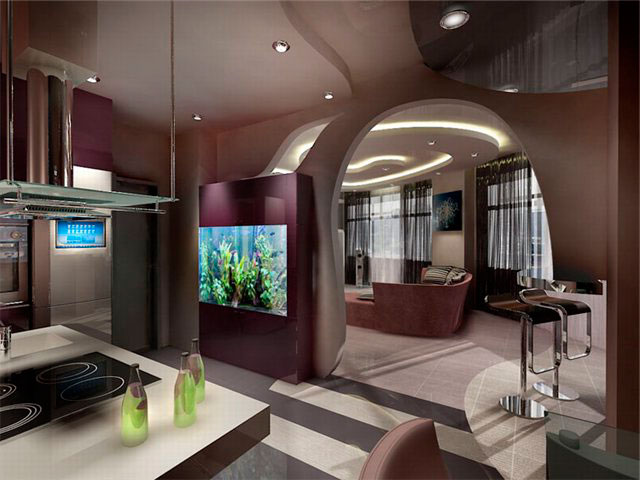
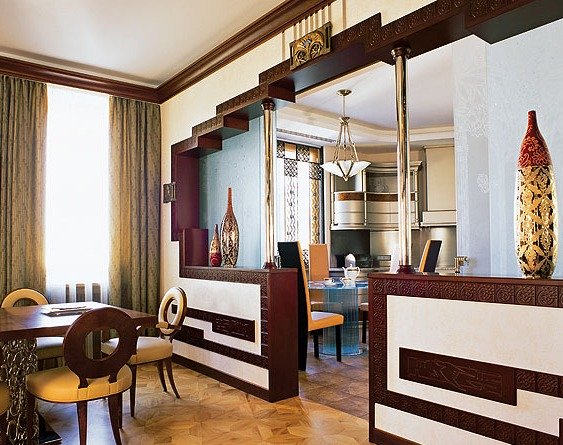
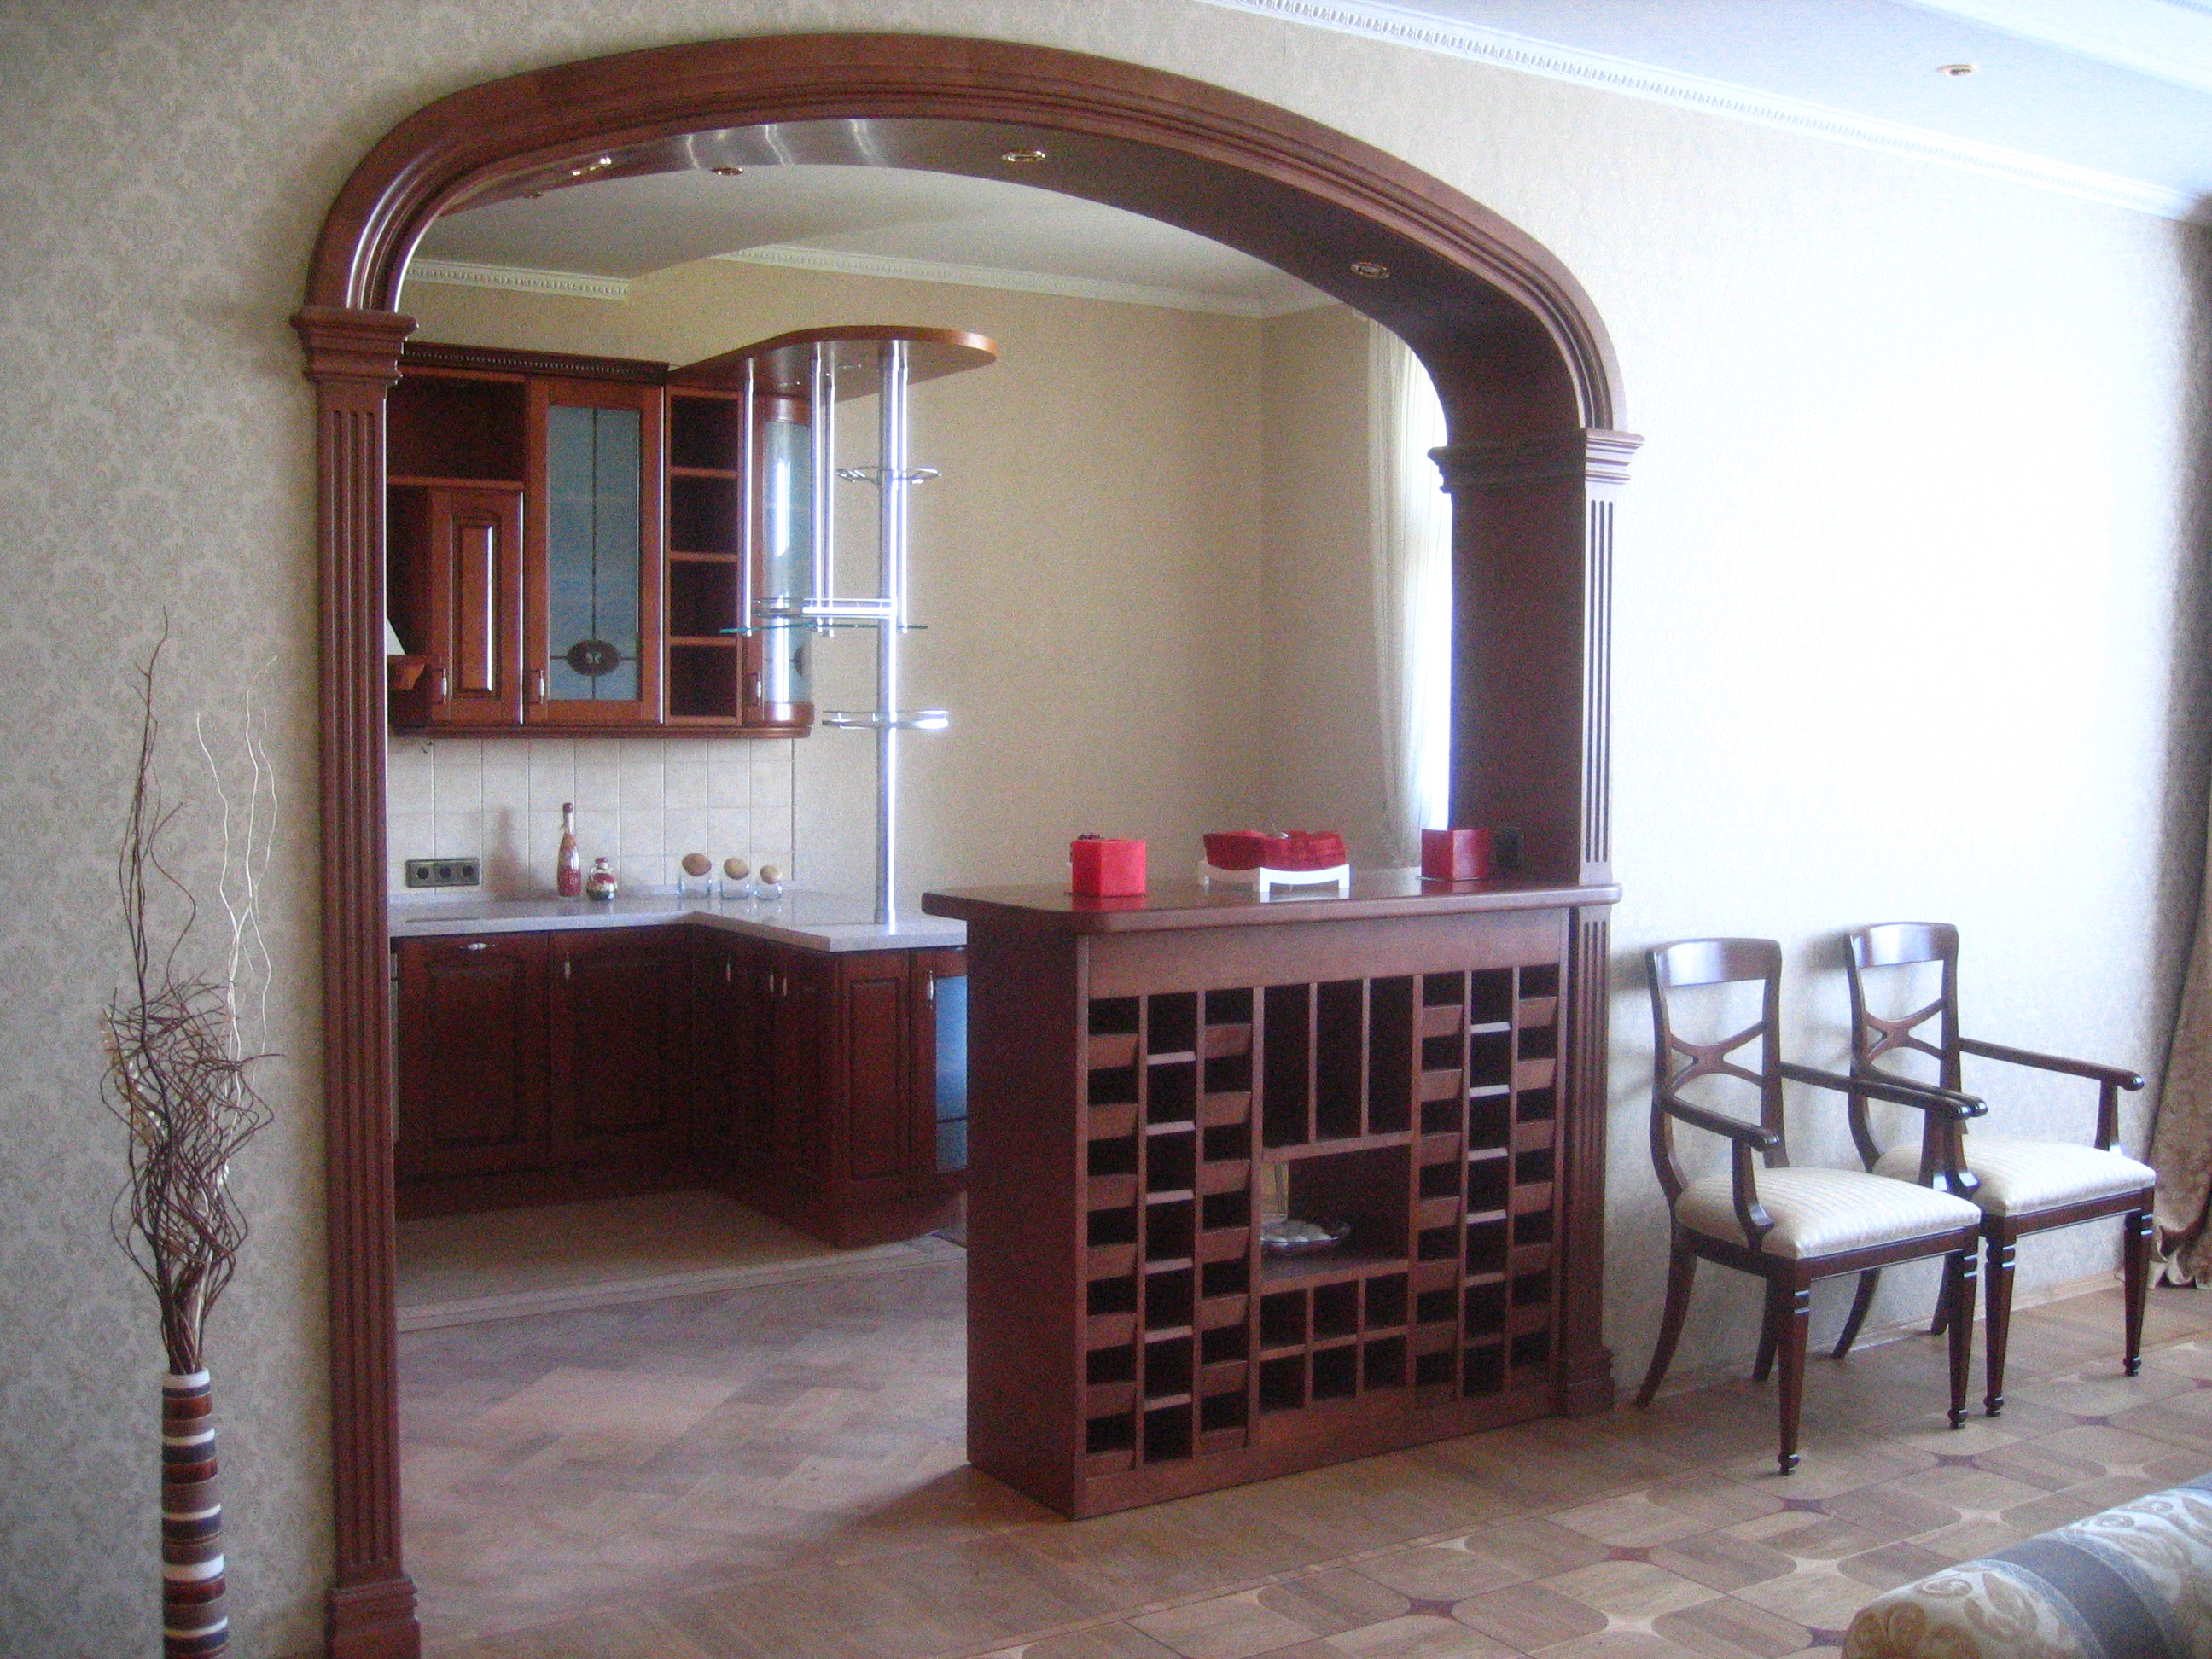
A very interesting example of zoning between a kitchen and a living room can be an elegant bar counter on the one hand and decorative shelves on the other. Borders are clearly separated, and a single image of a spacious room is visually formed.

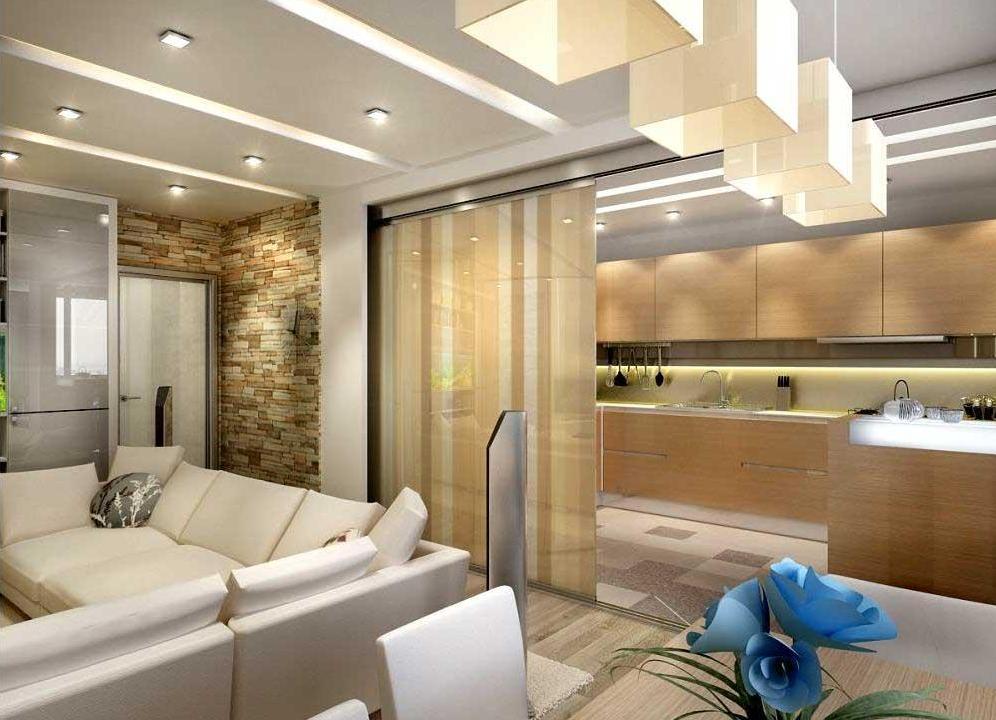
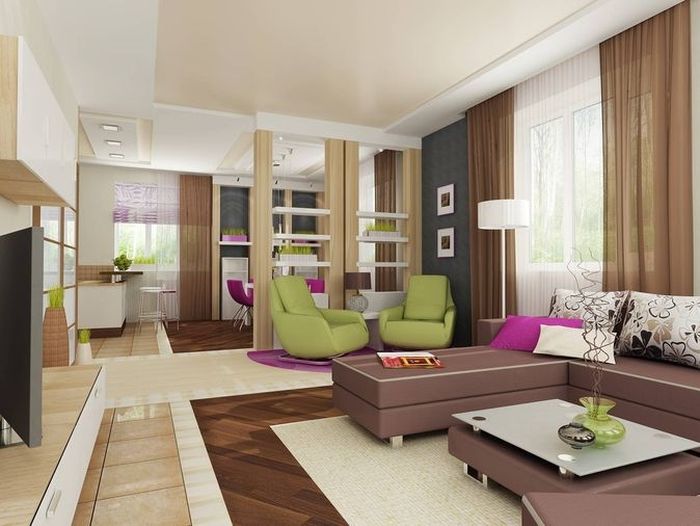
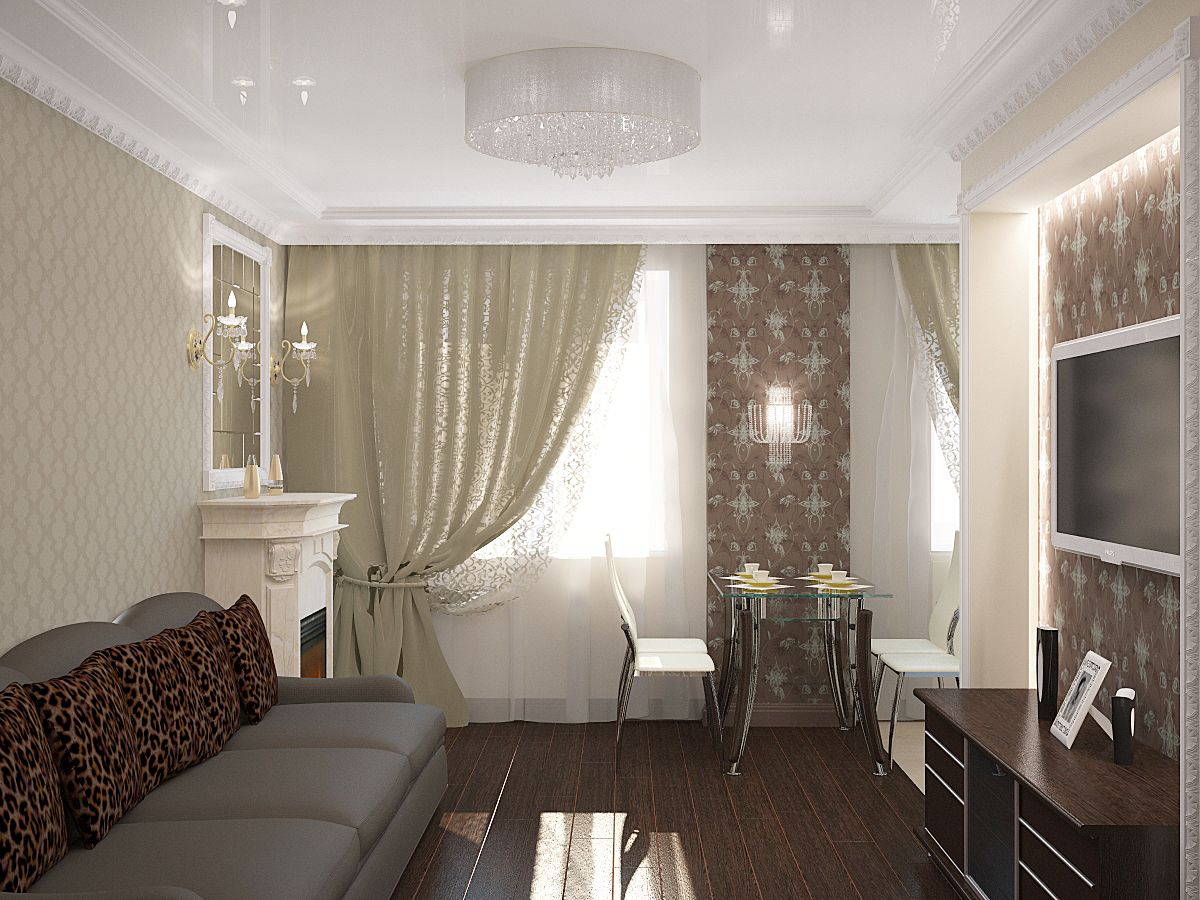
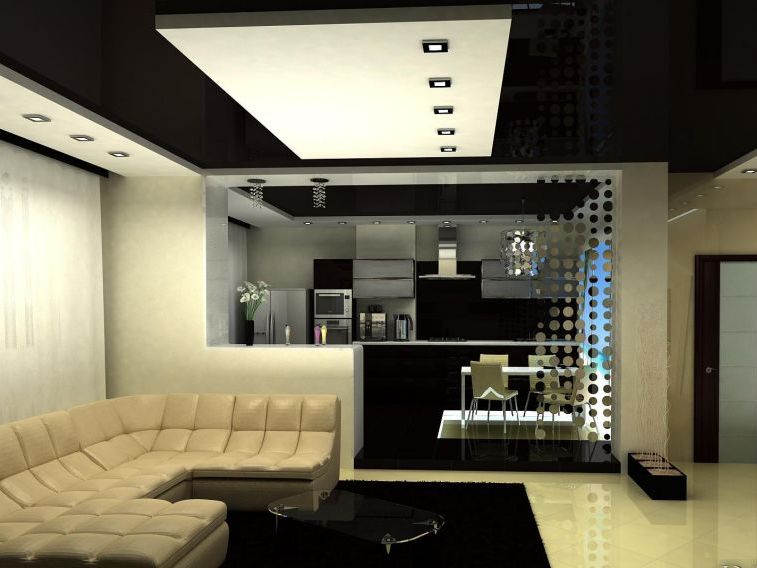
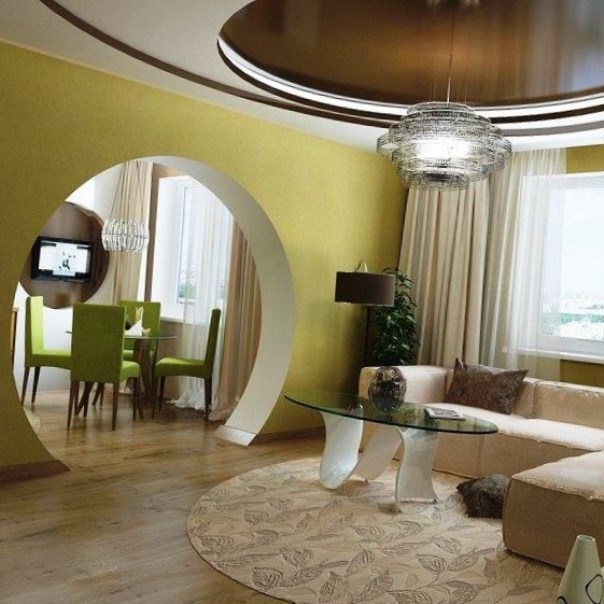
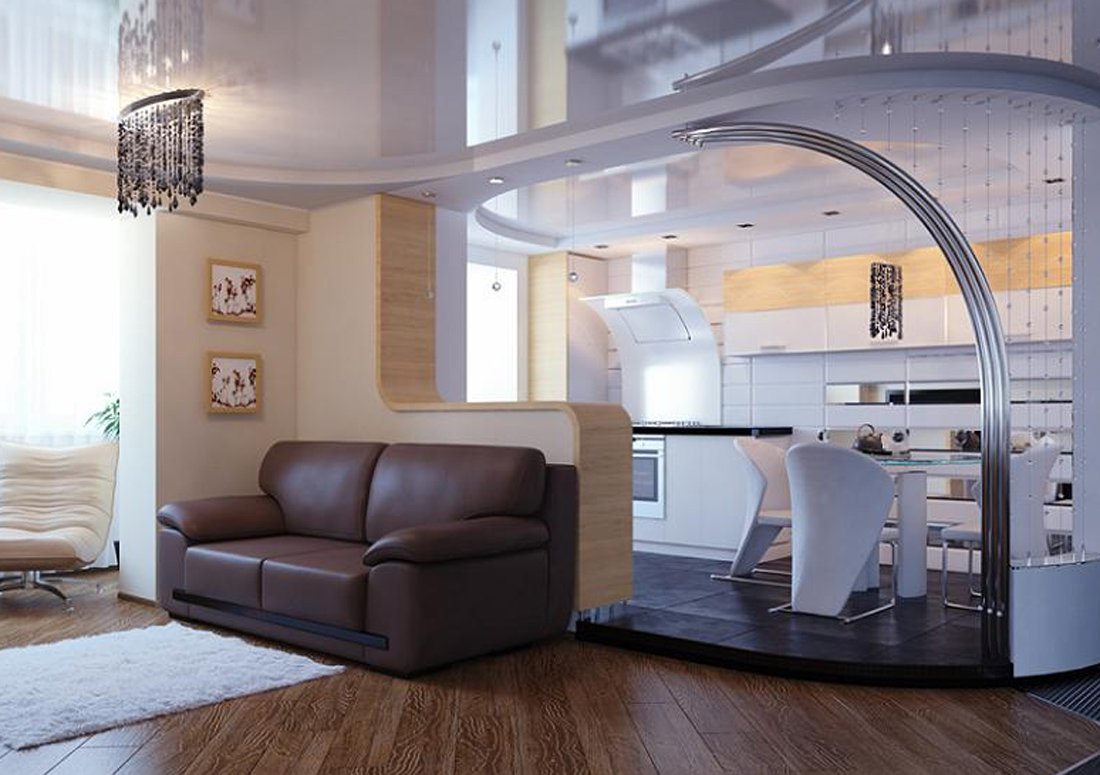
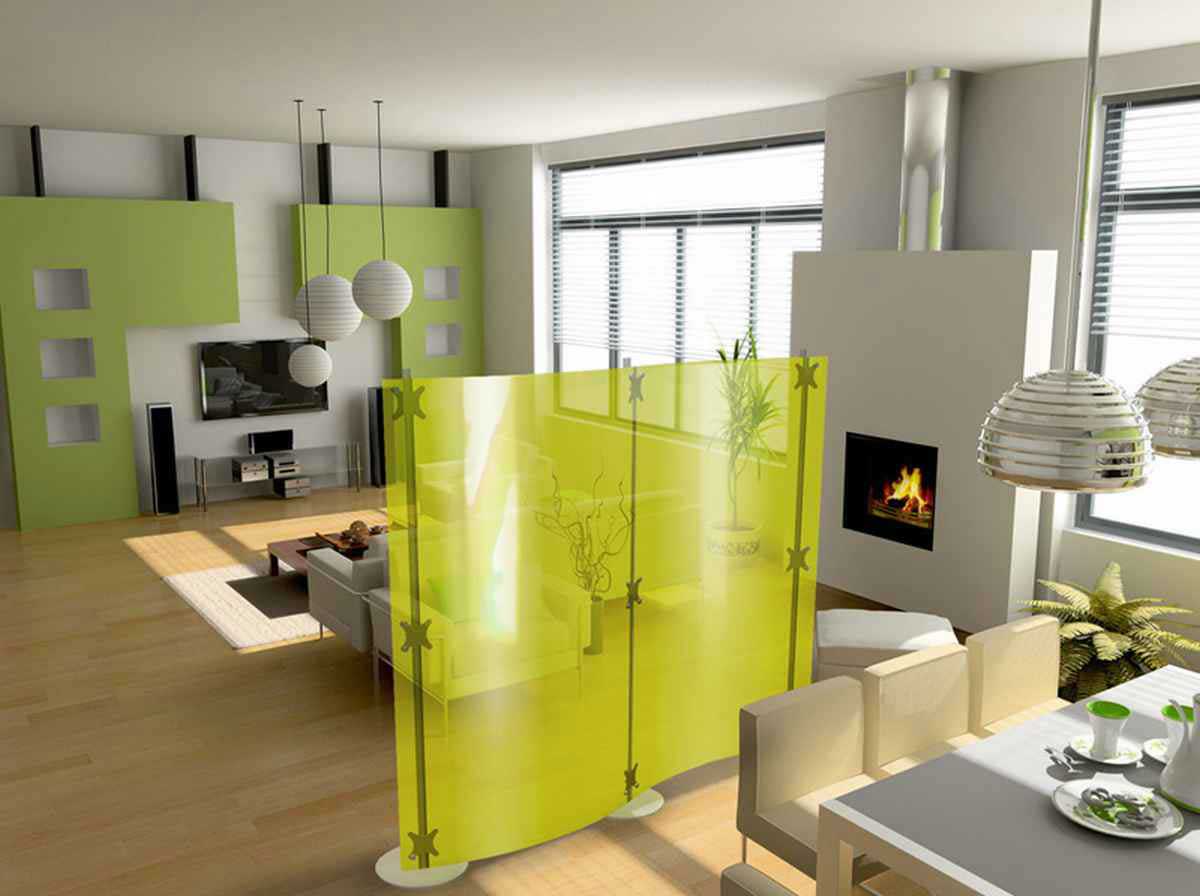
Remarkable zoning into several functional areas with a two-level ceiling, asymmetrical arch and glass partition. In this case, there is still a spacious free gap.
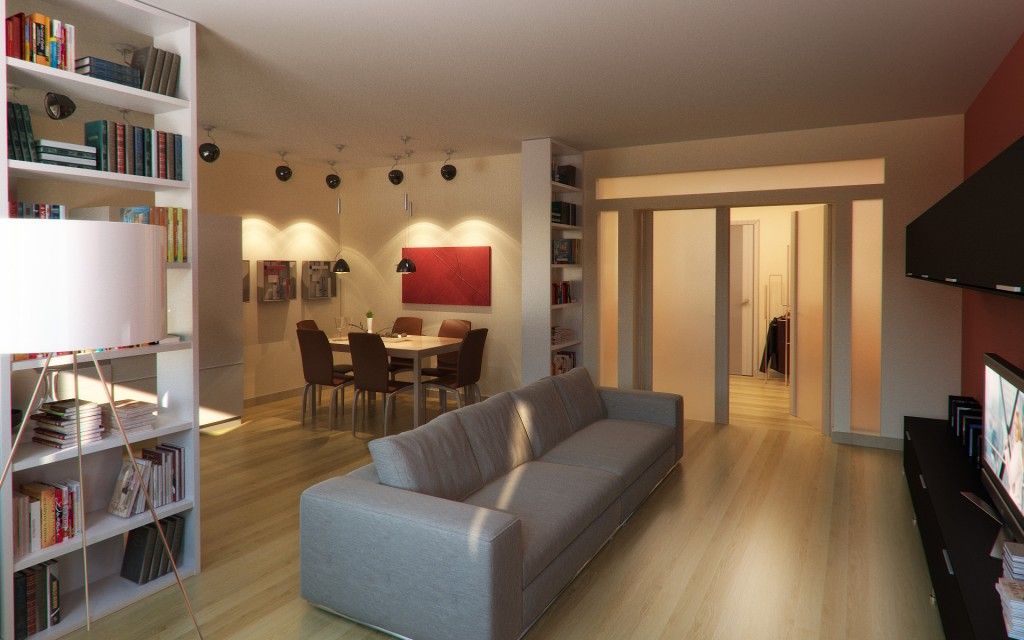
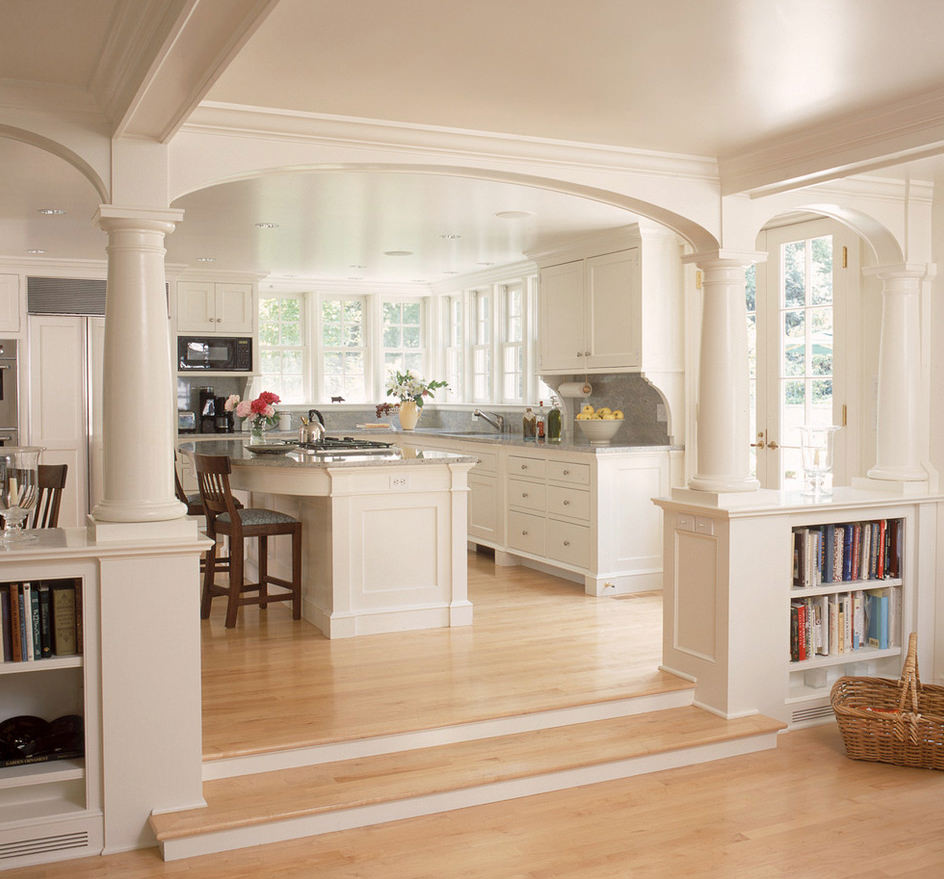
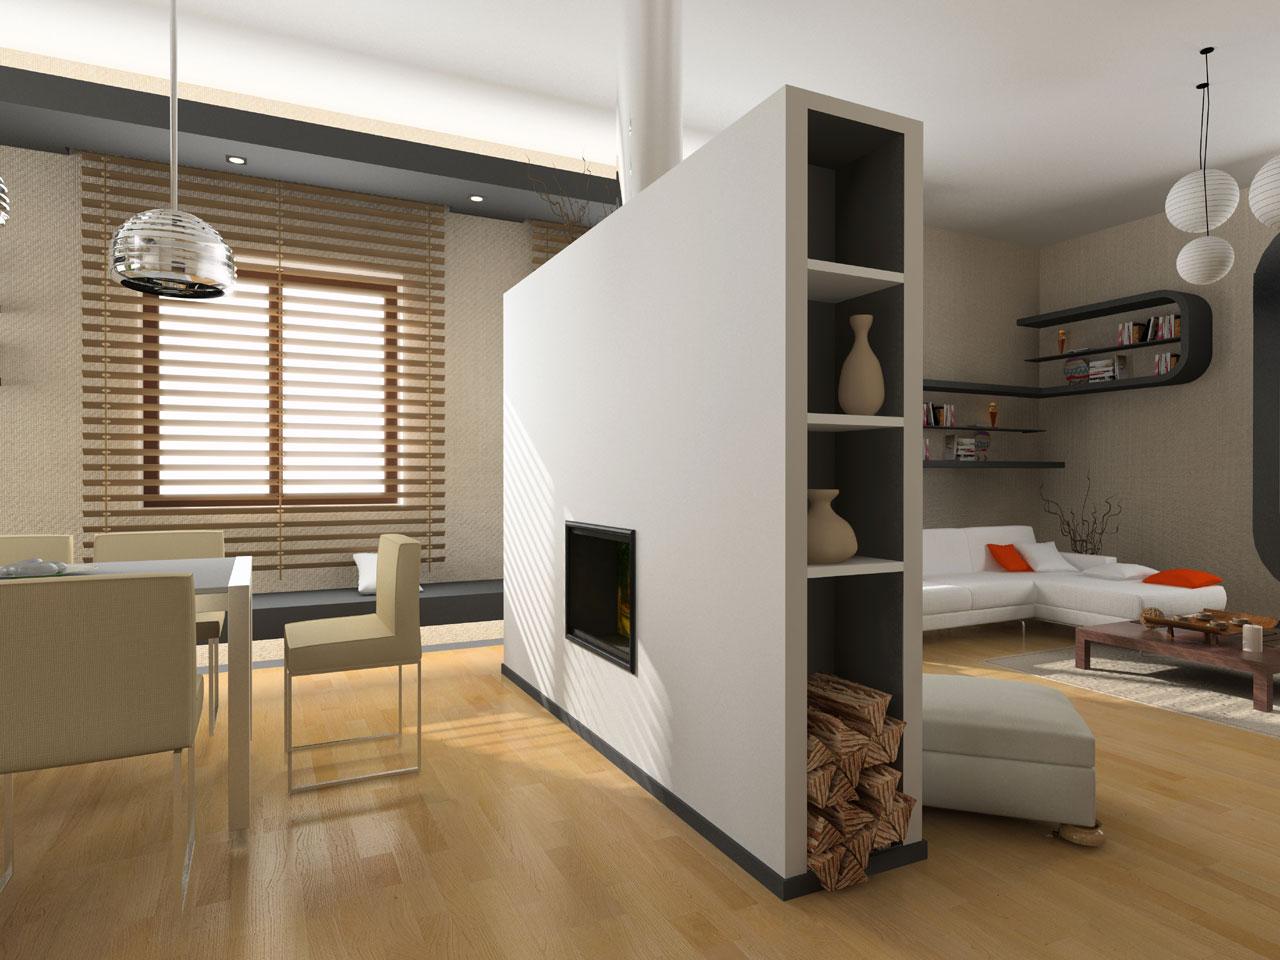
The division into two zones of the living room with bookshelves is not only beautiful, but also practical.