Closet do-it-yourself
The sliding wardrobes presented in the furniture market in a huge assortment can be assembled independently. What kinds of them exist and what are their features?

Species
Depending on the characteristics and their combinations, all wardrobes can be divided into several categories. First of all, it is necessary to distinguish hull and embedded models. As the name implies, the distinguishing feature of the first is a separate enclosure, while the recessed ones form a single whole with the walls and ceiling of the room. In this category, it is still possible to distinguish semi-built-in and tricuspid cabinets: they differ from fully recessed by the presence of individual hull elements - the bottom, roof or walls.

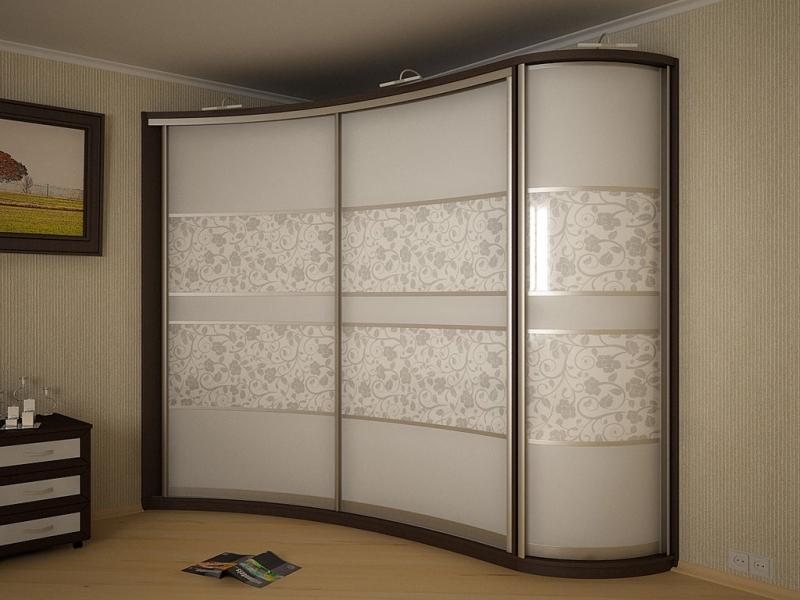
The form
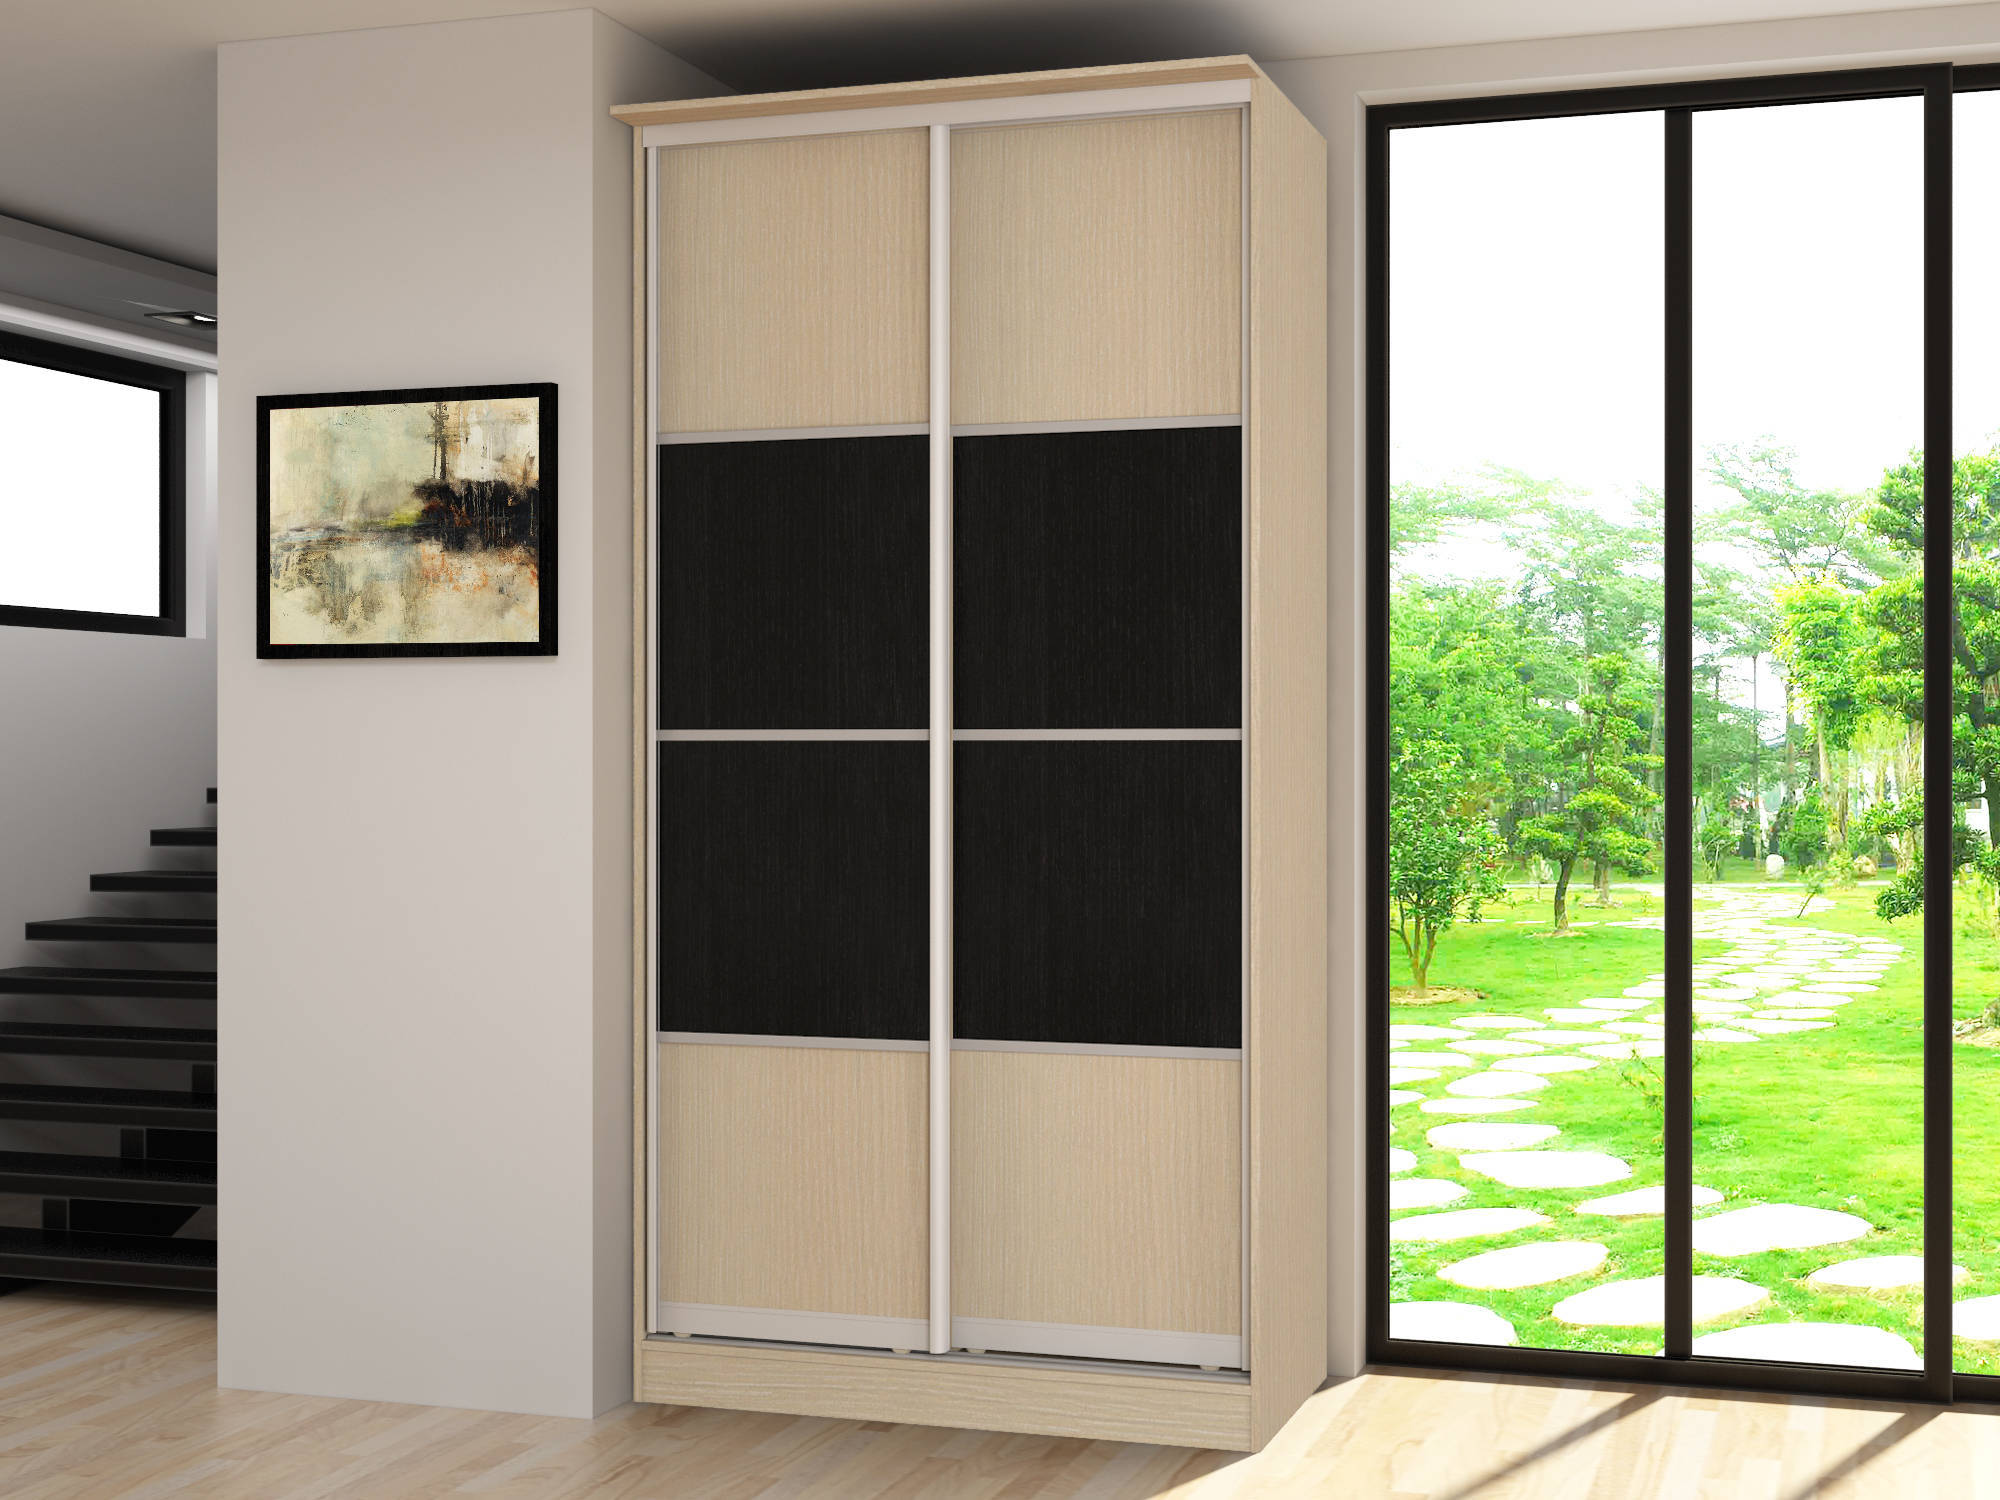
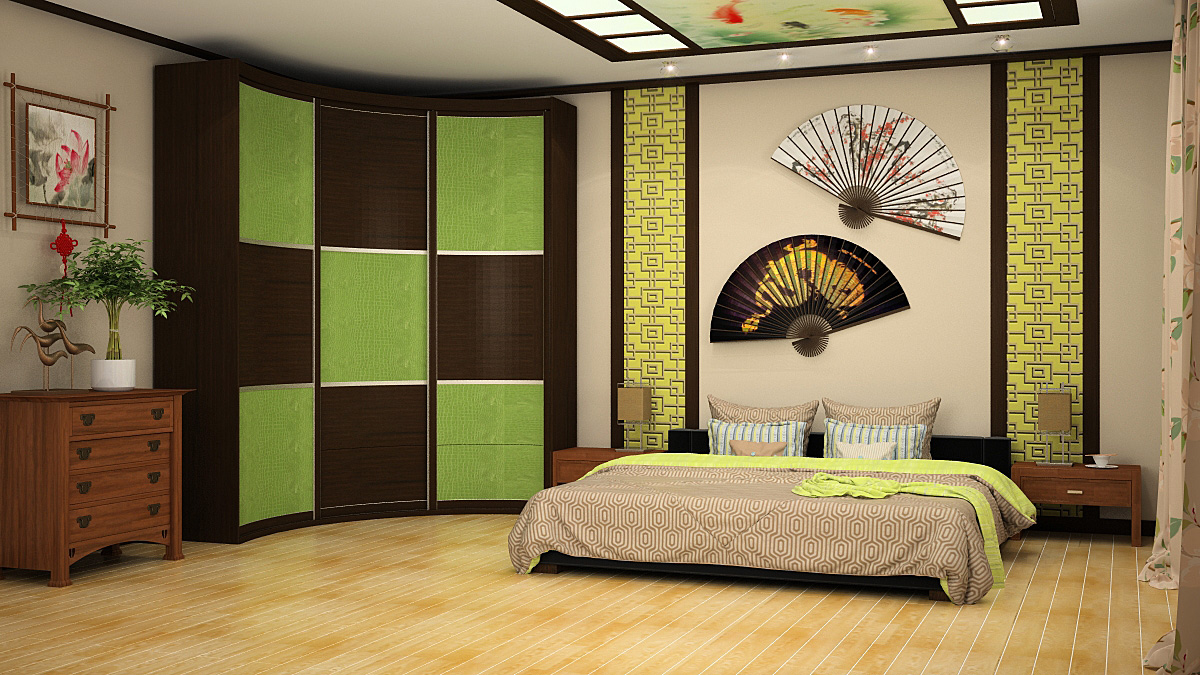
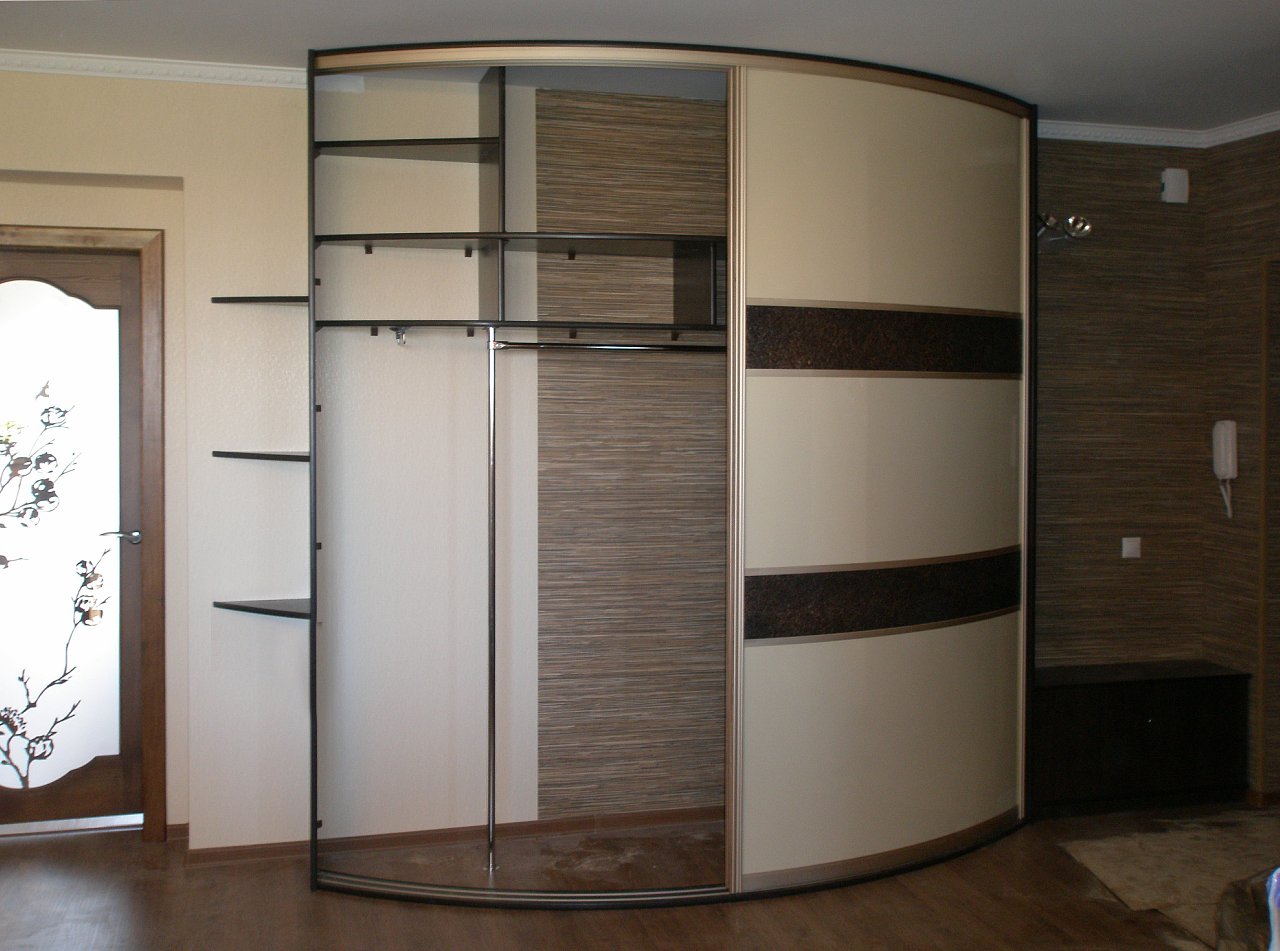
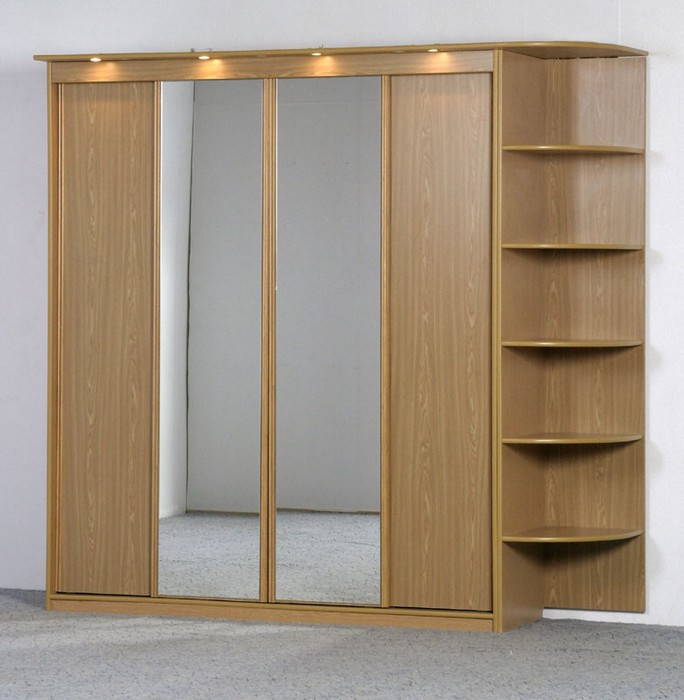
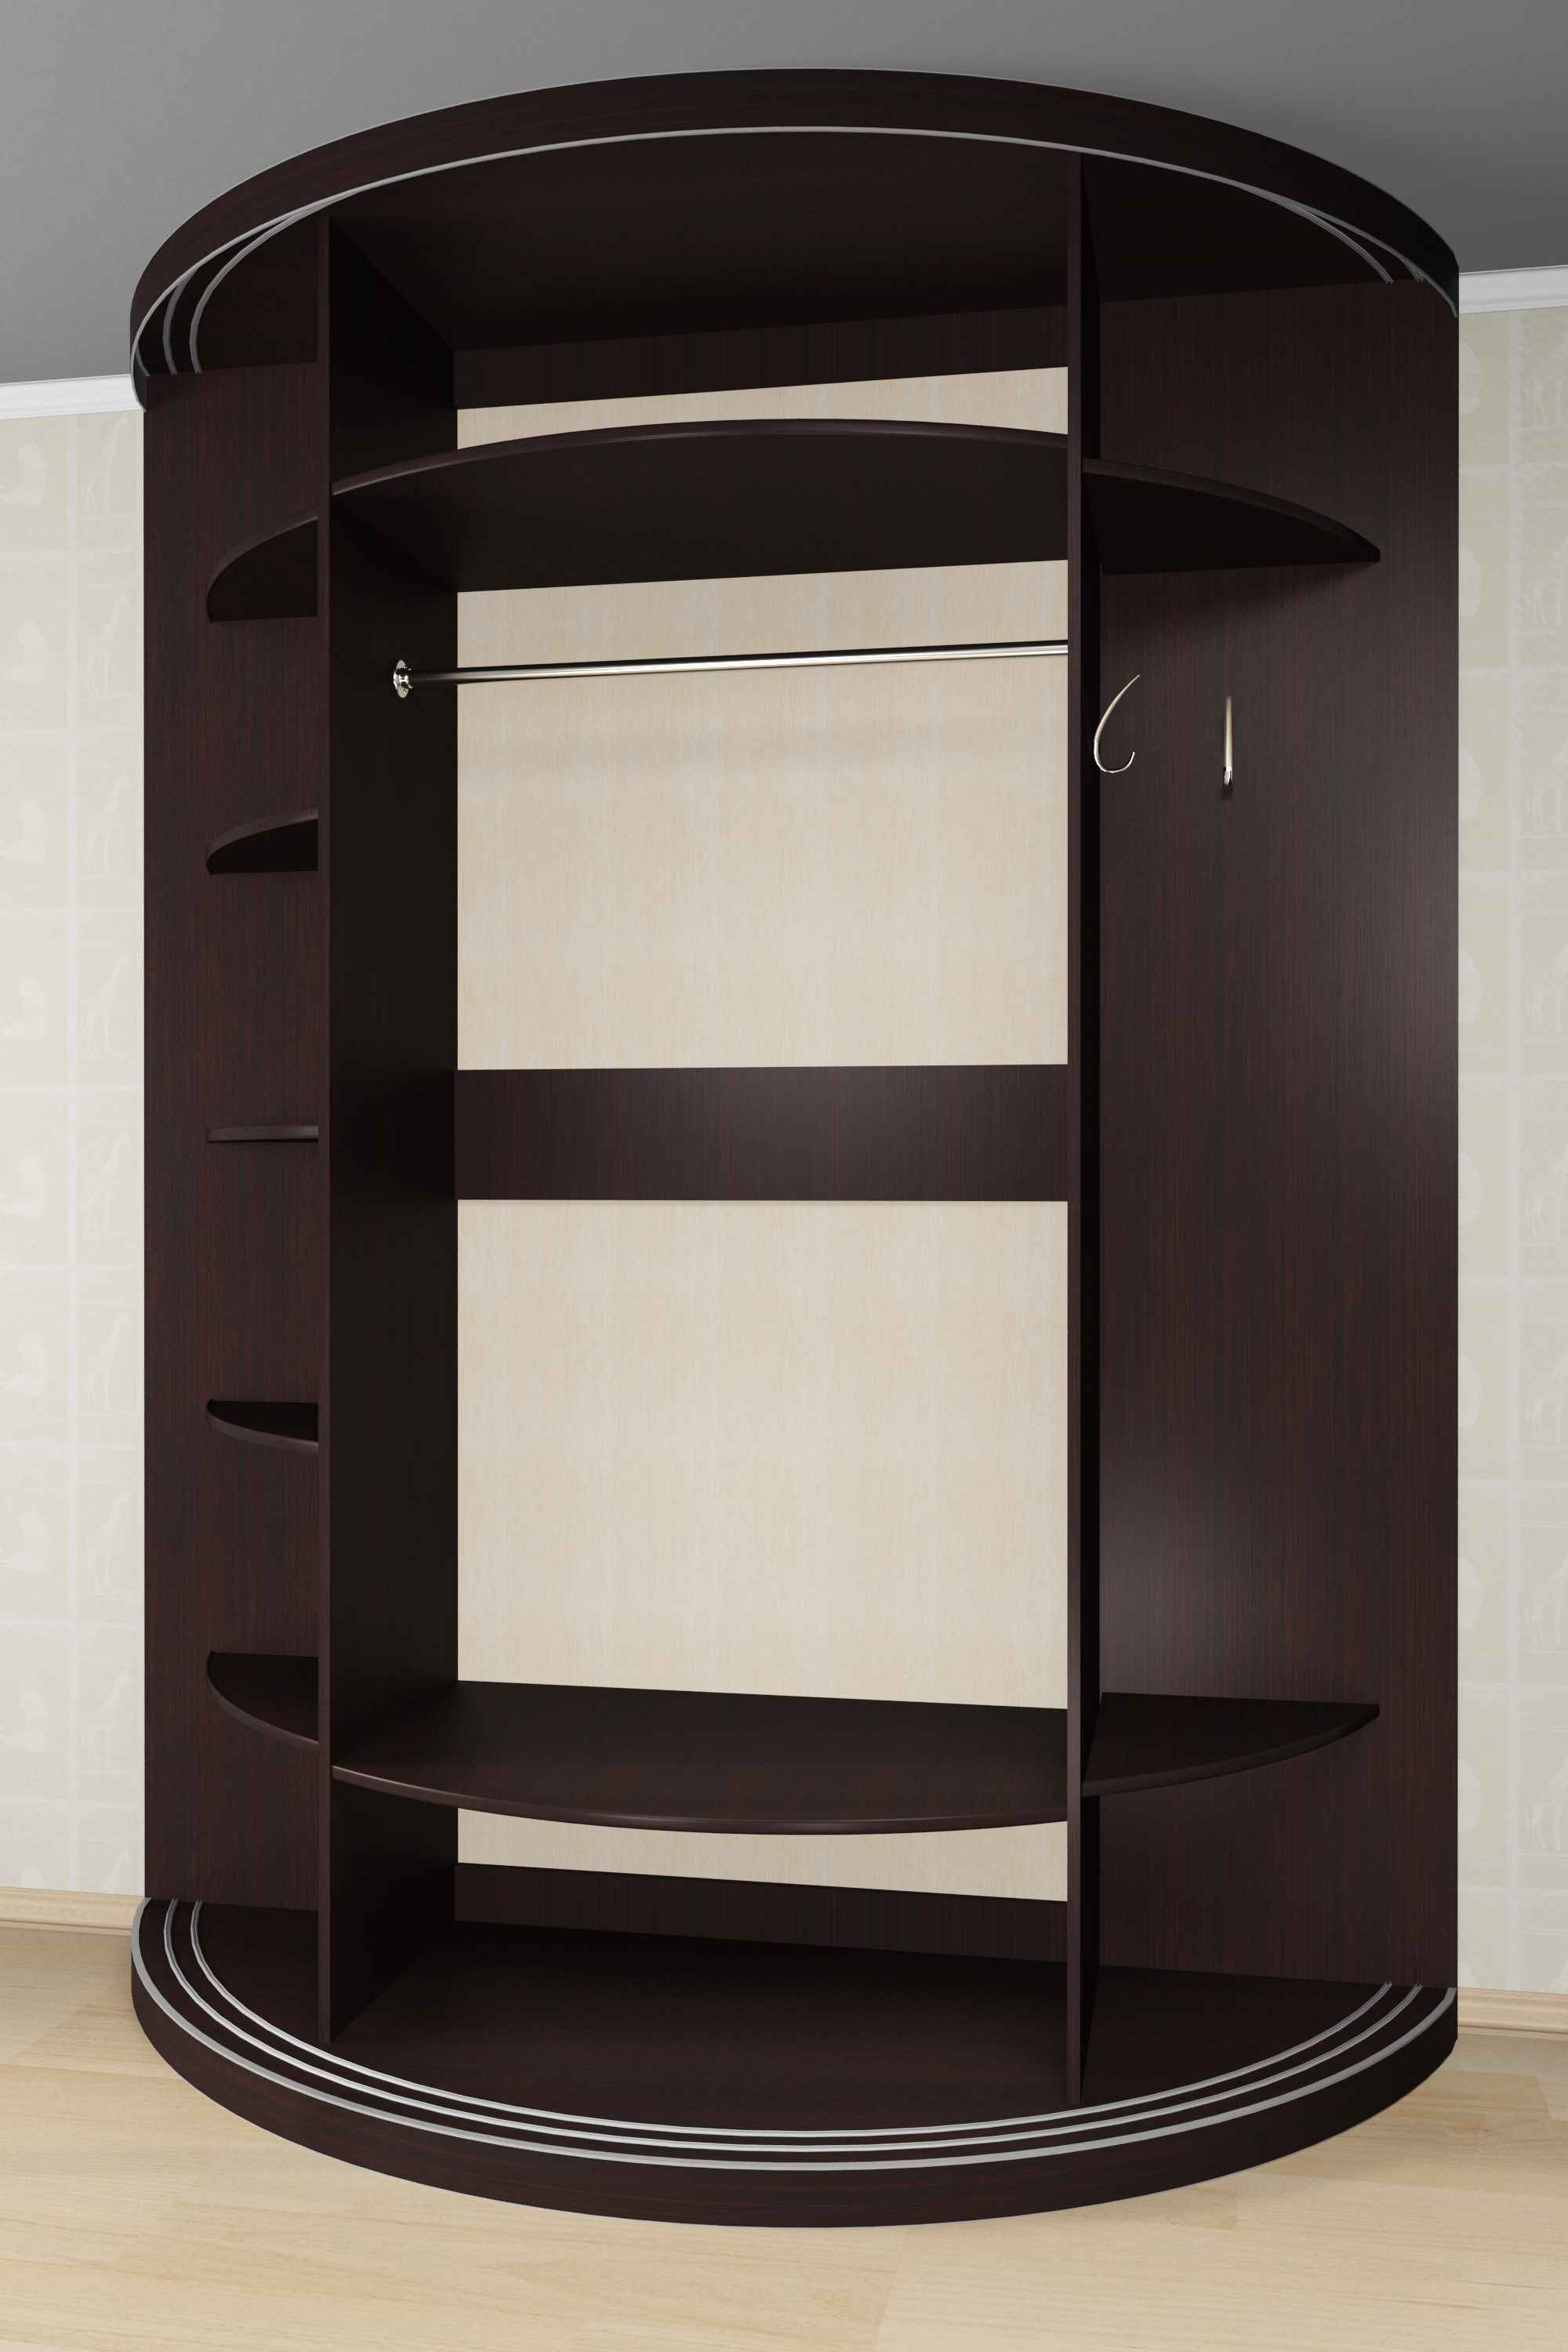
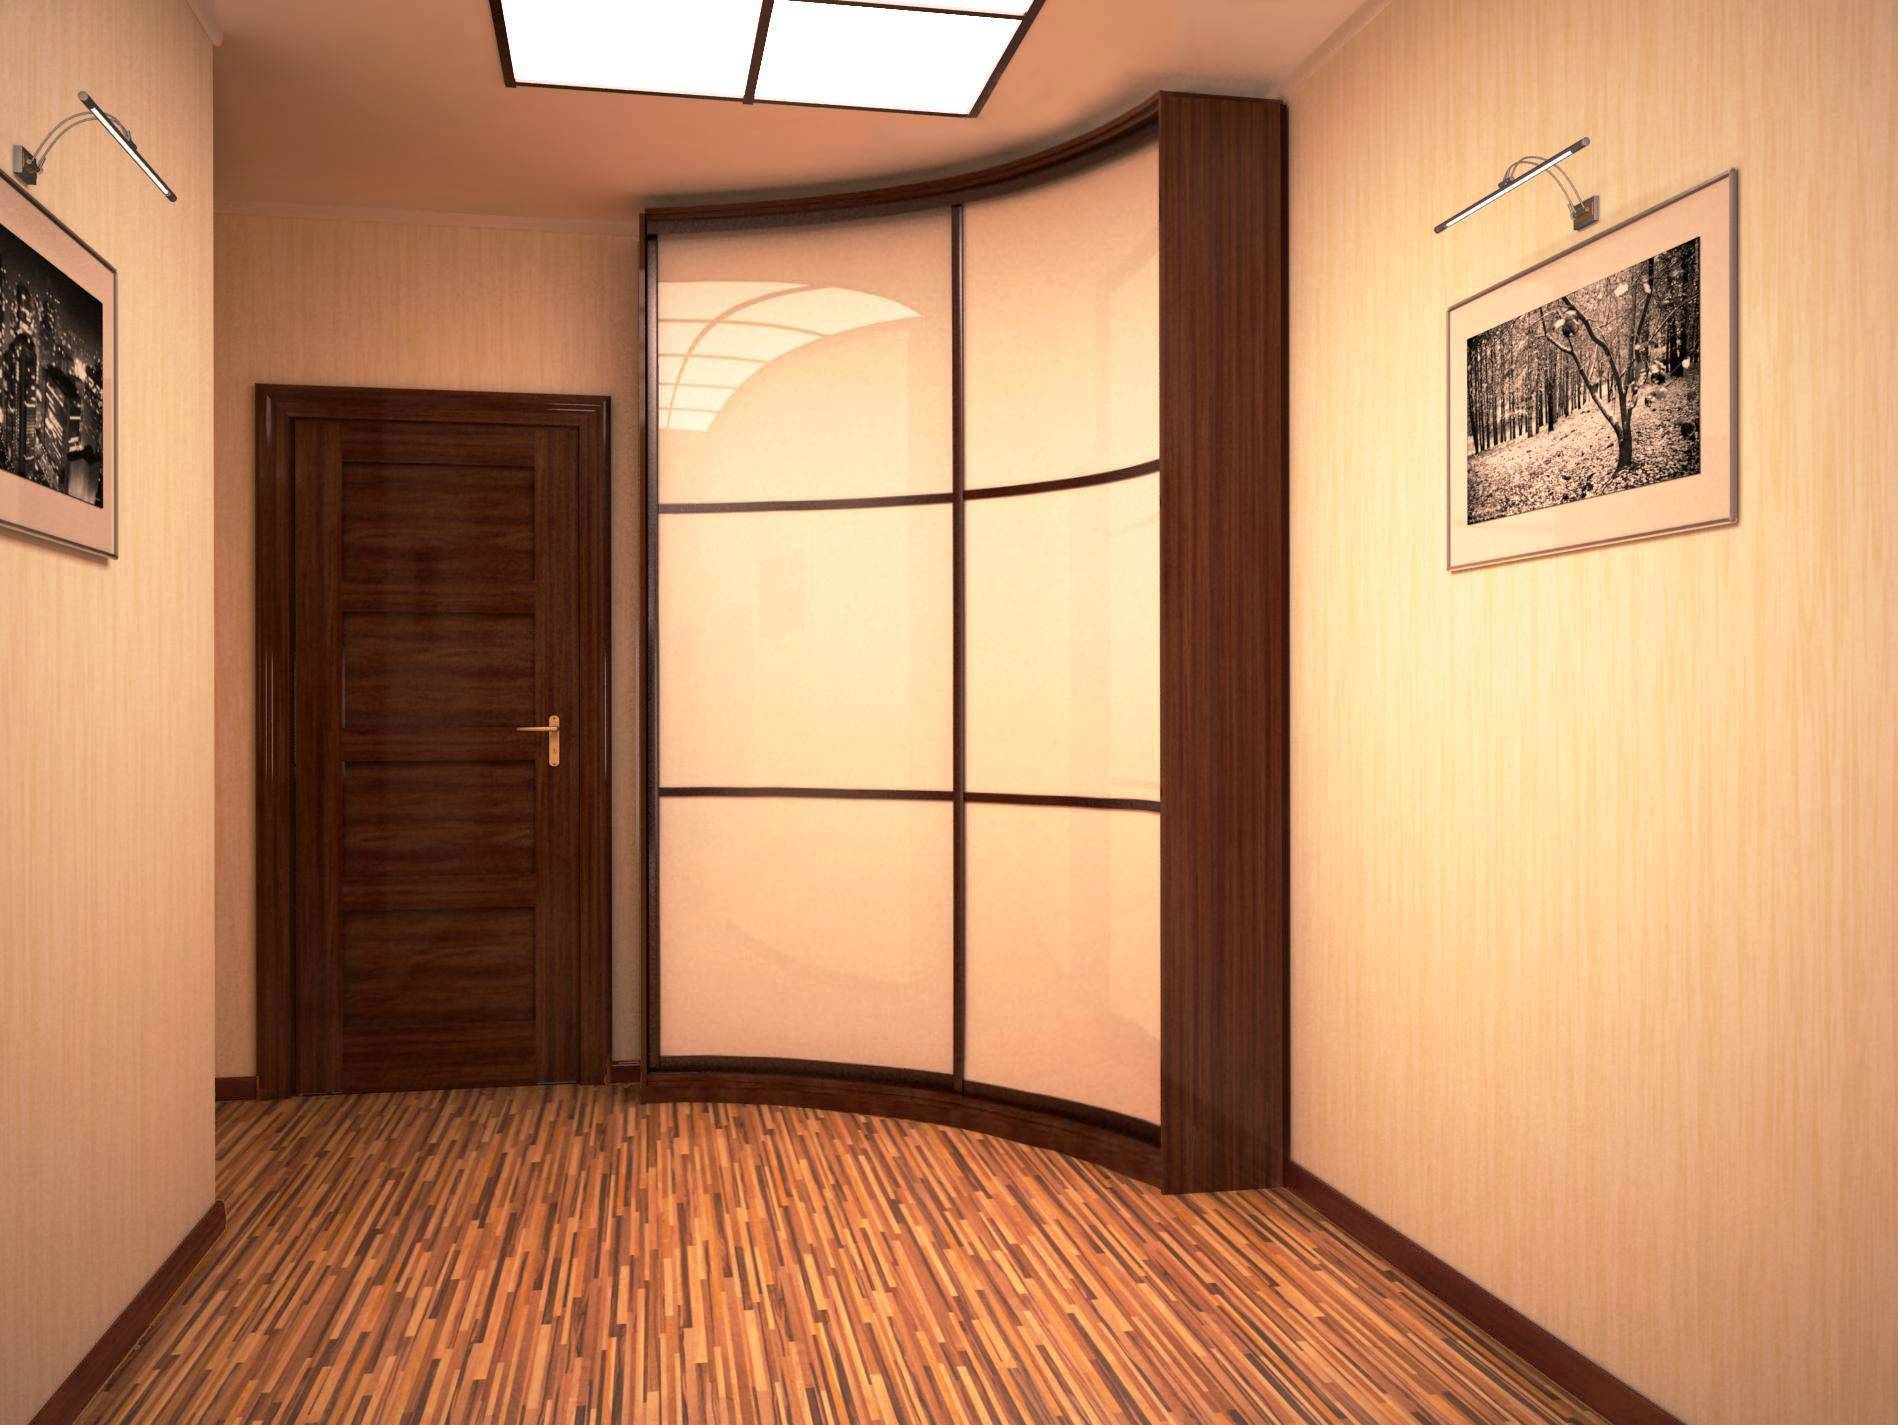
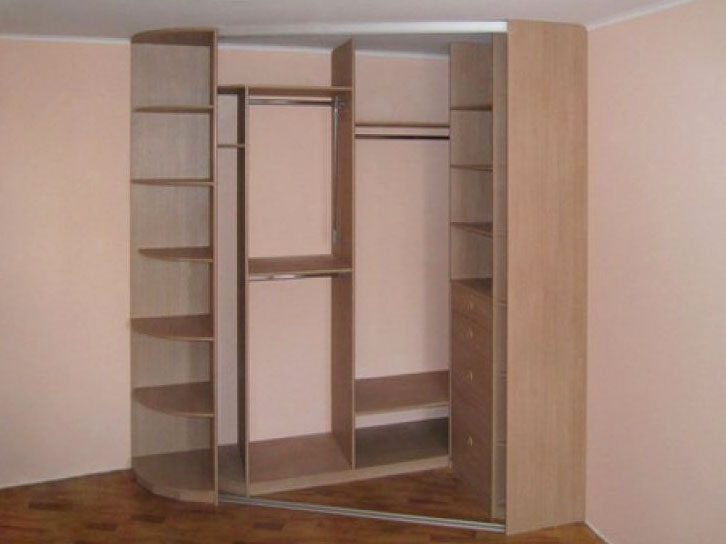
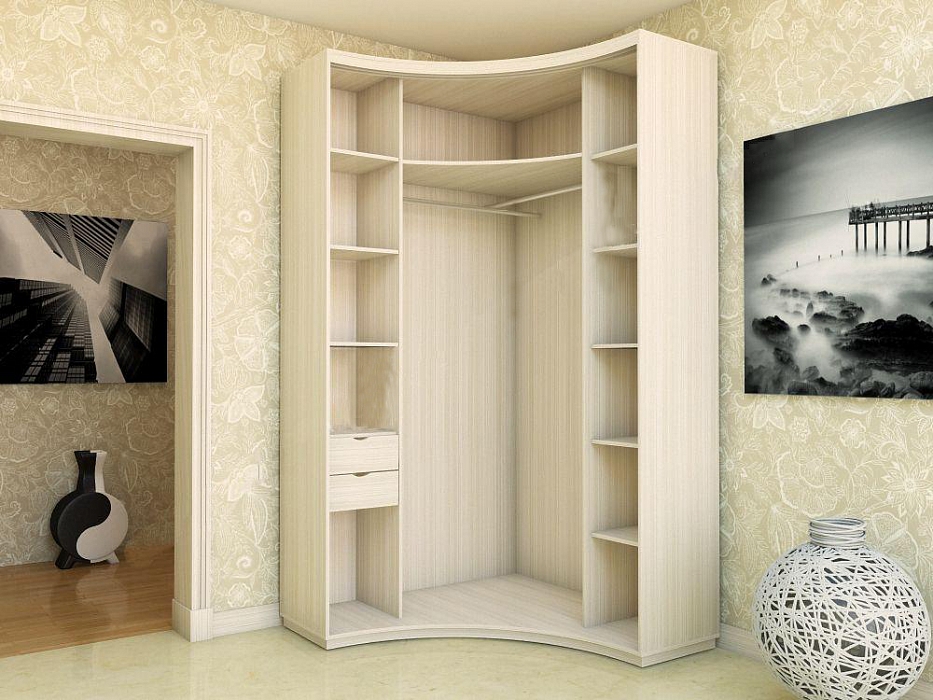
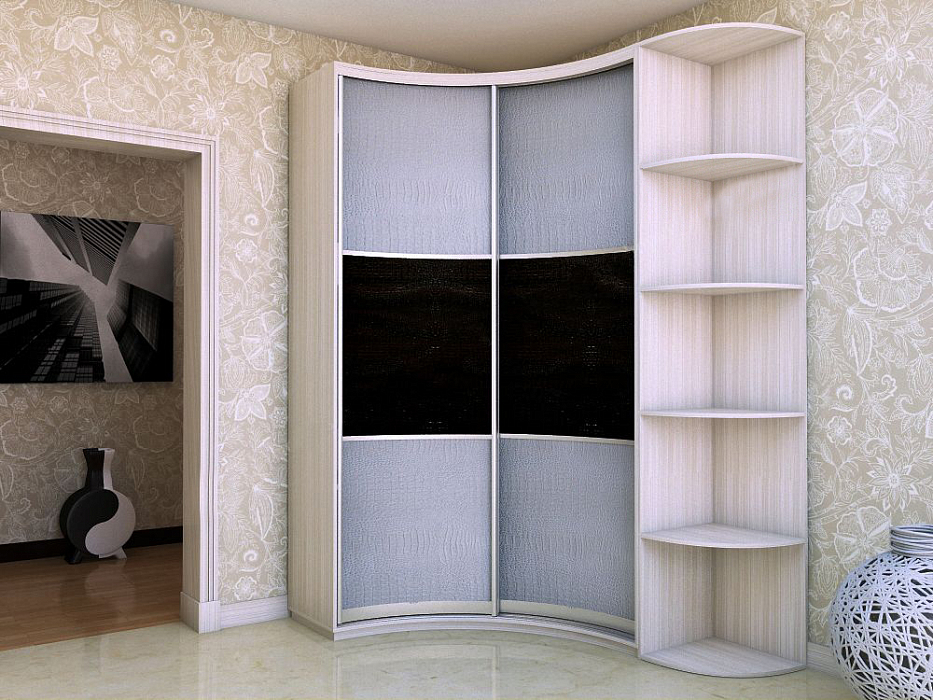
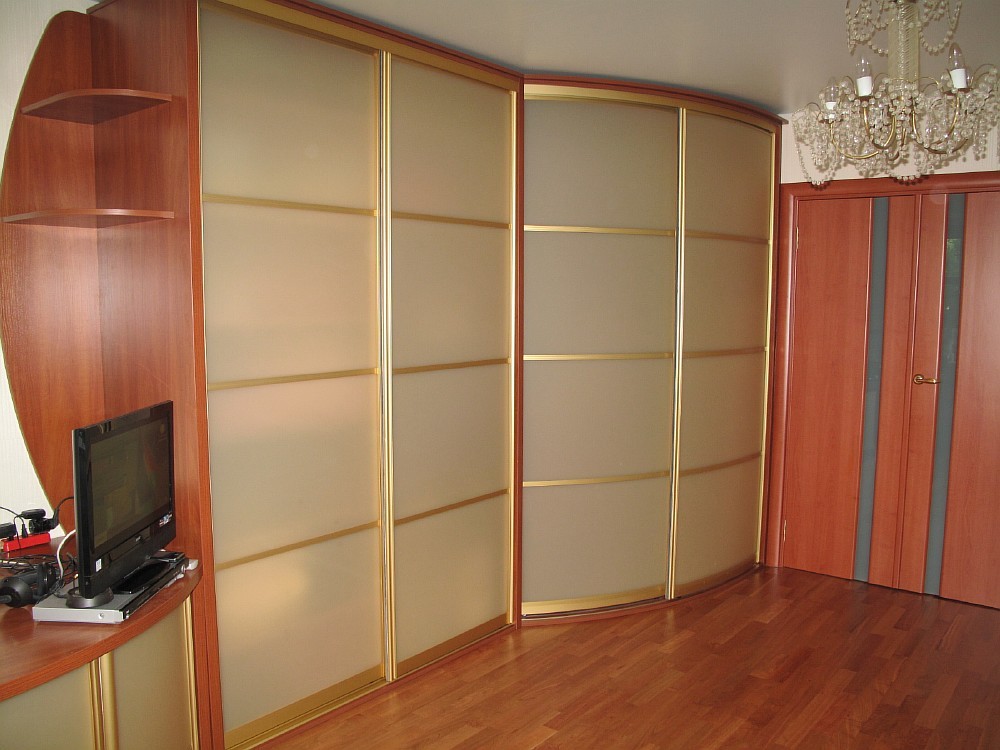
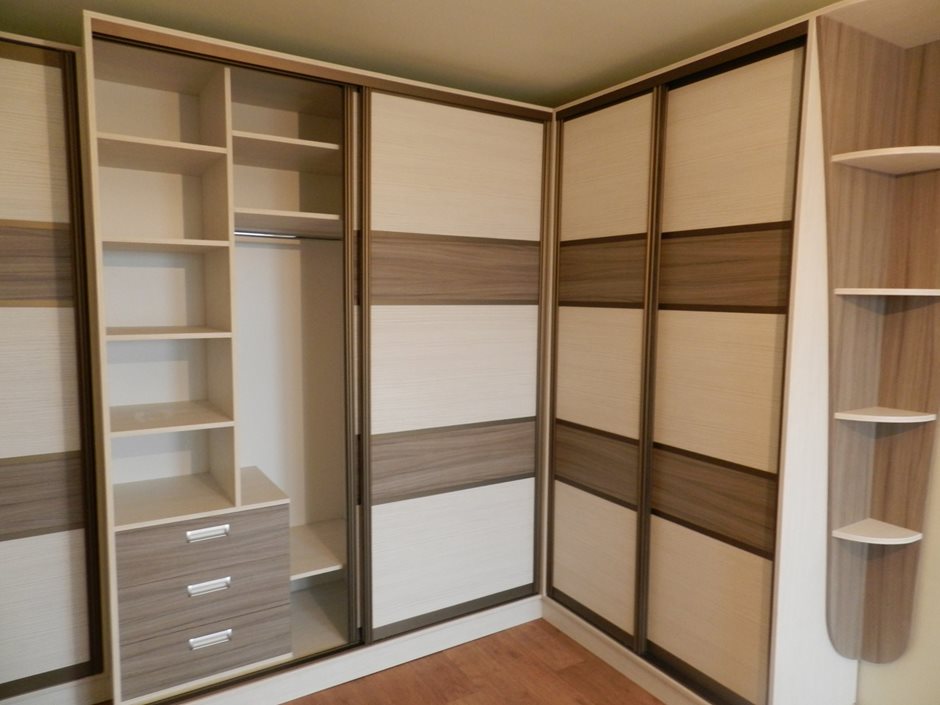
Sliding wardrobes can have a different shape. Thus, the traditional is considered to be a straight cabinet, made in the shape of a rectangle. Such models can be both case and built-in, and are sold in a wide range.There are other, more original forms: for example, angular L-shaped (installed at the junction of two walls), triangular (connecting two walls diagonally, forming a triangle), trapezoidal and radius. The latter differ in non-standard peculiar design and installation complexity, while maintaining roominess and functionality.

Regardless of the belonging to this or that type, the wardrobe must meet the requirements of the buyer, which, in turn, are determined by the type of room. The sliding wardrobe is a universal piece of furniture; correctly selected, it will have to the place and in the living room, and in the bedroom, and in the hallway. Sometimes narrow straight wardrobes are installed on balconies and loggias.
Design features
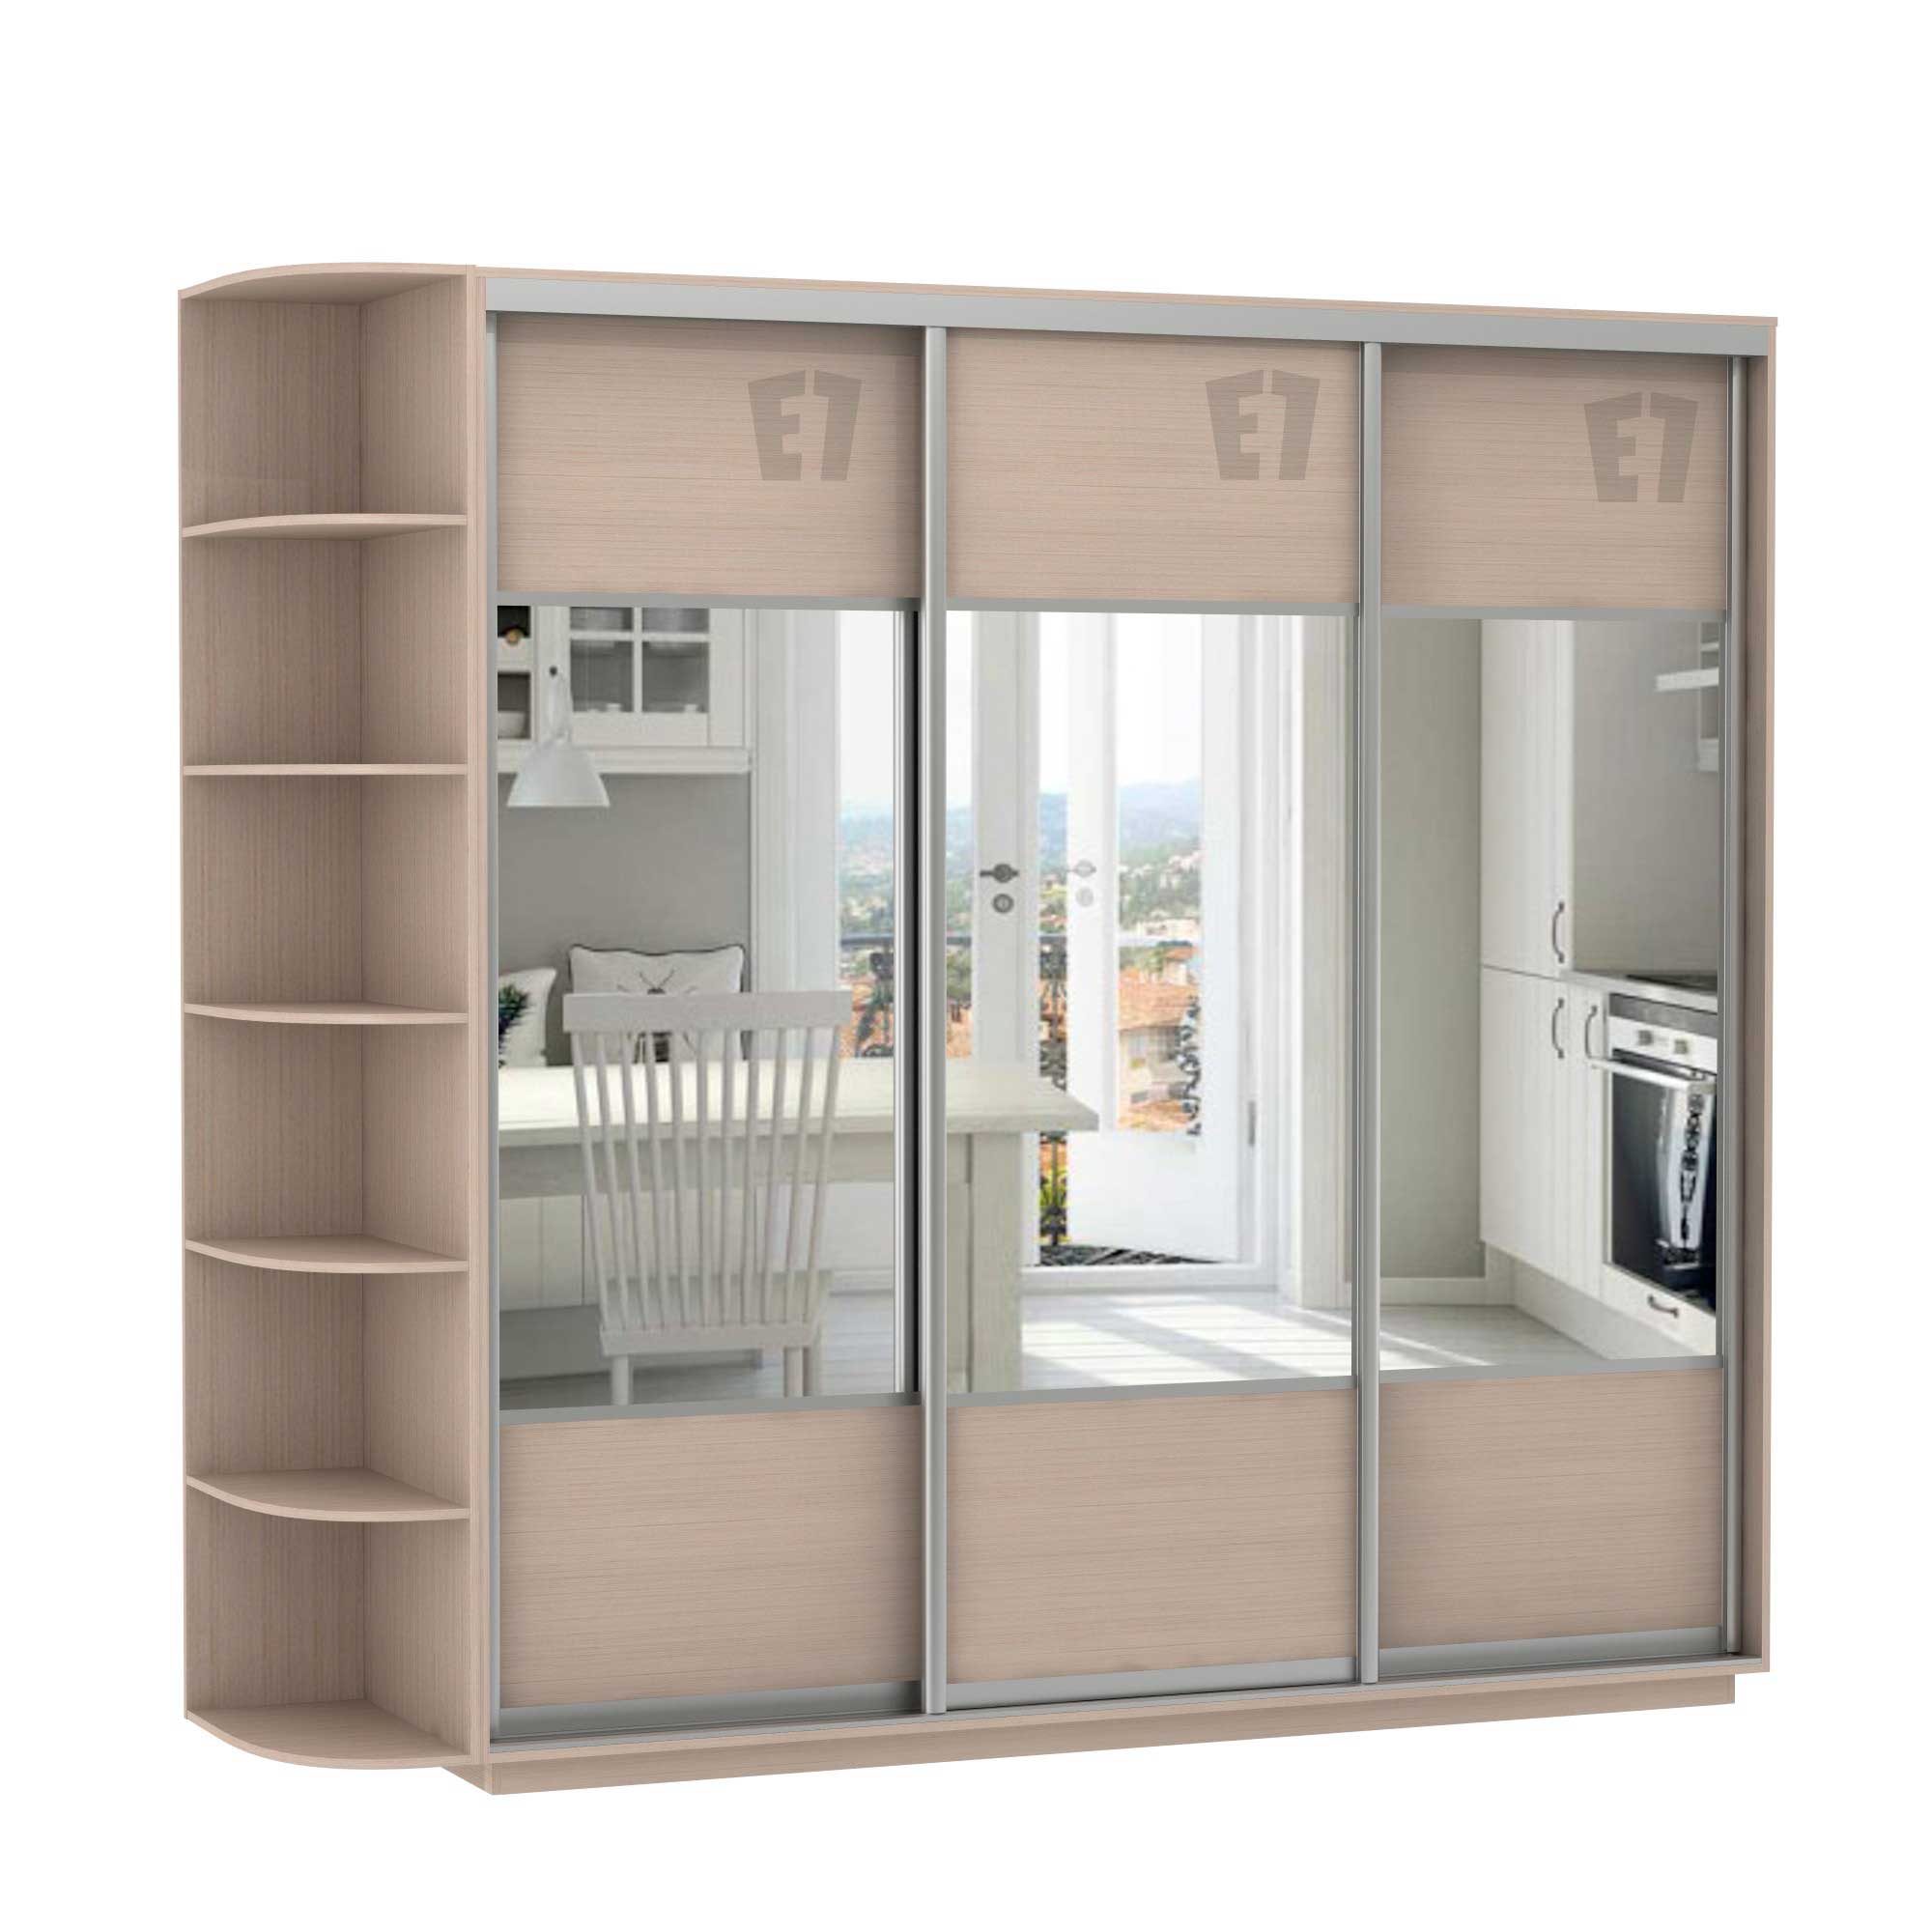
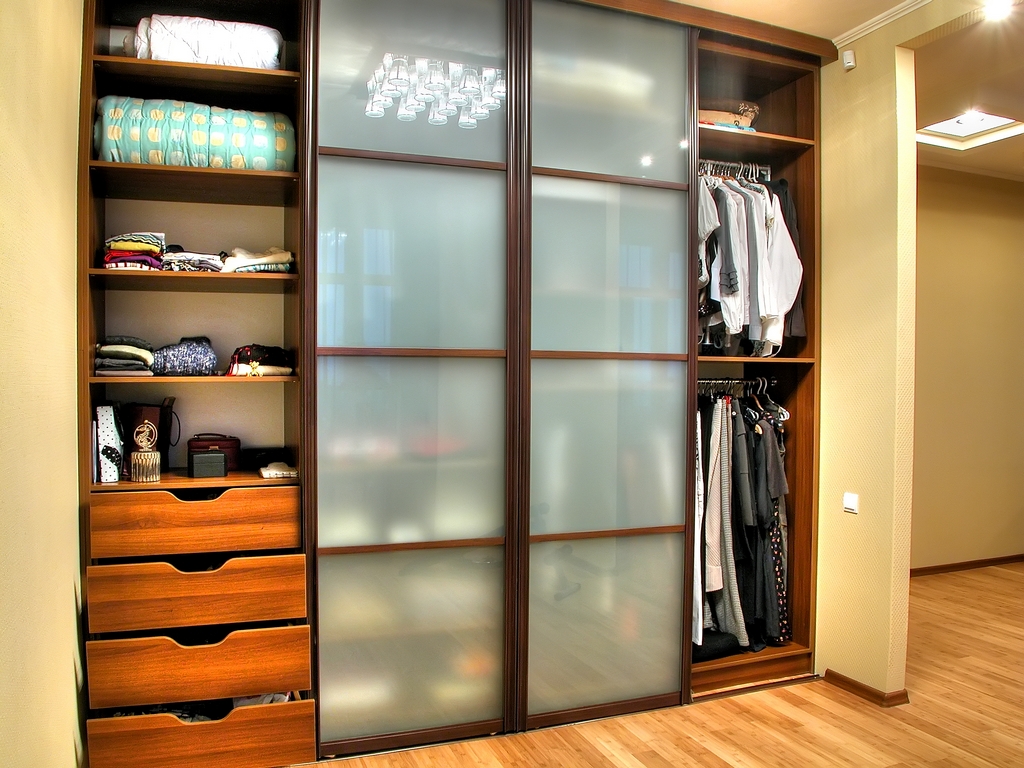
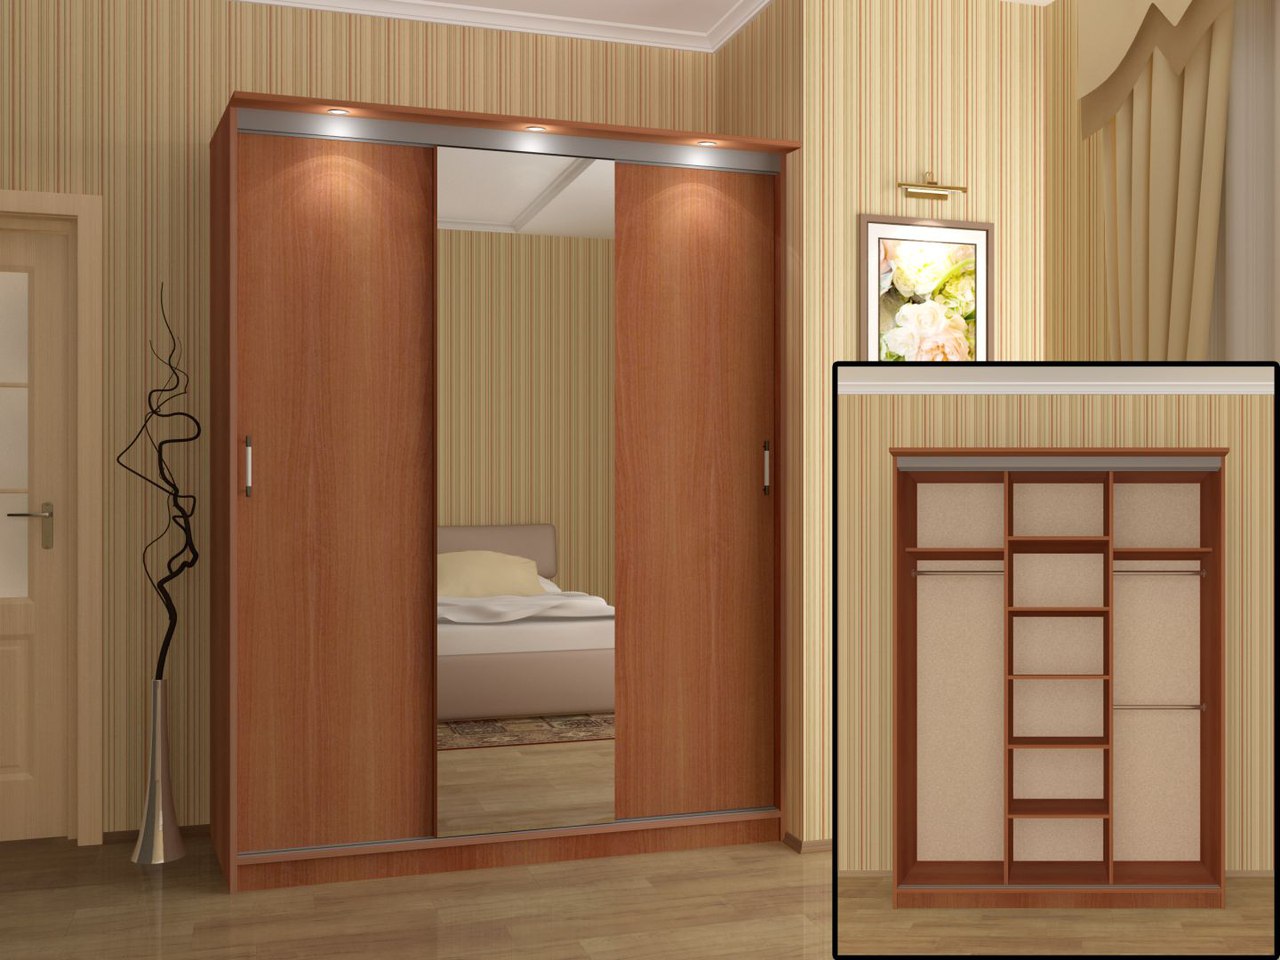
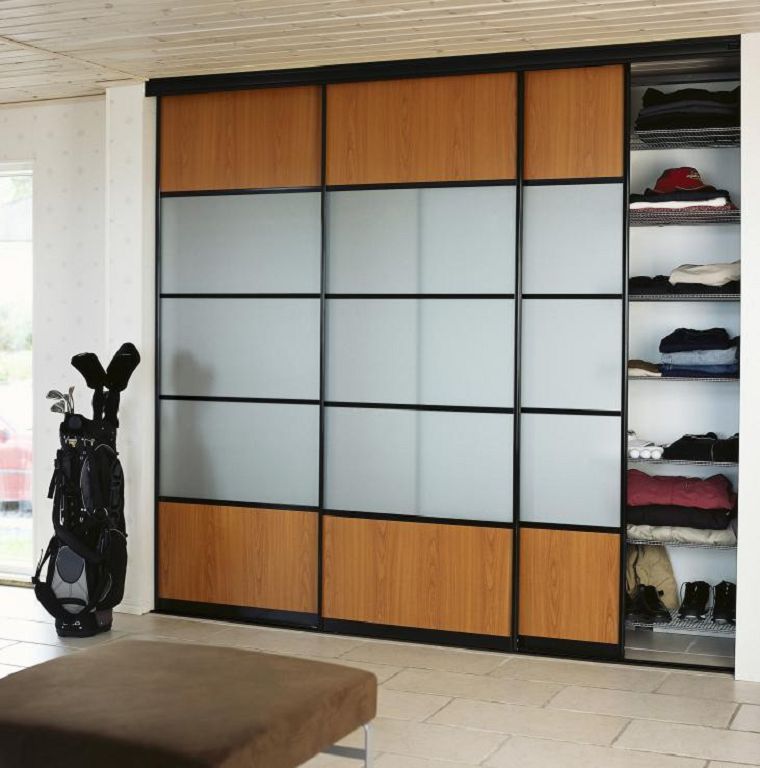
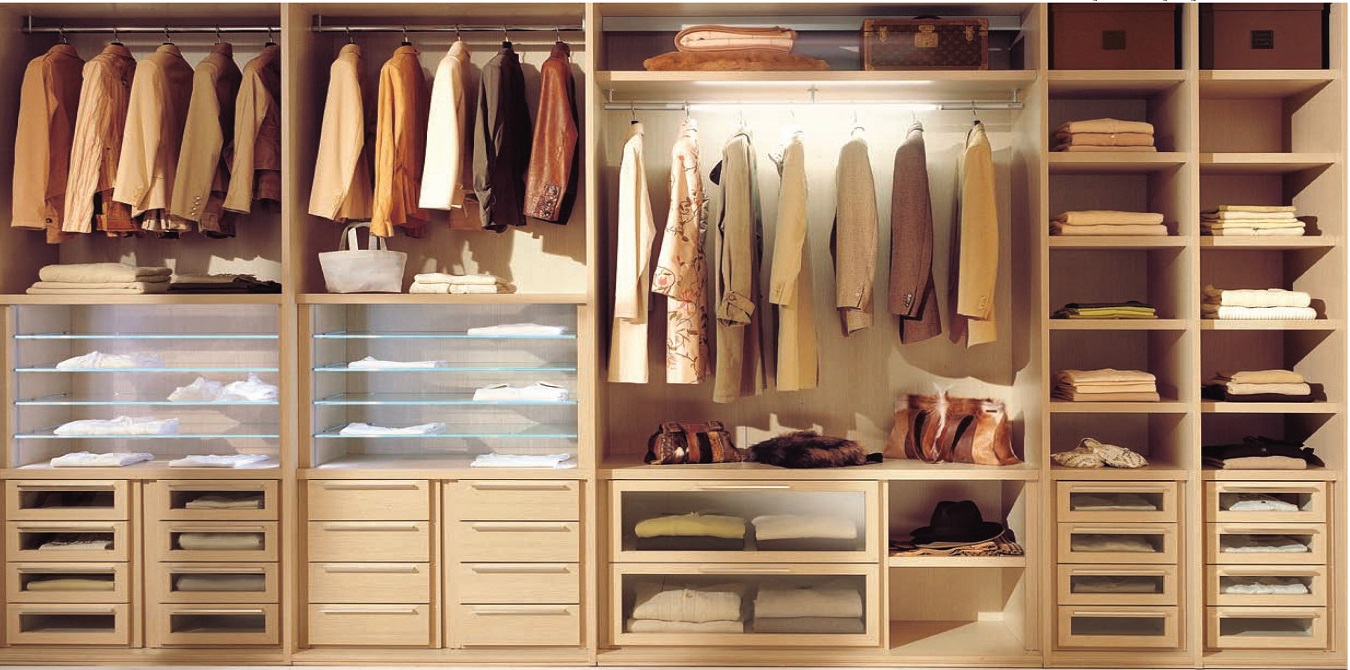
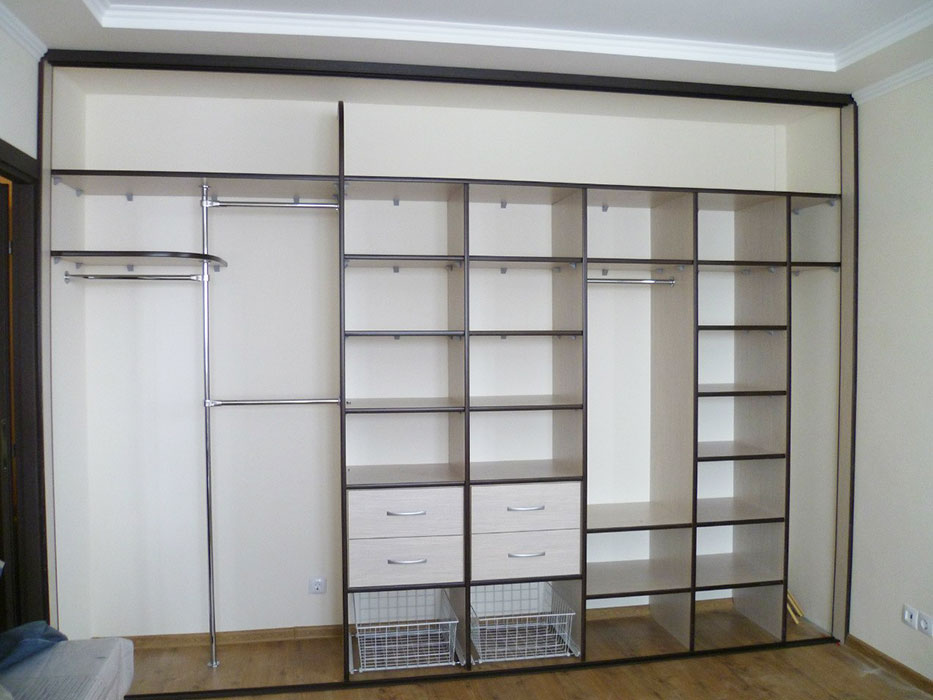
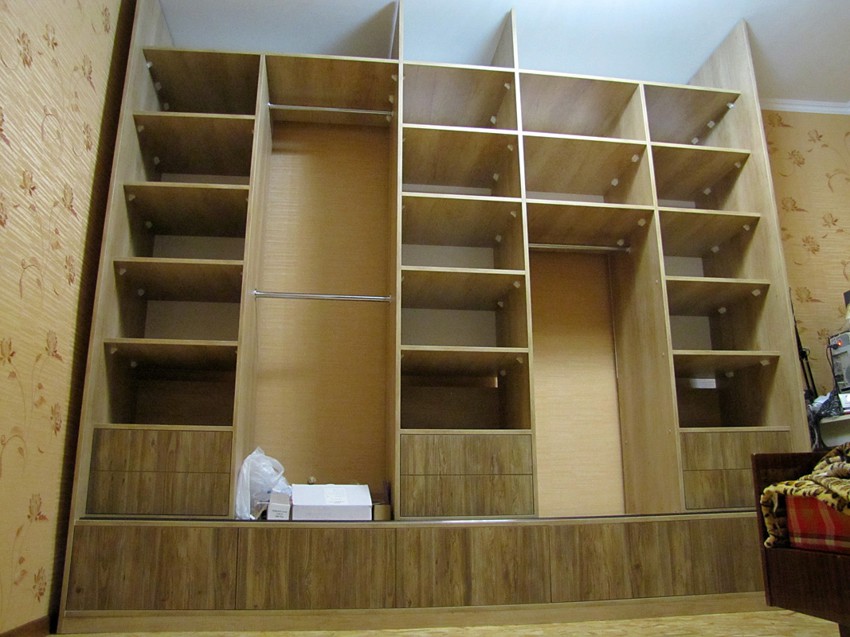
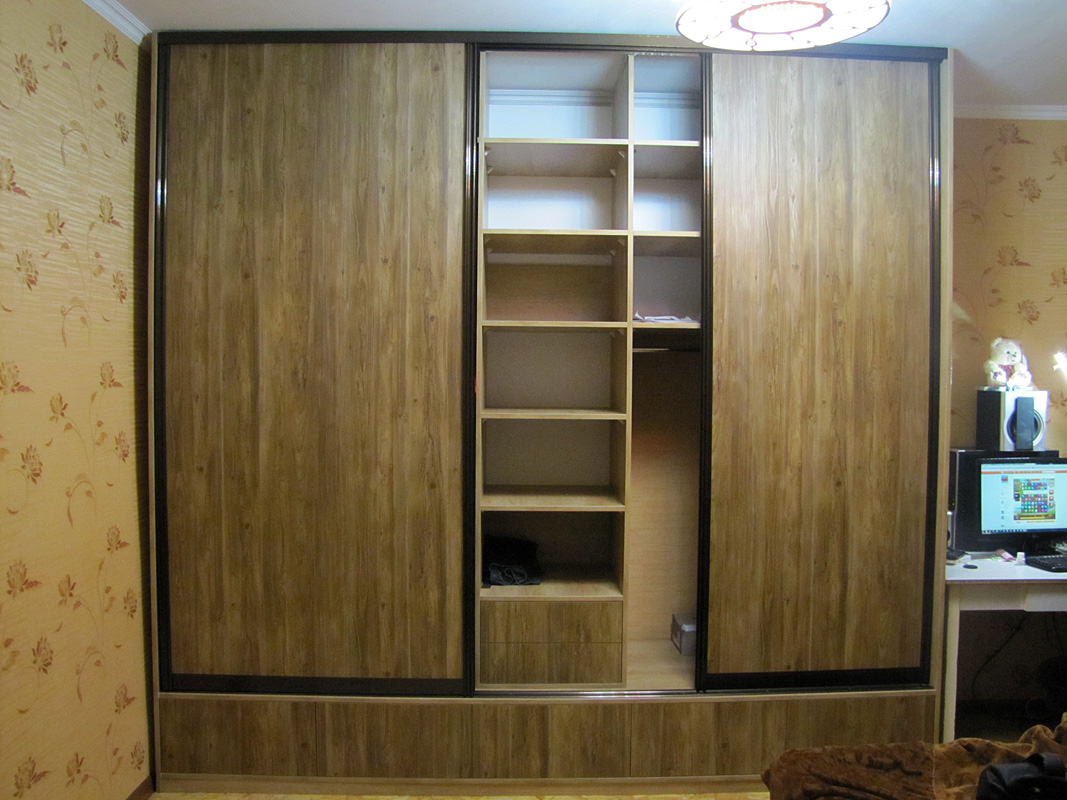
Regardless of form, design and purpose, the wardrobe has some design features. First of all, of course, these are doors: sliding systems are always used, consisting in the use of rails along which the doors move. They are the distinctive element of the wardrobe, which distinguishes it from other models of wardrobes, wardrobes and wardrobes.In addition, most of the models have in their design several compartments of different roominess, drawers, hangers and bars for clothes.
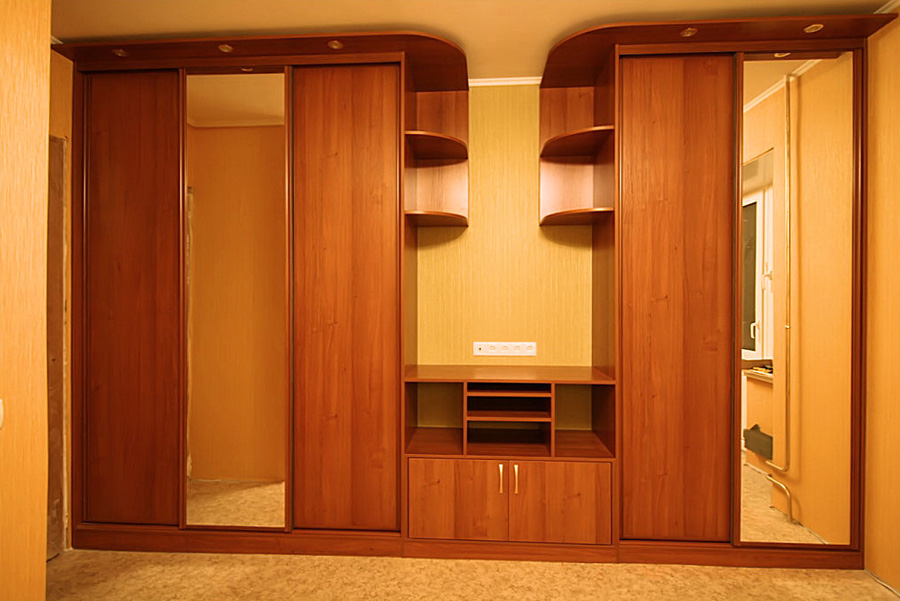
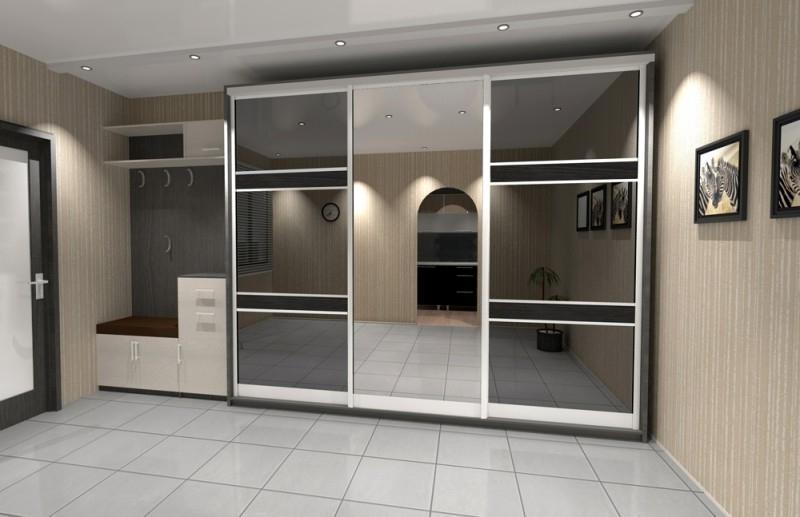
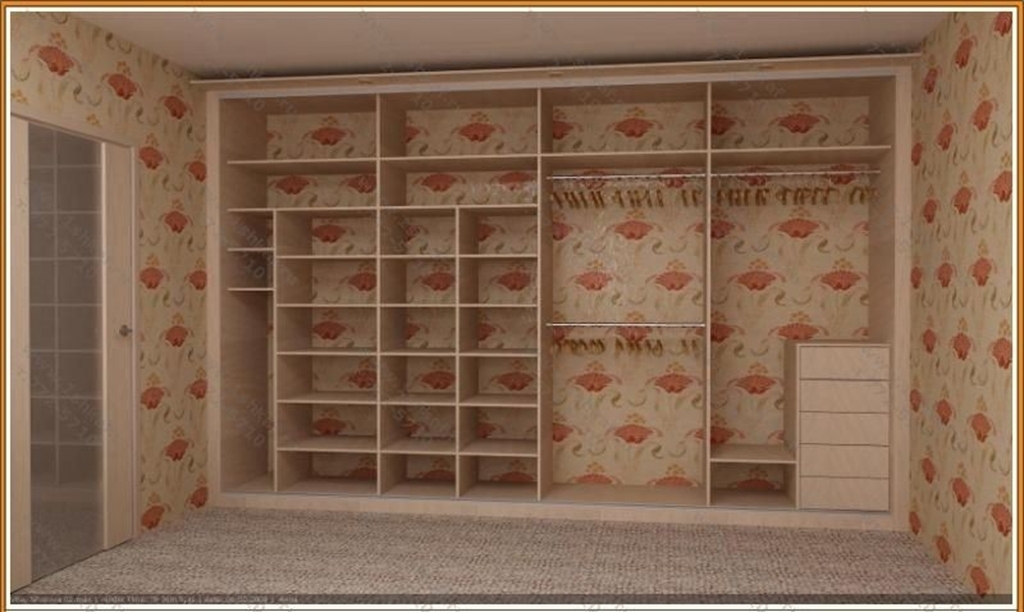
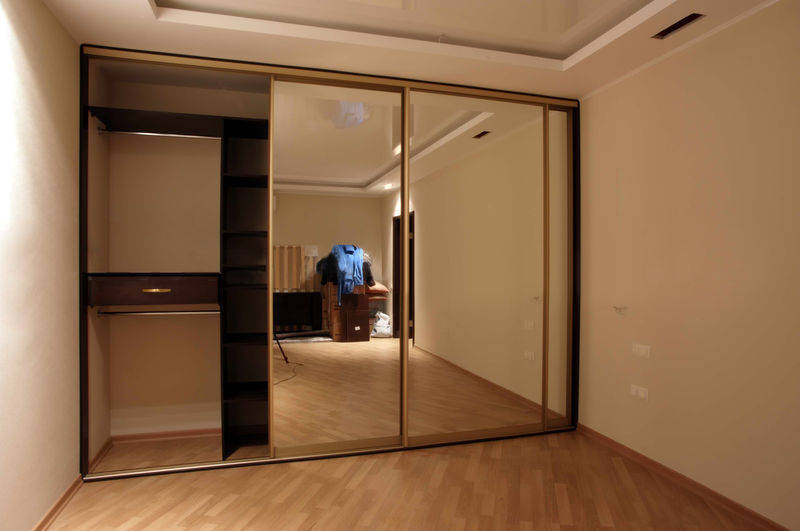
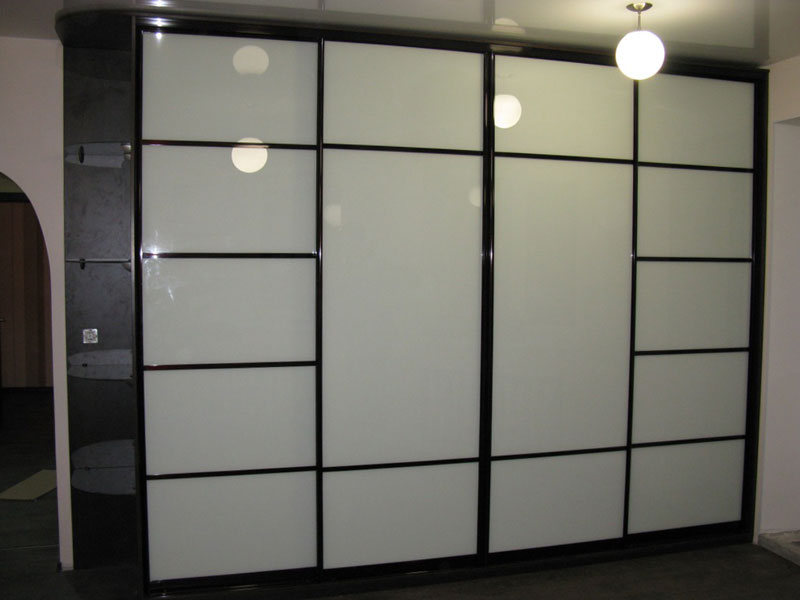
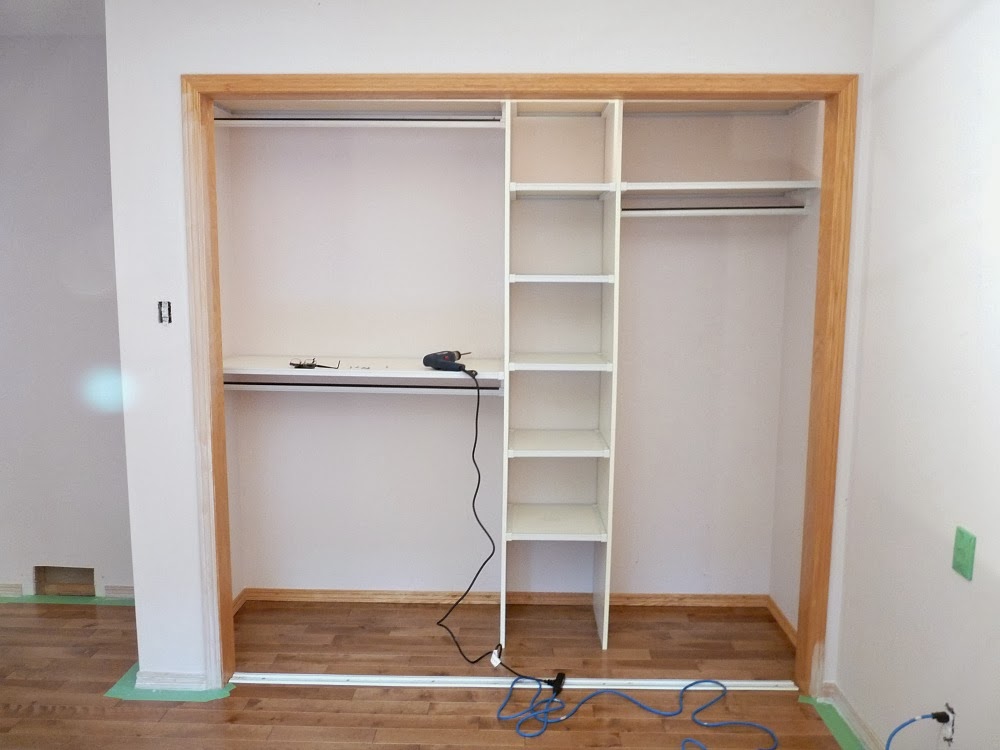
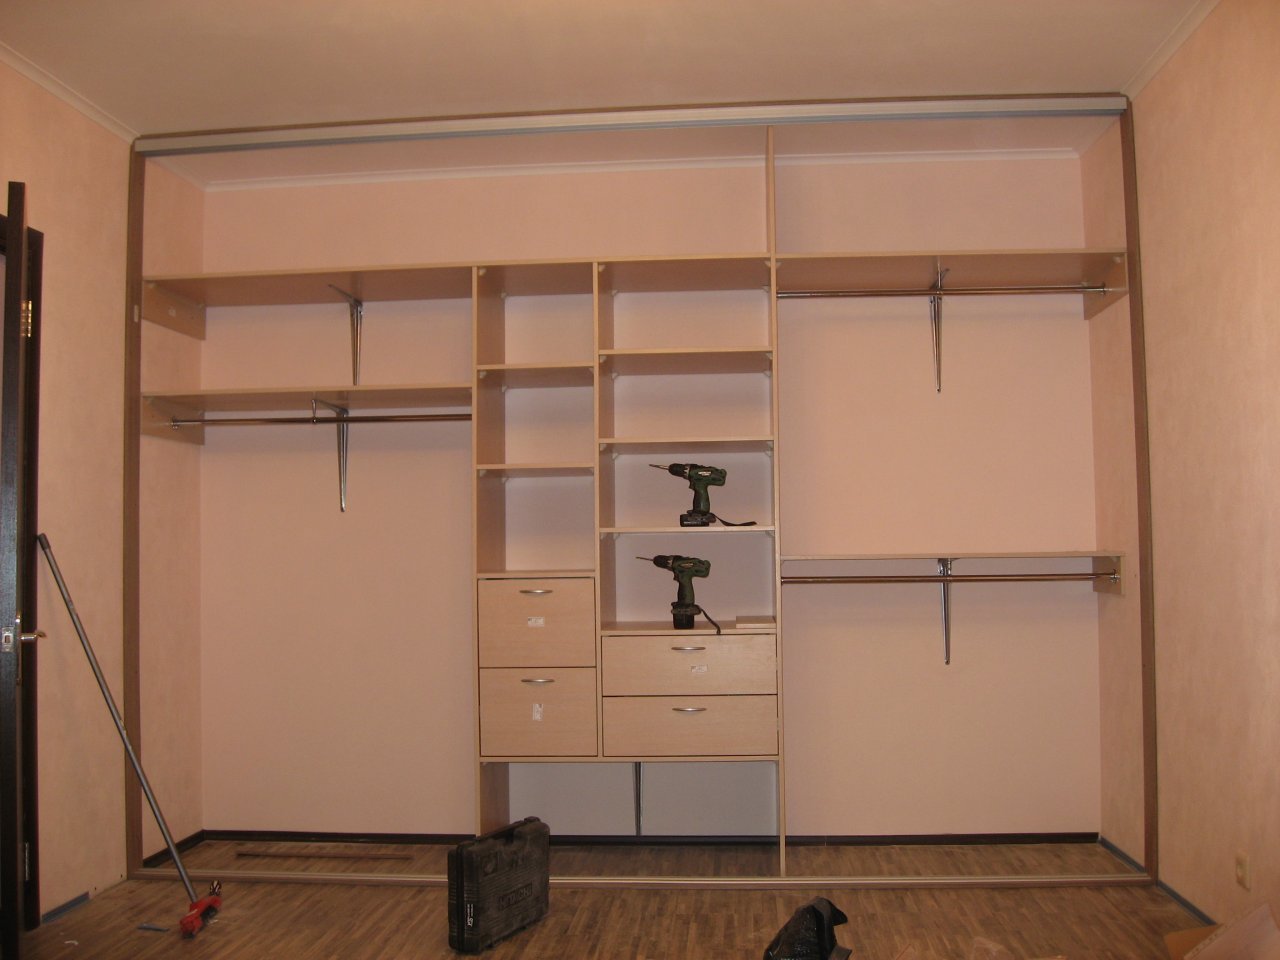
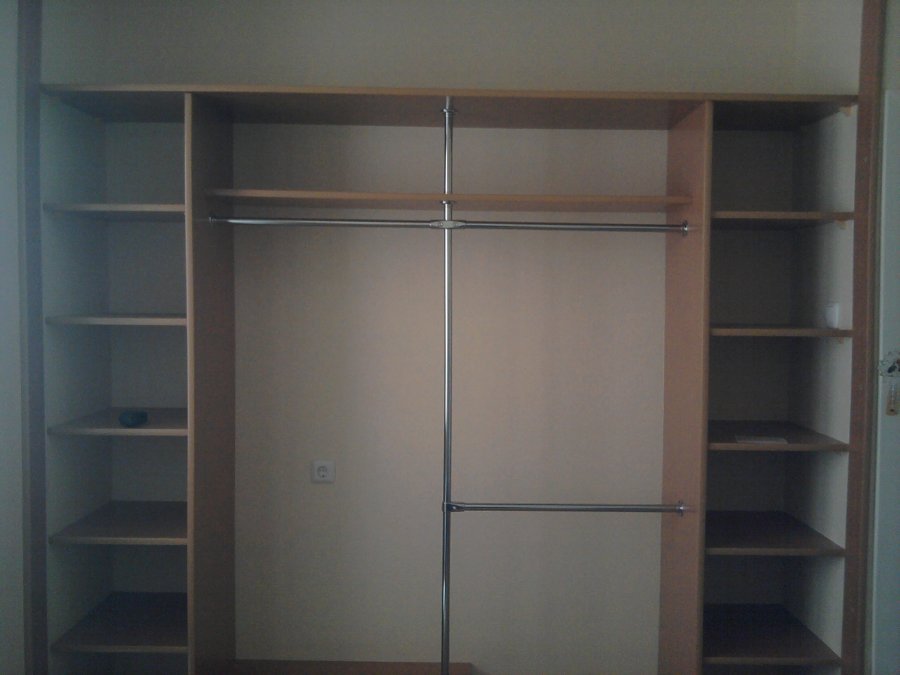
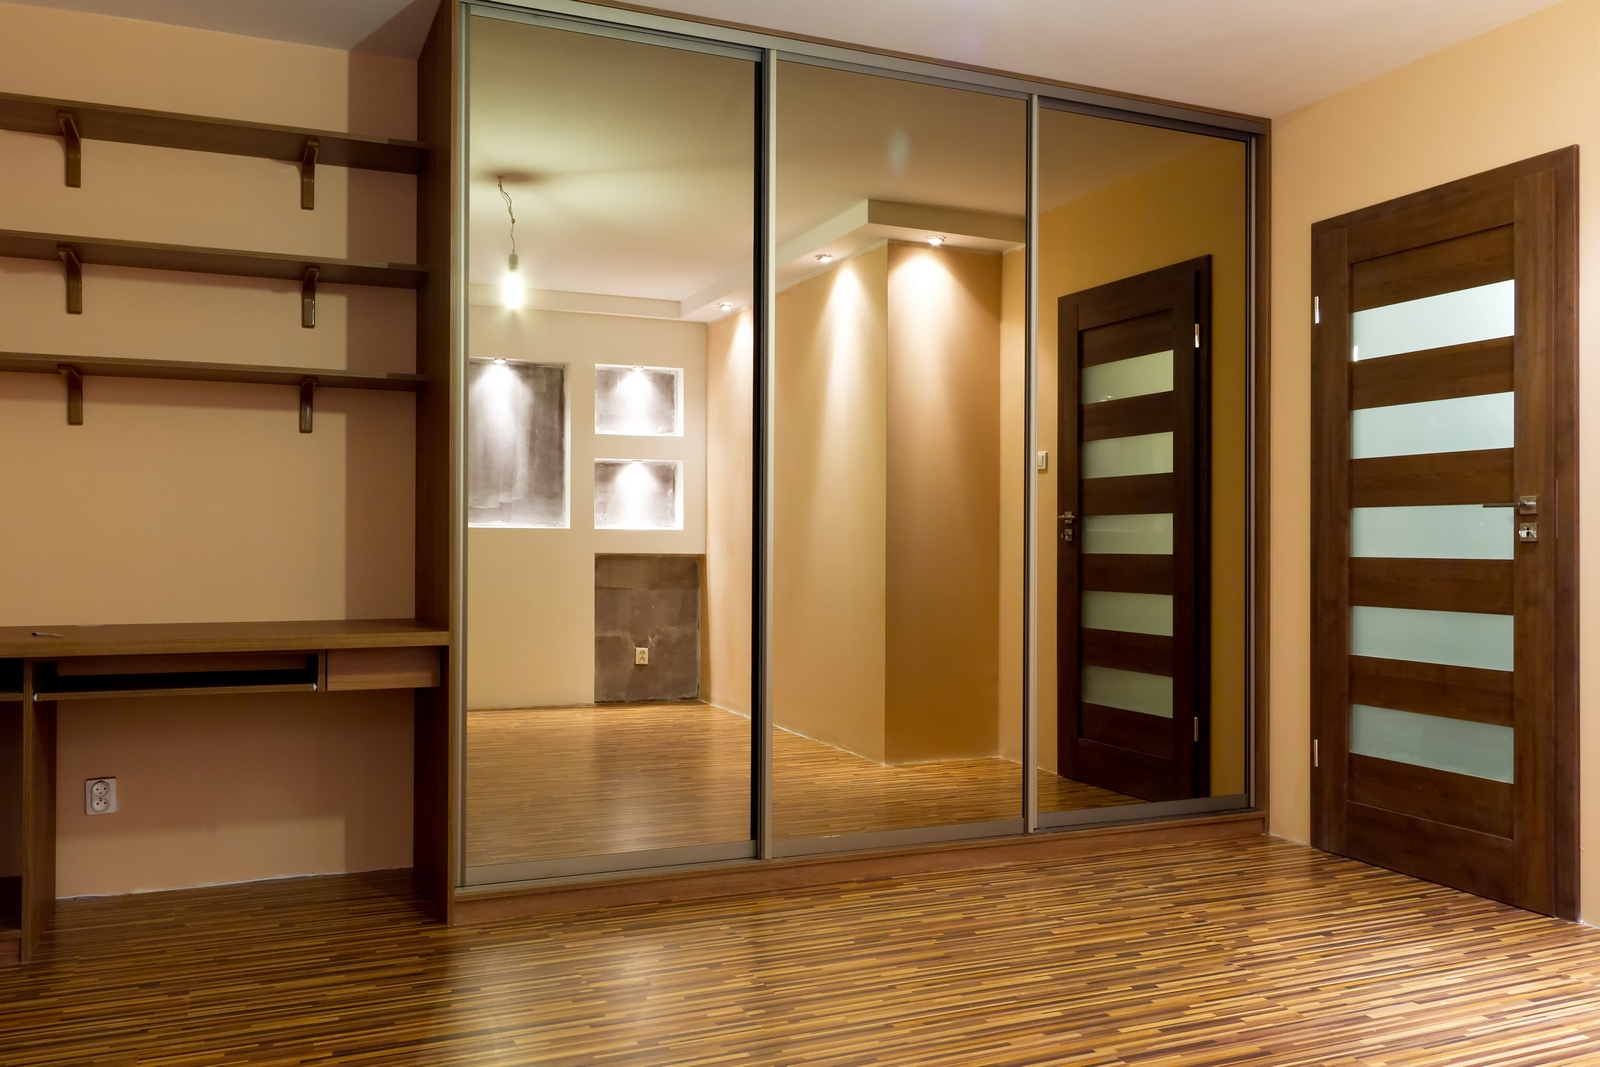
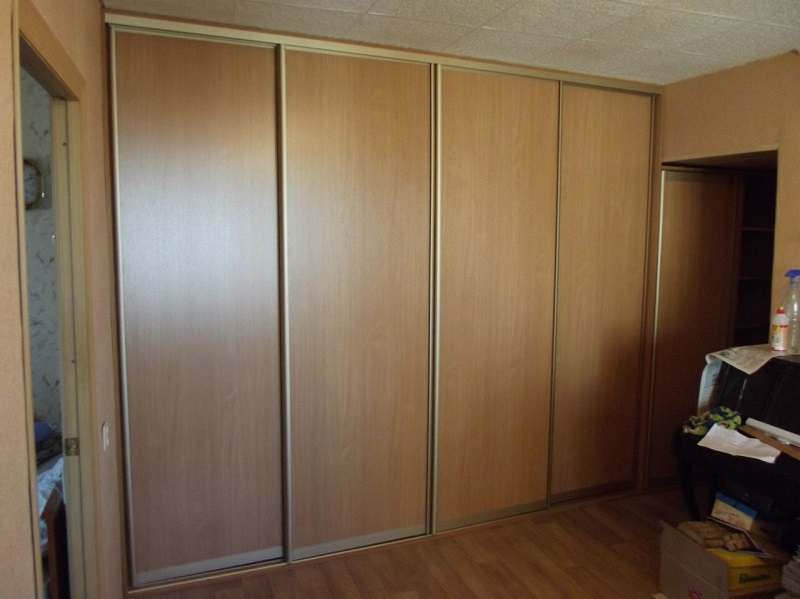
The sliding wardrobe is usually chosen with an eye to its subsequent placement. One of the most popular places to install is a niche (if there is one indoors). A straight wardrobe - both corpus and built-in - installed in a niche is a real find, for example, in the hallway, where roominess in a limited space plays an important role. There are, of course, more dimensional models - some can be installed in the entire wall, thereby forming a common visual component of the interior.
Do it yourself
The wardrobe can be assembled and installed independently, this task is quite within the power of the average handicraft master, you can even make it from your own pantry. This approach will save money and get the model that most closely matches the individual request. However, in self-assembly it is best to focus on the direct type model - they are the simplest in construction and installation.
Advantages and disadvantages
- Spaciousness.One of the most significant useful qualities. Practicality and a large space for the location of all necessary allow such cabinets to perfectly cope with their original task - the storage of things.
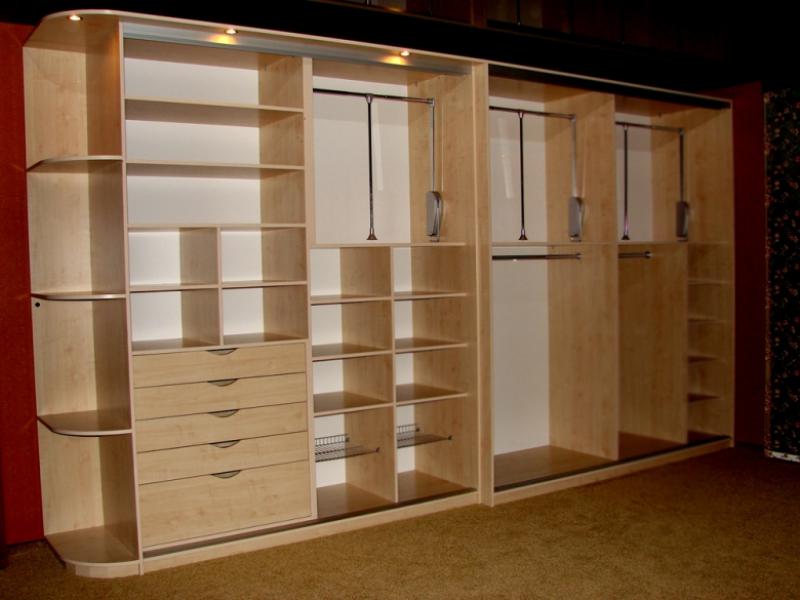
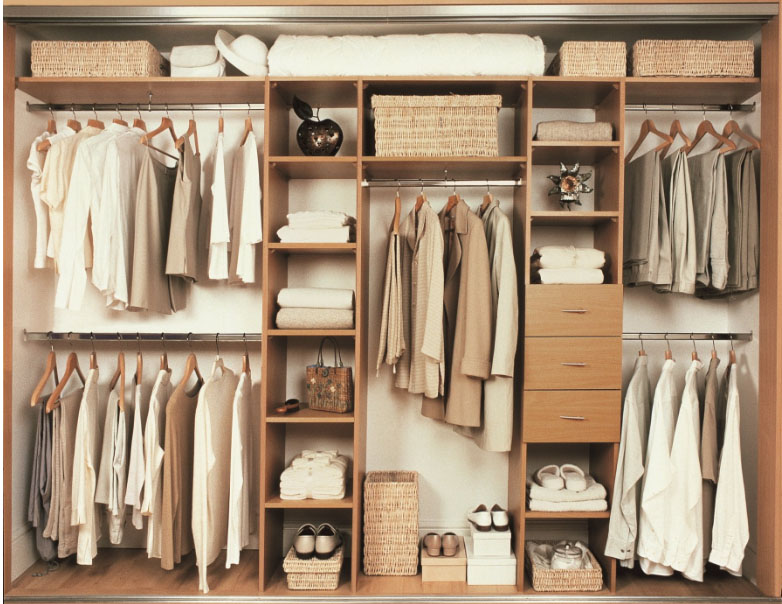
- Functionality. The internal structure of most models assumes the presence of several compartments, shelves and drawers. This is undoubtedly convenient, as it makes the cabinet suitable for housing a wide variety of items.
- Reliability. In fact, the only weak point in the design of the wardrobe is the door. But even this sliding construction, consisting directly of the doors themselves, the wheels and guides, does not need special care - it is enough just to check its condition from time to time. But when self-assembly on these items should pay special attention. Well-chosen, they can last long enough.
- Versatility. The sliding wardrobe is no longer considered solely as a practical option that allows to save square meters and is intended for installation in the hallway. On the contrary, the place for it is in the interior of almost every modern apartment.Sliding wardrobes, depending on the shape, size and design, can be installed in the bedroom, in the living room, and in the office, and the huge range offered by the manufacturers will allow to satisfy any requests.
Assembling it at home is by no means something fantastic. Moreover, a self-assembled cabinet will fully meet the characteristics of the room and personal requirements. The only alternative way to achieve the same result is an individual order model in a furniture company, but it will cost the buyer a considerable amount of money.
The advantages of self-assembly
Choice
This applies to both design and form, materials and in general each element of the future cabinet: with self-assembly, you can personalize everything.
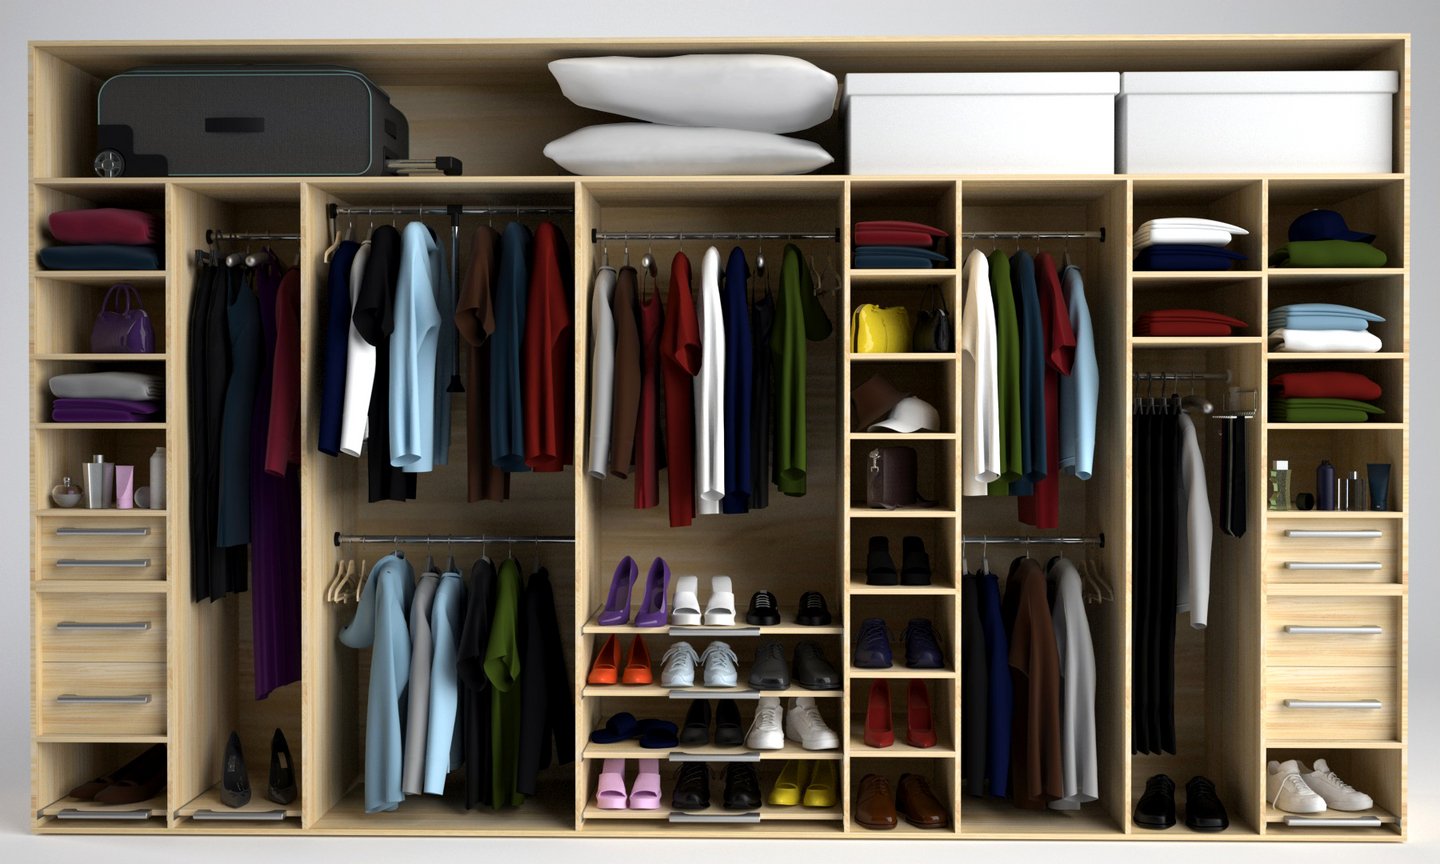
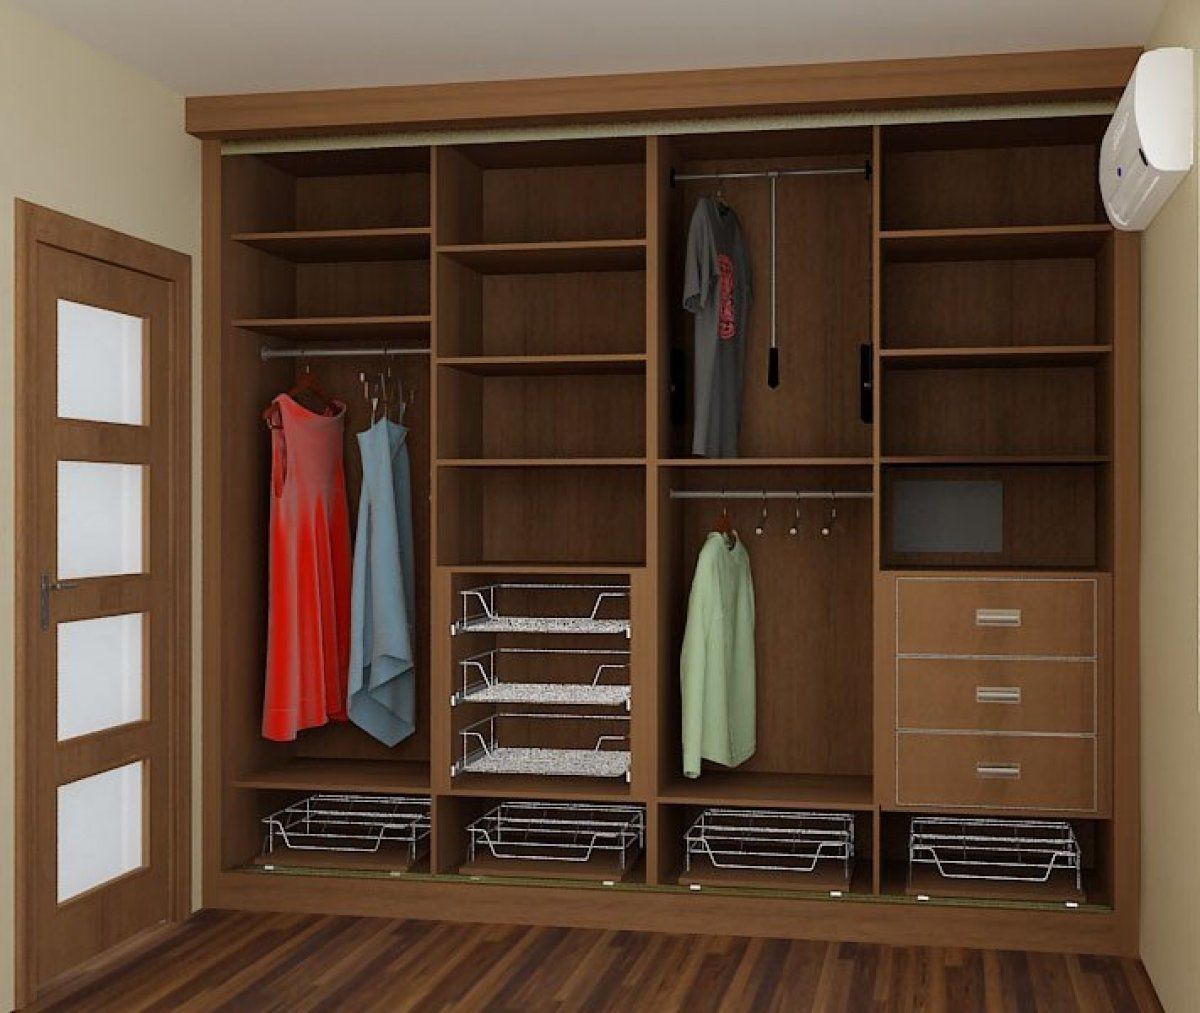
Individual layout
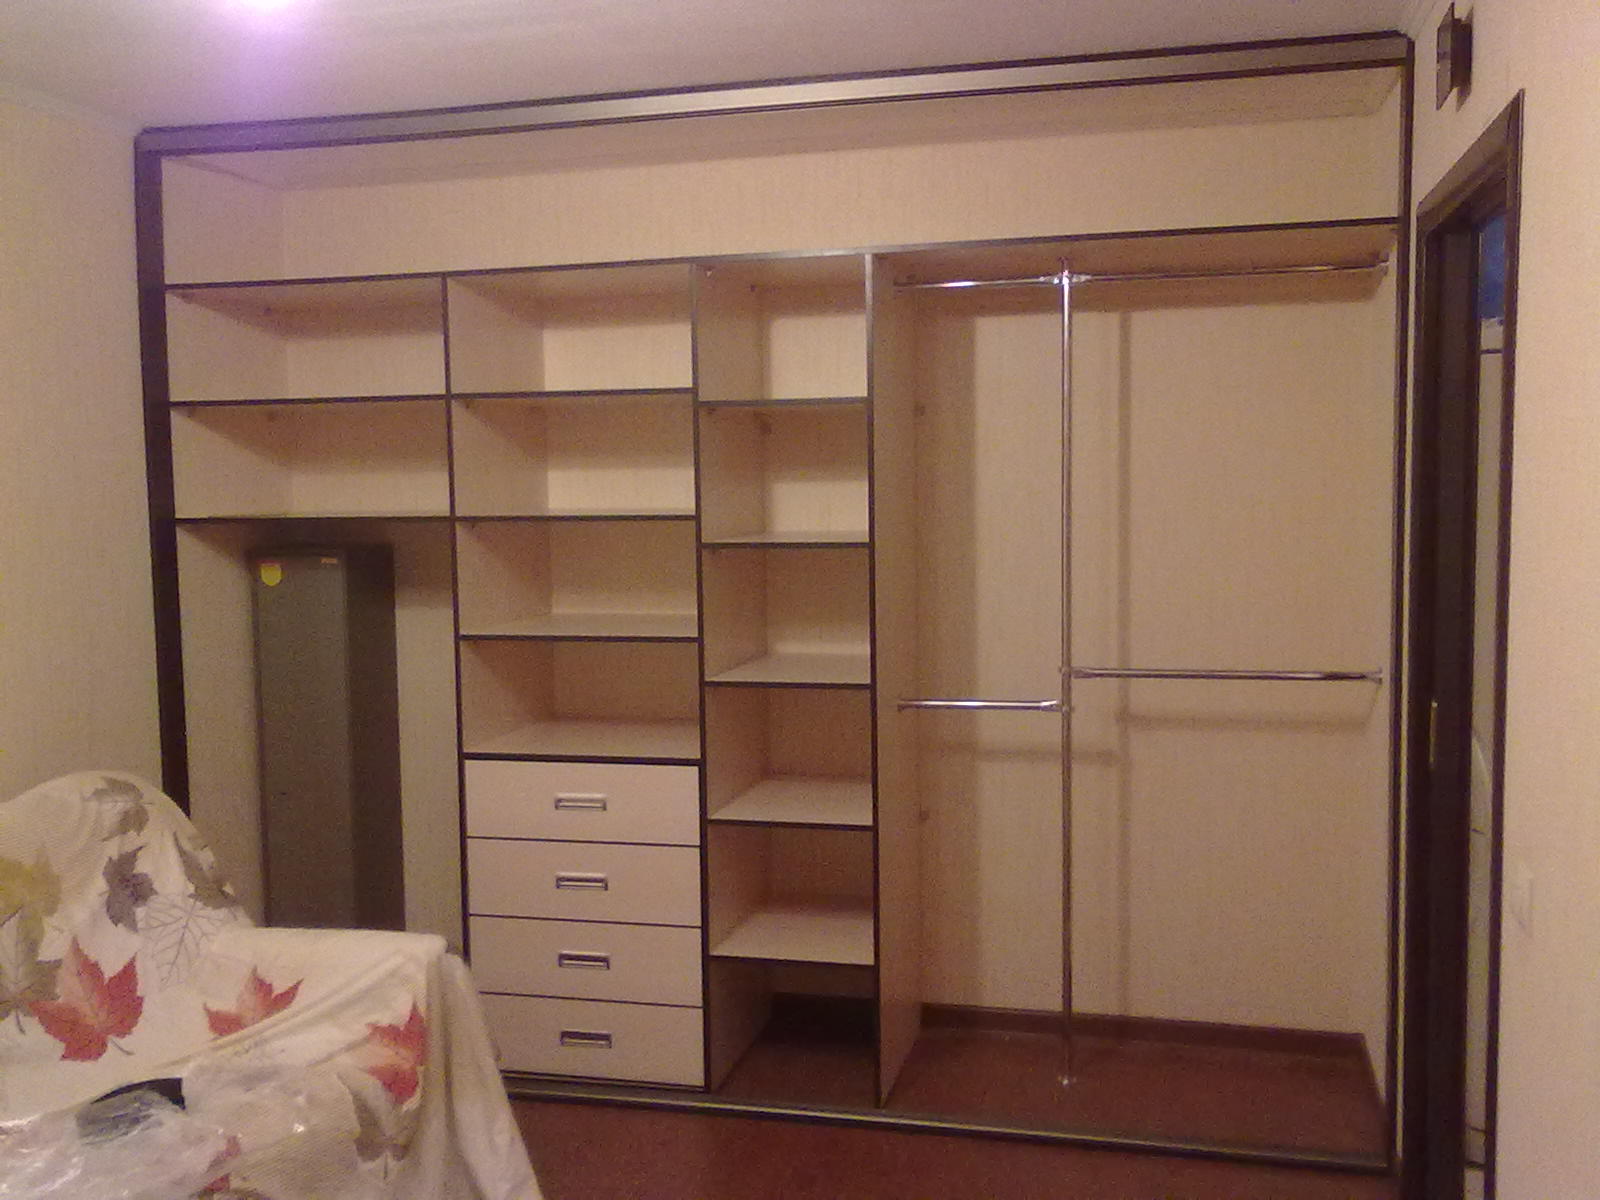
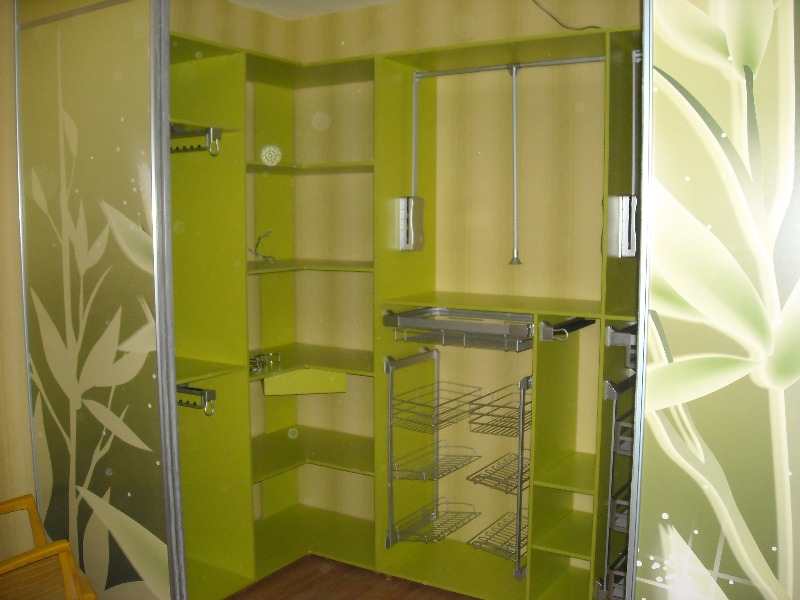
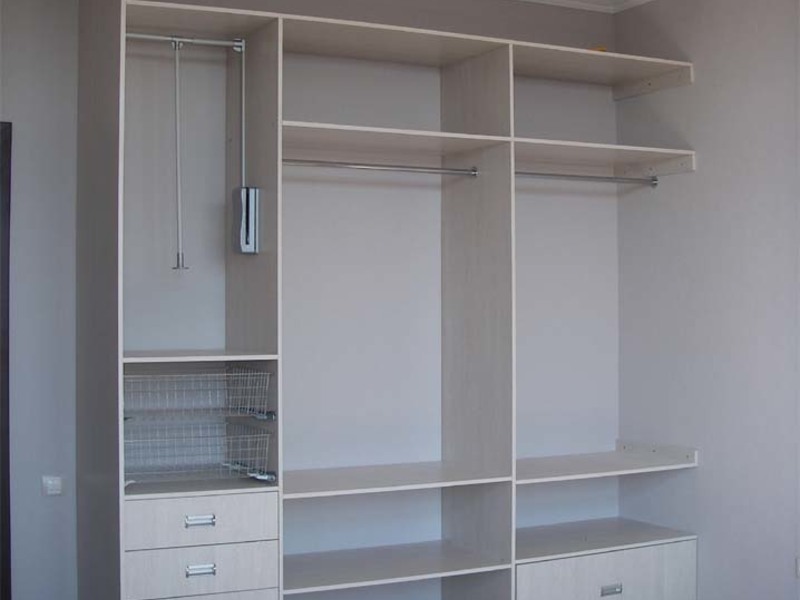
The internal filling of the cabinet is determined independently. The number of compartments, drawers, the presence or absence of rods and / or retractable hangers for clothing is selected in accordance with individual requirements.
Despite the widest range of models presented in the furniture market,It is not always possible to find the perfect option that fully meets the requirements. Self-assembly solves this problem.

The ability to take into account the features of the room / hide flaws
Unevenness of the walls, sticking out of communication, non-standard niche - all these features are taken into account when drawing up an individual project and allow more efficient use of the space of the room.
Cash savings
Obviously, the purchase of materials, self-assembly and installation will cost a lot less than the purchase of ready-made furniture or, especially, the manufacture of it to order.

So, self-assembly has its undeniable advantages. Despite this, there are certain difficulties that may arise in the process of work and complicate it.

In order to understand these nuances in detail, it is necessary to study the design of the wardrobe. You can create a unique individual project, which will be able to collect the original model. A good help can be programs that allow you to create a virtual layout of the future cabinet - for example, “Pro100” or “Basis-furniture maker”.
When the necessary type of model is chosen, measurements are made and the project is made, it is necessary to proceed to the choice of materials.


Materials and tools
Wood and lining
Wood is a traditional material used in the manufacture of furniture. Noble, durable and reliable ... Ideal? Far from it.

The tree is sensitive to moisture. If the wardrobe is installed in a niche (and it is very widespread), then when you open the doors, there is a difference in humidity levels, which is extremely negative for wood. If it was decided, nevertheless, to make a cabinet of wood, then the material should be thoroughly processed.

The wall paneling does not require special treatment, but the door frames should still be made of wood. At the same time, wood for them requires very careful preparation and is still sensitive to changes in humidity.
Drywall
Easy to use, but extremely fragile material. The difficulty in making a wardrobe made of plasterboard is the need to install a metal support structure: it is a laborious job, the result of which does not always meet expectations.Plasterboard itself cannot be used as a supporting structure. It is impossible to say unequivocally that the GCR is definitely a losing option for use as a material for the wardrobe, but its use is advisable only in individual cases.
Laminate, MDF, fiberboard
For the manufacture of wardrobes, these materials are considered the best for a number of reasons. First, they have the beneficial properties of wood, are durable and strong. Secondly, they are insensitive to changes in humidity, unlike wood. However, it is important to bear in mind that these materials tend to absorb moisture, so furniture made from them requires careful and careful handling.
Plywood and chipboard
It should also highlight products made of plywood and chipboard. The main difference between particleboard and fibreboard is the structure of the fiber itself. The advantage of a chipboard is an affordable price, but at the same time, this material does not hold the fasteners - screws and nails and is environmentally unsafe.
It is also possible to assemble a direct cabinet wardrobe from scrap materials - this minimizes costs - but it is better to invest in good materials to achieve the best quality.It is also not a good idea to make cabinet elements from old waste materials. After that, it is necessary to purchase components for the doors: guides, vertical pillars that serve as handles, a set of wheel rollers and door locks.
Doors can be made from furniture panels. They are usually made from high-quality wood species and are widely sold in online stores.
The necessary tools for the manufacture of wardrobes include a hacksaw, screwdriver, knife, shovel, spatulas, ironing and measuring devices: level (plumb), square, roulette. This is a basic kit for the assembly and installation of furniture.
How to do it yourself: step by step instructions
What is the advantage of a homemade closet to ready-made, explained in the previous sections. Now we will talk directly about the assembly process itself.
First stage: design
As mentioned above, at this stage it is necessary to make measurements and make a visual model of the future cabinet. You can make a normal drawing, but the best option would be a three-dimensional virtual model.
In parallel with this, measurements are made of the room into which the cabinet itself will be installed and all necessary calculations are carried out.The dimensions of the built-in cabinet must be calculated according to the size of the niche, after which the internal compartments are calculated.
Design is a very serious and important assembly stage. It is necessary to correctly calculate the dimensions of the room and to achieve the right balance with them of the dimensions of the future cabinet. If the assembly will be carried out on the floor, it is necessary to take into account a ten-centimeter margin between the top of the frame and the ceiling of the room; otherwise, the cabinet cannot be installed.
Among the finished projects you can find models of different sizes, but the average values are usually as follows: height - 2400 ml, depth 40-45 cm, width - 1600 ml. In order to correctly calculate the dimensions, it is necessary to determine the purpose of the cabinet: which items will be stored in it? Based on this, you need to make calculations.
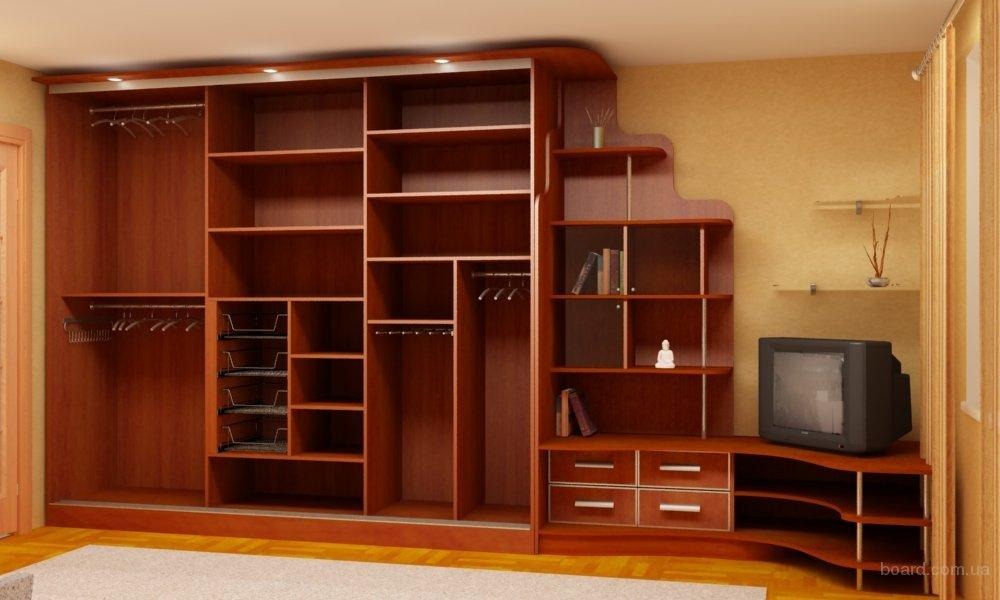
The internal filling of the cabinet also depends on the size. For example, a standard depth value suitable for installing rods is 50 centimeters; For narrower models, it is advisable to place retractable hangers.
Having determined the dimensions of the frame, compartments and shelves, you need to pay attention to the calculations of the size of the doors.They are made on the basis of the internal dimensions of the cabinet. For example, if the designed cabinet has a standard width of 1600 millimeters, and is made of chipboard 16 millimeters thick, then the width of the doors will be 1600-2 * 16 = 1568. The values for the height are calculated in the same way, only the socle should be taken into account.

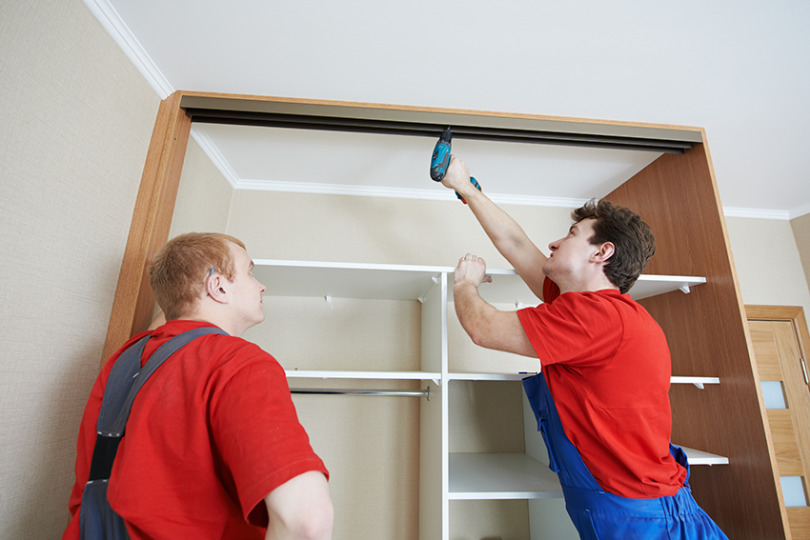
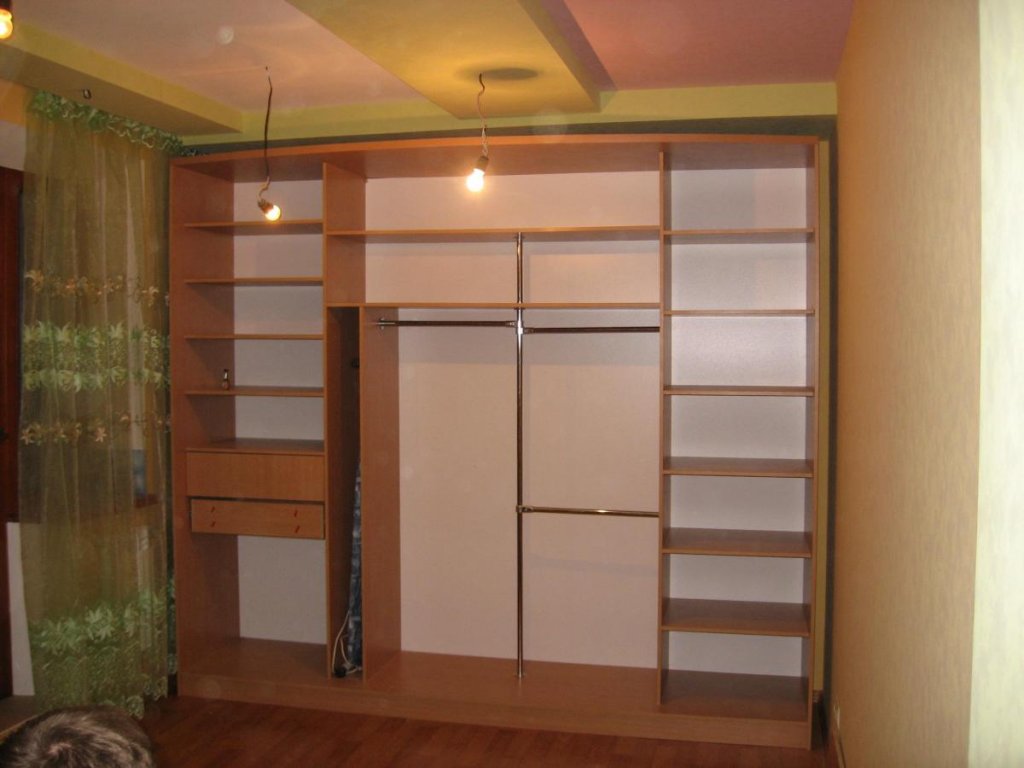
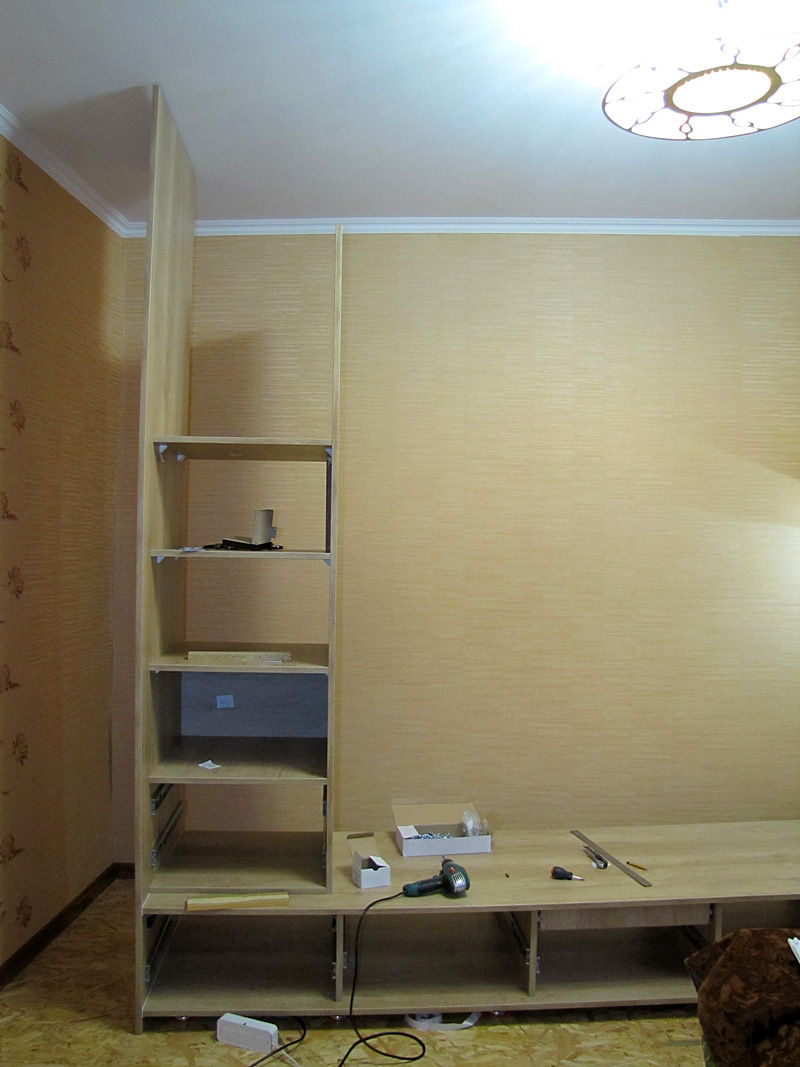
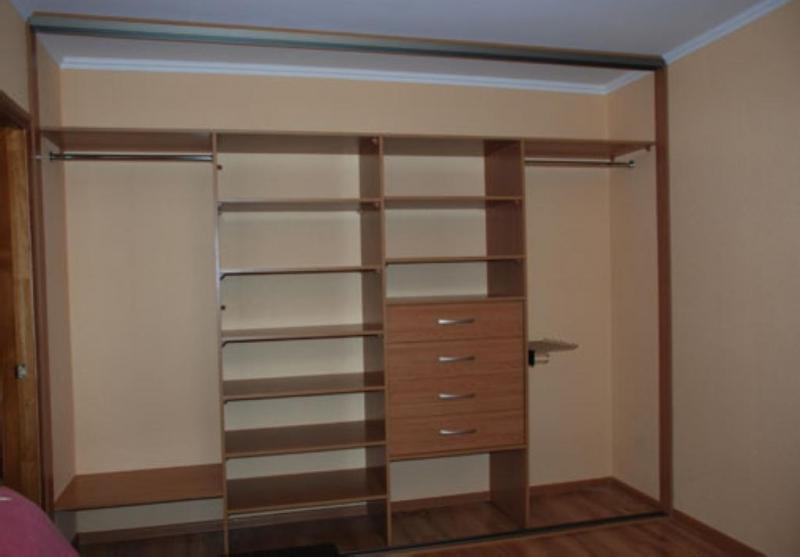
Stage Two: Frame Assembly
The first step is to assemble the frame of the future cabinet. To start going to the base, he is the podium. The bottom of the cabinet is laid out in such a way that a uniform load is applied to the legs. The plinth is mounted with dowels. To ensure stability, it is necessary that it fits snugly to the back wall.
Then the side panels are assembled. The ends can be sanded so that they fit snugly to the back wall. In general, during assembly, sufficient attention should be paid to the reliability of the future cabinet. At this stage it is necessary to use a level to evenly place the side panels.
After that, shelves, drawers and other sliding elements are installed, rods are mounted, and the latter must be fixed first. When installing the boxes, first guides are mounted, then the response mechanisms, then the facades.

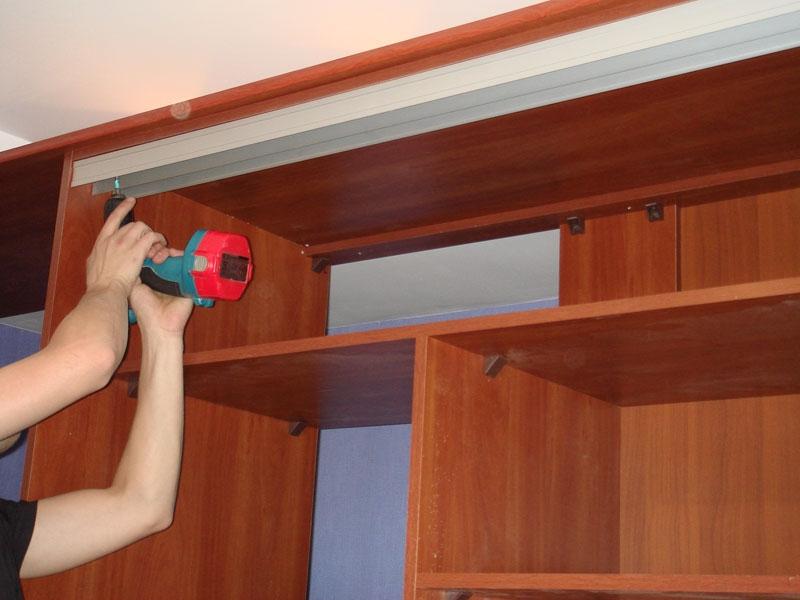
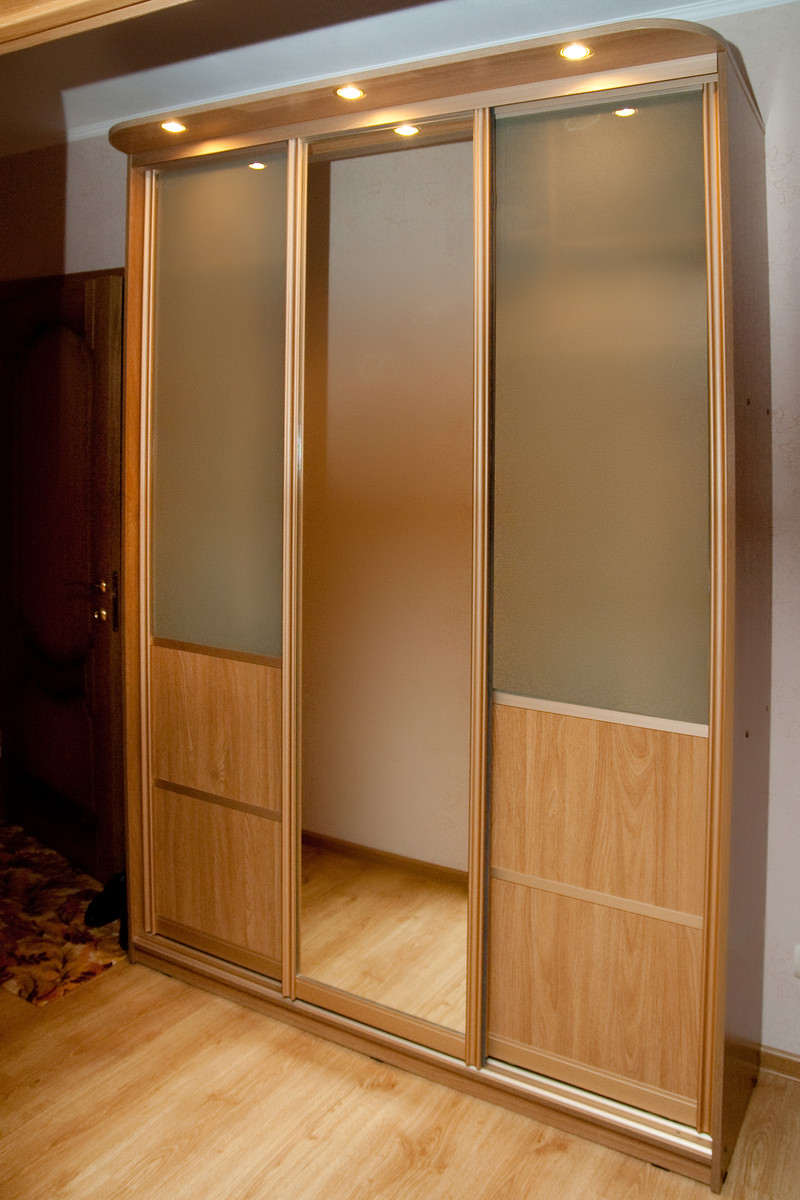
The third stage: the installation of doors
In principle, the doors can be made independently of wood or particle board, but it is better to order furniture panels.
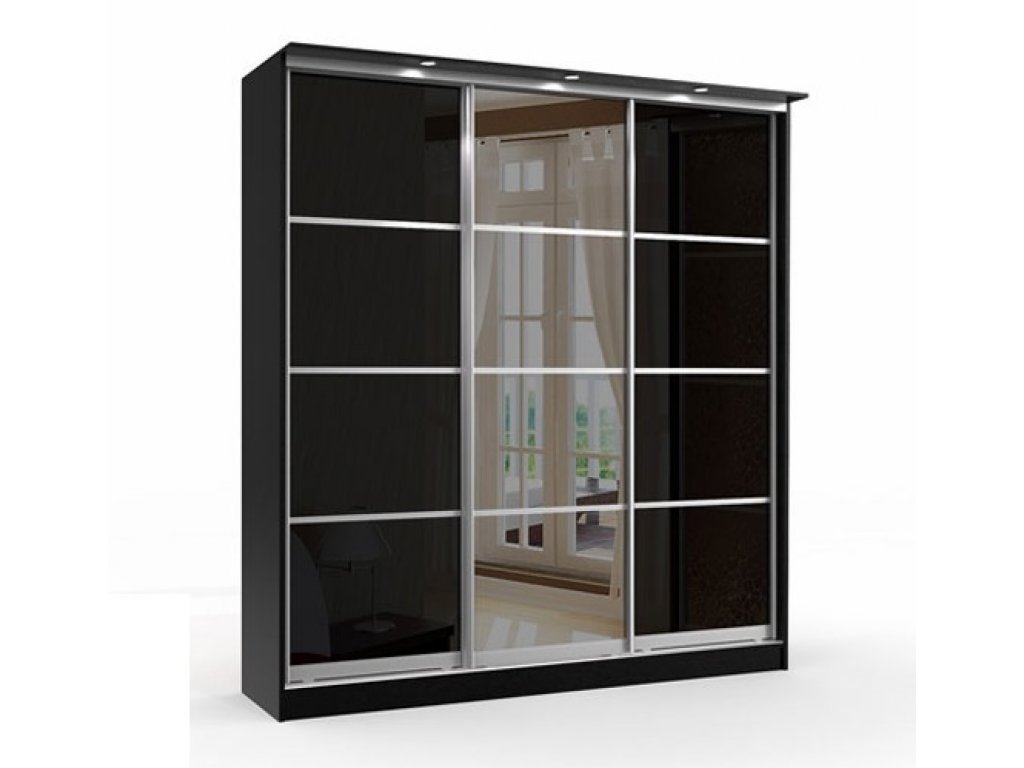
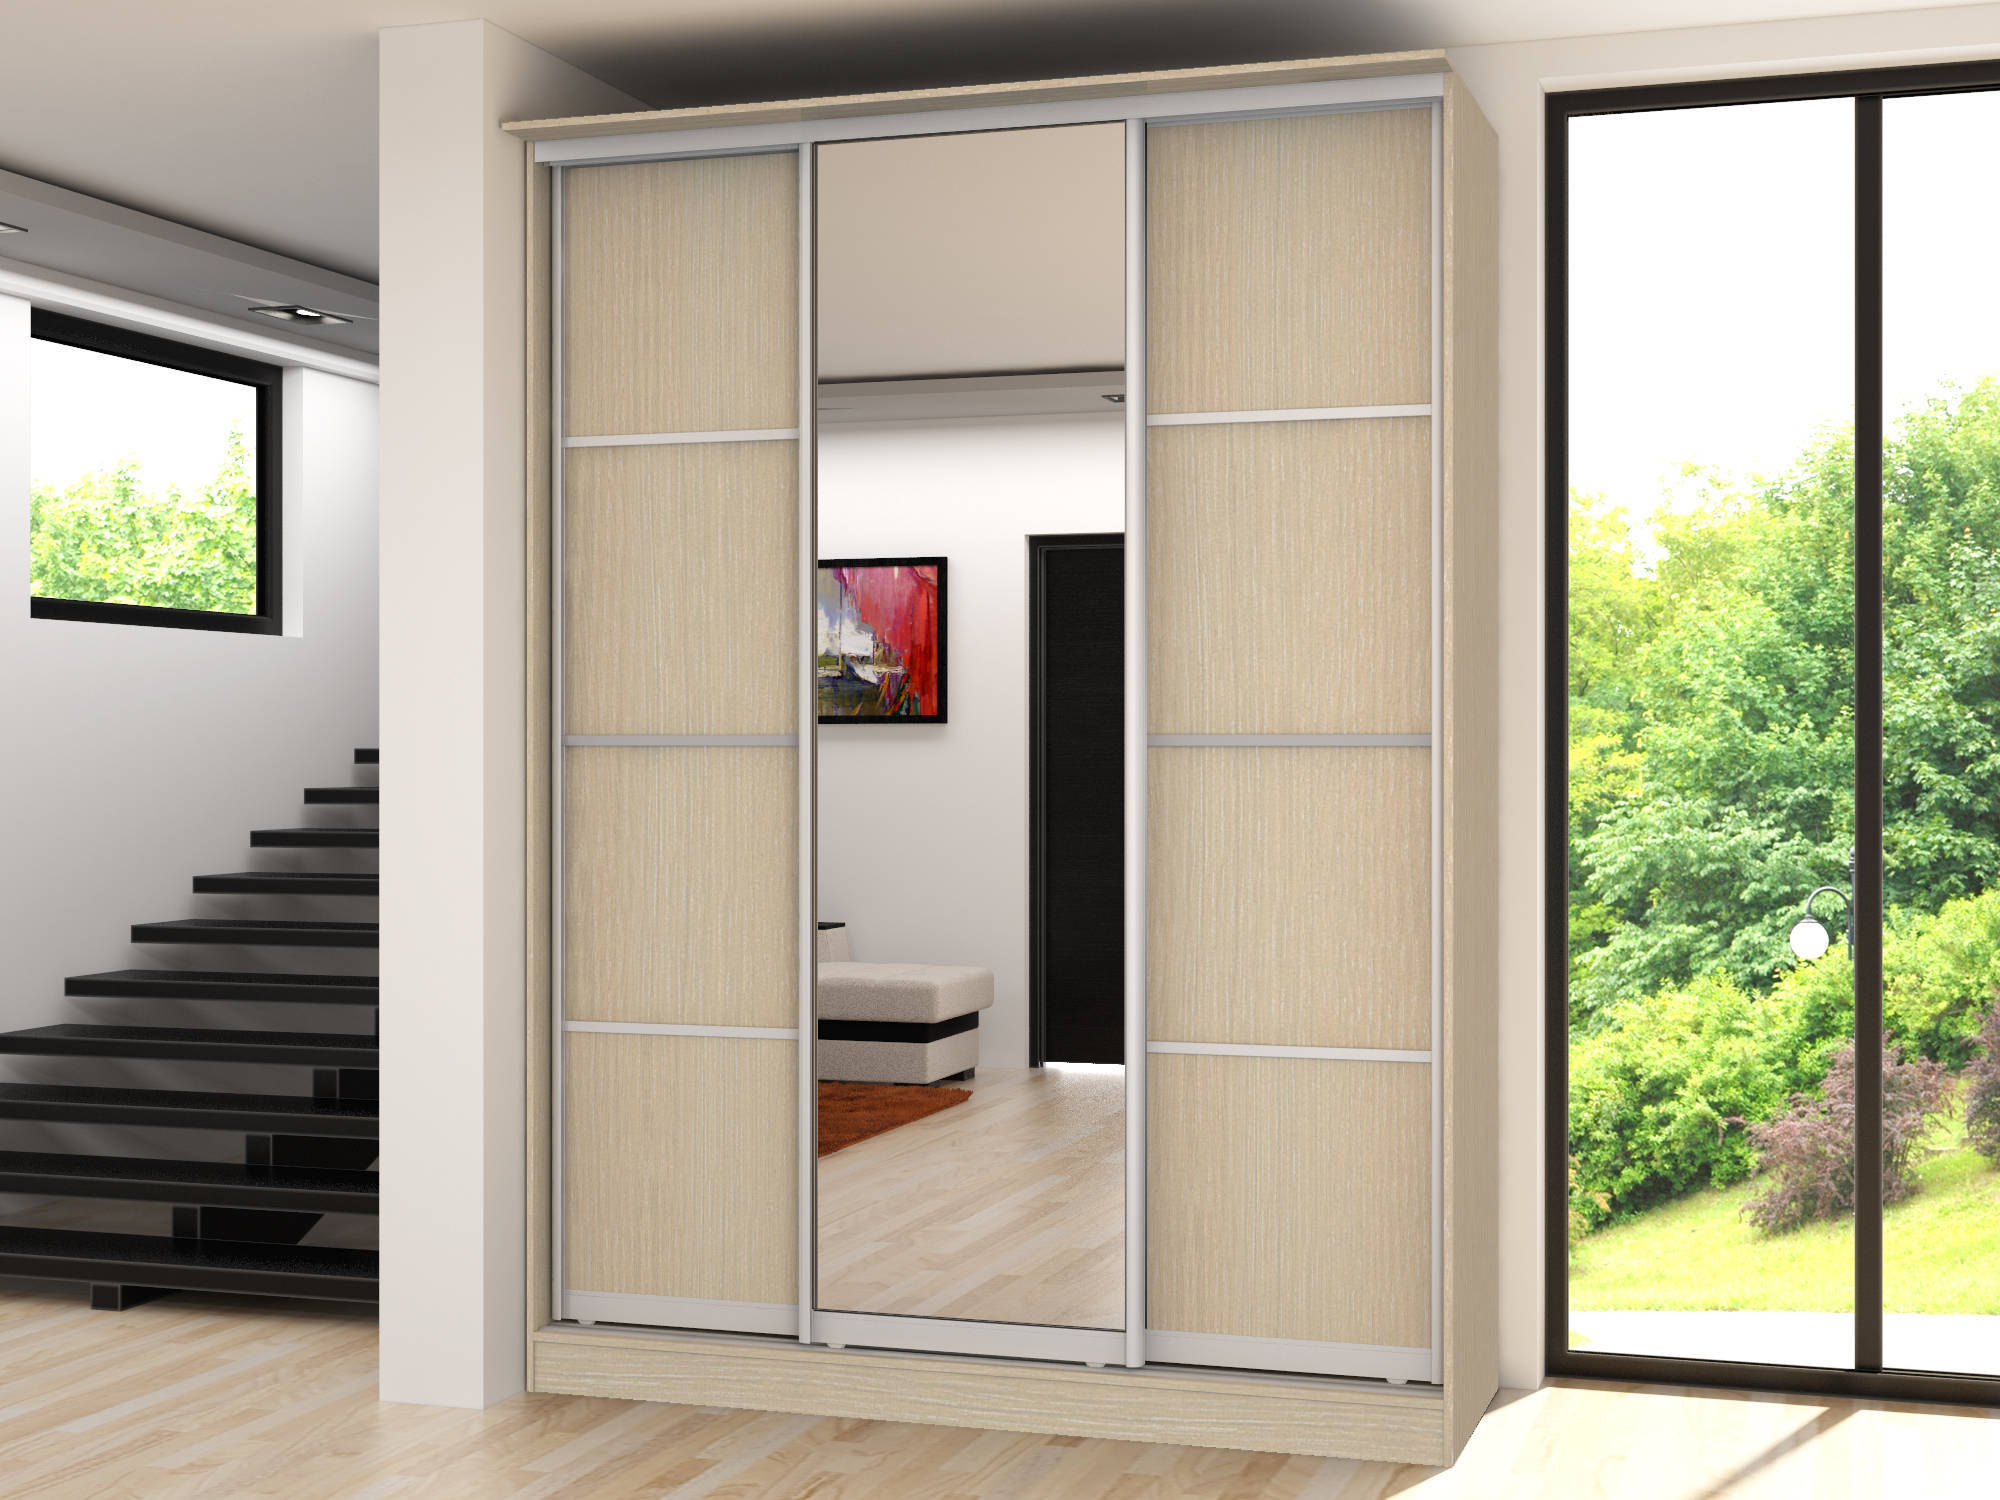
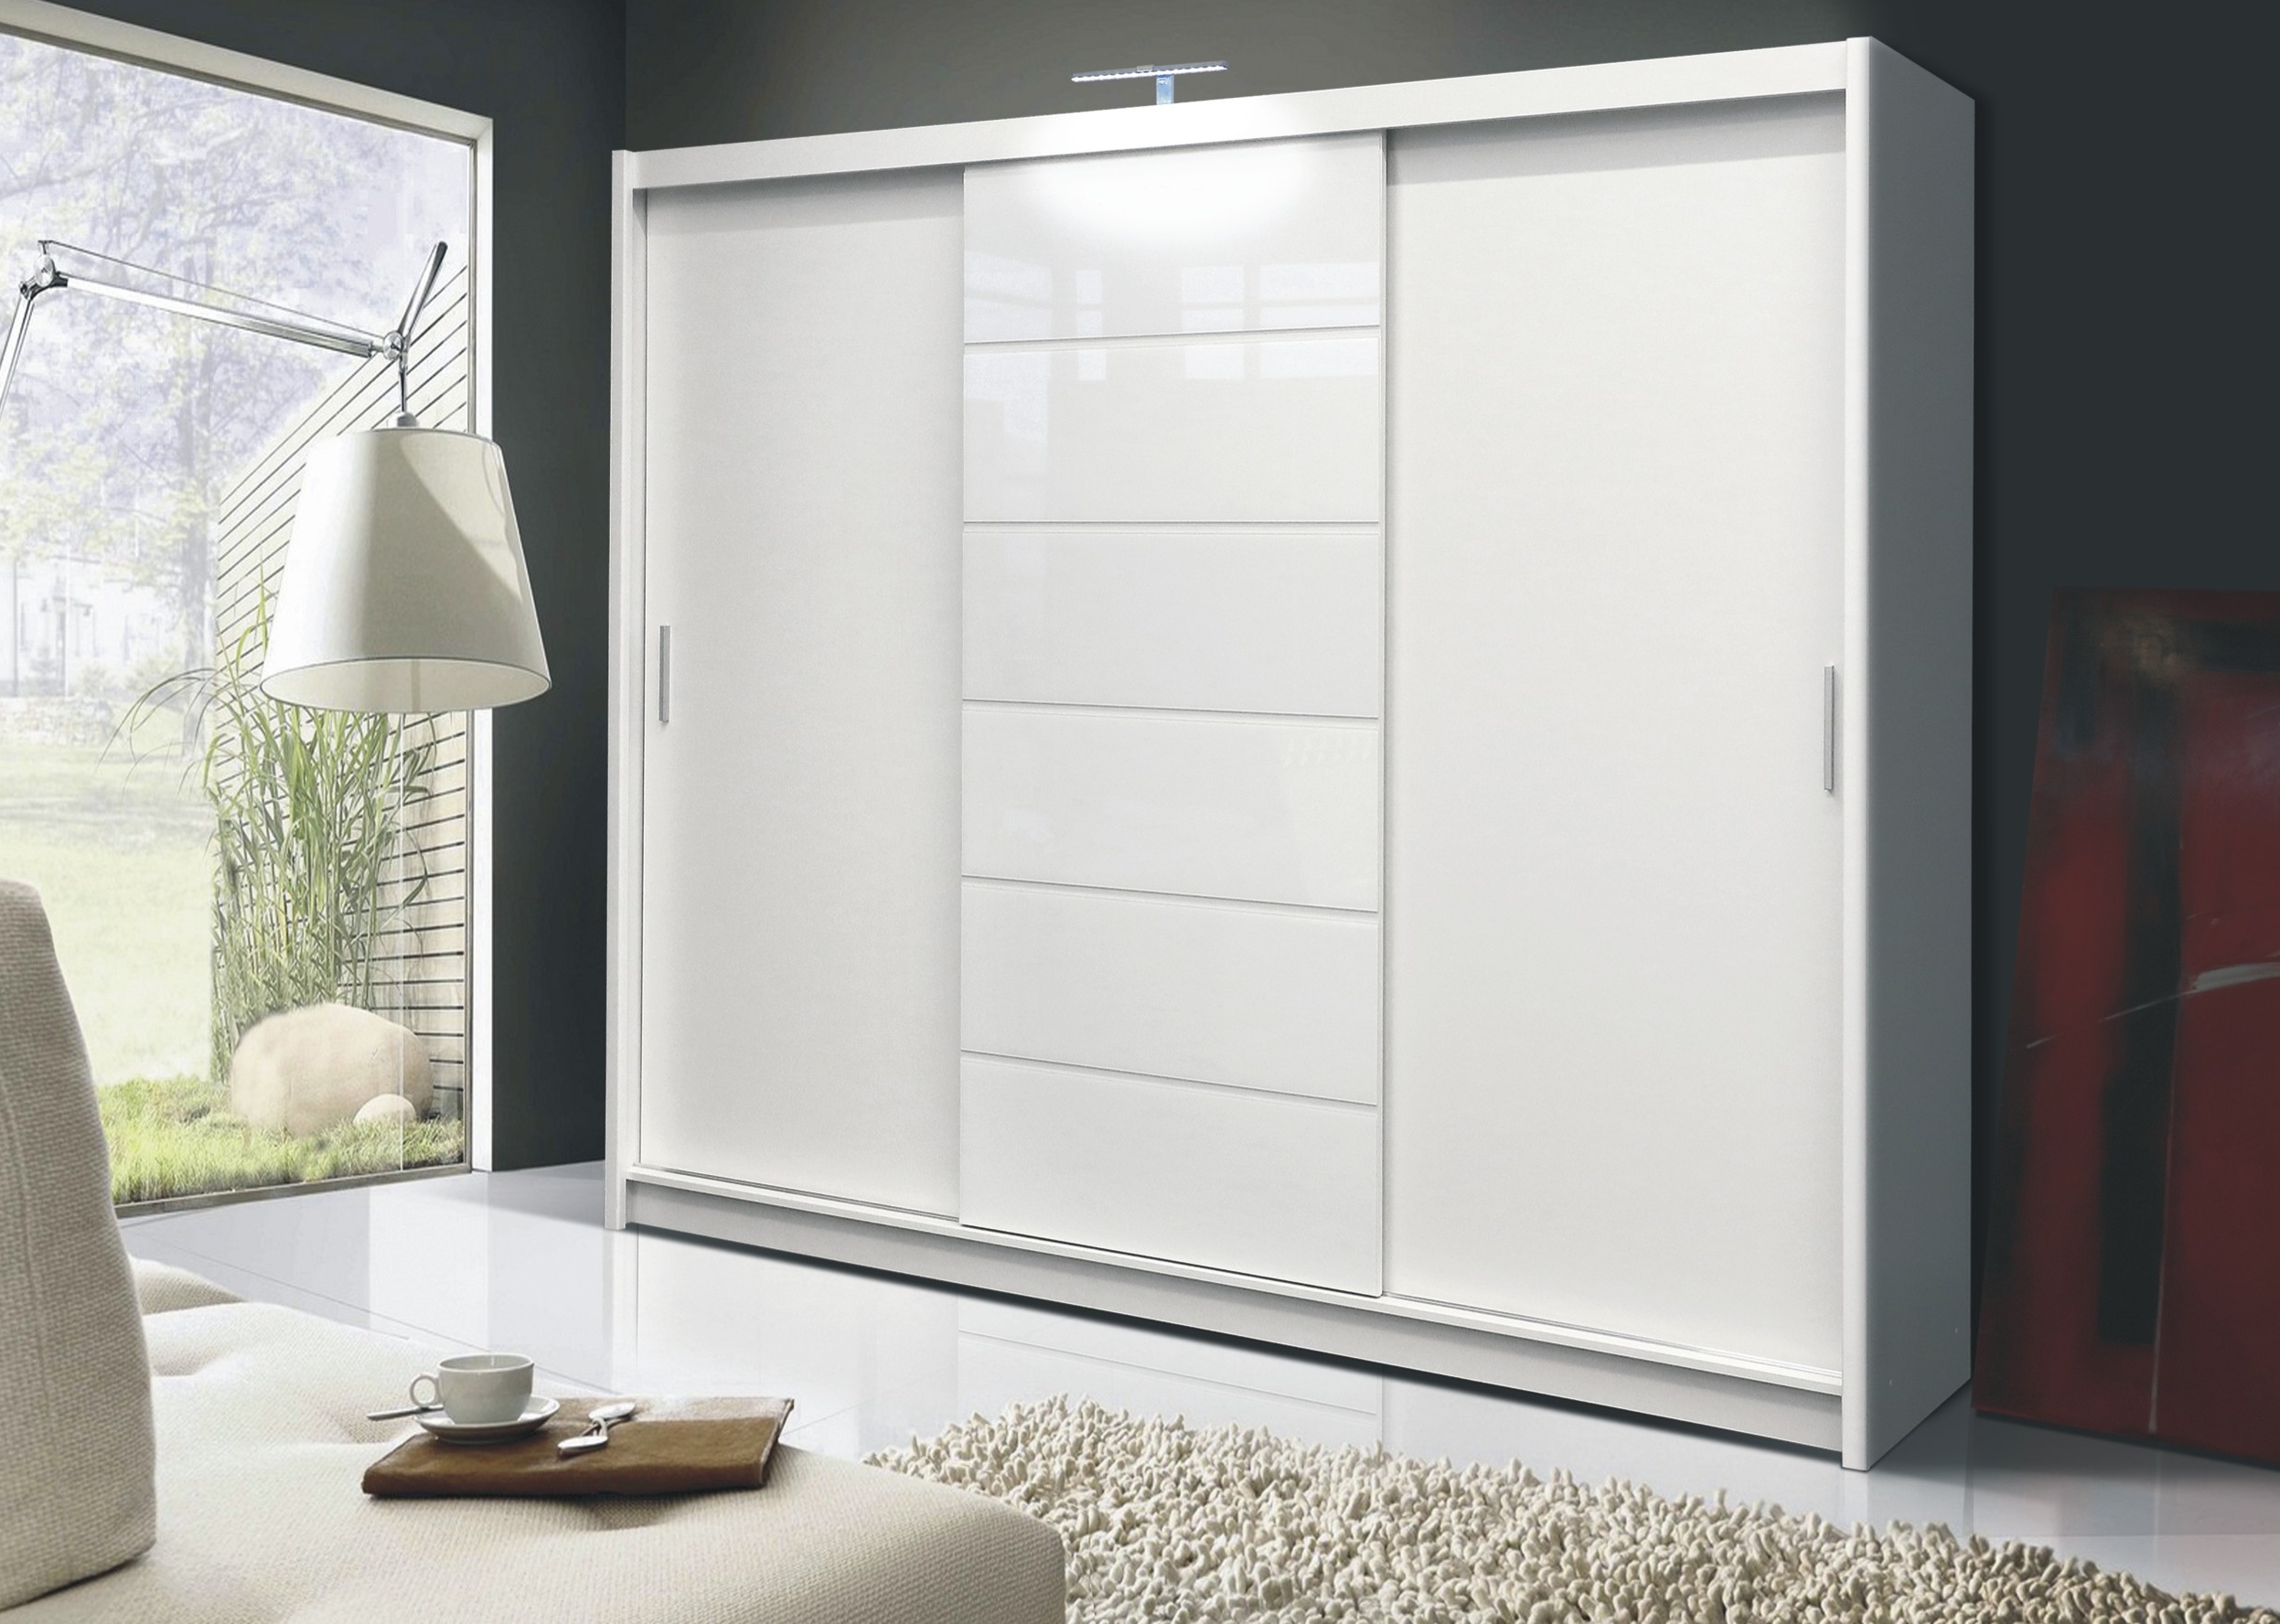
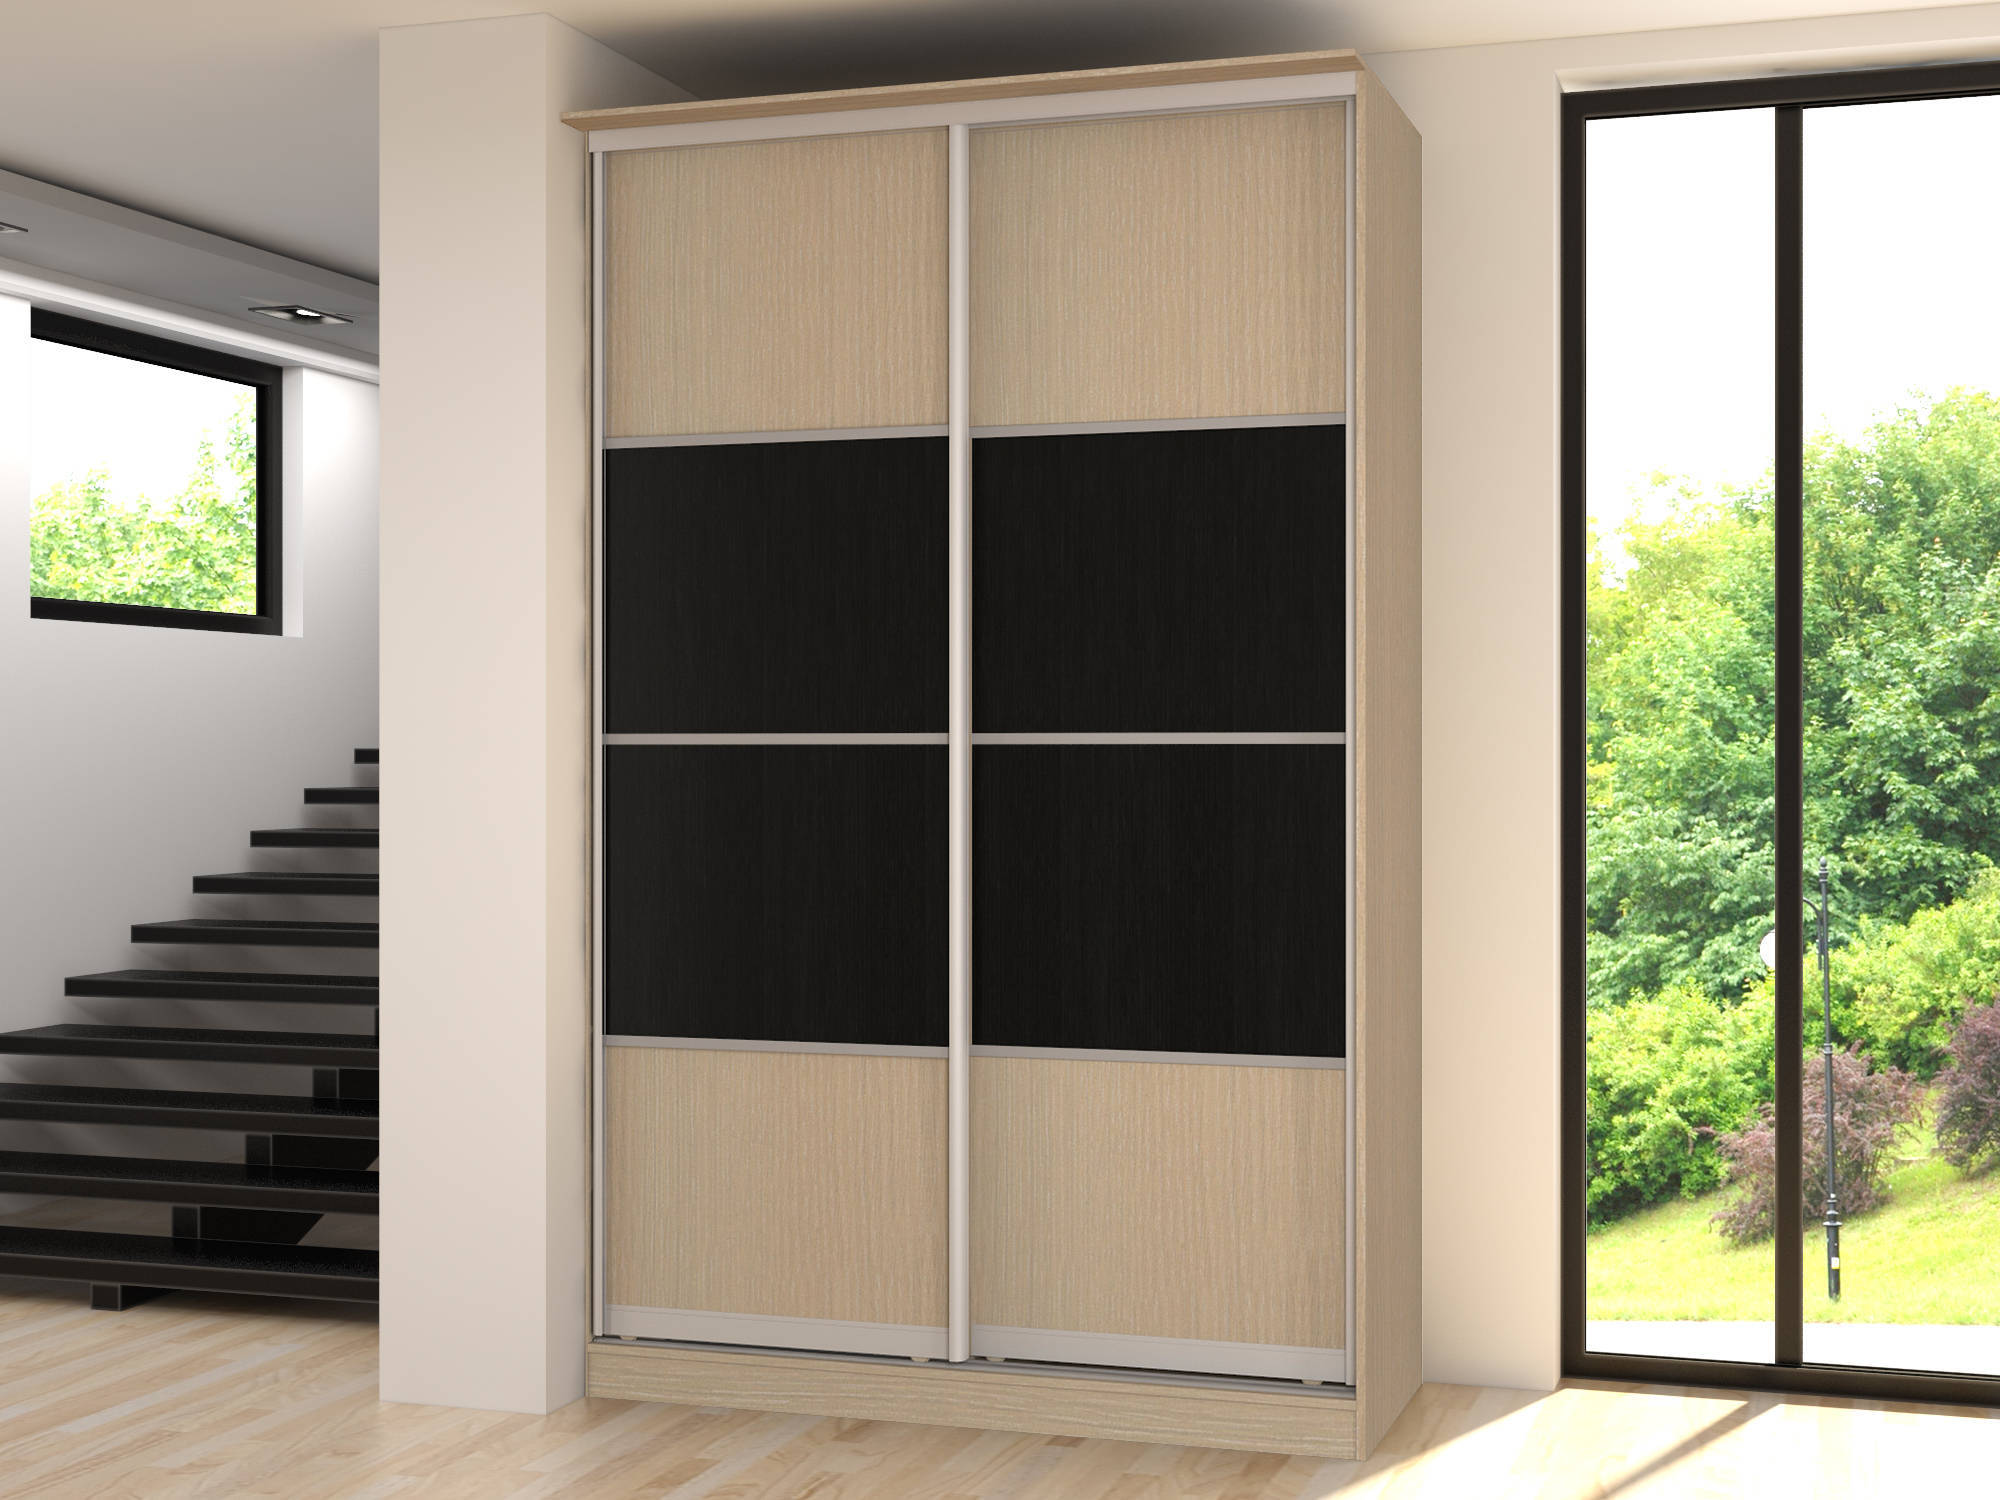
Door installation is a crucial and important step in which you need to take into account some of the nuances. In particular, the doors should not be too large and heavy. If the width turns out to be more than 700-800 millimeters, then it is necessary to consider the option of installing three doors instead of three, if possible, since too heavy doors create a heavy load on the guides, reducing their durability and making it difficult to move. The overlap of the doors is valid within 5-7 centimeters. Finally, you need to choose a door suspension system.
There are three common options:
- The bottom rail is the simplest, most convenient and reliable. The doors move strictly along the guides, without colliding with each other. Particular attention should be paid to the choice of quality wheels, since it is on them that the main load falls.
- The monorail involves the use of a separate guide for each door and two pairs of wheels in each carriage. However, despite the fact that the structure is attached to the ceiling, the use of the bottom rail is necessary in most cases.
- Upper rail.The severity of the door leaf rests on the guide, attached to the ceiling, which makes this method not the most reliable.
First, the guides are mounted, then the stoppers, then the wheels are adjusted and fixed. Everything, the door is installed!
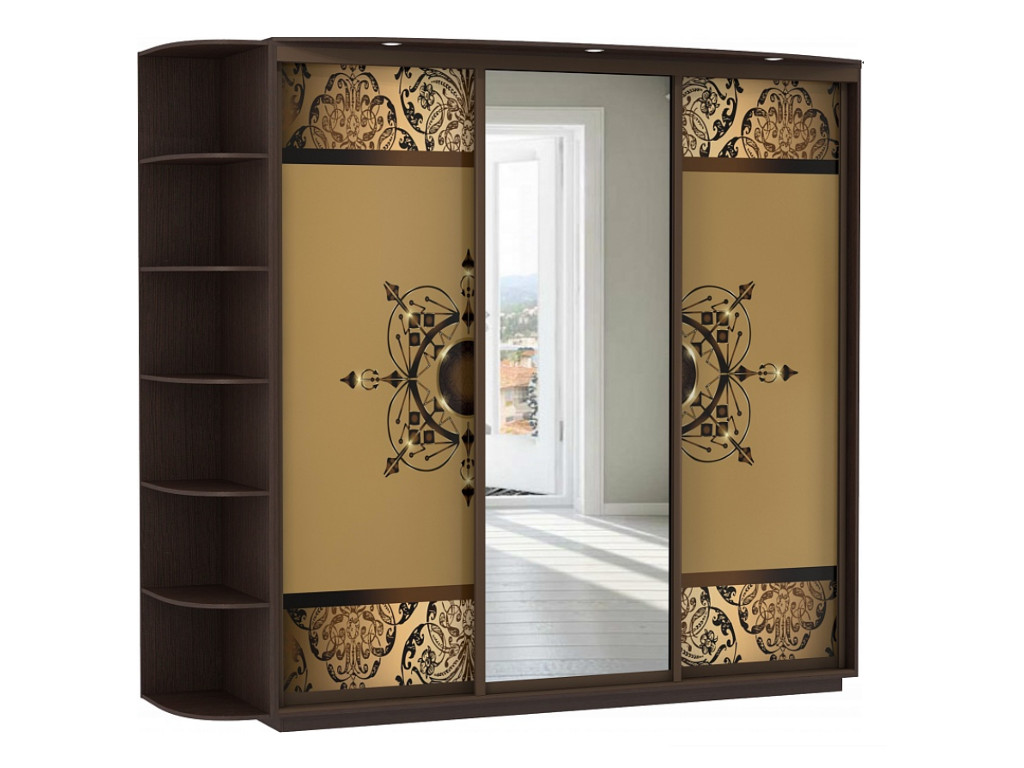
The final stage
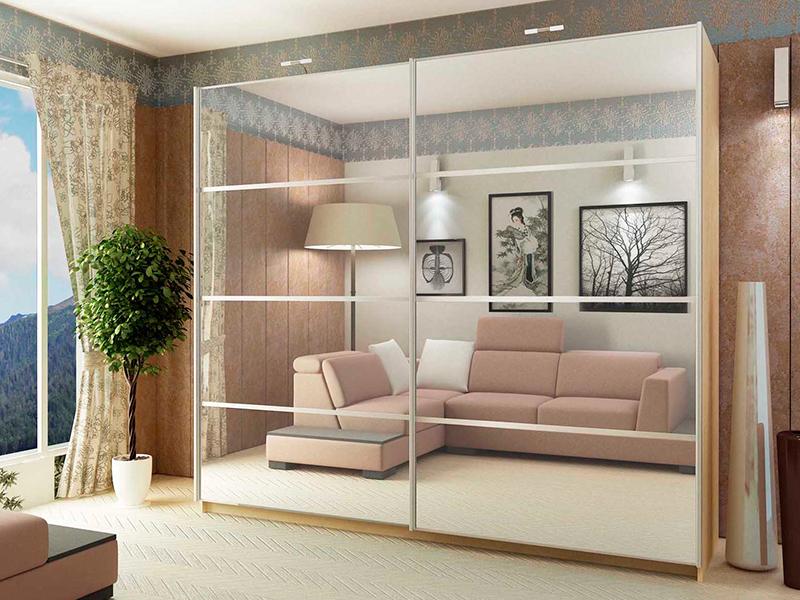
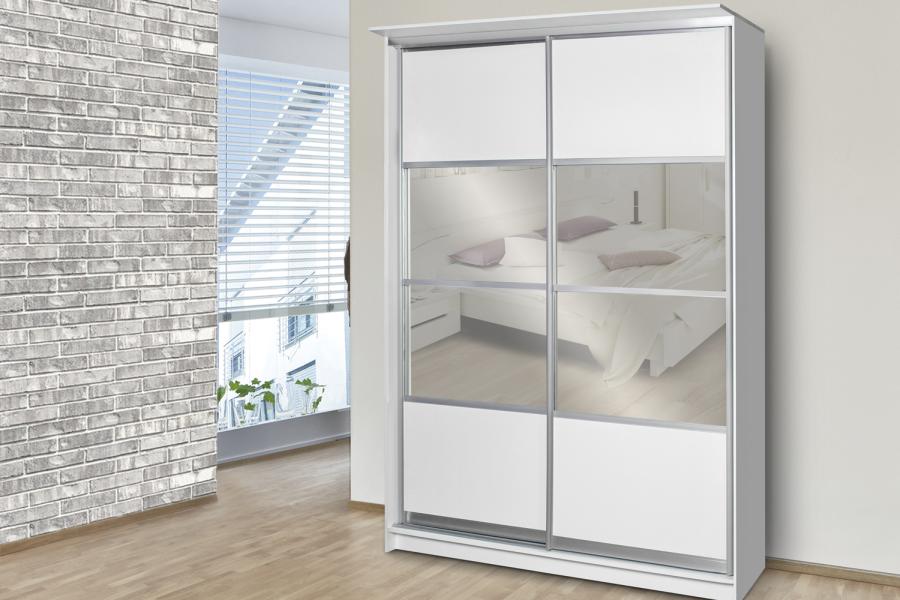
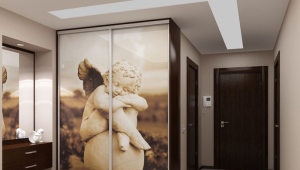
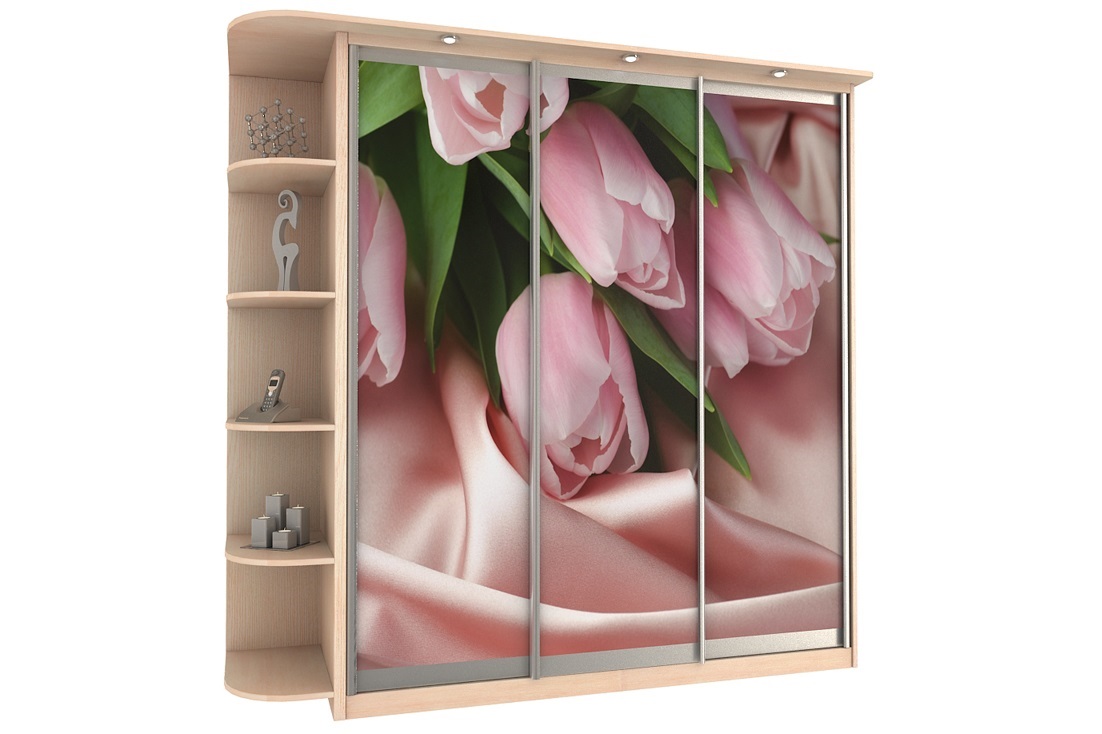
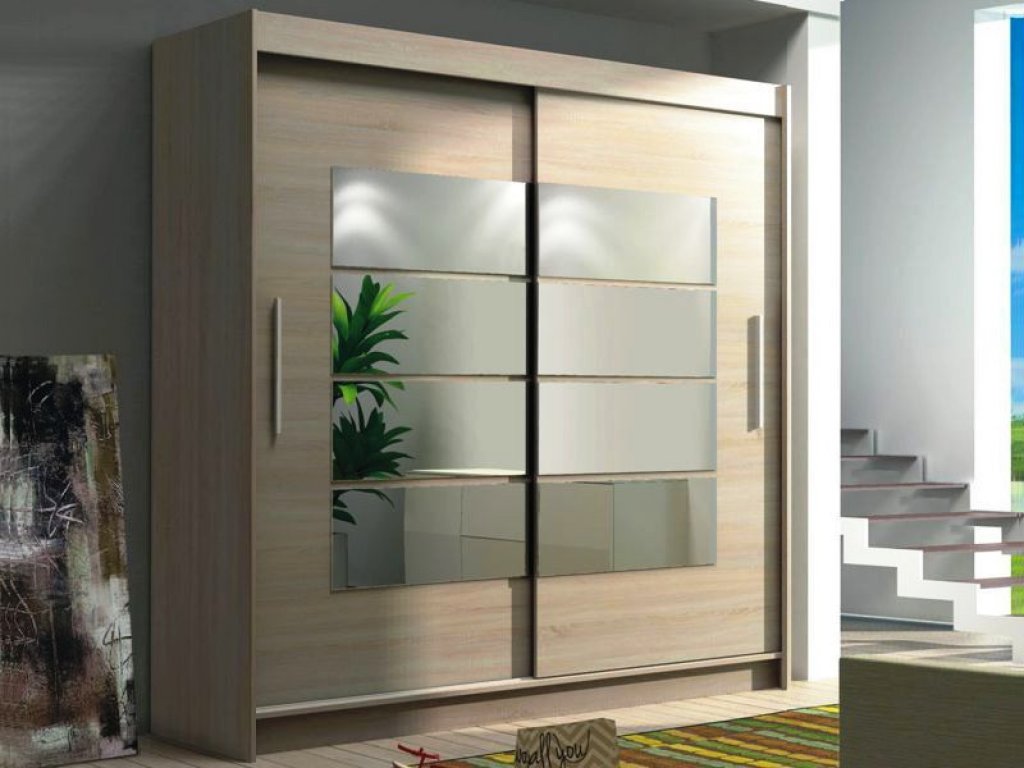
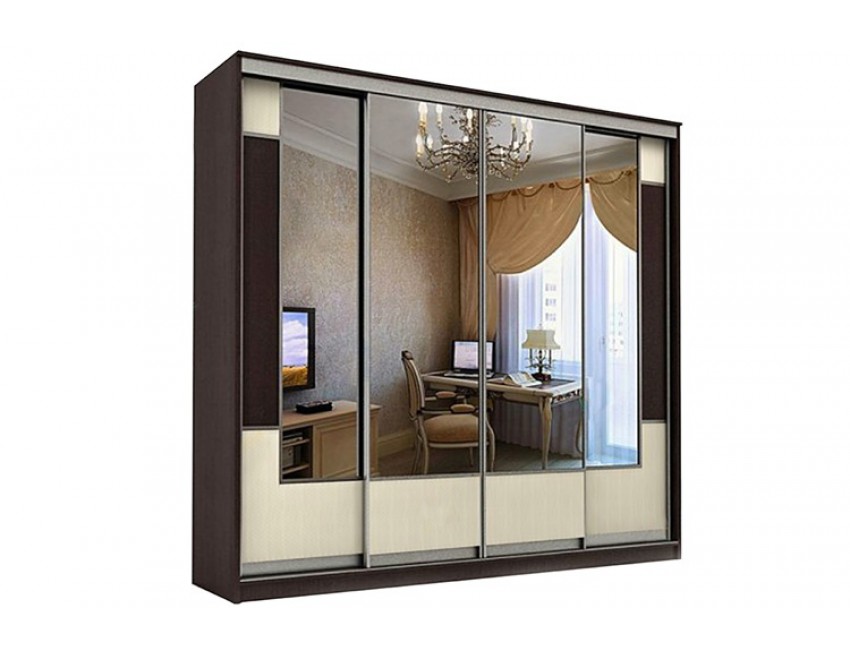
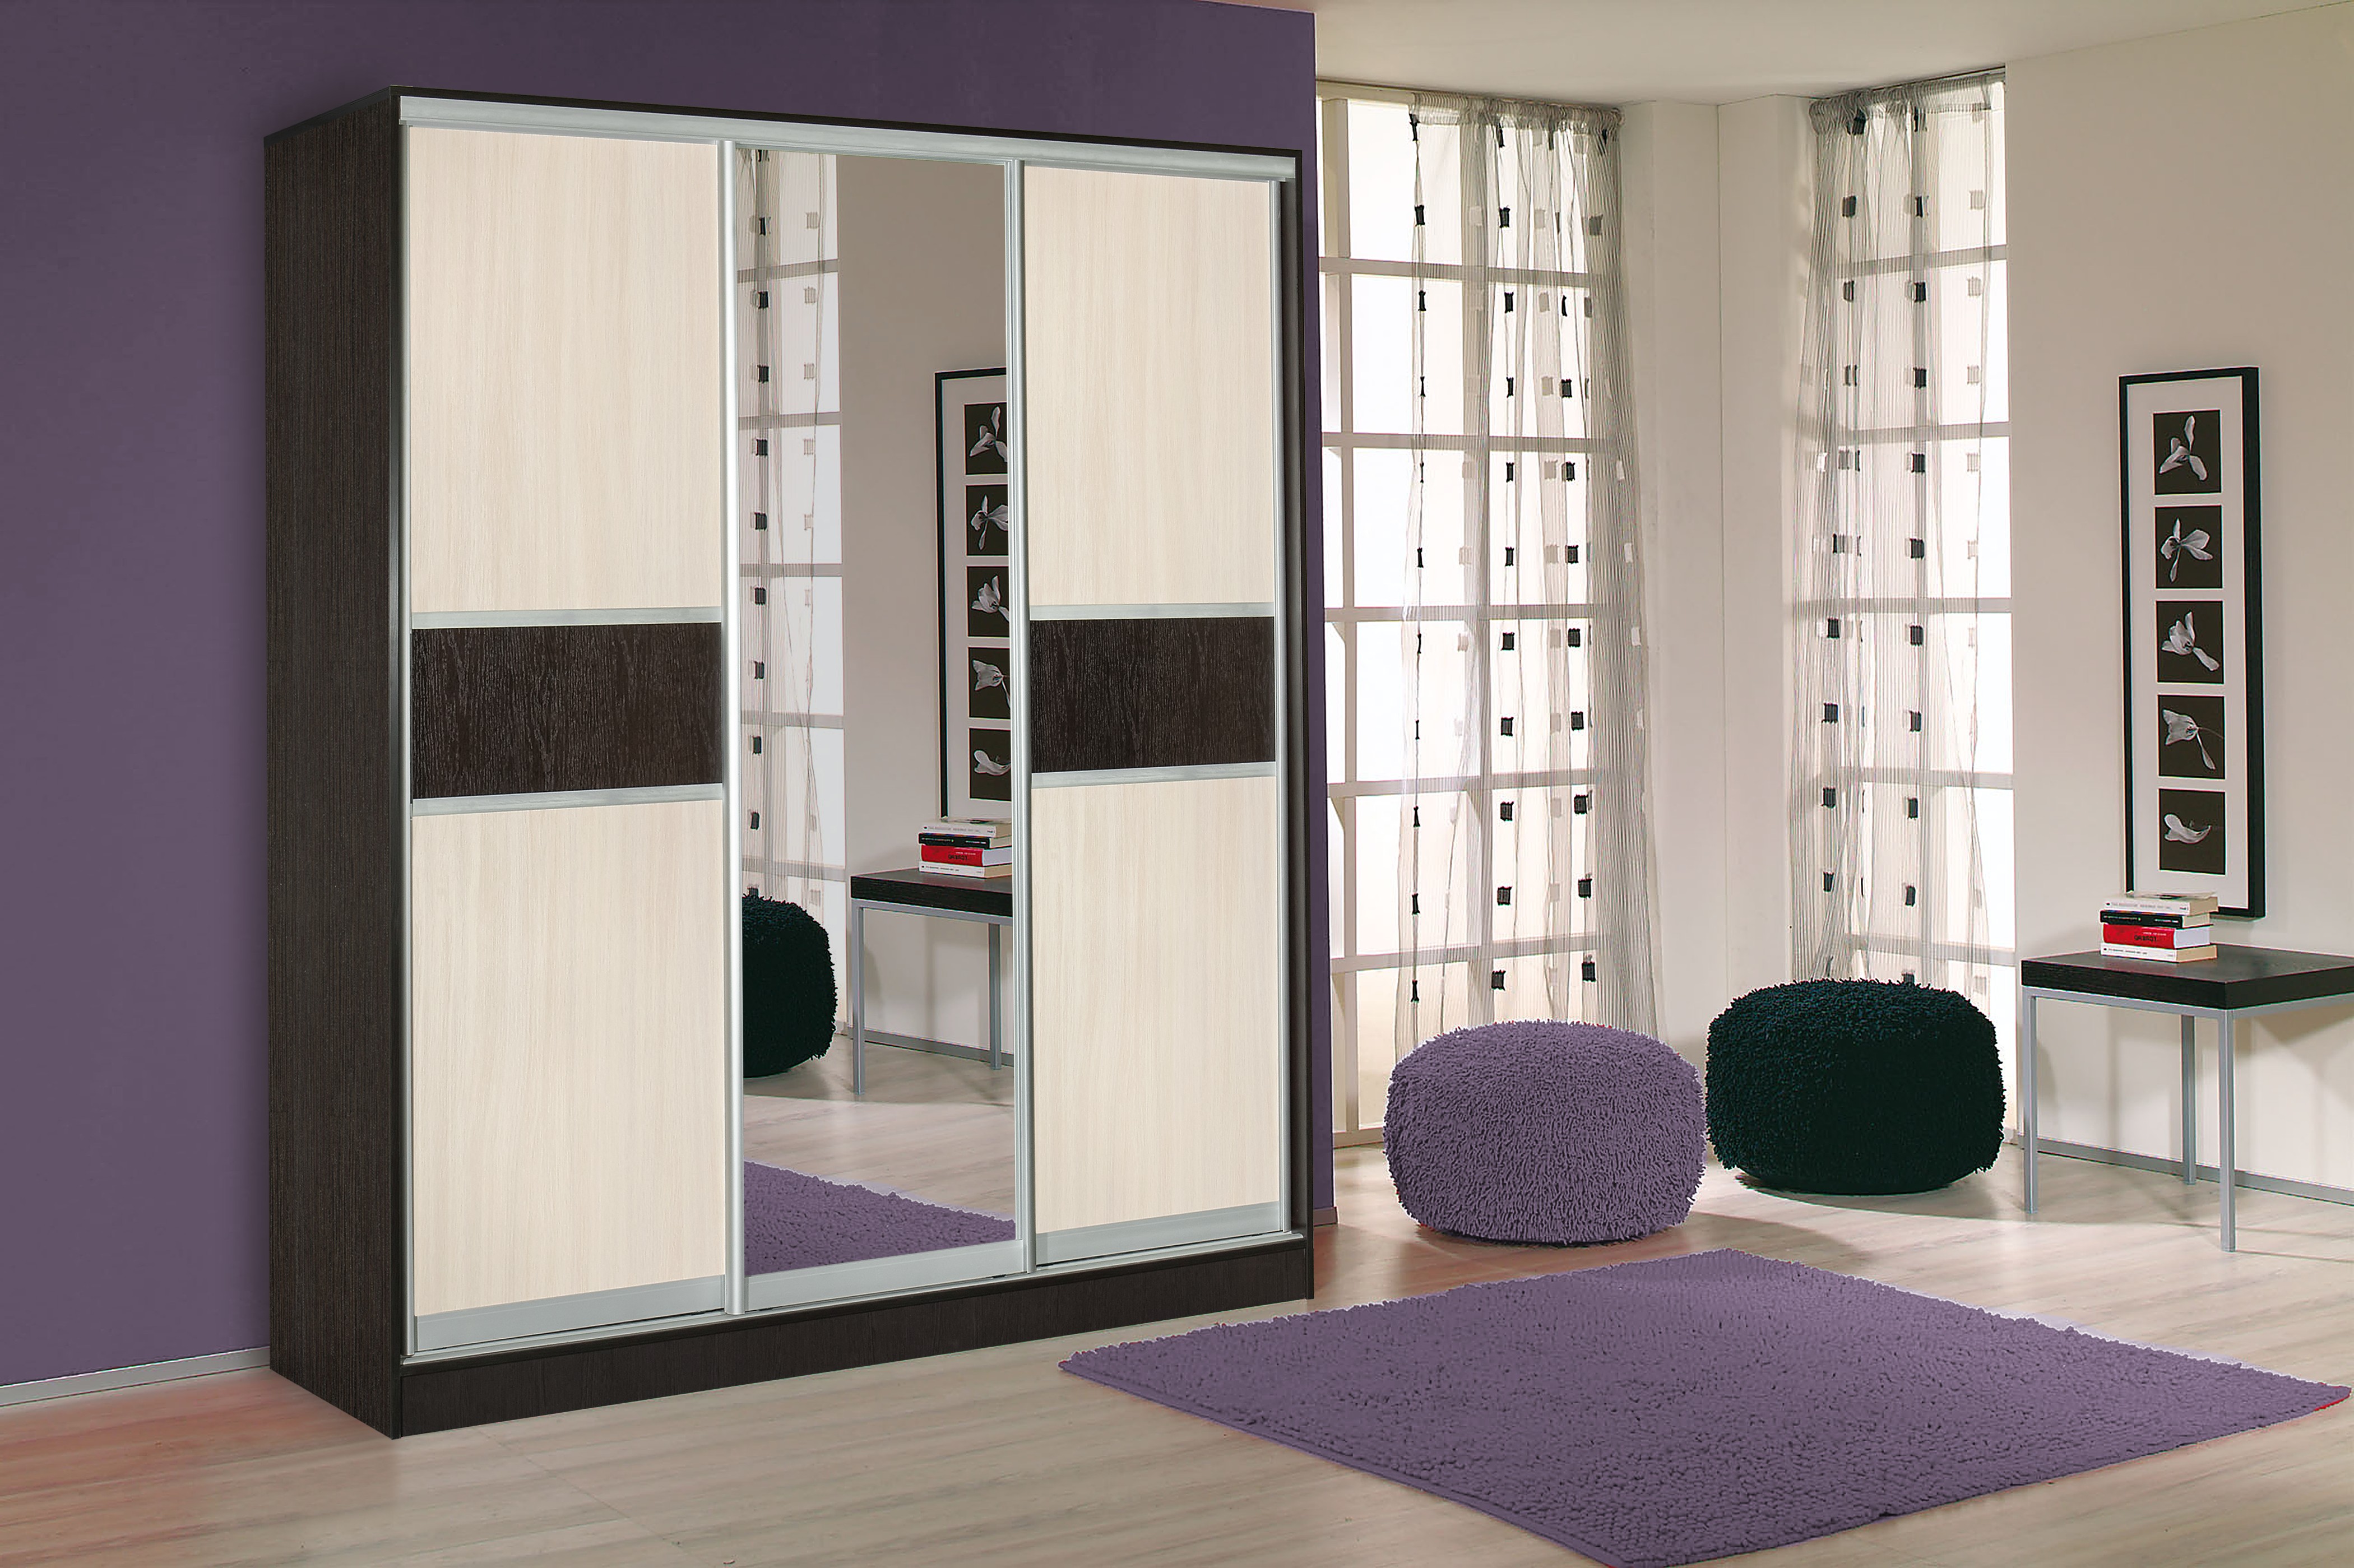
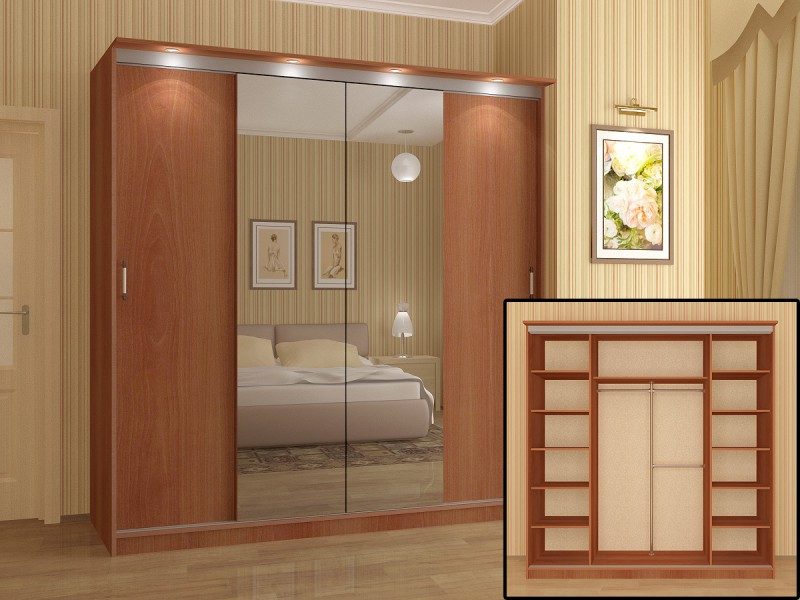
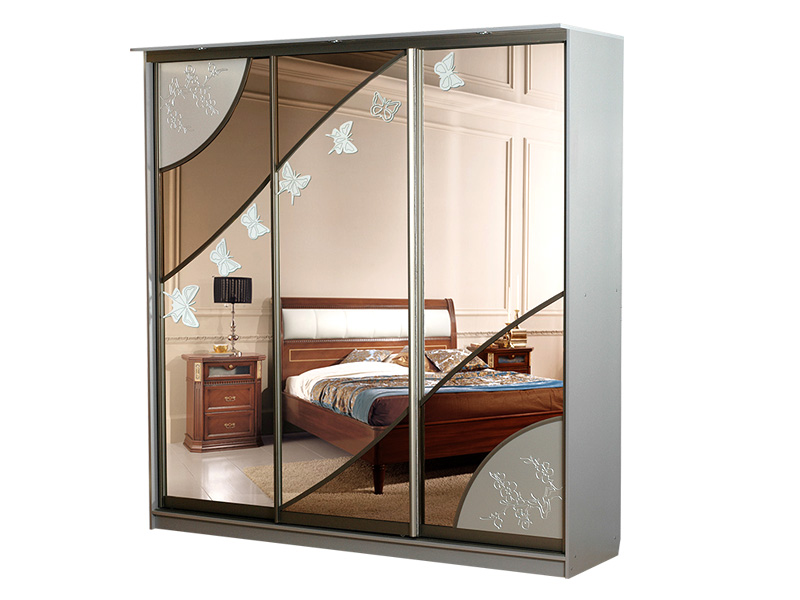
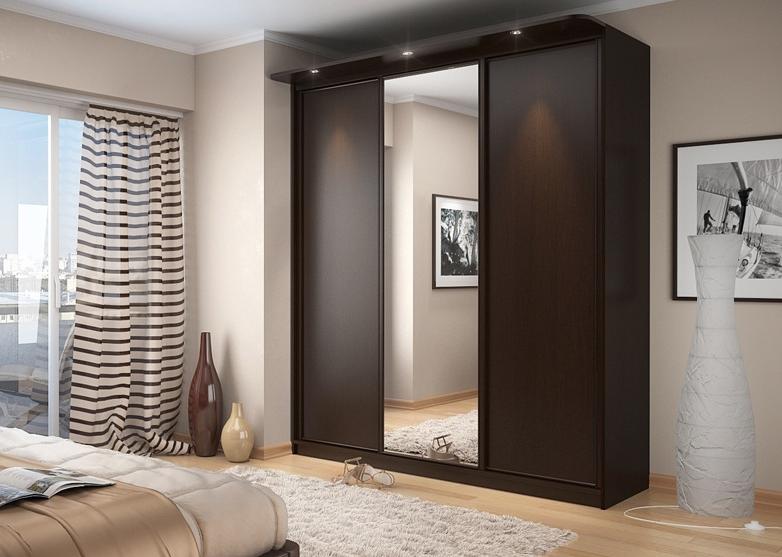
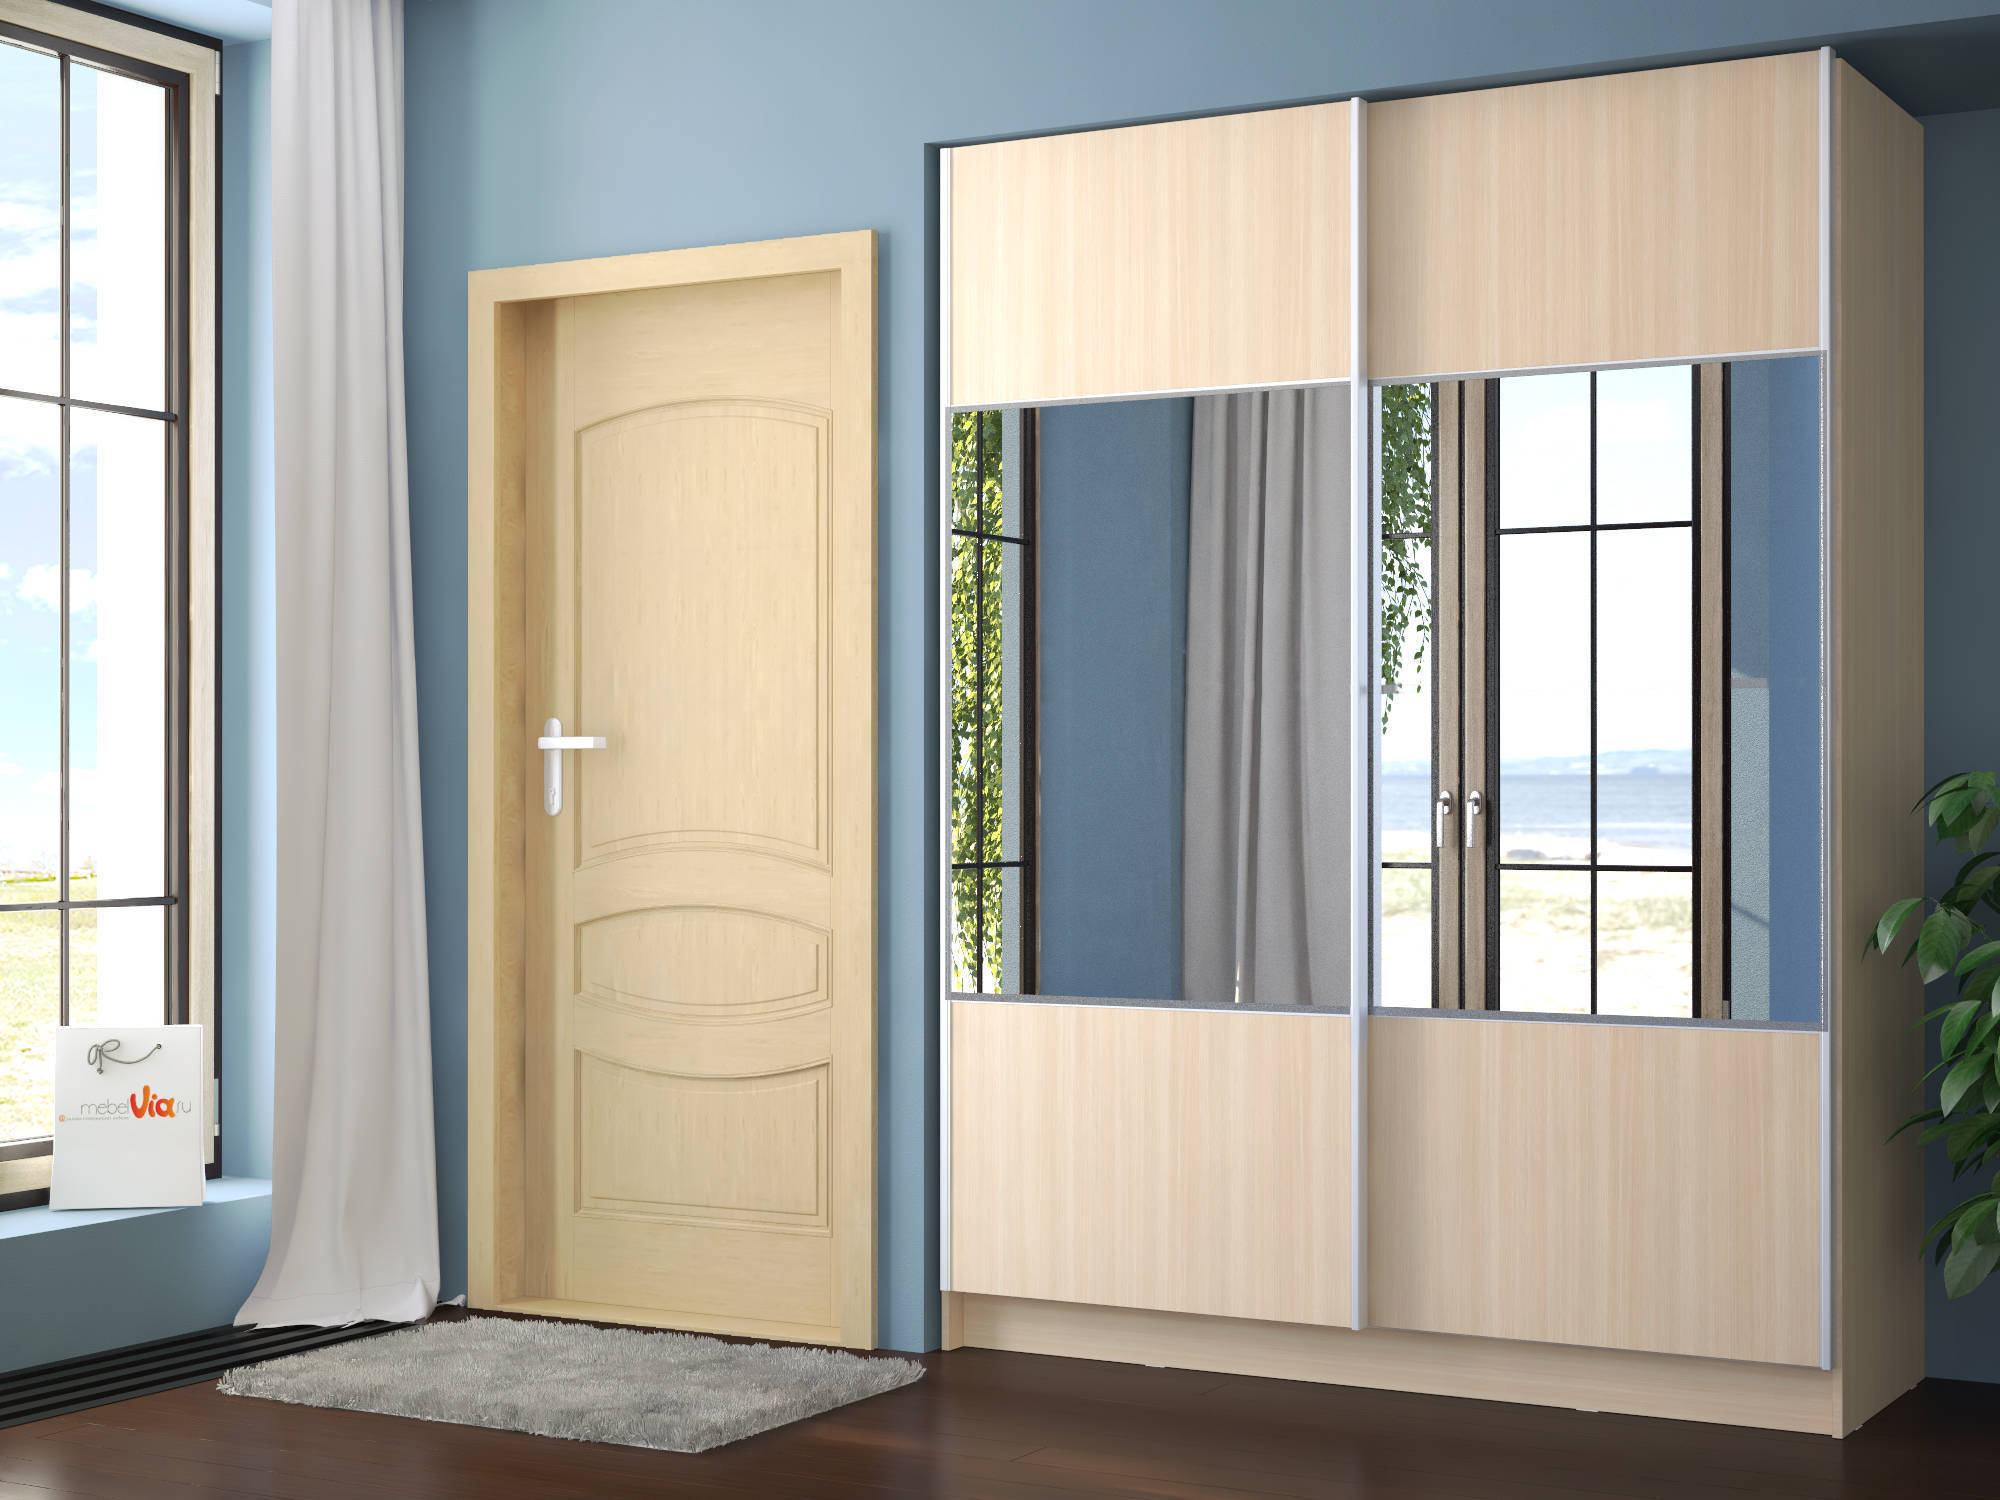
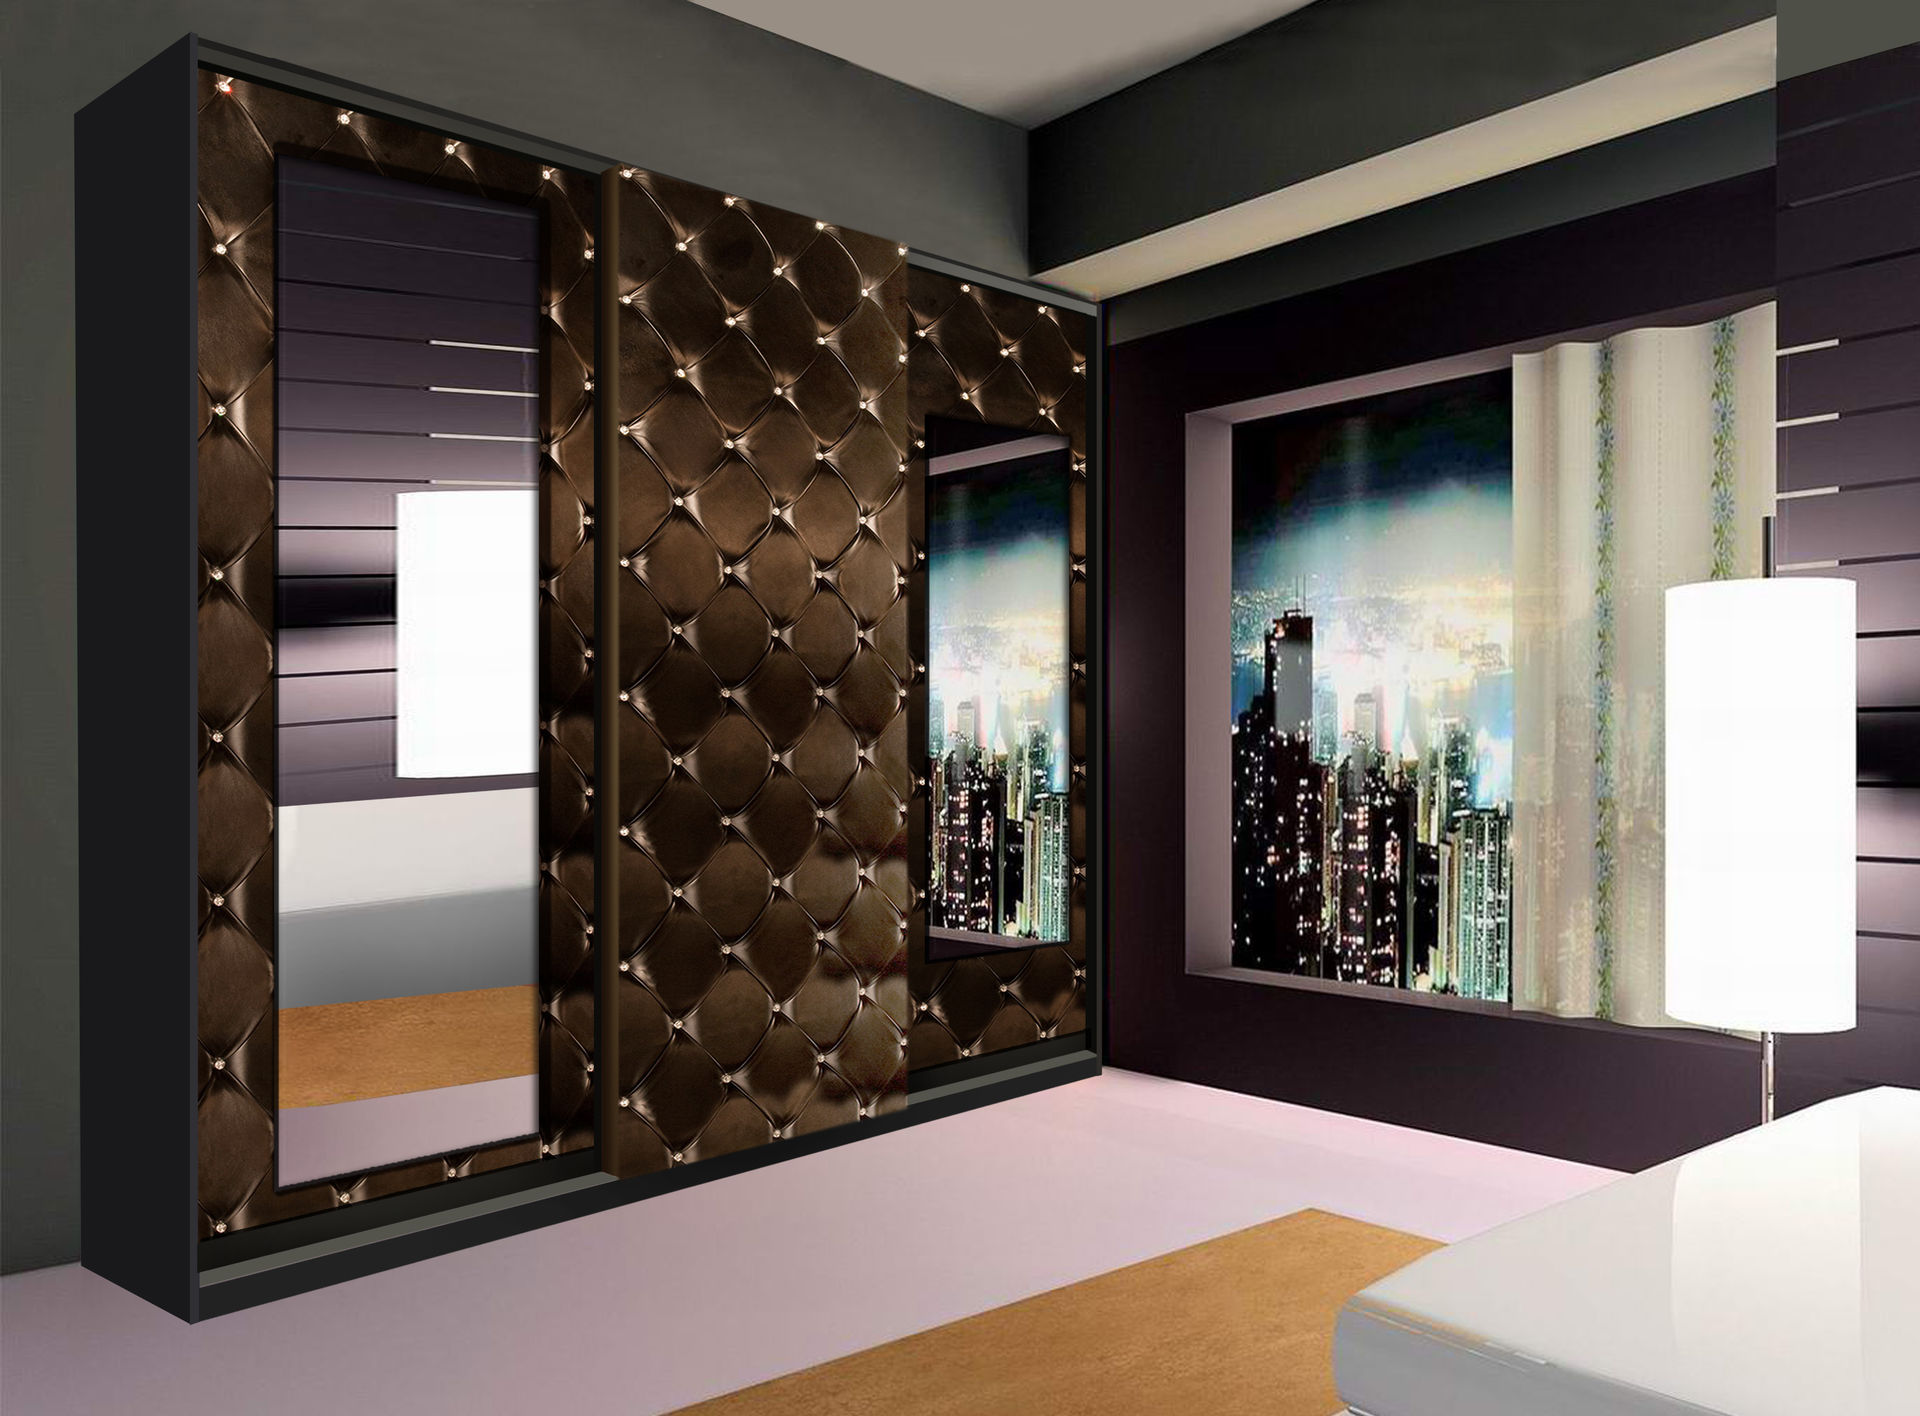
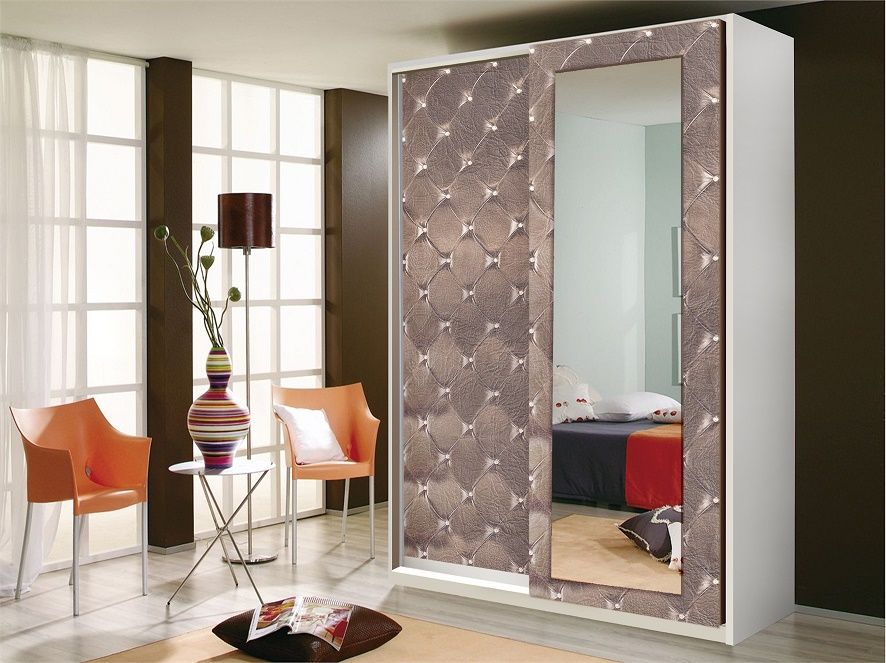
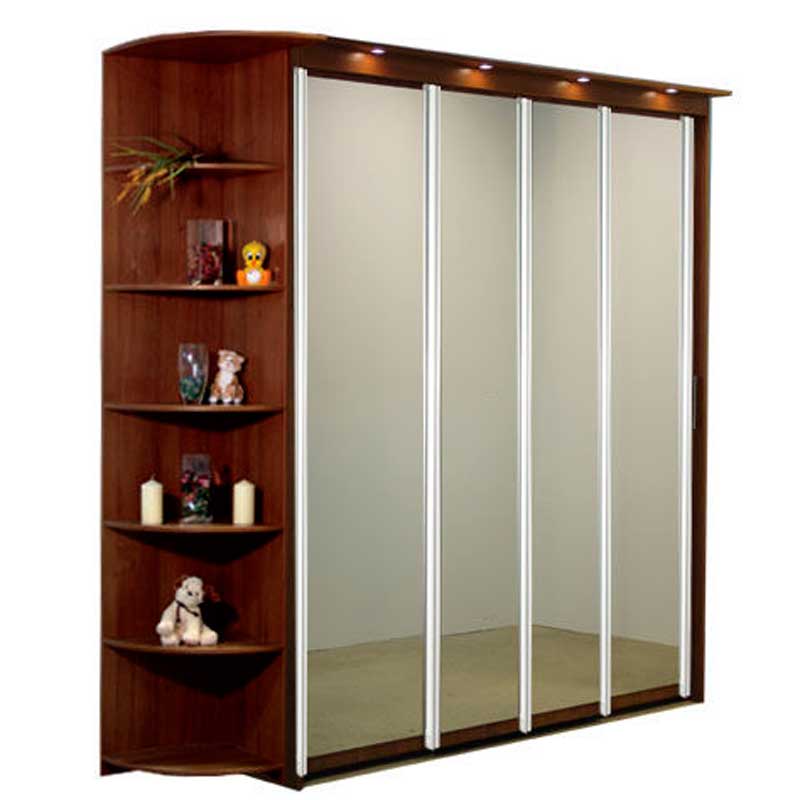
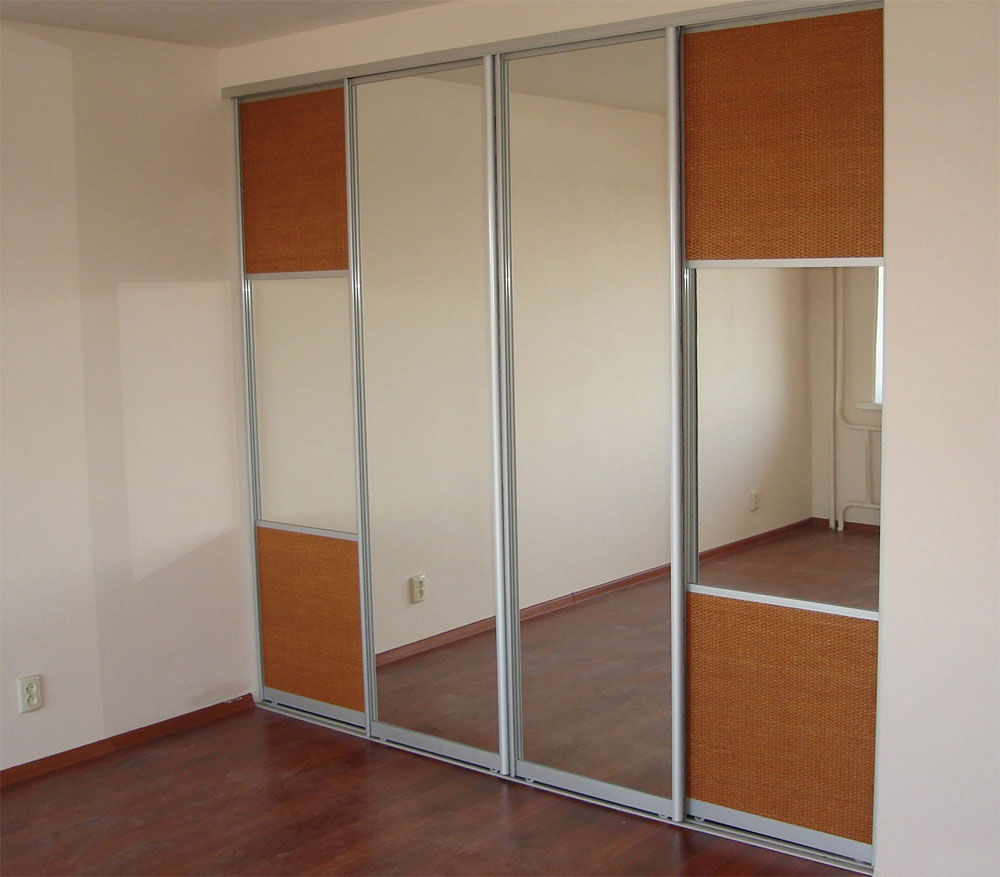
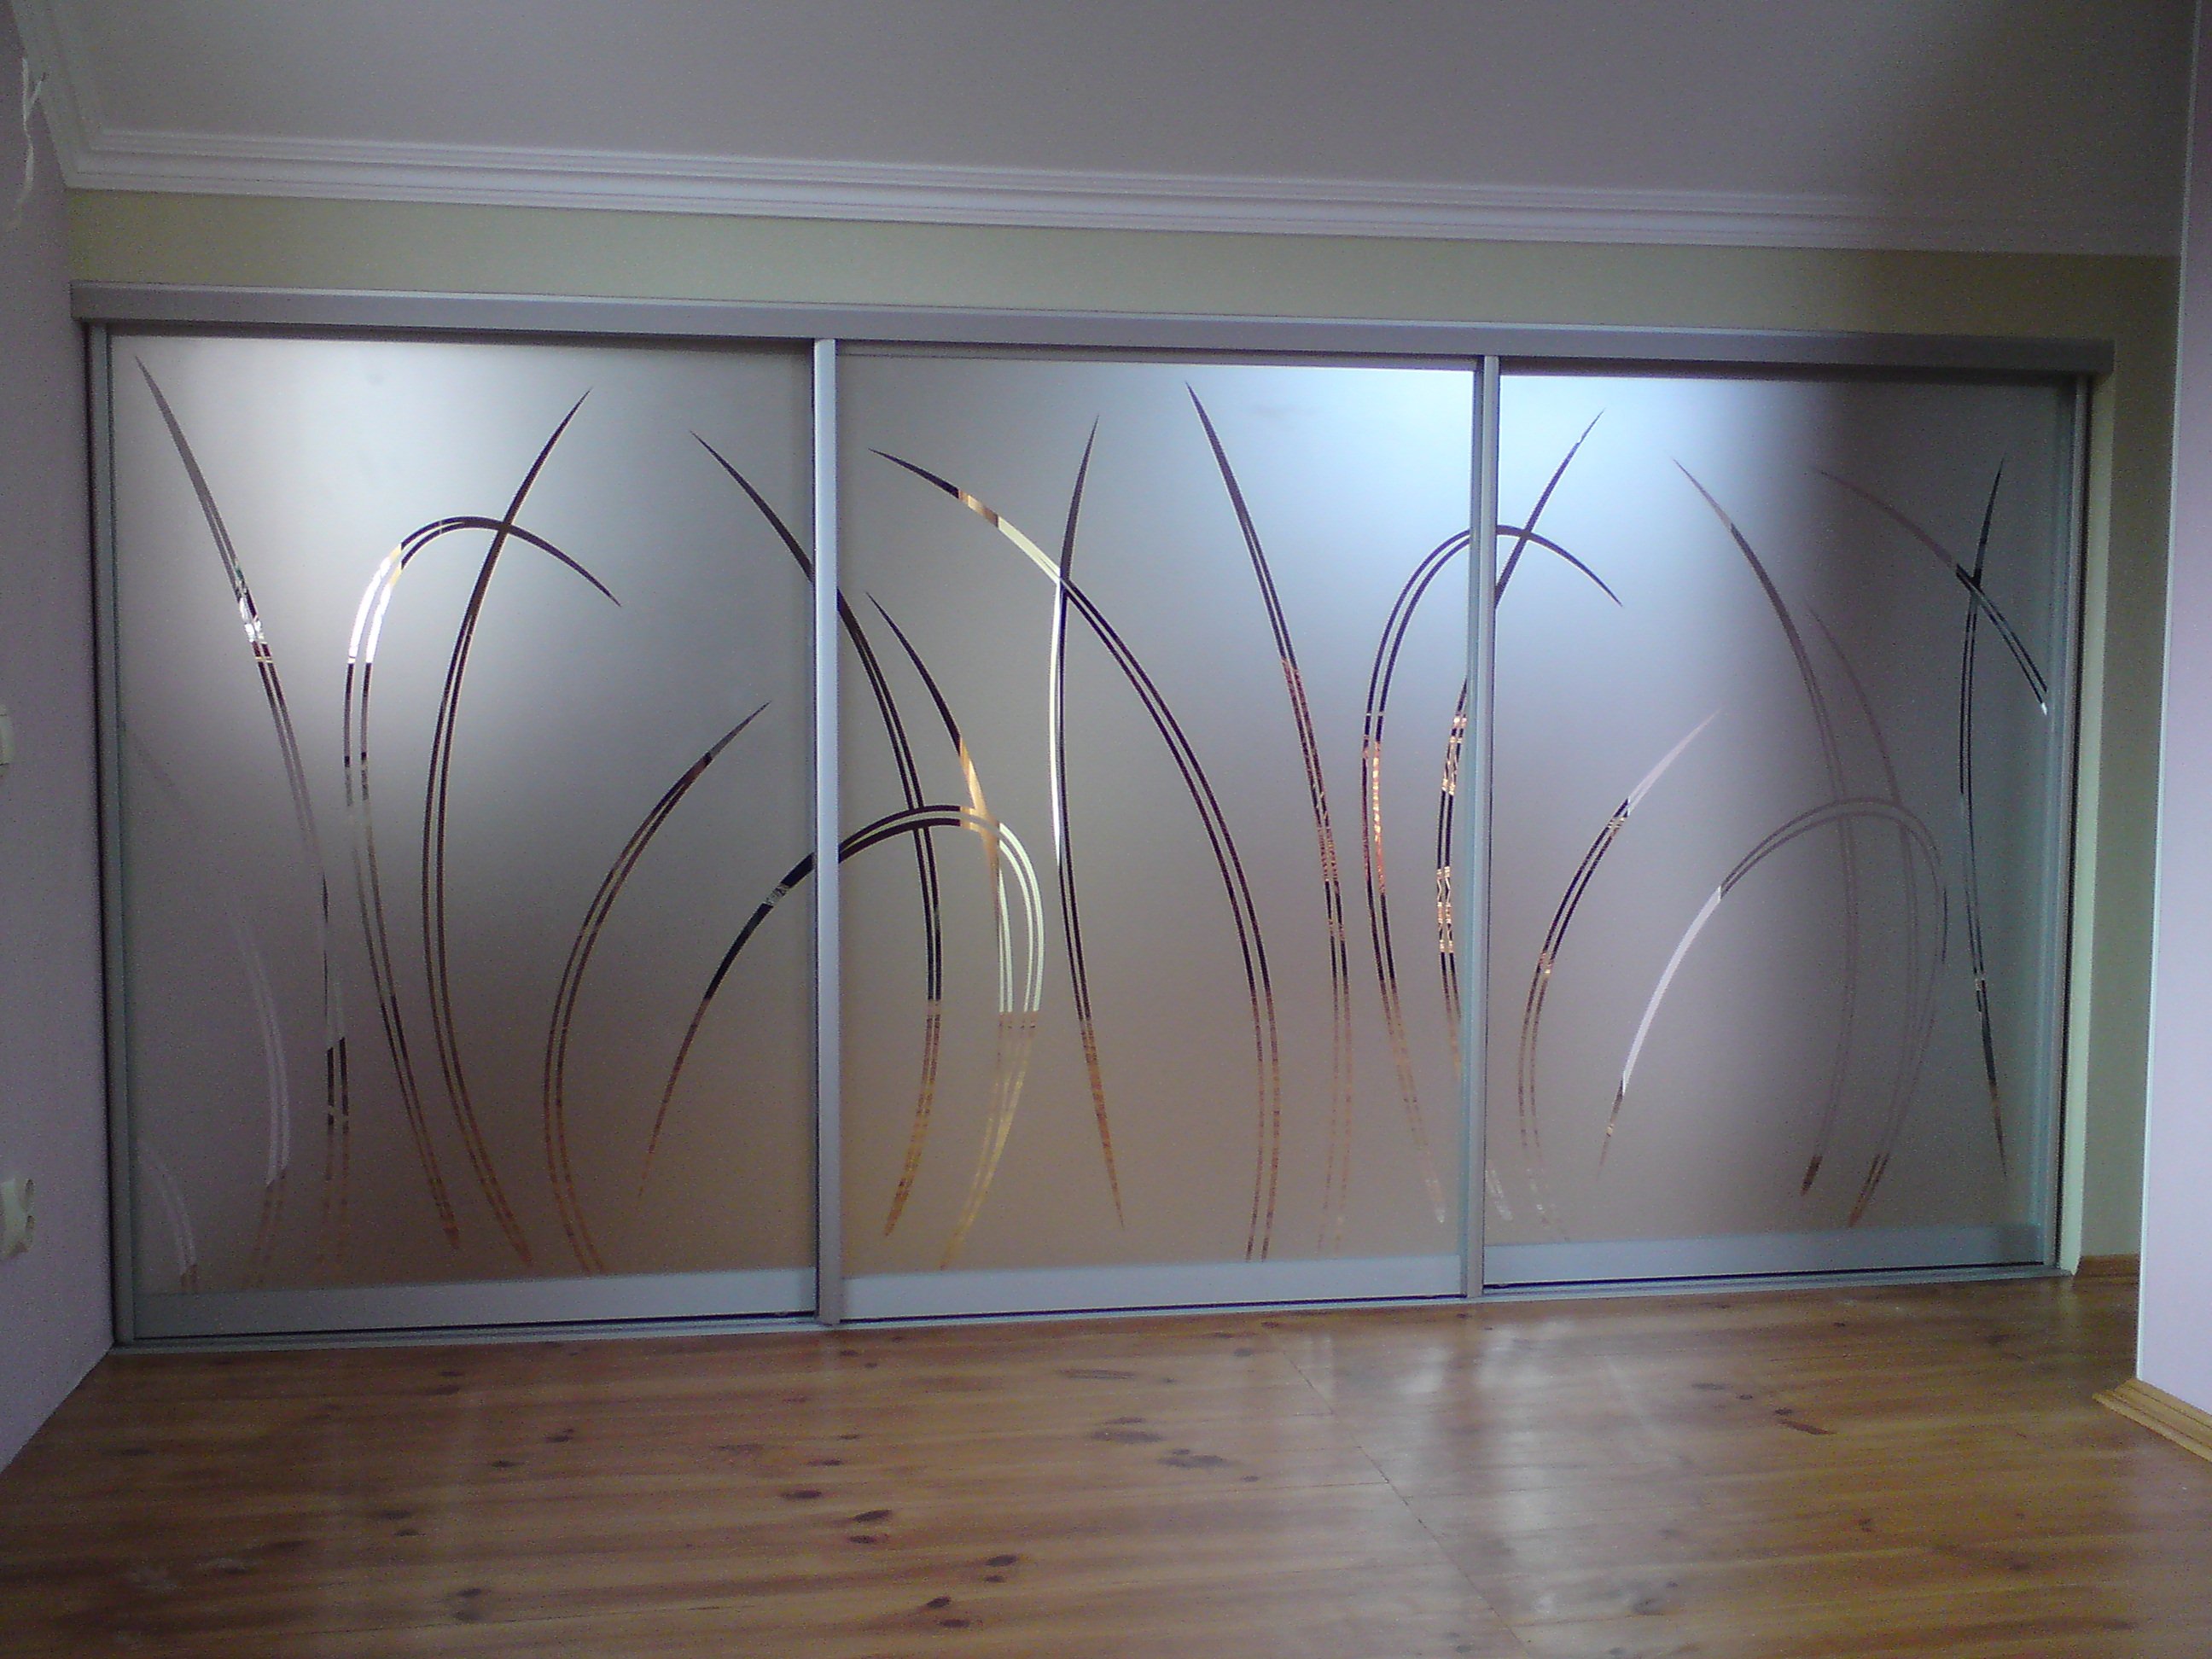
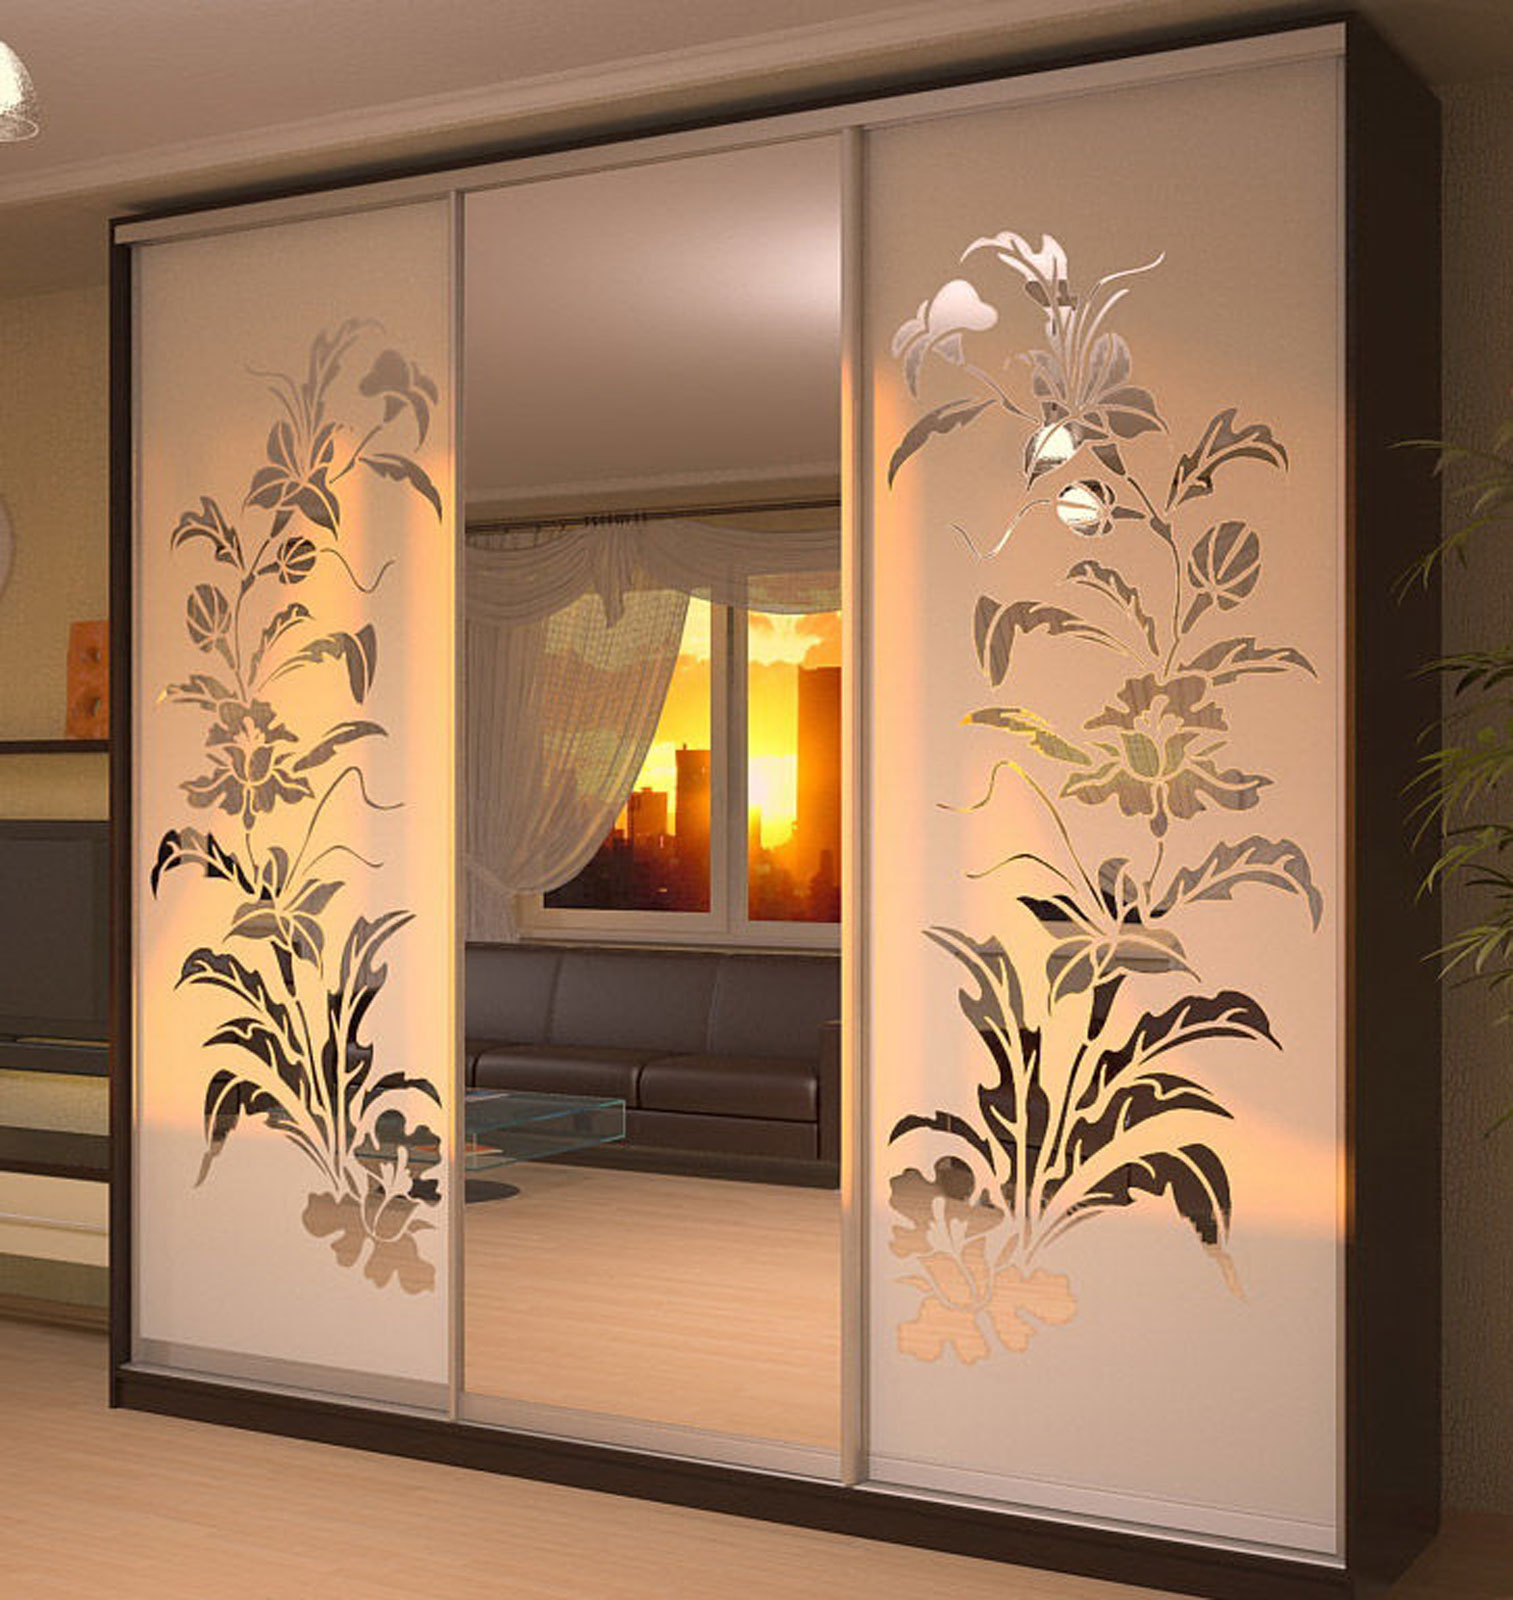
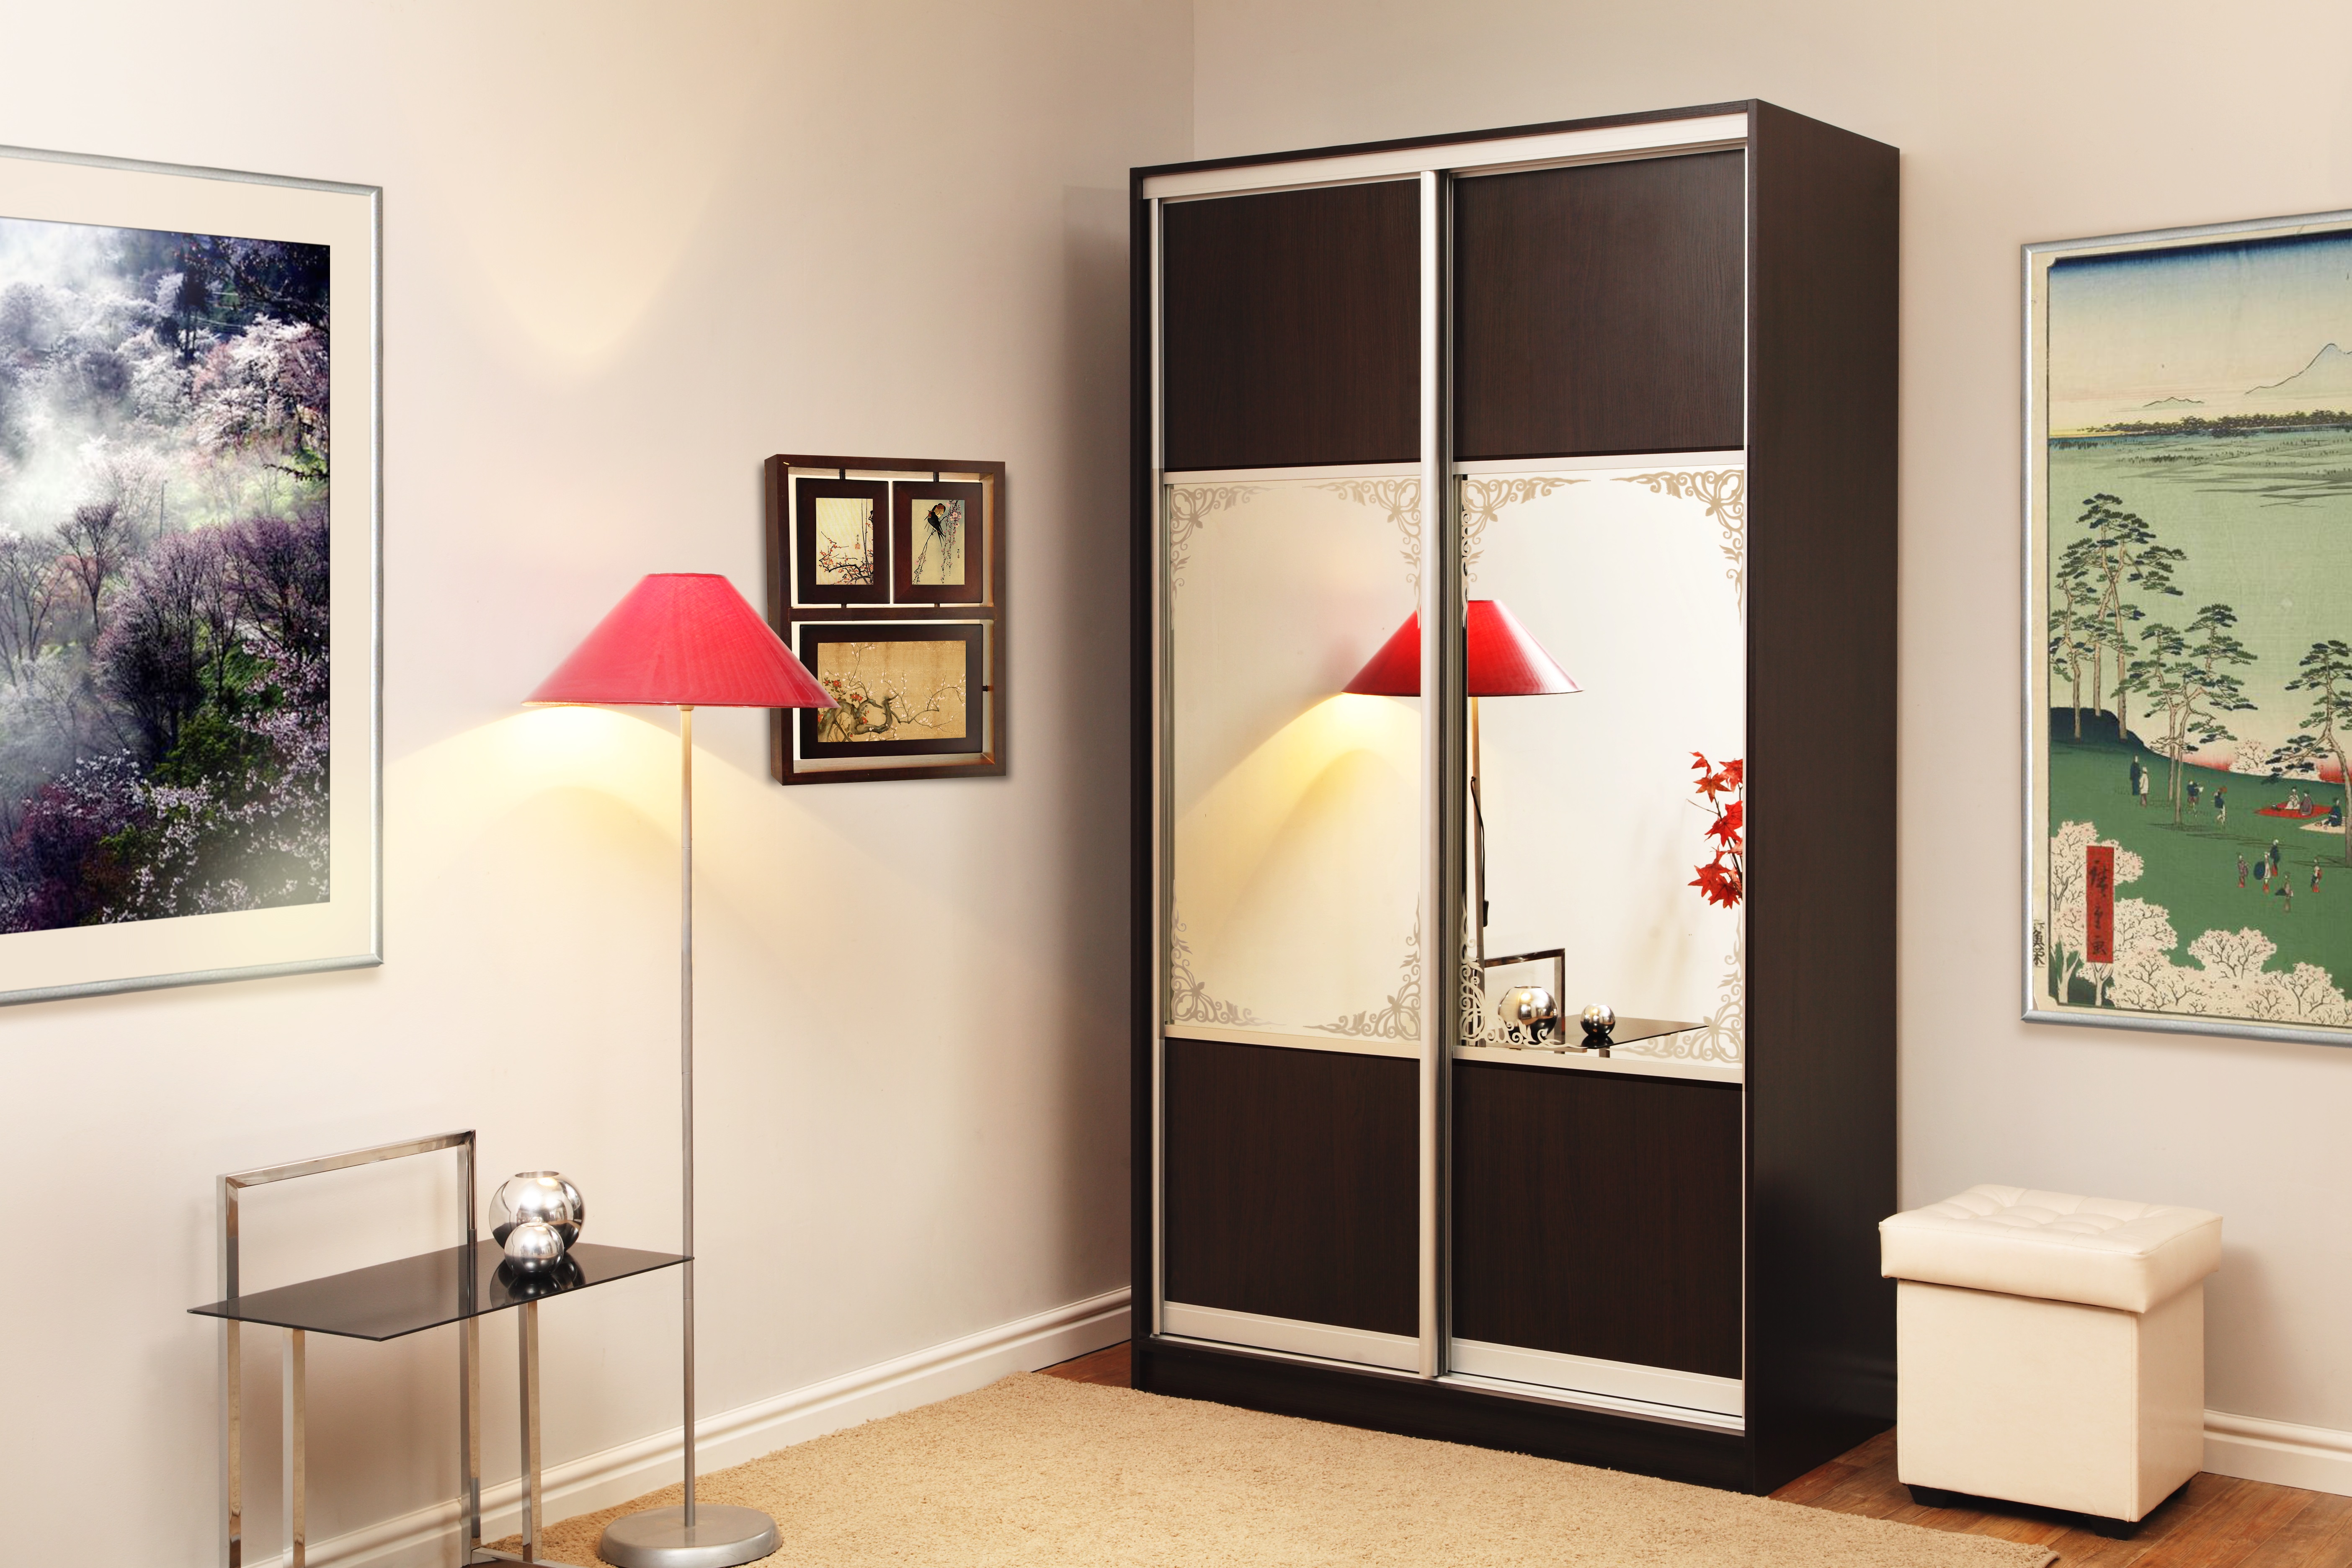
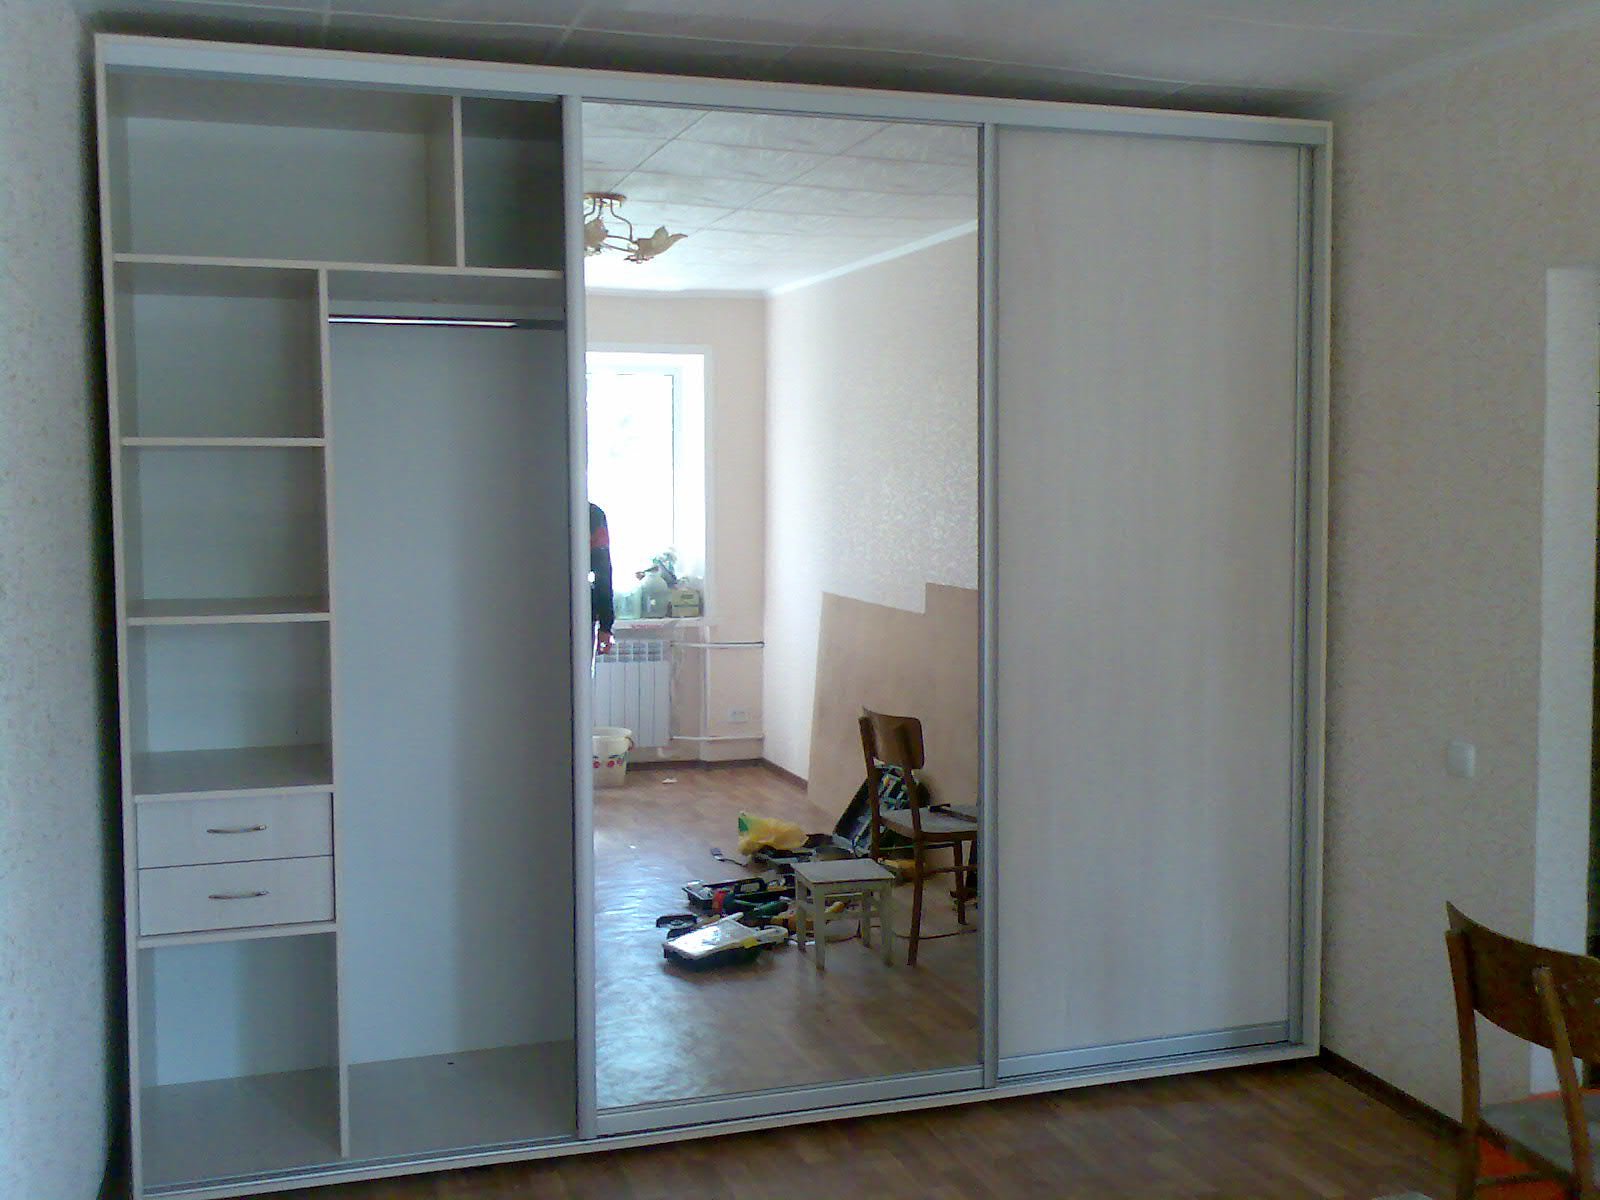
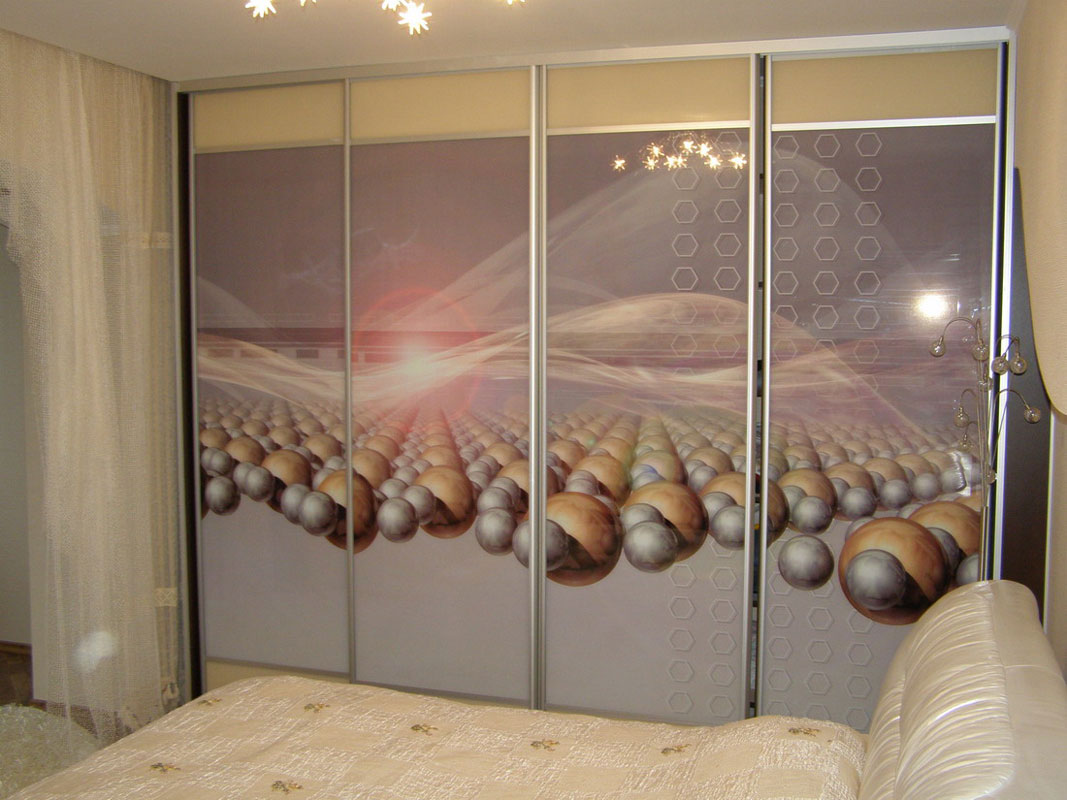
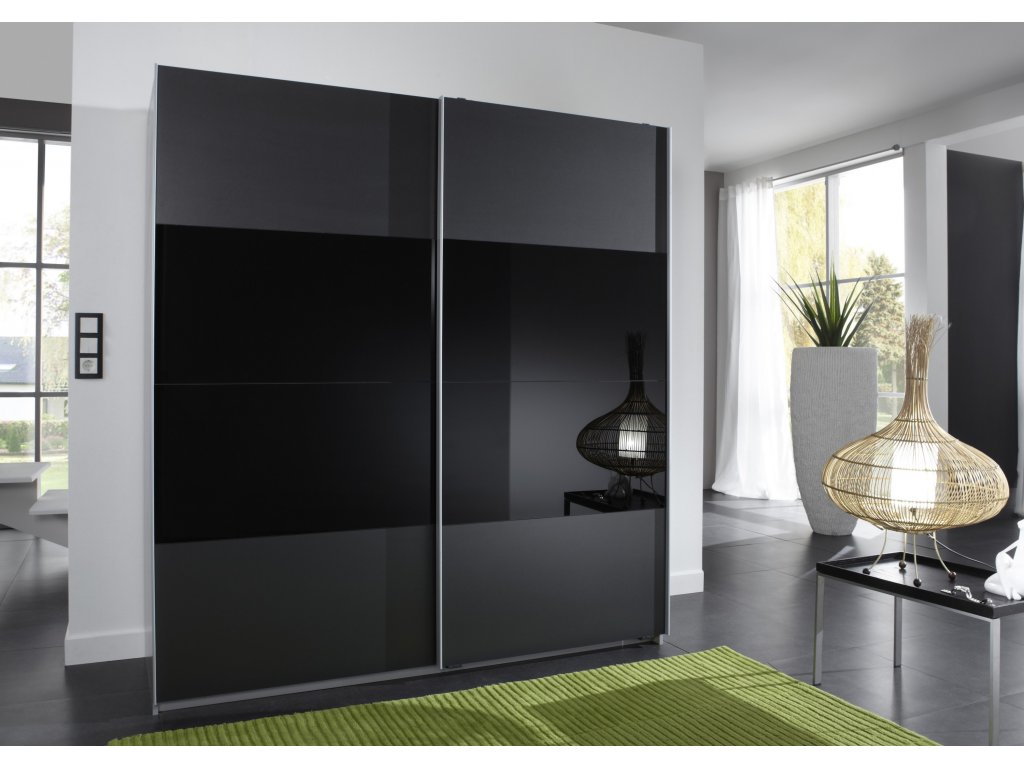
The final stage of assembly includes installation of accessories: hooks and door handles. After that, you can spend time design. Mirror glass is often used in the decoration of doors, but if there is no desire or possibility to install it, you can simply paint it. Another advantage of self-assembly is the ability to choose the color and design according to individual requirements.

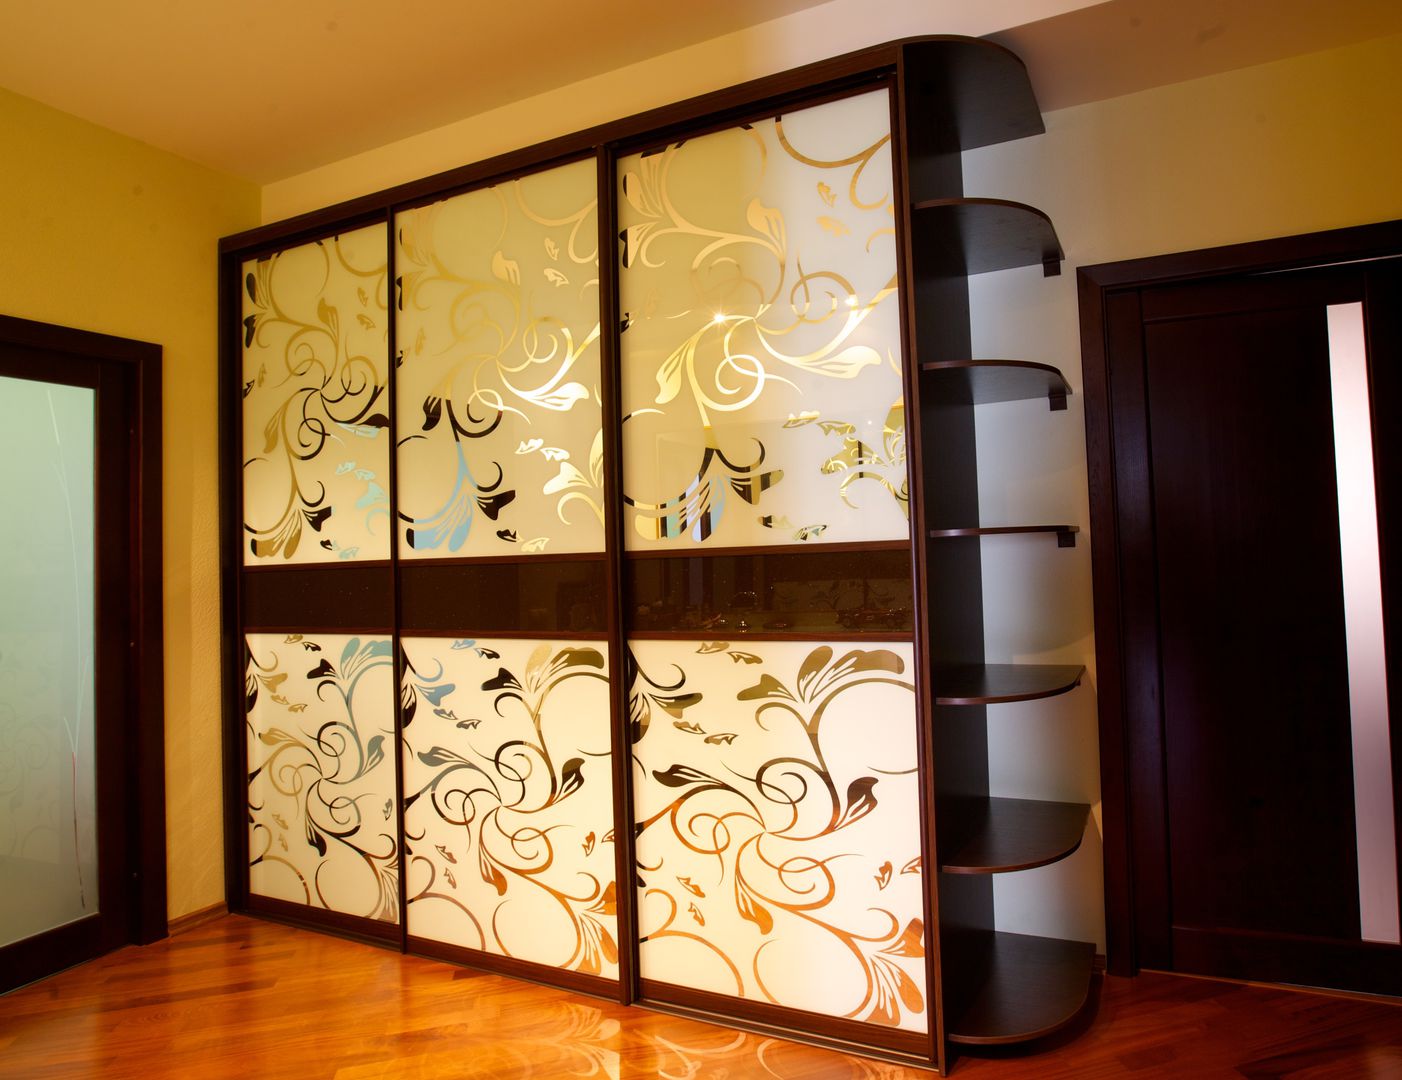
Design examples
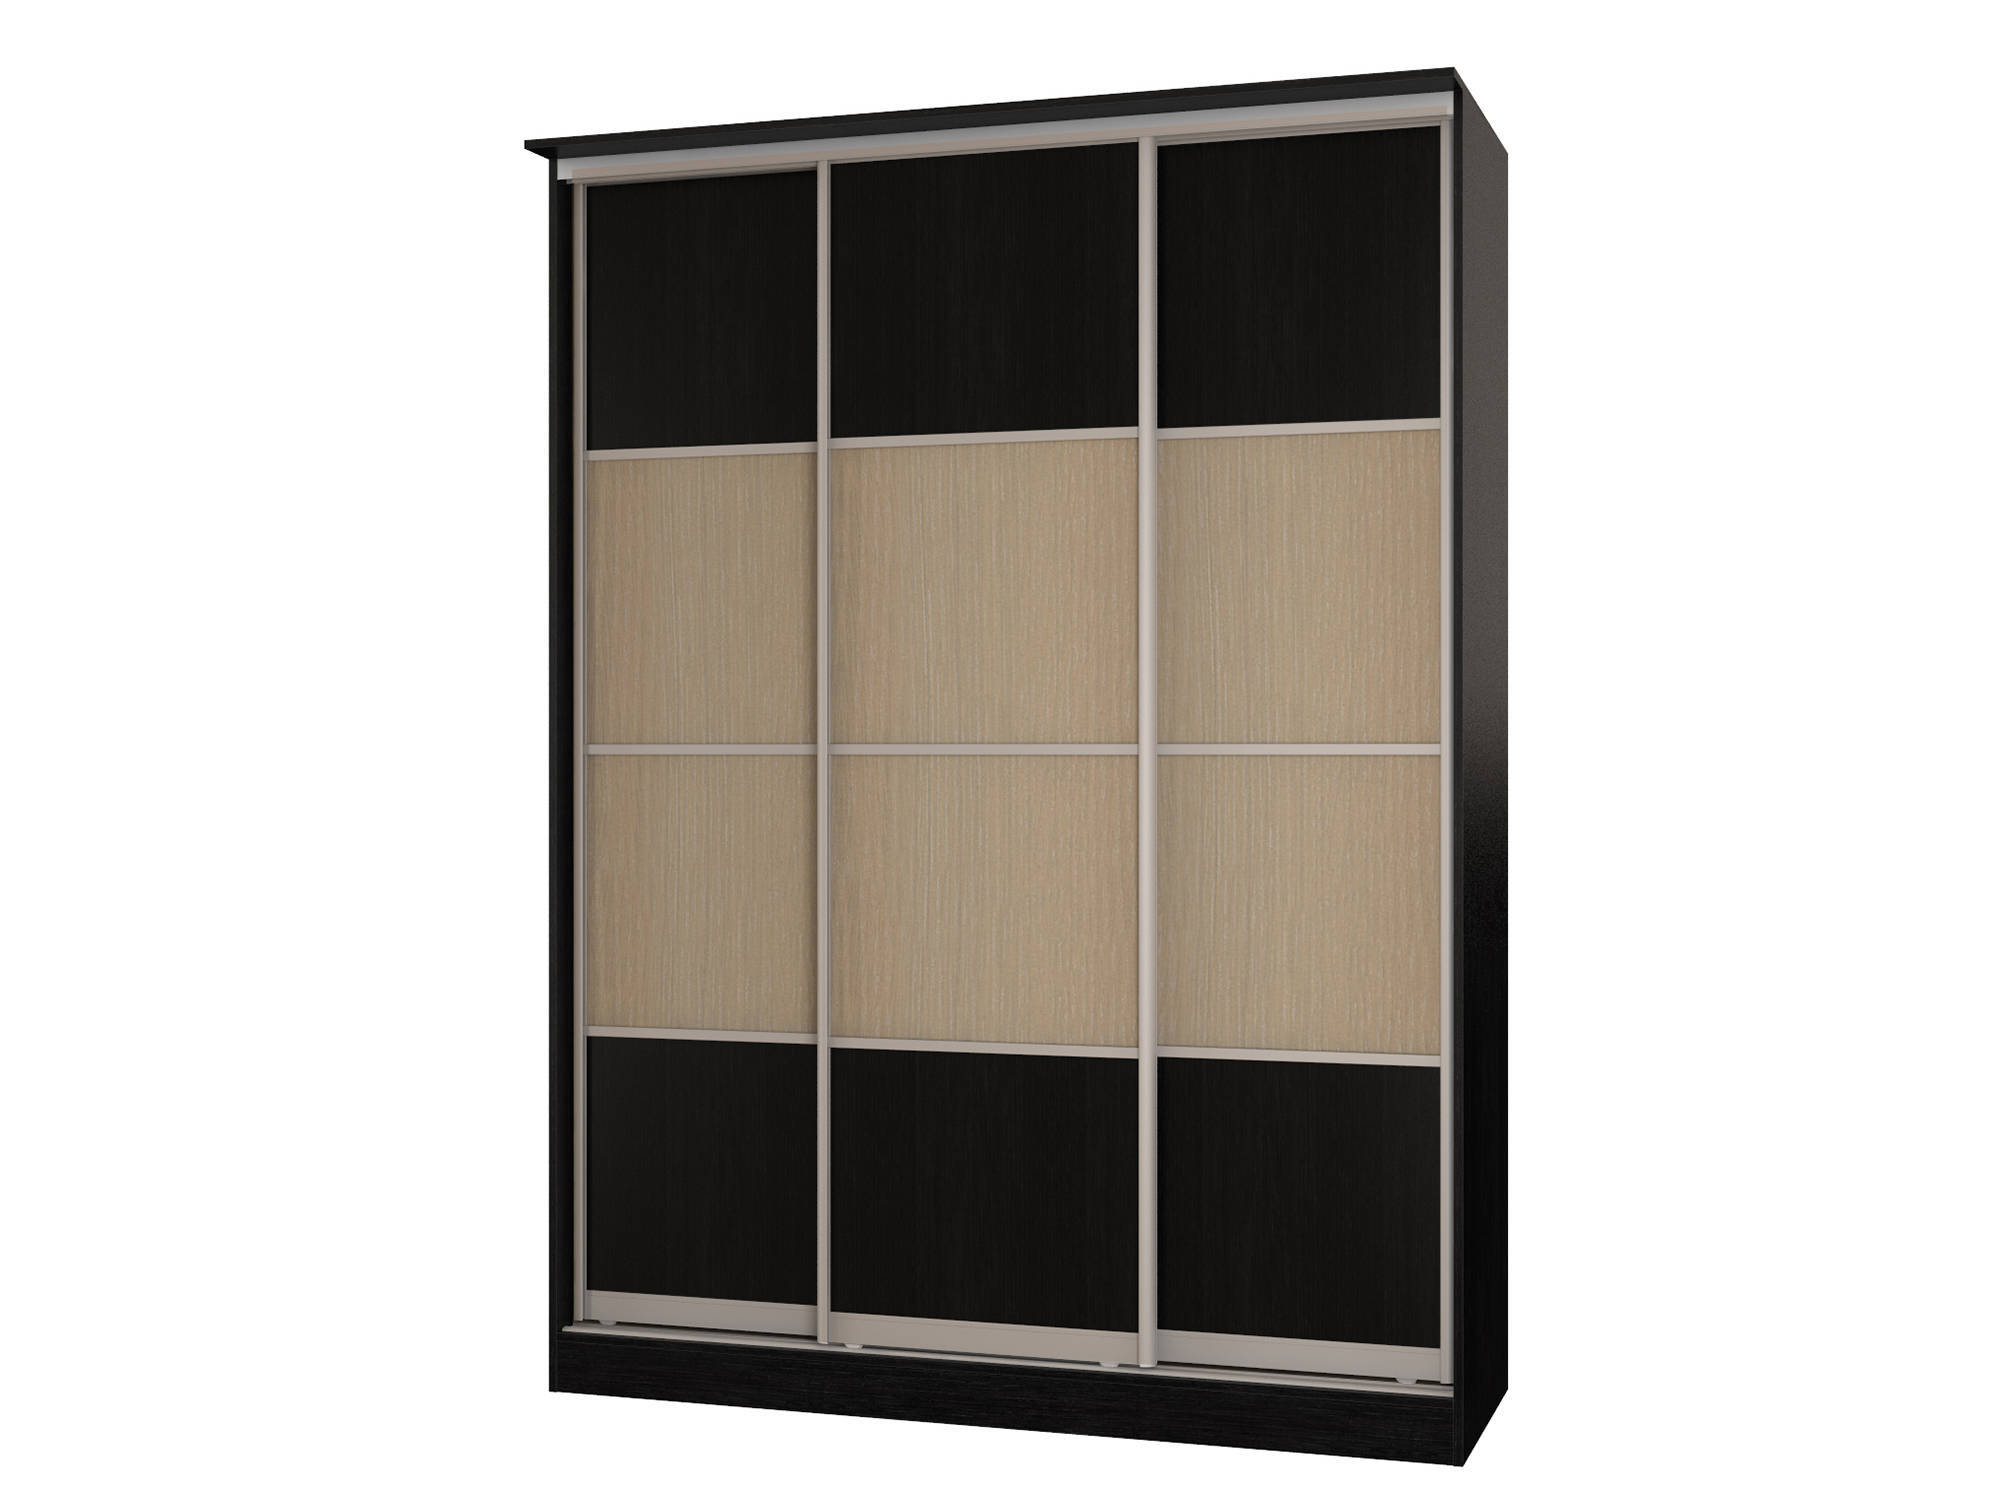
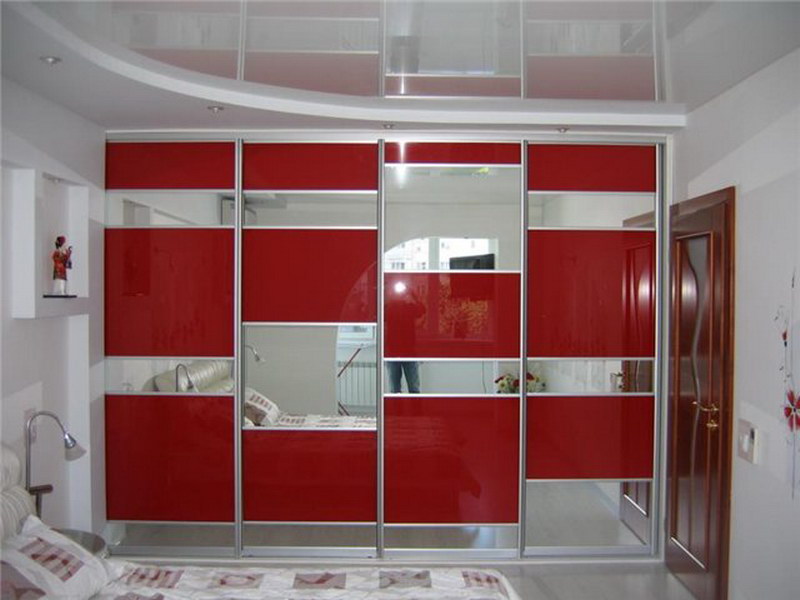
The big advantage of self-assembly wardrobe is a blank check for a choice of design. Despite the fact that the furniture market has a wide range of models, there are situations when serious individualization is necessary. And if you need to decide on the form and dimensions at the design and drawing up stage, you can start thinking about how to decorate it after installation. Change the color, add or remove decorations,To customize the appearance of the model to suit your desires - this becomes possible with independent production.
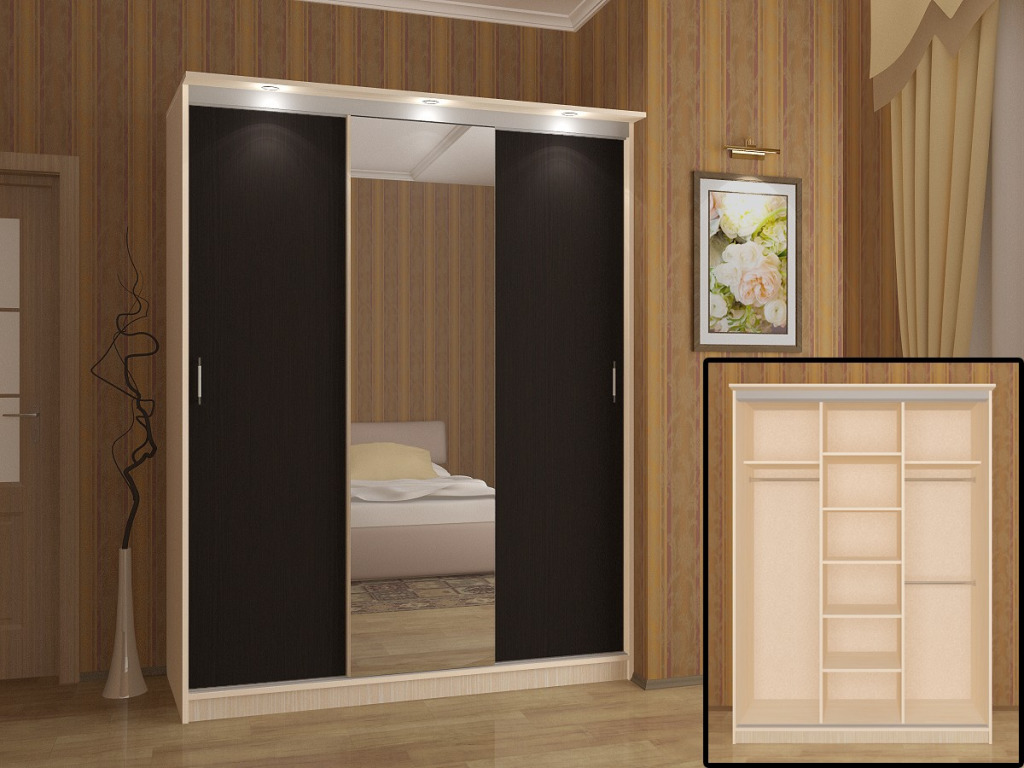
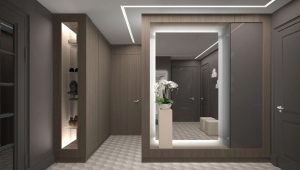
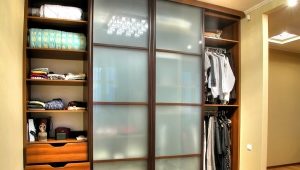
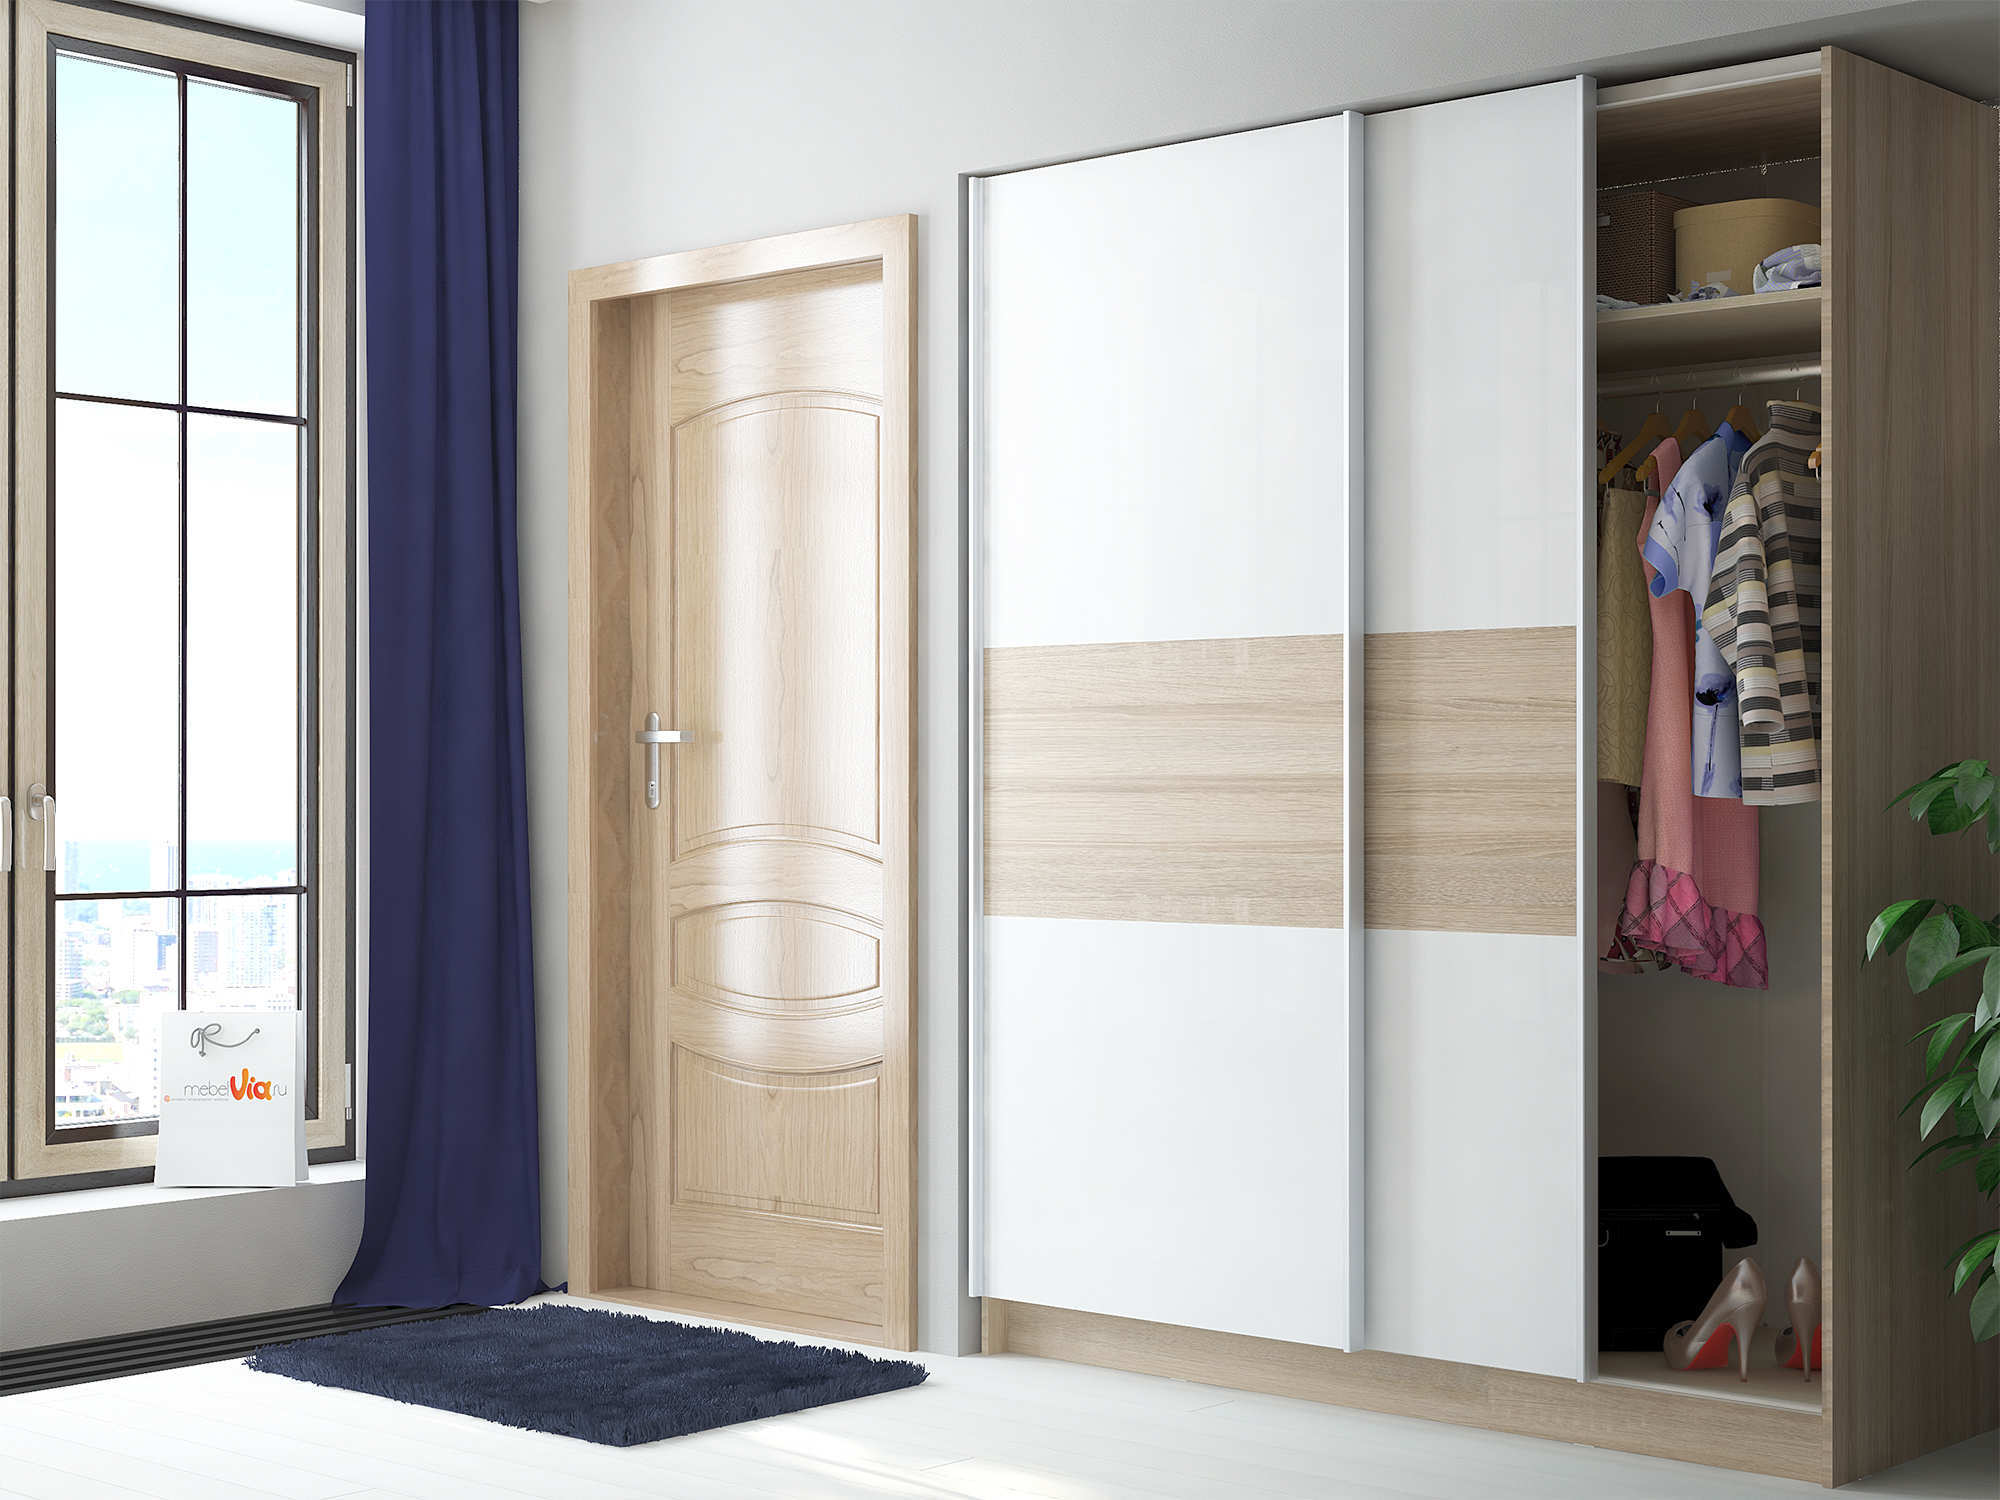
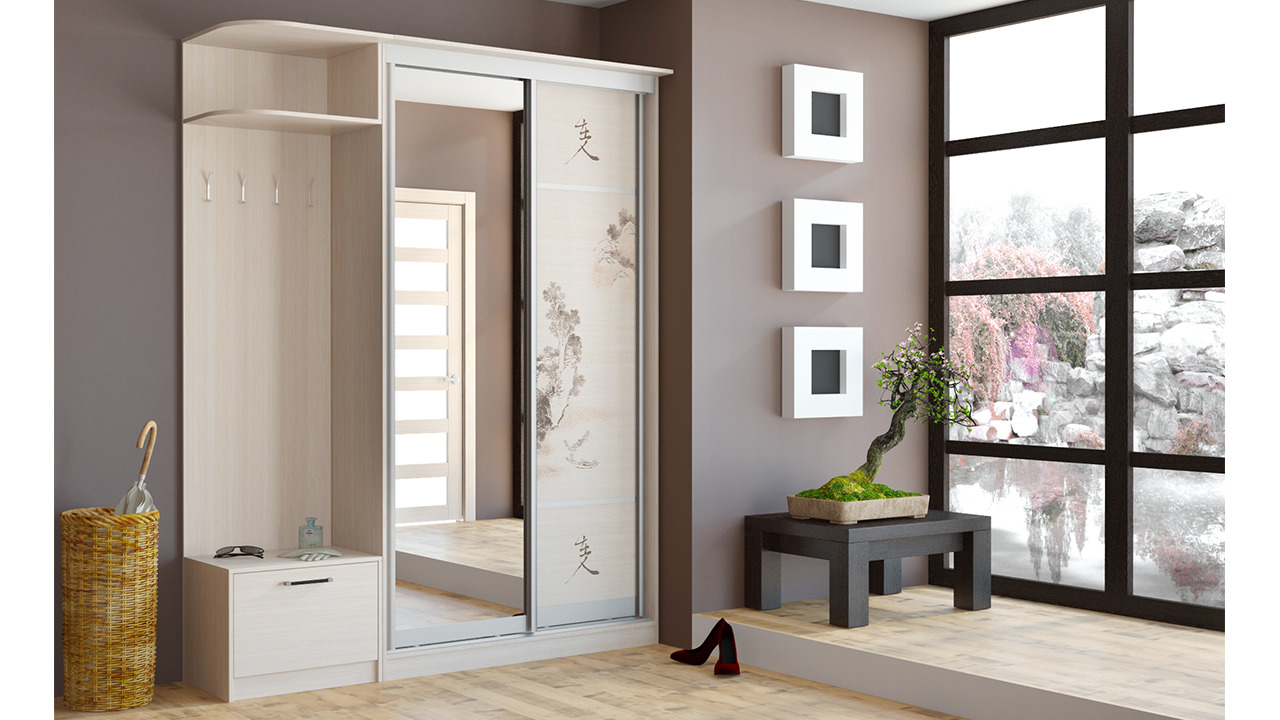
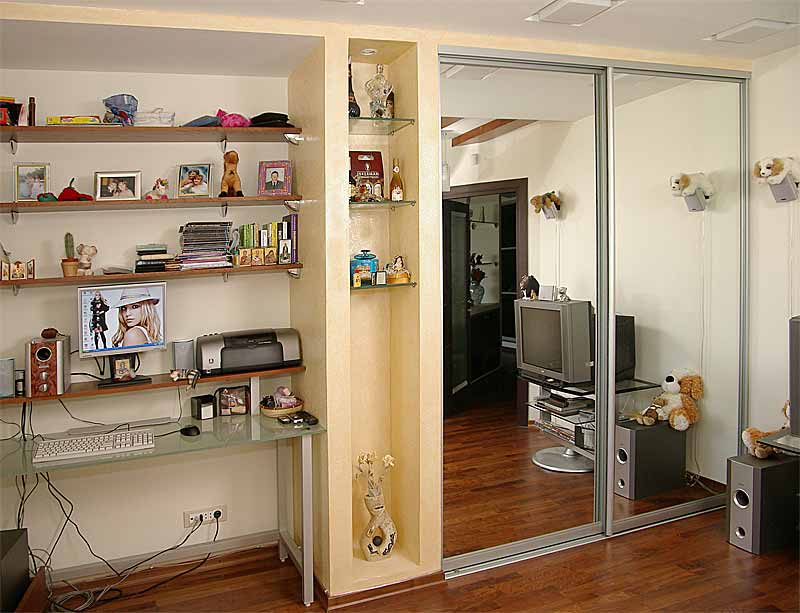
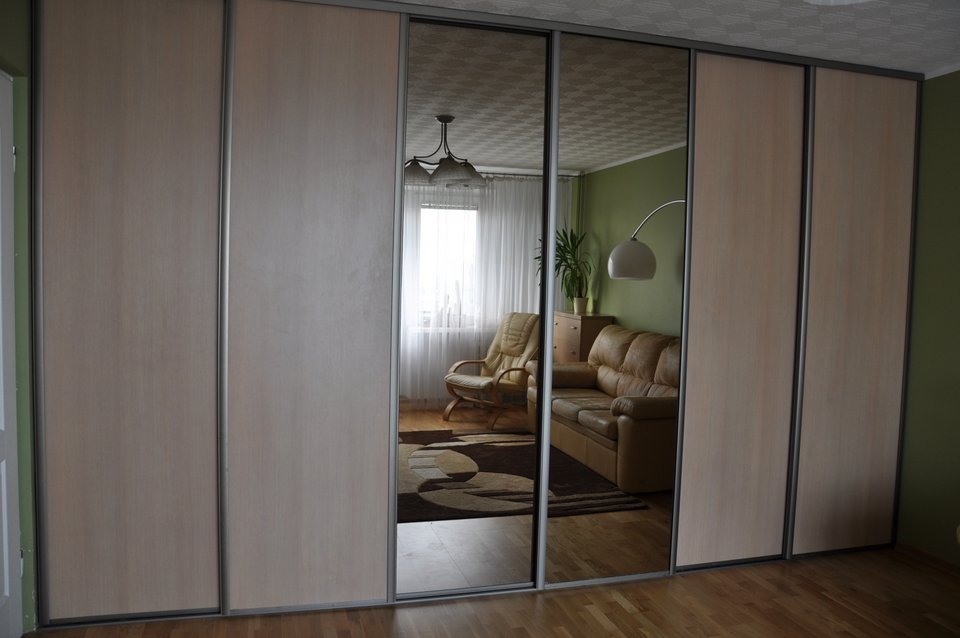
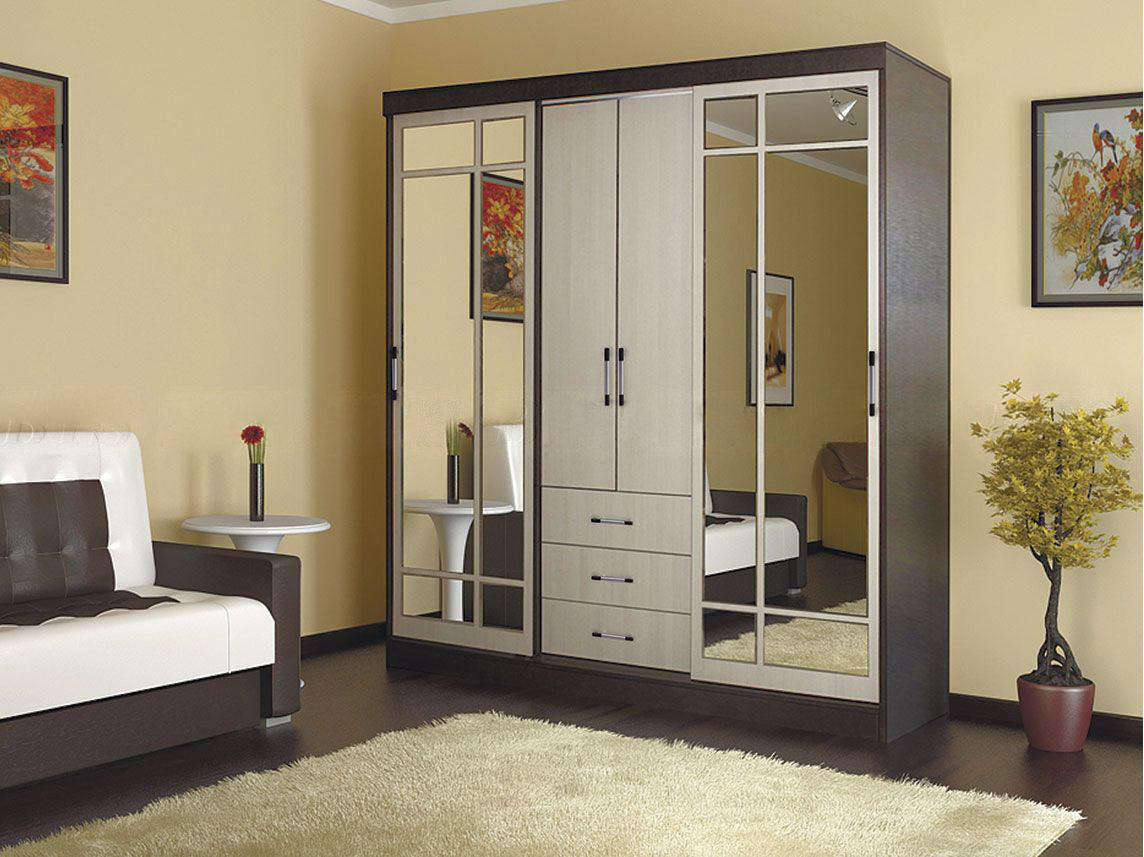
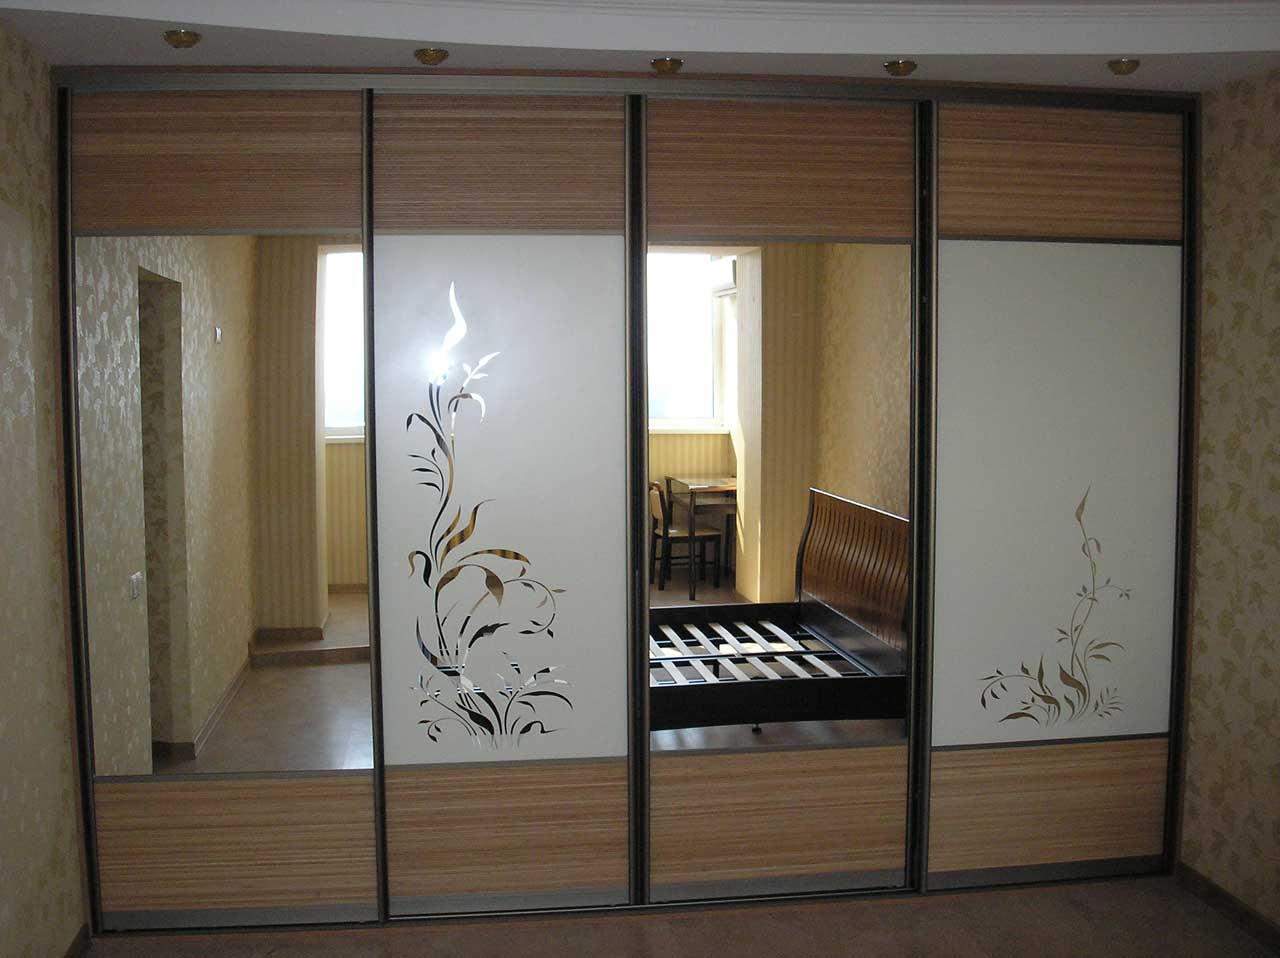
The traditional place of installation of the wardrobe is the hall. To save space, the cabinet is usually installed in a niche where it occupies all the space from floor to ceiling. In a narrow hallway, double-wing or tricuspid cabinets with mirrored doors are usually installed, which allows to visually expand the space. In addition, the internal structure of the cabinet usually involves the use of a large number of shelves and additional compartments for storing large quantities of clothing and footwear.
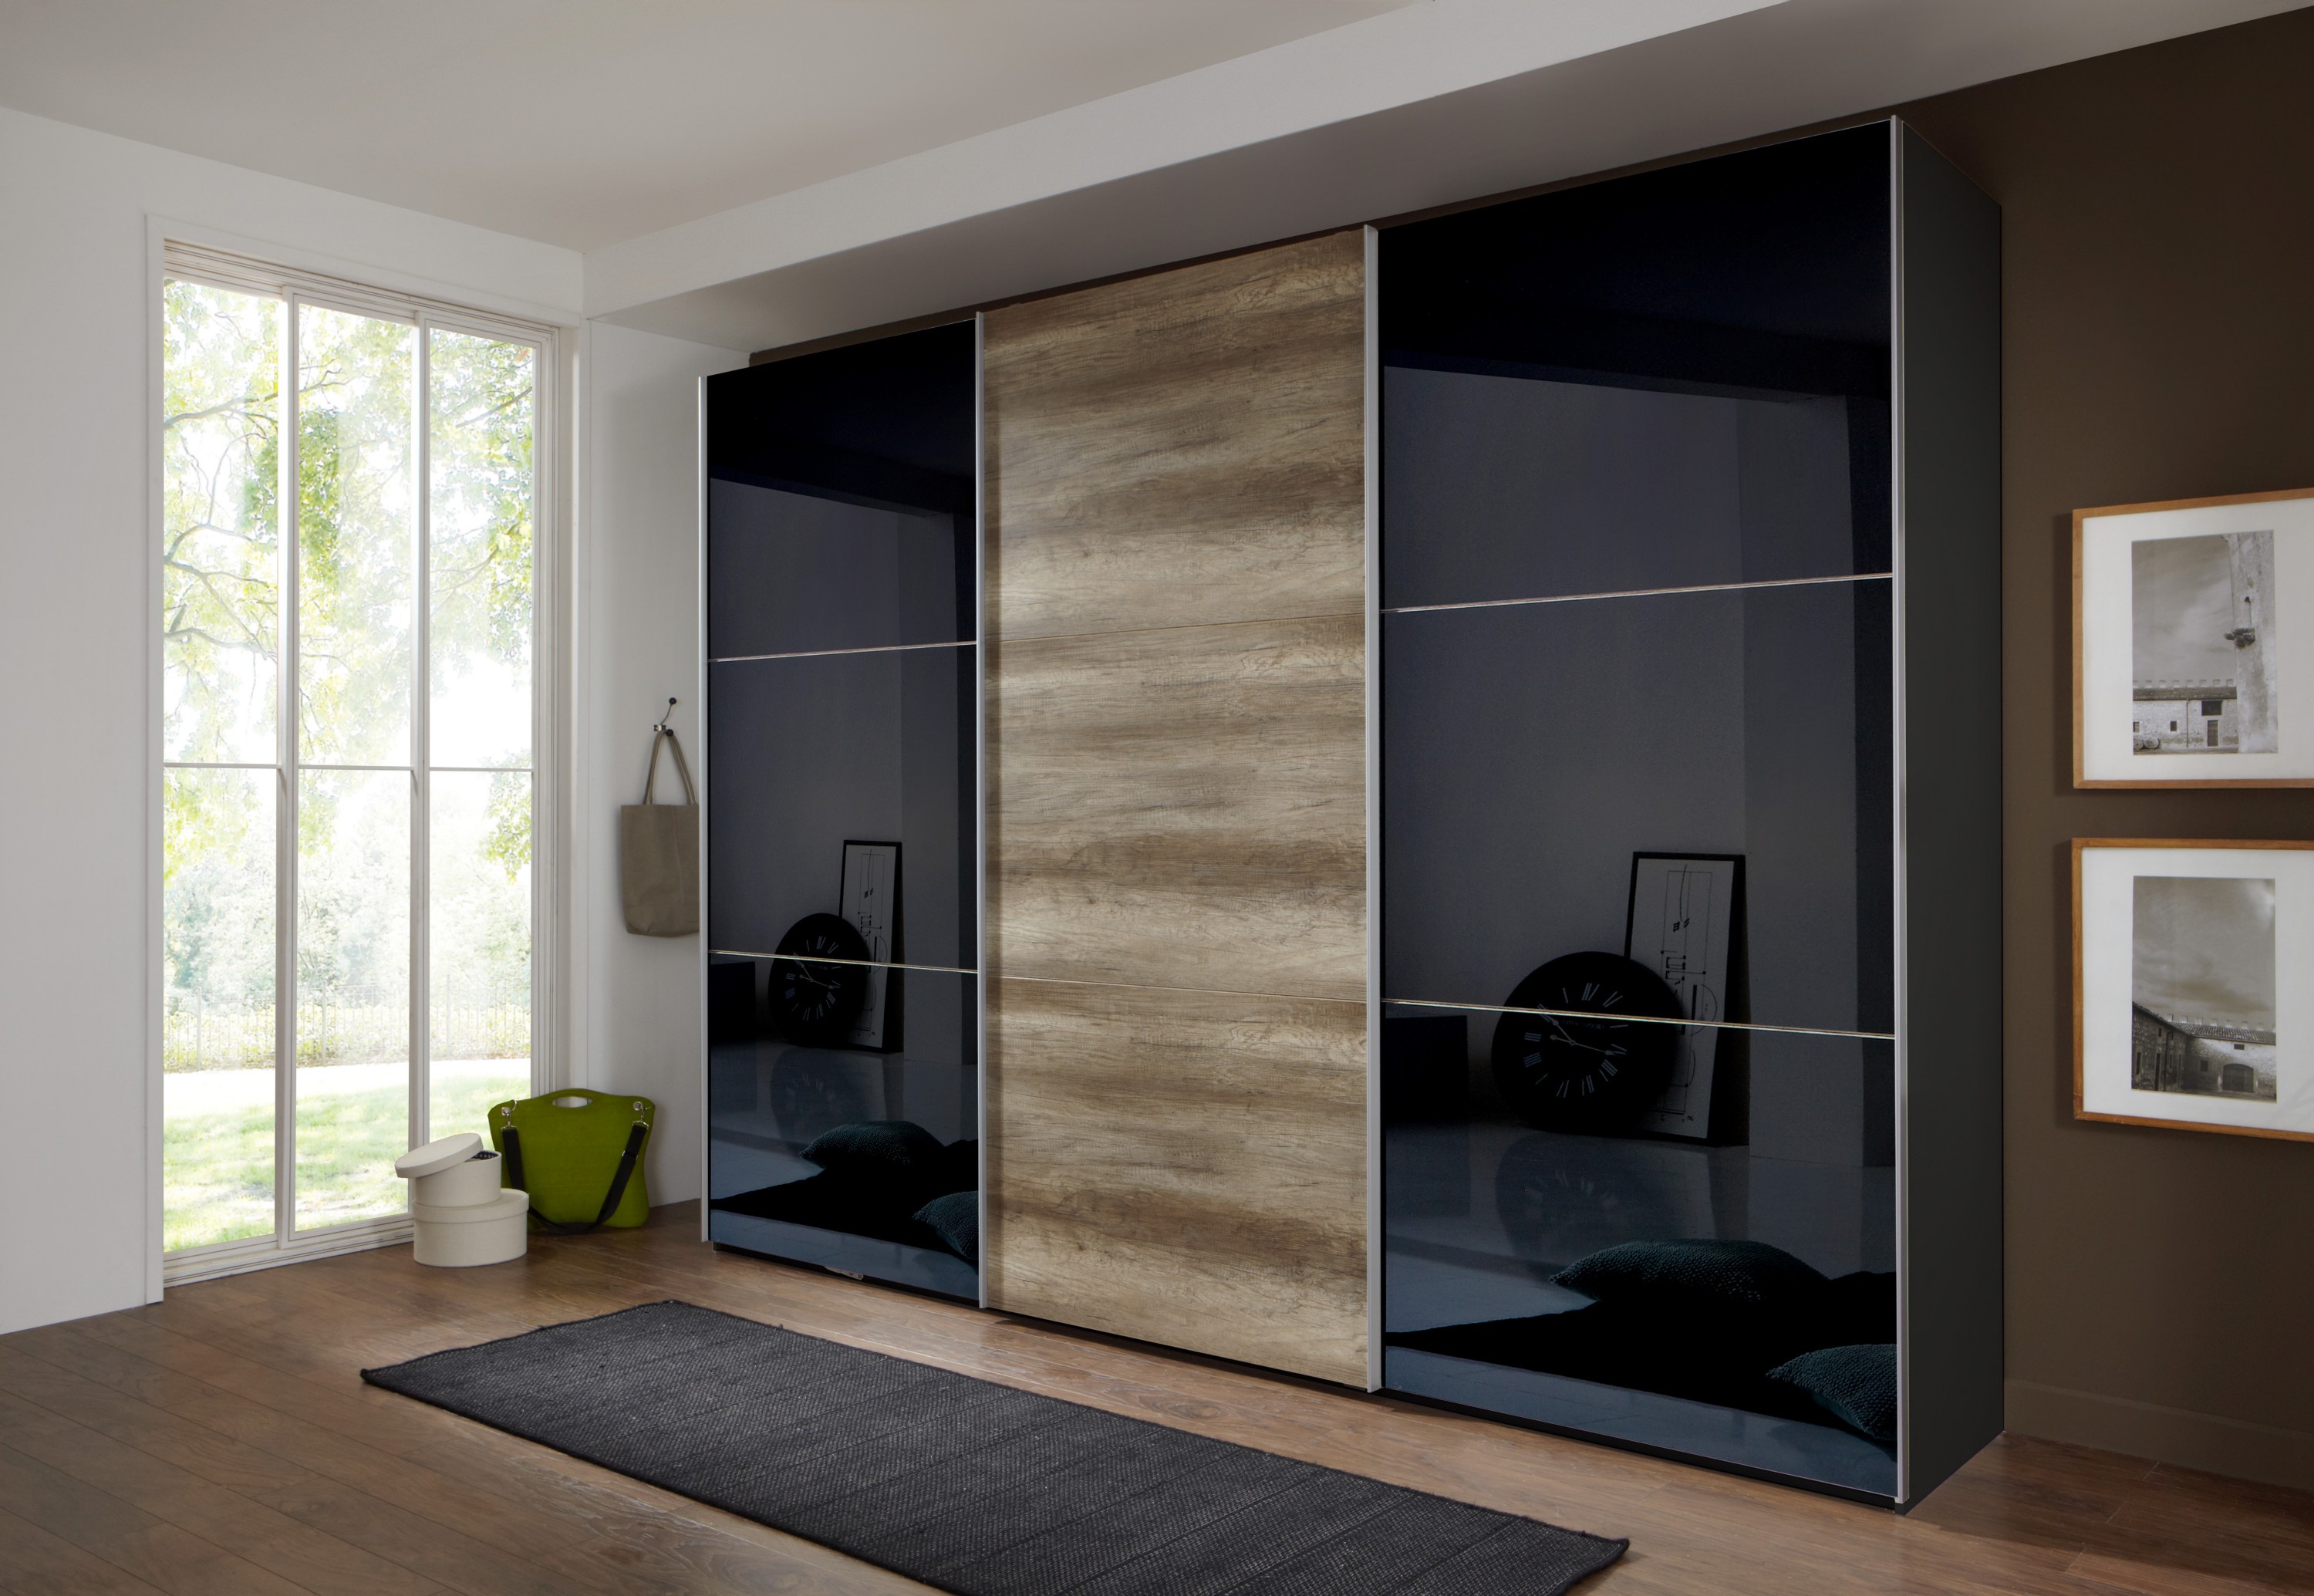
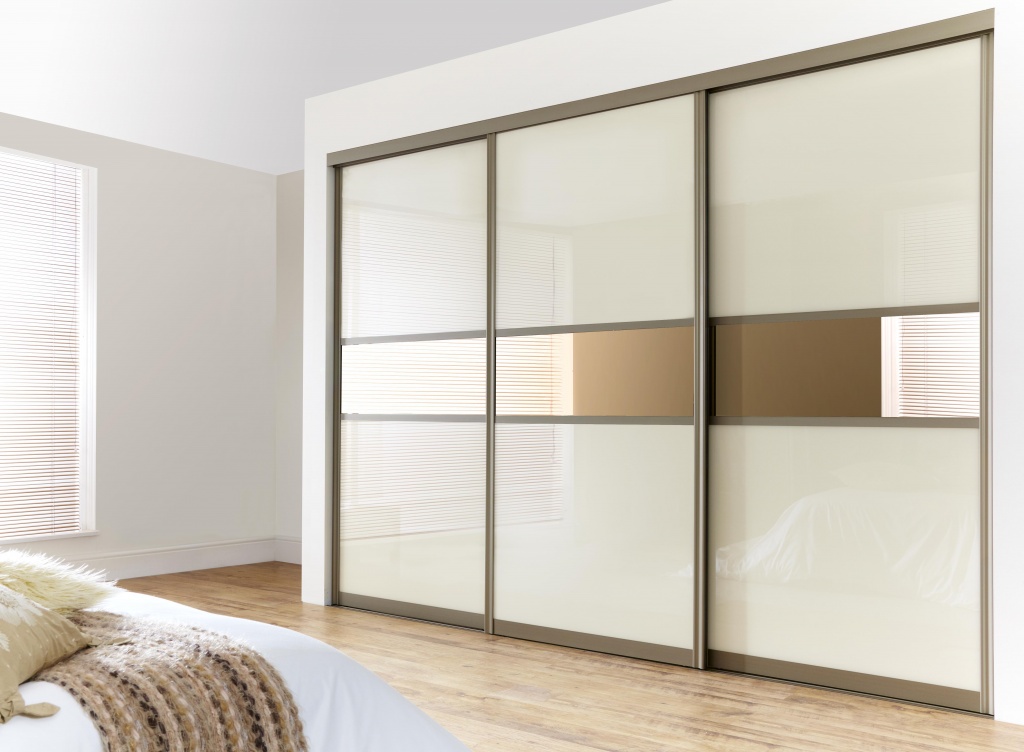
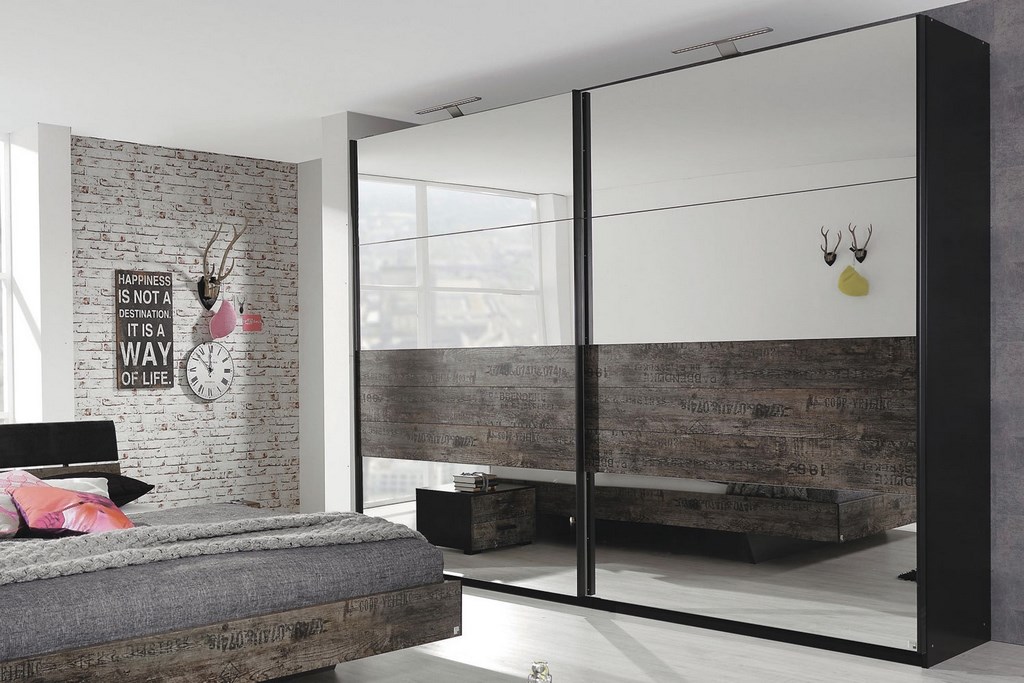
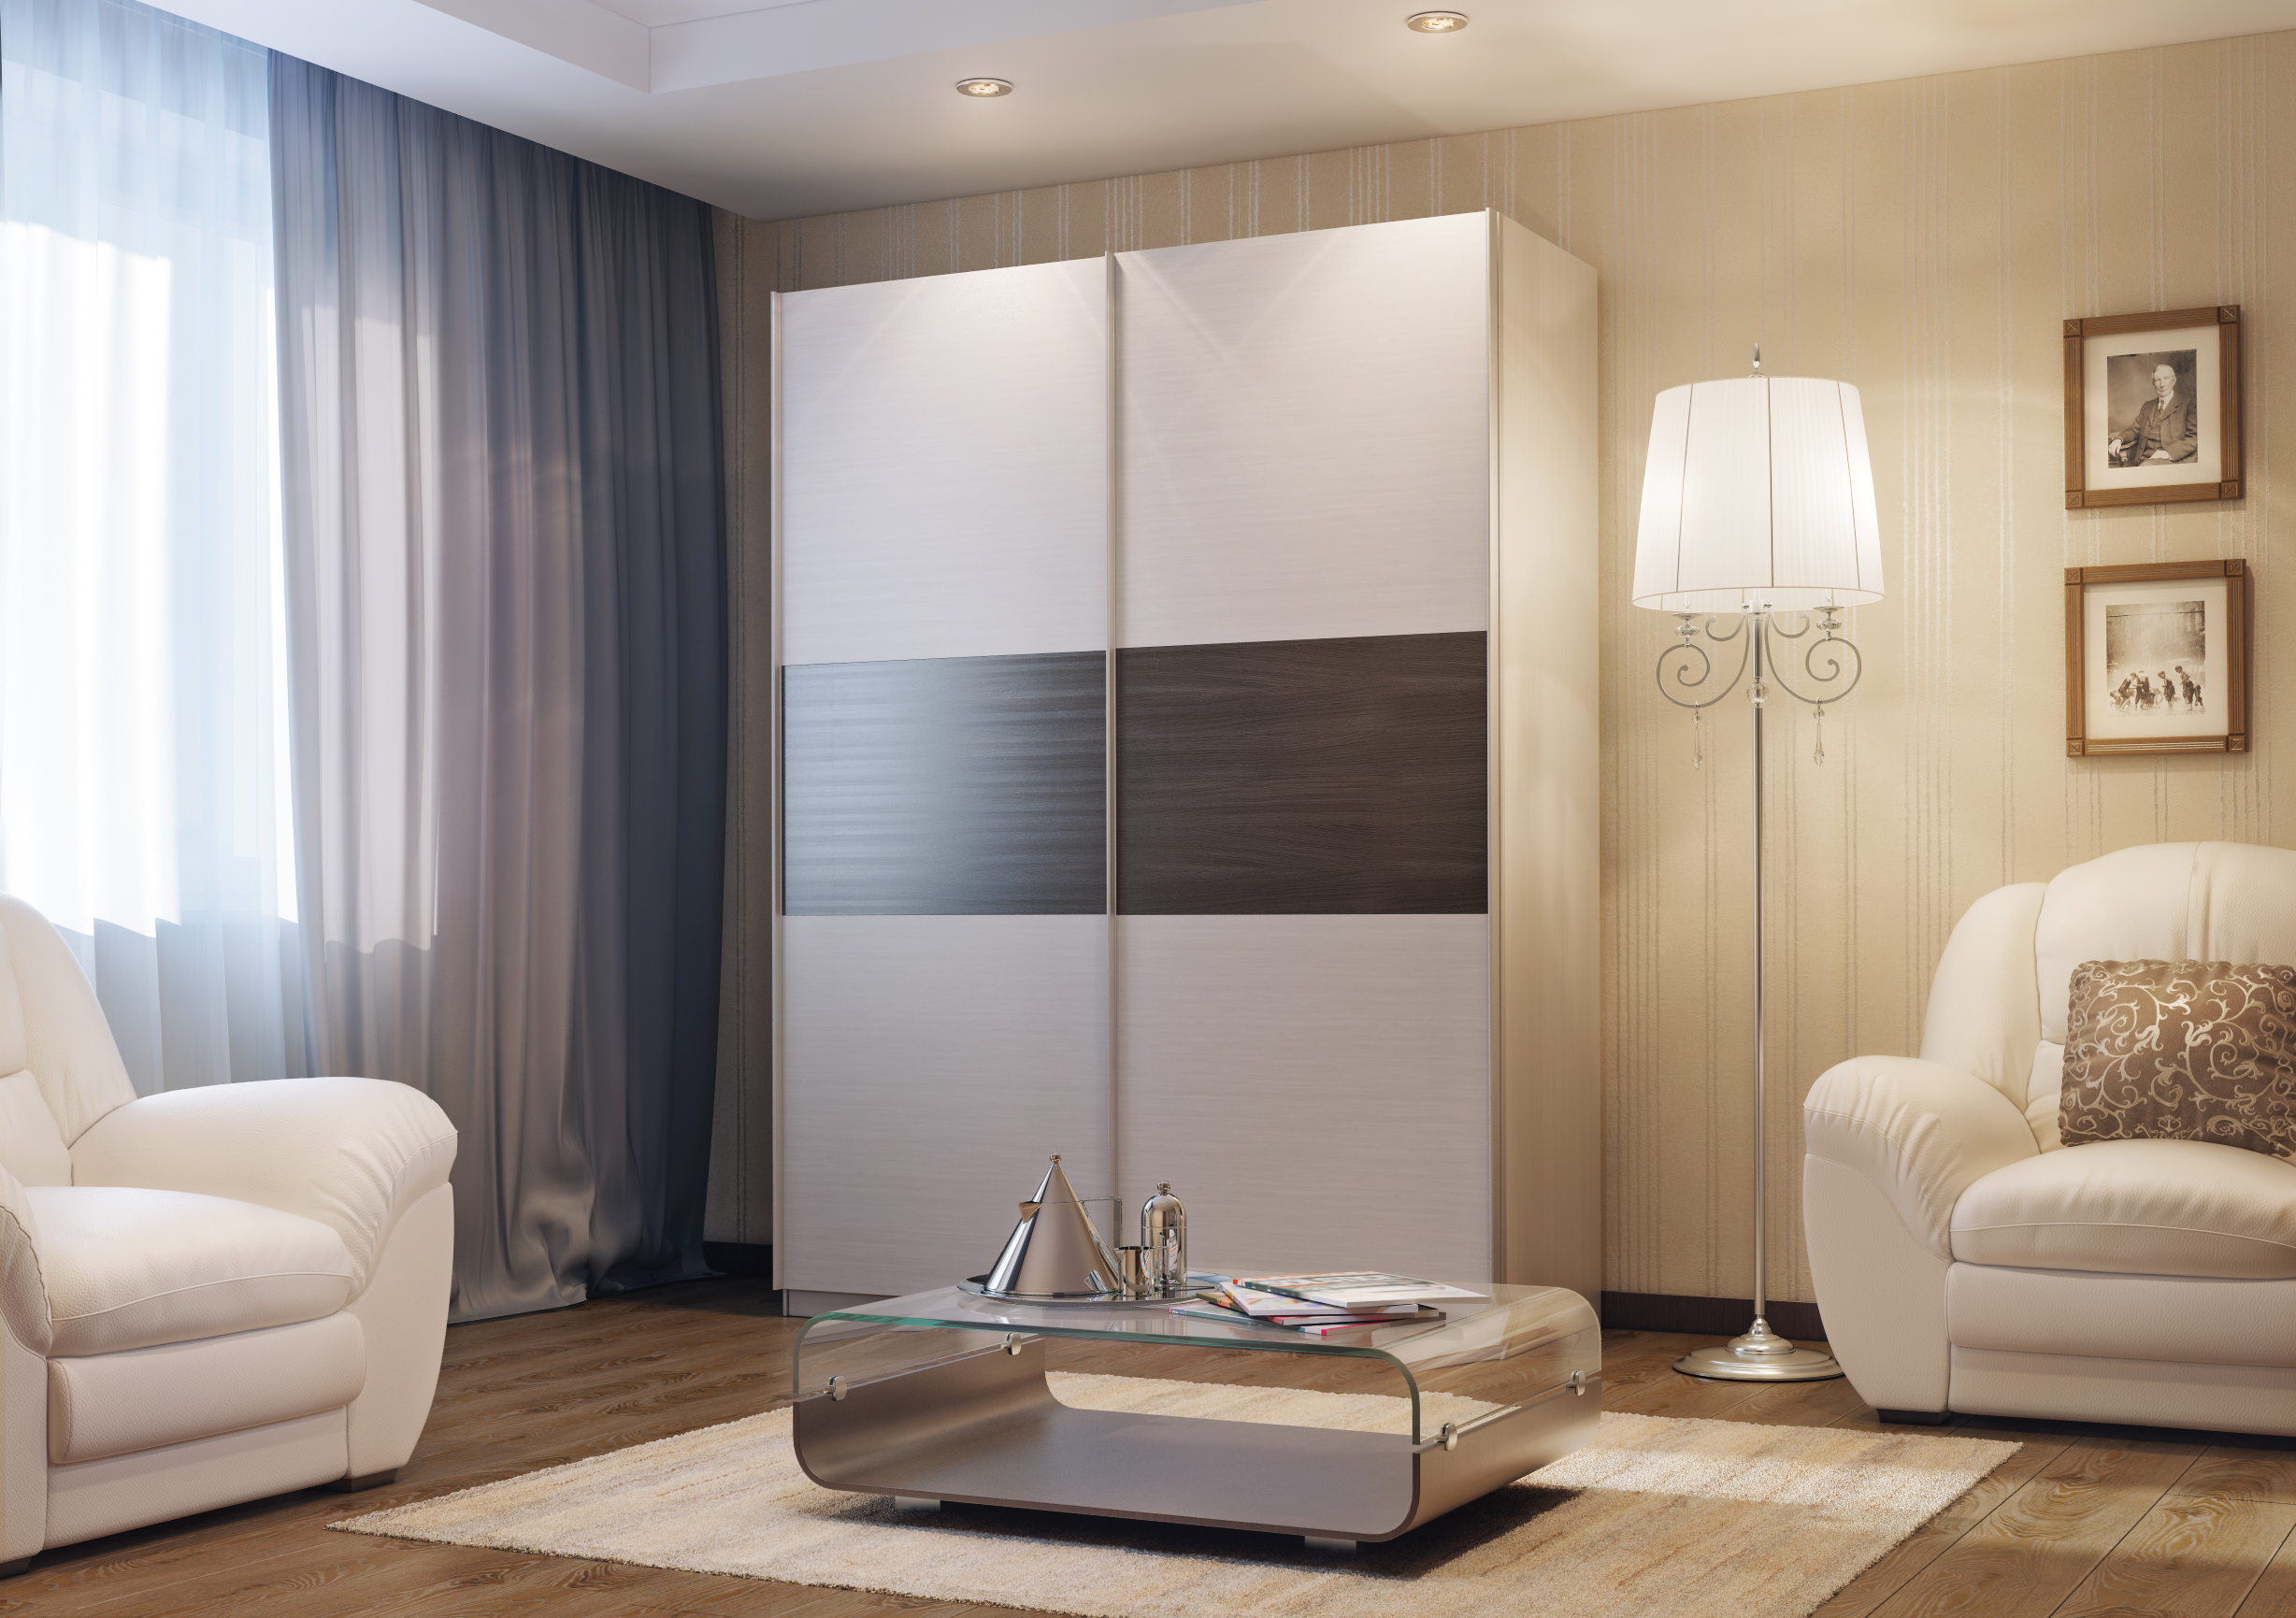
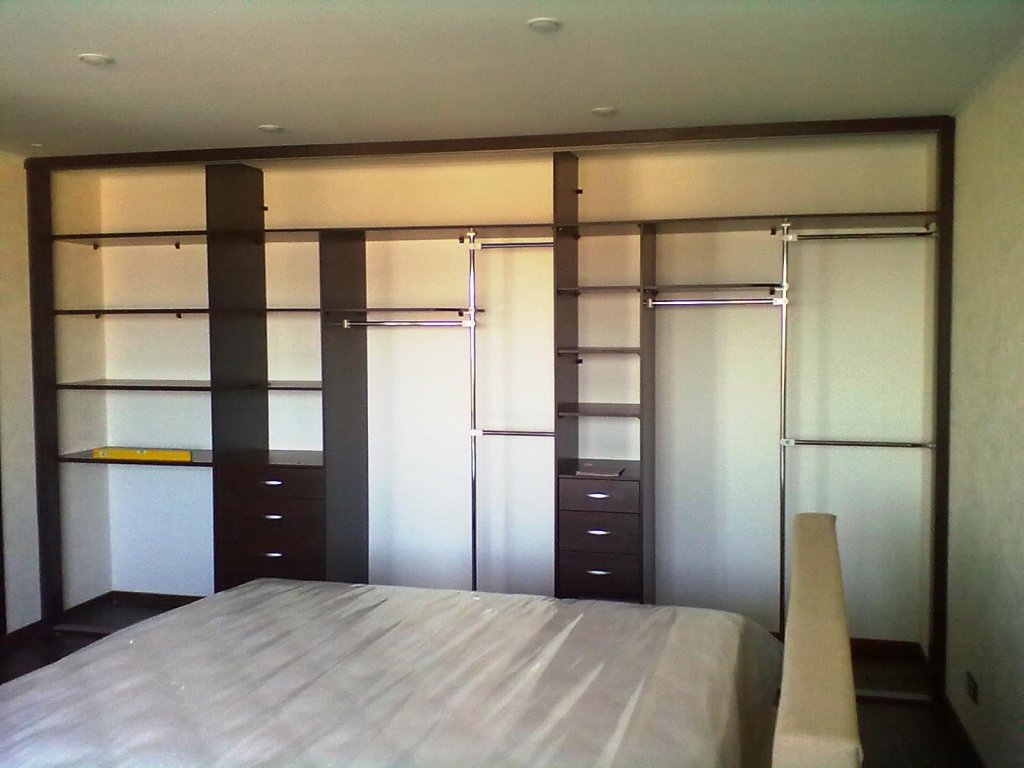
In modern apartments, frame wardrobes can be located in the bedroom, in the living room, in the study, and even on the loggia or balcony. The features of the decor in each case are determined by the general style in which the interior is designed. Sometimes the wardrobes can even be used as a partition dividing two rooms or one room into zones.
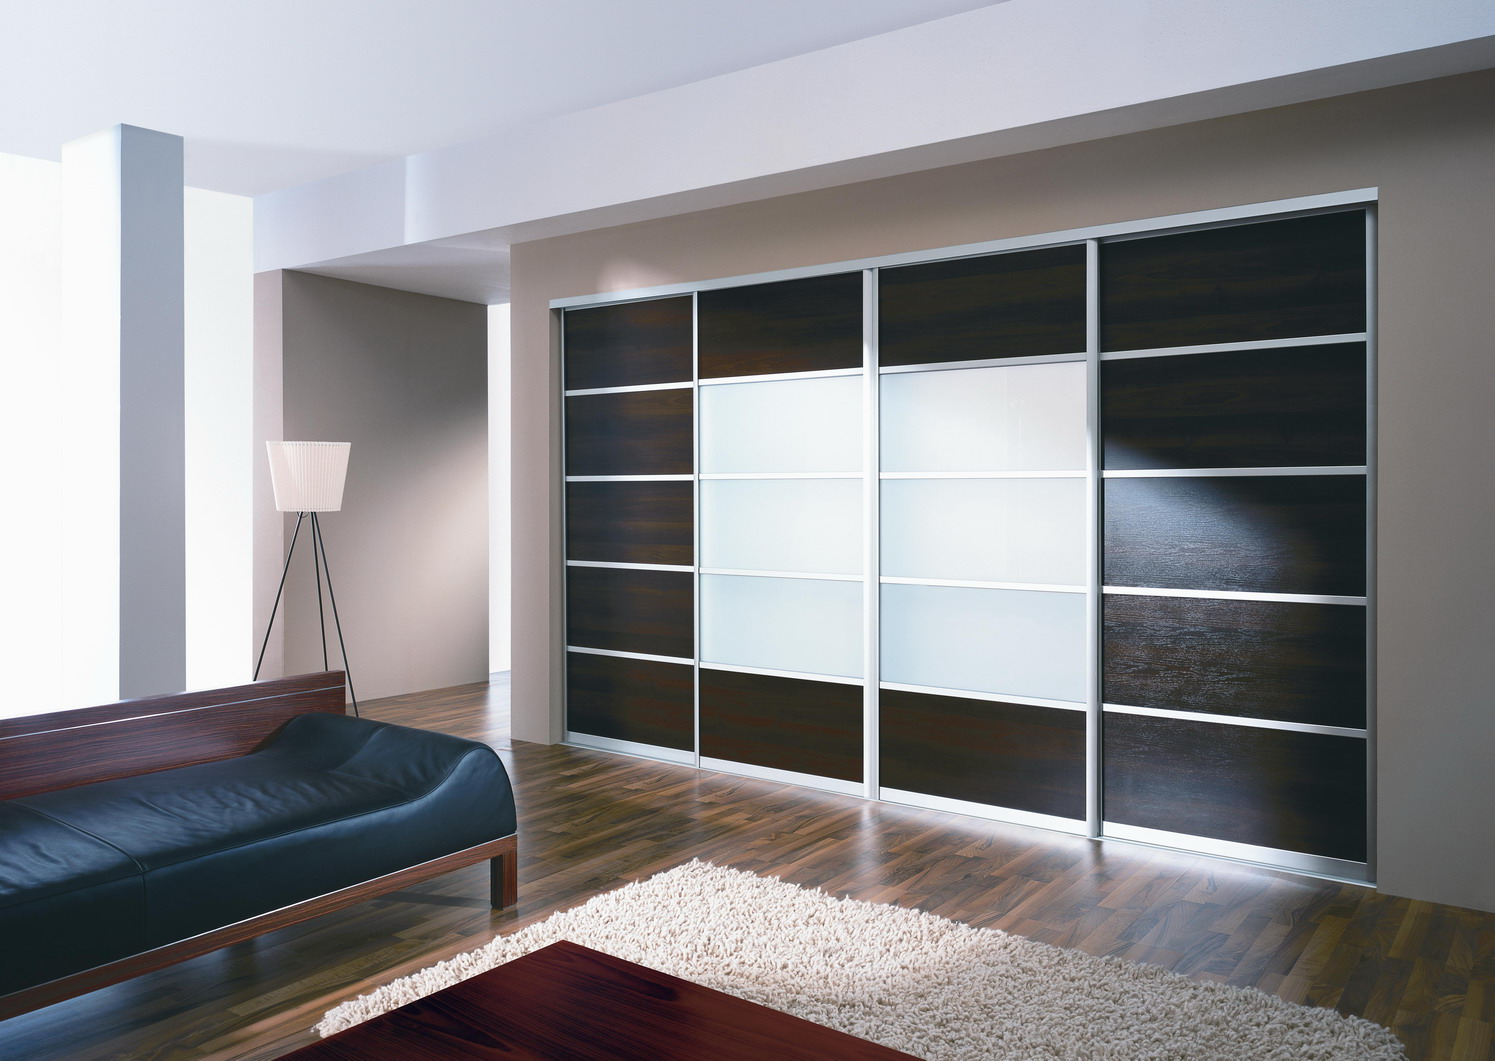
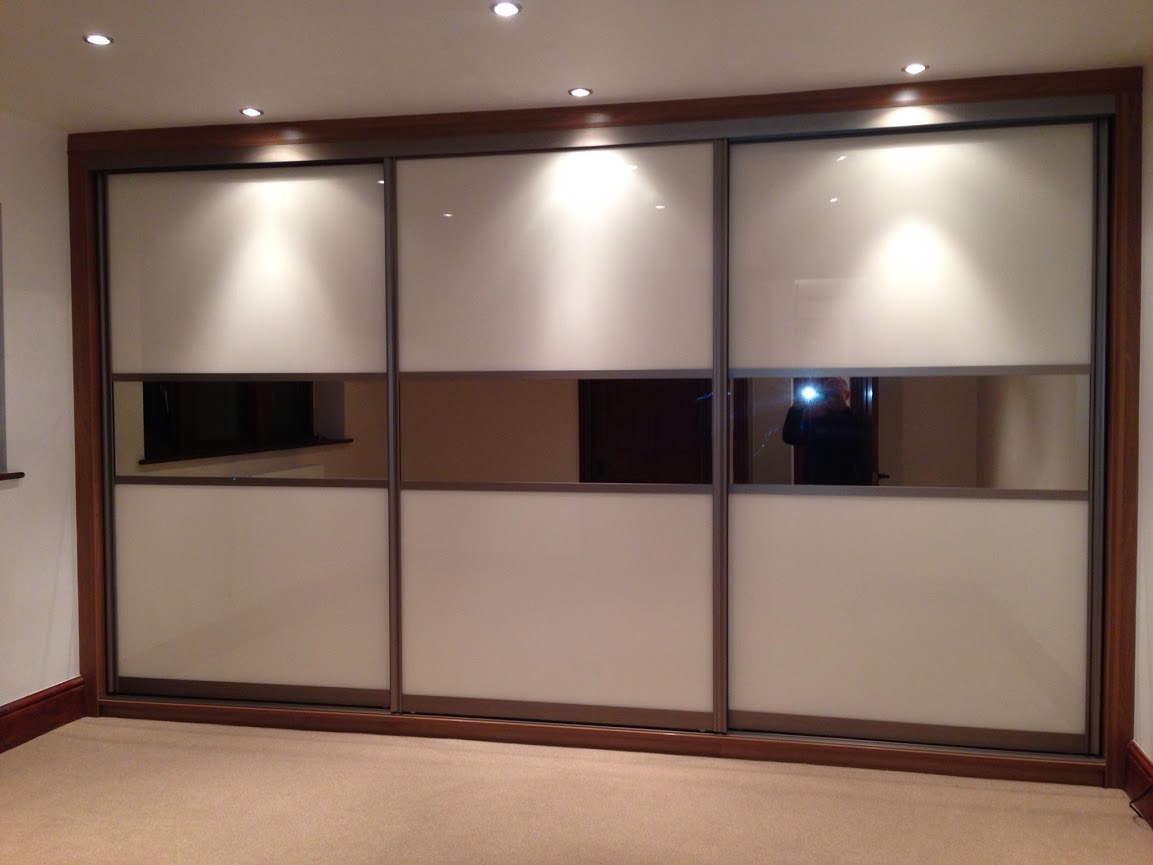
Sliding wardrobes fit well into the interior of small rooms like an attic or dressing room. In the case when the room is not sufficiently lit, it is possible to install the lighting directly in the cabinet itself.
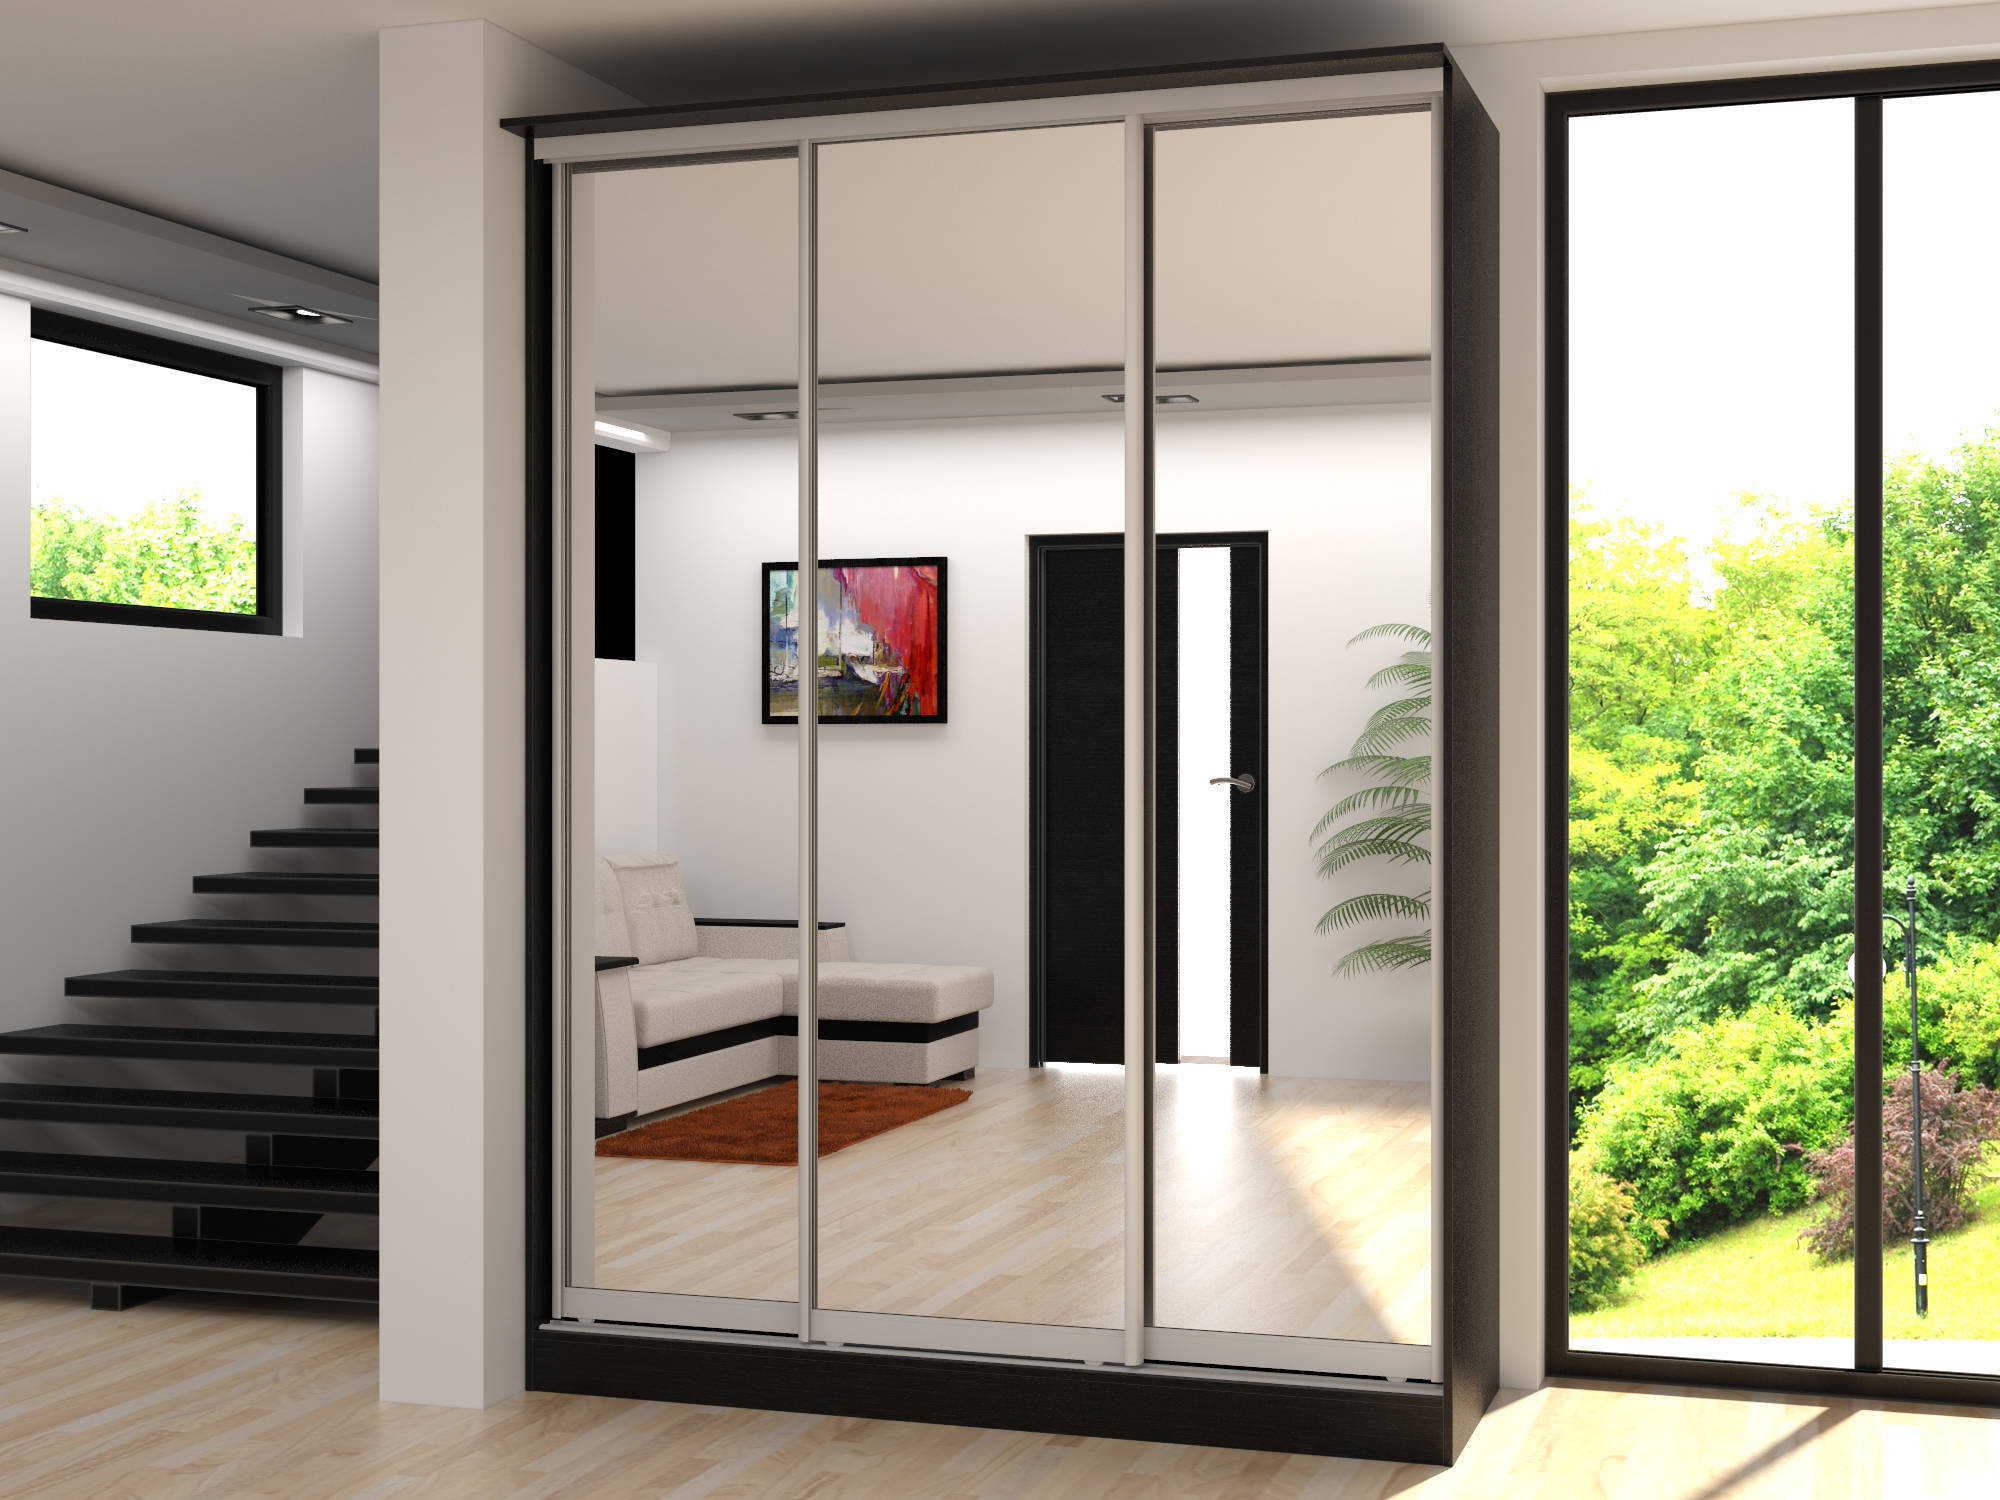
The design of a homemade wardrobe compartment determines only the imagination of the creator, but it should be remembered that he did not stand out from the interior and formed a harmonious furniture ensemble.