Wardrobe in the hallway with their own hands
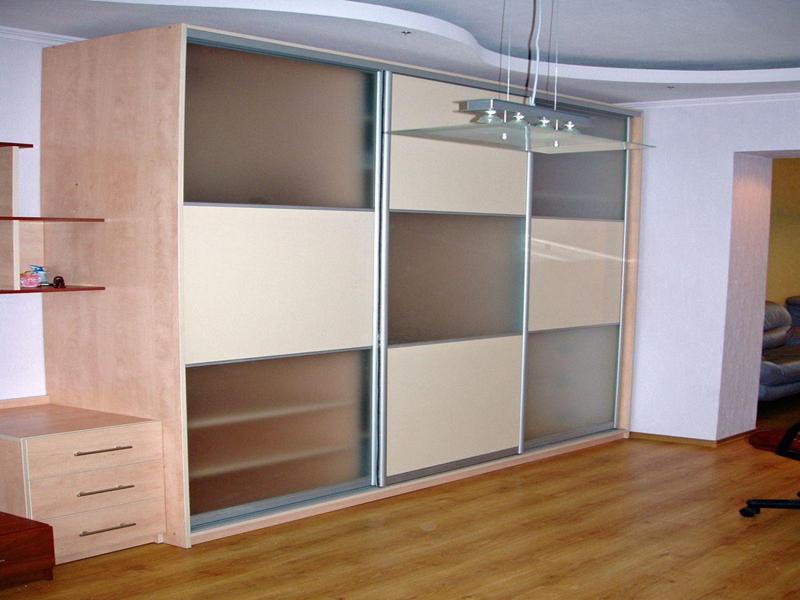
The sliding wardrobe is an excellent solution for rooms with limited space. The doors are moving apart like a train, which allows you to install a closet in small hallways and narrow corridors. A similar design is offered in all salons of furniture, but not always typical dimensions fit exactly your room size. You can order a wardrobe designed according to your standards based on the characteristics of your room, but the cost of one copy doubles. For those who need a wardrobe more or less typical, there is another solution - to assemble the structure with your own hands. This is not very difficult to do if you know where to start.


The choice of cabinet design and its placement options
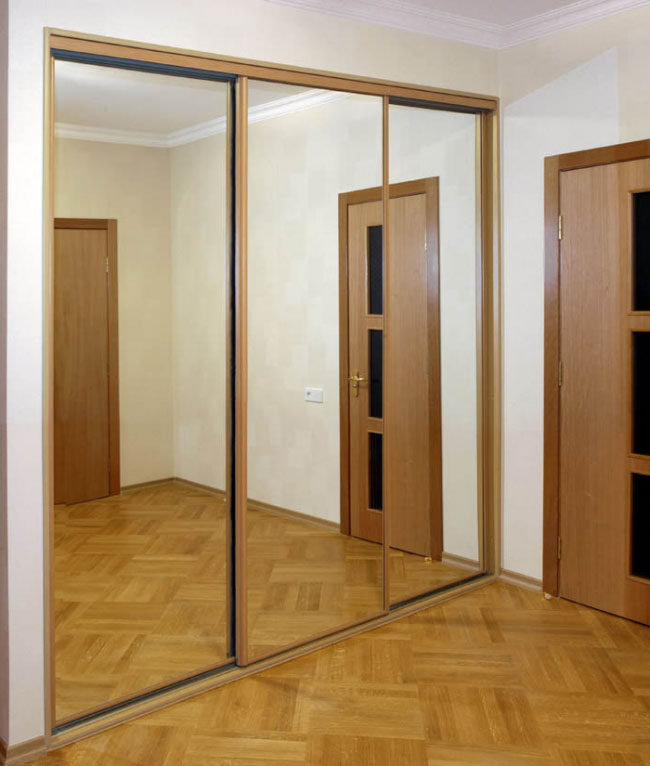
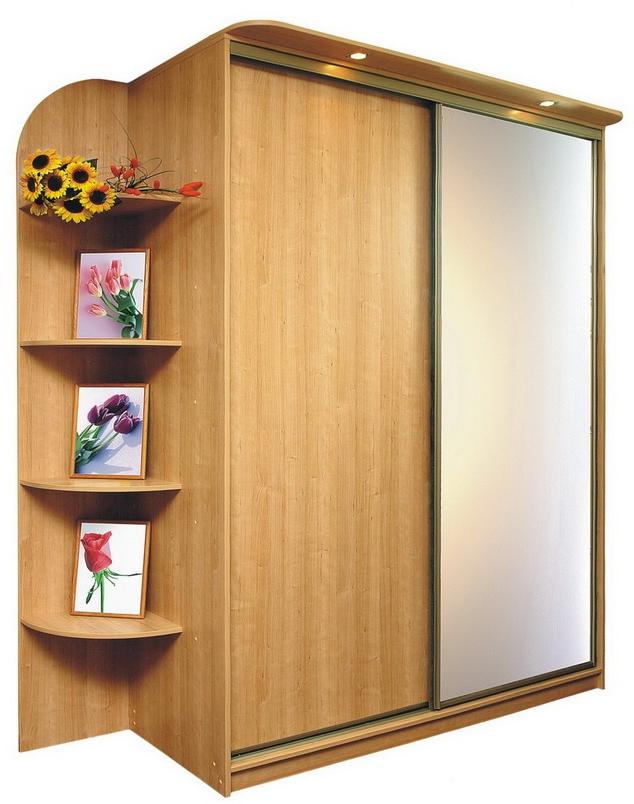
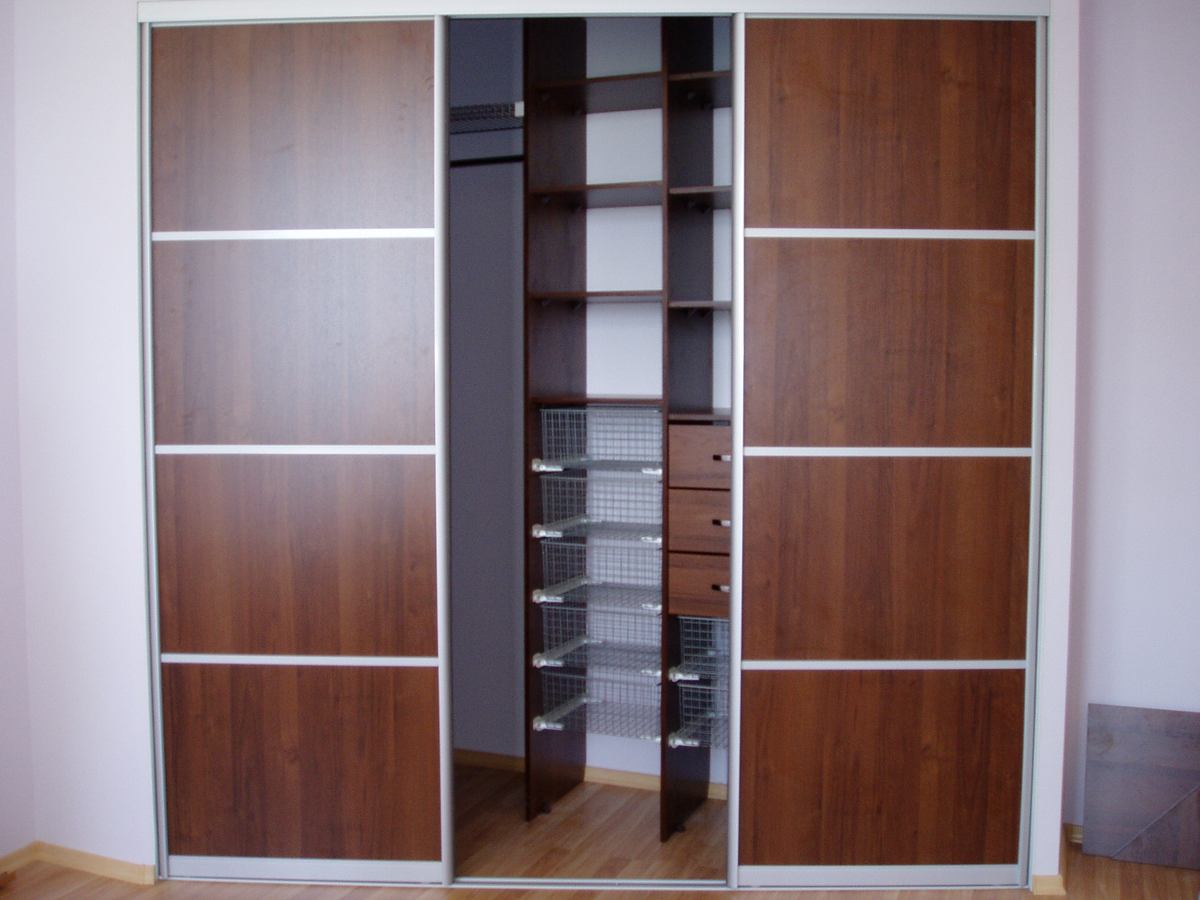
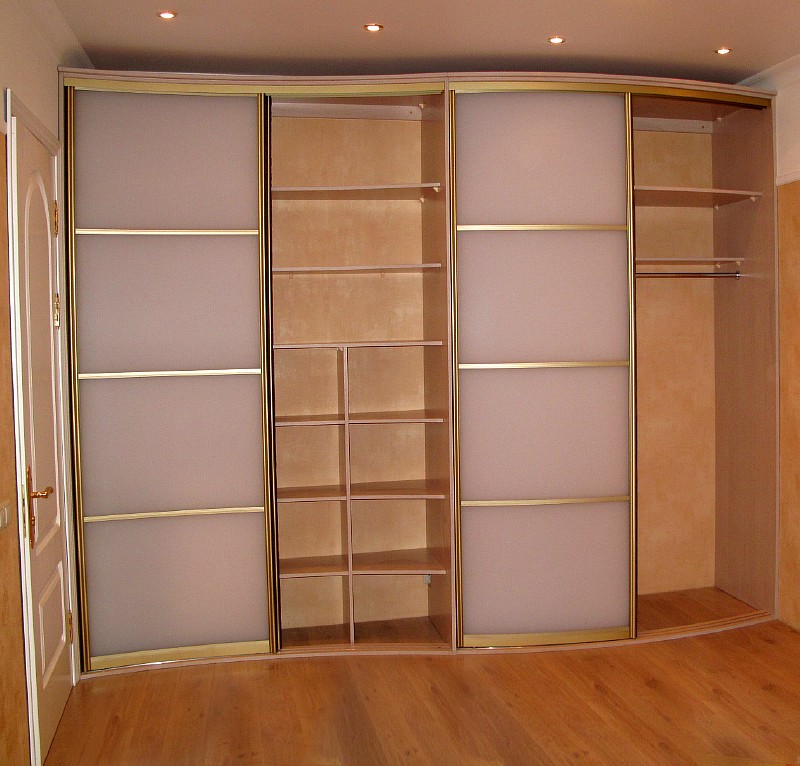
Placement of the cabinet in a niche. Residential designers are sometimes very creative, so half of the typical houses in the hallway have niches of unknown purpose. It is in this niche and you can make a wardrobe compartment.To do this, you need to install guides for the doors and order the doors themselves with fittings. In this way, you save space, time and money.
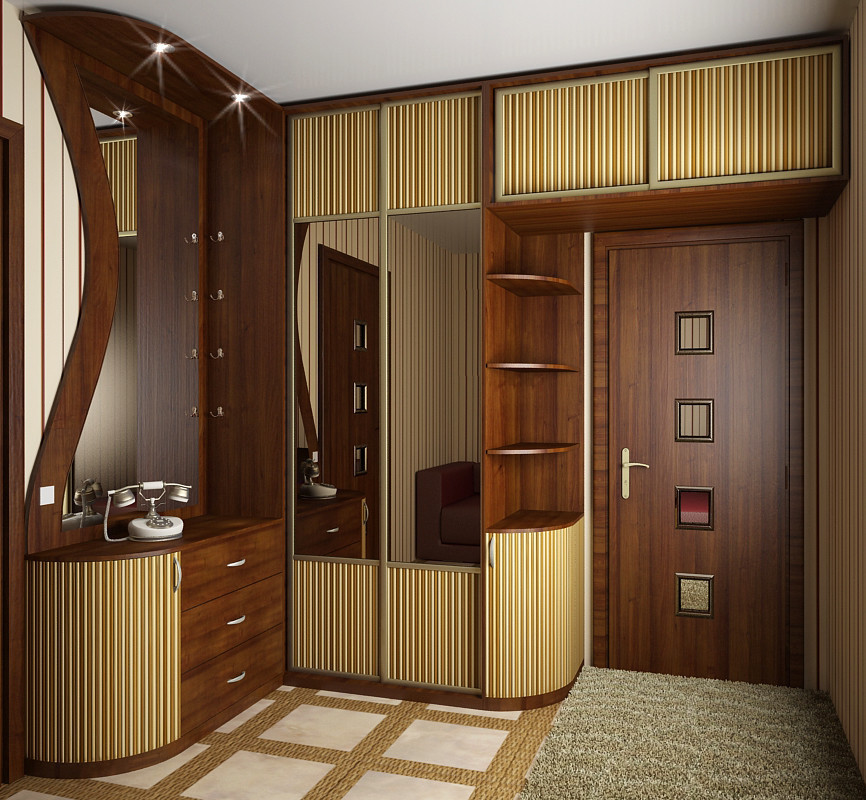
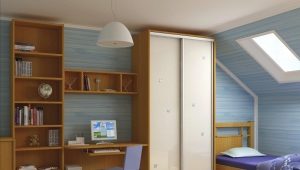
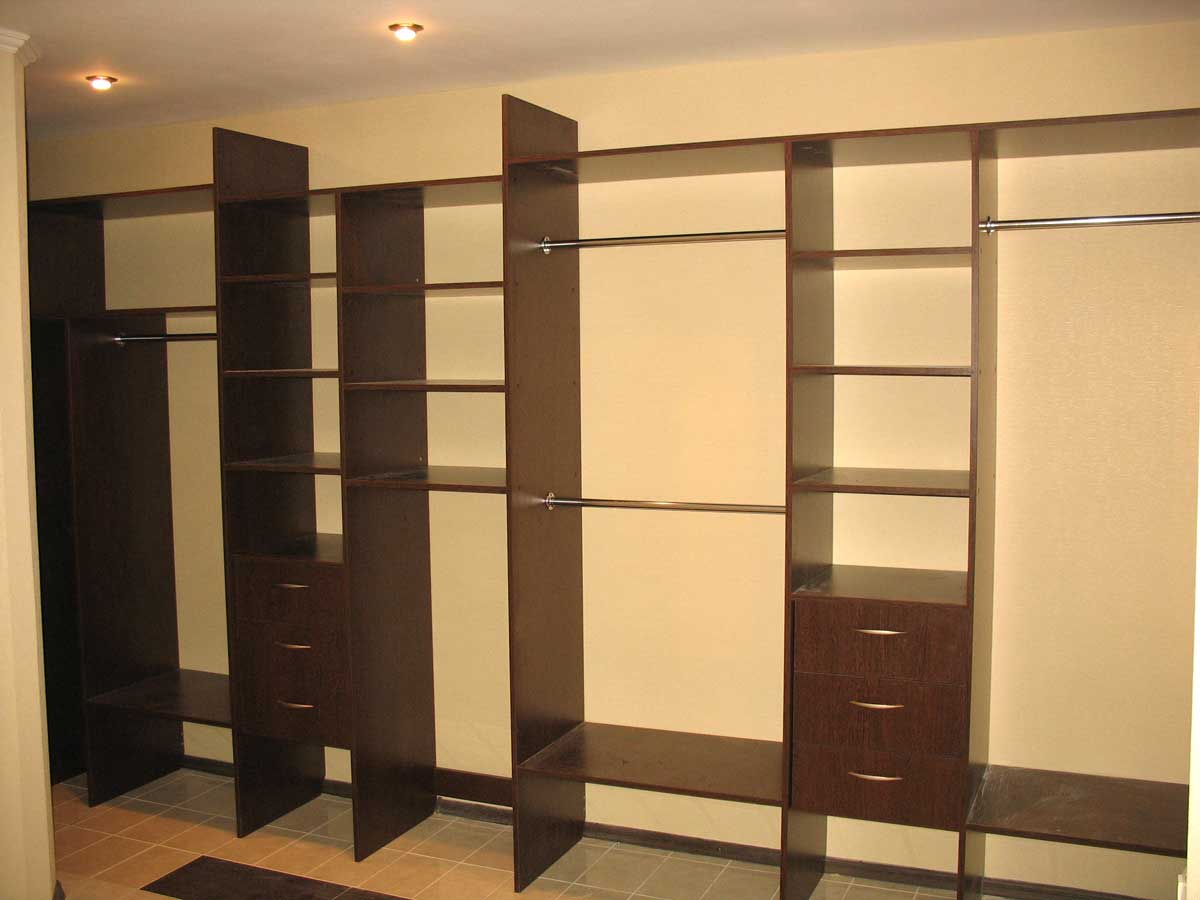
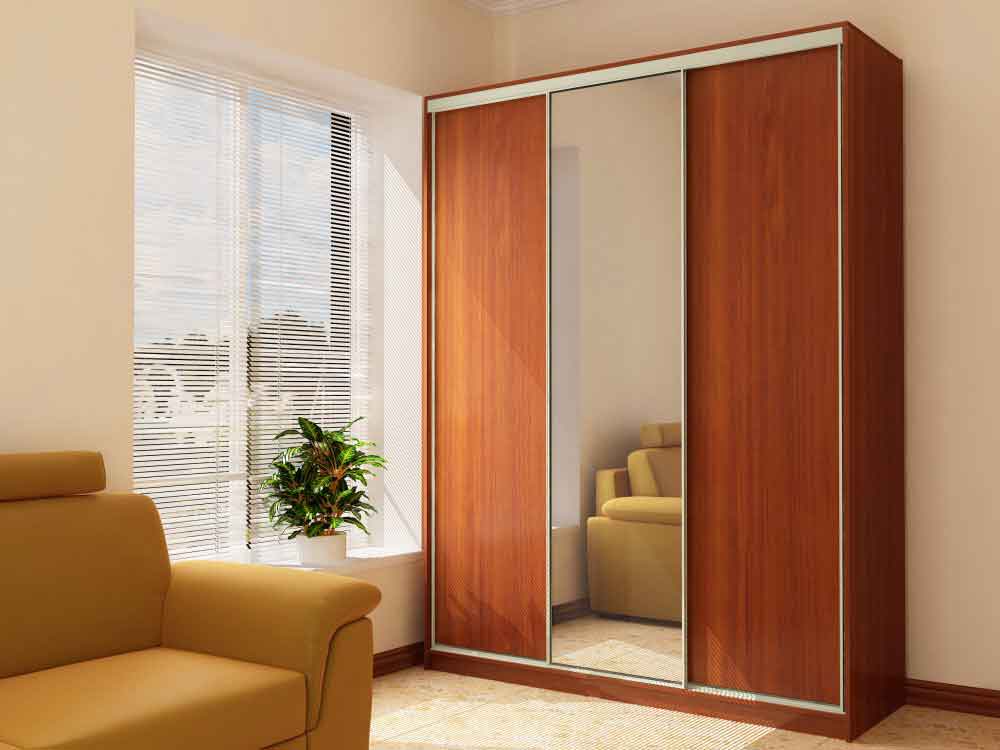
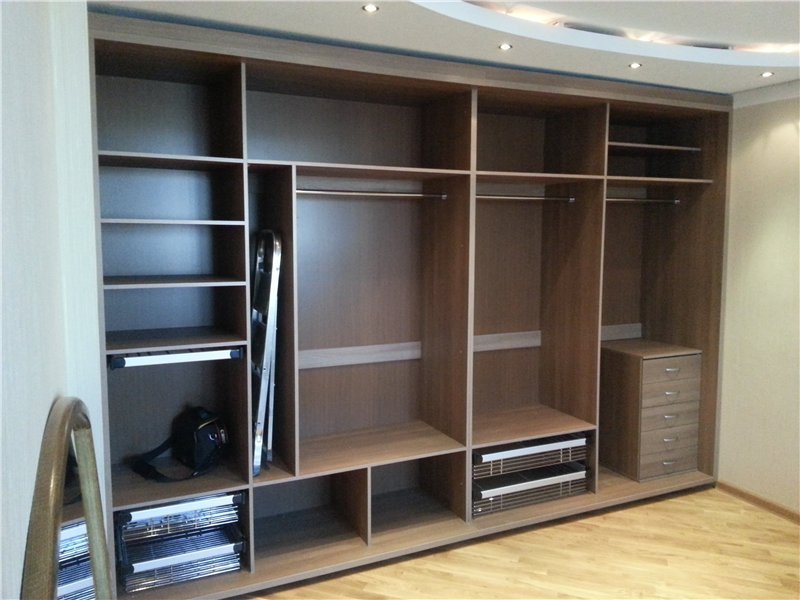
Cabinet along the entire length of the wall. A good solution is to install the cabinet along the entire length of the wall. Firstly, the room is not broken by the corners of the furniture and does not visually lose space. Secondly, such a wardrobe can serve not only as a wardrobe, but also as a pantry, where skates, skates, skis and even car tires are stored.
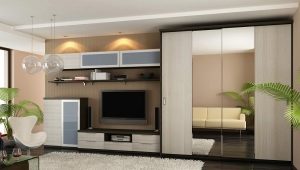
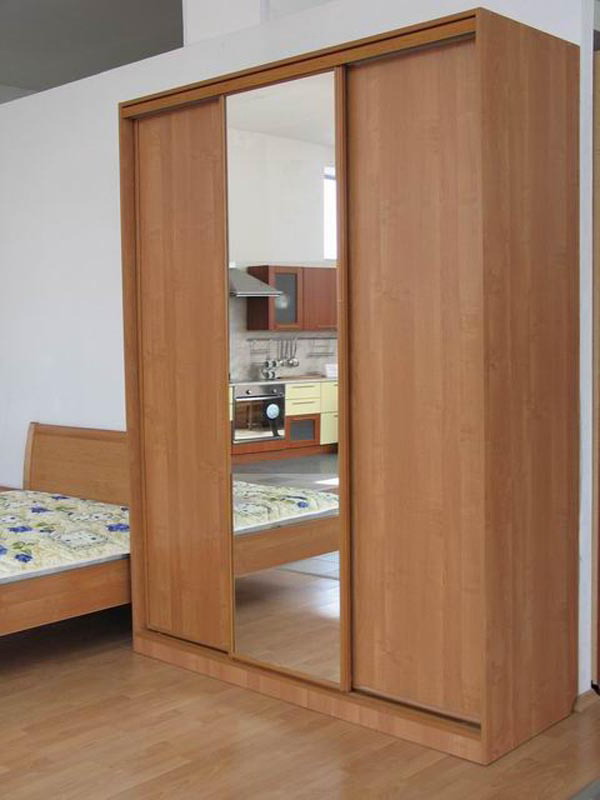
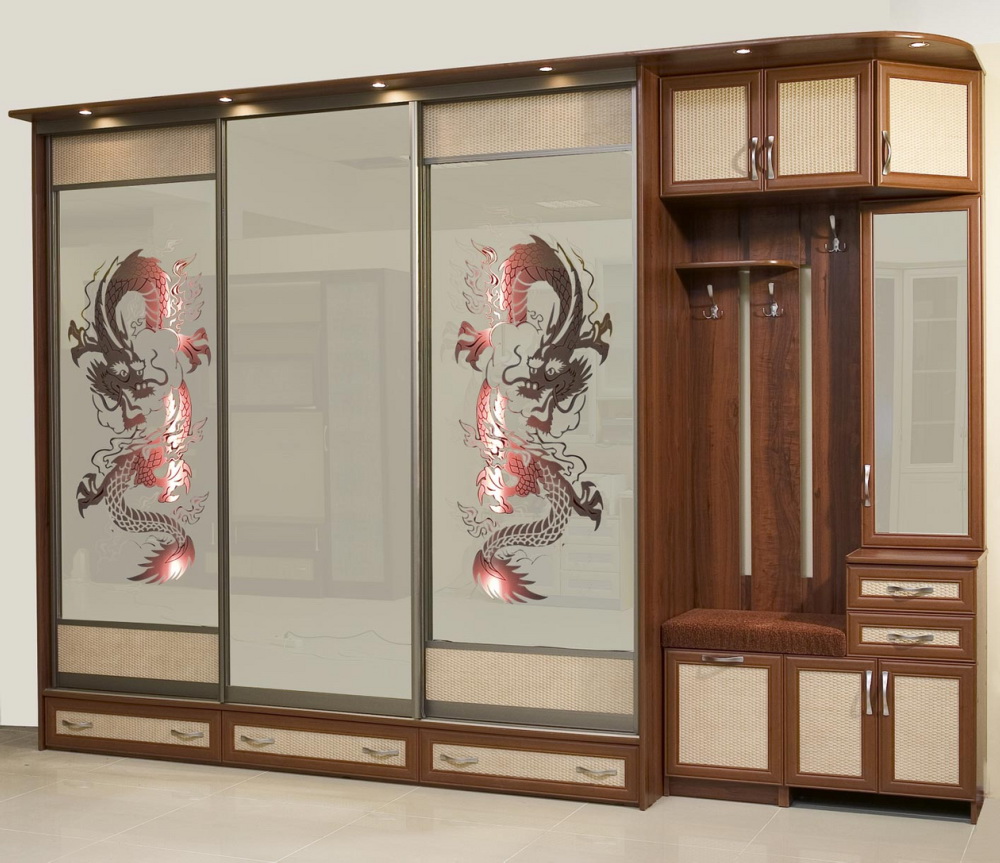
The wardrobe can separate the hallway area from the living area in studio apartments. The wardrobe is installed across the entire width of the room; a through-door compartment is made in its center, and a clothing compartment on the sides. Some people prefer to do all the doors from two sides, which provides access to clothes from the hallway and the bedroom at the same time. A very convenient option when access to outerwear is from the hallway, and access to bed linen - from the living room.

Materials
The most optimal for creating a cabinet is a chipboard and MDF of high or medium density. This material is not very expensive and relatively dense. But when choosing a chipboard, be sure to pay attention to its category (must be E-1) and coverage (preferably laminated on all sides).Chipboard emit formaldehyde and phenol when heated, so if there are heating pipes in your hallway, then do not risk and choose another material. Another disadvantage of chipboard can be considered weak retention of screws.

MDF is safe for humans, because when heated, lignin is released, which is contained in natural wood. True, the price of MDF is significantly higher, and it is a flammable material.
Wood is a traditional material, however, if you plan to make a built-in wardrobe, then it is better not to use it. Concrete wall creates additional moisture, and spruce and pine, from which boards are usually made, have low moisture resistance.
It is better not to use drywall, because this material is not for the manufacture of supporting structures. It is fragile and if you do not think through the complex design of the base, it will not hold the closet door.
One of the possible options is the preliminary design of the cabinet, and then the purchase of ready-made components in stores or the creation of such components to order in the workshop (it is still cheaper than buying ready-made furniture).
What to consider when designing
When you design your own wardrobe, consider the following:
- useless space (this is what takes place, but is not used for its intended purpose. In a particular case it is a sliding system. It is necessary to lay 10 cm on it and add it to the useful space, which must be at least the width of the hanger. Thus, the depth of the wardrobe standard bar is: the width of the largest hangers + 10 cm for the convenience of placing things + 10 cm on the door mechanism);
- if you are assembling on the floor (do not mount the cabinet in a niche or directly to the wall), then the construction height must necessarily be lower than the ceiling height in the hallway at least 10 cm at a depth of 70 cm, and preferably even more so that you can lift and put the cabinet vertically;
- if you plan to put the cabinet on the adjustable legs, supports, then lay a place under them near the nearest partition (no further than 30 cm from it);
- rigidity of the structure is provided by transverse tie-ribs on the back wall of the cabinet; without them, the structure will be loose;
- if the space does not allow to install a cabinet with a standard longitudinal rod, lay several sections for the transverse rod;
- when designing drawers, lay the width of the bottom rail protruding down into the gap between the 7-mm facades. If this is not done, the boxes will not close;
- The most important thing when designing internal sections is to take into account the width of the sliding structure! Therefore, pre-determine the number and width of the doors, then to fit the whole system for them. If the width of the door does not coincide with the width of the dresser section, the drawers will not open. The bulkheads between the compartments must coincide with the borders of the doors;
- shelves have a distance of about 30 cm;
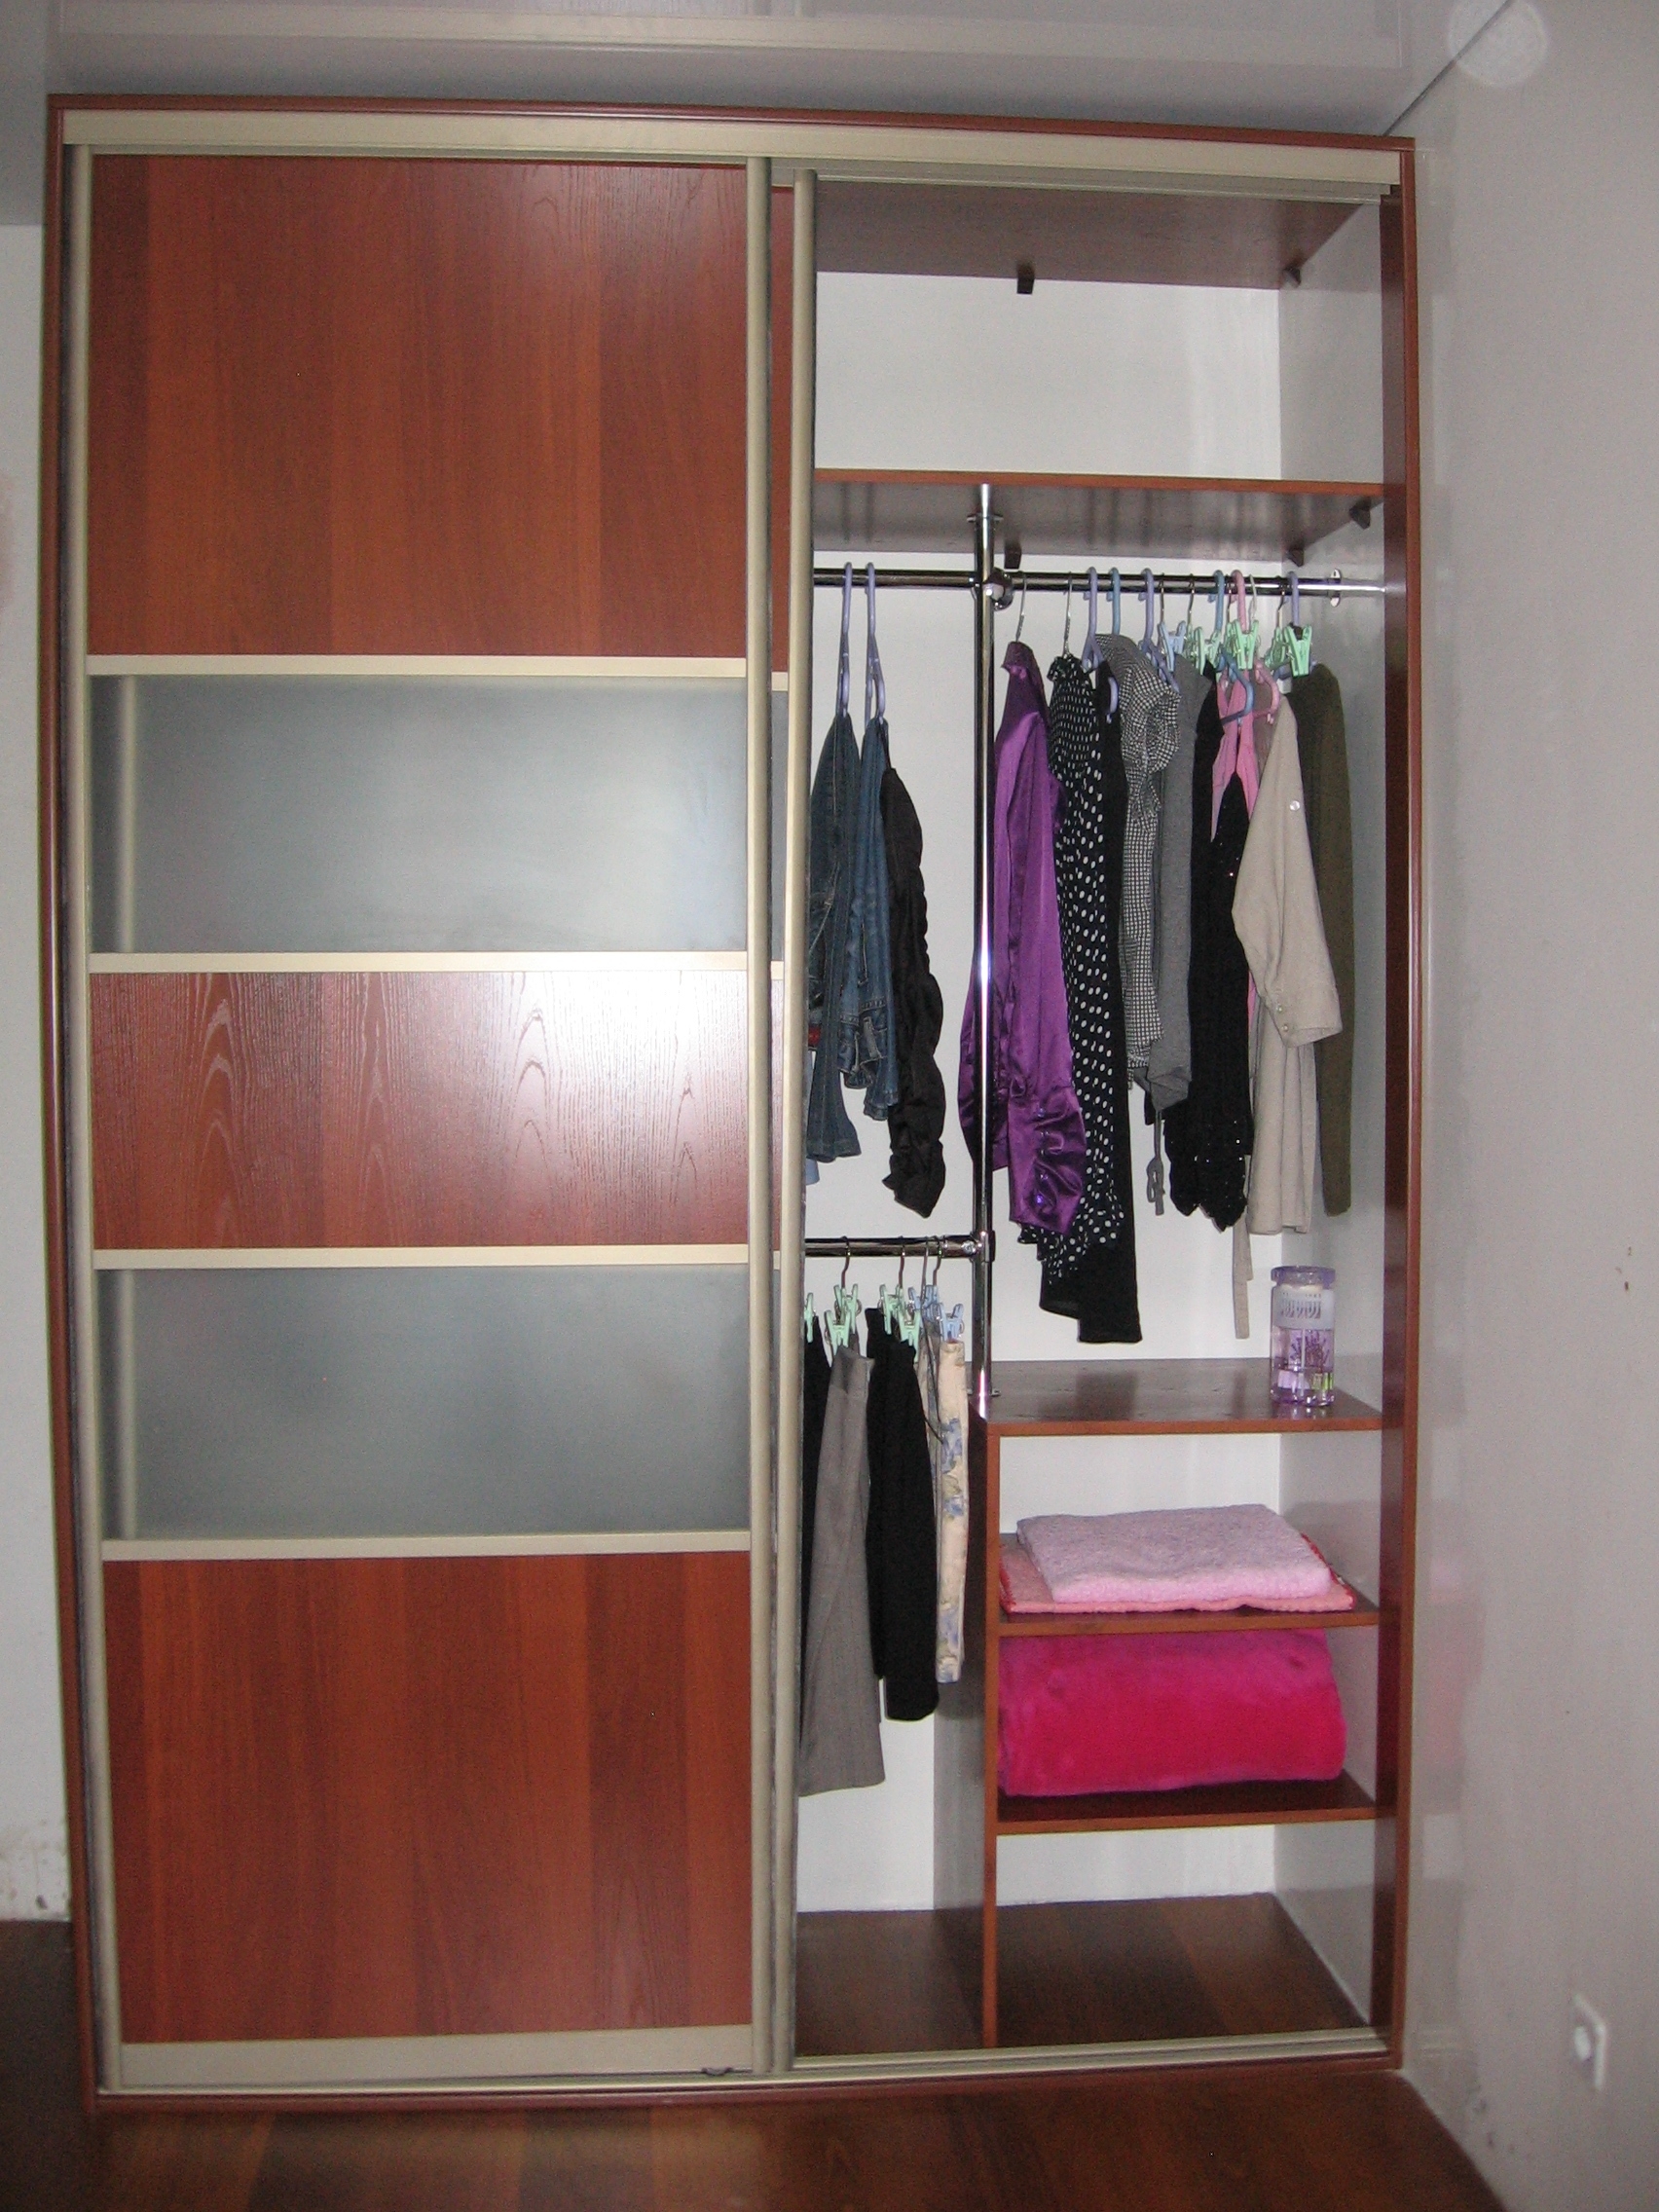
- compartment for hanging clothes is calculated based on the length of the longest thing and added to it another 10 cm;
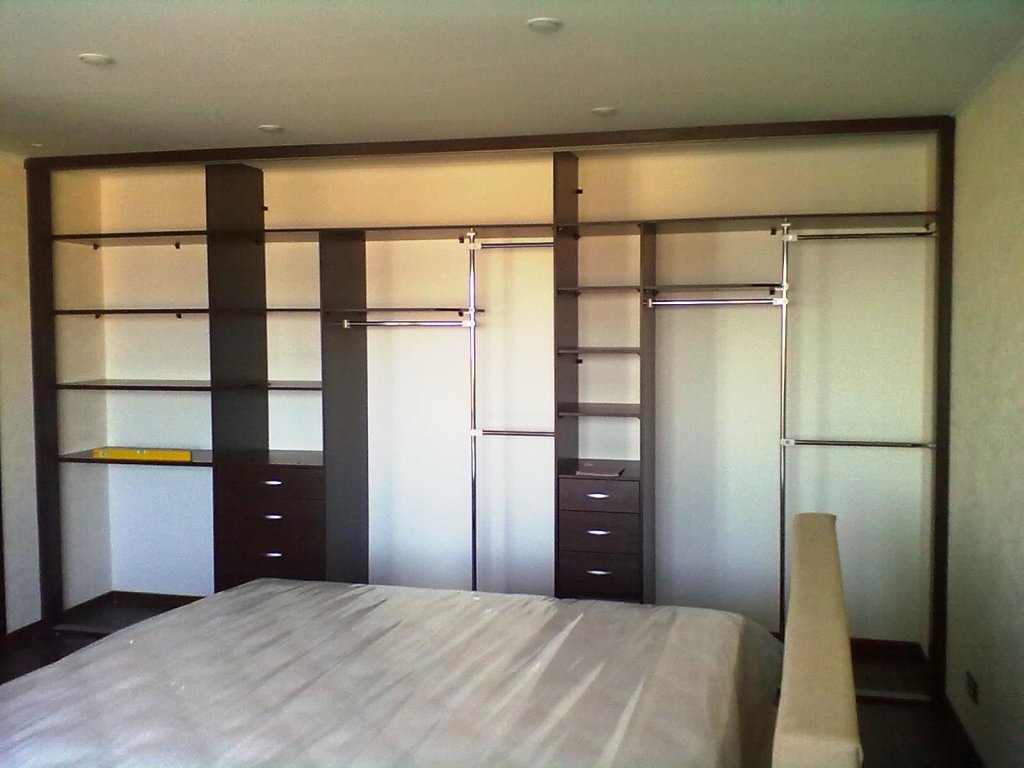
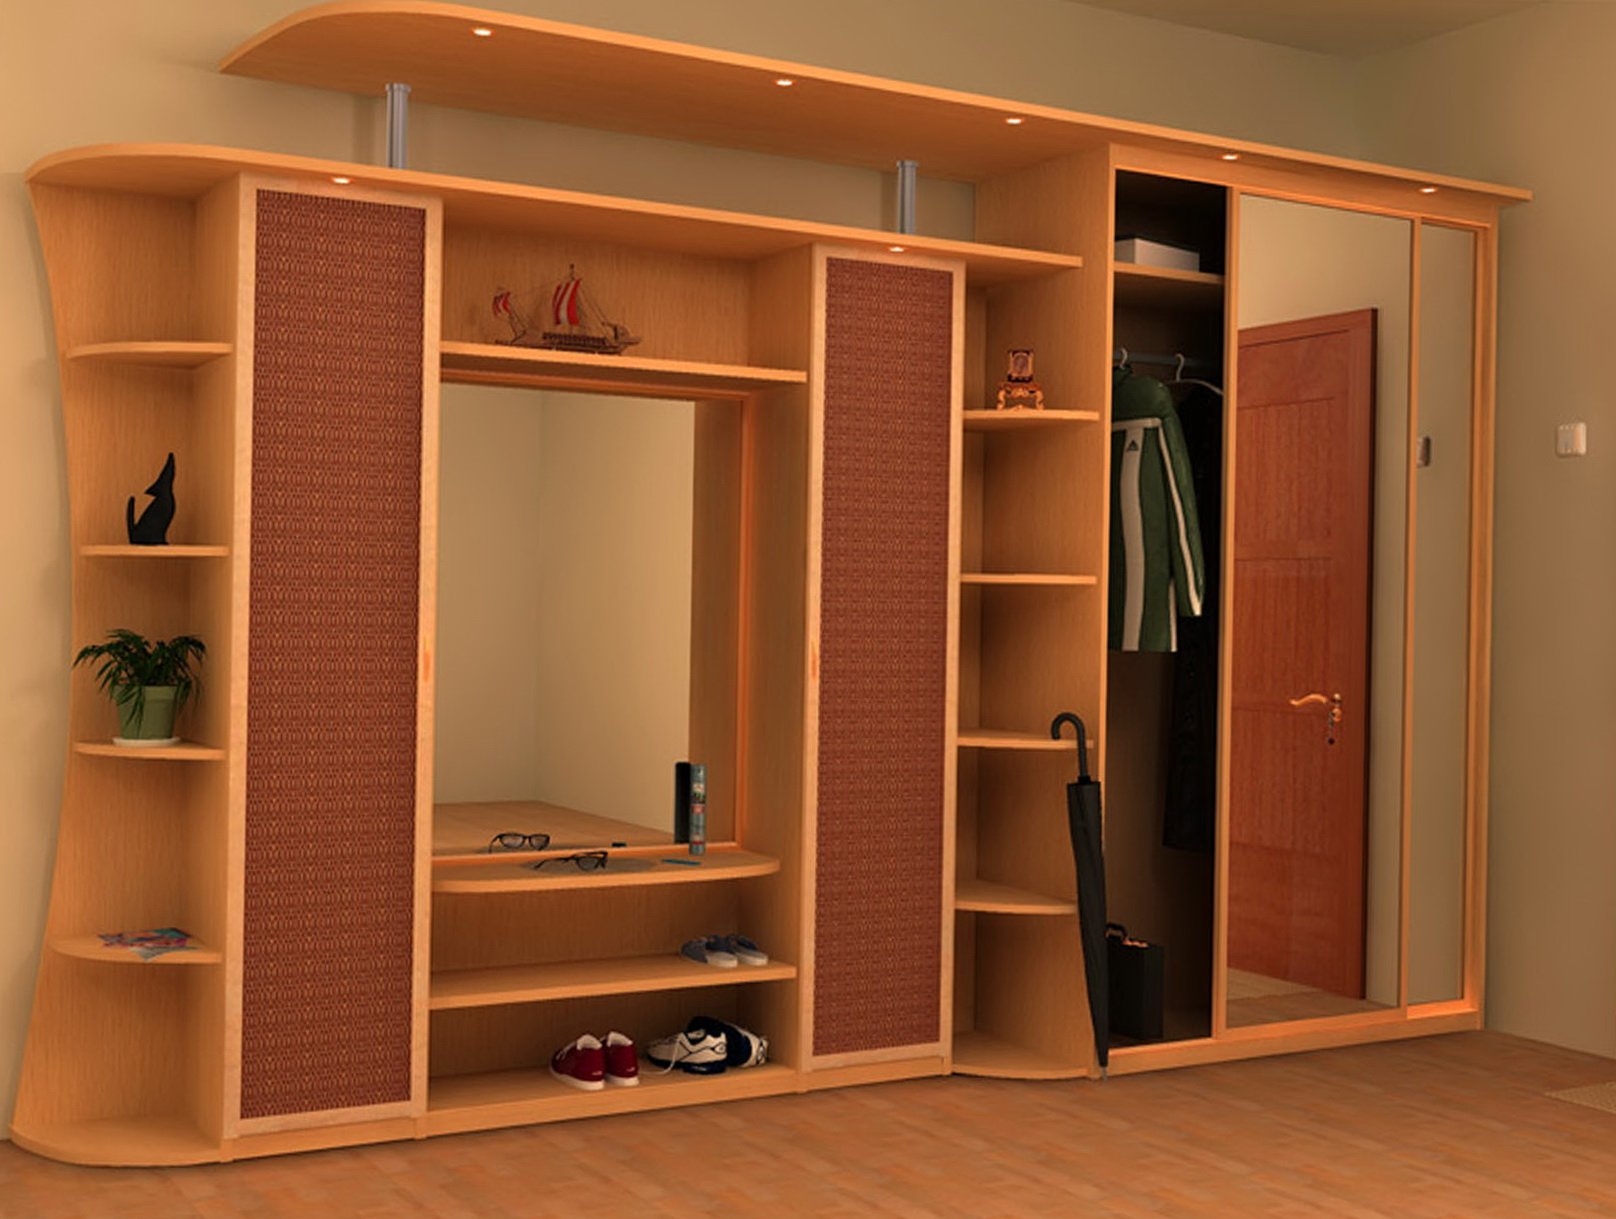
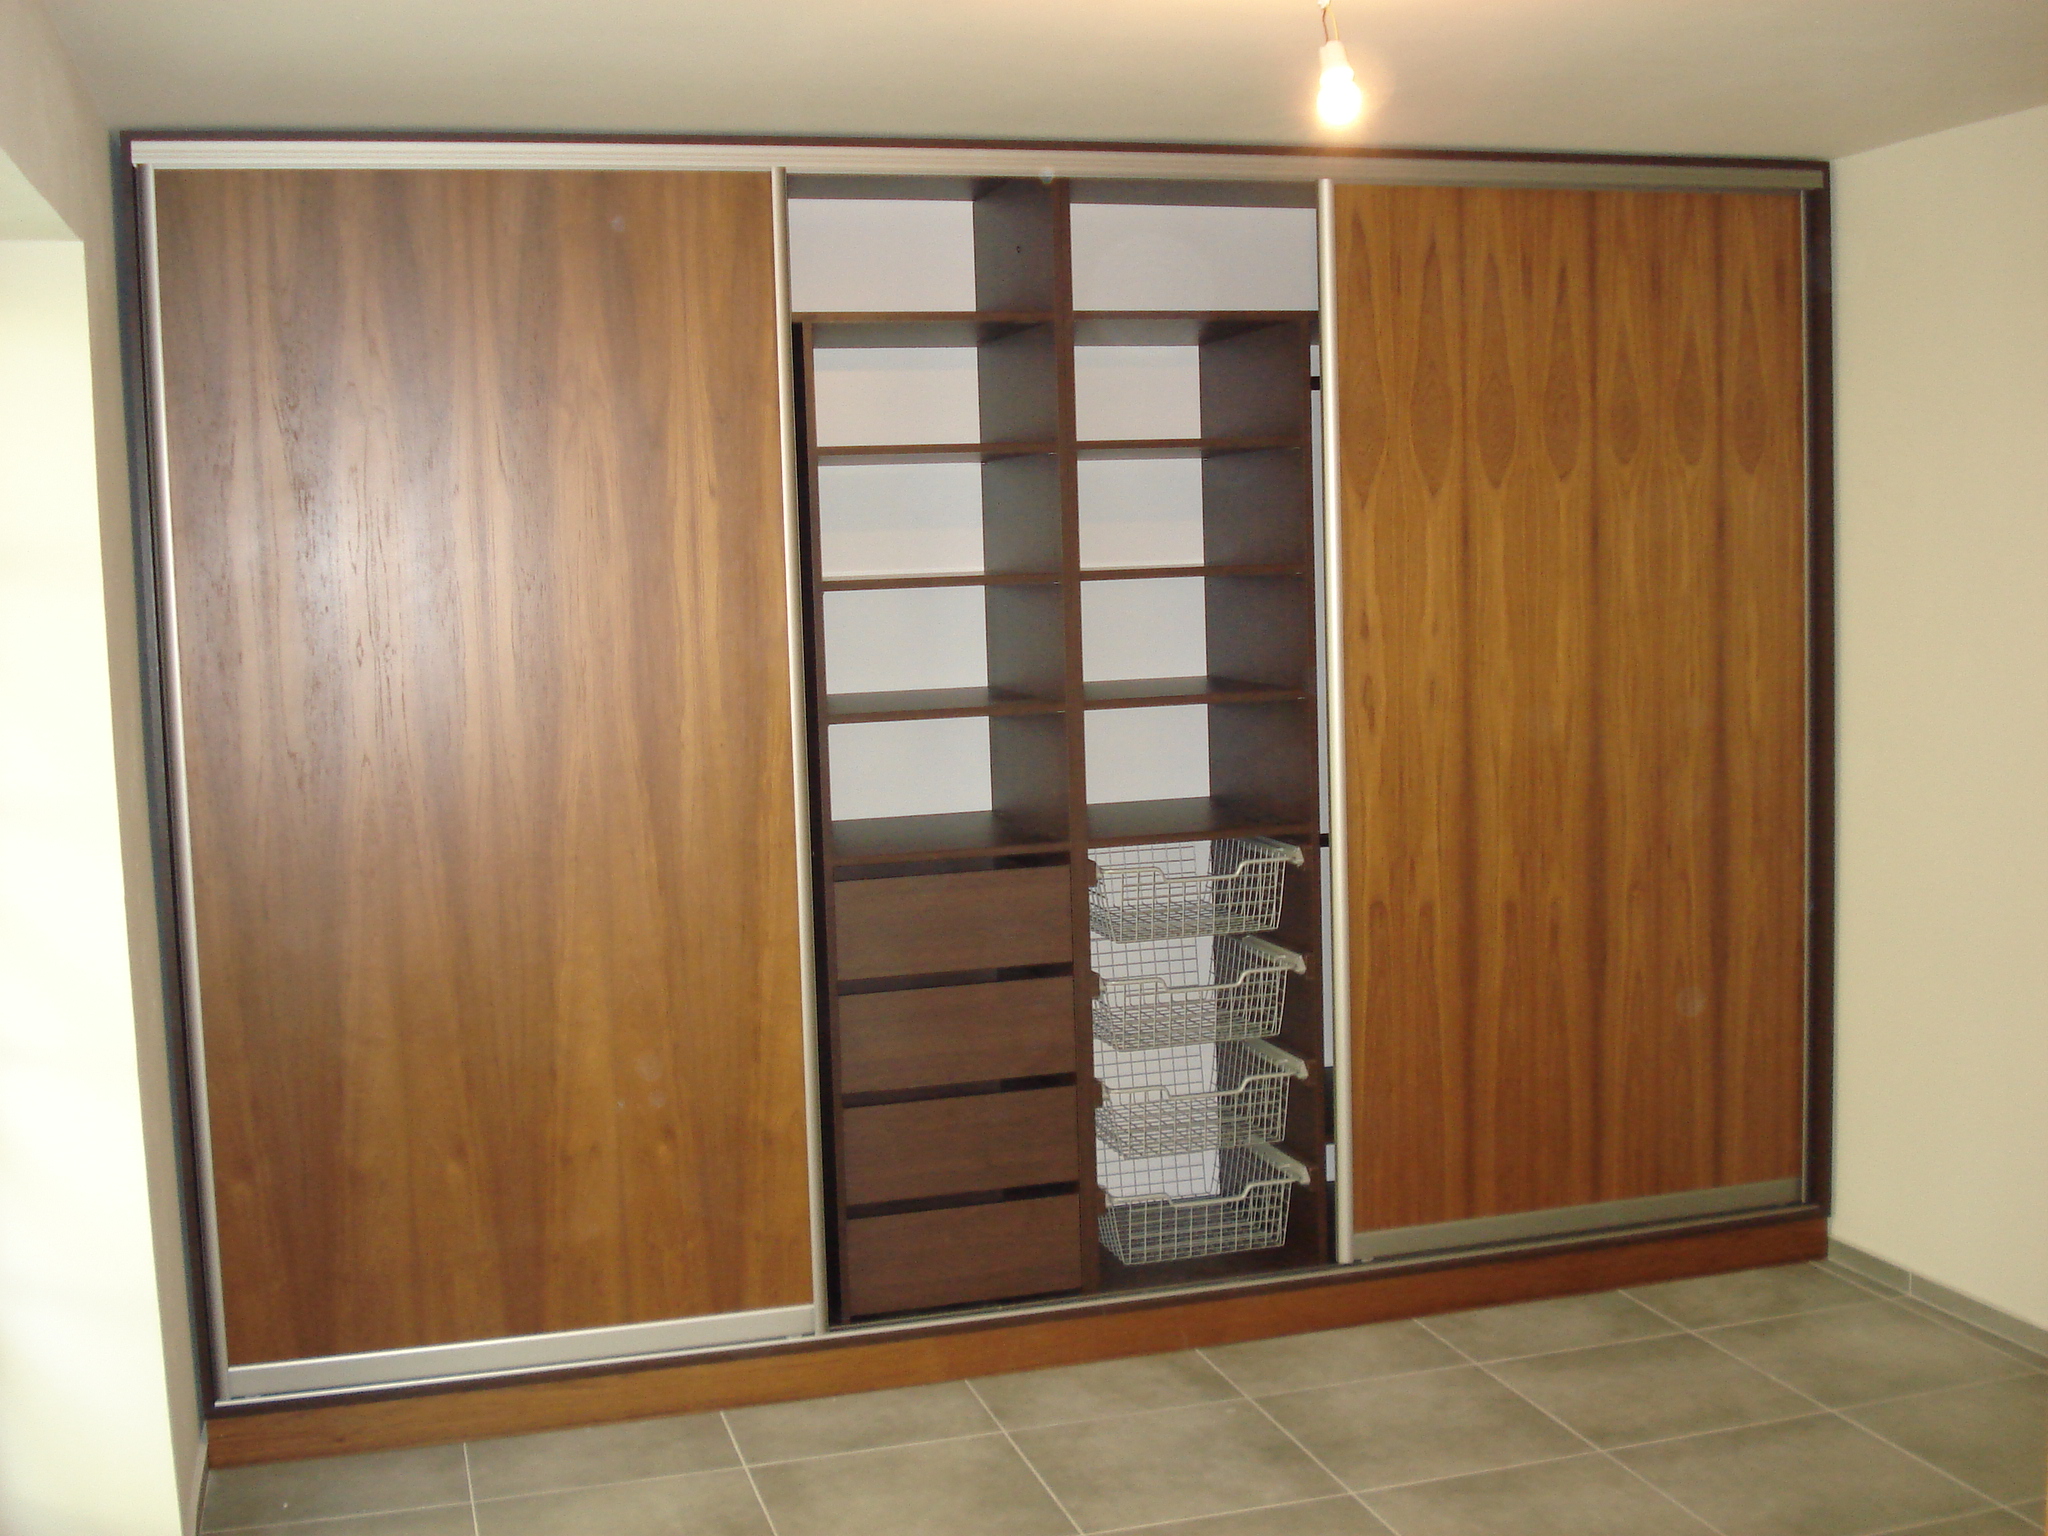
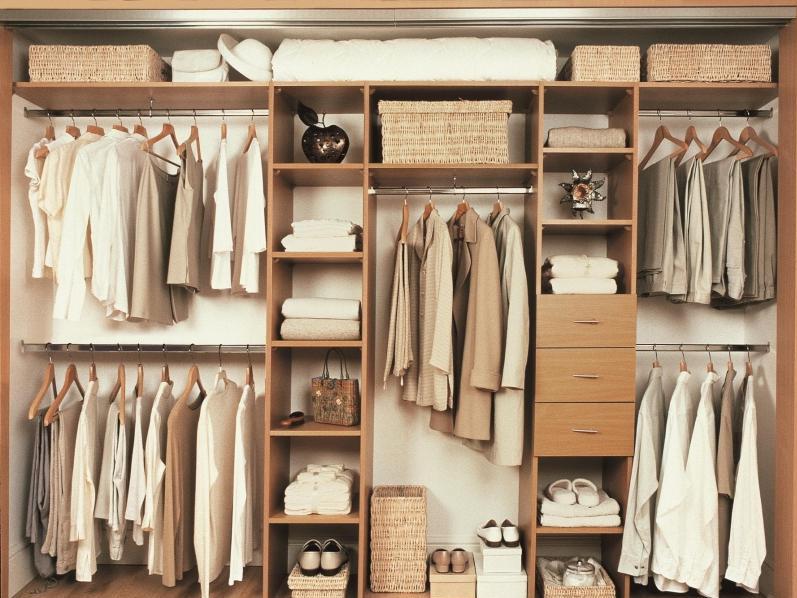
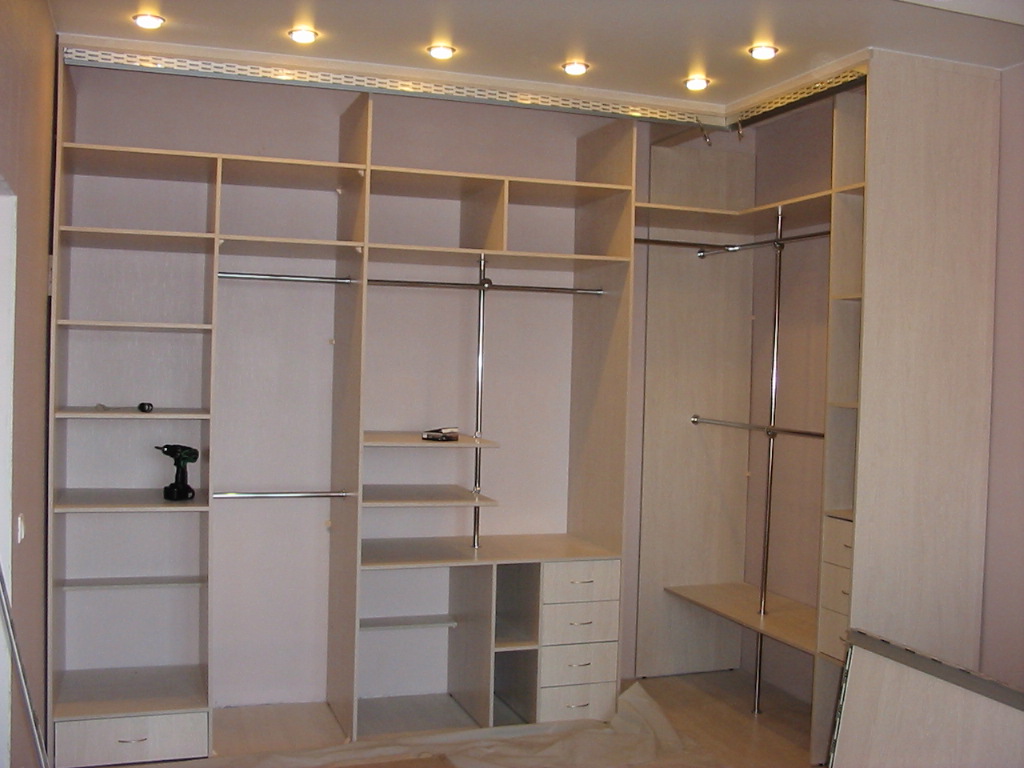
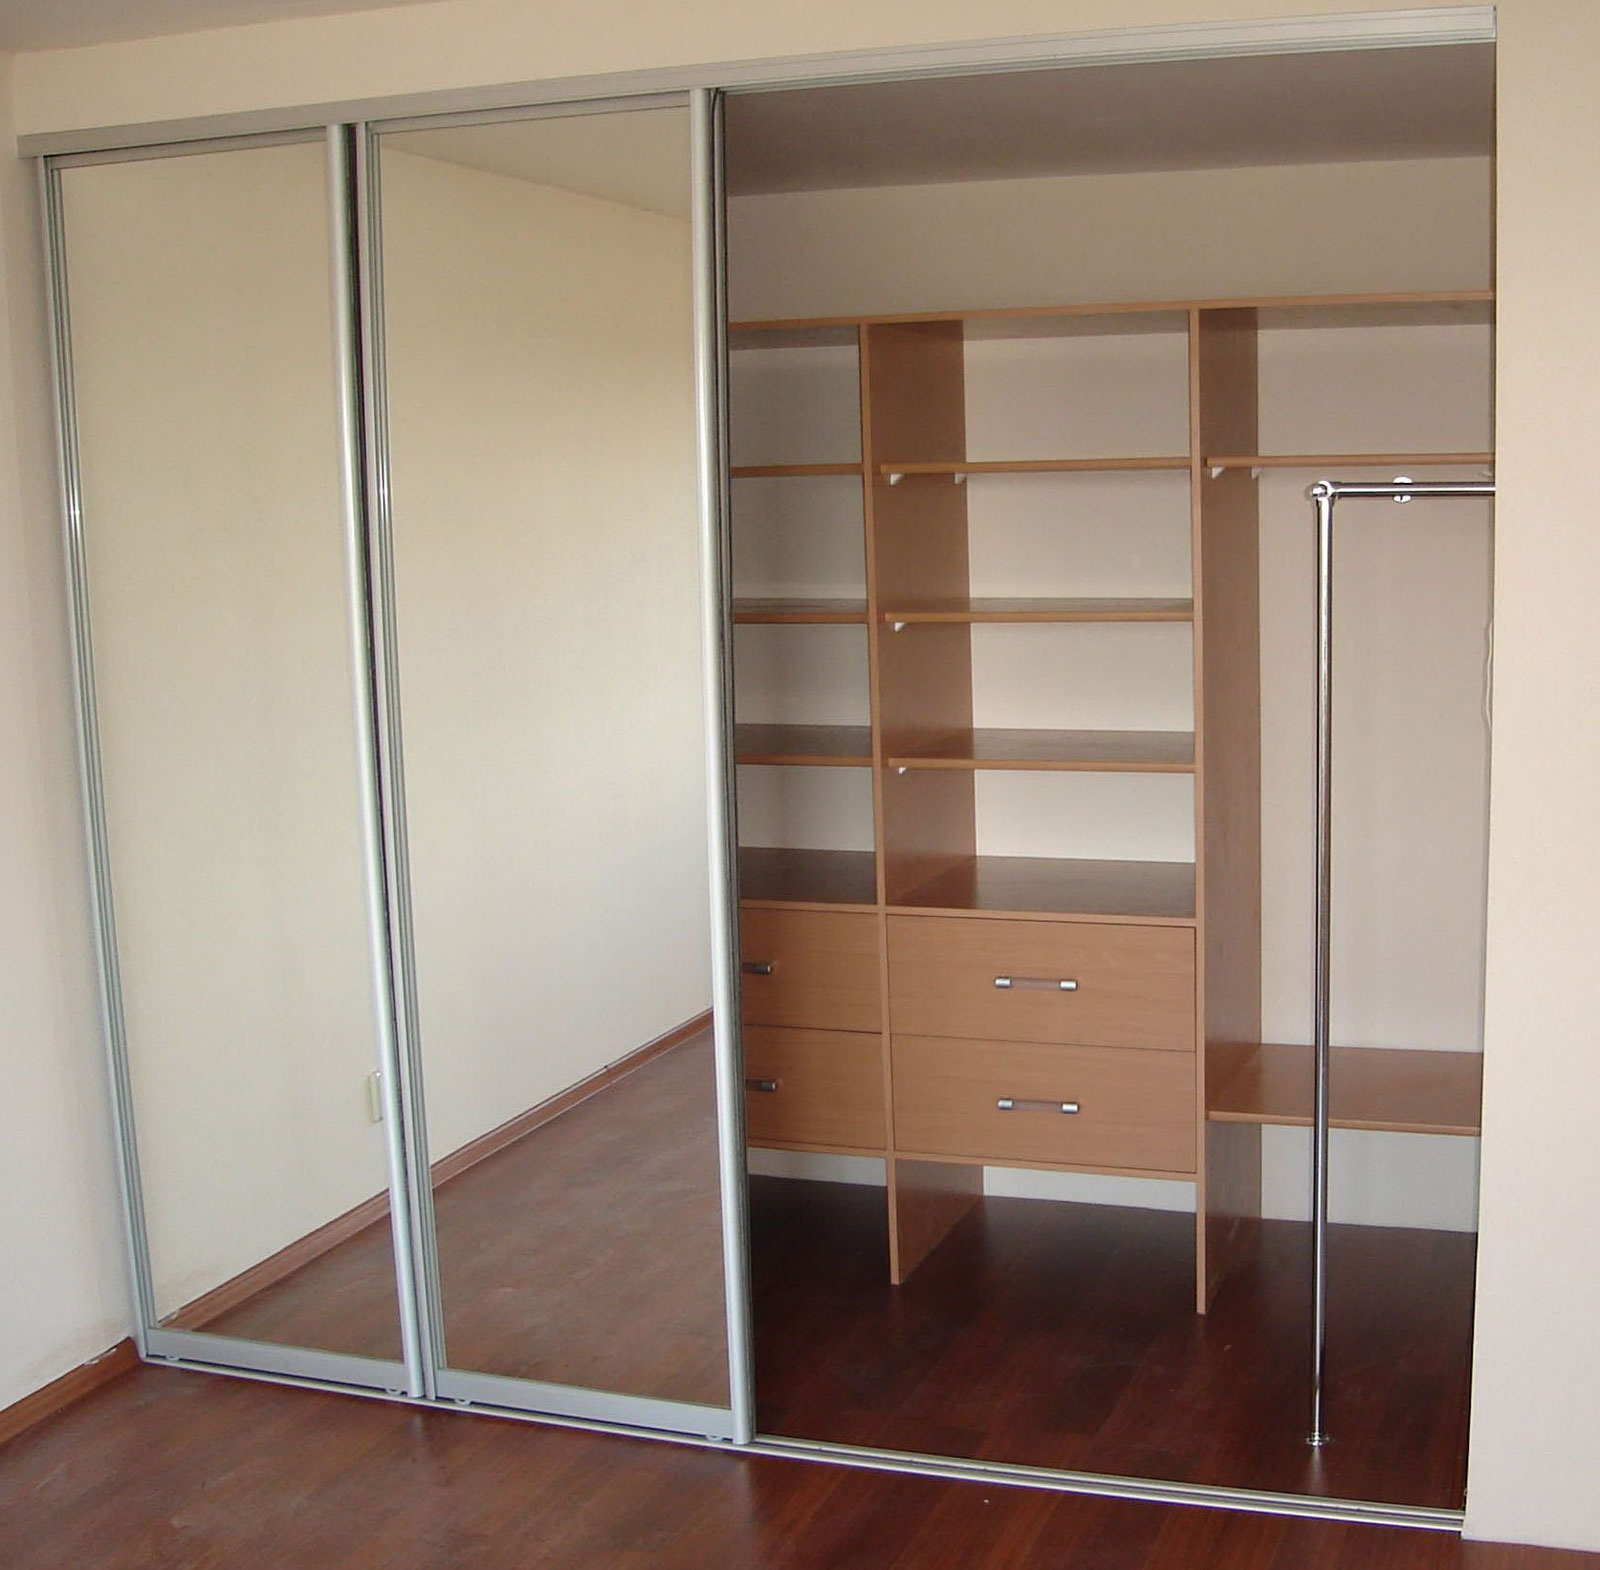
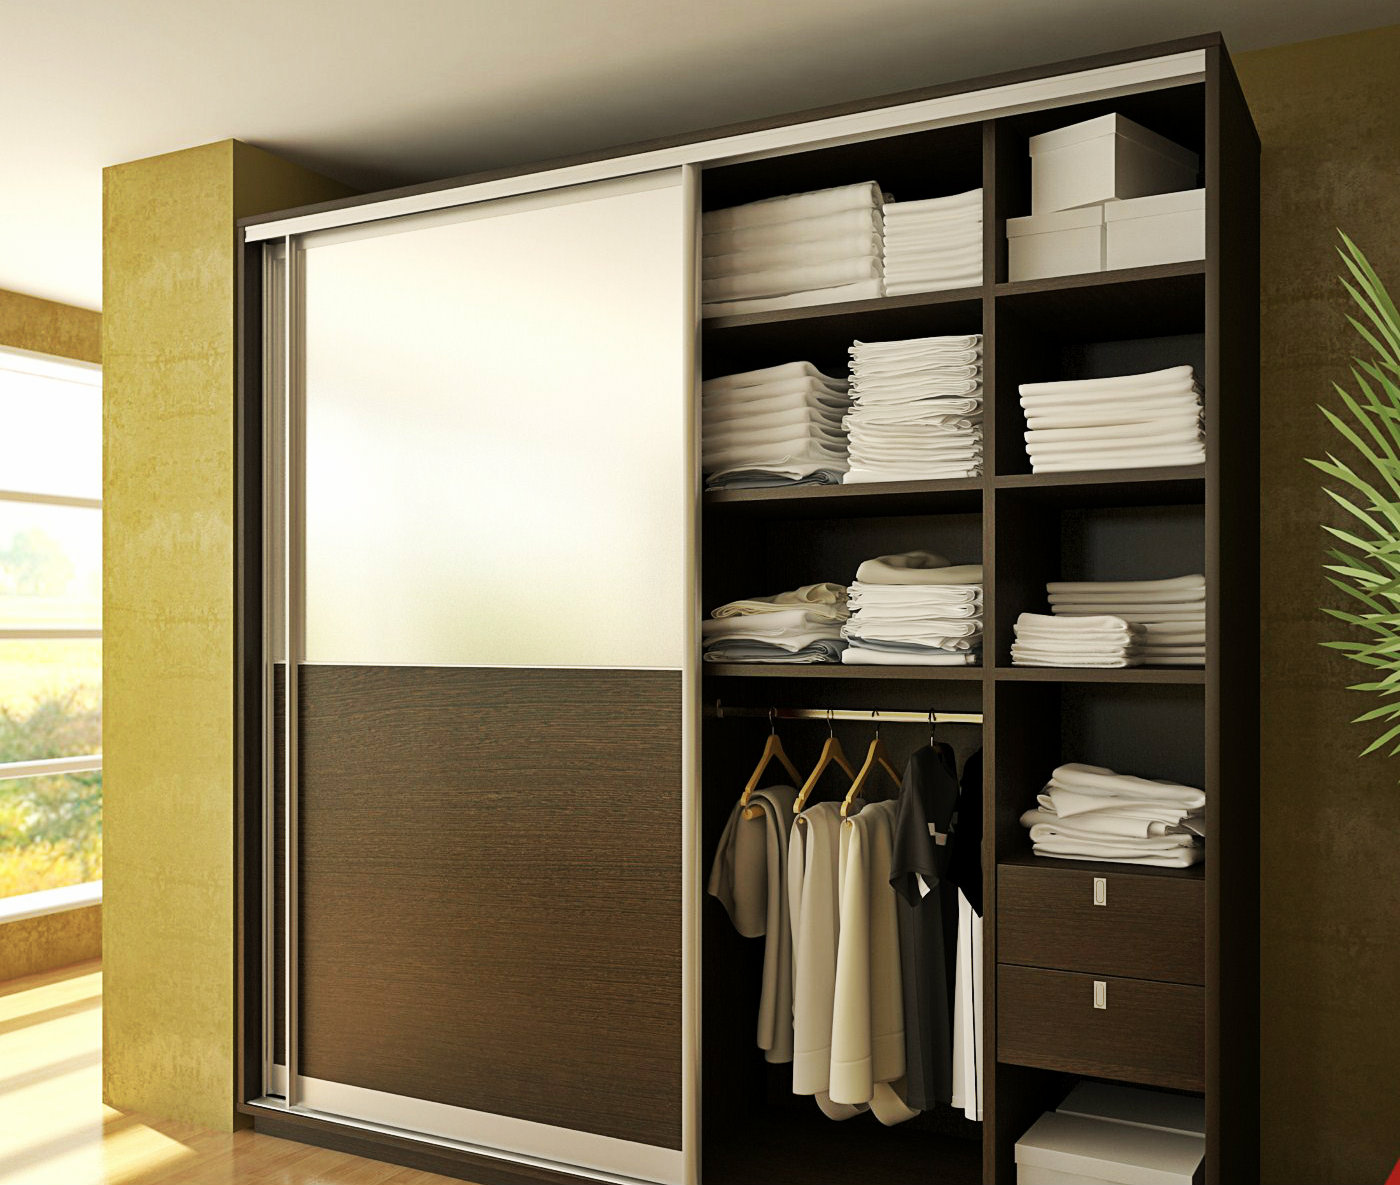
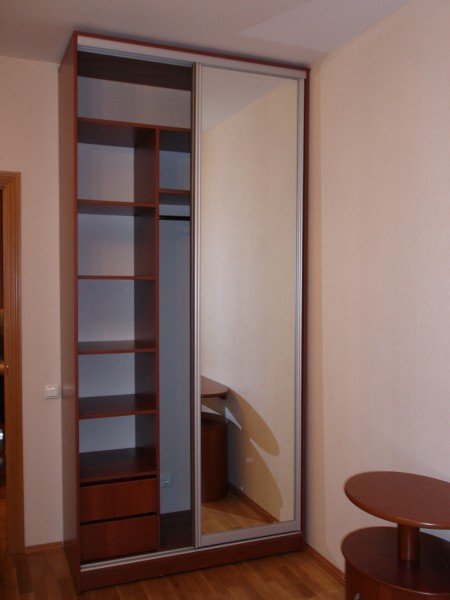
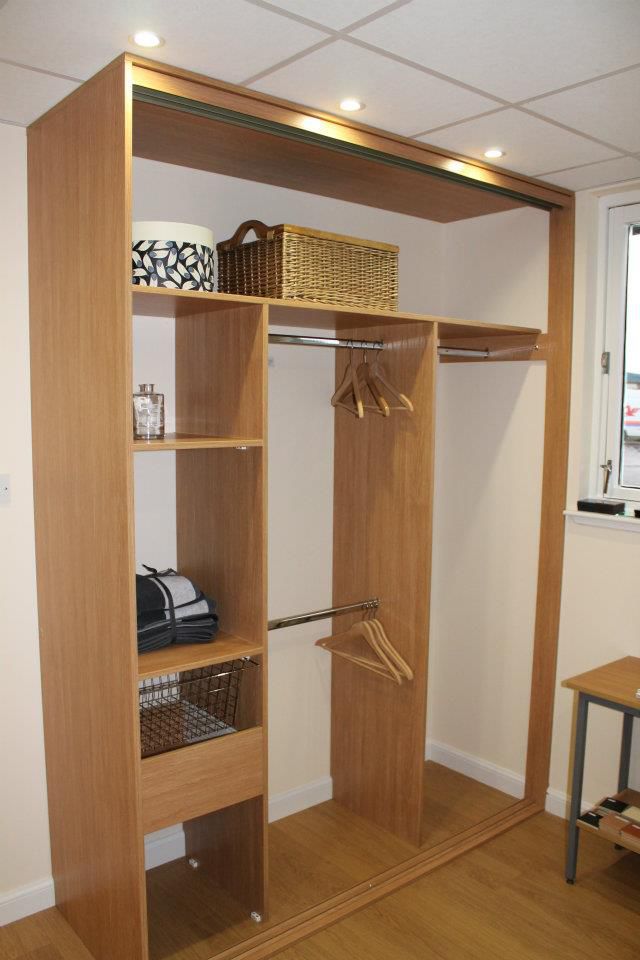
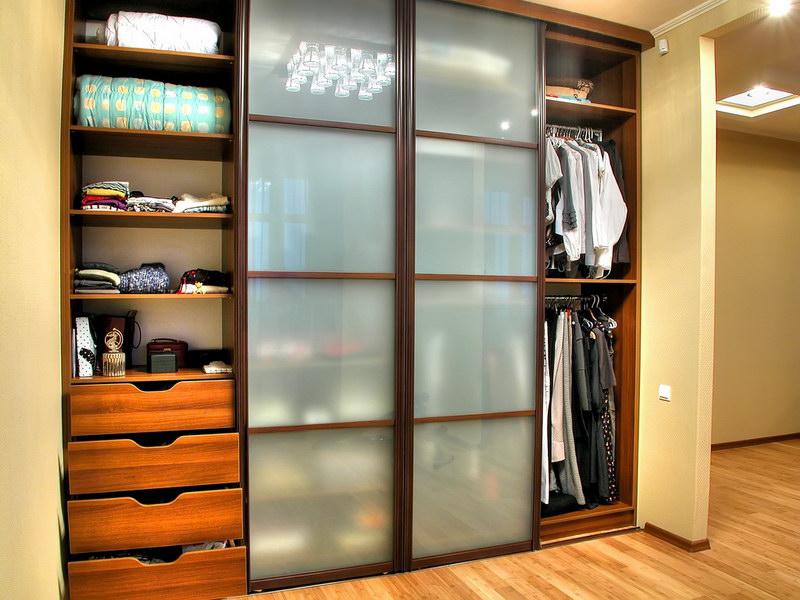
In any closet, especially if it is alone in an apartment, there should be sections for storing outerwear, shoes, hats, linen, bed linen, suitcases, pillows, blankets, dresses, jackets and trousers. The picture shows the optimal placement of sections in the closet for the hallway.
Drawings can be made in design programs: “Astro furniture designer”, “Pro 100”, “bCAD” and others.


How to assemble yourself
If you are assembling a closet upright “above the ceiling”, use the step-by-step instruction:
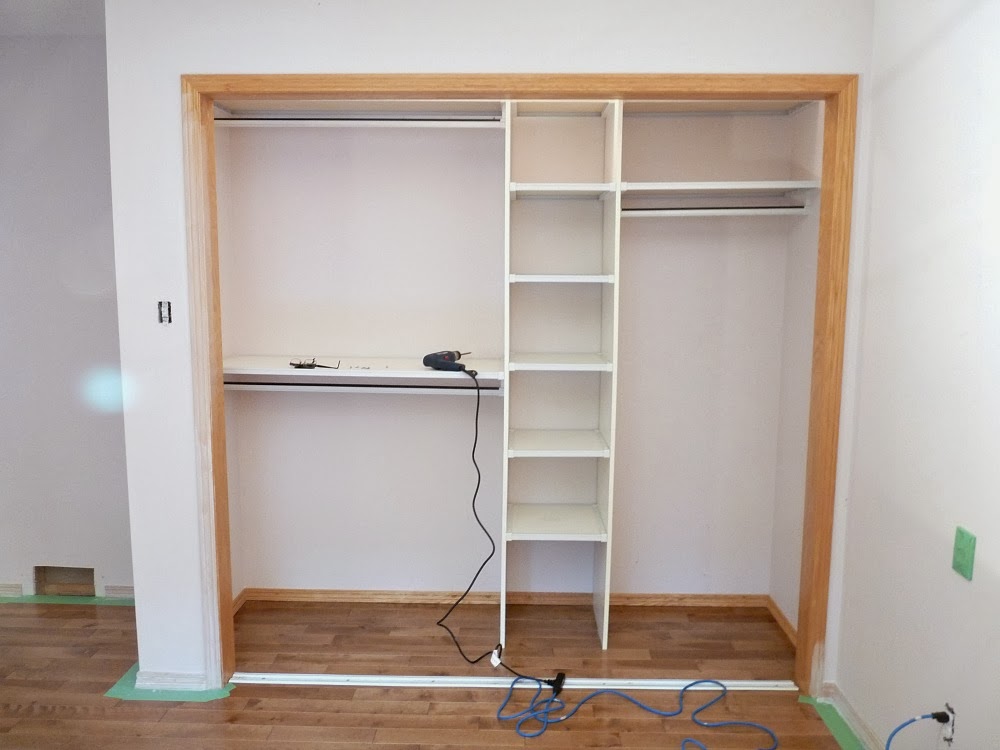
- first make out the back wall of the cabinet.This can be done using self-adhesive film in the color of the main panels. You can, of course, not make out, but if you need to wipe the dust, then from the film it is easier to do than with paper wallpaper;
- then the frame is made of timber or metal slats: first vertically (cabinet height) and horizontally (cabinet width) the beam is fixed to the wall, then to the floor and ceiling (cabinet depth), then vertical outer bars are installed, and then the transverse rail is inserted between them. In the same order, internal partitions are mounted between the sections;
- joints better strengthened profile;
- the outer side of the cabinet is sewn up with MDF or MDF sheets;
- It is very convenient to fasten construction details with euro-screws, however, it is required to pre-drill holes for them with a special nozzle;
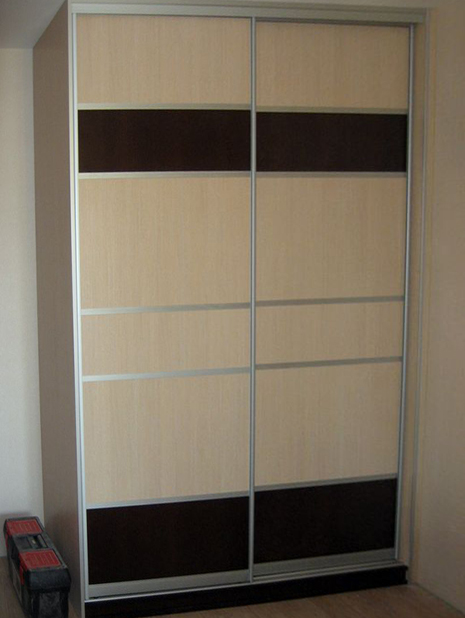
- the final stage of assembly is the installation of compartment doors.