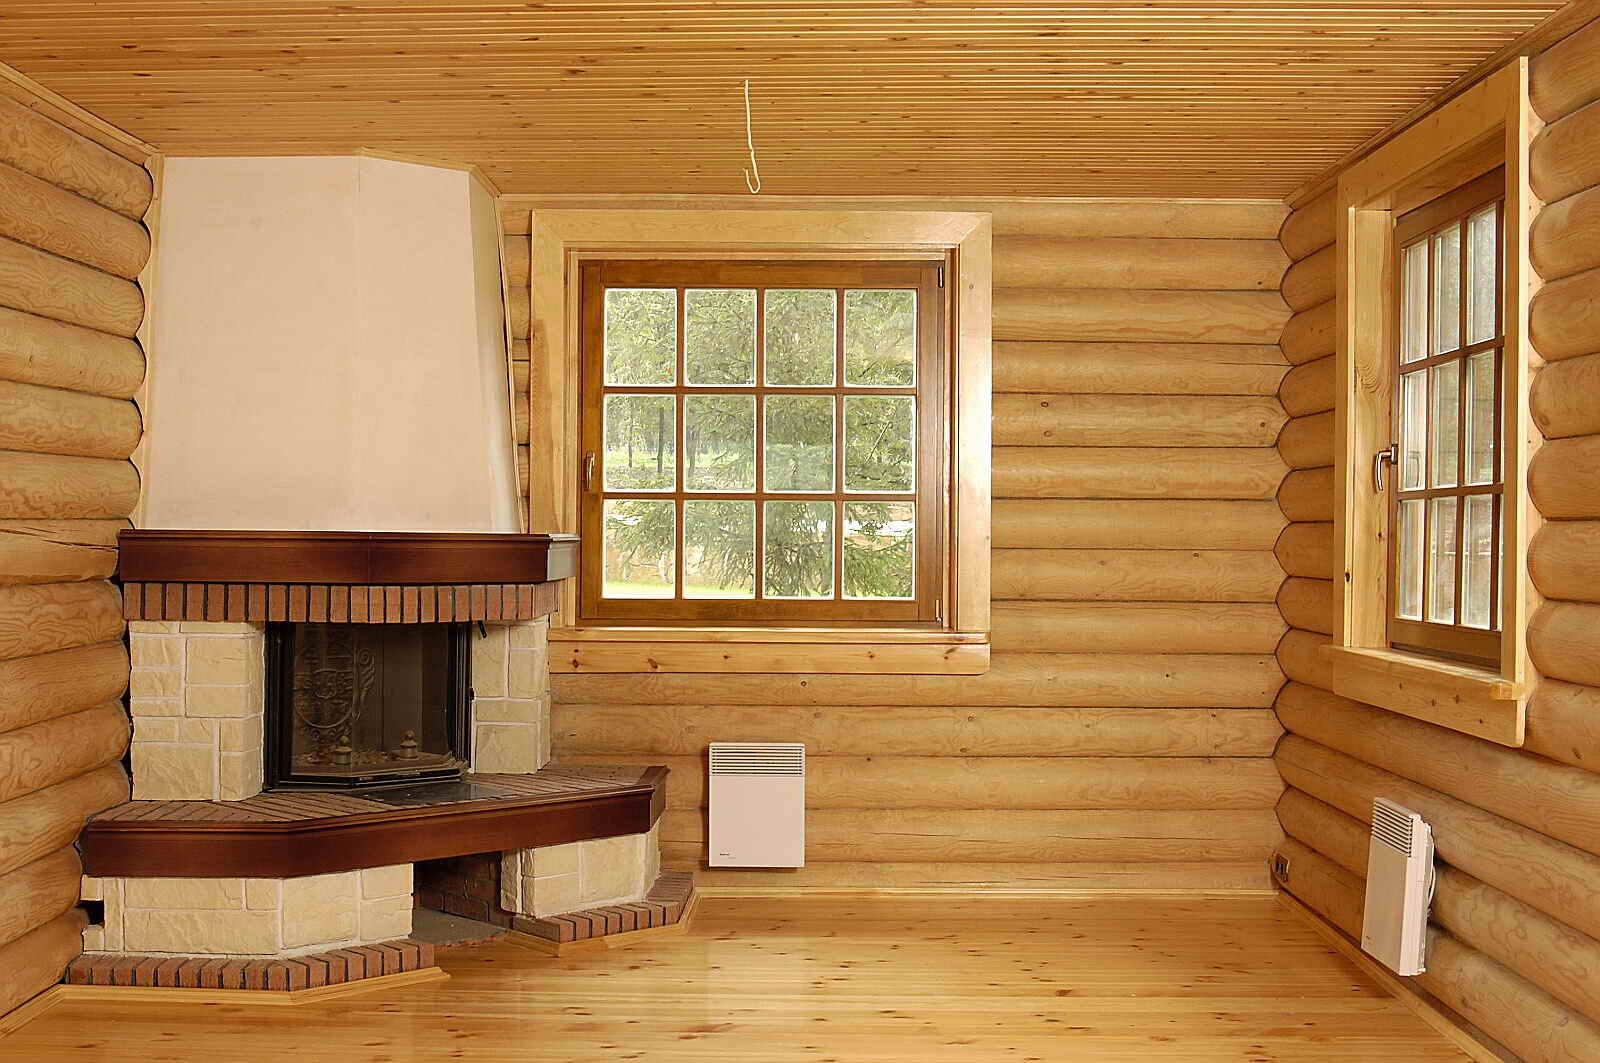
How to sheathe clapboard wooden house from the inside?
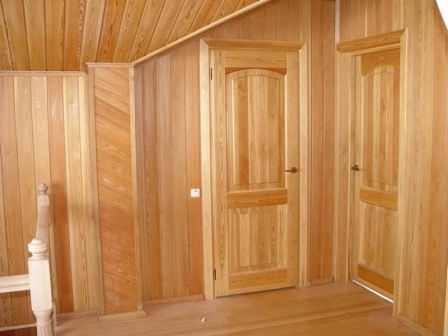
Owners of any dwelling invariably look for ways to improve it with minimum expenditure of money. At the same time, they naturally refuse all decisions that may be too complicated or impractical in a separate room. Quite an attractive step is the finishing of the inner walls of clapboard.


Special features
Sheathing clapboard wooden house from the inside is attractive ... but in order for the result to meet the expectations, you need to carefully select the type of wood. Coniferous and deciduous types of it are applicable, but one should be guided by the requirements of a particular room. The tasks that the coverage solves may be different, their priority also changes:
- heat retention;
- mute noise;
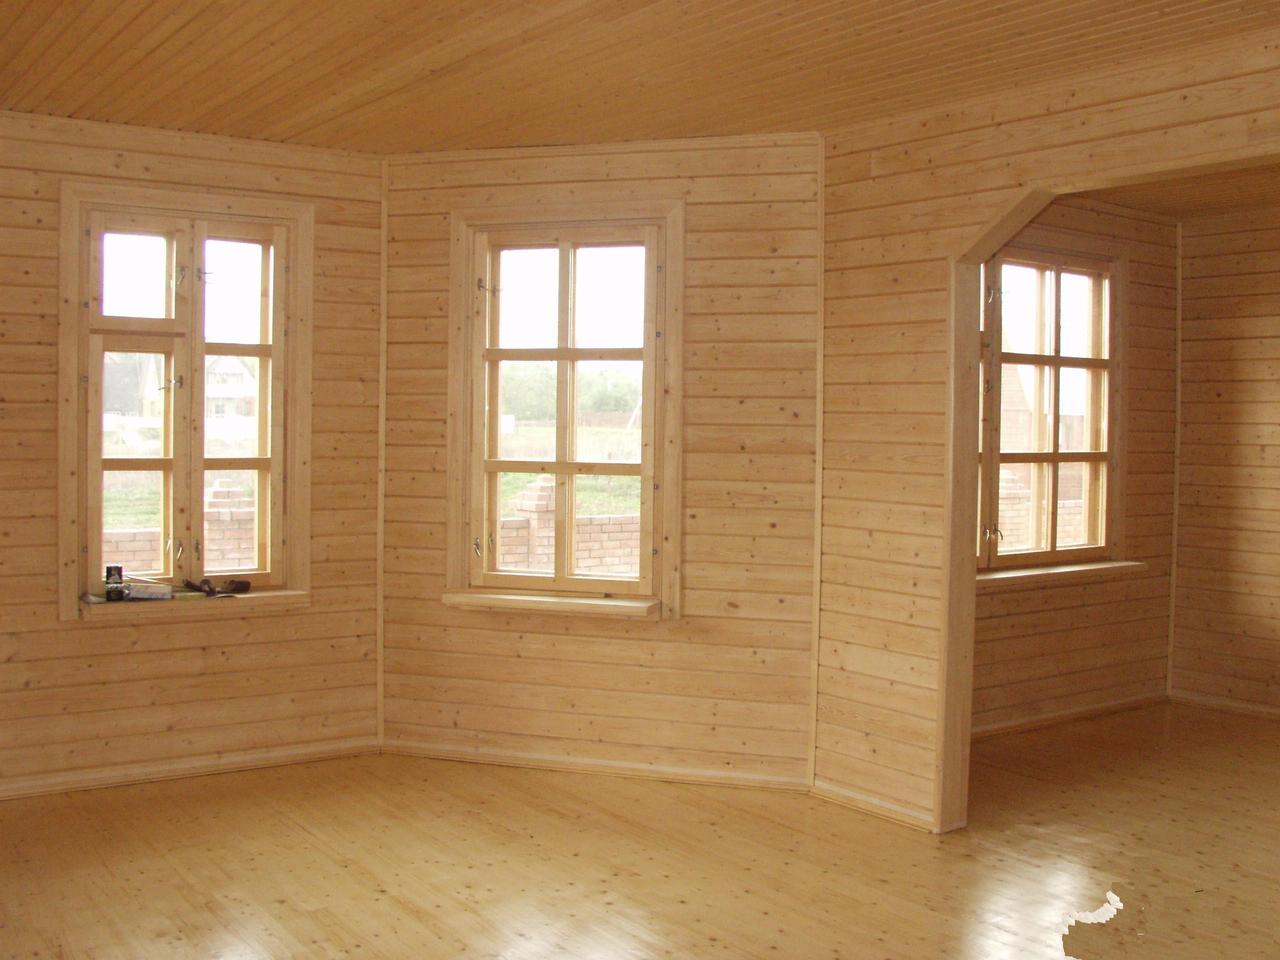
- providing comfort;
- maintaining a pleasant appearance.
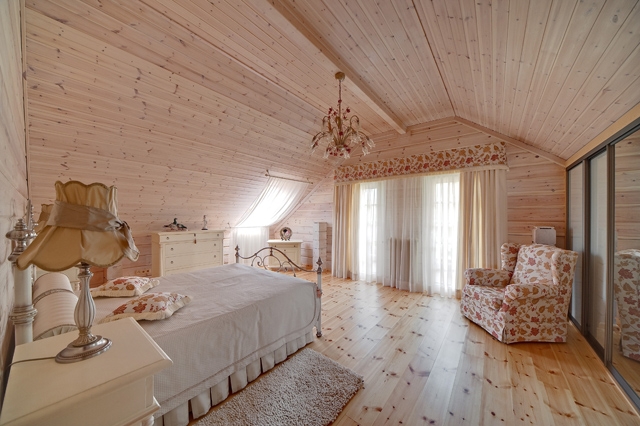
Lining is good because it is warm to the touch, harmless to health and very strong. This is one of the most convenient for everyday care materials. There is, besides the usual, still the so-called lining of the European format. The second type is more economical and practical, since the thickness of 1.25 cm with a width of 9.6 cm is considered by most experts the best choice.
Larger units mean only overpayment for additional material without a significant increase in quality.

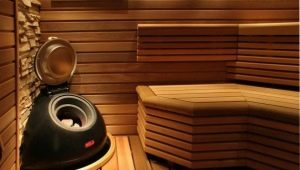
When purchasing a thinner material, you need to be careful about breakage when docking and just moving. Of course, today there is almost no way to meet the finishing works, where the previous version would be used, not the European race. In living rooms conifer is preferable. But in the baths it turns out to be much better than deciduous material, because resin comes out of the coniferous mass when warming up. She is not harmless and can cause burns.
The advantages of lining are:
- excellent containment of extraneous sounds;
- no need for additional alignment;
- biological and chemical safety of the material;
- opportunity to choose a variety of options for laying material with unequal width and other valuable properties.
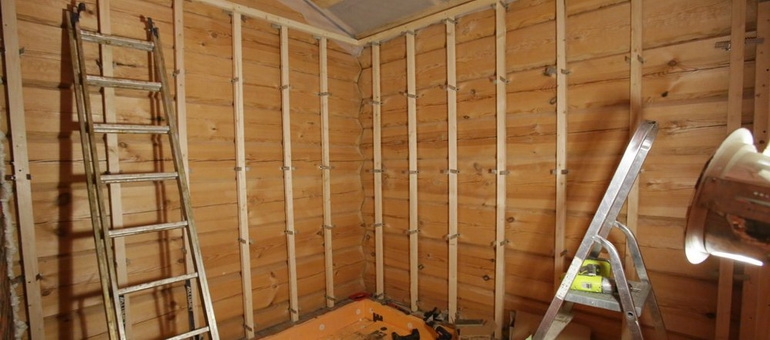
Preparation for installation
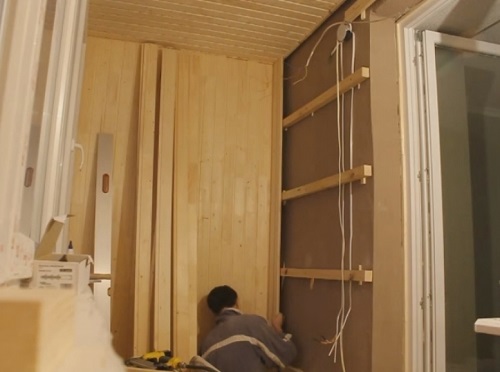
Wall clapboard inside is made on top of a special frame. To form a batten, take a bar with a cross section of 2.5 x 5 cm. Such a substrate makes it possible to finish even walls with untreated and insufficiently smooth surfaces. In most cases, the panels themselves go horizontally, and therefore parts of the frame are mounted vertically. Of course, sometimes do and vice versa. It is necessary to make some gap to the draft wall in order to eliminate the occurrence of dampness. Before the installation of wooden wall paneling, where the floor and ceiling are connected, ventilation ducts are equipped. Be sure to apply antiseptic impregnation on the bars of the frame.
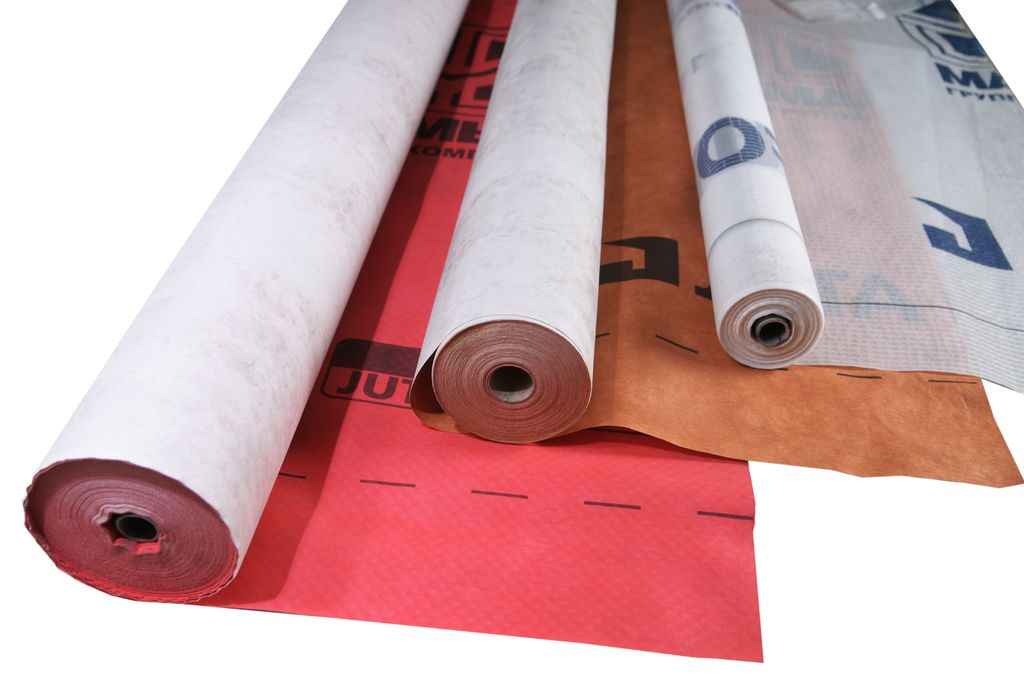
Preparing to put the panels, you need to make sure that the walls are completely smooth and completely dry, do not have the slightest deformation. A waterproofing is made, for which a special film is taken or a deep impregnation is carried out. If you do not do it, the panels can quickly lose their valuable qualities and have to do the work again.
The areas affected by fungi are necessarily treated with special compounds, and ideally they should be treated with the entire surface. It is recommended to use also an impregnation that protects against fire (this is important not only for baths, but also for ordinary houses).
If there is a desire, it is possible to produce insulation or mount a layer of noise insulation. To protect against extraneous sounds, it is a good idea to use expanded polystyrene or mineral plates. It is necessary to choose a film of steam protection simultaneously with the facing material and in concert with it. The vapor barrier is attached with an overlap at a distance of 100–150 mm. The material should be fastened with staples using a stapler, and a crate is formed above the hydraulic protection.
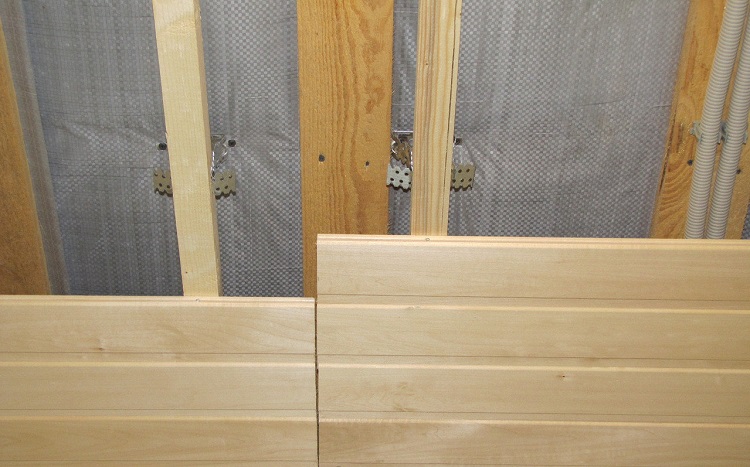
This design will work more reliably when mounted horizontally. The timber is fastened to screws or nails, but if there is a brickwork under it, it will be necessary to install frame dowels inserted into holes prepared in advance. Important: first comes a layer of thermal protection, and already on top of it a waterproofing film is laid out. Reverse rotation is not allowed. Above the main frame, an additional vertical course of the batten is formed, which is checked on the hydraulic level, because it will serve as a support for the front panels.
If the frame is being prepared for a block house, an integral wooden substrate should be formed. The slats are put, the distance between which is equal to a maximum of 0.65 m. Prior to the formation of the frame, points are marked where sockets, switches and other electrical devices will be supplied. The most accurate measurements are made using the square, plumb and level. When self-tapping screws are screwed, they must be inserted at an angle of 30 to 45 degrees.
Material selection
For finishing 4 different types of wooden lining can be used. Depending on the selected grade, the cost of repairs and the aesthetic advantages of the coating, as well as reliability, vary. It is recommended to stick to the golden mean, since neither the cheapest nor the most expensive options will not be the best choice. Various companies are now producing not only wooden wall paneling, but also decorative items from other materials. Each of them has its advantages and disadvantages:
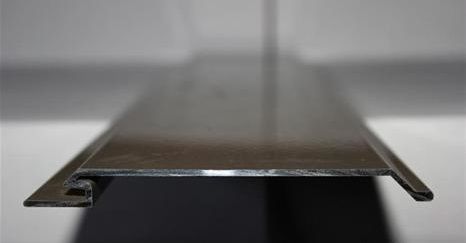
- Aluminum is light and fairly durable, but does not tolerate significant temperature and does not look too good;
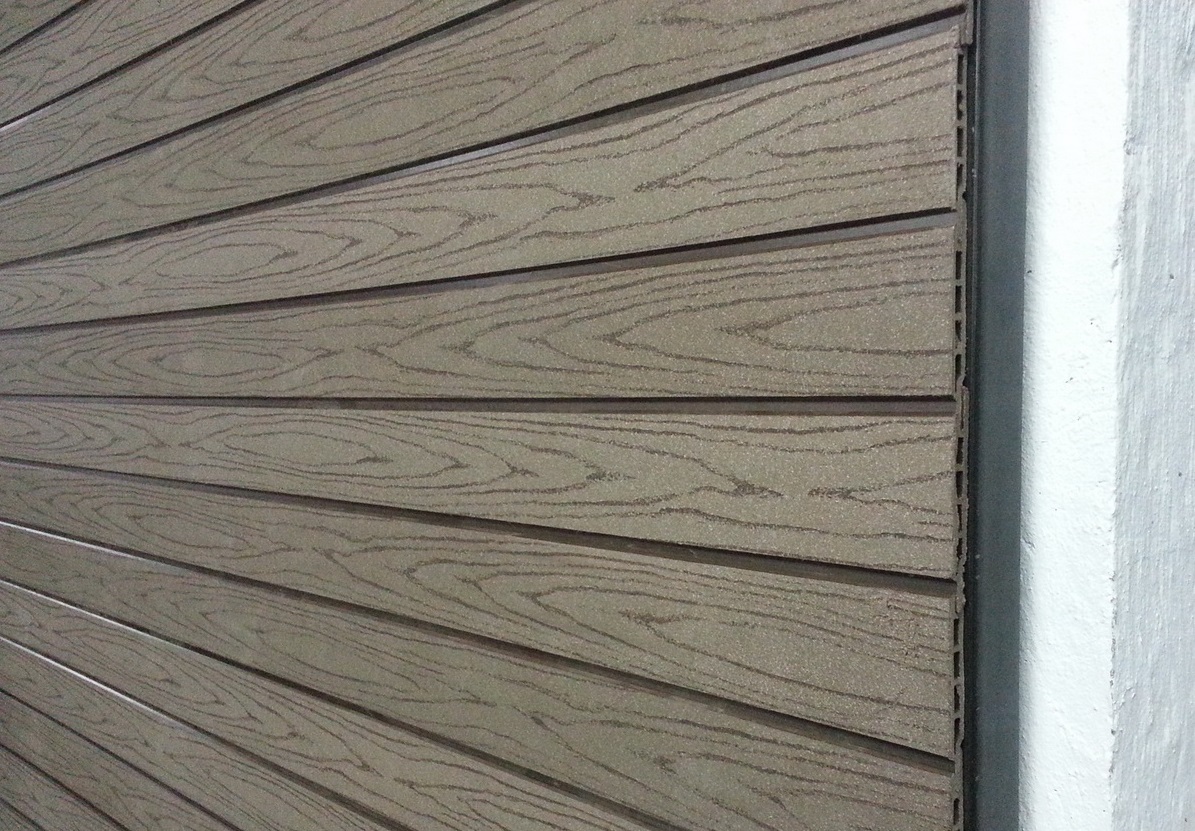
- polymer panels are relatively cheap, but do not last too long;
- MDF is perfectly entered into any kind of interiors, masks the wiring and does not create difficulties when cleaning the rooms.
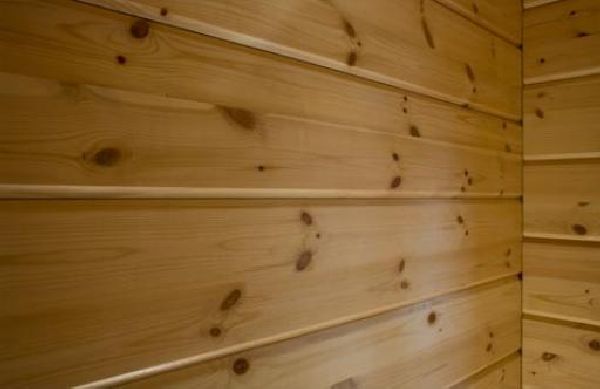
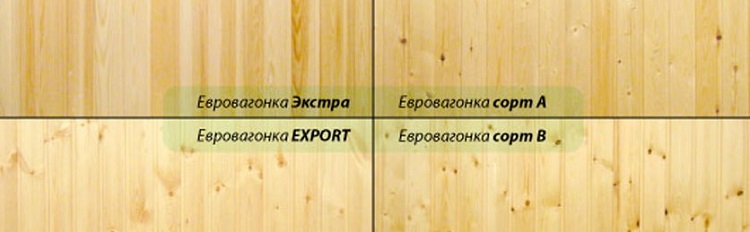
With all the advantages of modern materials, traditional wood should not be underestimated. It is chosen by various construction, finishing firms - and their choice is not accidental. Returning now to the varieties of wood lining, we can characterize them as follows:
- Extra - all that does not have the slightest deformation and deviations from the norm;
- Group A - coreless blocks, single branches and resin-filled cavities are permissible;
- group B - there may already be two knots and a pair of resinous cavities per element, sometimes there are contrastingly colored areas and even cracking;
- Group C - lining almost unsuitable for finishing work, except for minor premises of not too attractive owners, has massive drawbacks, but should have at least standard strength.
The sequence of work and requirements
The frame under the wall paneling should be set in the same plane. The initial rail set strictly in a straight line, orienting it with a plumb line. The attachment of the rails is done both with screws and with simple nails (at the choice of the builders themselves). Then they go to the opposite corner and put the same rail there.In order for a single plane to appear, strong strands of caprone are drawn and the installation of the components of the frame is oriented along them.
Important: the distance between the slats must be maintained at least 0.5 and not more than 0.6 m, and the mounted crate must be impregnated with antiseptics.
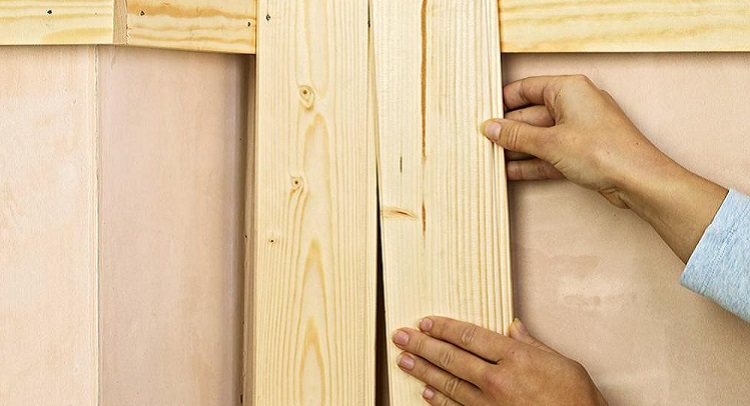
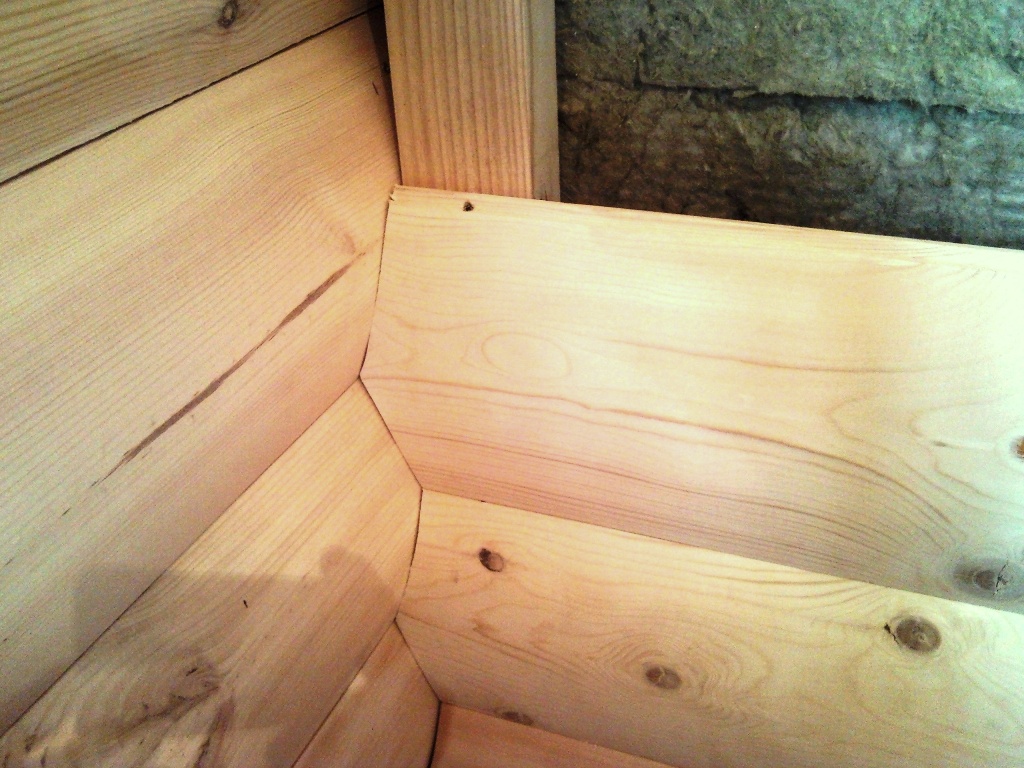
Sheathing clapboard, placed horizontally, requires to direct the grooves down, and the spikes, respectively, upward. Then the moisture does not fall into the grooves, if it occurs on the walls (as a result of condensation or in liquid form). The assembly can be carried out both from the ceiling and starting from the floor surface - this is solely the choice of the owners and installers themselves, as they consider it more convenient.
But in both cases, the lining should be maintained in the very room where it will be mounted, at least 24 hours before the laying. Only under this condition will it be possible to guarantee the adaptation of wood for subsequent exploitation.

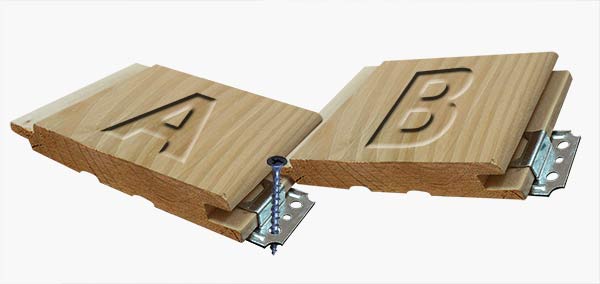
To attach the rails to the frame using nails, nailed into the grooves, it is required to use a docking box. This tool is useful in that it pushes a nail inside without breaking the panel and without spoiling its appearance. By the back wall of the grooves should be treated carefully, since the slightest crack in the process of work is a fatal violation.You should not fit the blocks too tightly to each other, on the contrary, leaving a gap of 0.1 or 0.2 cm allows you to compensate for the expansion of the wetted tree during subsequent operation.
The final step is the installation of baseboards (but only if this is required by the project; strips not reaching the end of the walls are assembled, the joints are finished with decorative structures). A bunch of panels is produced by the so-called tongue-and-groove method, that is, the crest of one end is inserted into the groove of the other. The use of screws and nails helps to drastically simplify the work, but it is important to remember that the caps will go out and spoil the whole look.

To compensate for this negative development of events, you can simply remove the caps with the help of wire cutters. The remaining dents can still be puttied and painted in exact accordance with the appearance of the surrounding wood. It will be even more accurate to insert nails into the lower edges of the grooves with the drowning of the cap into the wood.
To learn how to sheathe clapboard house from the inside, see the following video.